As a seasoned stitcher, you’re probably well aware of the various techniques used in garment construction – but what about fixing up those pieces that you already have hanging in your closet? Repairing old items of clothing not only ensures that we can wear our old favorites again and again, but it keeps them out of landfill, too. Help yourself – and the planet – with our guide to the ten simple repair techniques that every sewist needs to know.
10 Quick Fixes for Common Signs of Wear and Tear
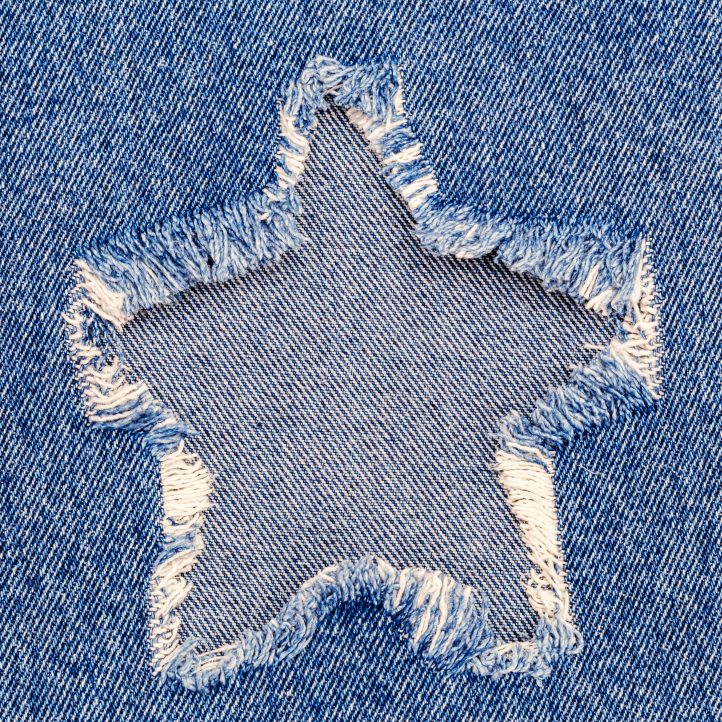
- Add a Patch. Stitching patches onto your clothes to cover up small holes and rips is perhaps one of the oldest and simplest repairs out there – but it works! There’s plenty of ways to patch-up your garments, whether you go all out with a bright appliqué design, or try to stay low-key by adding a patch beneath the rip in a matching fabric. You could even snip into the design to turn it into a brand new feature, like this frayed denim star. Whatever technique you opt for, make sure to reinforce the edges of your fabric before you stitch your patch into place, to stop it from unraveling further.
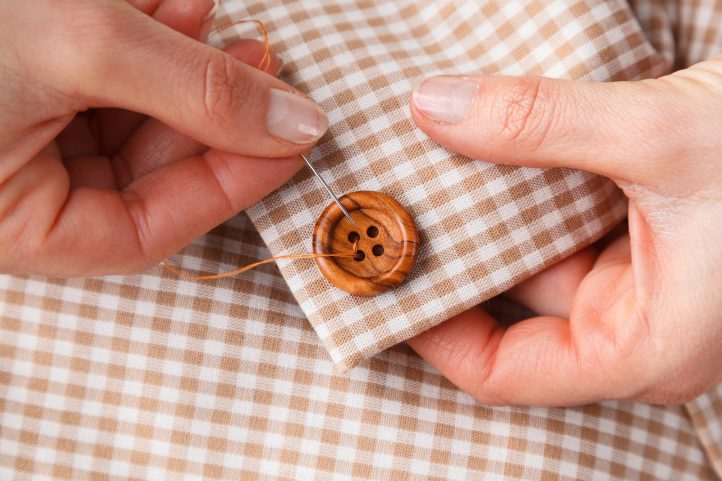
- Swap Out Old Buttons. One easy way to breathe new life into old garments and keep them looking fresh for years to come is by replacing missing buttons – or simply swapping them out for colorful new additions. While sewing on a button may seem simple enough, there are a few tricks and tips to ensure you get great results every time. Start by stitching a small ‘x’ in the fabric as an anchor point before you begin. This will not only ensure you stitch the button on in the correct place, but gives it something to hold onto, as well. Position your button over the top of the ‘x’, then start to sew it into place, working up through one hole and down through the next. At this point, you can add a spacer (such as a second needle or a toothpick) underneath your stitches to give the button a little wiggle room once finished and make it easier to use. Continue to stitch through the holes several more times until secure. Finally, give your button a shank. You can do this by wrapping your thread around the stitches underneath the button several times, then tying off securely to finish.
- Ladder Stitch. If you want to keep your garments looking good as new, you’ll need your repairs to stay incognito. When closing up a popped seam, you can use a ladder stitch to create an invisible join between the two sides. Thread a new, sharp needle with a length of strong thread (making sure to tie a knot in one end) and insert it up through the fabric at the top right of the hole you need to close. This will hide your knot inside the work. Take the needle over to the left hand side of the gap and make a small vertical stitch, starting it directly across from the point where you began on the right hand side and moving downwards. Bring the needle back across to the right hand side of the gap and once again, make a small vertical stitch. Repeat these steps to create a series of vertical stitches with ‘rungs’ going across the gap from one side to the other. Once you reach the end of the gap, tug the thread gently to close it up. There should be no sign of the stitching on the right side of the fabric. Secure the thread on the inside of the work to finish.
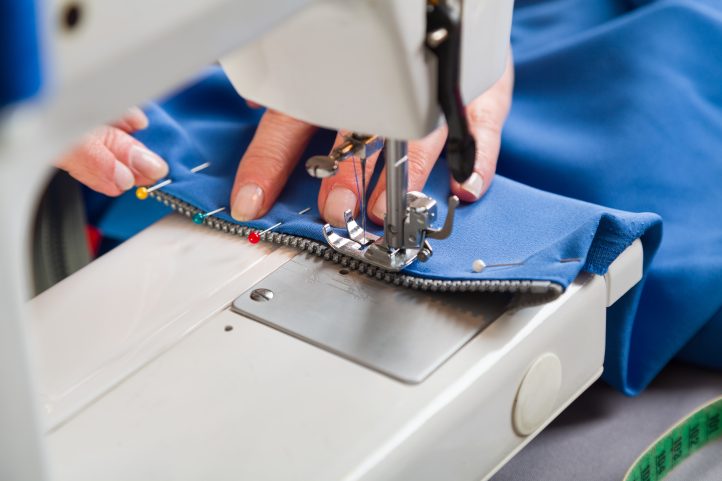
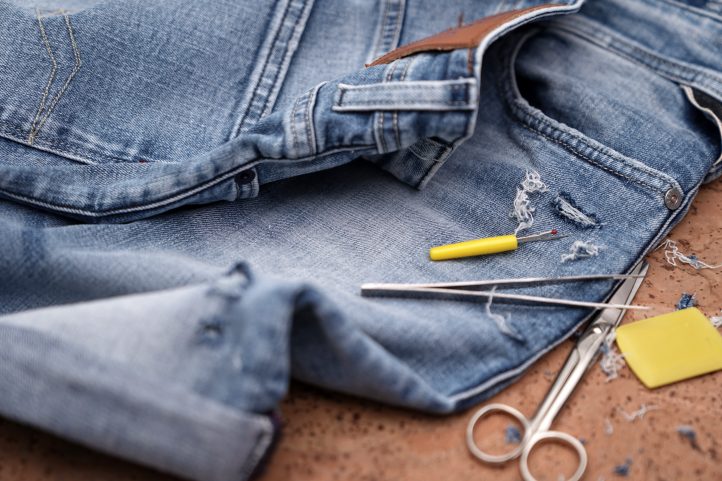
- Replace a Zipper. A broken zipper needn’t spell disaster for your favorite pair of jeans – simply replace it instead! Start by using a seam ripper to carefully unpick the stitches that hold the old one in place. You may not be able to unpick the stitches at the top and bottom of the zipper (at the waistband and the base of the fly), in which case, simply cut it as close to the fabric as you can, then discard it. Take a new zipper (making sure that it’s the same size as the one you just removed and suitable for use in the garment you’re repairing) and slip it into place in the gap left by the old one, making sure it is the right way up. Pin it into place, then use a zipper foot to work a line of straight machine stitches down one side to secure it. Next, undo the zipper and, making sure the opposite side is also in the correct position, repeat to stitch that side into place, too.
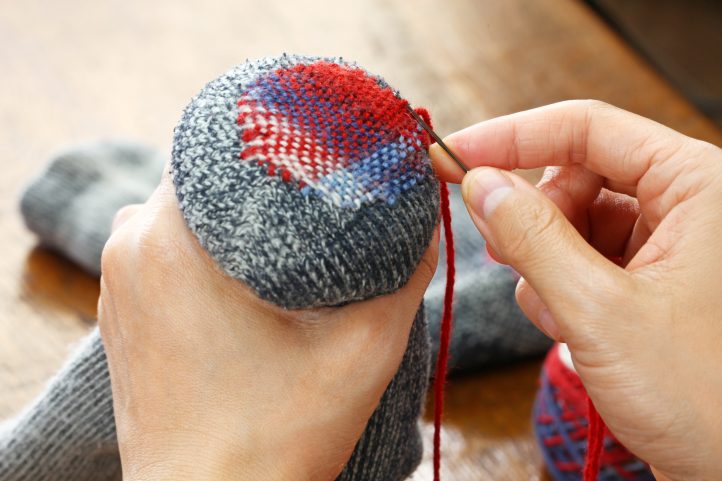
- Darn a Sock. We’ve all felt the annoyance of a hole forming in our sock as we walk around – but one little fault needn’t mean the end of the road. Rather than throw away your damaged footwear, you can repair them instead – it’s actually relatively easy and is a very handy skill to have under your belt. The best (and most comfortable) way to mend worn-away patches in the bottom of socks is by darning them. Darning is a traditional method in which you weave thread back and forth across the hole, criss-crossing it over and under to form a new patch of woven fabric. To make the process easier, you can use a wooden darning tool (often called a ‘darning mushroom’) as a base, which stretches out the fabric and keeps it flat and even as you work.
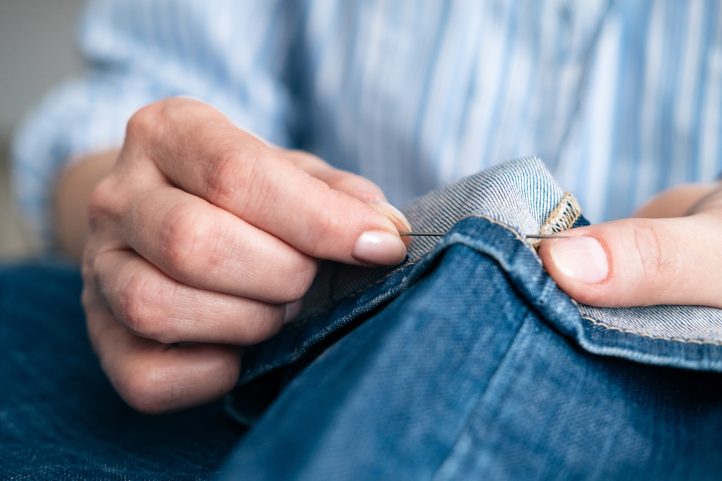
- Turn a Hem. Hems are often one of the first things to fail in a garment, but luckily for us, they’re just as simple to fix, too. For last-minute emergencies, you can use a strip of heat-fusible webbing tape around the edge of your hem to stick the fabric back into place. However, this quick and easy fix is unlikely to last forever, so sewing it is the better option long-term. Many people prefer to hand stitch their hems to get a neat, invisible join – though many domestic sewing machines now offer their own version of an invisible hem stitch, too. Check your machine’s manual to see if this time-saving solution could be an option for you.
- Work a Mattress Stitch. It isn’t just regular fabric garments that need a little attention from time to time – knitwear needs love, too! Many knitters make use of the popular mattress stitch to fix their seams, which much like the ladder stitch above, creates an invisible join between two pieces of knitted fabric. The basic idea of mattress stitch is to work a needle and yarn through the bar that sits between the stitches on one side of the seam, then back through a corresponding bar on the opposite side of the seam. Carry on working back and forth, weaving the needle through the bars and moving down the edges. Once you reach the end of the seam, tug on the yarn gently to close the gap, then tie off to finish.
- Mend Tiny Holes. Soft, lightweight jersey fabric can all-too-easily get caught and snagged, whether it’s on sharp corners, keys, or even just your own fingernails. Small holes and rips in t-shirts can be mended easily with just a needle and thread, leaving an almost invisible join to the naked eye. Begin by using a needle and thread in the same color as your shirt to make a tiny stitch on the right side of the fabric, working across the hole from one side to the other. Don’t pull it taut – the thread should sit across the hole, rather than bringing the two sides together. Repeat to make another stitch just a little across from the first, then another, working your way right round the edge of the hole until it is completely covered. Secure the thread on the wrong side of the fabric to finish.
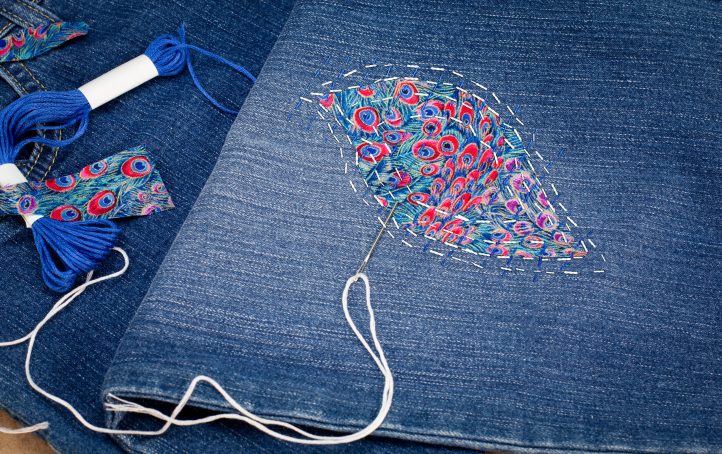
- Make It a Feature. Most of these ideas focus on hiding your repairs – but what if you made a feature of them, instead? Visible mending techniques actually honor all those little mistakes that we encounter along the way, turning what once was an annoyance or an embarrassment into something to celebrate. Turn your patches and repairs into bold motifs and use bright contrast thread to draw the eye. There’s no rules when it comes to DIY – so have fun and let your creativity run free.
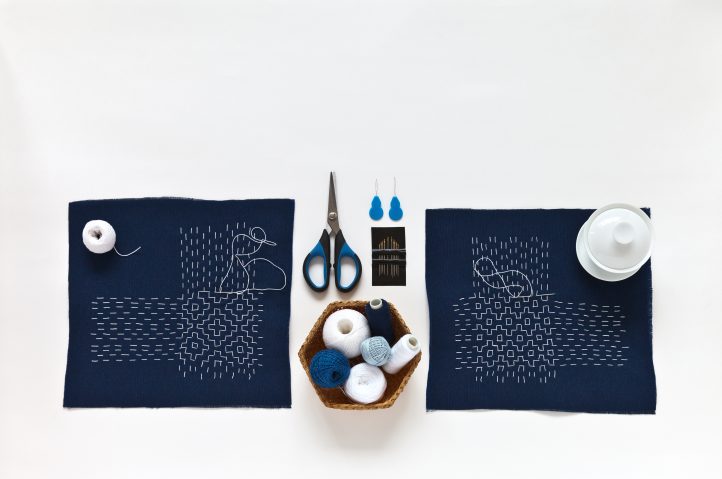
- Master Sashiko. Take the idea of making a feature out of your repairs even further by turning your hand to the Japanese art of sashiko embroidery. Though it can often now be found in high-end textiles, sashiko (which translates to ‘little stabs’, a reference to the simple running stitch used to create the geometric designs) originally stemmed from the Edo period of 1603-1867, when working class families would use the technique to repair, strengthen, and decorate the garments they wore when fishing and farming. Cloth was a precious commodity at the time, so keeping your clothing in good order was a necessity – and eventually, an art form. The technique was commonly used to reinforce already-patched clothing around points of heavy wear, but would also be used to attach new patches, making the fabric stronger and creating warmth while looking beautiful, too.
Love this section. Lot’s of usefull information
Thanks so much, Kathy! We’re so glad you enjoyed this article 🙂 – Ashley, WeLikeSewing
Great article! Even if it often reviewed and reminded me of old skills and techniques.