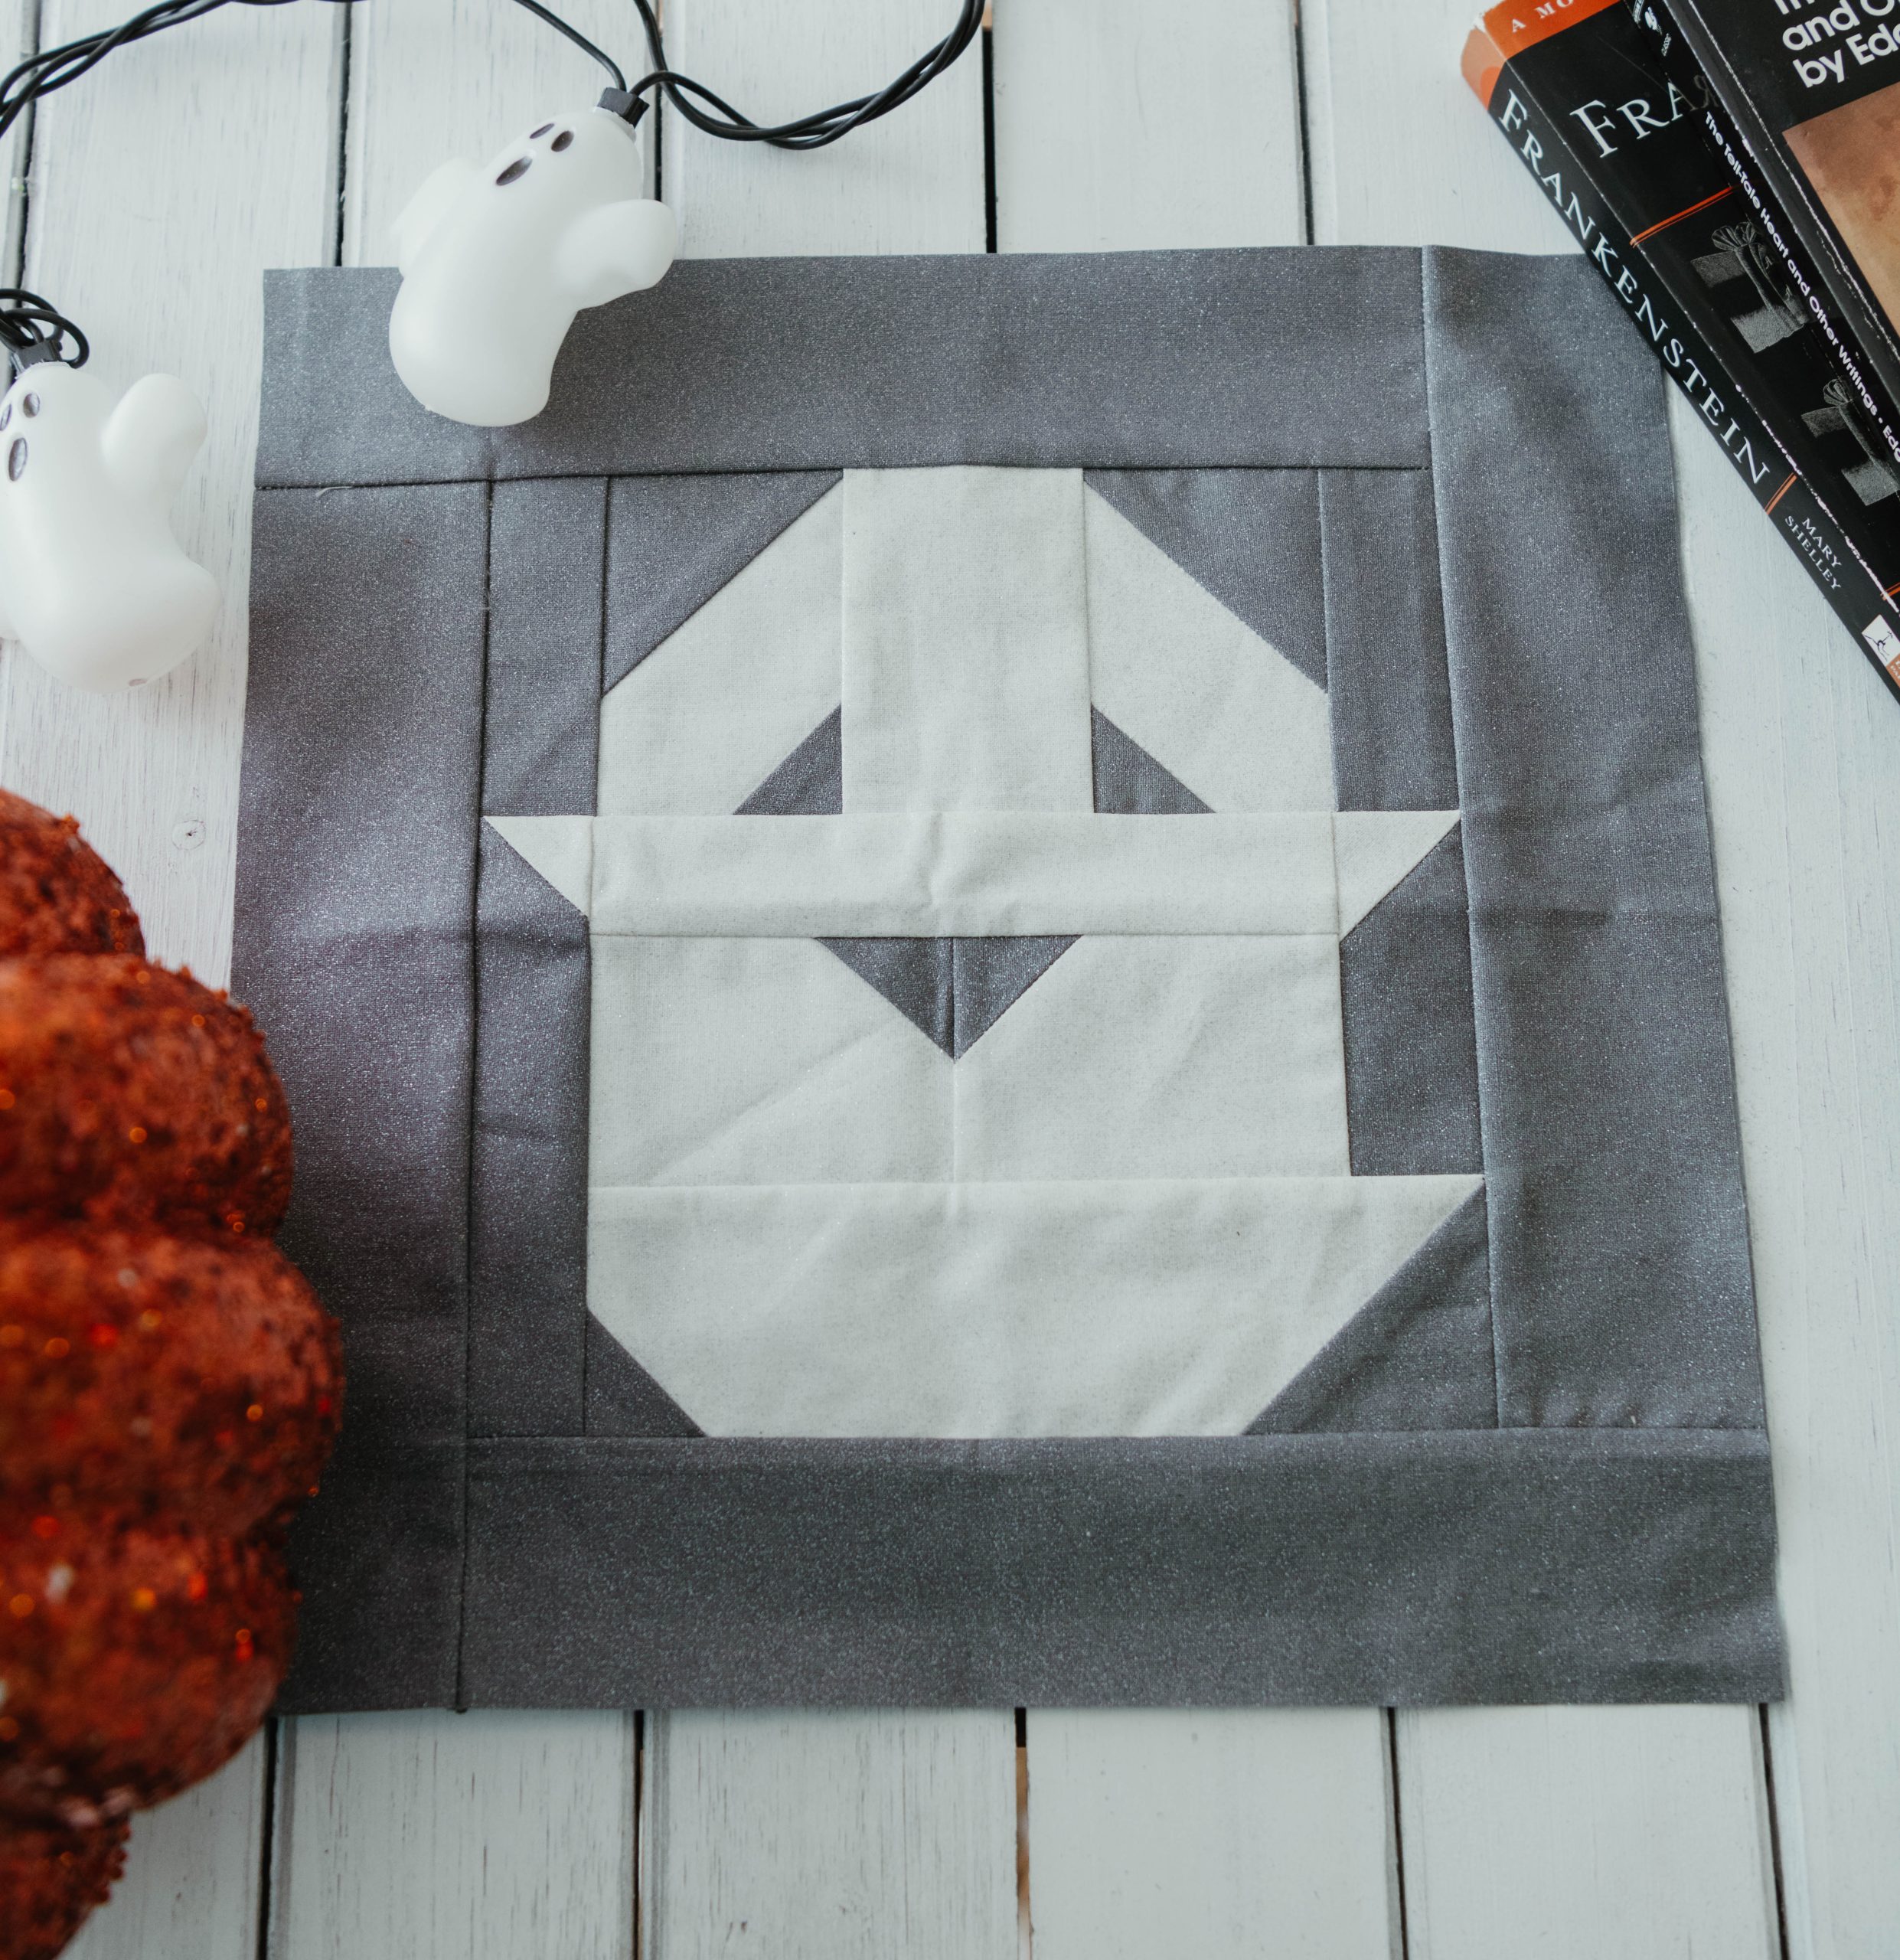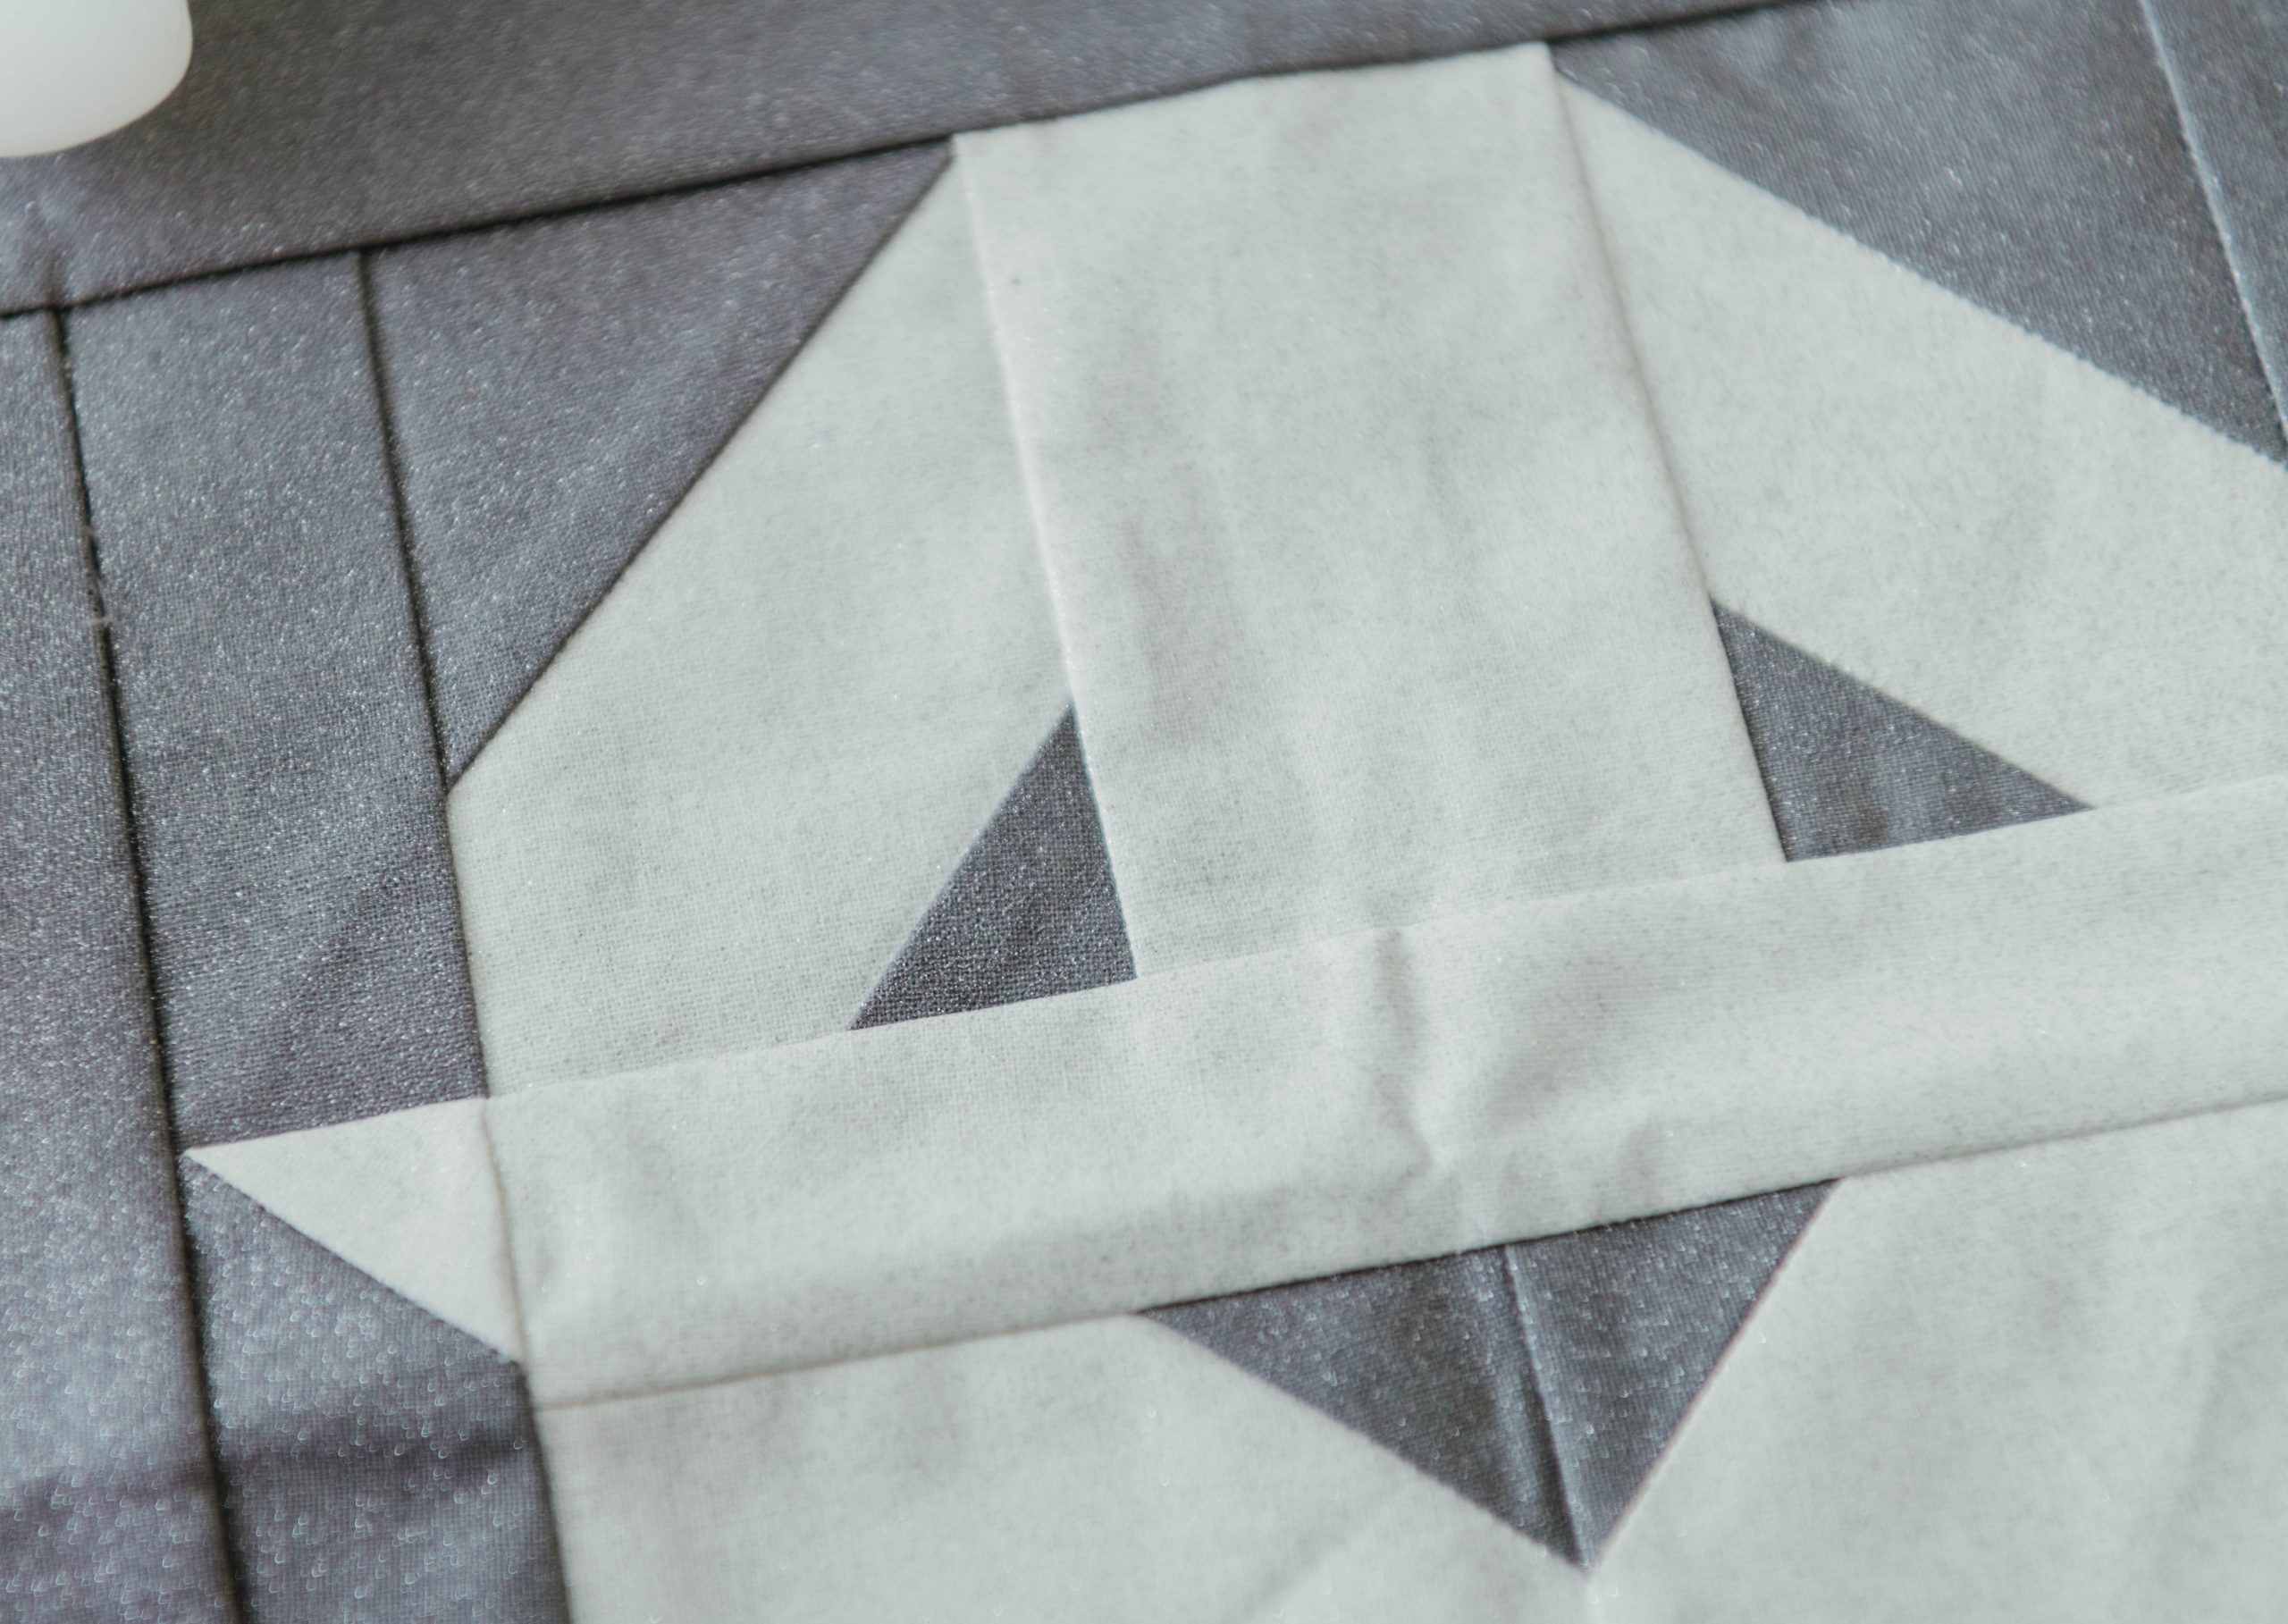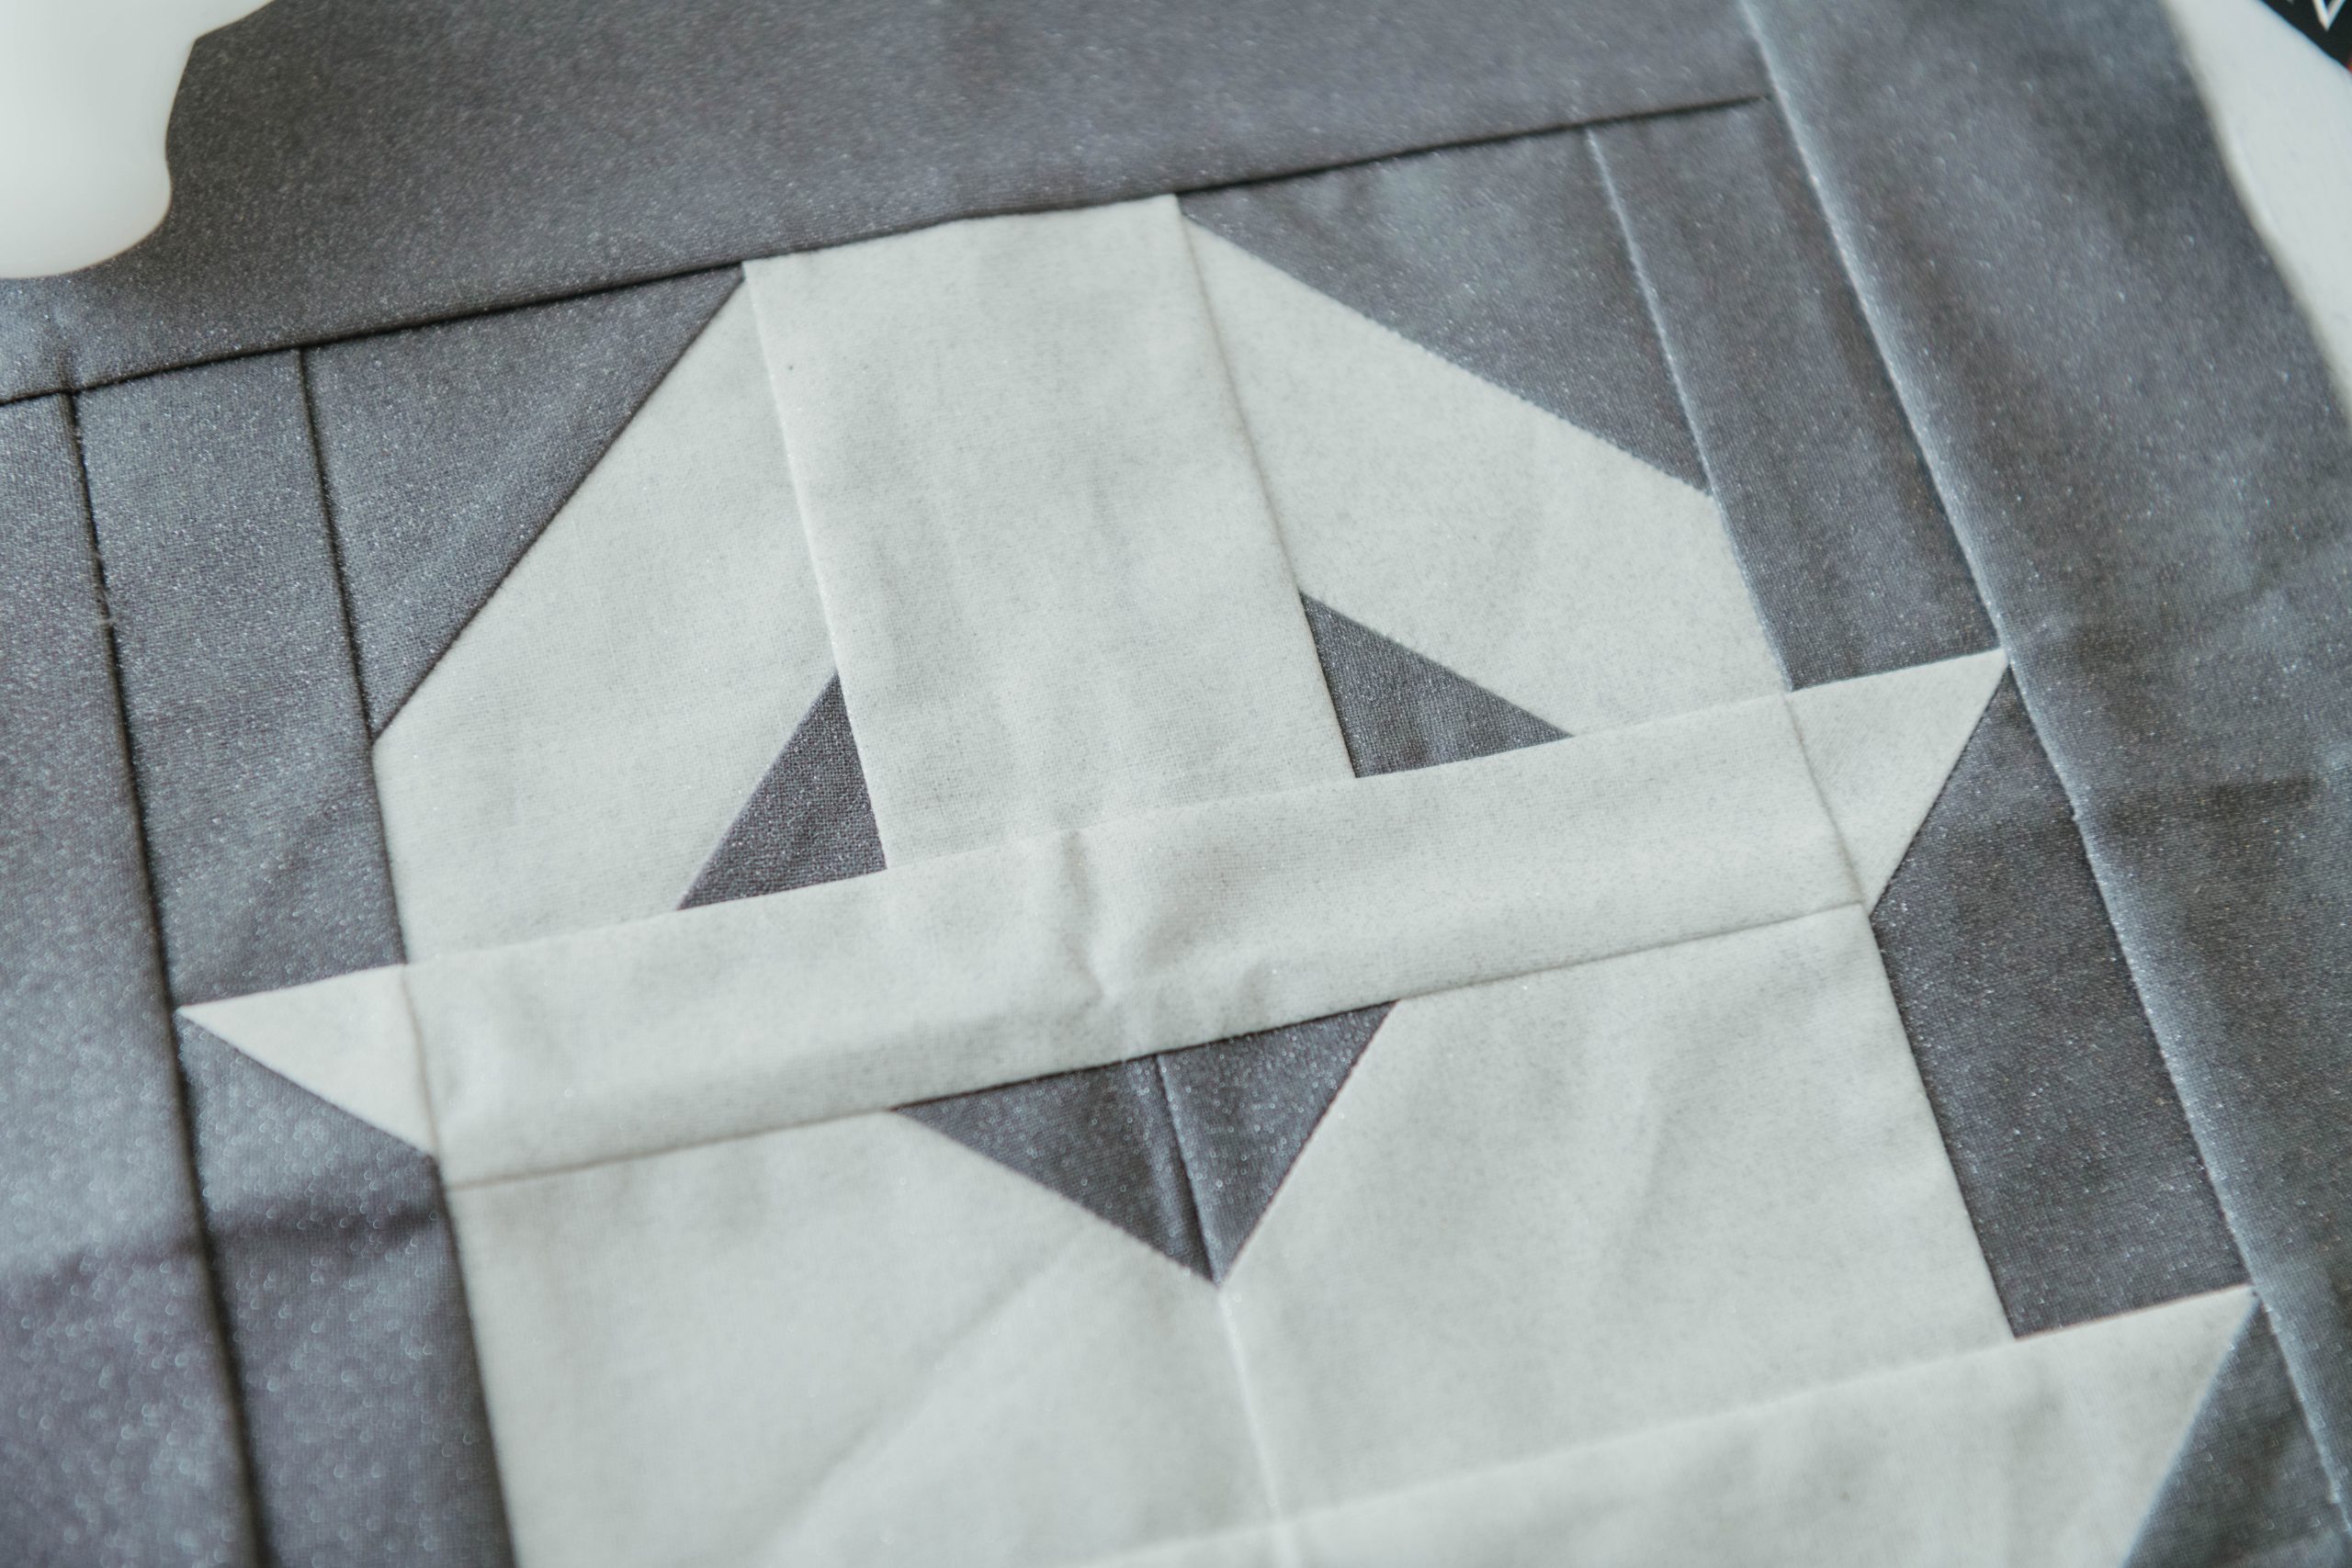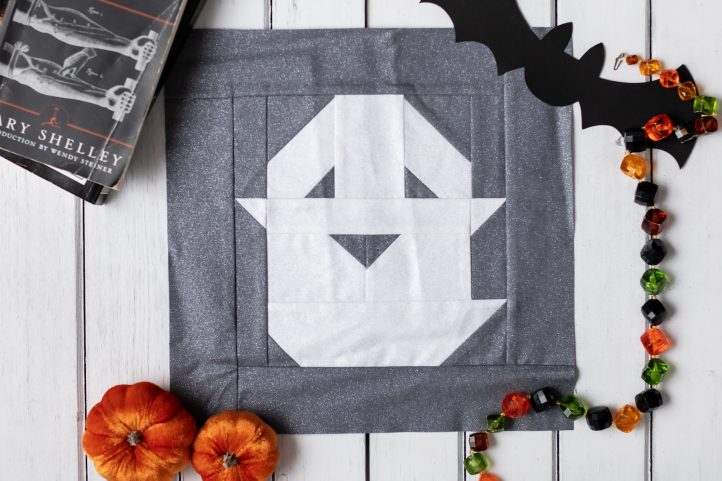
The phrase “spooky cute” barely begins to describe this hauntingly adorable Halloween quilt block pattern from Sophie Tarrant. Perfect for a fall throw pillow, this intermediate paper piecing pattern features a friendly little ghost against a misty gray background and finishes at a 12-inch block. Play with background fabrics in bright colors like pink or purple to add a modern touch to this playful Halloween quilt block.
Skill Level: Intermediate
Seam Allowances: 1/4”
Finished Size: 12” x 12”
Designer Note: If you’re new to paper piecing, practice the technique on scraps of fabric first. It might sound complicated but once you start you’ll quickly get into the swing of things. Before you know it, you’ll be creating our own paper pieced designs!
Materials:
- Fabric: Gray glitter cotton, and white glitter cotton, 1/2 yard of each
- Sewing thread: White
Tools:
- Rotary cutter and mat
- Scissors
- Pencil
- Iron
- Ruler
- Pins or clips
- Sewing machine
- PDF Templates – These are located at the bottom of this page. Please see printing instructions below.
PRINTING INSTRUCTIONS:
Note: To download the templates, click on the pattern download button at the bottom of the page. We recommend opening your pattern download using Adobe Acrobat.
Instructions:
- Begin by downloading and printing your templates. We’ve split the design into several blocks – each one is provided separately as a template for stitching, and we’ve also drawn a handy guide that shows you how they come together at the end. Each block is also split into numbered sections, which are labeled in the order you need to stitch them in. Cut each of the block templates out, making sure to add a 1/4” seam allowance around the outer edge of each one. You may notice that the blocks look like they’re backwards when compared to the finished project – that’s because they are! Paper piece templates create a mirror image when they’re stitched, so it’s vital that the templates are reversed before you start work. To make things easier, we’ve gone ahead and done this for you already.
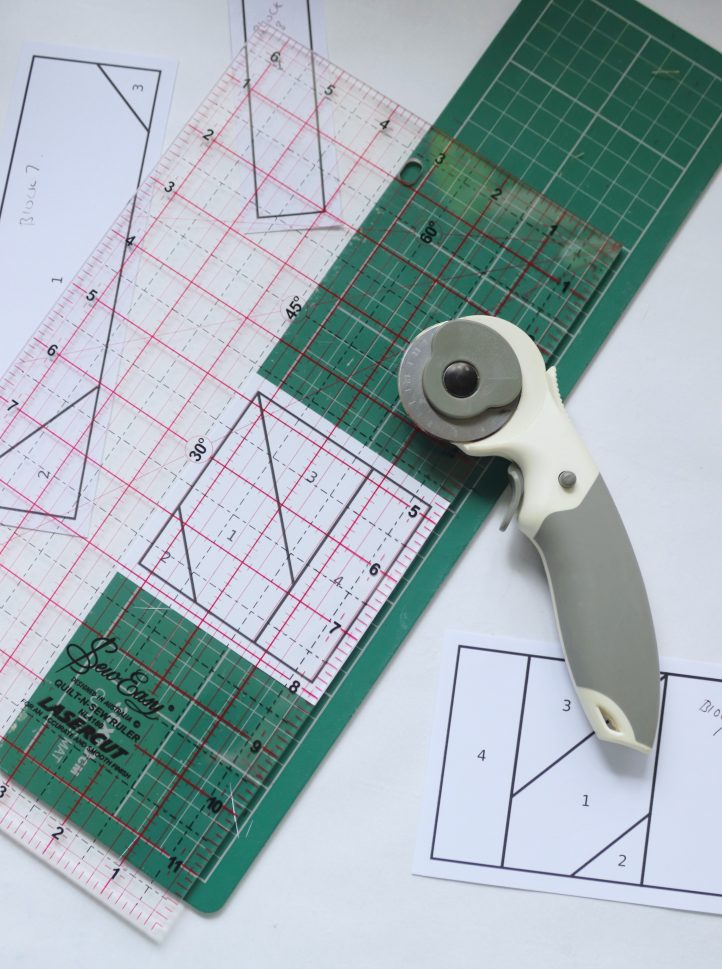
- It’s time to construct your first block. Take your Block 1 template and lay it face down on your work surface. Roughly cut a piece of white glitter fabric that is at least 1” wider on all sides than section 1 of the block, and place it over the section with the right side facing up. Cut a piece of gray glitter fabric that is around 1” larger than section 2 and place it over the white fabric with the right side facing down, this time making sure that it is positioned over the top of section 2 of the template. To make it easier to see the template through the material, you can hold the work up to a window, or use a lightbox. Pin the fabrics in place.
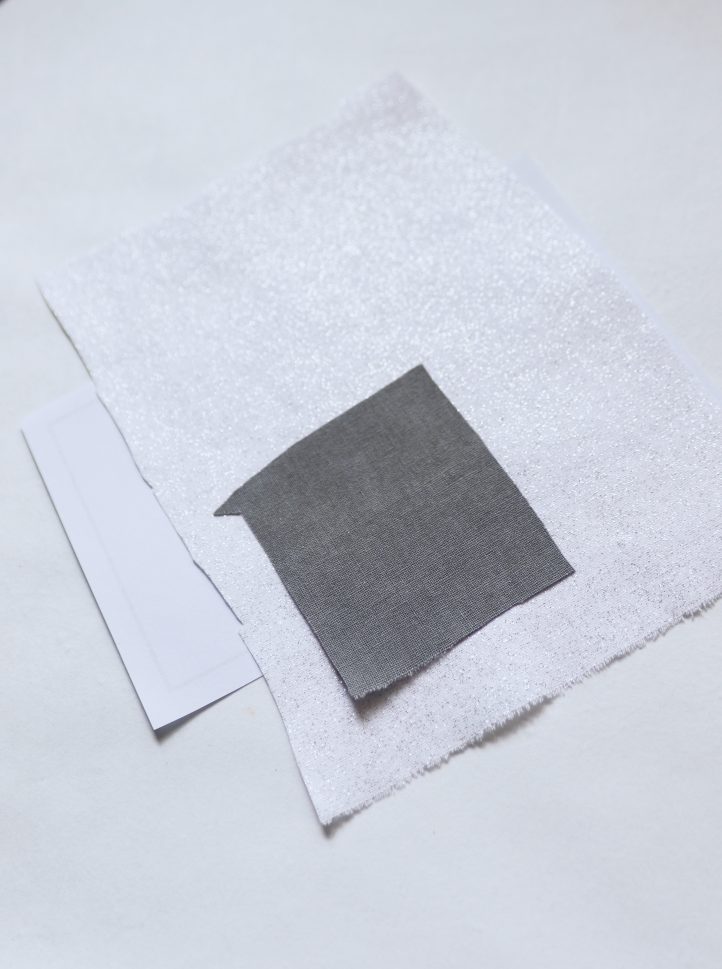
- Taking care to keep both pieces of fabric in position, turn the work over so the template faces upwards again and take it over to your sewing machine. Stitch along the line between sections 1 and 2, starting and ending a few stitches over each end of the line.

- Fold the paper template back along the seam you just worked and use a rotary cutter to trim the allowance down to 1/4”.
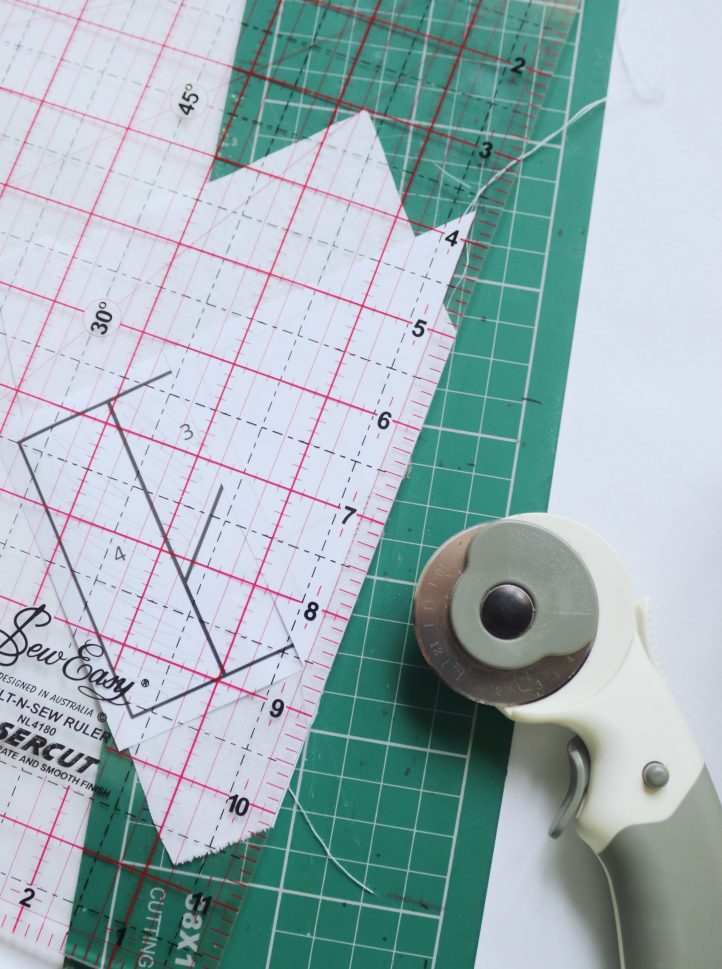
- Turn the work back over again, so the fabric faces upwards. Fold the gray material back along the seam line so that it opens out and press, to fix it in position.
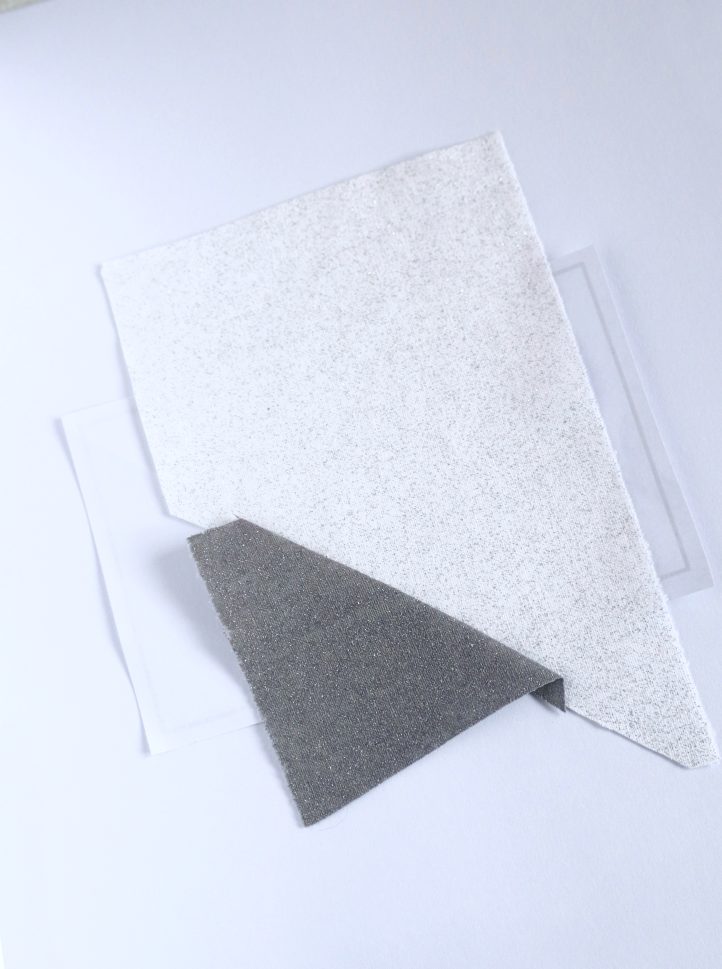
- Repeat Steps 2-5 to add section 3 to the design in the same way as you added section 2, making sure that the fabric is always right sides together and taking the time to fold, press, and trim the seam as you go.
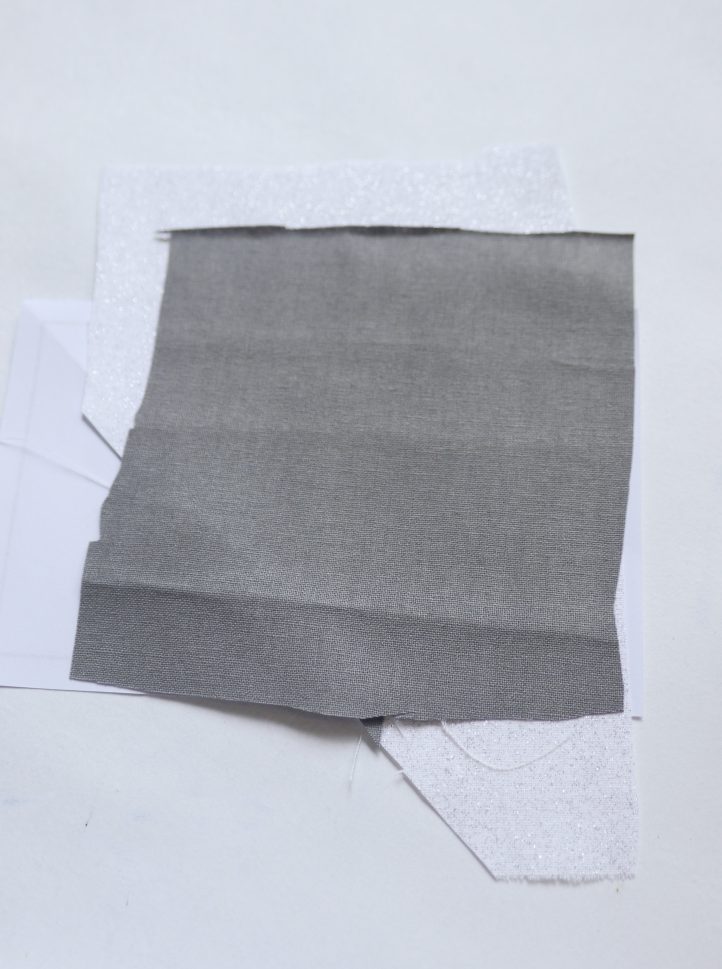
- Finally, finish the first block by adding sections 4 and 5 along the outer edges in the same way.
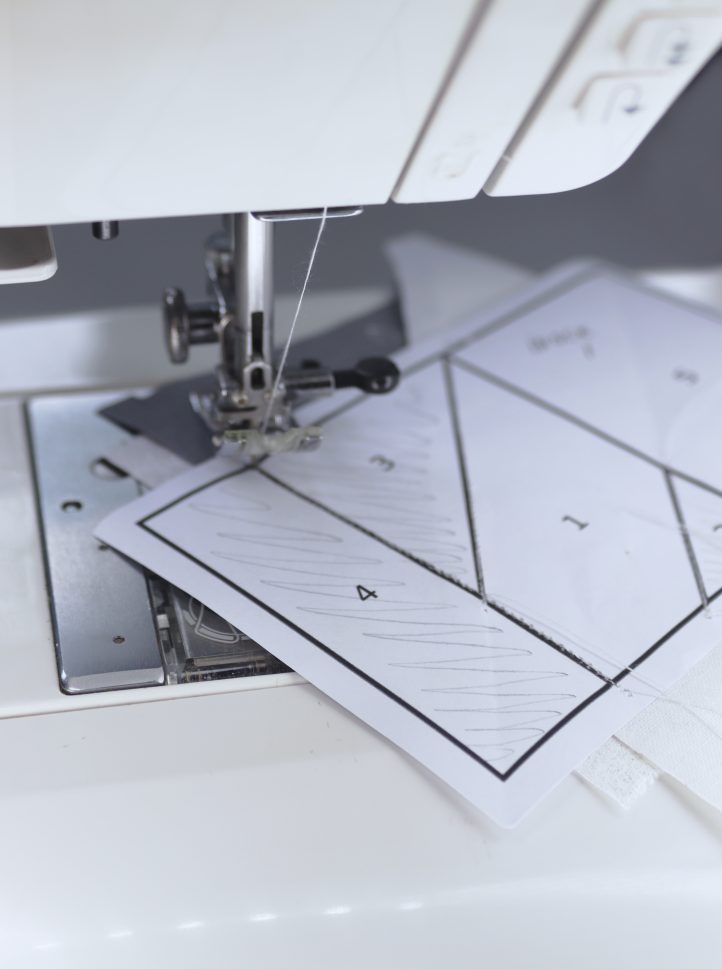
- Press the finished block, then trim it down to the same size as the template. Take care to include the extra 1/4” seam allowance you added all around the outer edge. You’ve now finished your first block!
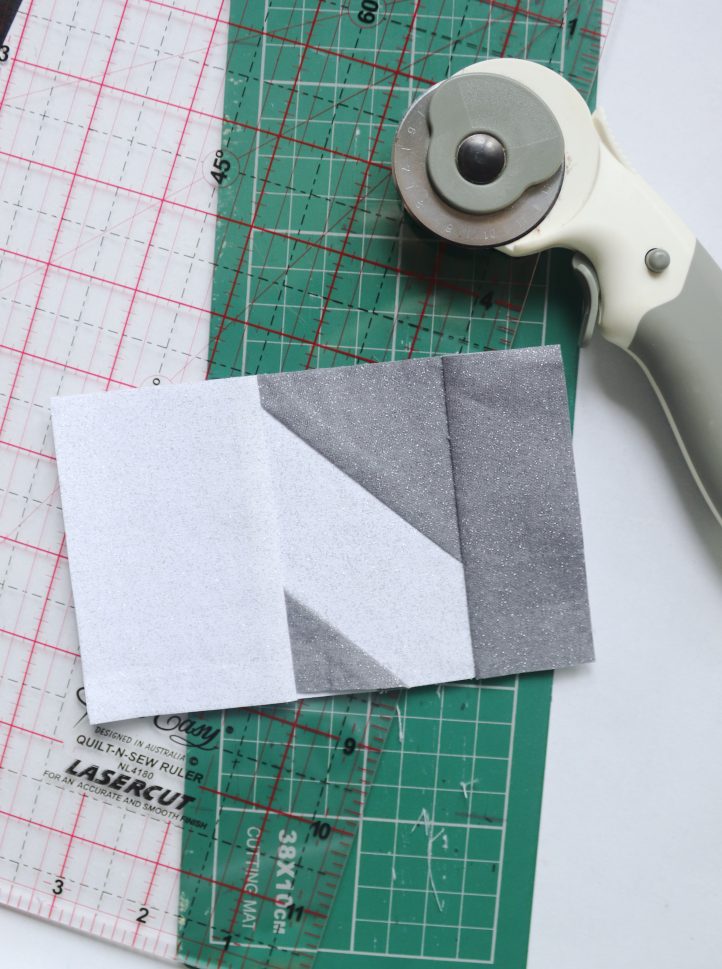
- Continue in the same way to construct the rest of the numbered blocks. Once finished, lay them all out together to give yourself a rough idea of how the finished project will look.
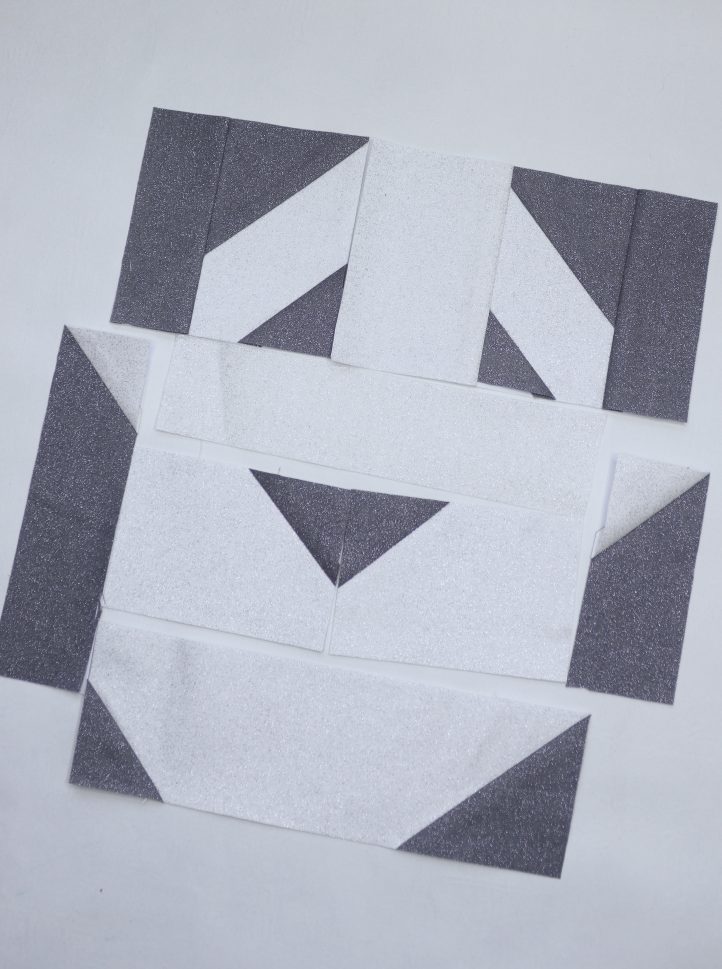
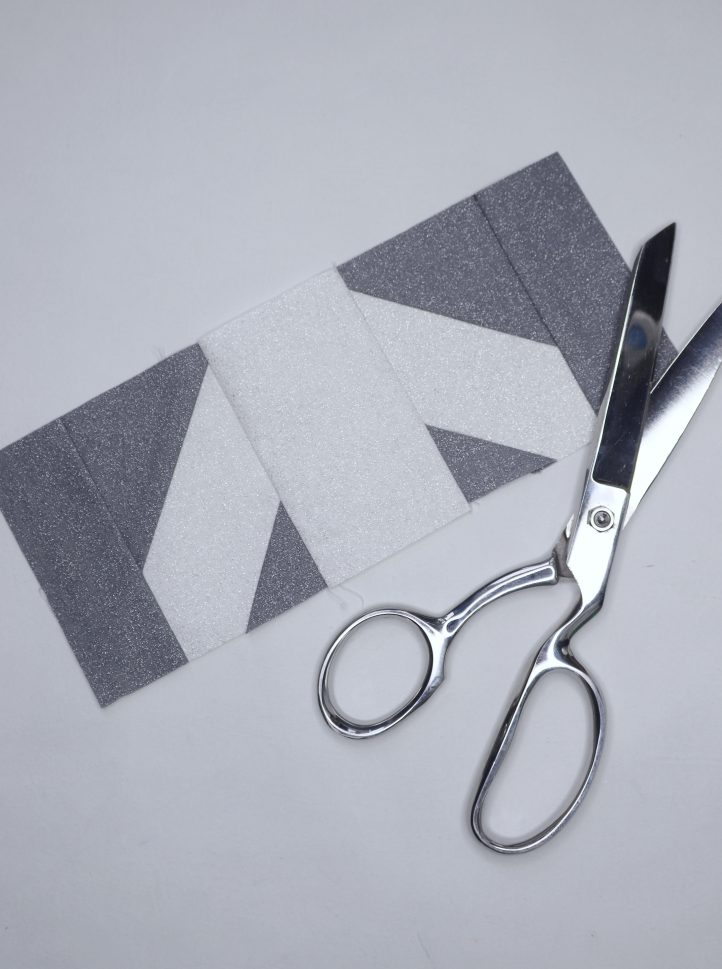
- Now, it’s time to join the blocks together. Firstly, join Blocks 1 and 2, stitching them together along the vertical central edge with a 1/4” seam allowance.
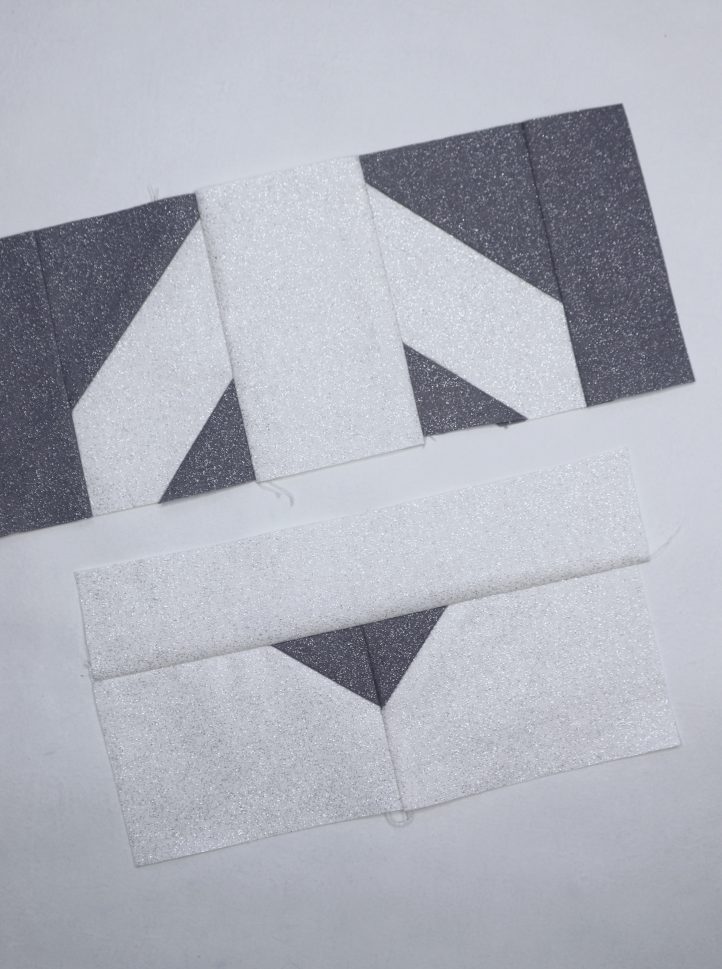
- Next, stitch Blocks 4 and 5 together along the vertical central edge, then add Block 3 along the top edge.
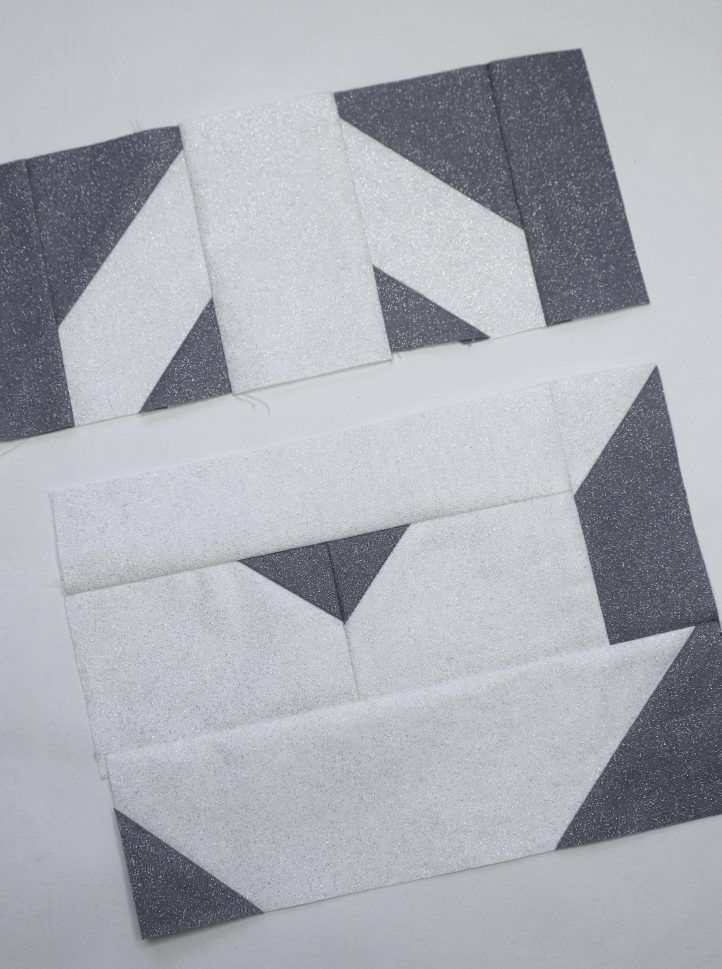
- Stitch Block 6 along the side edge of Blocks 3 and 5, then add Block 7 along the bottom edge.
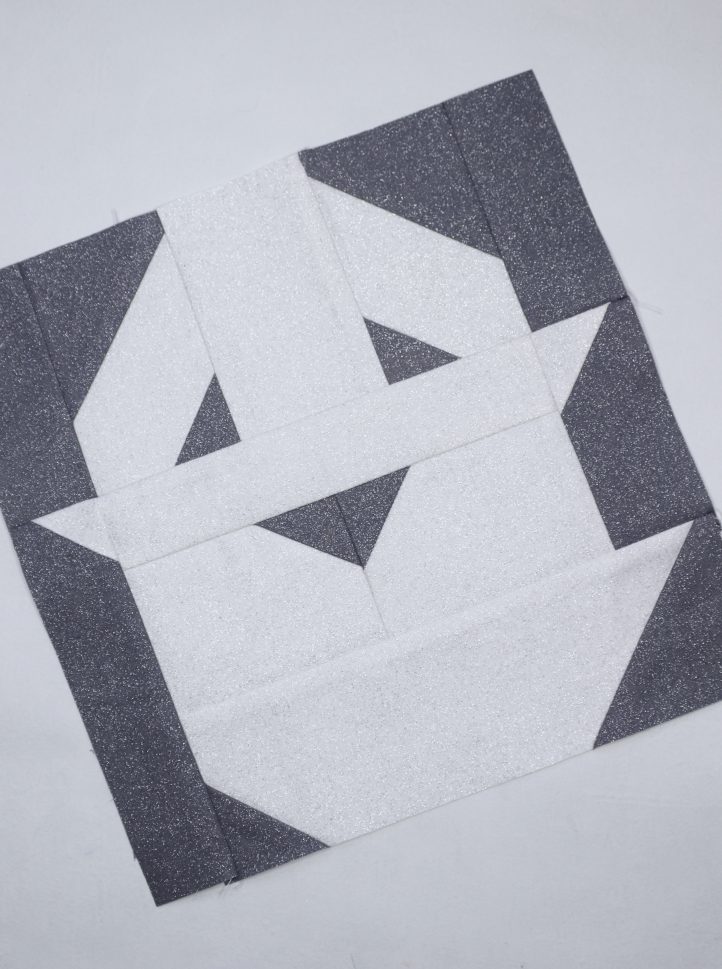
- Finally, add Block 8 to the side edge of Blocks 3, 4, and 7, then stitch this set of blocks to the bottom of Blocks 1 and 2, to complete the ghost motif. Press to neaten the work and set the seams. You’re almost finished!
- Complete your 12” ghost block by adding a 2” border all around. To do this, cut four 2 1/2” x 10 1/2” rectangles of gray glitter cotton. Stitch them around the outer edge of the blocks with a 1/4” seam allowance, stacking them up in a log cabin formation as you go. Press once more to finish.


