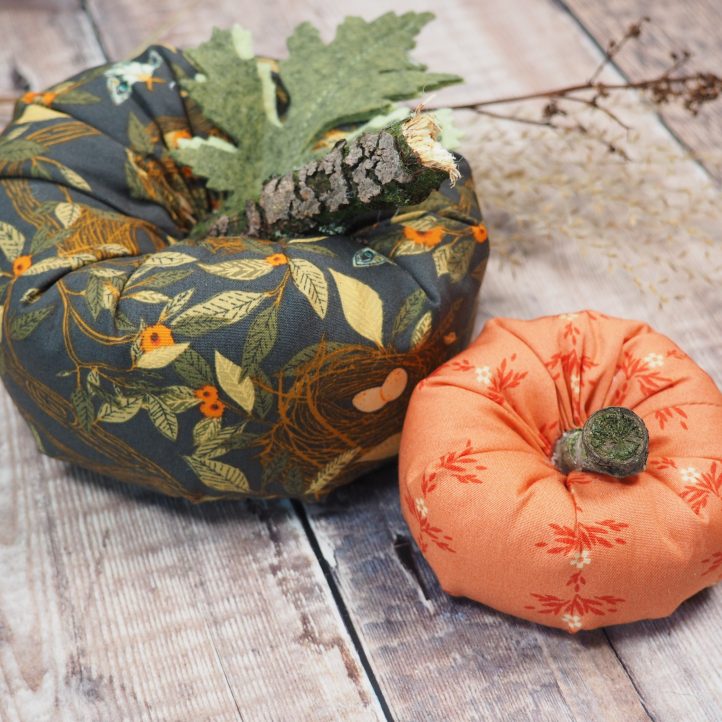
Break out your fall fat eighths and fat quarters to make a duo of adorably festive fabric pumpkins. Perfect as a dining room centerpiece, these fabric pumpkin patterns feature wool felt leaves and real sticks for the pumpkin stems. These decorative autumn pumpkins are filled with polyester toy stuffing to give them a soft, round appearance and can also be made with fabric scraps for a homespun fall look.
Materials:
- Fabric:
- Fat quarter cotton fabric for the large pumpkin. The designer used Nesting Gardens from the Hazelwood collection by Art Gallery Fabrics.
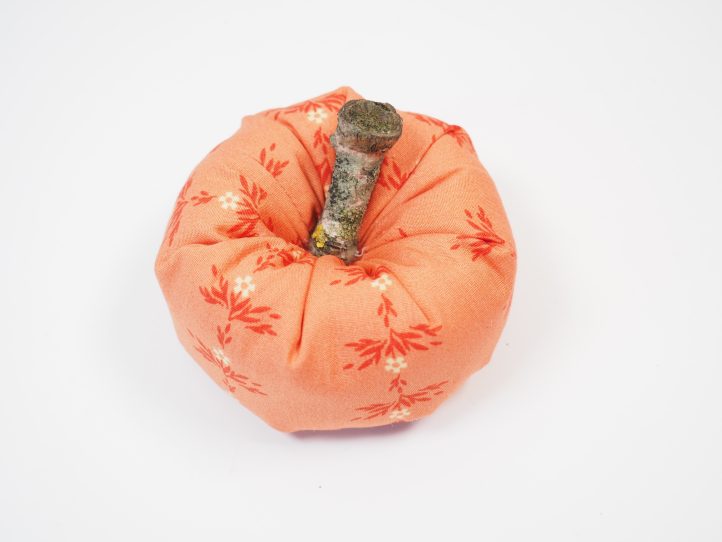
- Fat eighth cotton fabric for the smaller pumpkin. The designer chose Daisy Chains from the Hazelwood collection by Art Gallery Fabrics.
- 4” sq. wool felt for the leaves: medium green
- 4” sq. wool felt for the leaves: light green
- TIP: Always go for wool felt (you can buy scrap bags with decent sized pieces sometimes) and ask for ‘heathered’ if you can get it. This means that it has an interesting little fleck through it, which makes it look even nicer.
- Interfacing:
- Polyester toy stuffing, enough for both pumpkins. The designer used Decowatte by Vlieseline.
- An interesting stick about the thickness of your thumb for the smaller pumpkin and a bit thicker for the larger one.
- TIP: This is a great excuse for a family walk. Look for sticks with interesting colors and moss on them and break rather than cut the end.
- 2 buttons (about 1”- 1 1/4” diameter for the larger pumpkin and 3/4” – 1” for the smaller)
- Hot glue gun and glue sticks
- Hand sewing needle
- Leaf die and die cutting machine
- Your usual sewing needs including scissors, markers, and a thimble. You know, the usual stuff!
Cutting and Prep Instructions:
CUTTING:
For the larger pumpkin:
- 1 piece 8” wide x 16 1/2” long from the cotton fabric
For the smaller pumpkin:
- 1 piece 5” wide x 10 1/2” long from the cotton fabric
From the felt:
- 1 leaf from the mid green wool felt
- 1 leaf from the light green wool felt
PREPARATION:
Making the Leaf:
- Lay a light and a dark leaf on top of each other and pin well. Sewing through both layers, create a vein down the center.

- TIP: It is quite likely that all of our leaves will be a bit different. But each one has a center vein and this is just enough to hold the two layers together and make the leaf a bit dimensional.
Making the Pumpkin:
- Fold the piece of fabric in half, width-wise, so that the two short ends meet, right sides together. Pin and sew the short seam.
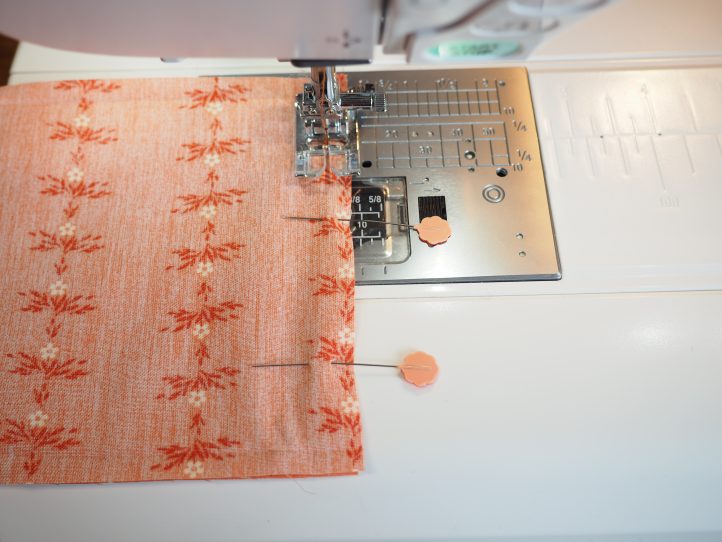
- Press the seam open and trim the raw top and bottom edges of the loop if needed.
- Repeat for the other pumpkin panel.
- Press the two raw edges under to the wrong side by 1/4”.
- Thread the hand sewing needle with matching thread and make a running stitch all around the lower edge.
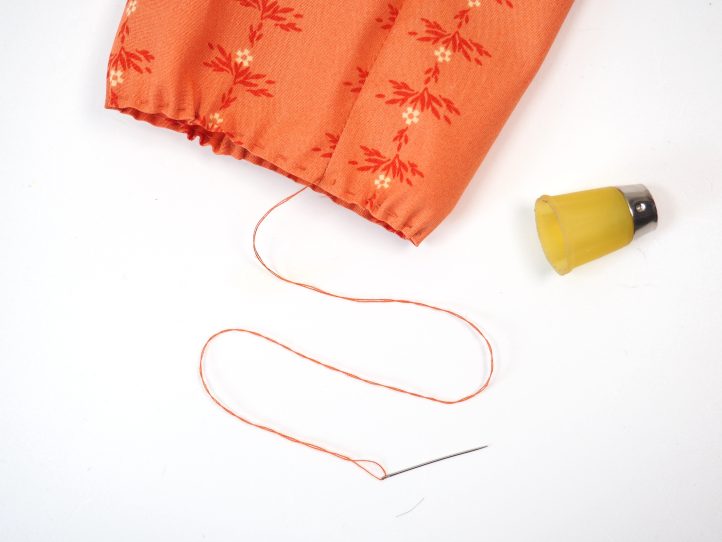
- TIP: Either edge can be the ‘lower edge’ unless you have a directional print.
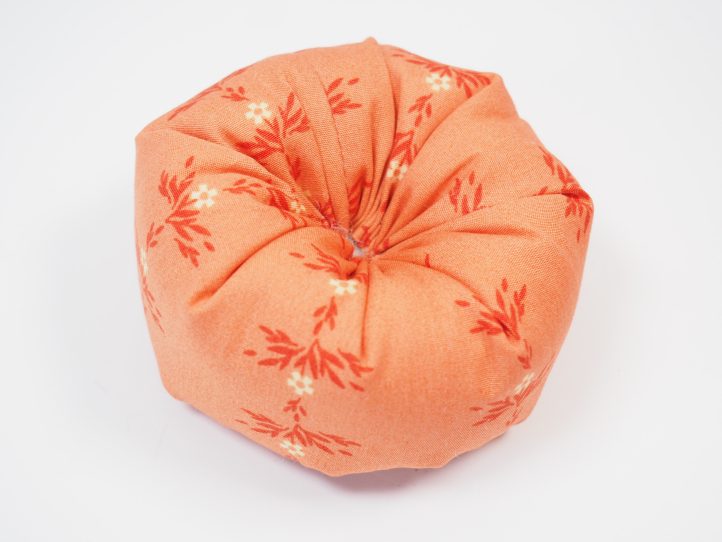
- Draw the stitch in and close the base as much as possible. Fasten off.
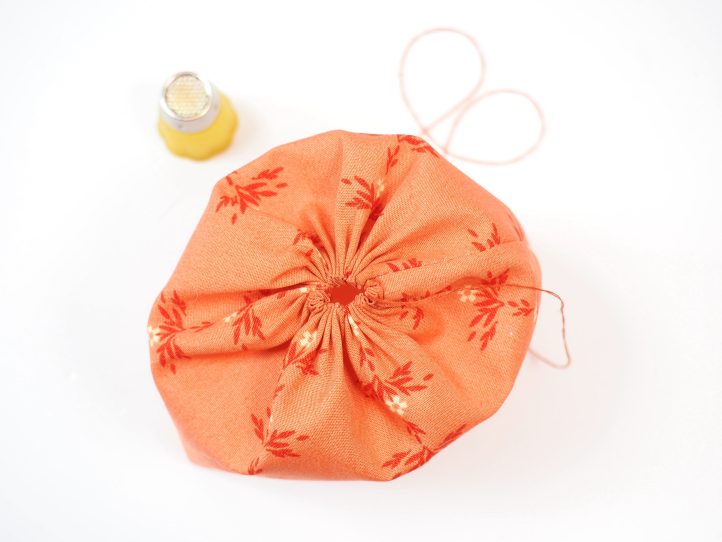
- TIP: It is very difficult to close the gap completely (this is to our advantage when we put the stalk in the top) and the button will help to hide the gap.
- Repeat for the other pumpkin.
Sewing Instructions:
- TIP: For the first step, allow a fairly long thread in the needle. We will be sewing the running stitch and then using the thread to give the pumpkin shape as well.
- Sew a running stitch on the top edge as you did for the bottom one but don’t draw it in just yet. Stuff the pumpkin well with stuffing.
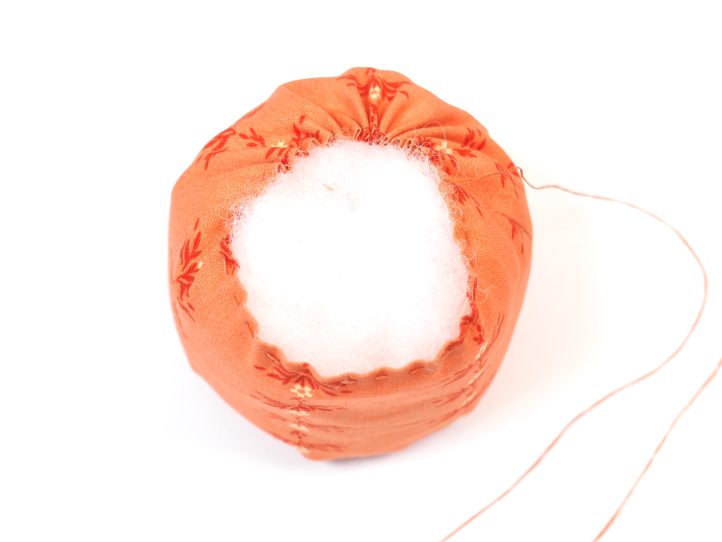
- Draw the thread in and this time leave a hole about the size of your stalk.
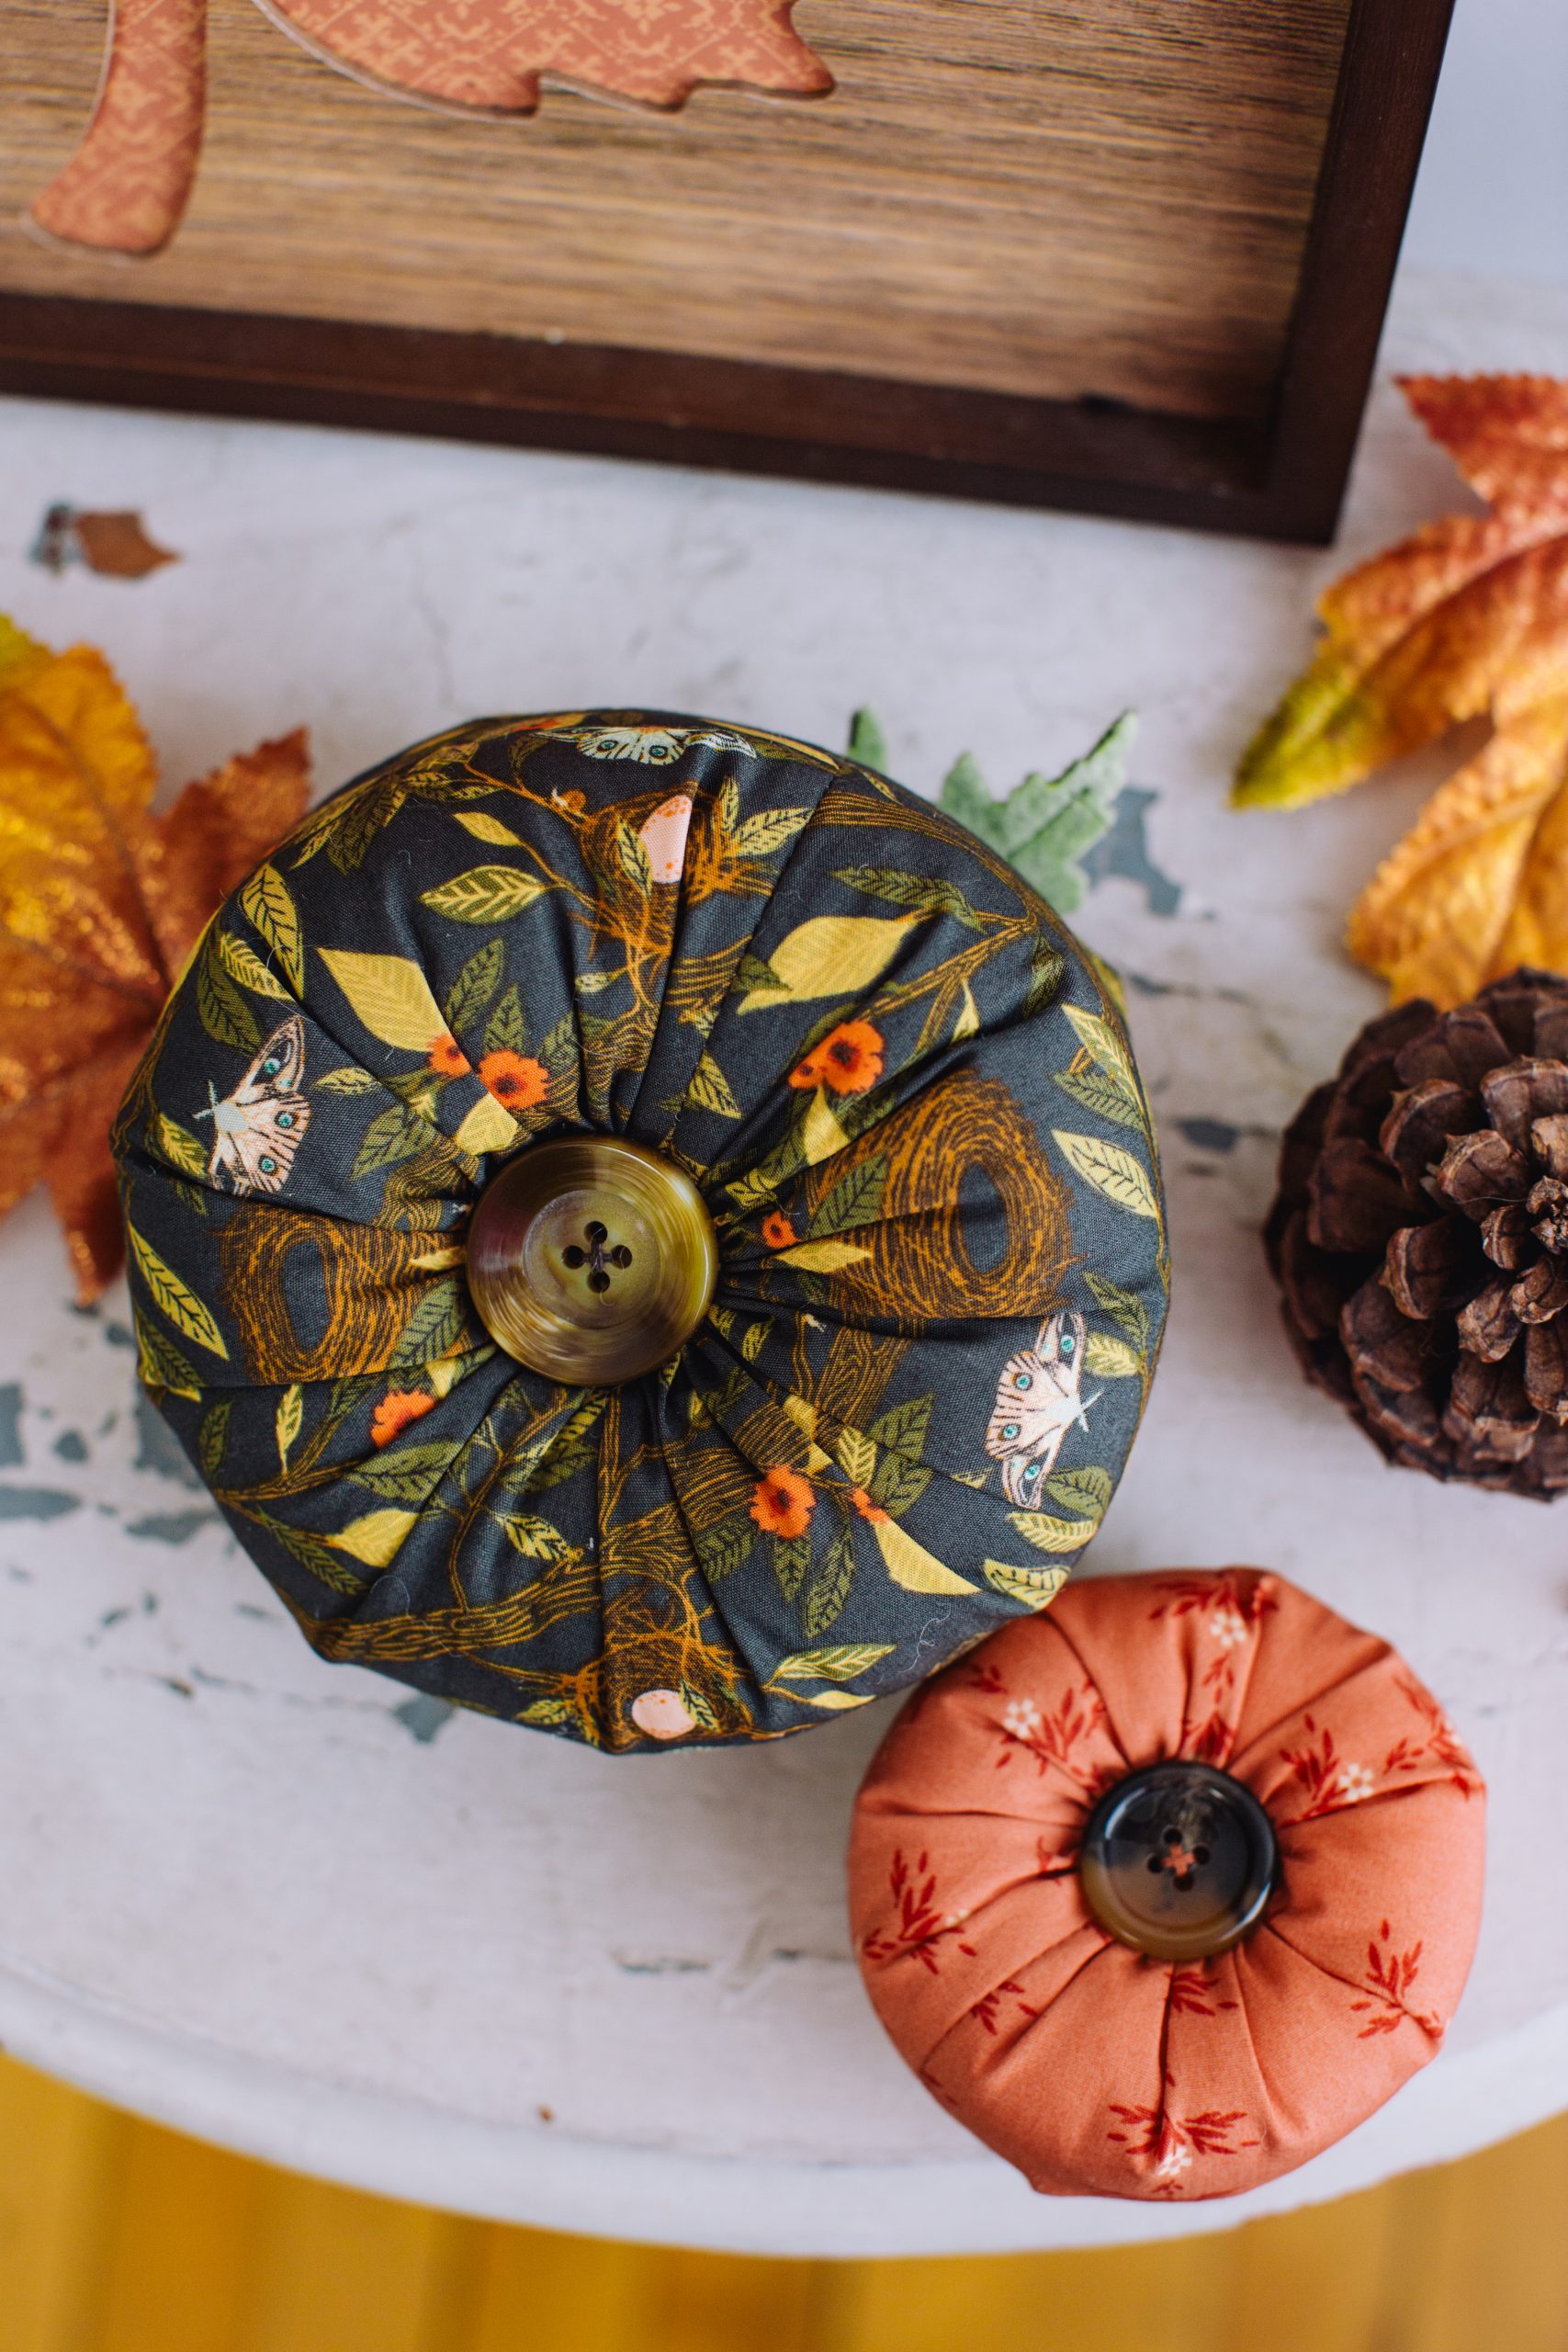
- Give the pumpkin some shape by passing the thread through the center of the pumpkin to the base. Use a button on the base to both hide the stitching and to make the contour strong.
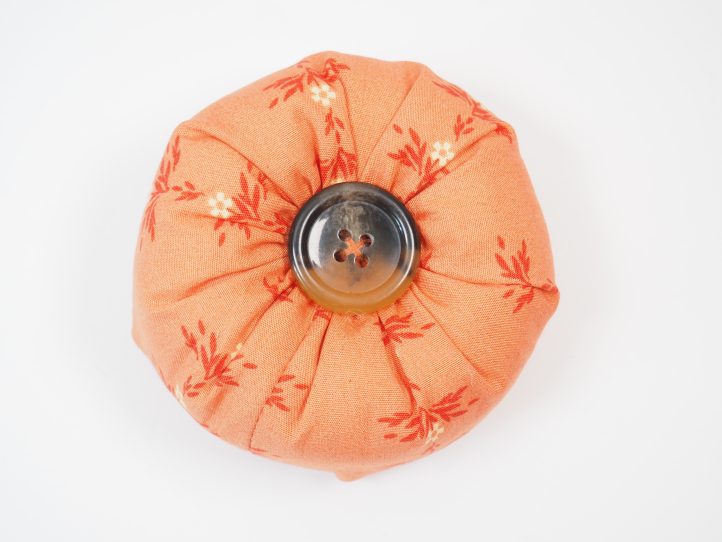
- Sew a couple of times until you have a pumpkin with a dimpled center.
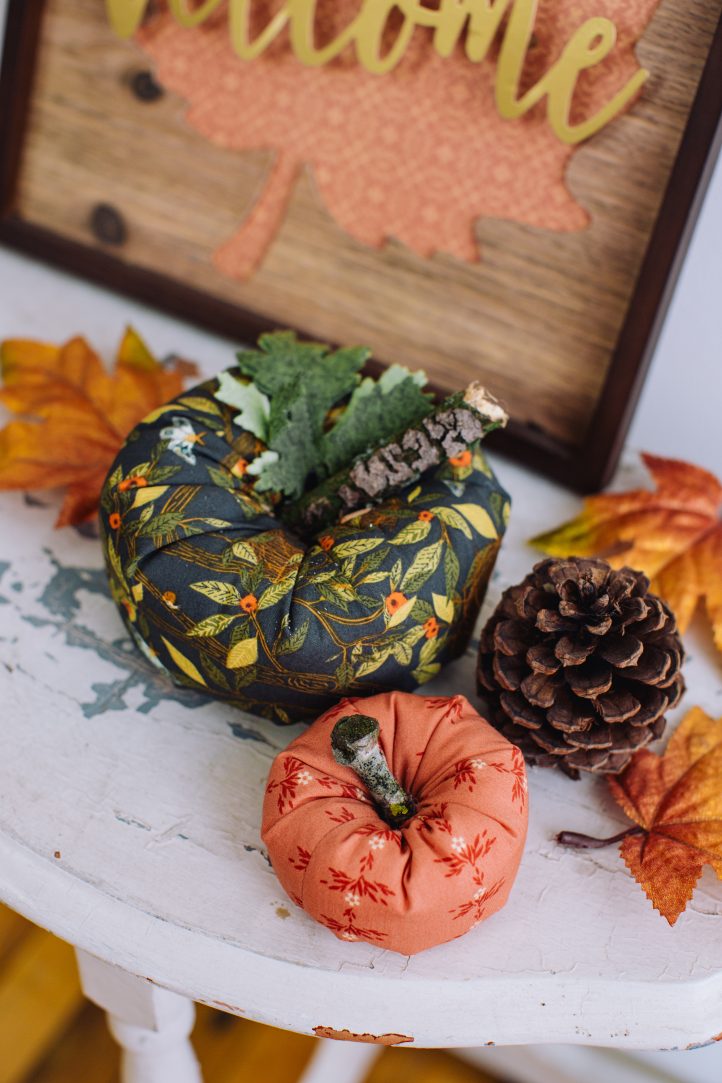
- Glue or stitch the leaf on as well (only the larger pumpkin needs a leaf).
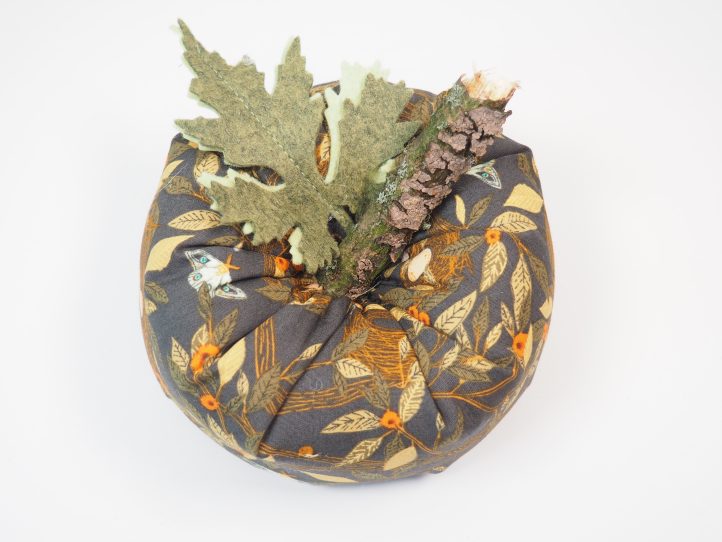
- Finally, hot glue the stick into the hole for a stalk.
- Repeat for the other pumpkin to make the duo.
- TIP: The smaller of the pumpkins is a perfect size as a bowl filler.