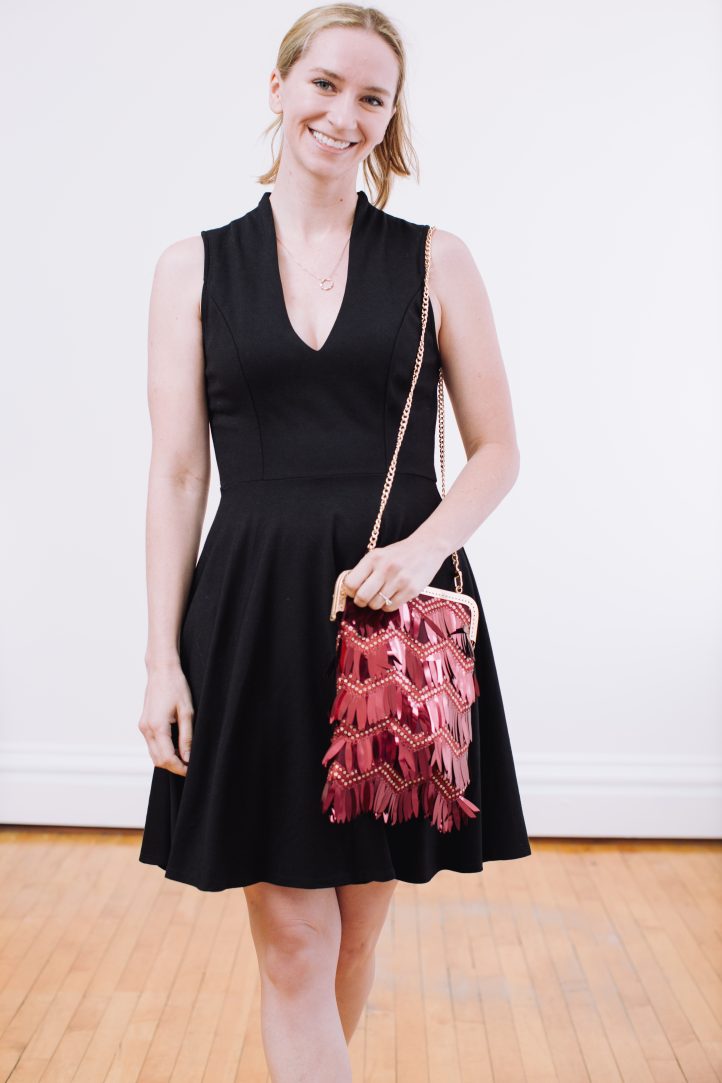
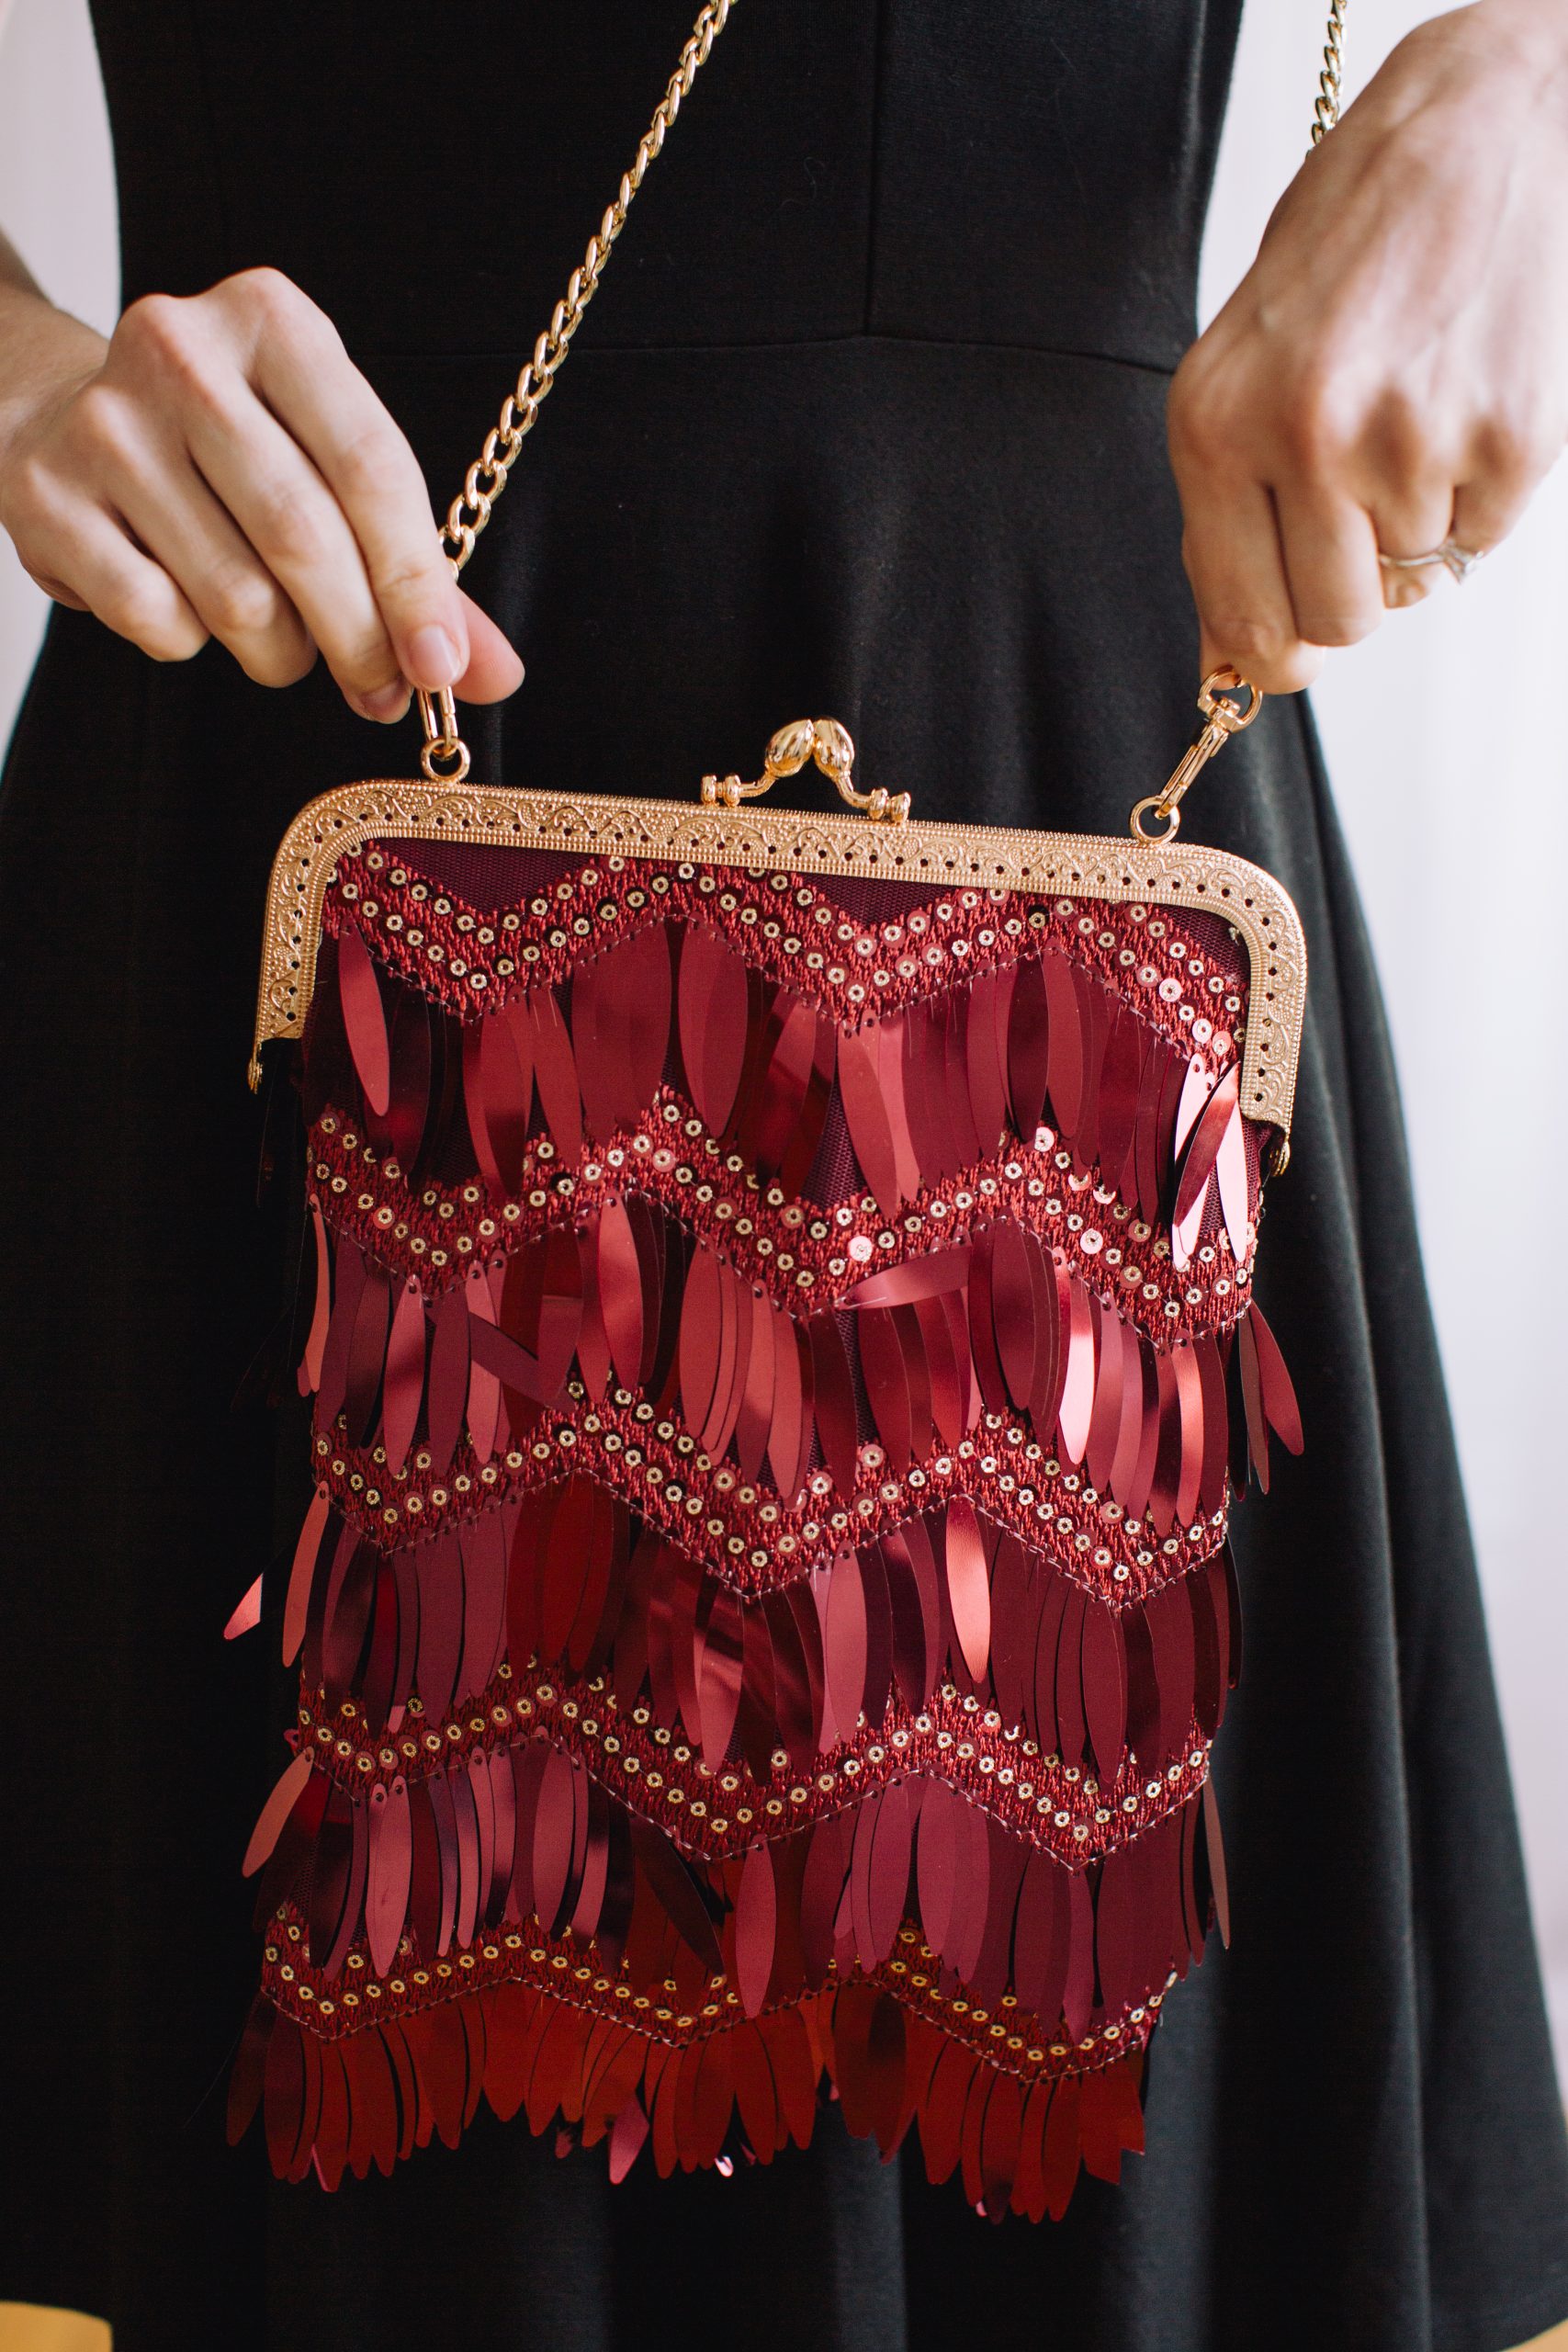
Steal the spotlight at your annual holiday party or Christmas gathering with this gorgeous evening bag pattern. Made with shining ruby red paillettes, this intermediate sewing pattern is an excellent project for putting your sewing skills to the test. Preparation is key for this project, so if you’ve been spending the cold autumn evenings indoors, start planning out your version of this beautiful Art Deco-inspired bag tonight!
Finished Size: 8” wide x 10” long excluding paillette fringe
Designer Notes:
- Working with paillettes is a little different than working with sequins so while the pattern is super simple, there are a lot of notes throughout.
- The bag is double lined because paillette fabric often has a tulle base that you can see through and we want no visible seam allowances.
- 1/2” seam allowances.
Materials:
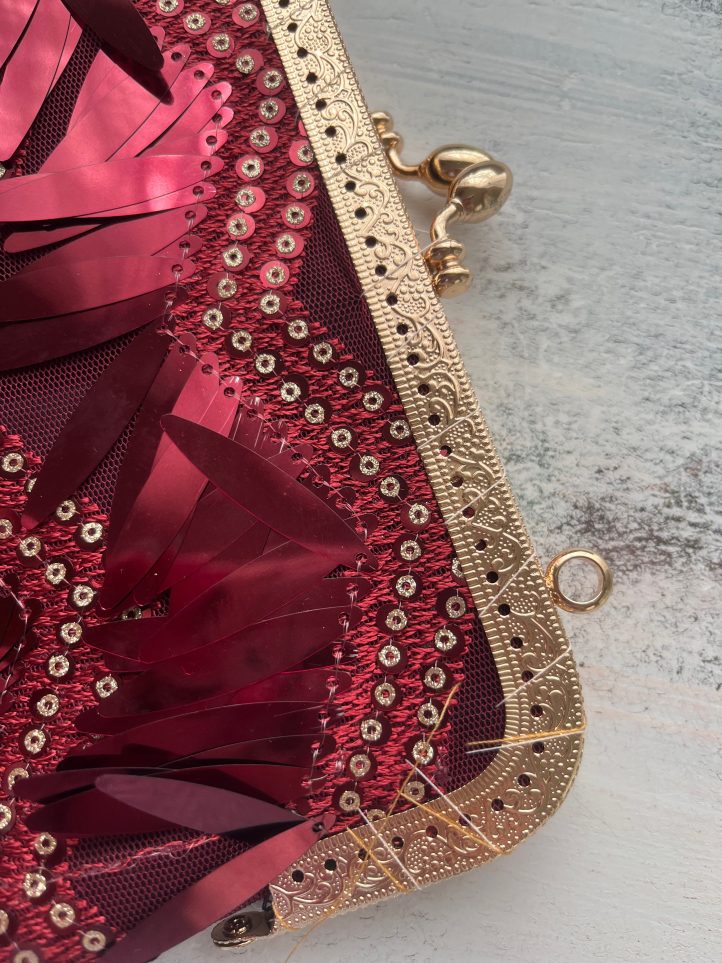
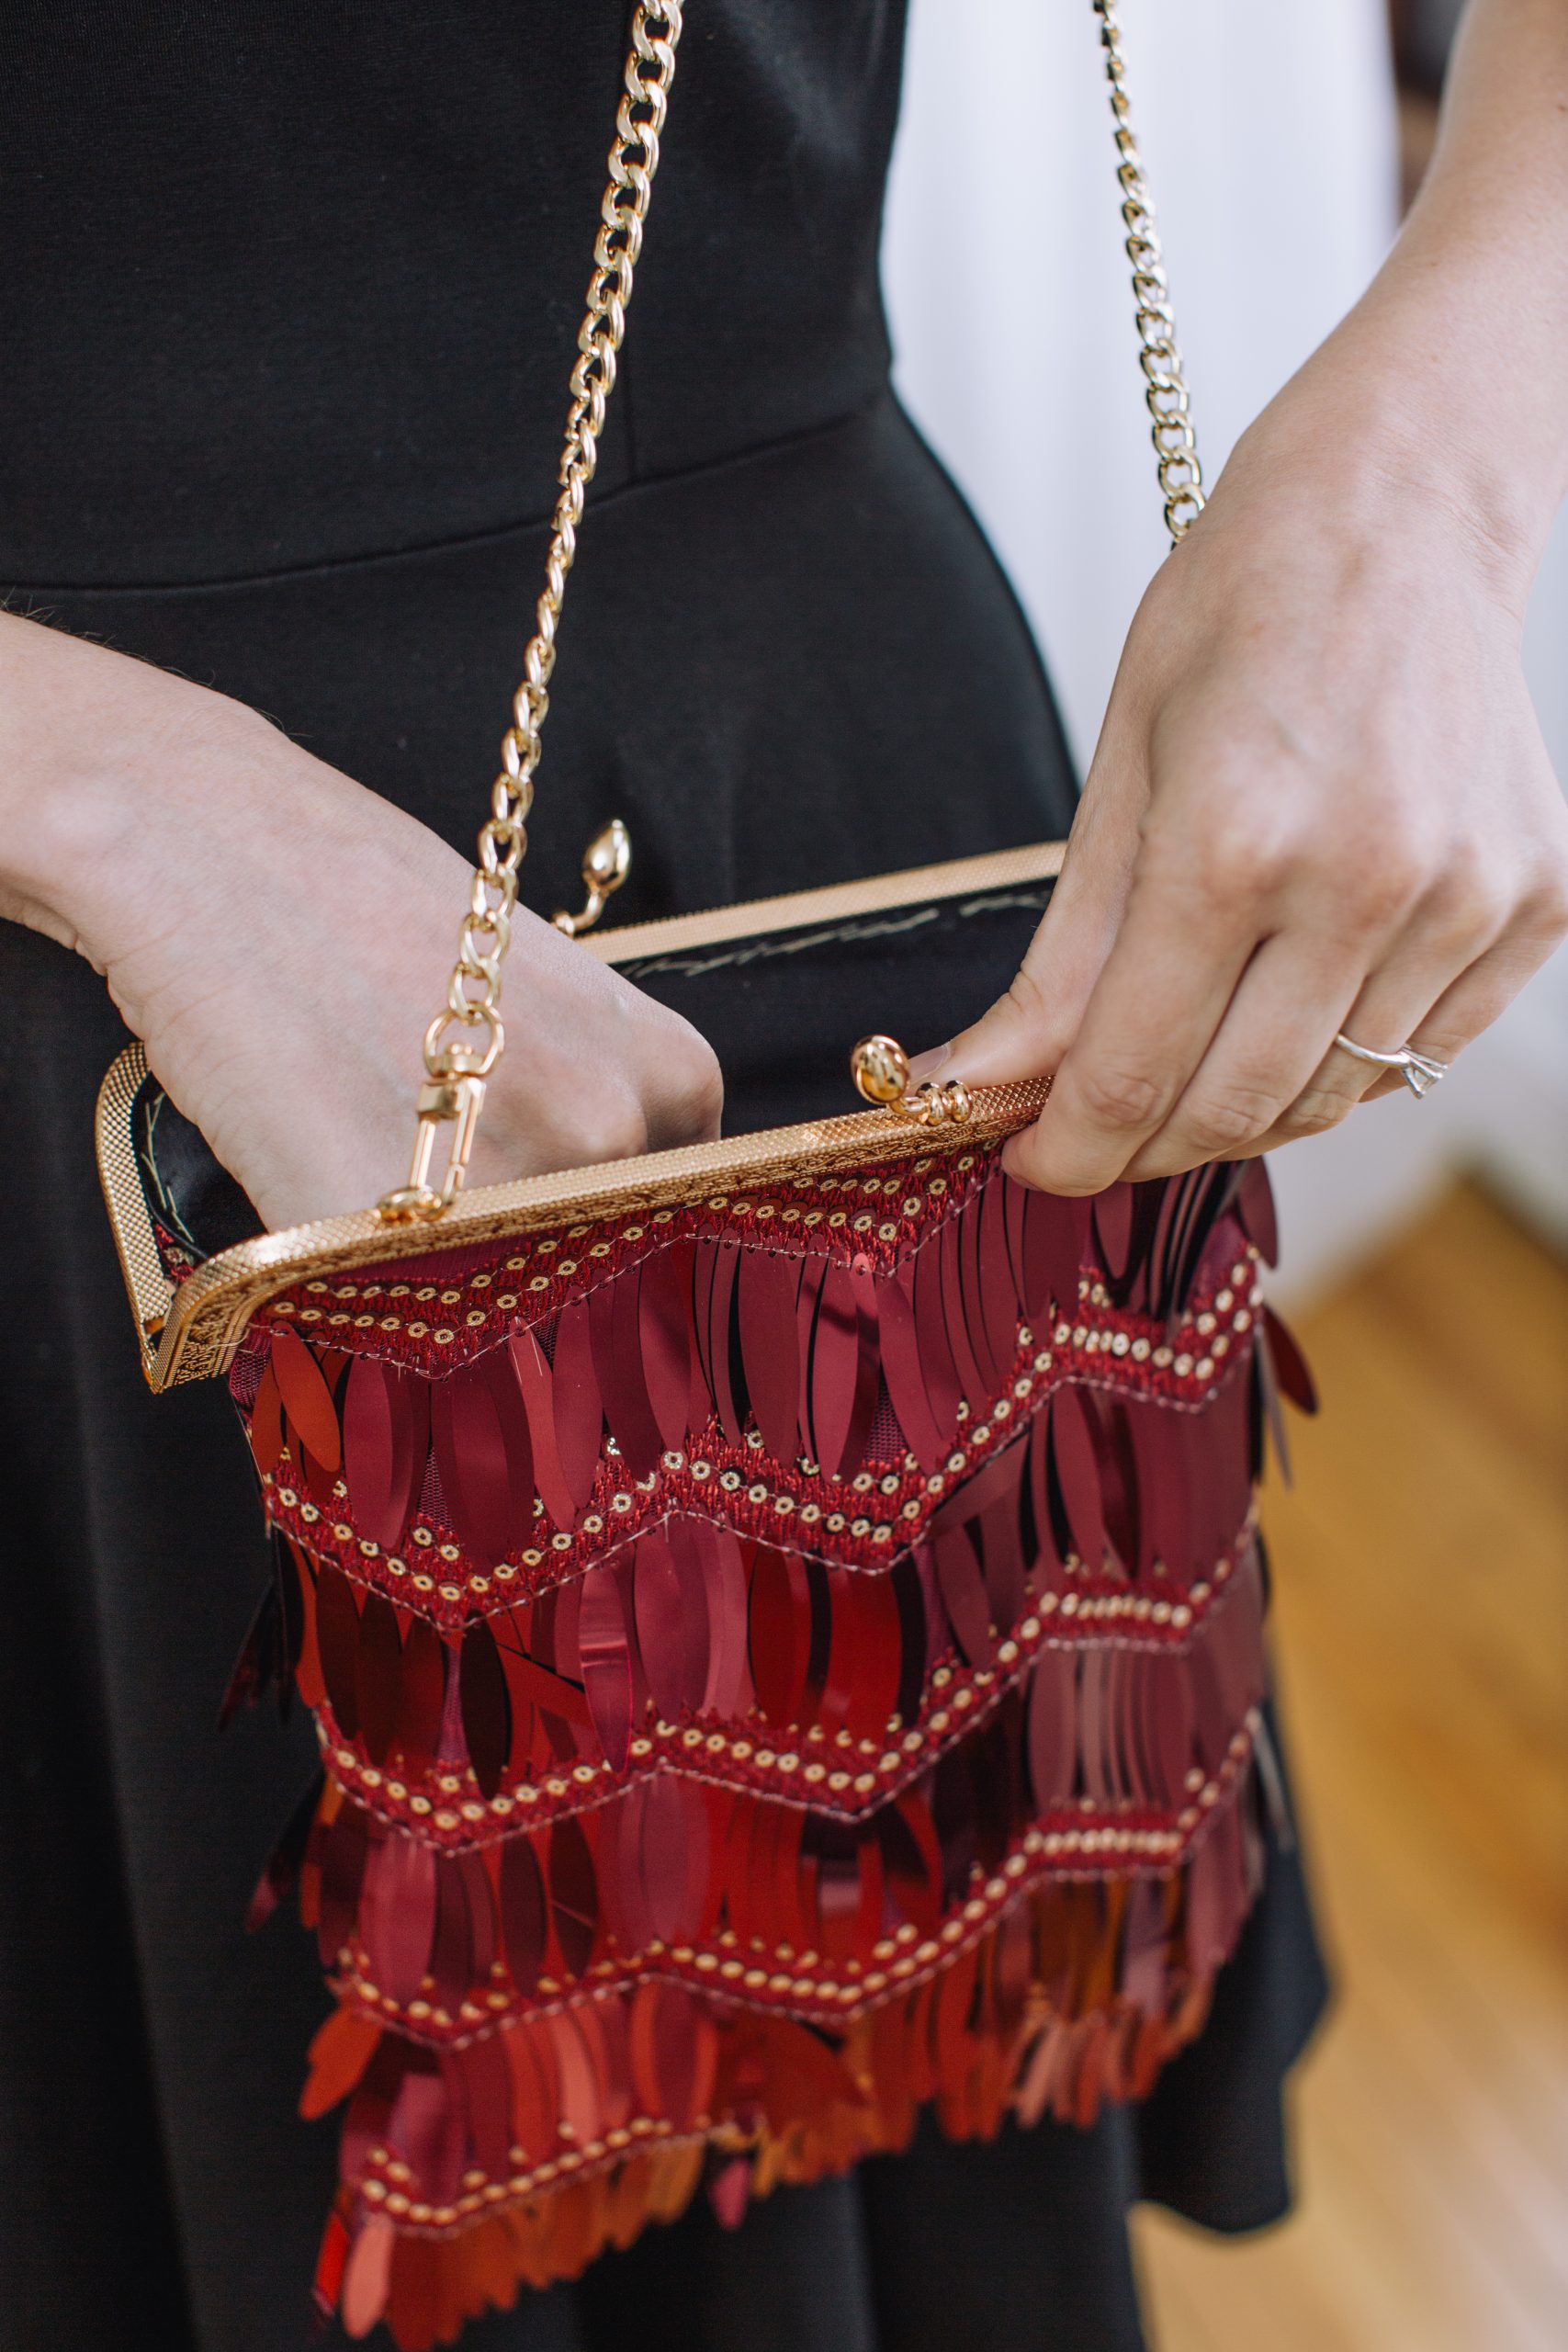
- 20cm/8” purse frame. Look for one with holes as we want to sew, not glue.
- 120cm/48” chain with lobster claws attached
- 1/2 yd paillette fabric
- 1/2 yd heavy weight or cotton backed satin
- Coordinating thread
- Tailor’s chalk
Cutting Instructions:
- Cut 4 lining pieces, 9” x 11” out of black satin
- Cut 2 pocket pieces, 5” square, out of black satin
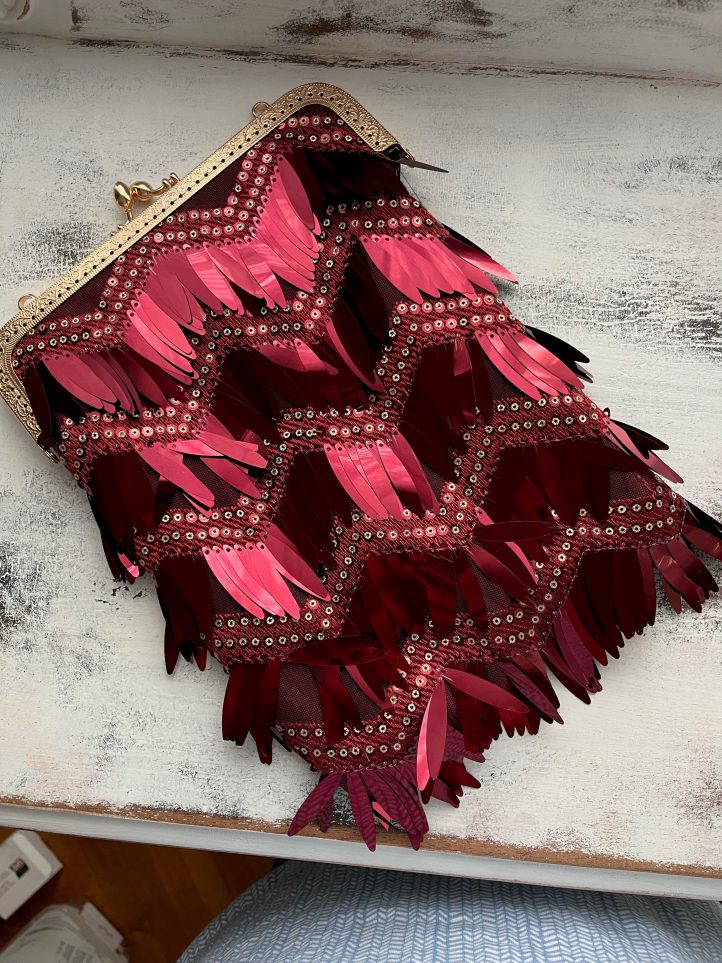
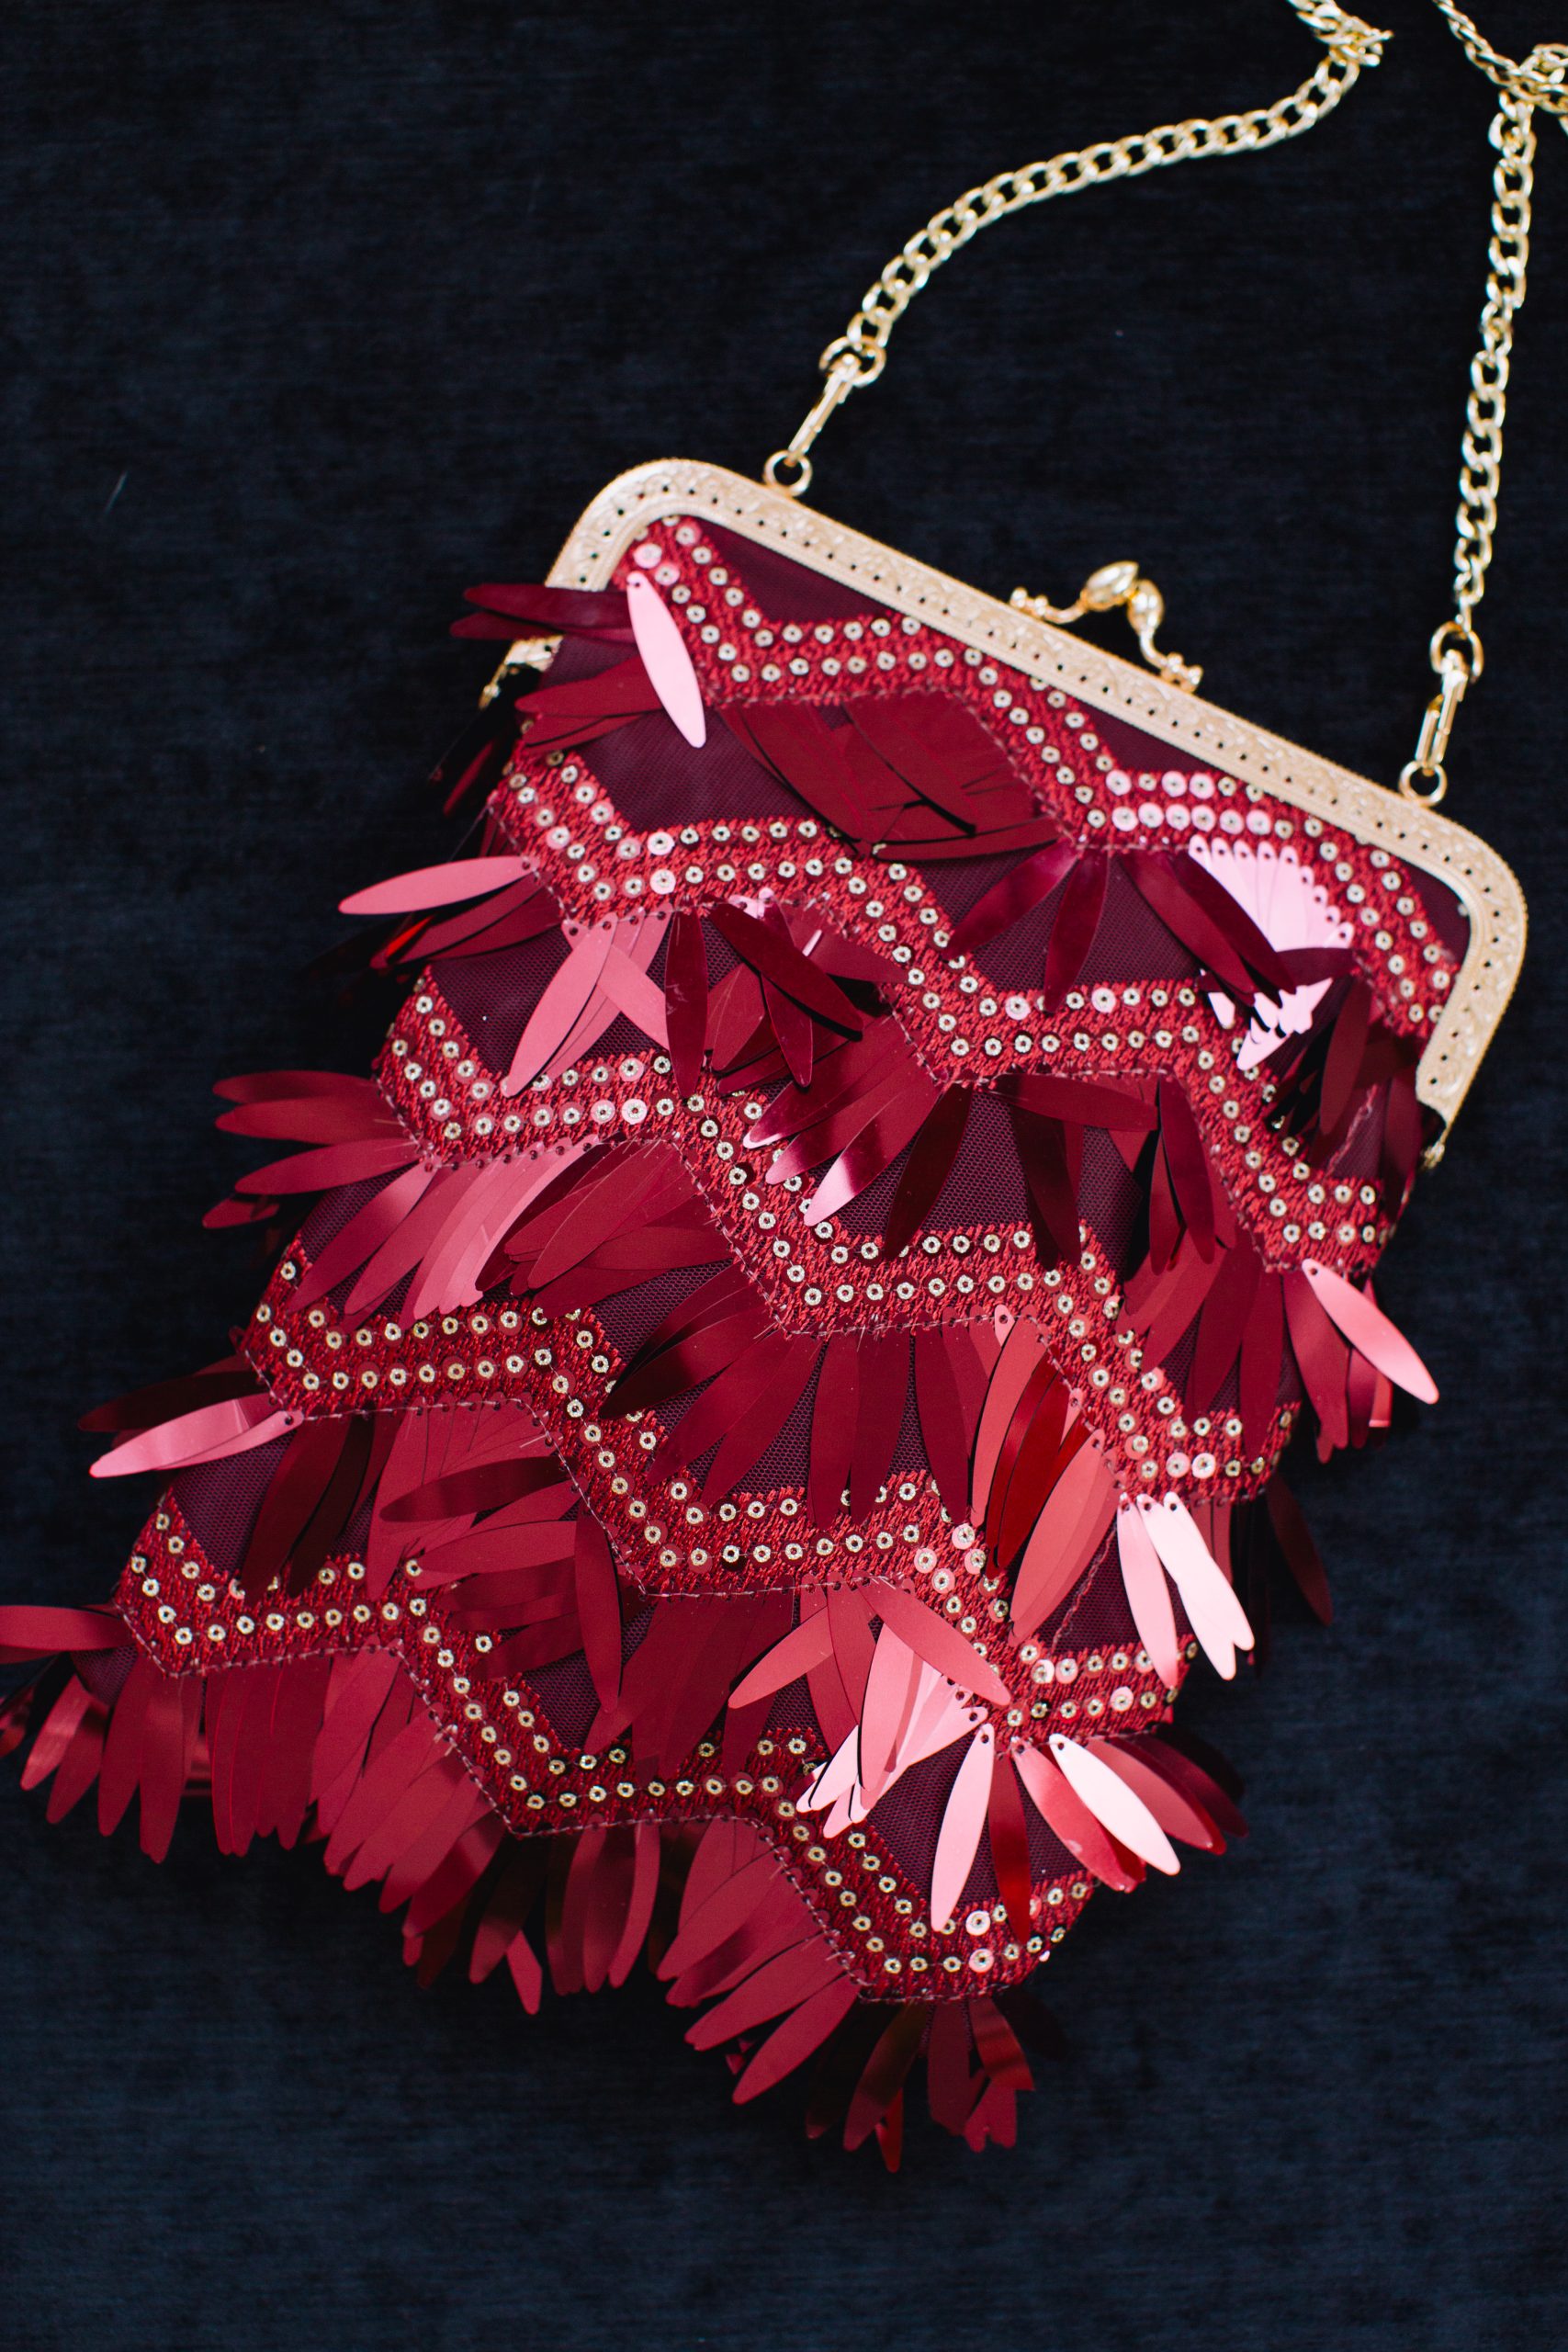
- Cut 2 pieces, 9” x 11”, out of paillette fabric
TIP: When cutting the paillette fabric, you may need to adjust the length depending on where your lines of paillettes are attached. You want the bottom row of paillettes to extend past the base of the bag lining.
Sewing Instructions:
LINING:
- With right sides facing, sew around 5” square for a pocket, leaving a 2” opening along one edge.
- Clip corners, turn right side out and press, pressing under the seam allowances in the opening.
- Topstitch the pocket on three sides onto the right side of one of the lining pieces, orienting the opening towards the bottom so it is closed up in the process.
- With right sides facing, sew the lining piece with the pocket to another lining piece, around three sides, leaving the edge nearest the top of the pocket unsewn, and leaving the top 2” of the side seams unsewn.
- Press seam allowances open and press back the seam allowances on the top of the side seams.
- Clip corners, set aside.
OUTER LAYERS:
TIP: Preparation is everything here! It is very important that you spend the time to push the paillettes out of the way of your seam line so you can sew easily. ALL of the paillettes near the bottom of the bag need to be pushed up and out of the way between the 2 layers of paillette fabric so they can hang easily.
- Stack the remaining fabric as follows: lining piece right side up, paillette fabric right side up, paillette fabric wrong side up, lining fabric wrong side up.
- Sew around three sides, leaving the top open, and the top 2” of the side seams unsewn.
- Turn right side out to check if you are happy with how it looks! Then turn back to wrong side out and carefully clip each paillette out of the seam allowance to eliminate bulk.
- Turn bag right side out, clip out any partial paillettes that may have accidentally gotten caught up in the side seams.
- Insert lining into bag.
ASSEMBLY:
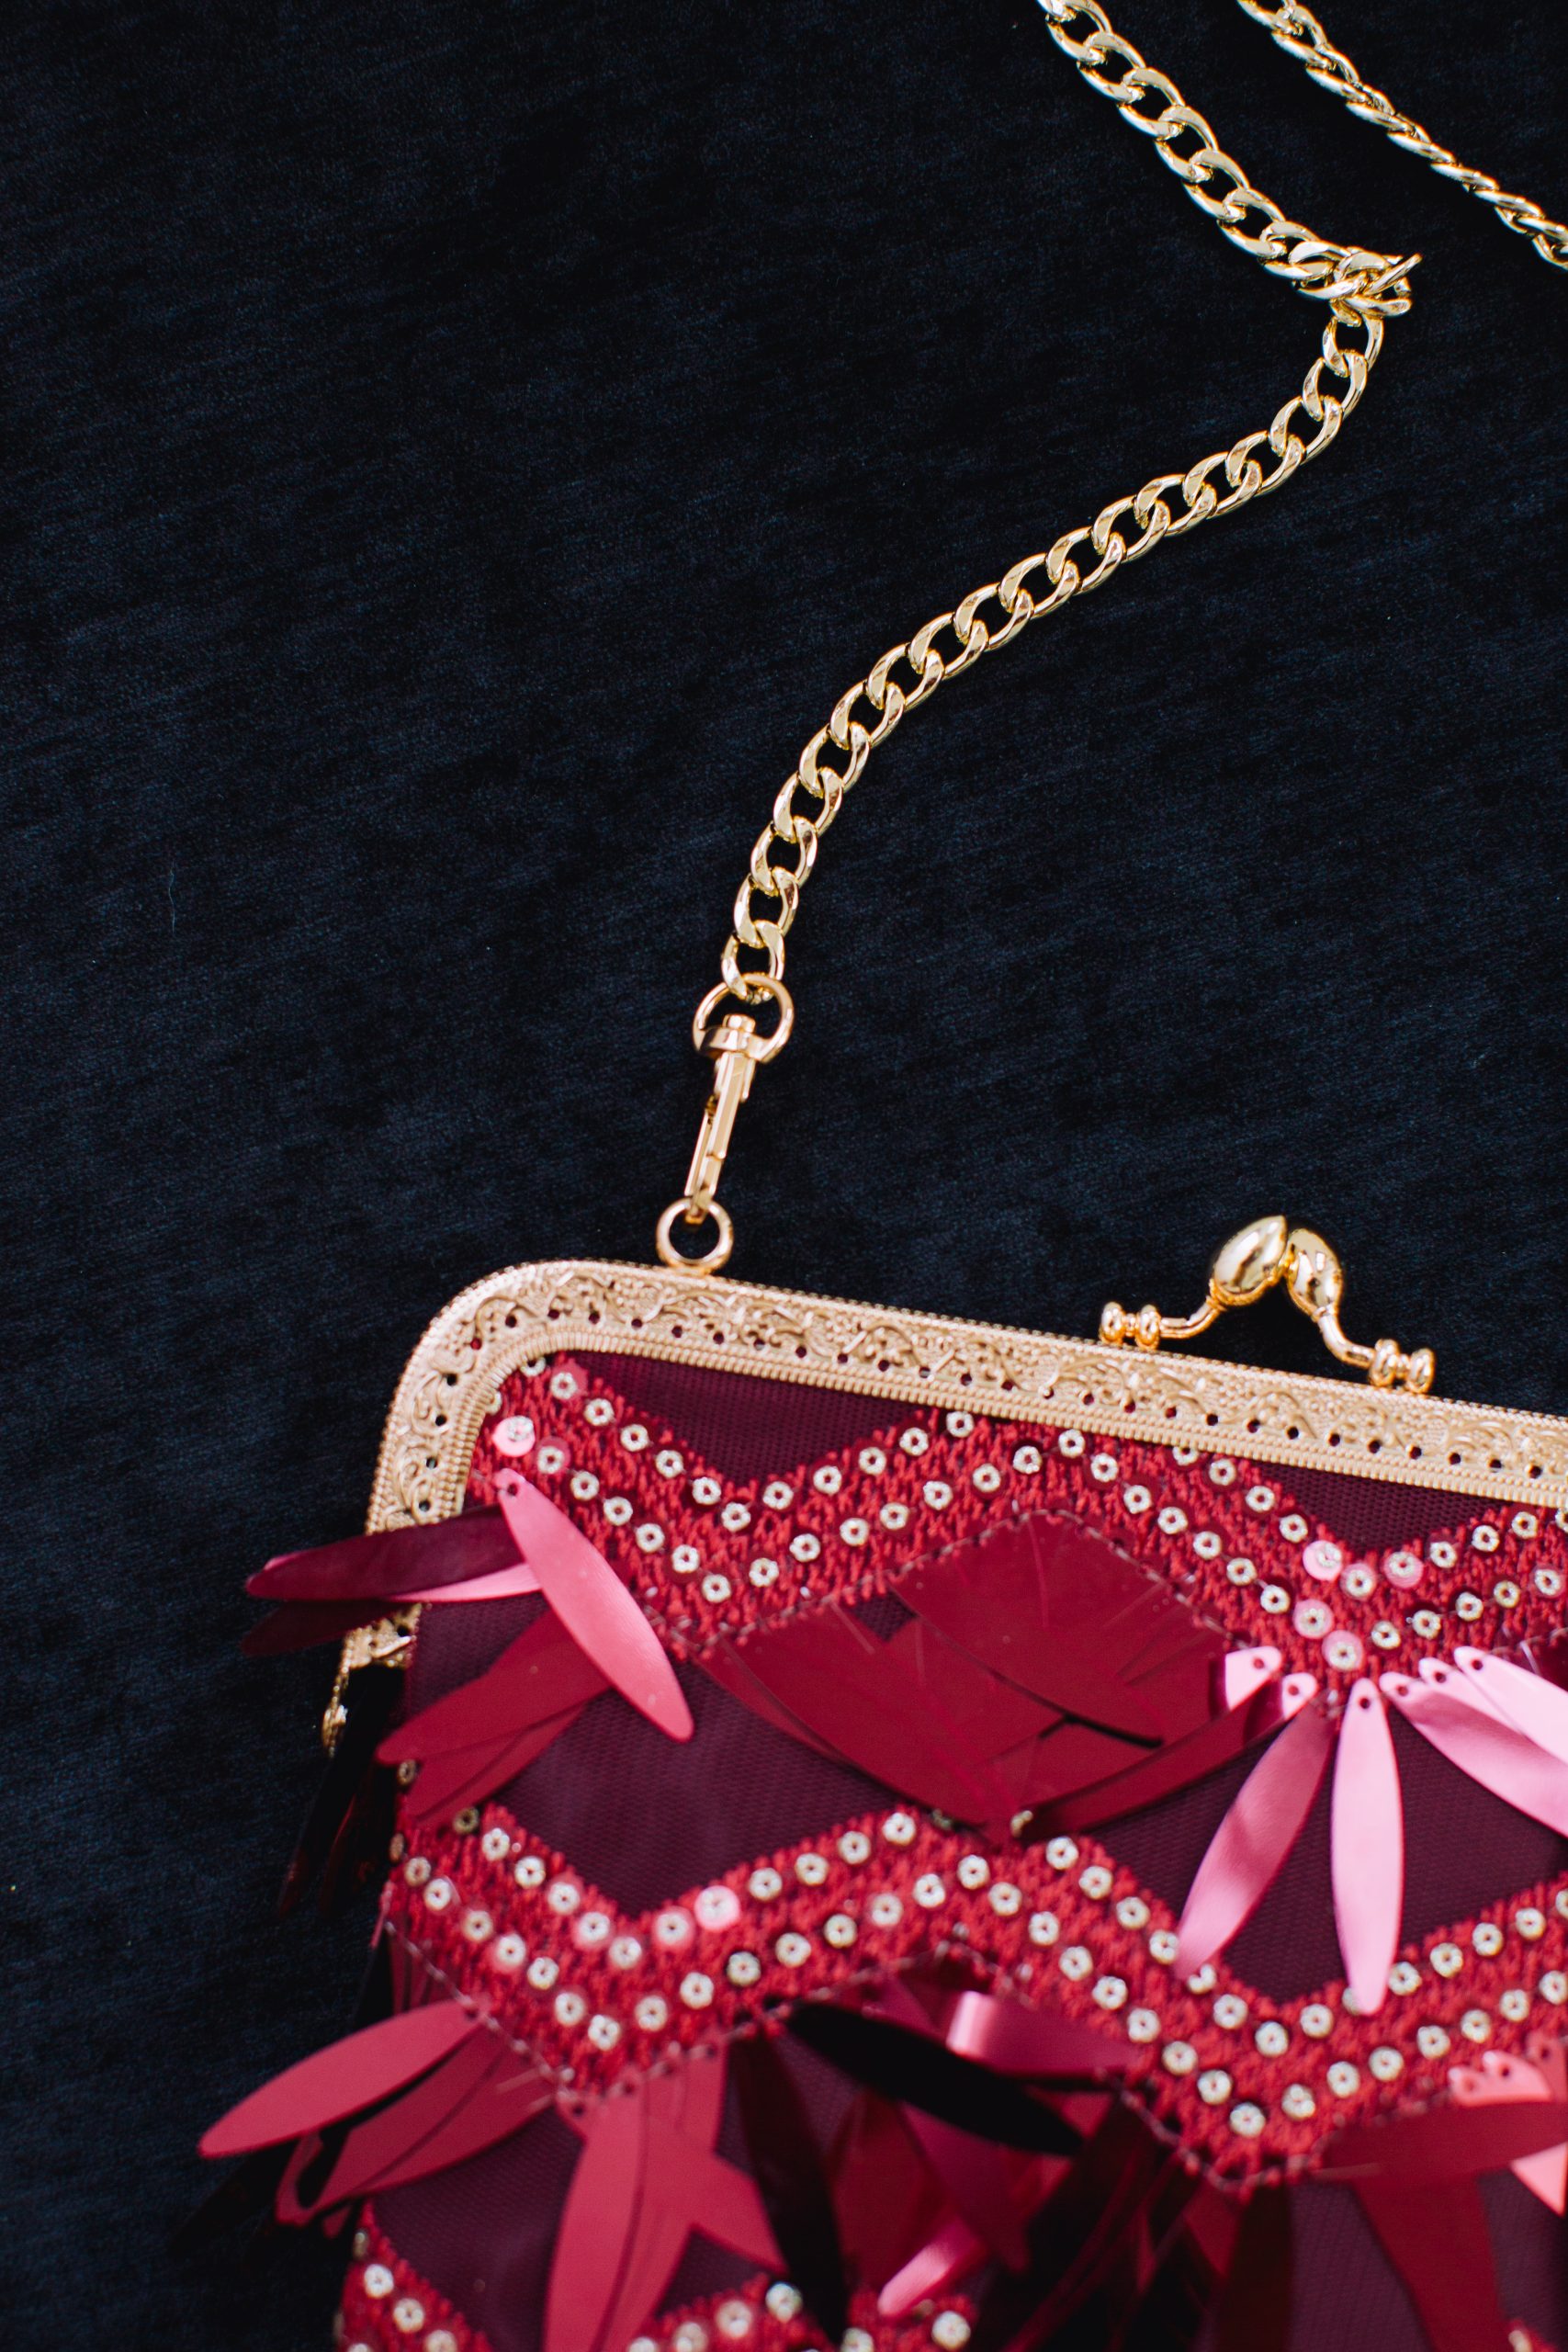
- If needed, lay your purse frame on top of the bag and using tailor’s chalk, mark any sections that need to be trimmed. In the model shown, the designer had to curve the corners to make it fit – but your frame may be different!
- Using any color thread and a hand sewing needle, make large, loose whip stitches to “baste” the bag into place in the frame (pins or clips generally don’t work), making sure the raw edges are tucked into the frame opening on its wrong side.
- TIP: There are pros and cons to using different types of thread to attach the bag to the frame. The designer preferred to match the color to the frame rather than the lining although that does mean you can see the hand stitching on the inside of the bag. You could choose the lining color, knowing you will see it on the right side of the frame, and use the contrast as a decorative element.
- About the thread itself – The designer experimented with rayon embroidery thread because she thought it would look nice against the frame but found it to break too easily as it rubs up against the metal of the holes. Button and Craft thread would be more durable but the designer did not like how it looked against the delicate tracery of the frame (but you might!). The designer chose to use all purpose thread.
- Hand sew the bag to the frame using a back stitch to make sure there is a stitch between each hole.
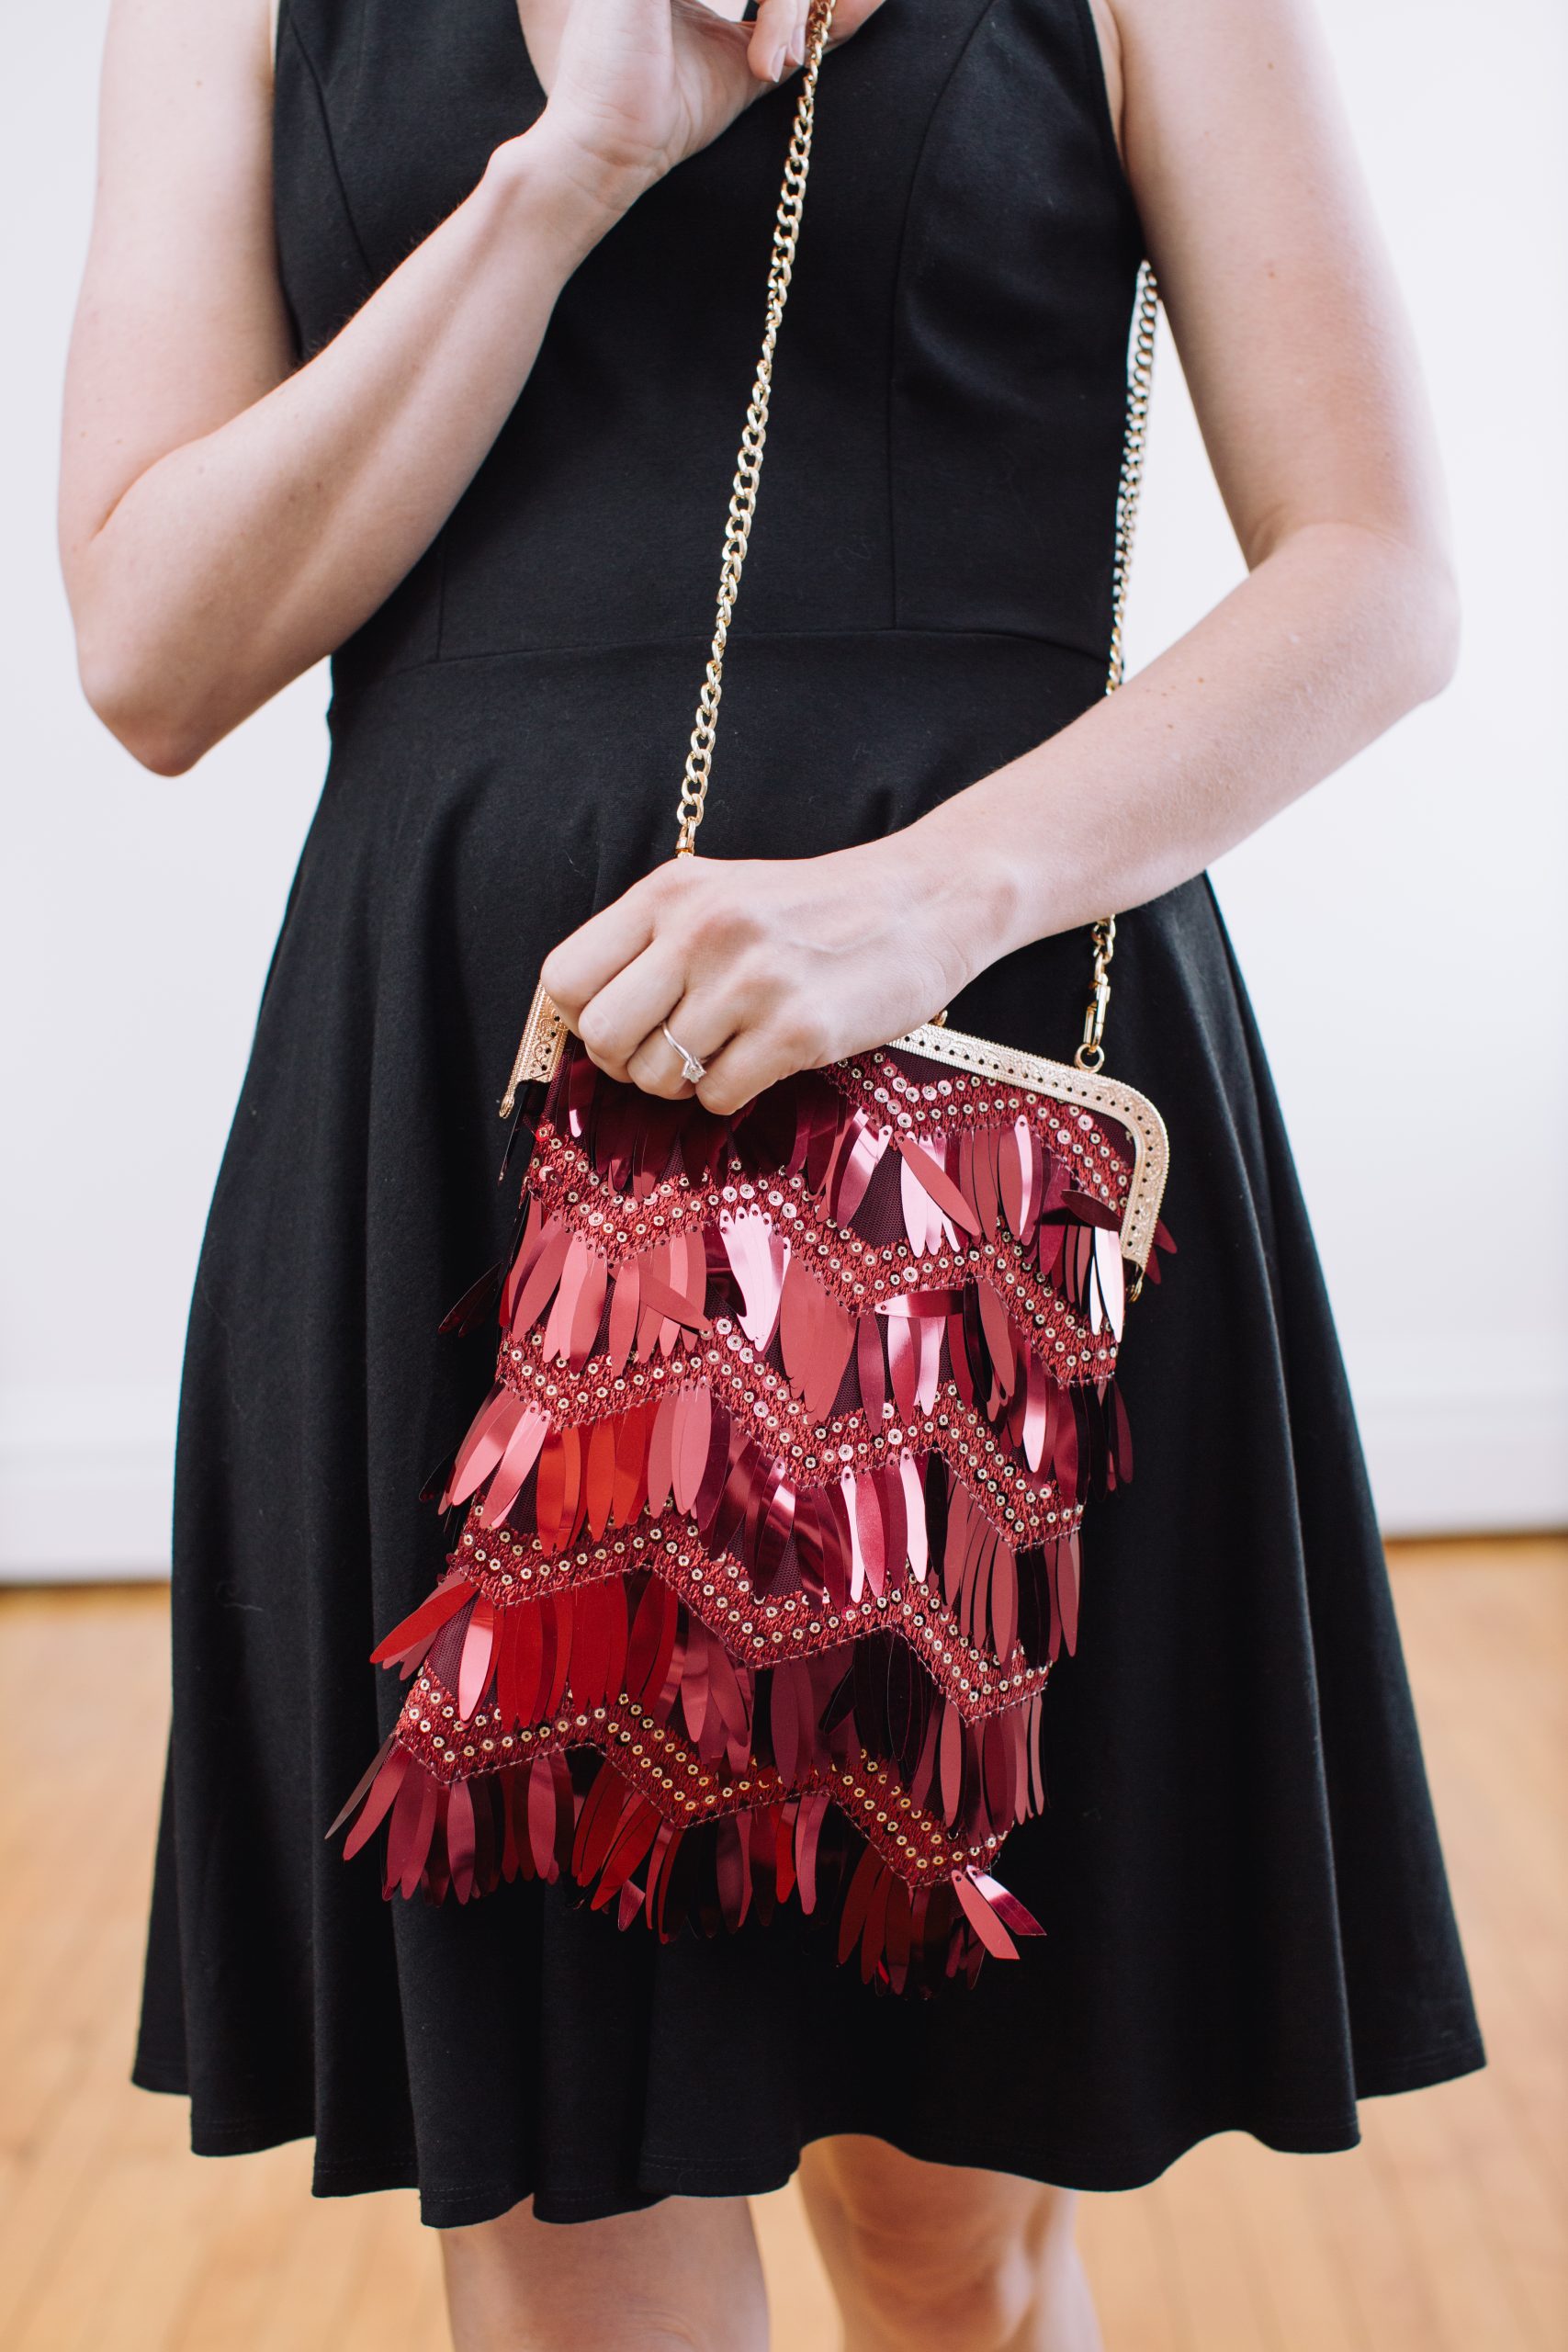
Where can the sequin Paillette fringe fabric be purchased?
Hello there! The designer purchased the paillette fabric from Mood Fabrics online. They are currently out of stock on this specific fabric. Have a great day! – Ashley, We Like Sewing