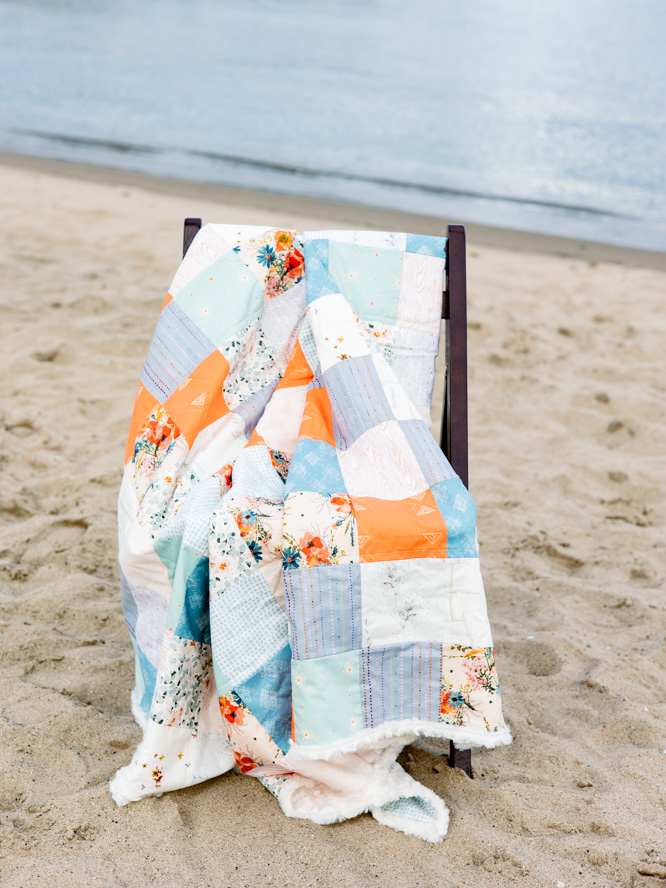
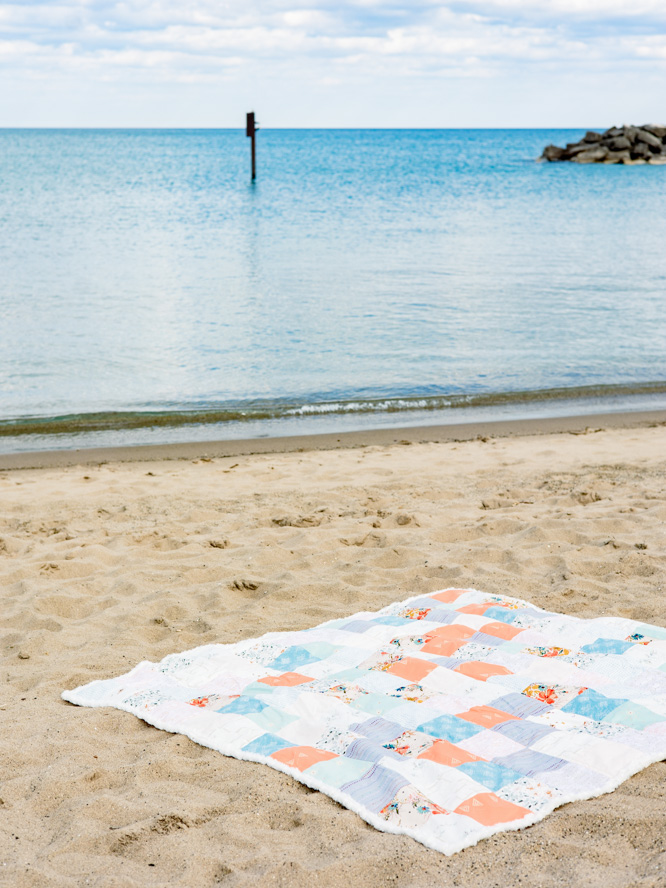
Love working with fabric bundles in coordinating colors and prints? Then this beautiful patchwork project is perfect for you. Made in rich summer colors like tangerine and summer sky, this simple patchwork blanket is ideal for precuts and finishes at a 60” x 60” square. This blanket is backed in soft minky fabric, making it an excellent project for advanced beginner sewists to practice working with thicker or more specialty fabrics. Snuggle up under this warm and cozy patchwork blanket on cool summer evenings.
Skill Level: Easy
Finished Dimensions: 60″ x 60” square throw
Seam Allowances: 1/4” patchwork, 1/2” minky binding
Materials:
- Fabrics:
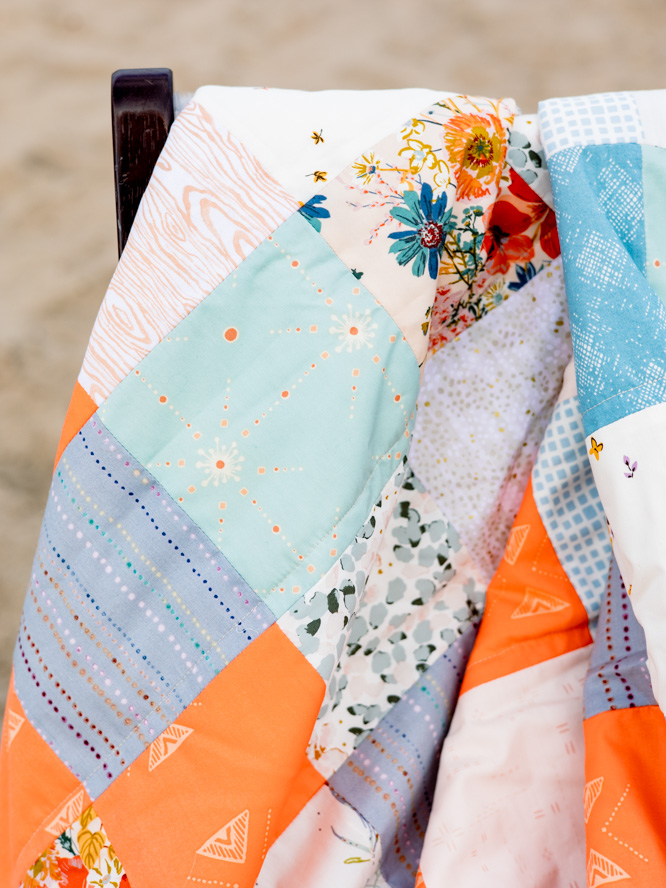
- 3/4 yards of 10-13 coordinating fabrics. Art Gallery Fabrics from: “Garden Dreamer,” “Soulful,” “Squared Elements,” “Velvet,” “Spirited,” “Bookish,” and “Deco Stitch;” Windham Fabrics from: “Botany,” “Dewdrop,” and “Foxwood,” pictured.
- Cut 12 – 5 1/2″ x 5 1/2” from each fabric to total 144 squares. While the number of fabrics used is up to the sewist, the blanket must add up to 144 squares.
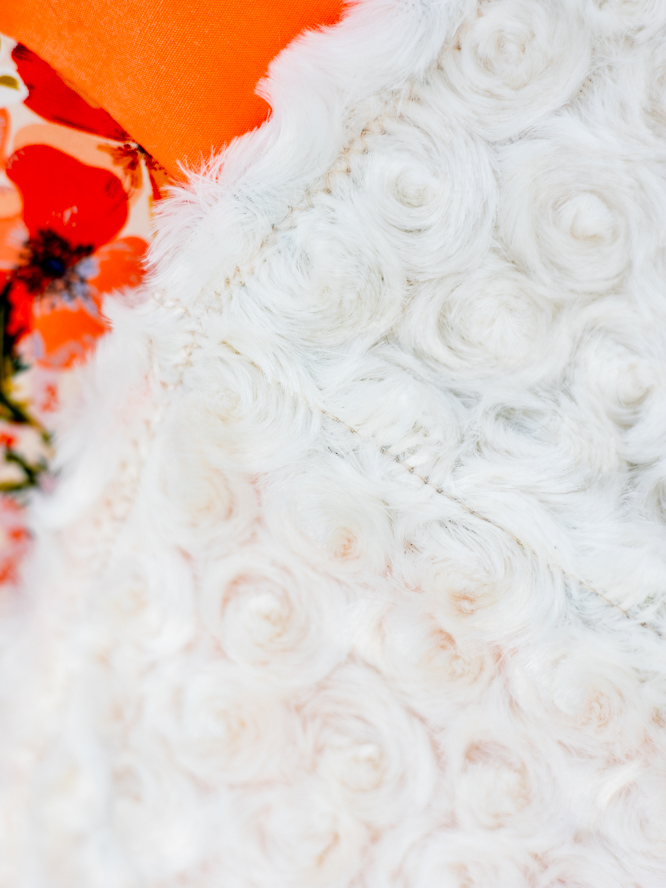
- 2 yards 60” Minky cuddle dot/ rose swirl plush in a coordinating color
Special Notions:
- Walking foot
- Sewing clips
- Rotary cutter, mat, and acrylic ruler
Instructions:
CUTTING:
- Line up selvages and press all fabrics to remove any creasing or wrinkles.
- Neaten and trim up the cut edges along the WOF (Width of Fabric) with a rotary cutter, ruler, and cutting mat as required to create an even edge.
- From the newly trimmed edge, use the cutting mat grid and acrylic ruler to cut 5 1/2” strips across the entire WOF.
- Cut off the selvages and subcut into 5 1/2” squares. Repeat as needed to create 12 to 14 squares of each fabric for a total of 144 squares.
LAYOUT:
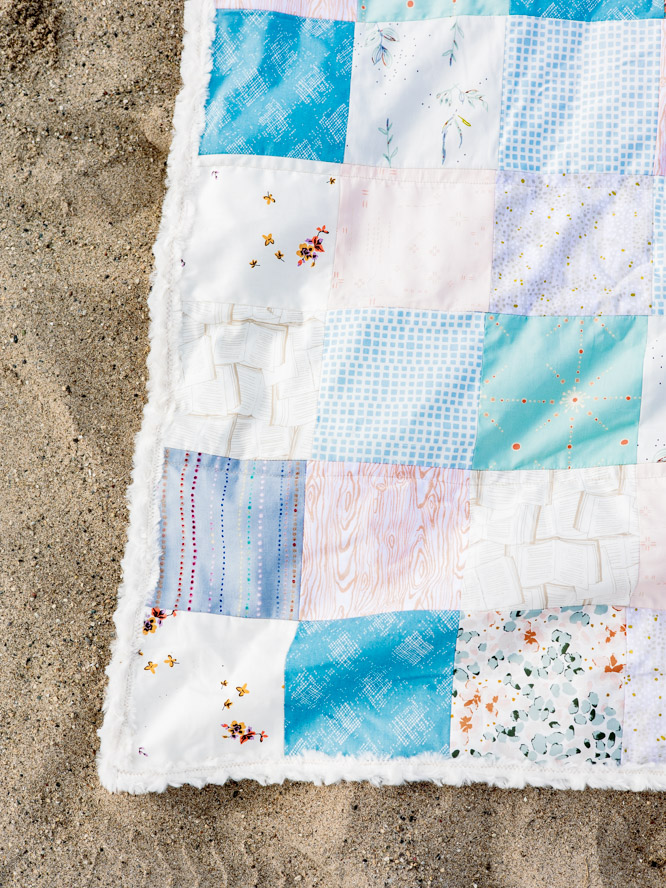
- On a large work surface, arrange the 5 1/2” squares in rows and columns totaling 12 across and 12 down for a total of 144 squares. Please reference the layout chart below.
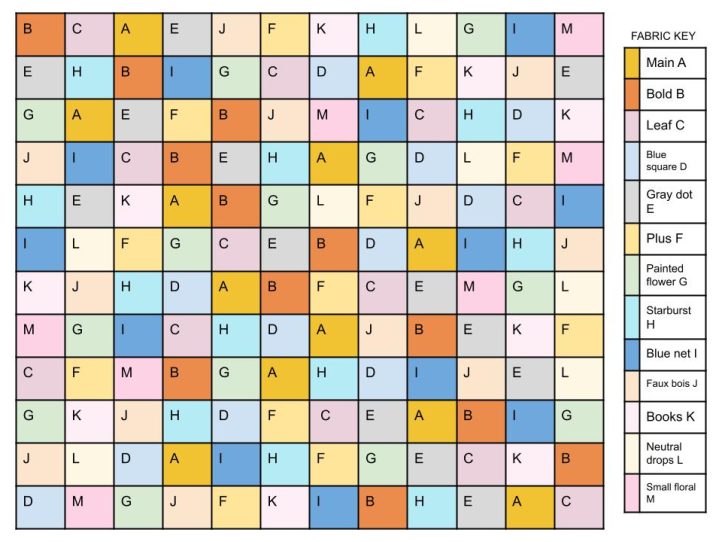
- Consider the placement of the fabrics as you work across and down the rows so that no two fabrics are directly beside or on top of themselves. Also consider spreading out similar tones, colors, or prints to maintain a pleasing effect.
- It is also recommended to consider spacing out the lightest, darkest, and or boldest print fabric diagonally across the placement of the blocks (see above image).
PIECING THE BLOCKS:
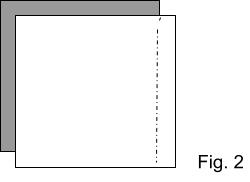
- Following the layout placement, pair up squares left to right, right sides of the fabric together (RST), and sew along the right side at 1/4” seam.
- Connect all blocks into pairs, layout again, or follow the chart and continue combining the groups of blocks along the right edge until all 12 blocks in the row are joined together. It is recommended to mark rows with a number or letter tag to remember layout order.
- Continue sewing all blocks and rows as in steps 1 and 2, until all twelve rows of blocks have been sewn together. Press seams open.
- Reference layout placement or row number lining up the seams of the blocks RST and pin in place.
- Sew all rows with a 1/4” seam first in pairs from top to bottom, then in groups until all rows have been joined together. Press all row seams open to prepare for backing.
ATTACHING THE MINKY BACK:
- Layout minky cuddle fabric right side down on a large work surface and smooth flat.
- Using packing tape or similar, work from the center out to gently pull taught the minky fabric and tape each corner of the minky to the floor.
- Add additional tape as needed around all four sides to keep minky fabric taught and smooth.
- Arrange the patchwork top right side up, wrong sides together, on top of the minky fabric.
- Work from the center of the patchwork top and smooth the entire patchwork flat and centered over the minky back.
- Use safety pins and pin both layers together at every other square beginning with the centermost square and working outward.
- Once the pinning is complete, gently remove the tape and roll the top and backing together from the ends toward the center to prepare for quilting.
QUILTING AND TRIMMING:
- Beginning from the center row of the patchwork top, quilt both the top and backing together using the walking foot. Follow the line of the patchwork seam and quilt approximately 1/2” away from the seamline the entire width of the quilt. Backstitch at the beginning and end of each line of quilting.
- Repeat the straight line quilting either every seam or every other seam across the width of the entire patchwork top.

- Layout the quilted blanket across a large work surface and remove all safety pins.
- Smooth the quilted blanket flat. Using an acrylic ruler, cutting mat, and rotary cutter, work around the perimeter of the quilted blanket to trim any excess minky 1” from all sides of the patchwork top.

BINDING AND FINISHING:
- Beginning on one side of the quilted blanket, fold the minky backing raw edge toward the raw edge of the patchwork top.
- Bring the folded edge of the minky over the edge of the patchwork top approximately 1/2” to completely enclose all raw edges.
- Work around the blanket perimeter toward the corner, clipping or pinning frequently at approximately 3” intervals to hold the rolled minky in place.
- Approximately 1” away from the corner, add a clip to hold the rolled minky edge as the corner is folded into a miter.
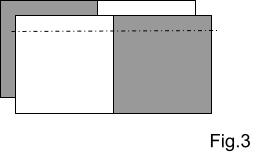
- To miter the corner (or create a 45 degree fold), bring the folded edge of the minky down to line up with the patchwork top on the opposite side of the corner forming an angle with the minky as shown in the figure below. Add a pin into the corner to secure in place.
- Fold the raw edge of the next side of minky into the patchwork top as before.
- Bring the folded edge of the minky over the edge of the patchwork top approximately 1/2” to completely enclose all raw edges as before and secure the corner with an additional pin.

- Continue folding all edges and corners, clipping and pinning frequently until the entire perimeter has been folded over and all raw edges are enclosed.
- With the walking foot attachment, sew the rolled minky edge in place around the entire perimeter of the blanket with a zigzag stitch to enclose raw edge of minky fabric. Remove pins and clips as necessary.
- Completed patchwork minky blanket will measure 60” square and have a soft drape and loose quilted effect, making it a lovely item for the home or to gift. Enjoy!
This is so cute. I’m making it this weekend