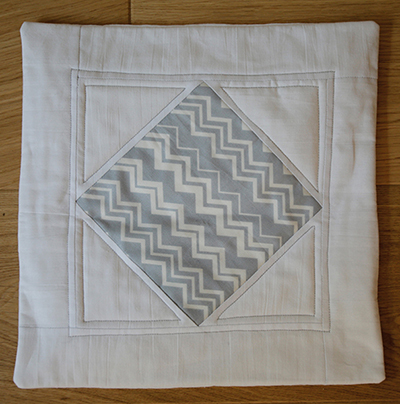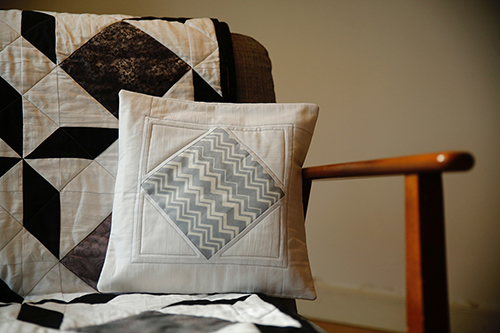
This pattern is proof that classic quilt blocks never go out of style! Design a traditional square-in-a-square quilt block and transform into a minimalist chic pillow sham with this tutorial. Made in hues of silvery gray and frosty white, this pillow sham pattern is designed for a 14” square pillow, making it the perfect size for a stylish throw pillow for your living room or bedroom. Pair this pillow sham with the Between the Lines Windmill Quilt also found in this issue!
Materials:
- 3/4 yard white cotton fabric
- A piece of batting 16″ x 16”
- A piece of gray printed fabric at least 7″ x 7”
- Gray thread for stitching and quilting
Cutting Instructions:
- From the white fabric, cut two squares 4 7/8″ x 4 7/8”, then cut each square once on the diagonal. Cut four oblongs 2 1/2″ x 10 1/2″ to frame the center block, two oblongs 12 1/2″ x 8 1/2″ for the backs of the cushion, and cut a square 16″ x 16” as backing for the quilting.
- Cut the gray print to a square measuring 6 1/4″ x 6 1/4”.
Sewing Instructions:
MAKING THE PILLOW SHAM
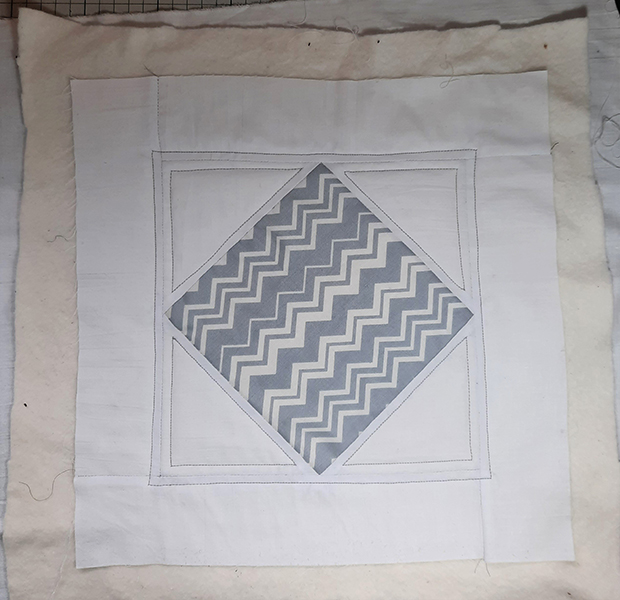
- Follow steps 1 to 6 of the quilt instructions to make the center on-point block for the pillow sham.
- Pin and stitch a 10 1/2″ white strip to the top left of the center block (leave the right-hand end hanging).
- Work round the center block anti-clockwise, adding the remaining three white strips in the same way the framing strips were added to the quilt (see steps 16 – 21 of the Between the Lines Windmill Quilt located in this issue). Press the pillow front well.
- Layer up the backing fabric, the batting, and the finished pillow front. Secure as suggested for the quilt.
- Quilt a triangle 1/4” away from the seam lines in each corner of the center block and quilt 1/4” away from the seams around the outside of the center block as seen in the photo.
- After quilting, trim down the pillow front to 12 1/2″ x 12 1/2”.
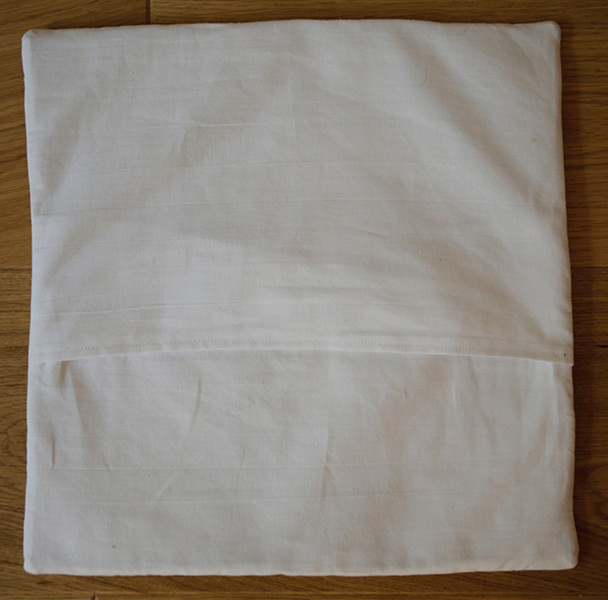
- Lay the pillow front, right side up, on the table.
- Fold down one long edge of a pillow back oblongs 1/4” and press. Fold over again and press again. Do a line of stitching down the fold to secure it. Repeat with the second pillow back.
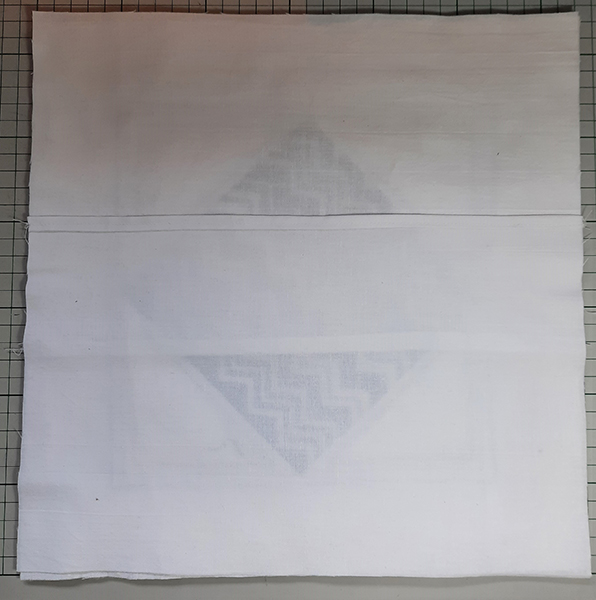
- Lay one pillow back, wrong side up, on top of the pillow front, with three raw edges aligning with the pillow front edges.

- Now place the second pillow back, wrong side up, on top of the first back and the pillow front, with three raw edges aligning with the pillow front edges.
- Insert pins at right angles round all four sides.
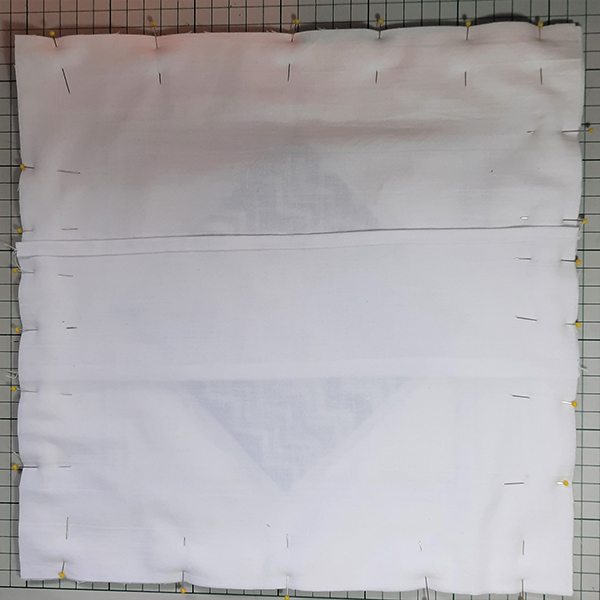
- Stitch all round with a 1/4” seam, removing pins as you go.
- Neaten the seam edges with a narrow zig-zag stitch on your machine.
- Turn the pillow sham to the right side and poke out the corners.
- Insert a 14” square pillow through the opening at the back.