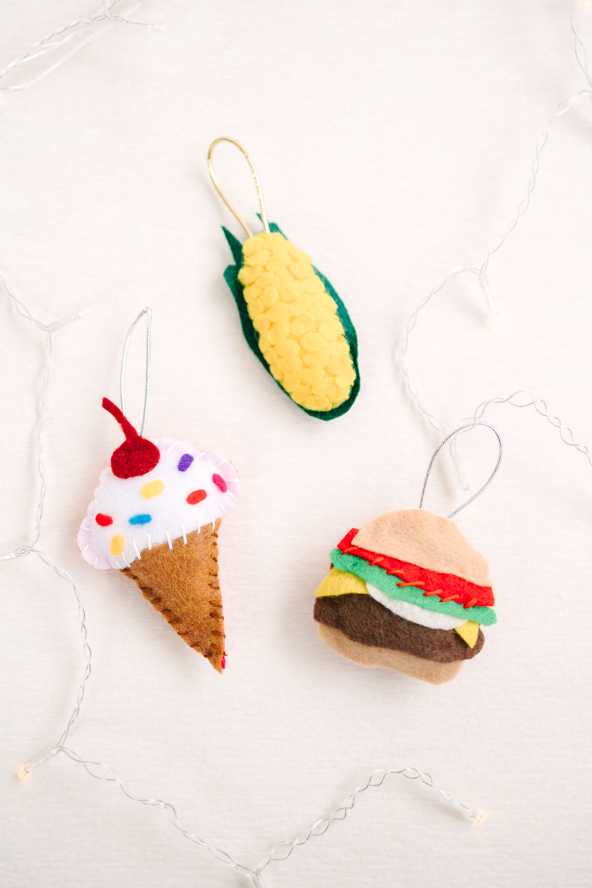
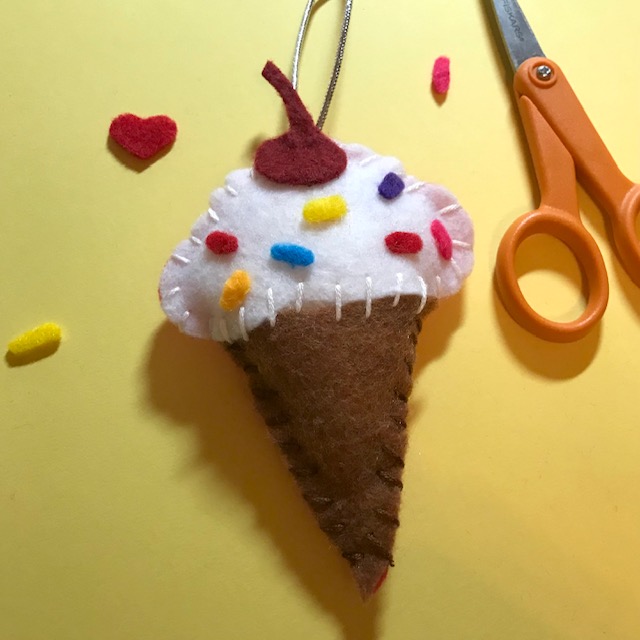
Summer culinary classics meet Christmas with these charmingly playful felt ornaments! Made in ice cream cone, hamburger, and corn-on-the-cob designs, these felt Christmas ornament patterns are a delightful way to add some whimsy to your Christmas tree. These DIY ornaments are designed for beginner hand sewists, so if you’re just starting out, give these ornaments a try. Don’t settle for boring, plastic ornaments and create unique tree décor with major personality with these ornament sewing patterns.
Approximate Time: 1.5 hours per ornament
Materials:
- Felt fabric sheets
- Fabric scissors
- Small scissors
- Polyester fiberfill
- Hand-sewing needle
- All-purpose thread (in matching colors)
- Embroidery floss (in matching colors)
- String or ribbon
- Fabric glue (optional)
- Thimble
- PDF Templates – These are located at the bottom of this page. Please see printing instructions below.
PRINTING INSTRUCTIONS:
Note: To download the templates, click on the pattern download button at the bottom of the page. We recommend opening your pattern download using Adobe Acrobat.
Instructions:
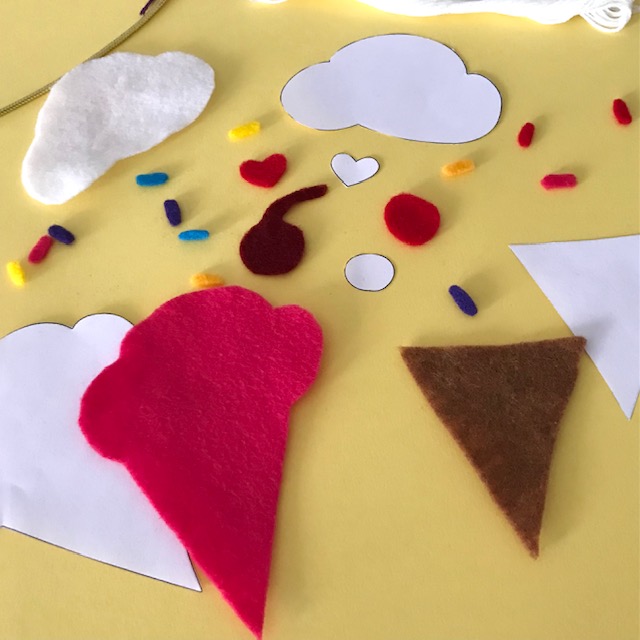
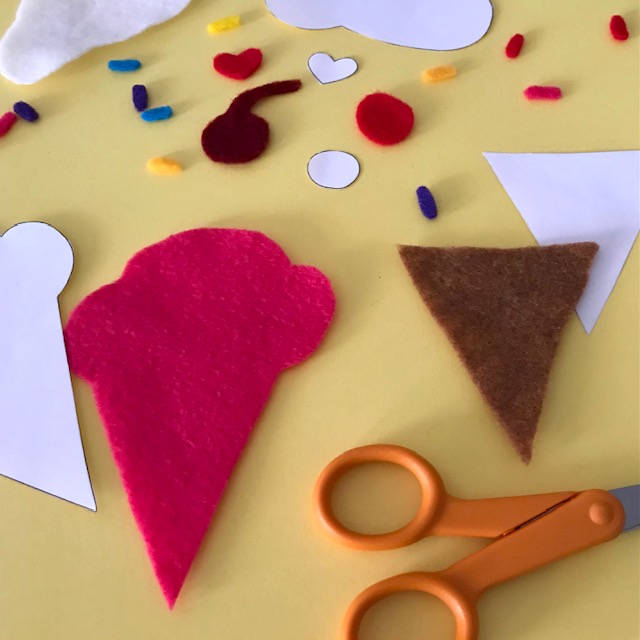
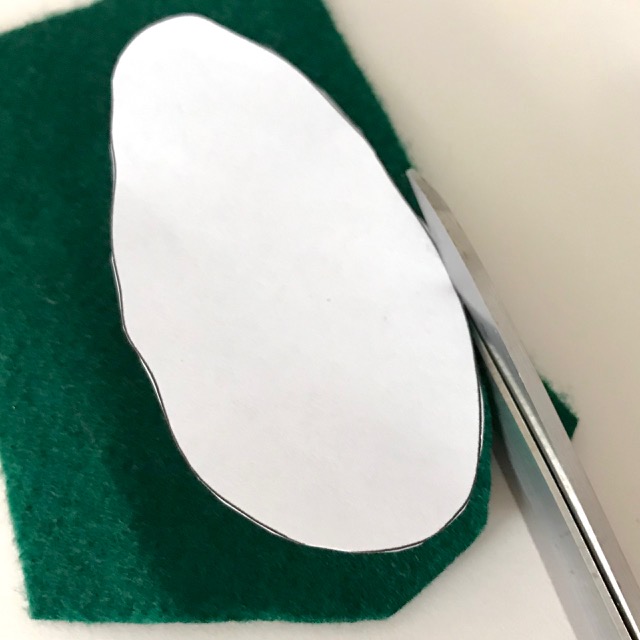
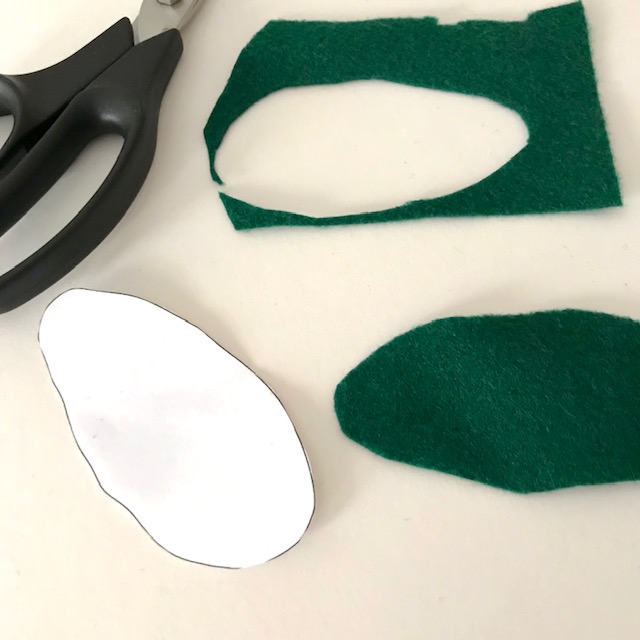
- To start, arrange your materials on a workstation. Cut out the attached printed templates with paper scissors. (Note: These are located at the bottom of this page)
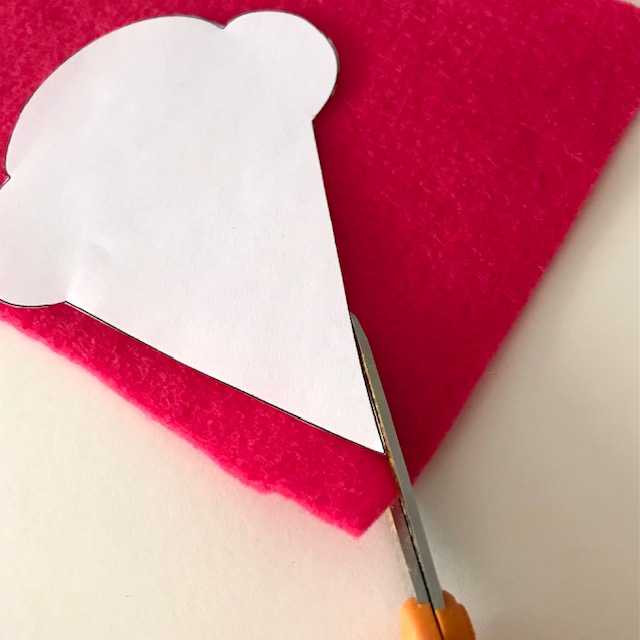
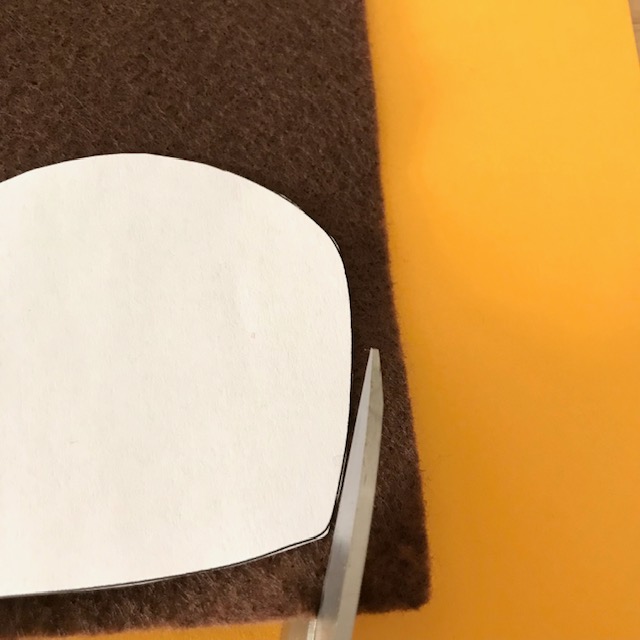
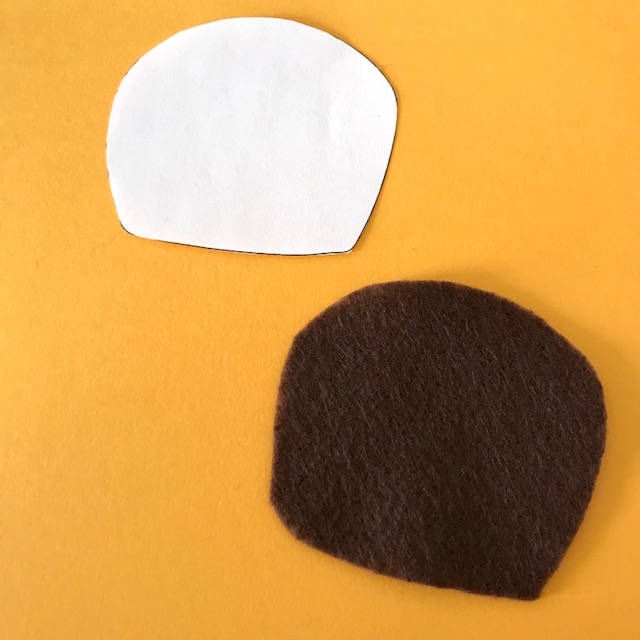
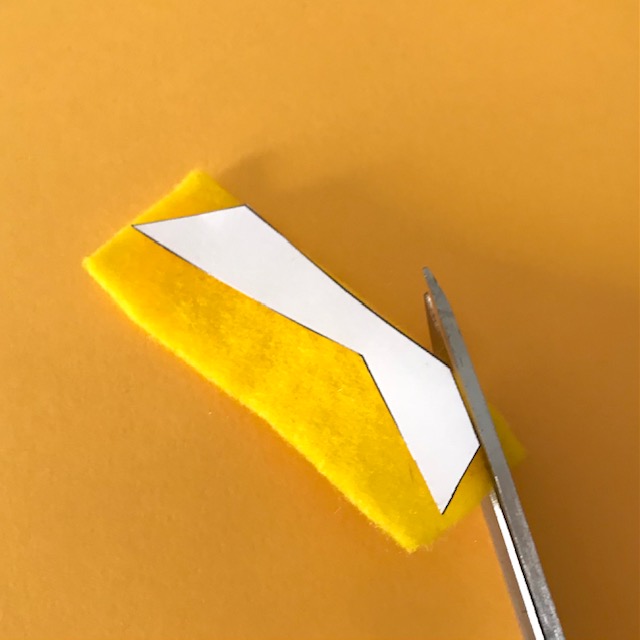
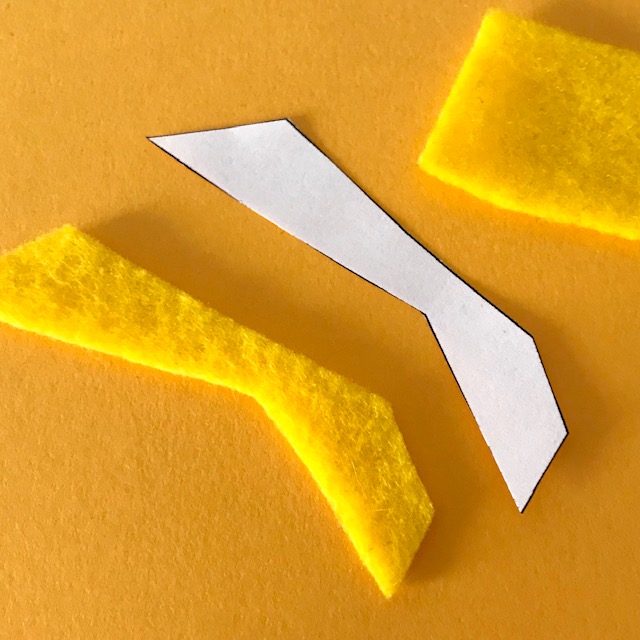
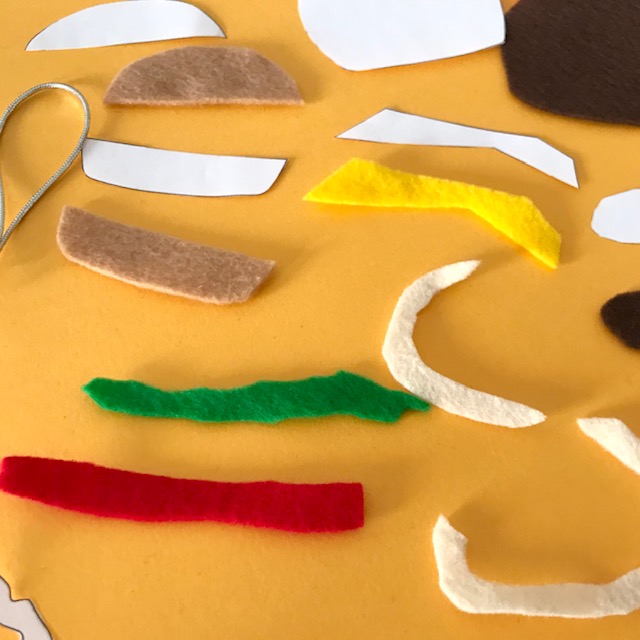
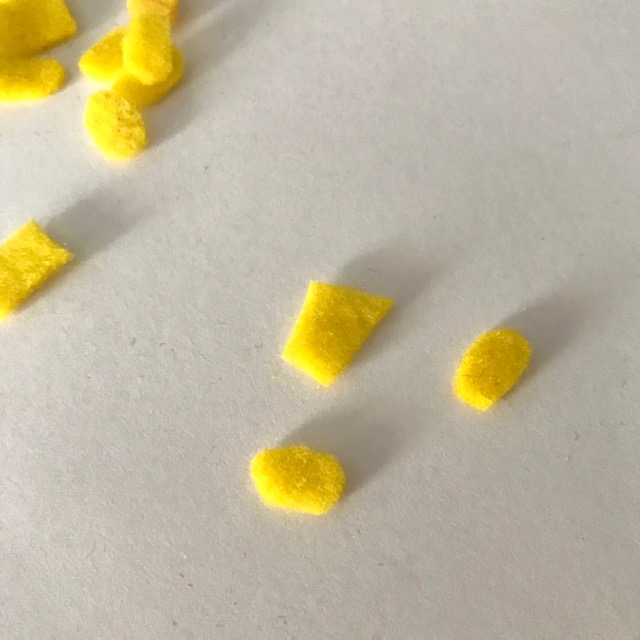
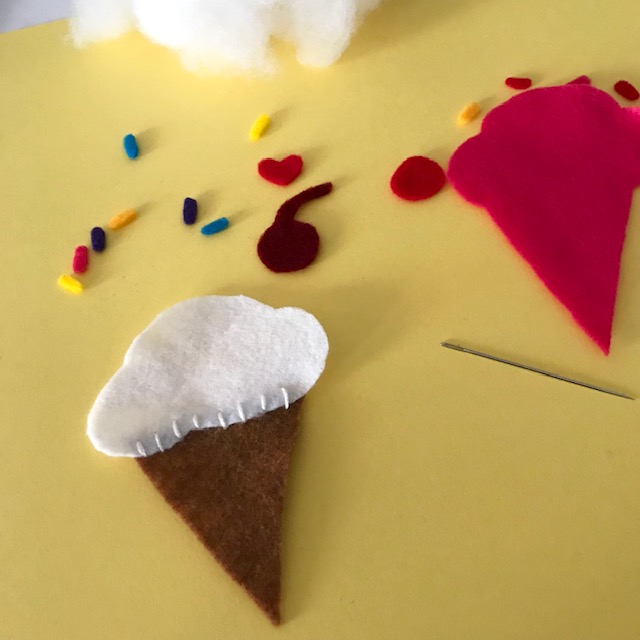
- Use the paper templates to trim the felt fabric into the template shapes. The shapes can be held against the felt sheet while each part of the design is cut out. It might be easier to cut the very small elements (like the ice cream’s sprinkles and the corn’s kernel pieces) by eye, using the templates for reference. Cut out the following pieces:
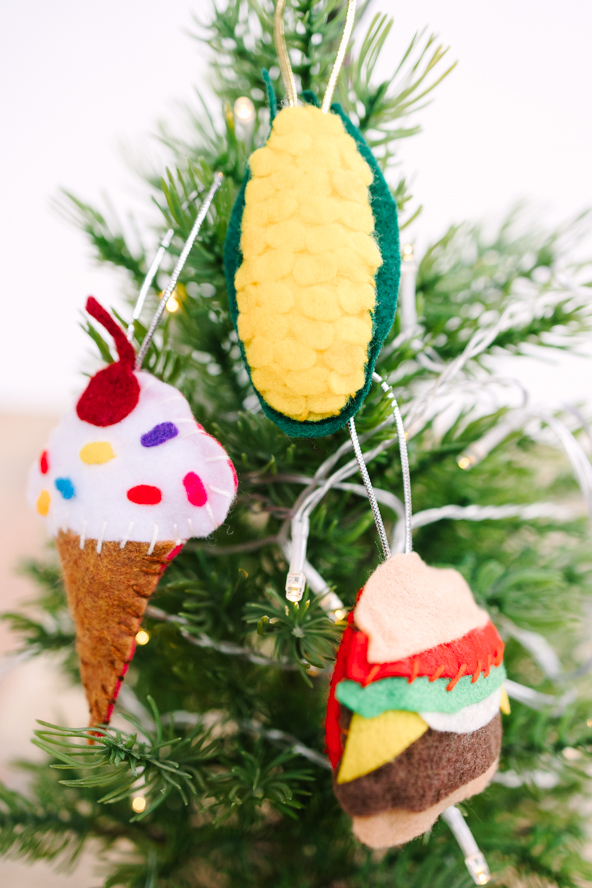
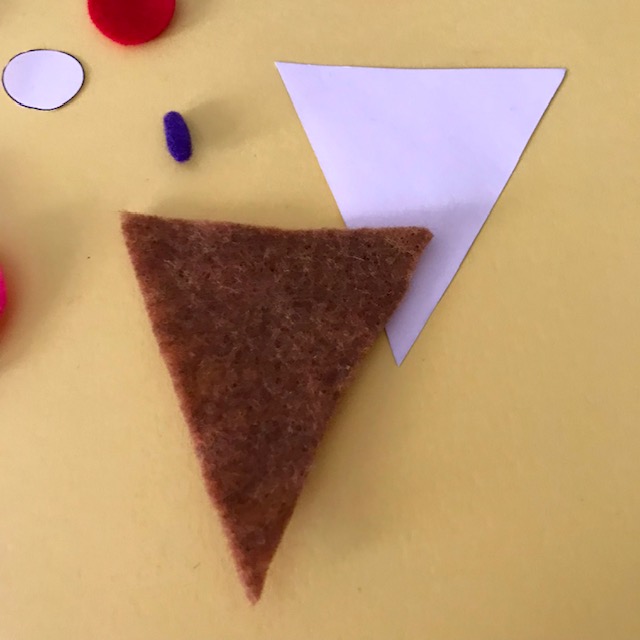
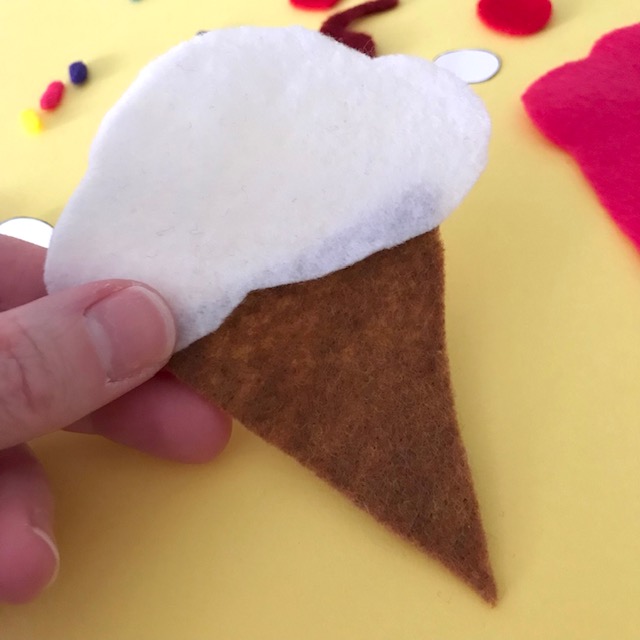
- Ice Cream Cone:
- Ice cream (1) in white
- Cone (1) in brown
- Back (1) in pink
- Sprinkles (assorted)
- Cherry (1) in dark red
- Heart (optional)
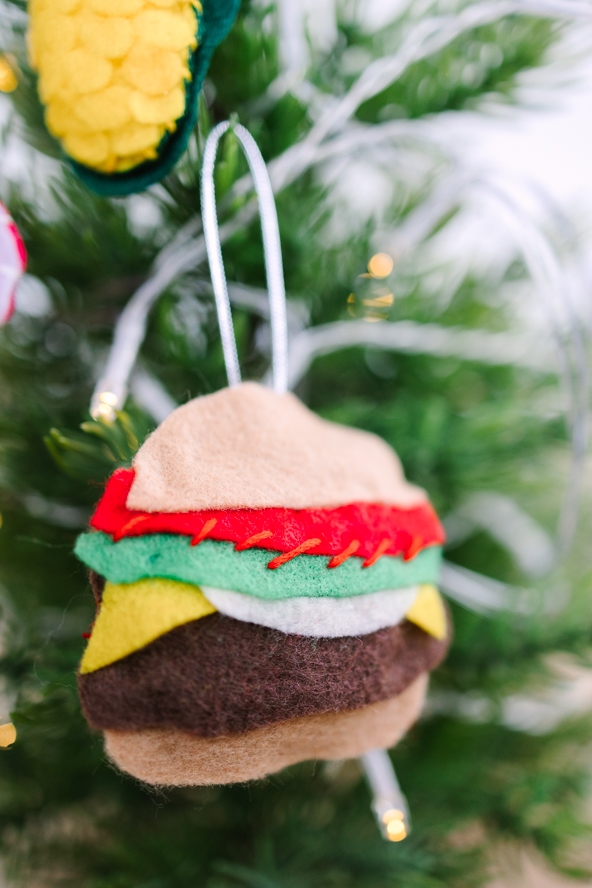
- Cheeseburger:

- Bun top (1) in beige
- Bun bottom (1) in beige
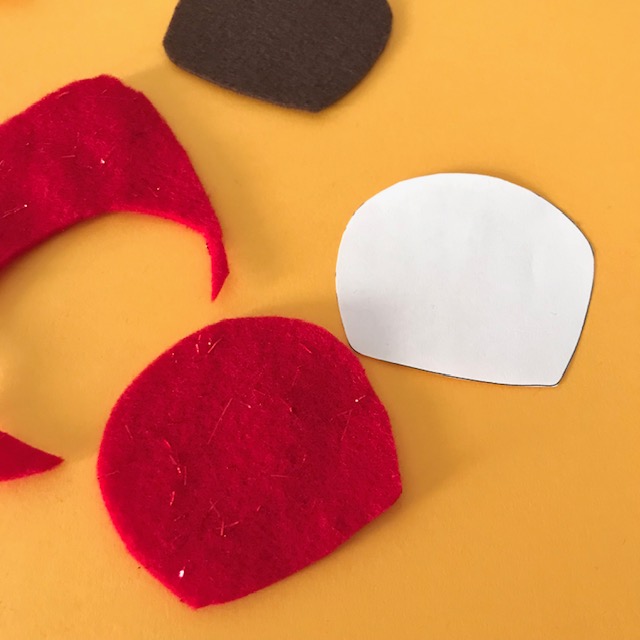
- Back (1) in red
- Meat (1) in brown
- Cheese (1) in yellow
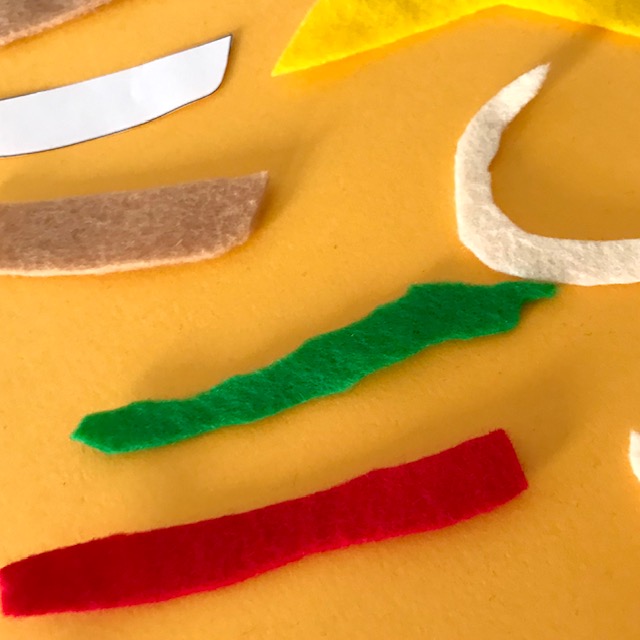
- Lettuce (1) in green
- Tomato (1) in red
- Onion (1) in white
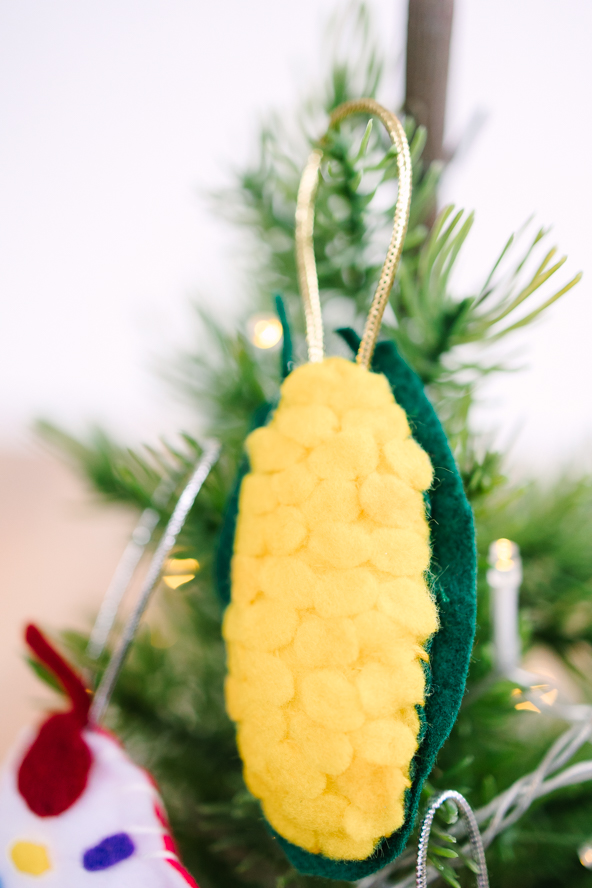
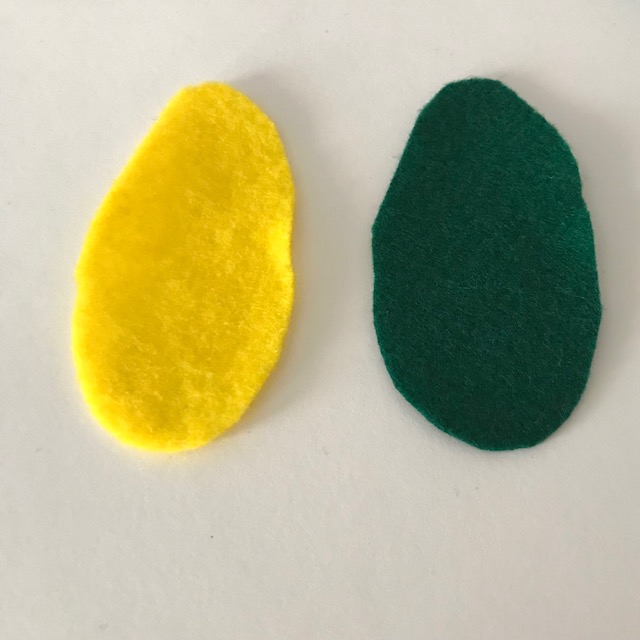
- Corn:

- Front and back (1) in yellow and (1) in green
- Kernels (approx. 38-40) in yellow
- Husk (1) in green
- Ice Cream Cone:
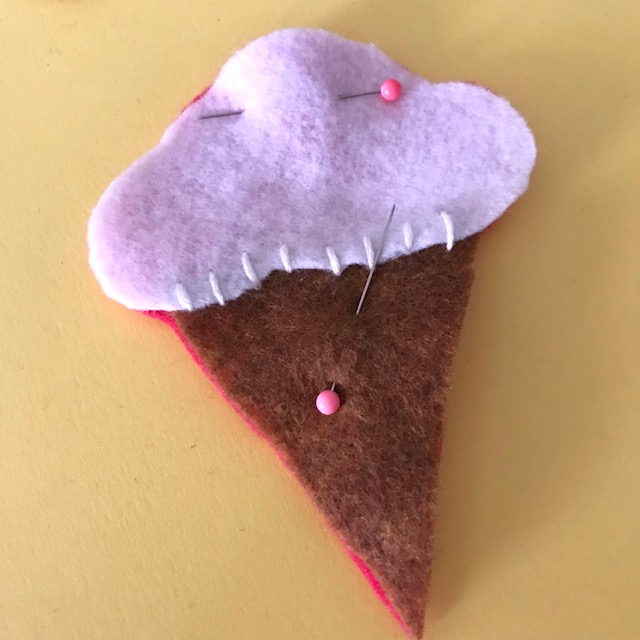
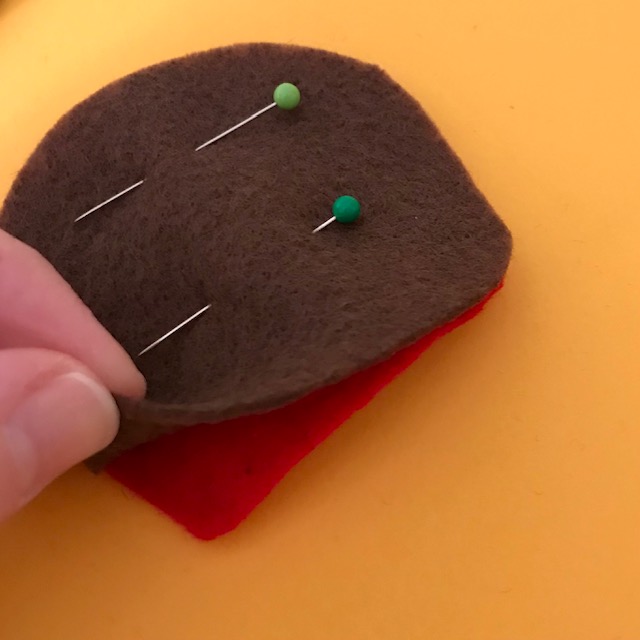
- Place the front and the back pieces of the ornaments together and pin. Be sure they are the same size so they will line up properly in the next steps. If you need to trim the pieces so they match up more closely, do so now. Note: For the ice cream cone ornament, the front is constructed by connecting the ice cream top and cone pieces with embroidery floss (use a large whip stitch).
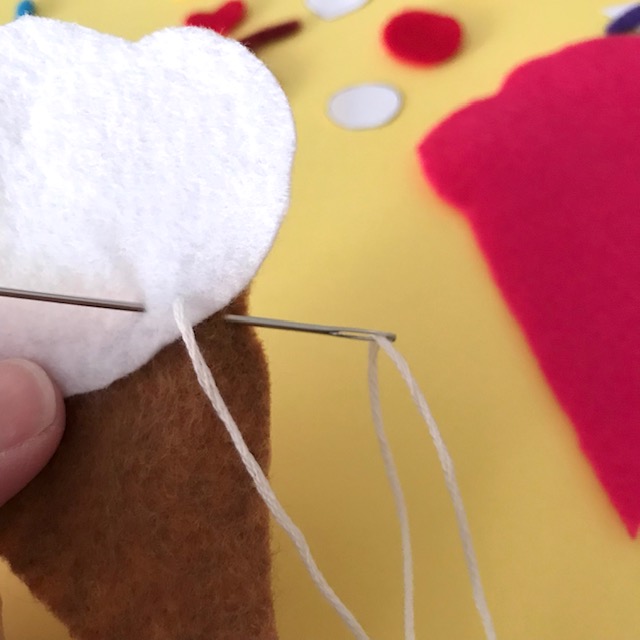
- Thread a large embroidery or hand-sewing needle with embroidery floss and tie off one end. It should be a single thickness when sewing.
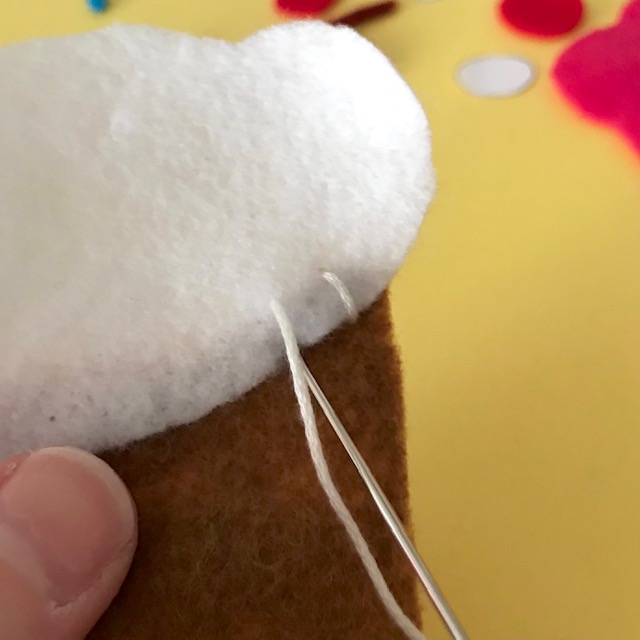
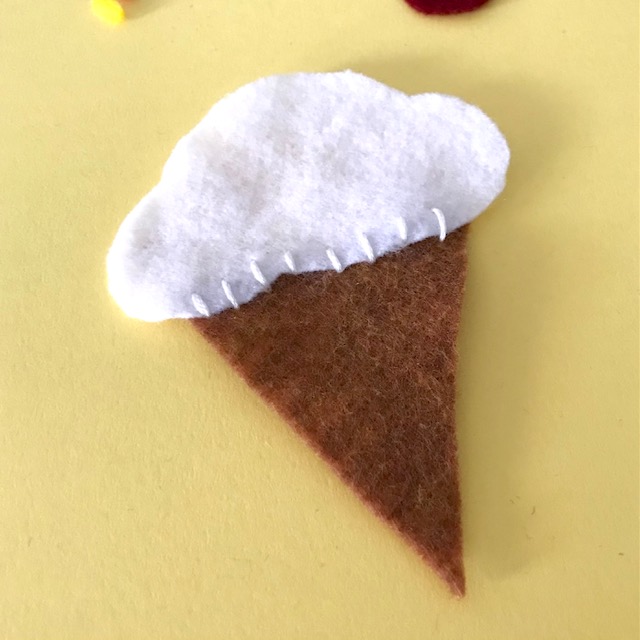
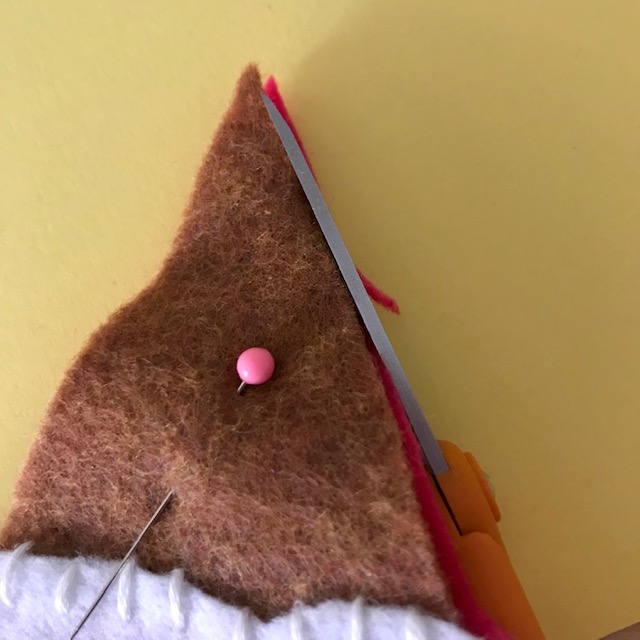
- Now use the embroidery floss to stitch almost all the way around the two pieces that are held together. The whip stitch shown here creates a strong and attractive closure and edge (see photos). Start from the inside of one layer, and evenly create visible stitches across the edges of the felt to connect them. Leave about 1.5” (inch) open around the top so the stuffing and string can be added later. Keep the embroidery floss and needle attached (don’t cut it off!).
- Fill each shape gently with polyester fiberfill stuffing. They should be puffy and filled but not too overfilled or hard.
- Cut a piece of ribbon or string (about 6” long) that will form the loop. Knot it at the end.
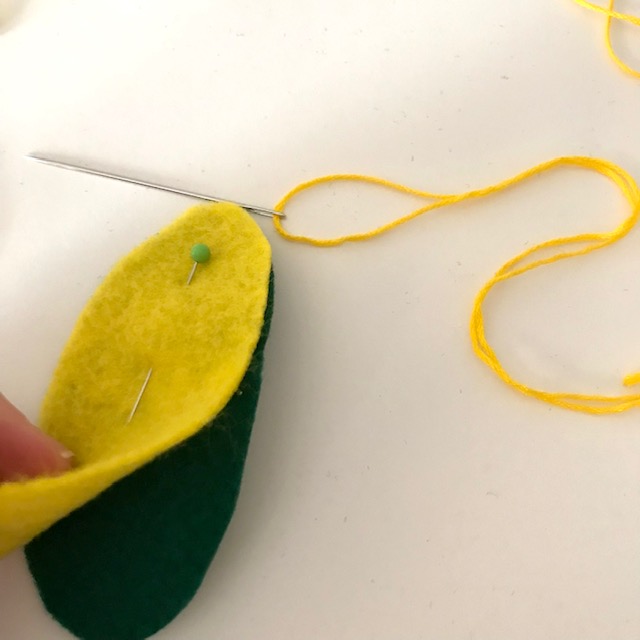
- Place the string loop down into the open top of the ornament and make sure it’s surrounded by stuffing. Add more stuffing on top. Place a pin across to hold it all together.
- Using the attached embroidery floss and hand needle, take the stitch all around the top of the ornament until it is completely closed. Discretely knot and trim off the thread.
- For the final step, use a hand-sewing needle and all-purpose thread to carefully attach the toppings (see photos). Embroidery floss was also used to stitch together the tomato and lettuce and add an extra handmade element. The felt toppings should be secure and not loose enough to fall off.
- Place the ornaments in a festive spot, away from water and/or heat. Store in a dry place when not in use.