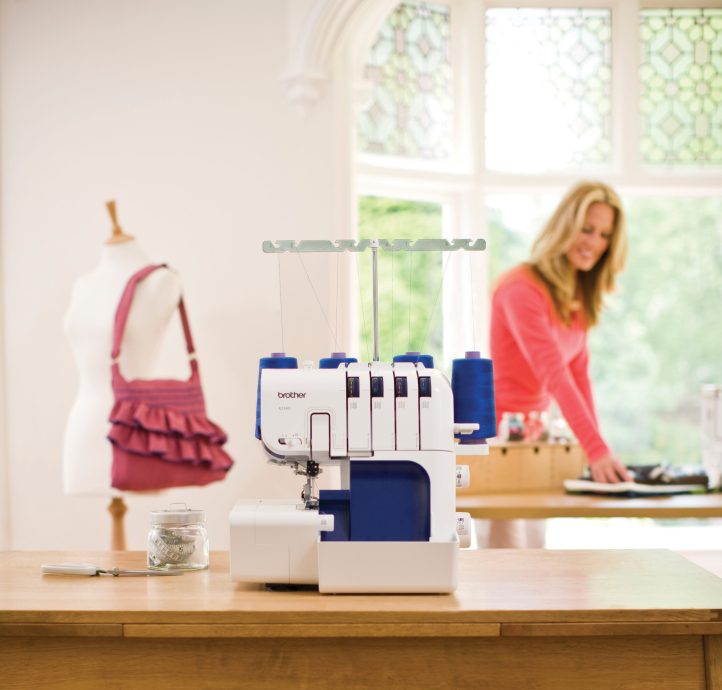
Photo: Brother’s 4234D serger. Photo provided by designer.
Whether you’re sewing your own wardrobe, whipping up handmade gifts, or simply looking to neaten your seams, a serger (also known as an overlocker) can seriously advance your sewing game. With its speedy stitching and professional finish, it’s no wonder this machine is a firm favorite among garment makers.
That being said, all those threads and moving parts can seem like a lot to handle – so if you’re feeling a bit lost, don’t worry, you’re not alone! Many makers feel overwhelmed when using a serger for the first time. This guide will help you get to grips with your new machine, giving you the confidence to dive in and start making straight away.
What Is a Serger?
A serger is a specialist sewing machine that trims, stitches, and finishes the edge of your fabric all at once. It uses multiple threads (usually three or four) to create a stretchy, durable zigzag seam – perfect for knit fabrics and garments that need to move freely with your body. Unlike a regular sewing machine, a serger also has a built-in blade that can trim the material as you sew, creating a neat raw edge that’s totally encased in thread. The result? A seam that looks just like those inside your store-bought clothes.
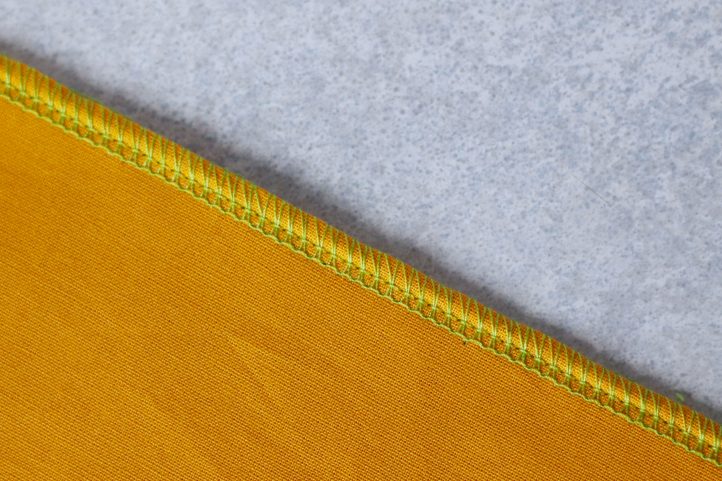
Photo provided by designer
How Does a Serger Work?
Unlike a regular sewing machine, which offers a wide range of stitches and functions, a serger is built for just a handful of tasks – but it does them very well. As mentioned above, its main job is to trim, stitch, and finish the edge of your fabric in one step, creating a slightly stretchy ‘overlocked’ seam that looks neat and professional.
It creates the overlock stitch using multiple threads (usually from two needles and two loopers) which work together to wrap around the edge of the fabric. As you feed the material through, a built-in blade trims away the excess, the loopers wrap thread around the freshly cut edge, and the needles secure the layers with straight stitches. The result? A durable, fray-resistant seam that gives your projects a polished, ready-to-wear look.
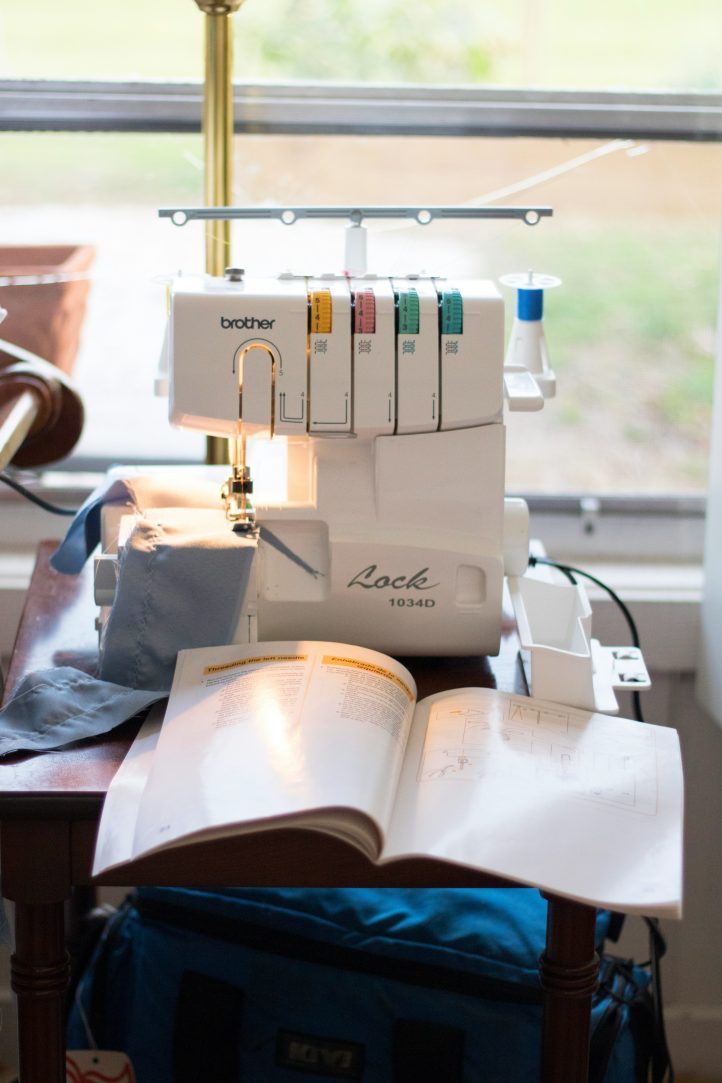
Photo provided by designer
Are Sergers and Overlockers the Same?
Yes! Sergers and overlockers are the same machine – they’re just given different names, depending where you live. ‘Overlocker’ is the term commonly used in the UK, Australia, and other parts of the Commonwealth. ‘Serger’ is the term more often used in the USA and Canada.
Anatomy of a Serger
Before diving into your first project, it’s worth getting to know the key parts of your machine. While both a sewing machine and a serger stitch pieces of fabric together, their build and operation are quite different. A serger is designed to trim, stitch, and finish edges all at once, using multiple threads and loopers rather than a single bobbin and top thread.
Here are a few key parts of your serger to familiarize yourself with:
Loopers: These small, hook-shaped components form the looped threads that make up the finished seam. Most sergers have an upper and lower looper, which work together with the needles to form the overlock stitch that wraps neatly around the edge of your fabric.
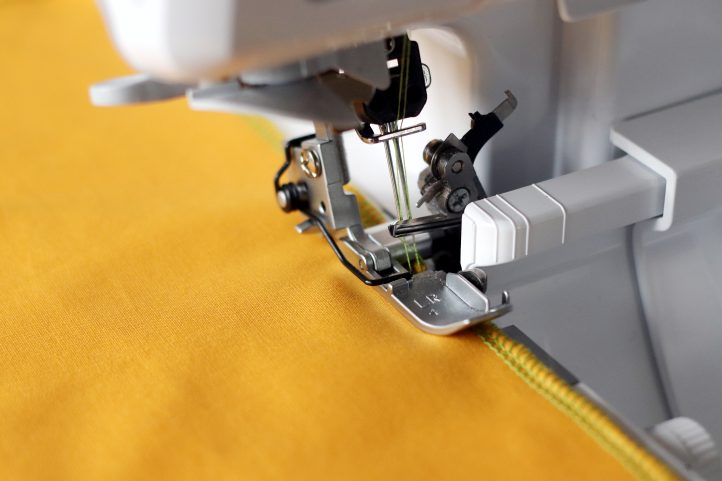
Photo provided by designer
Needles: Just like your regular sewing machine, your serger uses needles to guide the thread in and out of the fabric. Most sergers have two needles, which work together with the loopers to create the overlock stitch.
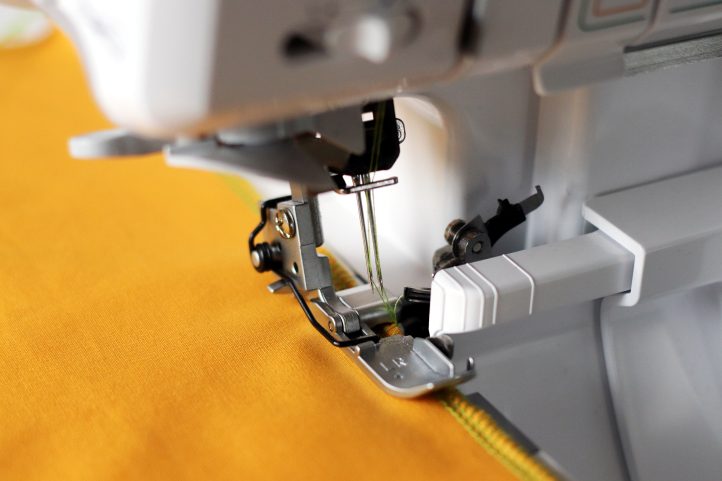
Photo provided by designer
Knife blade: Positioned next to your needle plate, this built-in blade trims the fabric slightly as you sew. It creates a clean, even edge that’s immediately enclosed within the overlock stitch for a tidy, professional finish.
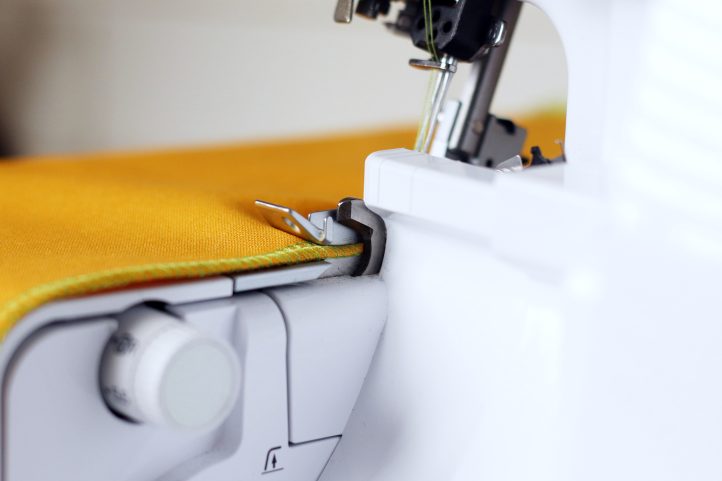
Photo provided by designer
Tension dials: Again, just as your regular sewing machine uses adjustable tension to create the perfect stitch, your serger does too. Most of the time, you can leave the tension as it is – however, for some fabrics, you might need to adjust it up or down to get a better result. Think of it a bit like a tug-of-war; the higher the tension is, the more friction will be placed upon the thread as it’s being pulled through the machine. More friction means the thread will be sewn in tighter.
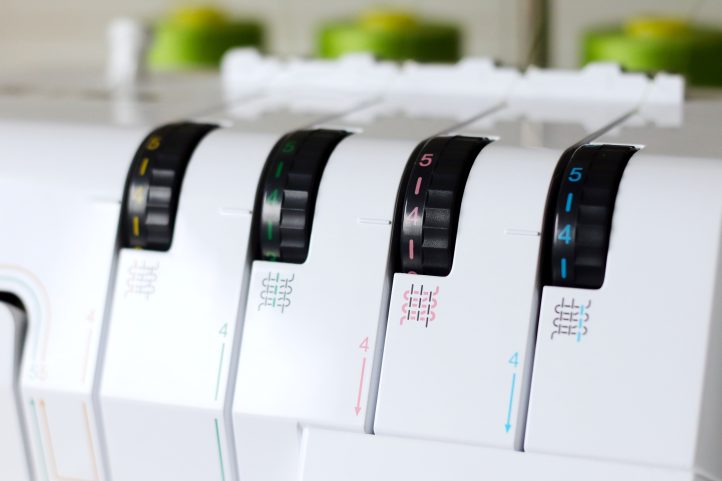
Photo provided by designer
Presser foot: Just like your regular sewing machine, your serger uses a presser foot to hold the fabric in place as you work. There will be a lever somewhere on your machine that raises and lifts the foot.
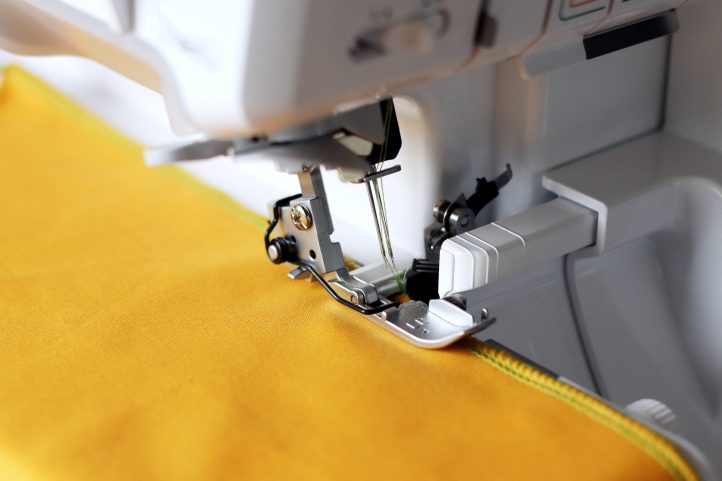
Photo provided by designer
Thread pole/tree: This metal contraption holds your working threads up and out of the way and guides them into the machine, keeping them untangled. It will usually have a guide painted or engraved onto it to show you where each thread needs to go.
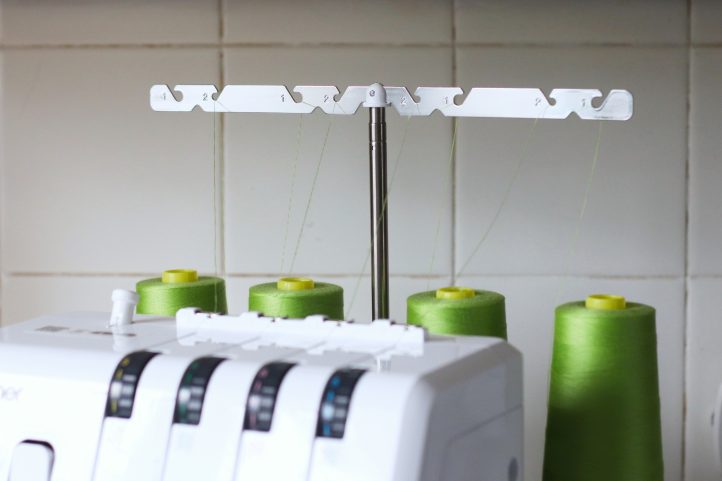
Photo provided by designer
Feed dogs: These are the little teeth that are built into the needle plate of your machine. They grip the fabric and guide it under the needle at an even speed, to ensure smooth results.
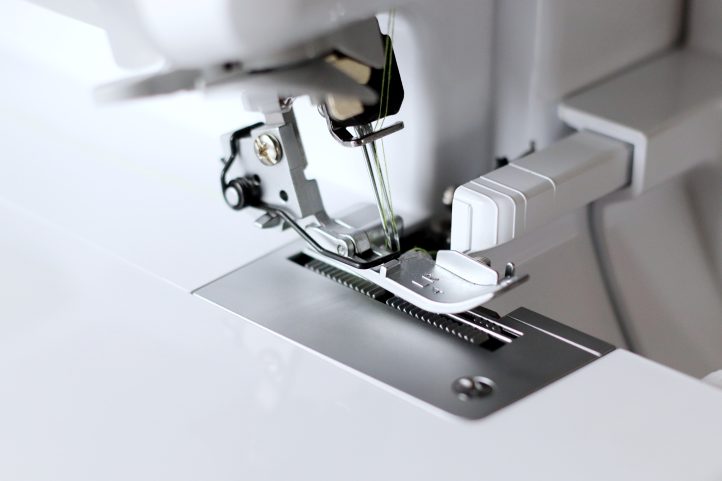
Photo provided by designer
Differential feed: Some (but not all) sergers come with a ‘differential feed’ function. This allows you to adjust how the front and back feed dogs move in relation to each other, giving you more flexibility when working with tricky stretchy fabrics that might otherwise distort.
Let’s Get Thready
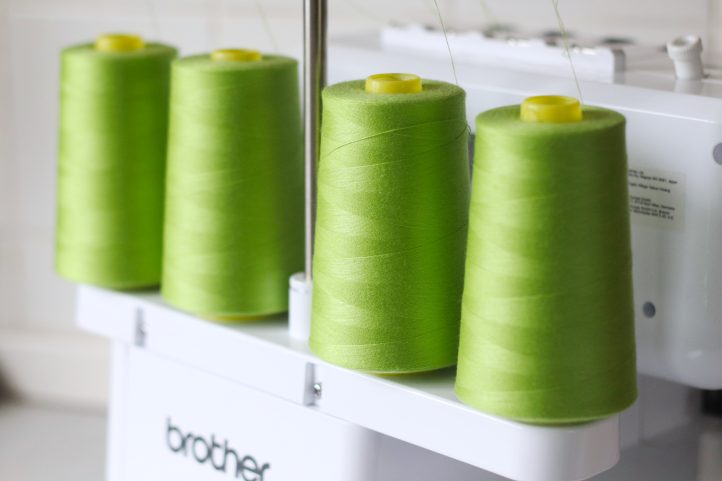
Photo provided by designer
Okay, let’s be real: threading your serger is the scariest part of the whole experience – especially the first time you do it. But once you understand how it’s done and have a few practices under your belt, it really does become second nature.
Start by making sure the presser foot is up – this keeps the tension discs open so the threads can slot in properly. Then, grab your manual and check the correct threading order for your machine.
Most sergers follow a standard order: upper looper, lower looper, then the needles. If you do it out of sequence, the threads can cross over or get tangled, so it’s worth taking the extra time to double-check.
To make the process easier, you can follow your machine’s threading guide. These use colored (or numbered) markers that show the exact path each thread should take through the machine. Go slowly, thread one section at a time, and double-check each path before moving on.
If the idea of re-threading your serger from scratch every time feels daunting, there are a couple of tricks that can help.
One popular method is the tie-on technique: instead of re-threading the whole machine each time, simply snip the old threads back near the spools, tie the new reel onto the ends, and gently pull them through the thread paths using the hand wheel. Just remember to snip and re-thread the needles when you reach them, as the knotted ends might get stuck.
Some sergers now come with self-threading or air-threading technology, which makes the process even easier. These machines use a clever built-in system to blow or suck the looper threads through the machine for you, saving lots of time and stress. They’re generally more expensive than traditional sergers, but the effort saved can be worth the extra investment.
What are Sergers Best Used For?
So, you’ve got your new serger threaded and ready to go – what next? While sergers are versatile and can be used for all kinds of sewing projects, there are a few situations where they really shine:
- Sewing stretch fabrics. Whether you’re making t-shirts, leggings, jersey dresses, or swimwear – stretchy fabrics are almost always easier to stitch with a serger, thanks to the flexible seams it creates.
- Neatening seam edges. Even if you choose to stick with your regular machine for constructing your garments, you can finish the raw edges of the fabric with an overlocker to stop them from fraying.
- Rolled hems. Want a delicate hem on chiffon or lightweight satin? Some sergers have a rolled hem setting that creates a fine, neat finish – ideal for scarves, napkins, or ruffles.
- Decorative seams. Use a contrasting thread to work visible stitching, or try flatlocking for a sporty, decorative finish on activewear.
Handy Hints to Achieve Serger Success
Go slow. It might sound obvious, but sergers work much faster than regular machines – so it’s important to ease off the foot pedal, especially when you’re just starting out. Take it slow and steady, and work through your projects one step at a time. You’ll have more control and make fewer mistakes, which means a smoother, more enjoyable sewing experience all round.
Test on scraps first. Your tension and fabric thickness can affect your stitch quality, so always check your settings on a spare piece of material before sewing your final garment.
Keep a notebook and pencil close by. Jot down the tension and stitch settings that work best for different fabrics as you go. It might seem like a small thing, but having a quick reference to look back on will save lots of time and guesswork later. Your future self will thank you!
Don’t sew over pins. Hitting a pin can damage the blades or needles of your machine or throw it out of alignment. If you’re worried about your fabric layers shifting, use a long straight stitch on your regular sewing machine to baste them together before serging the final seam.
Don’t leave your thread guide down. Sometimes, you might need to lower your thread tree for storage, or to keep it out of the way – always ensure you’ve pulled it back up again before you start stitching, or your threads might become misaligned.
Clean your serger regularly. All that speedy stitching and fabric trimming can create a surprising amount of lint. Give your machine a quick brush-out after each use, with a more thorough clean every few projects. If your serger comes with a little scrap catcher or bin, don’t forget to empty it after each make – it fills up fast!
Let’s Go!
It might feel intimidating at first, but learning to use a serger opens up a world of sewing possibilities. With practice, you’ll be zipping through seams, finishing edges like a pro, and wondering how you ever managed without it. So plug it in, thread it up, and start stitching – your handmade wardrobe just got a serious upgrade!
Good info for first time user. Thank you.
We’re so happy to hear that you enjoyed this article, Vikki! Have a great day 🙂 – Ashley, We Like Sewing