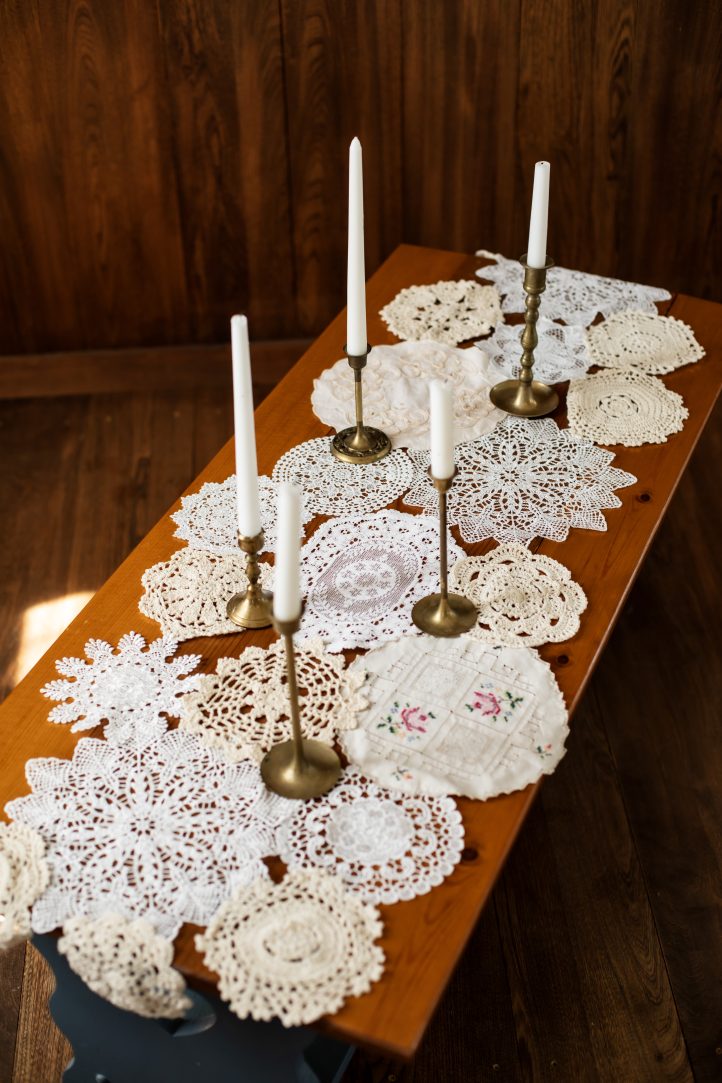
If you’ve been hoarding Granny’s vintage doilies in the attic, the time has come to put them to good use. Sophie Tarrant shows readers how to transform vintage doilies into an elegant table runner with this stunning upcycling project. Easily made to fit any table size, this table runner sewing pattern is a dreamy décor DIY for weddings, bridal and baby showers, or stylish season dining. Dress up your dining room table by adding some antique charm with this upcycled sewing project.
Skill Level: Beginner
Finished Size: Custom
Designer Note: Rainbow Bright: Not a fan of neutrals? You can easily add a pop of color to your runner by dyeing your doilies before you stitch them together. Just be sure to choose a fabric dye that is compatible with the fiber content of your doilies, whether they are cotton, linen, or another material. It’s also a good idea to test the dye on a small piece of the fabric first to ensure you’re happy with the color and that it takes well. Remember, the dyeing process can vary depending on the material, so follow the manufacturer’s instructions carefully for the best results.
Materials:
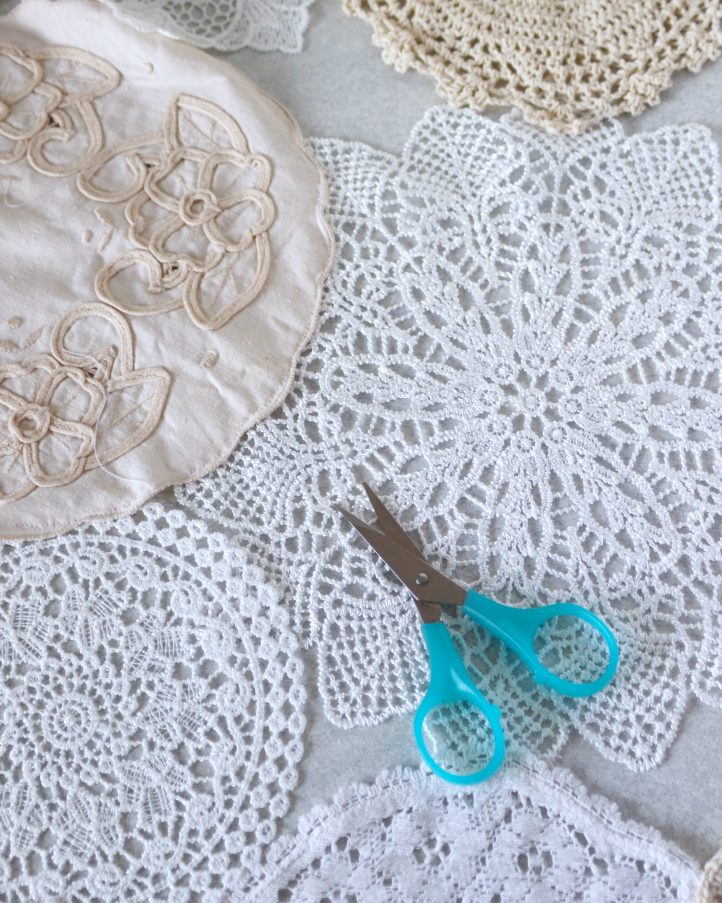
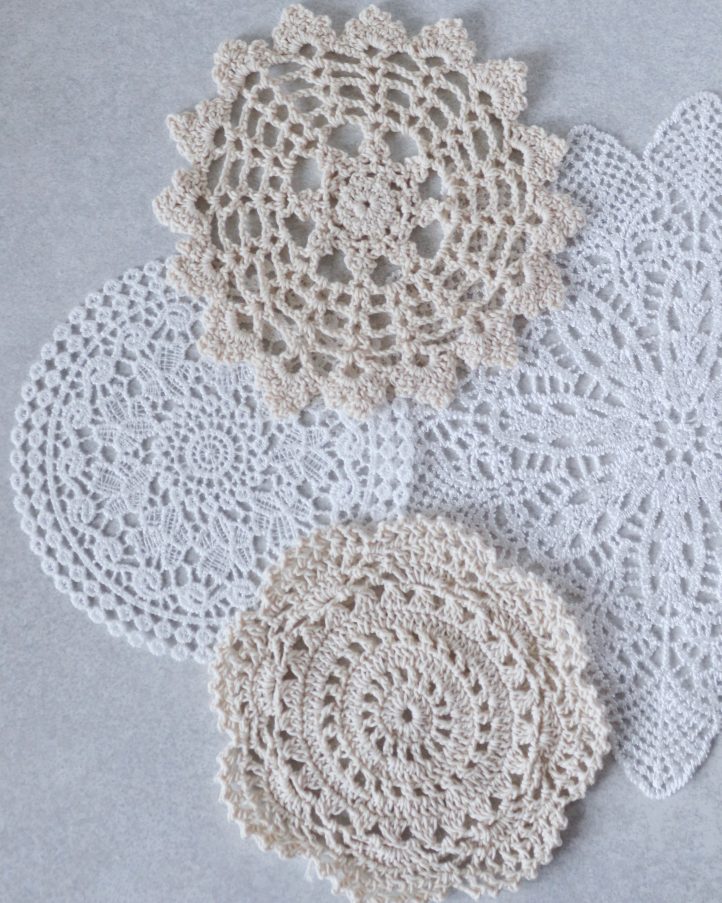
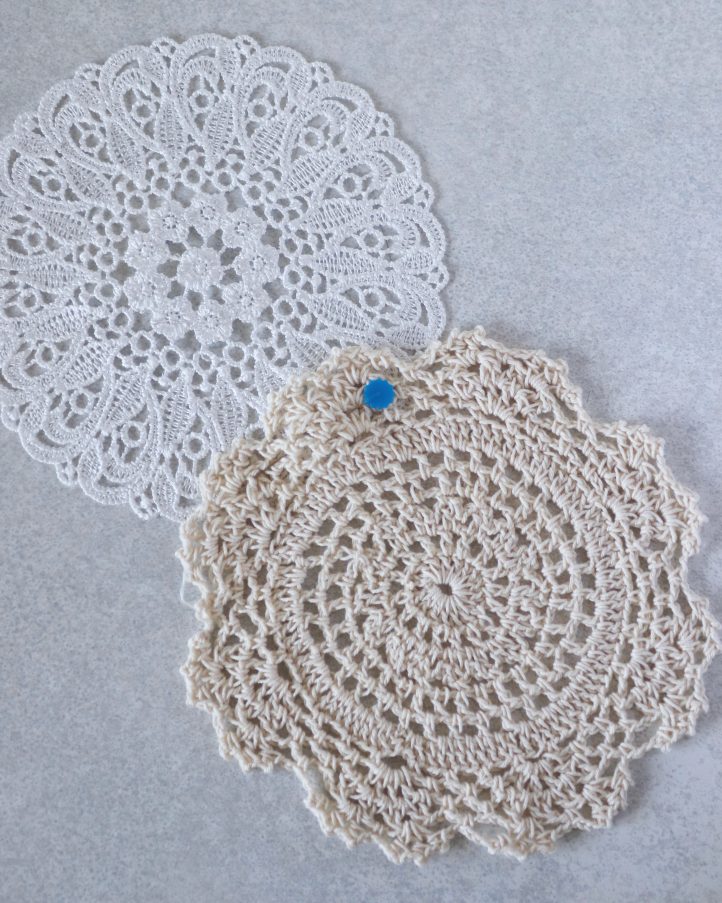
- Vintage lace doilies
- Thread: White
Tools:
- Pins or clips
- Sewing machine
- Hand sewing needle
- Iron
- Scissors
Sewing Instructions:
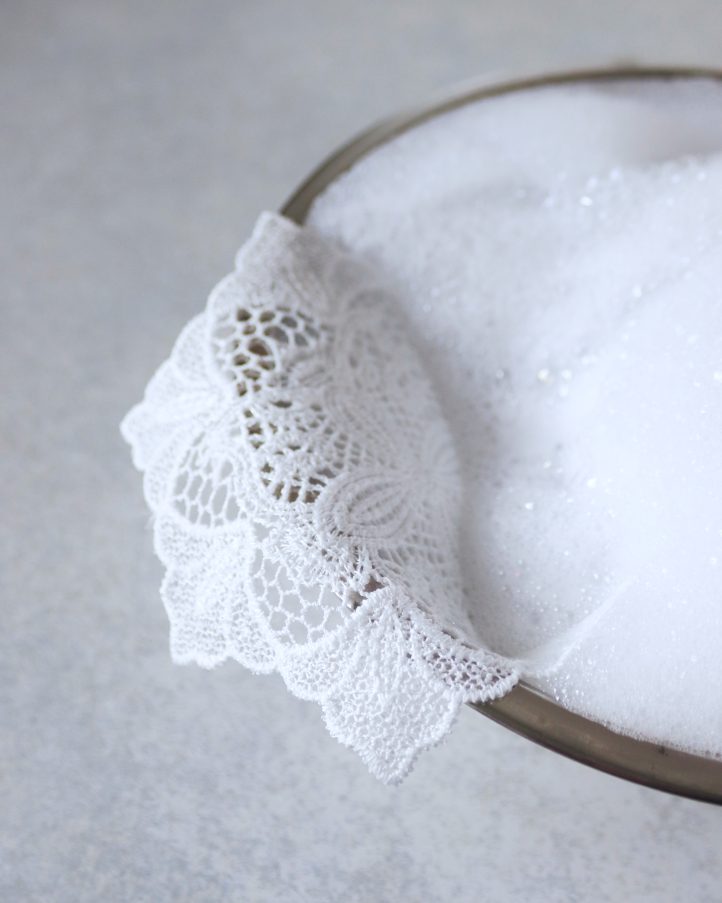
- Gather your lace doilies and gently wash them all by hand, to remove any dust or dirt that might be trapped in the fibers. They’re likely to be delicate, so avoid scrubbing them roughly or tugging at the material. Once clean, lay them flat to dry, then gently press each one using an iron set to a low heat.
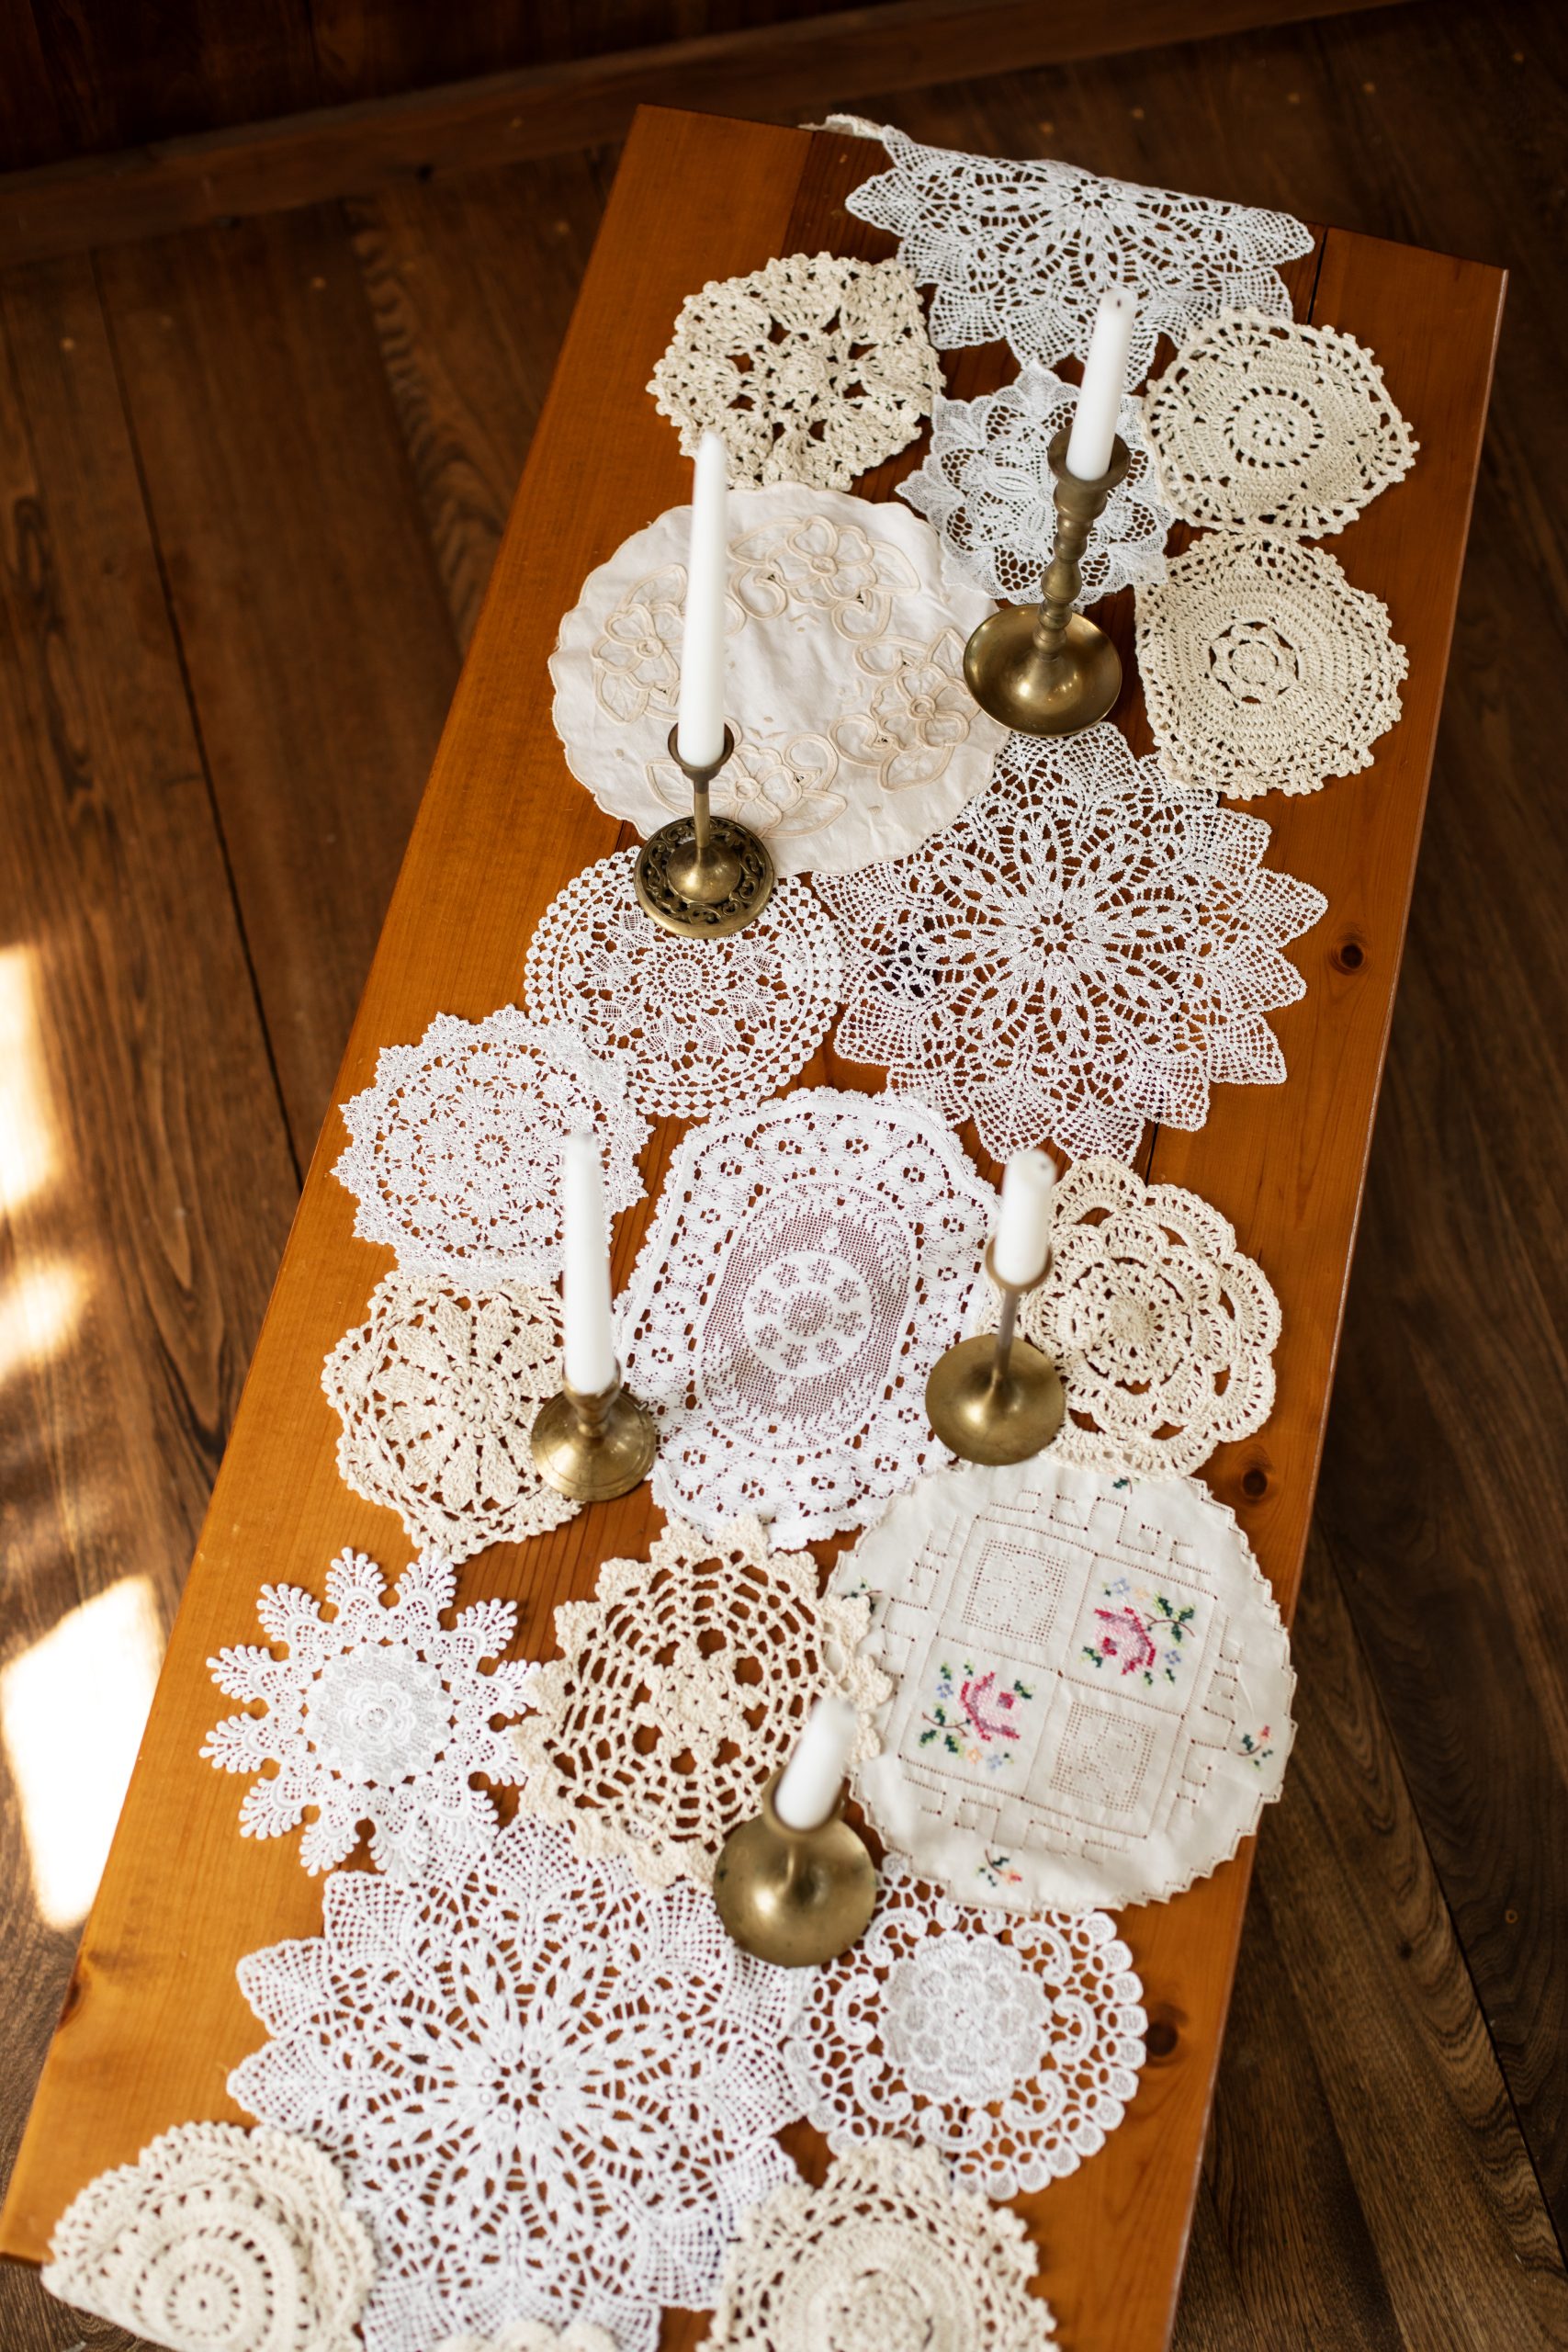
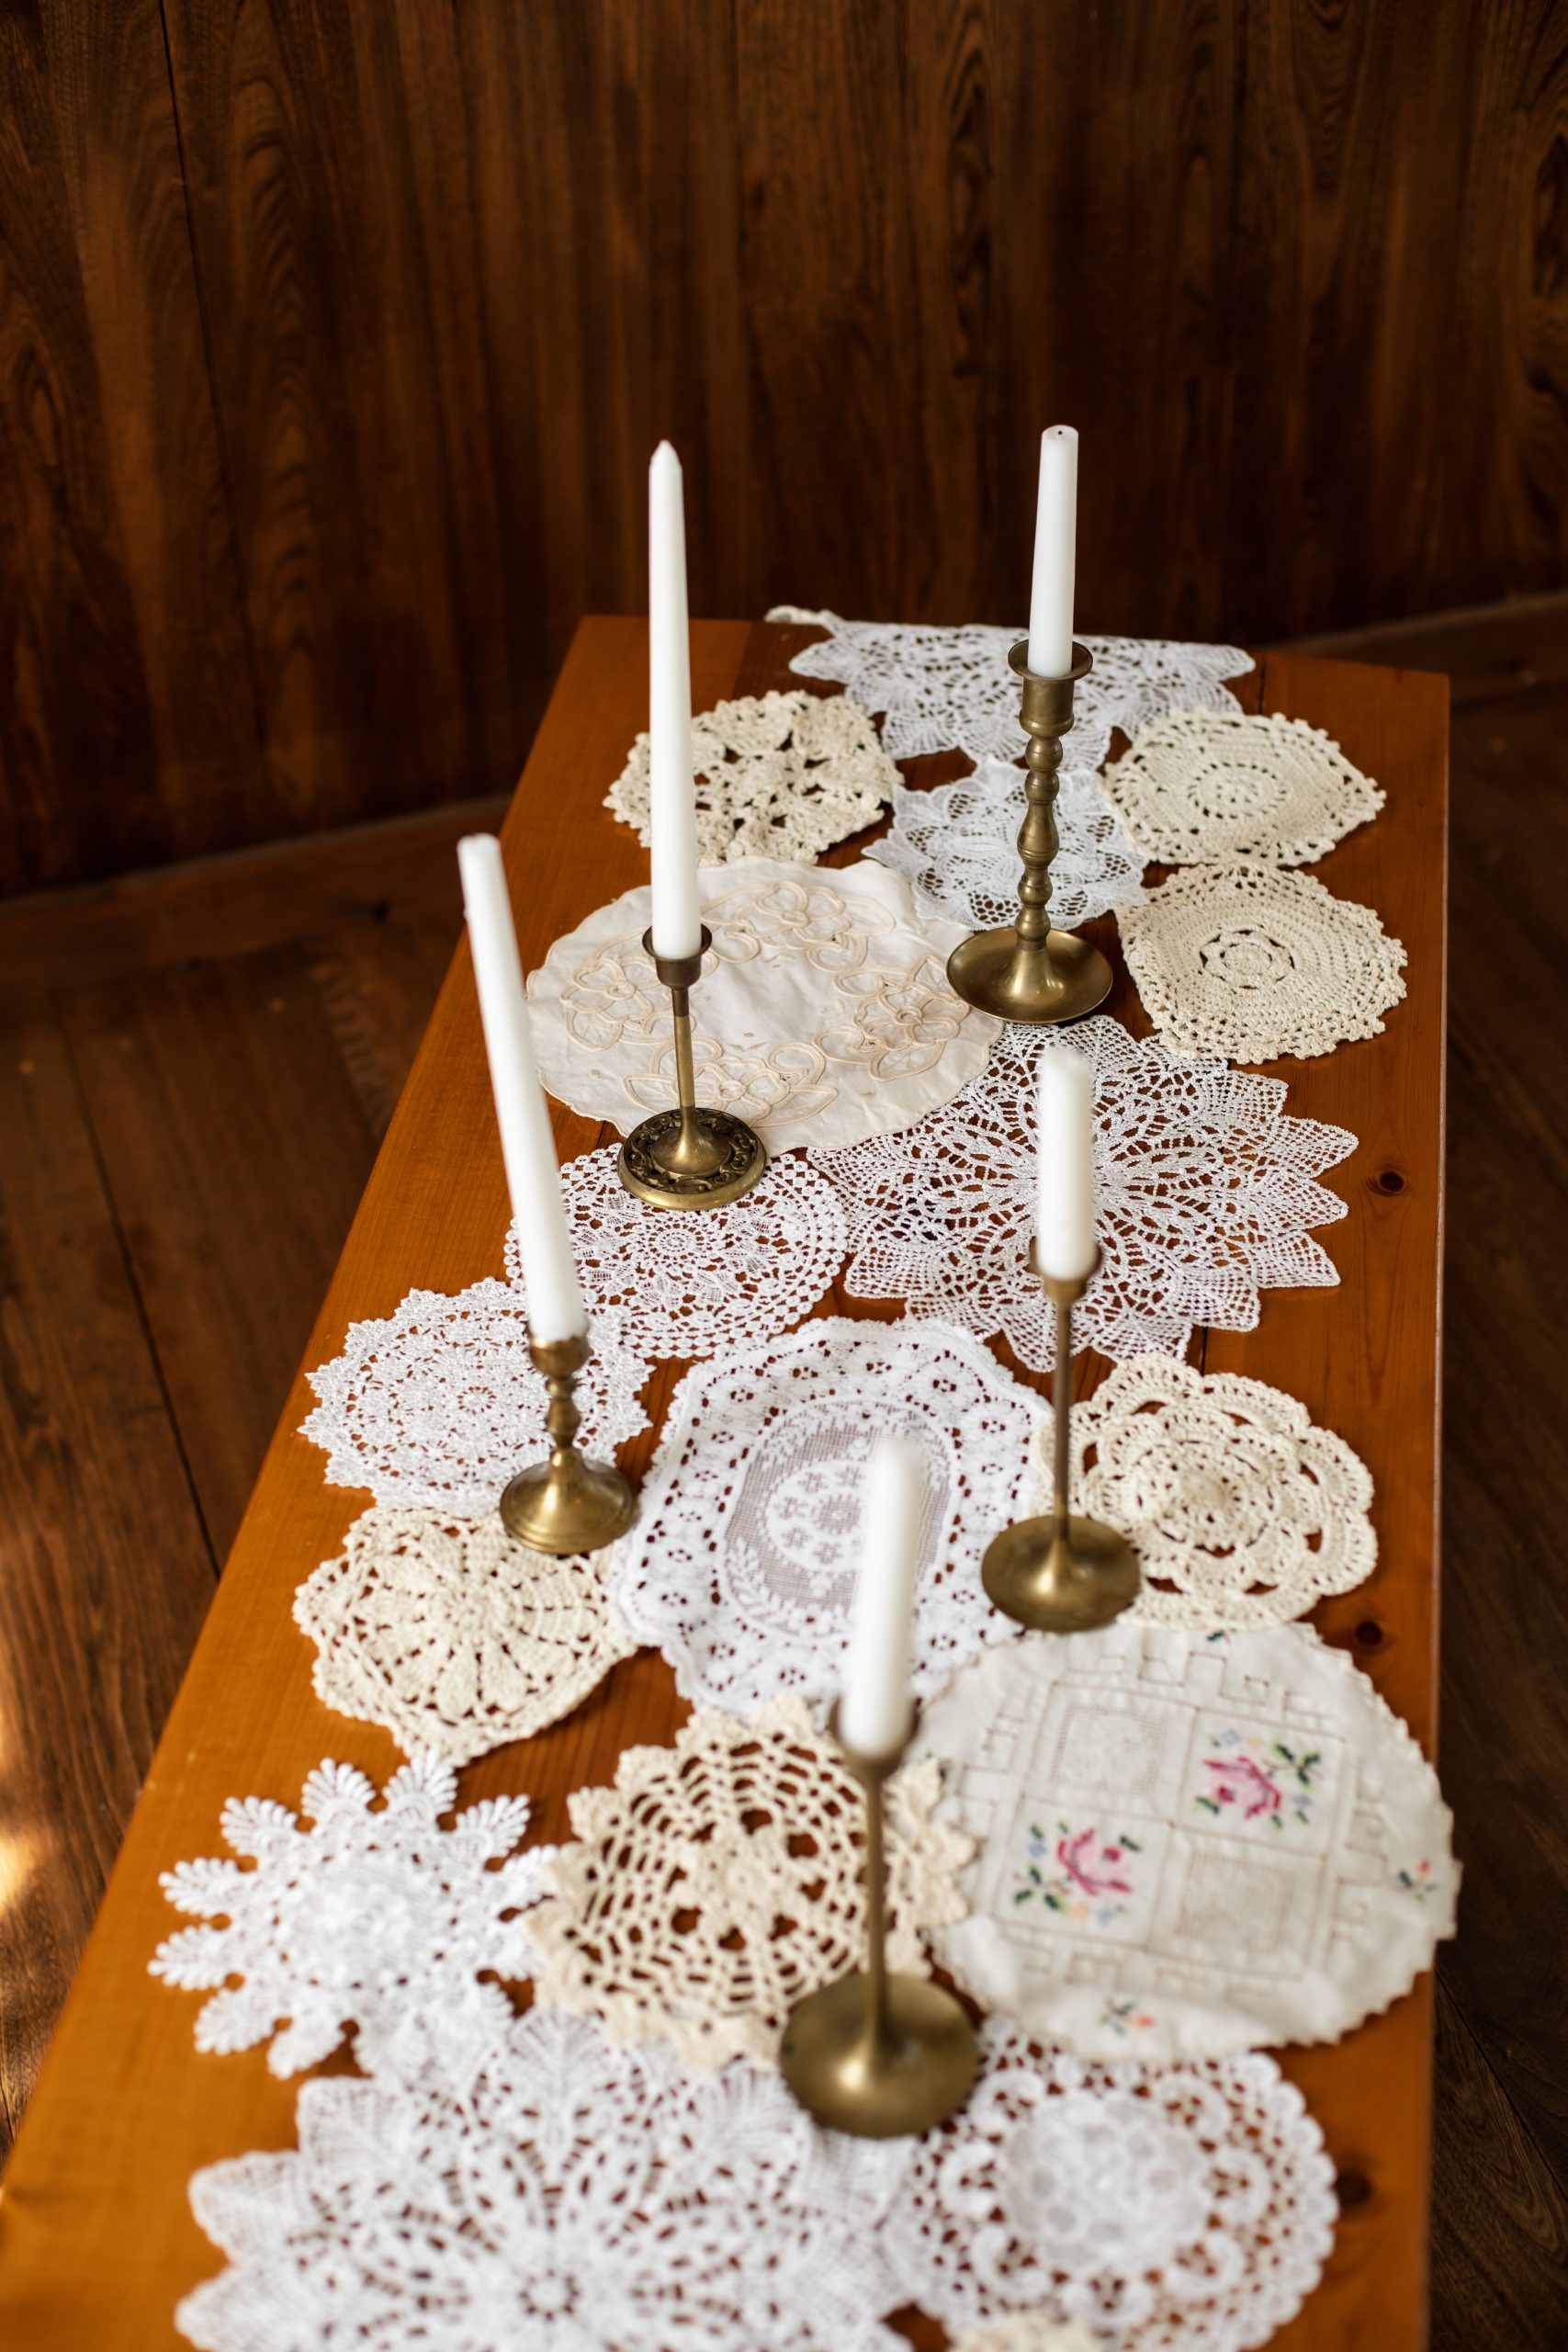
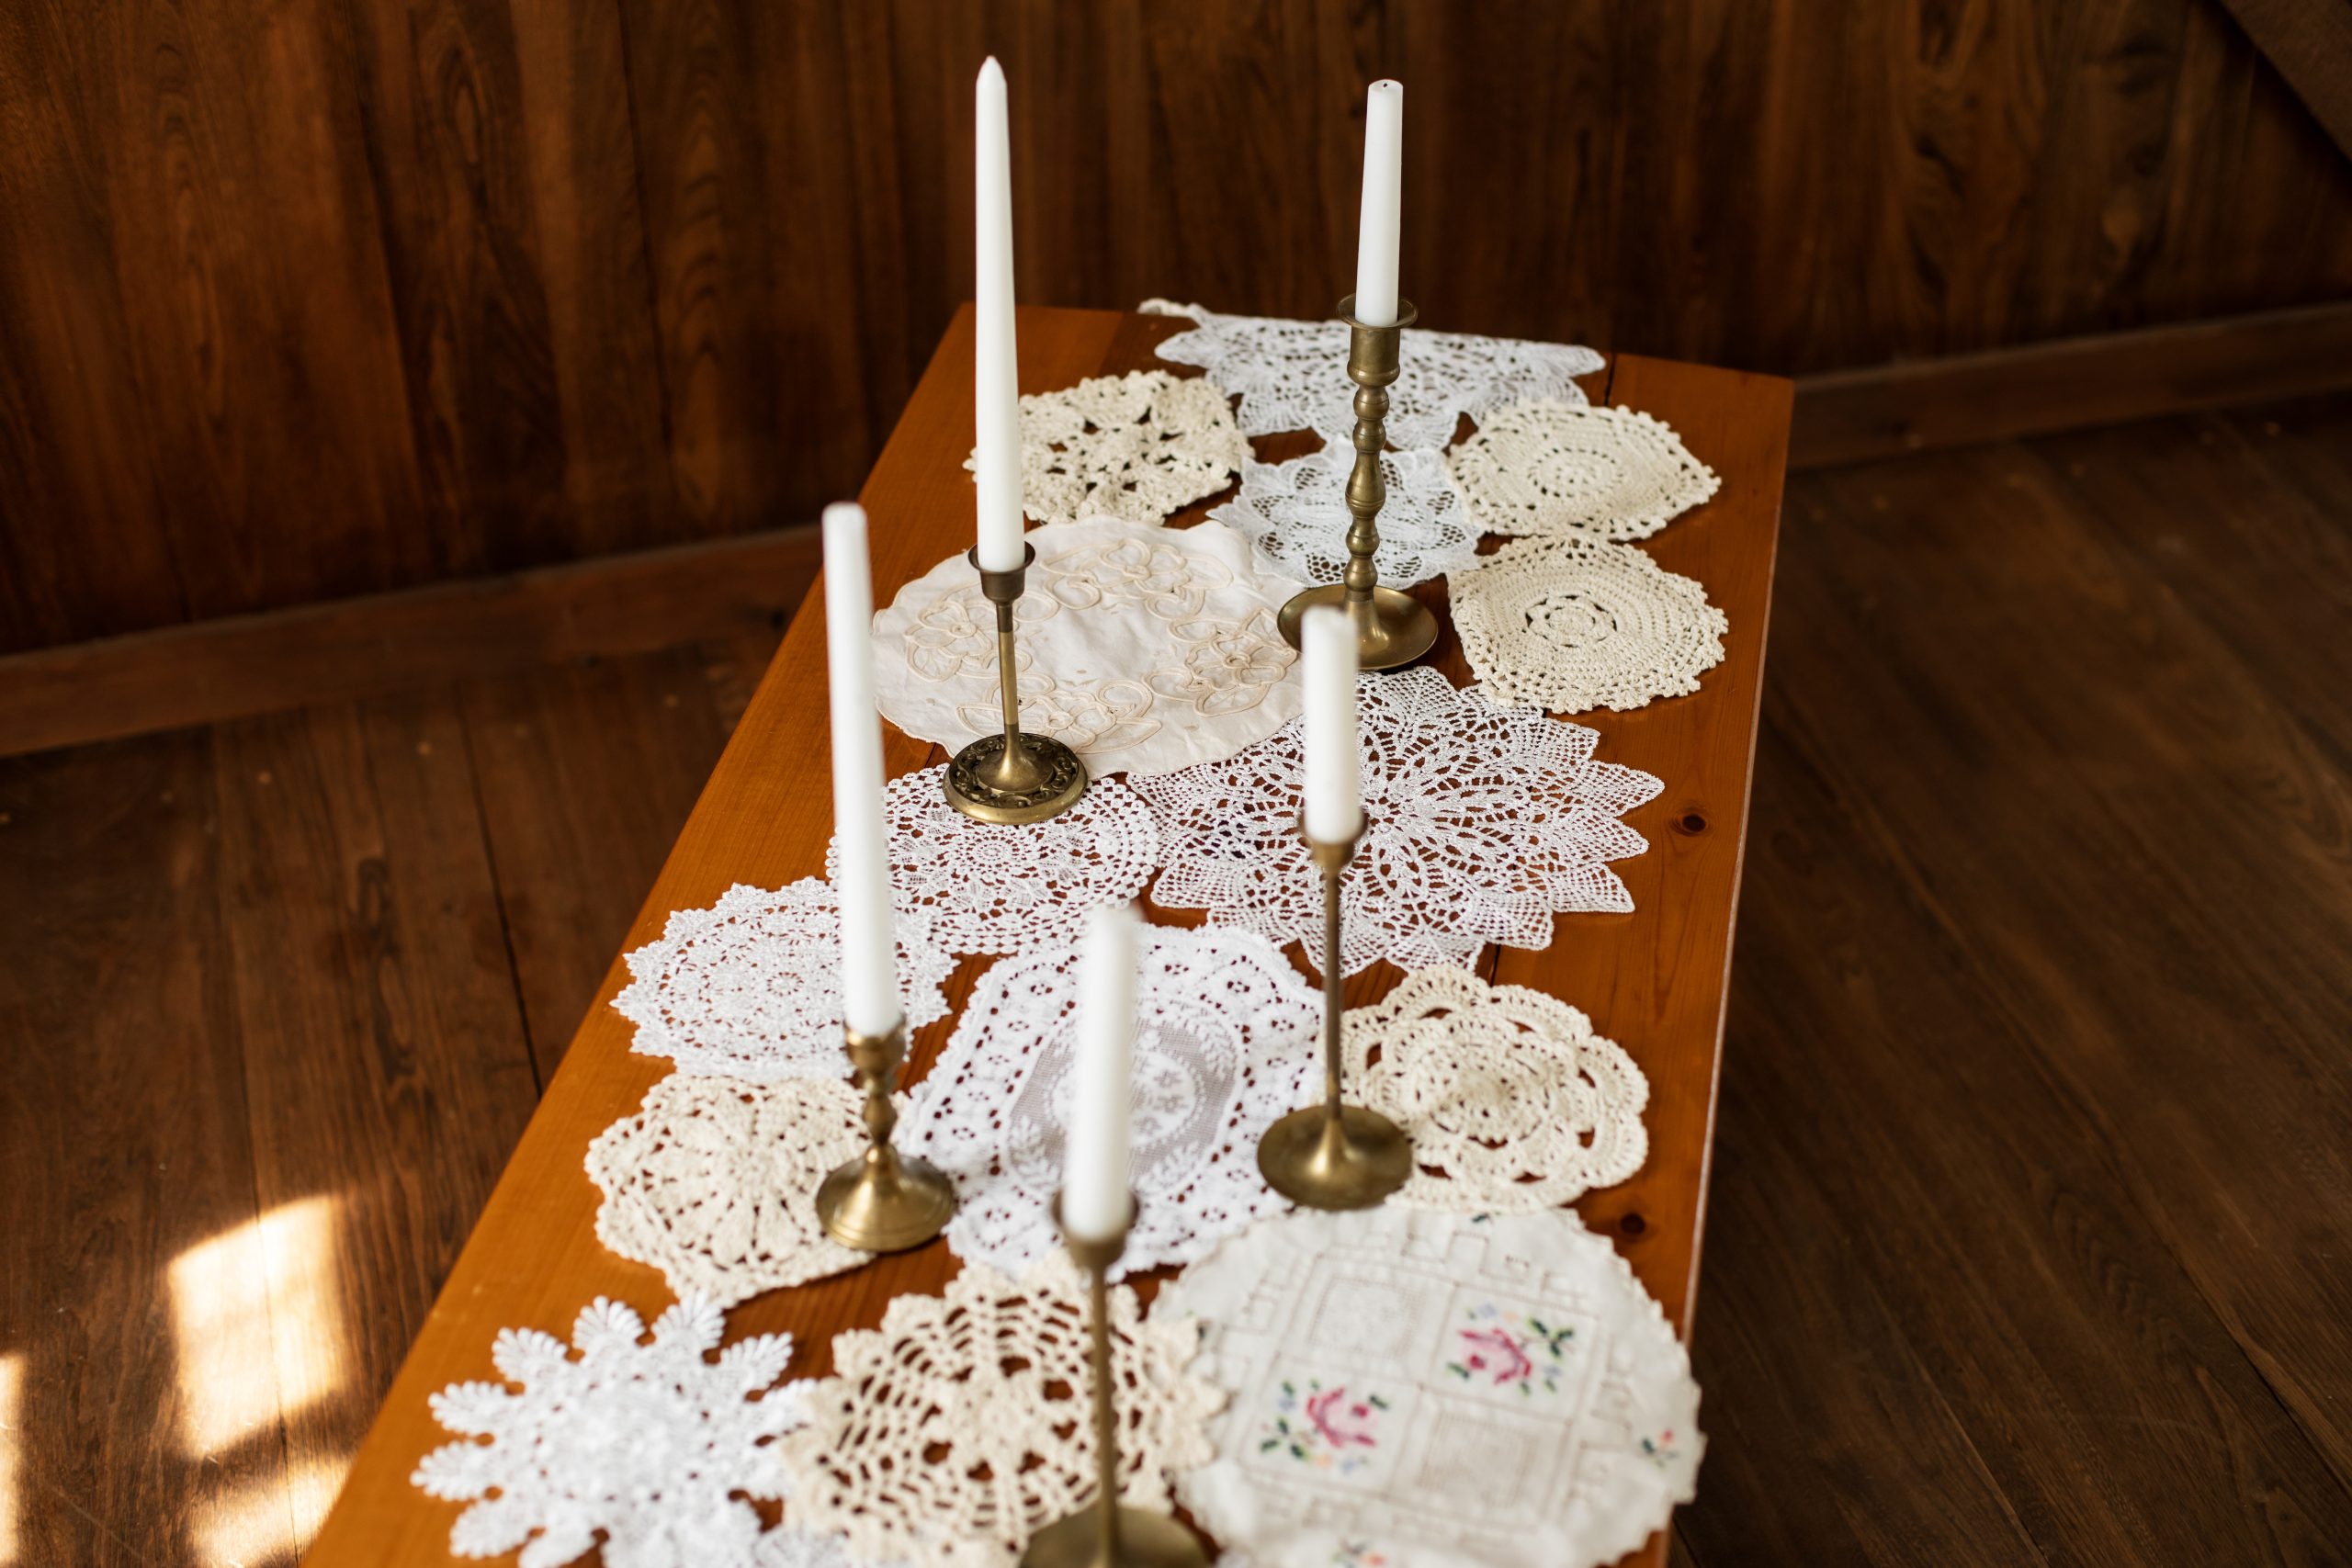
- Clear a large work surface, so you can lay out all your doilies. If you have a lot, consider using the floor – just be sure it’s clean first. Starting at one end, arrange your doilies in a table runner shape. Make sure that each one slightly overlaps at least one other, as this is how they’ll eventually be held together. Continue until you’ve added all your doilies and are satisfied with the size, shape, and overall look of the runner.
- Take a photo of your arrangement, so you can refer back to where each doily needs to go as you work. Starting at one end, take the two outermost doilies and pin or clip them together at the point they overlap. Machine sew the layers together, using white thread and a straight running stitch. Sew along the edge of the overlapped doilies, concealing the stitches within the patterns of the lace. Once the first two are secured, take the next doily along and add it in the same way, referring back to your photo to make sure it’s in the correct position.
- Continue to sew your doilies together, referring back to your photo to make sure each one is in the correct place before you stitch them on. When your runner is complete, use a hand sewing needle to weave any loose thread tails to the back of the work, then tie them off and trim them away. Press once more to set the stitches and flatten out the runner.