Are you overwhelmed by your growing scrap collection and don’t know what to do with it? Did you know you can make a whole new piece of fabric using your scraps? So you’ve got your fabric scraps; now what? Think of them as puzzle pieces just waiting to be put together. Imagine the satisfaction of creating something beautiful from what was once considered waste. Let us guide you through three different methods to transform your scraps into a brand-new piece of fabric, igniting your creativity along the way.
Before we dive in, here are some tips on fabric types and how to choose your pieces:
While you can use any fabric you like, it’s best to stick to the same type. So, if you have lightweight cotton fabric pieces, try to choose the same or similar fabric types to go together. Avoid mixing woven fabrics with stretch fabrics, as the latter will stretch and cause your fabric to pull and pucker. Also, it’s best not to use heavy-weight fabrics, as these may be too bulky.
Remember, the color choices for your pieces are a canvas for your creativity. Explore your stash, pick out what sparks joy, lay them out, and see what harmonizes. The size of the pieces depends on what scraps you have in your stash and which method you choose, giving you the freedom to create something unique.
Materials:
- A selection of fabric scraps
- Lining fabric: If you want to line your fabric
- Quilt ruler and/or measuring tape, heat erasable pen
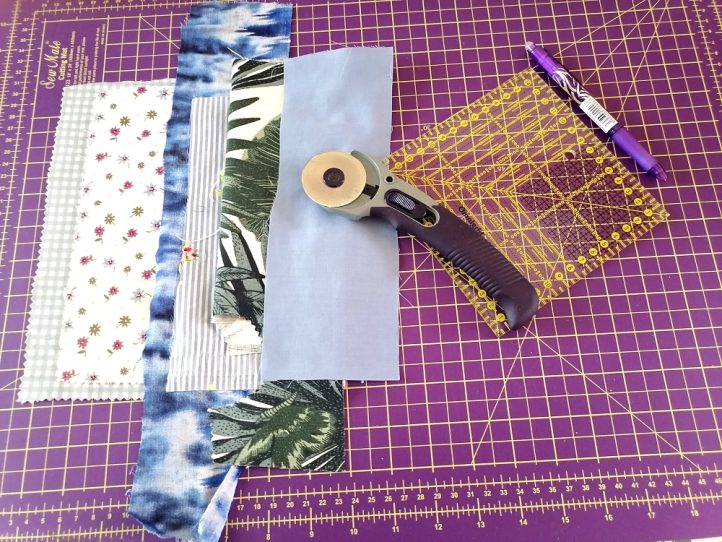
- Scissors or rotary cutter and cutting mat
- Pins or clips
- Sewing machine
- Thread
- Iron and ironing board
Simple Strips Method:
Ready for the quickest method? The ‘Simple Strips Method’ is a breeze. Just select your strips and sew them together. It’s that easy!
- Select and Cut Strips: Decide on the width and length of your fabric strips based on the project you have in mind. You can measure and cut your strips in width from 1 inch to several inches, depending on what you prefer and the scraps you have.

Photo provided by designer

Photo provided by designer

Photo provided by designer
- Arrange Strips: Lay your strips on a cutting mat (or flat surface), experimenting with colors and patterns to see what works best. Arrange your strips into pairs and take them to your sewing machine.
- Sew Strips Together: Place two strips right sides together and align the edges. Sew along the long edge with a 1/4-inch seam allowance. Backstitch at the beginning and end of the seam to secure the stitches. Repeat this process to sew additional fabric strips together, creating one piece of fabric. If some strips are longer than others, don’t worry. Everything will be trimmed later. Continue sewing your strips together until you’ve reached your desired size.
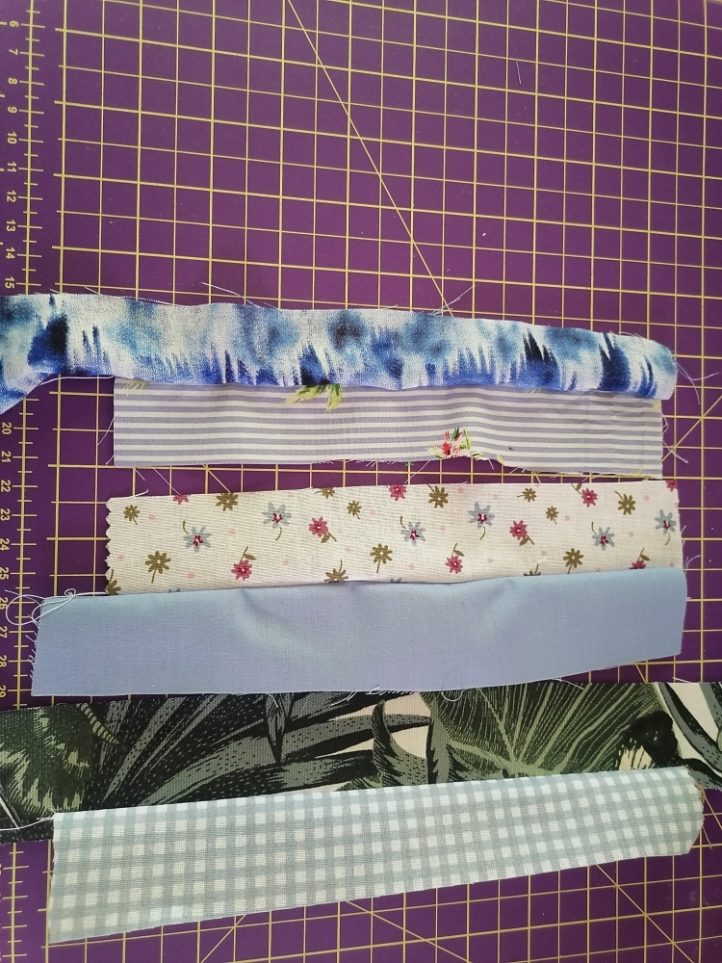
Photo provided by designer

Photo provided by designer

Photo provided by designer
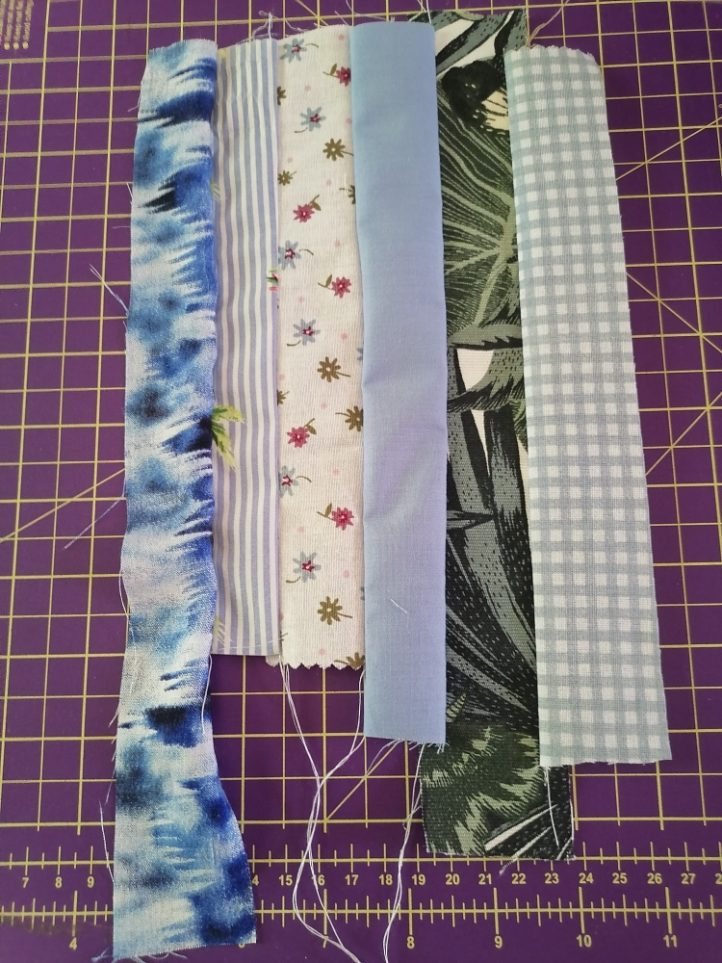
Photo provided by designer
- TIP: To speed up the process, you can chain sew your strips. Sew one pair, then when you come to the end, line up the next pair and keep sewing!
- Press and Trim: Press to set your seams on both sides, then press open your seam allowances or to one side for a neat finish. Trim any excess fabric from the edges to create straight and even edges. Use a ruler and rotary cutter or scissors to square off the edges of your fabric, ensuring that all sides are straight and parallel.

Photo provided by designer

Photo provided by designer
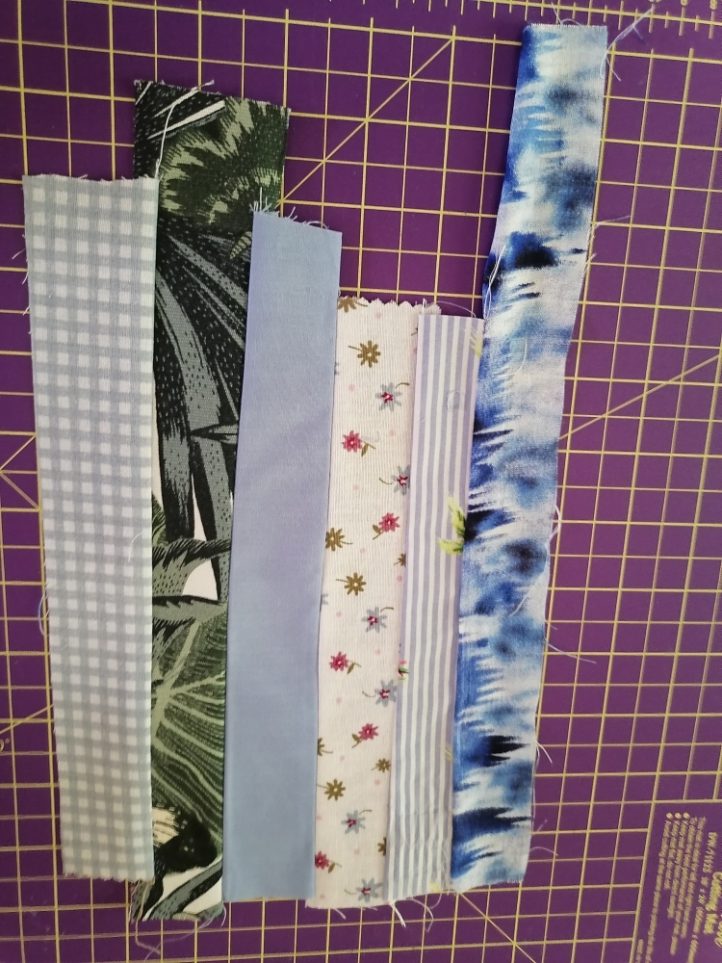
Photo provided by designer
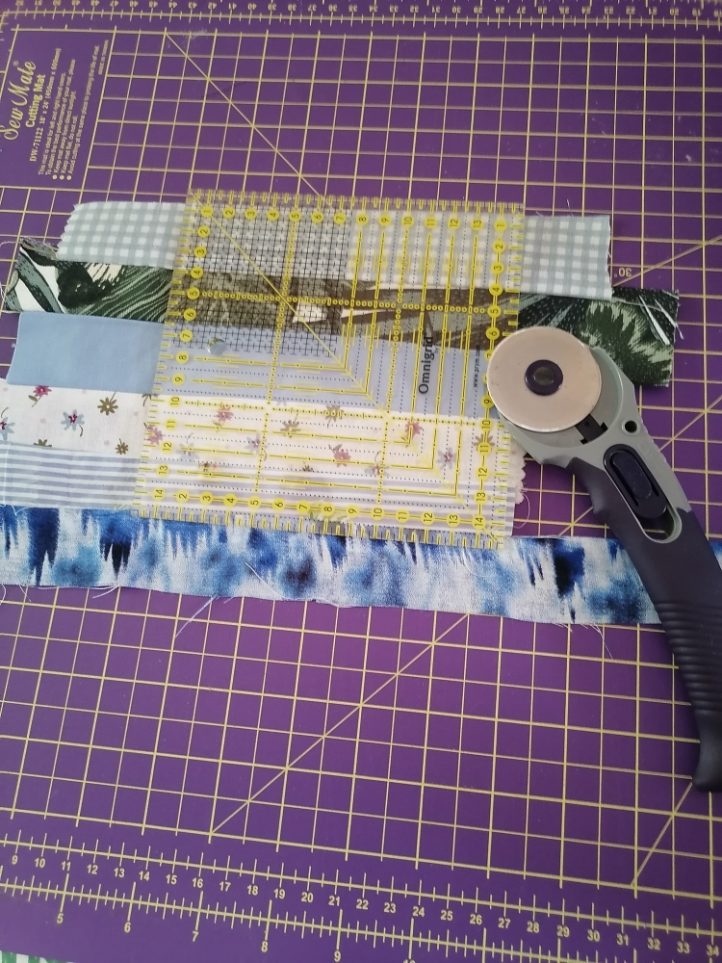
Photo provided by designer
- Final Press: Press the entire fabric on both sides with a hot iron to set the seams and create a smooth surface. Pressing helps to flatten the seams and gives your fabric a polished look.

Photo provided by designer
Patchwork Method:
Patchwork is like playing with a colorful puzzle! It’s a method that allows you to create unique designs by arranging your favorite fabric scraps in a fun pattern.
- Select Scraps: Sort through your fabric scraps and select the ones you’d like to use for your patchwork piece.
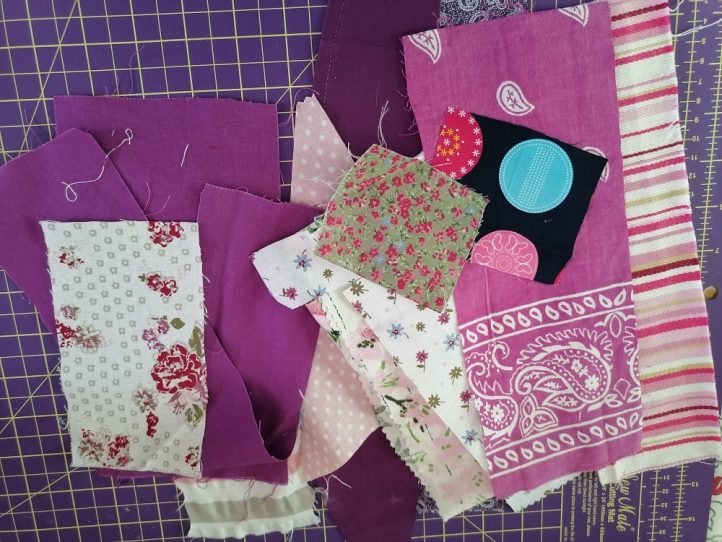
Photo provided by designer
- Cut Squares or Rectangles: Use a rotary cutter or scissors to cut your fabric scraps into squares or rectangles of the same size.

Photo provided by designer
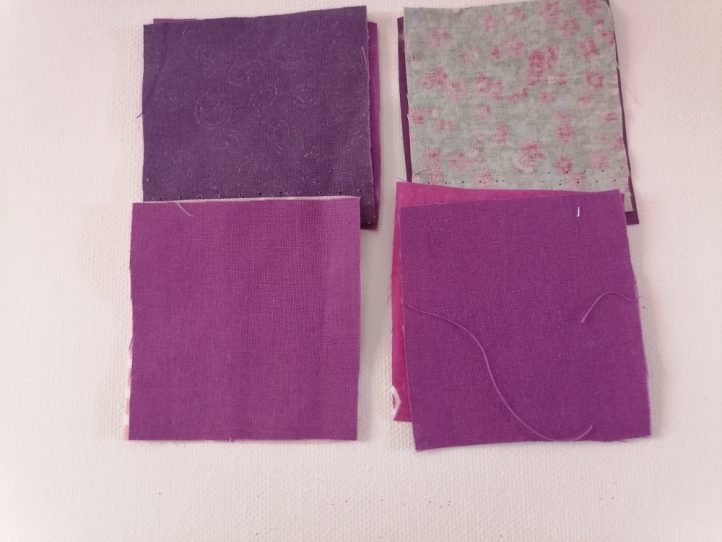
Photo provided by designer
- Arrange Pieces: Lay the pieces on a flat surface and experiment with different arrangements until you find a design that sparks joy. Consider alternating colors and patterns to create visual interest in your patchwork design. Now is your chance to play with the orientation of the fabric pieces and see what works best for you.
- Sew Pieces Together: Once you’re happy with your design, take all your pieces arranged in pairs to your sewing machine. Place two pieces right sides together and sew along one edge with a 1/4-inch seam allowance. Repeat to create rows, then sew the rows together creating a panel as big as you want.
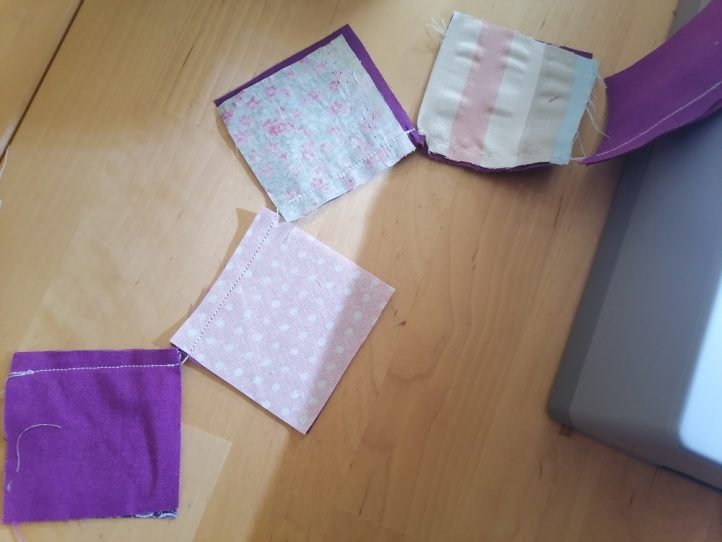
Photo provided by designer
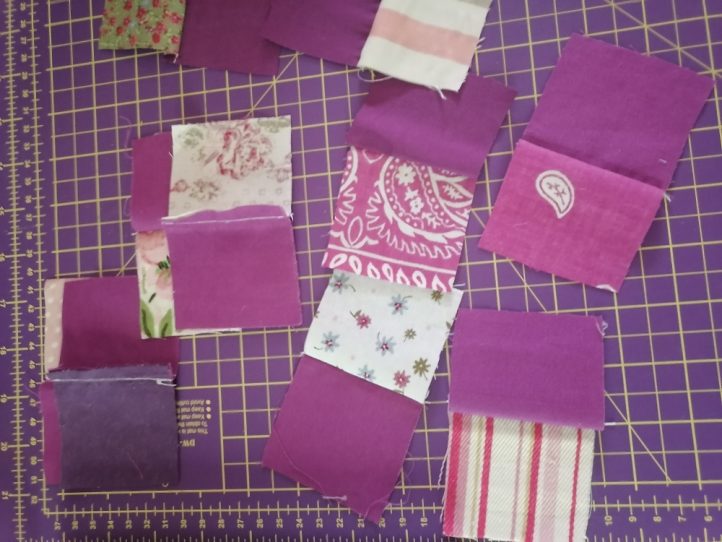
Photo provided by designer
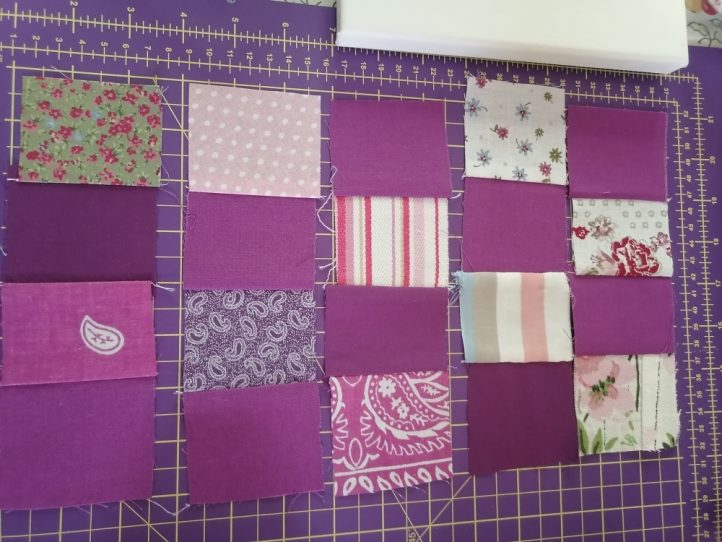
Photo provided by designer
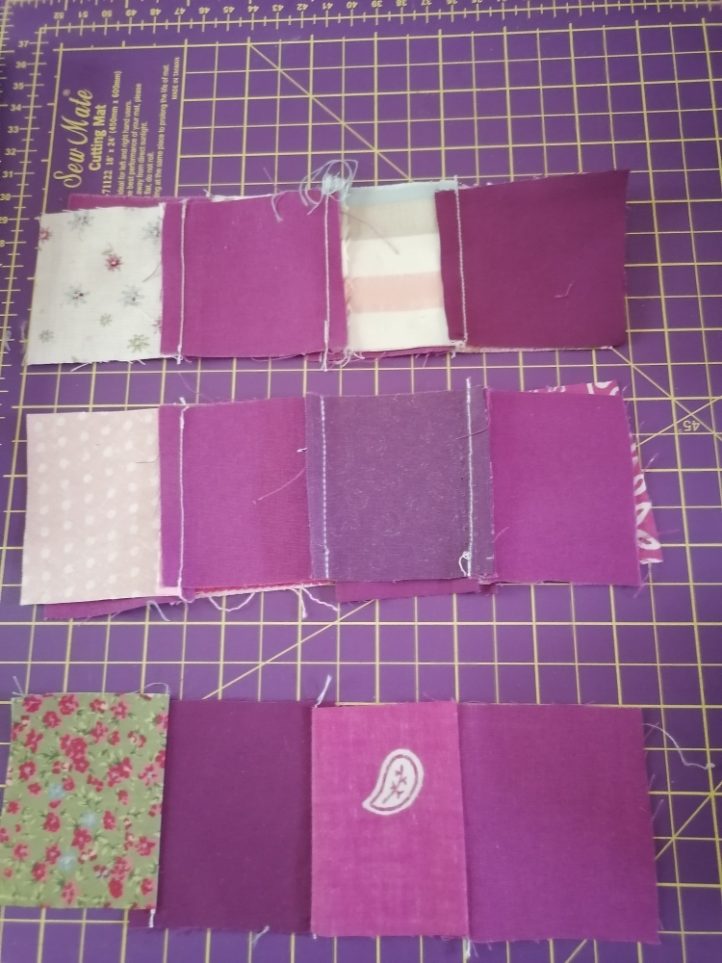
Photo provided by designer
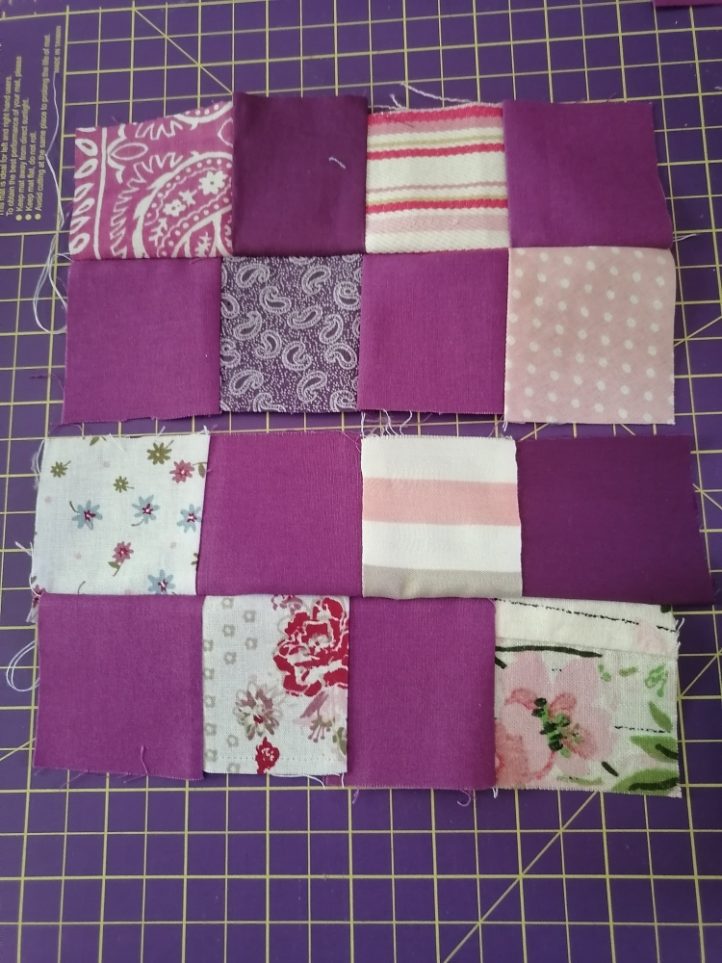
Photo provided by designer
- Press and Trim: Press the seams as you sew to ensure a smooth surface. Trim any excess fabric to create straight edges.
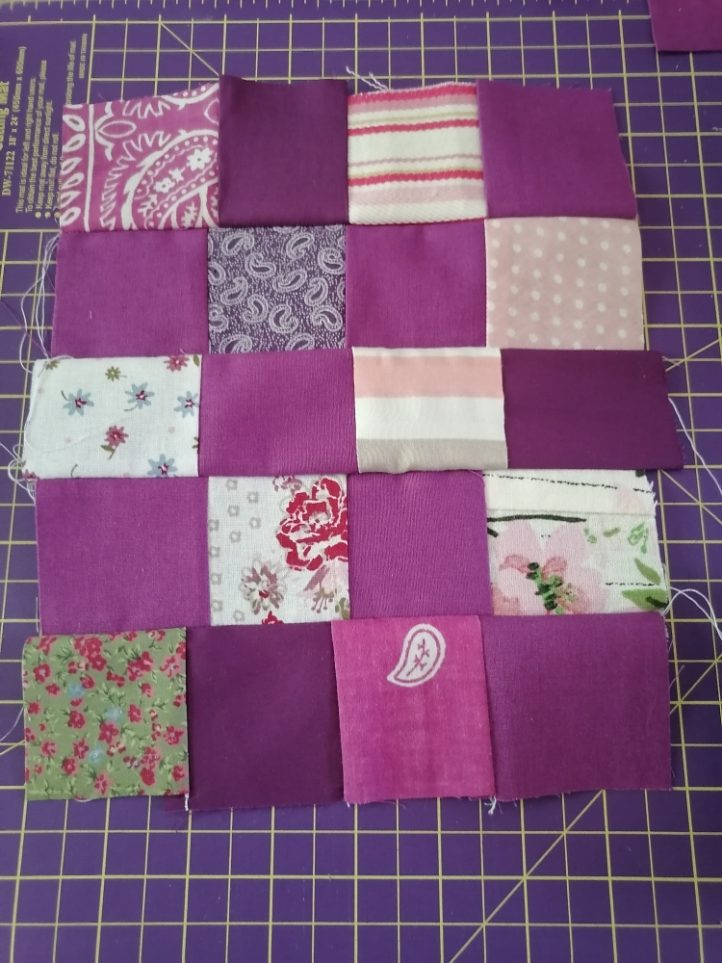
Photo provided by designer
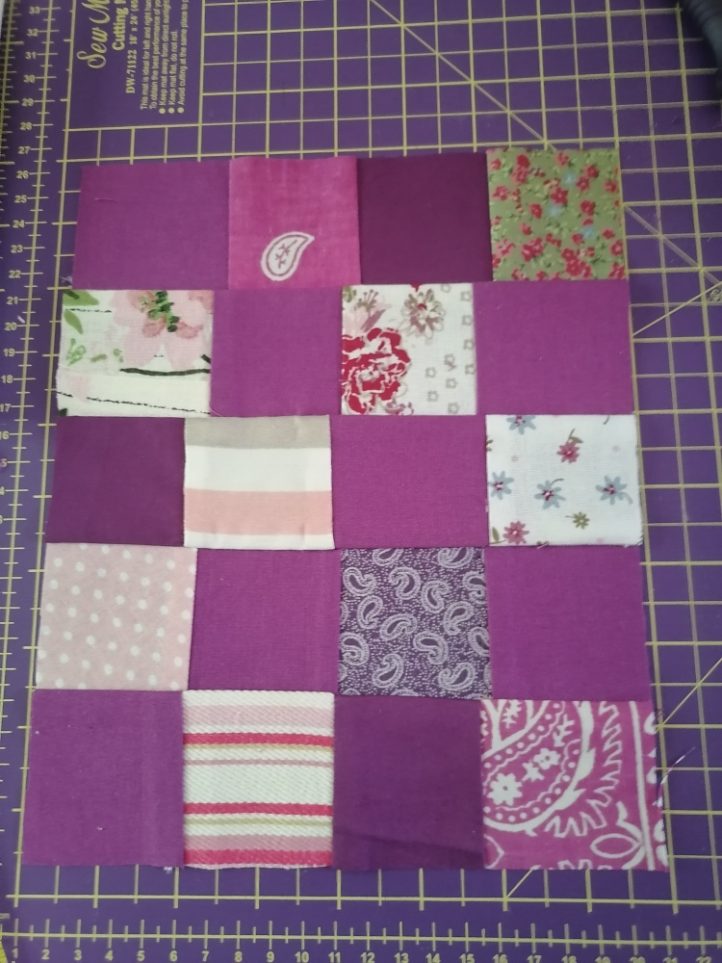
Photo provided by designer
Fabric Collage Method:
Get ready to unleash your creativity with the ‘Fabric Collage Method’. This is like patchwork but with a twist. Instead of sewing squares together, you’ll make smaller pieces into bigger squares or rectangles, then sew those panels together to create a large panel. The size is up to you, giving you the freedom to create a piece of fabric of any size you desire. It’s like a patchwork freestyle, allowing you to play with colors, shapes, and sizes!
- Sort and Lay Out Pieces: Gather and sort your scraps by size and shape. Lay out your pieces to make large squares or rectangles. This is where you decide what colors go together. Arrange your pieces for each square together, making a pile ready for sewing. Scraps should be 4 inches or bigger to make a large panel.
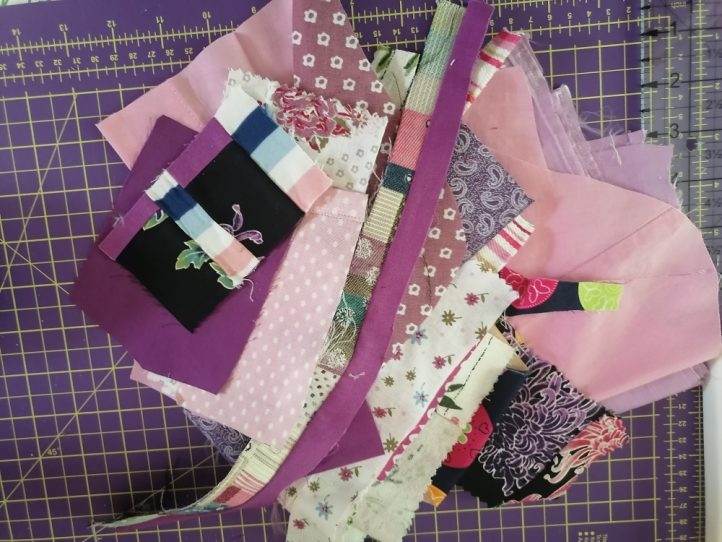
Photo provided by designer
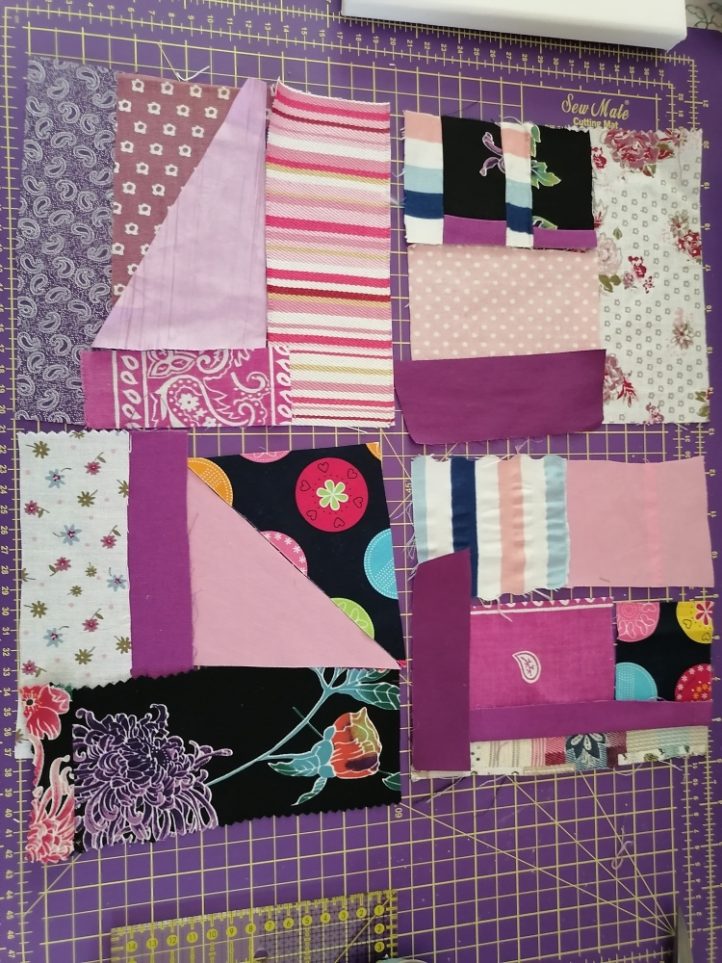
Photo provided by designer
- TIP: Before you sew your pieces together, if you have any odd-shaped ones make sure that your edges are more or less straight so you can easily sew them.
- Sew and Press: Place two pieces right sides together and sew with a 1/4-inch seam allowance. Repeat to complete all squares or rectangles. Press your seams as you go.
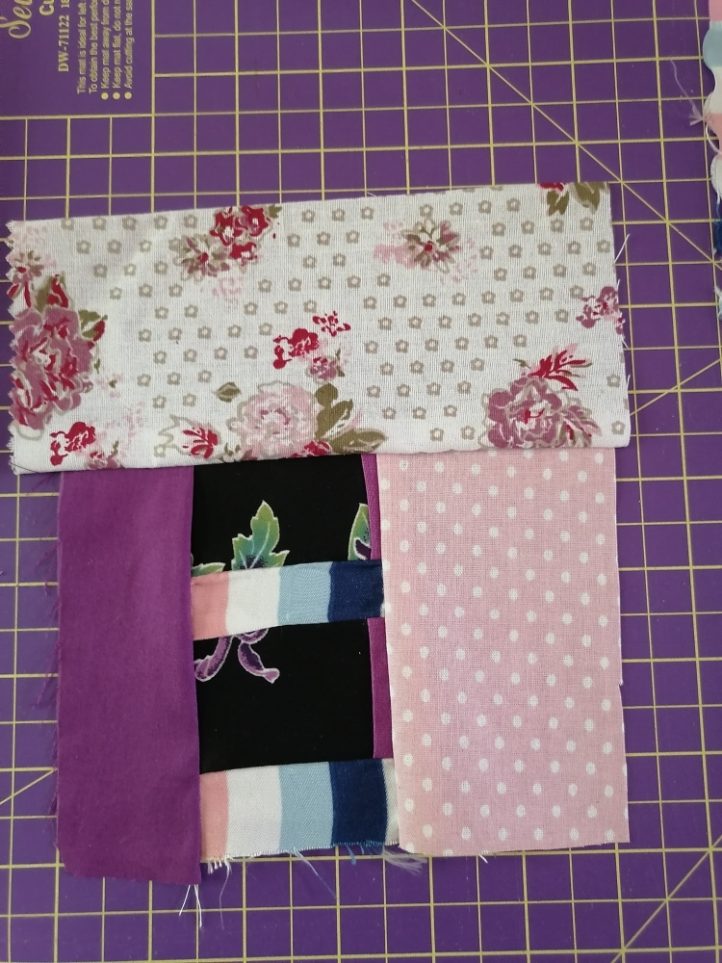
Photo provided by designer
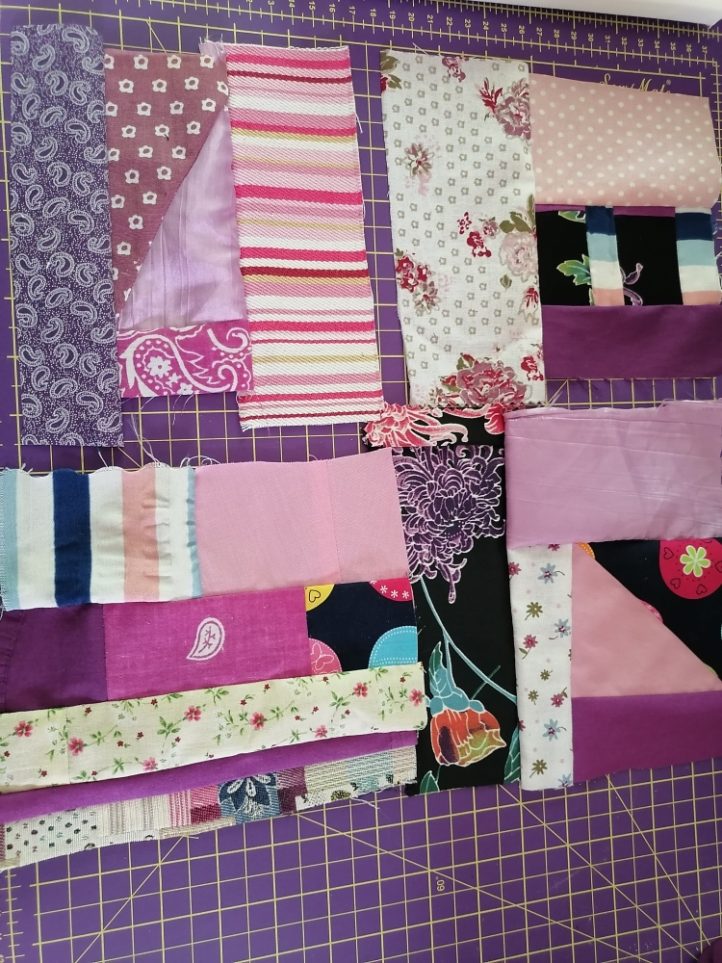
Photo provided by designer
- Trim and Assemble: Trim excess fabric from the edges. Now, it’s time to let your imagination run wild. Lay out all your pieces and see what design or orientation you like. Then, line up your edges and sew your pieces together. Remember, this is your chance to play and experiment, so have fun!
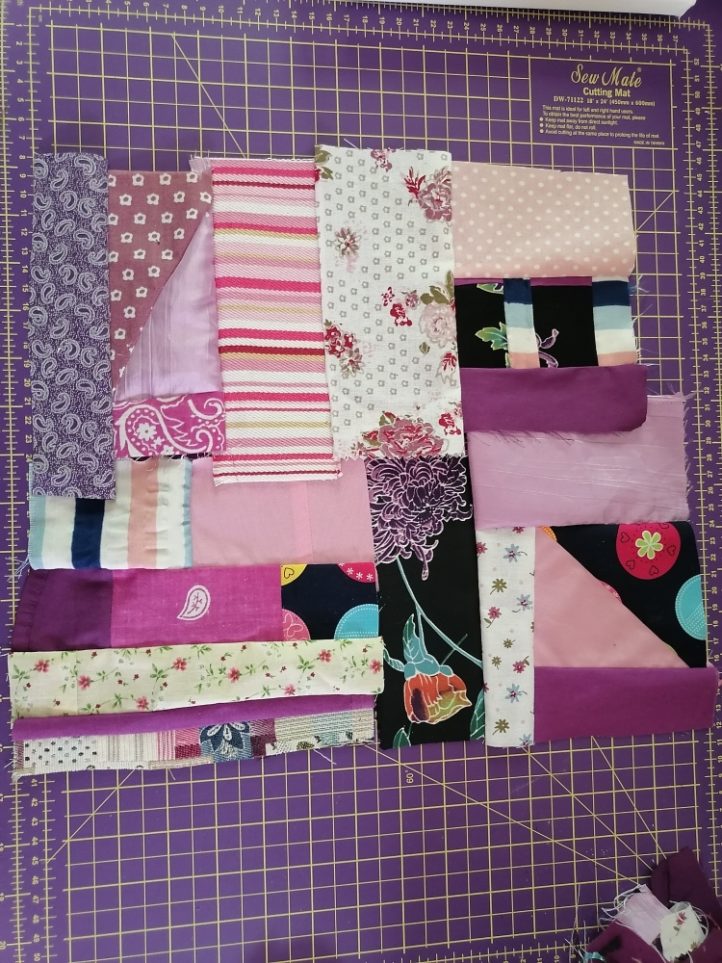
Photo provided by designer
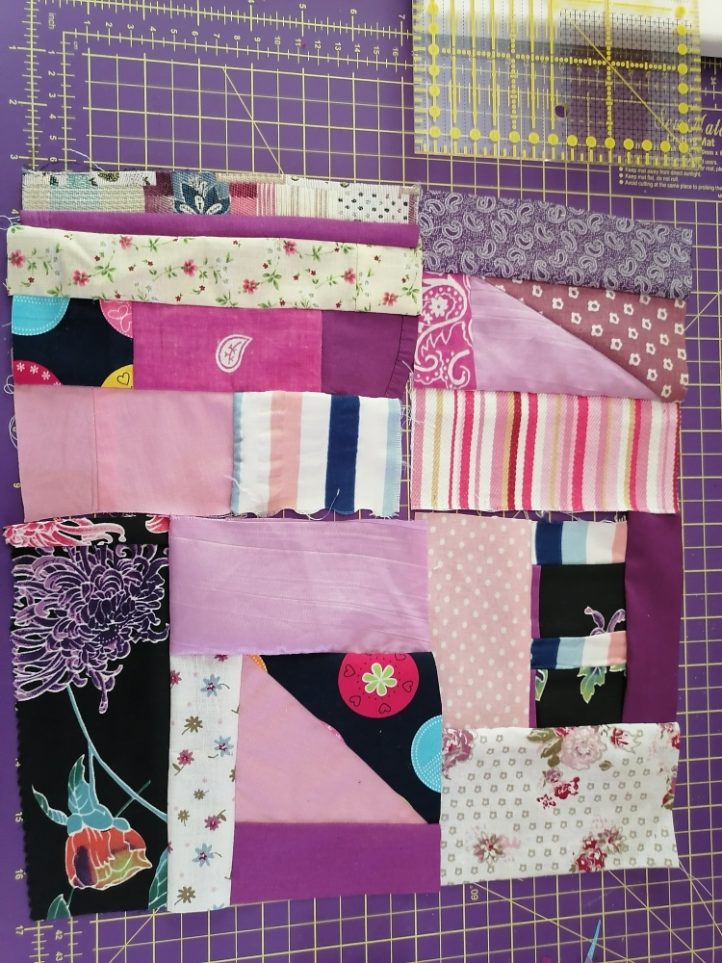
Photo provided by designer
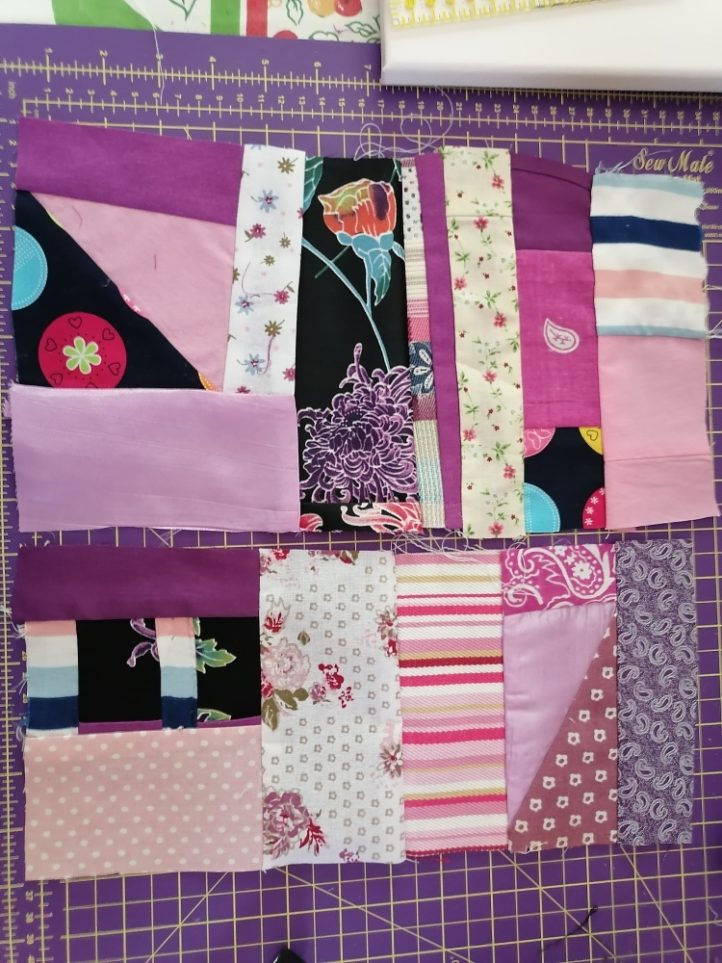
Photo provided by designer
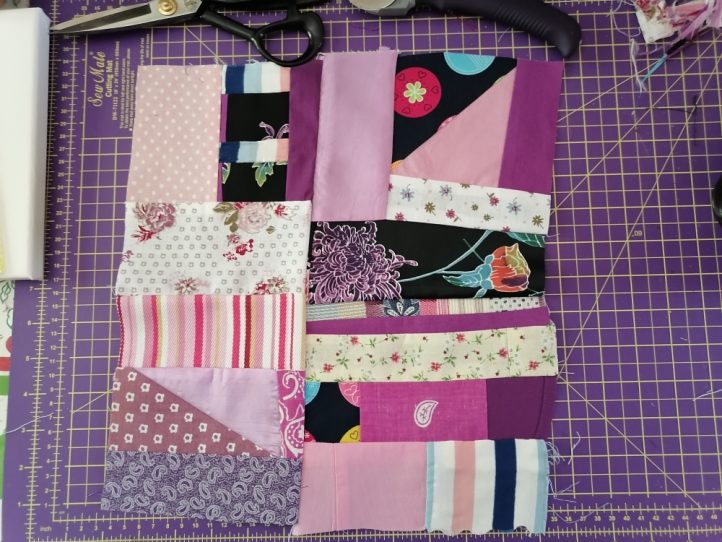
Photo provided by designer
- Final Press: Once finished, press all your seams and iron the entire fabric panel.
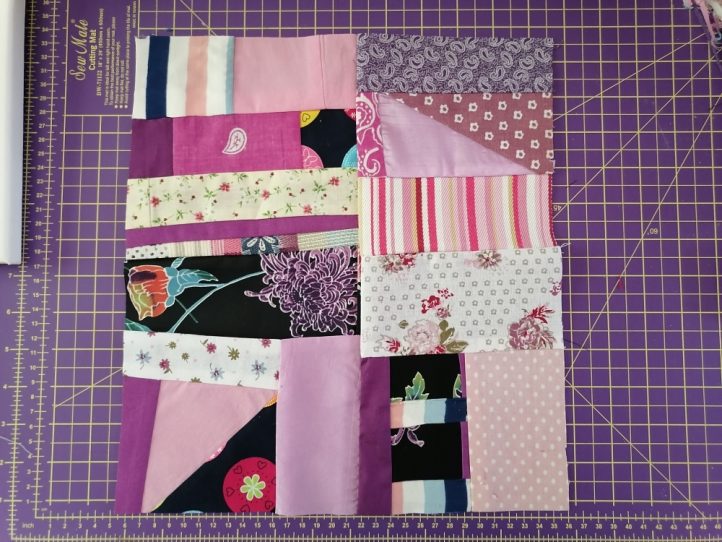
Photo provided by designer
Projects and Ideas for Using New Fabric:
Whichever method you choose, you should now have a brand-new piece of fabric to create whatever you want. Here are a few tips on using your new fabric piece and some project ideas to inspire you:
- Clothing: Spice up your wardrobe with handmade flair! Create funky patchwork skirts, cozy quilted jackets, or colorful fabric collage tops. One thing to remember when using your new fabric for clothing is that you will need lining.
- Home Decor: Give your home a makeover with DIY decor projects like throw pillows, table runners, coasters or a wall hanging.
- Accessories: Make stylish accessories like tote bags, makeup bags, small purses, headbands or jewelry.
We hope these project ideas have inspired you to embrace your scraps and get creative. There is something uniquely satisfying about turning those leftover bits of fabric into beautiful new creations. This is a fun and fabulous way to turn fabric scraps into something amazing! With a little creativity and some crafty know-how, you can turn those scraps into stylish items that you’ll love to show off.

i have many scraps . Gonna try this