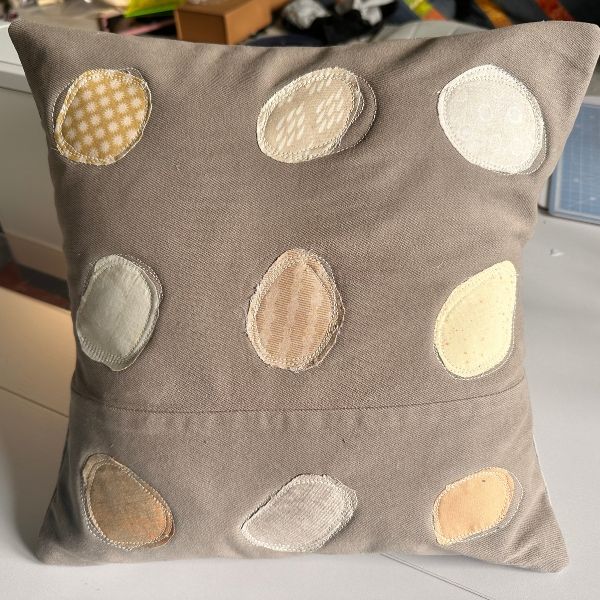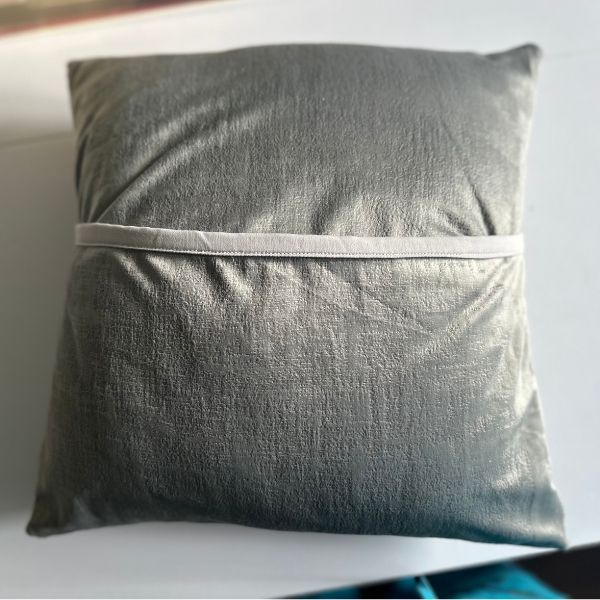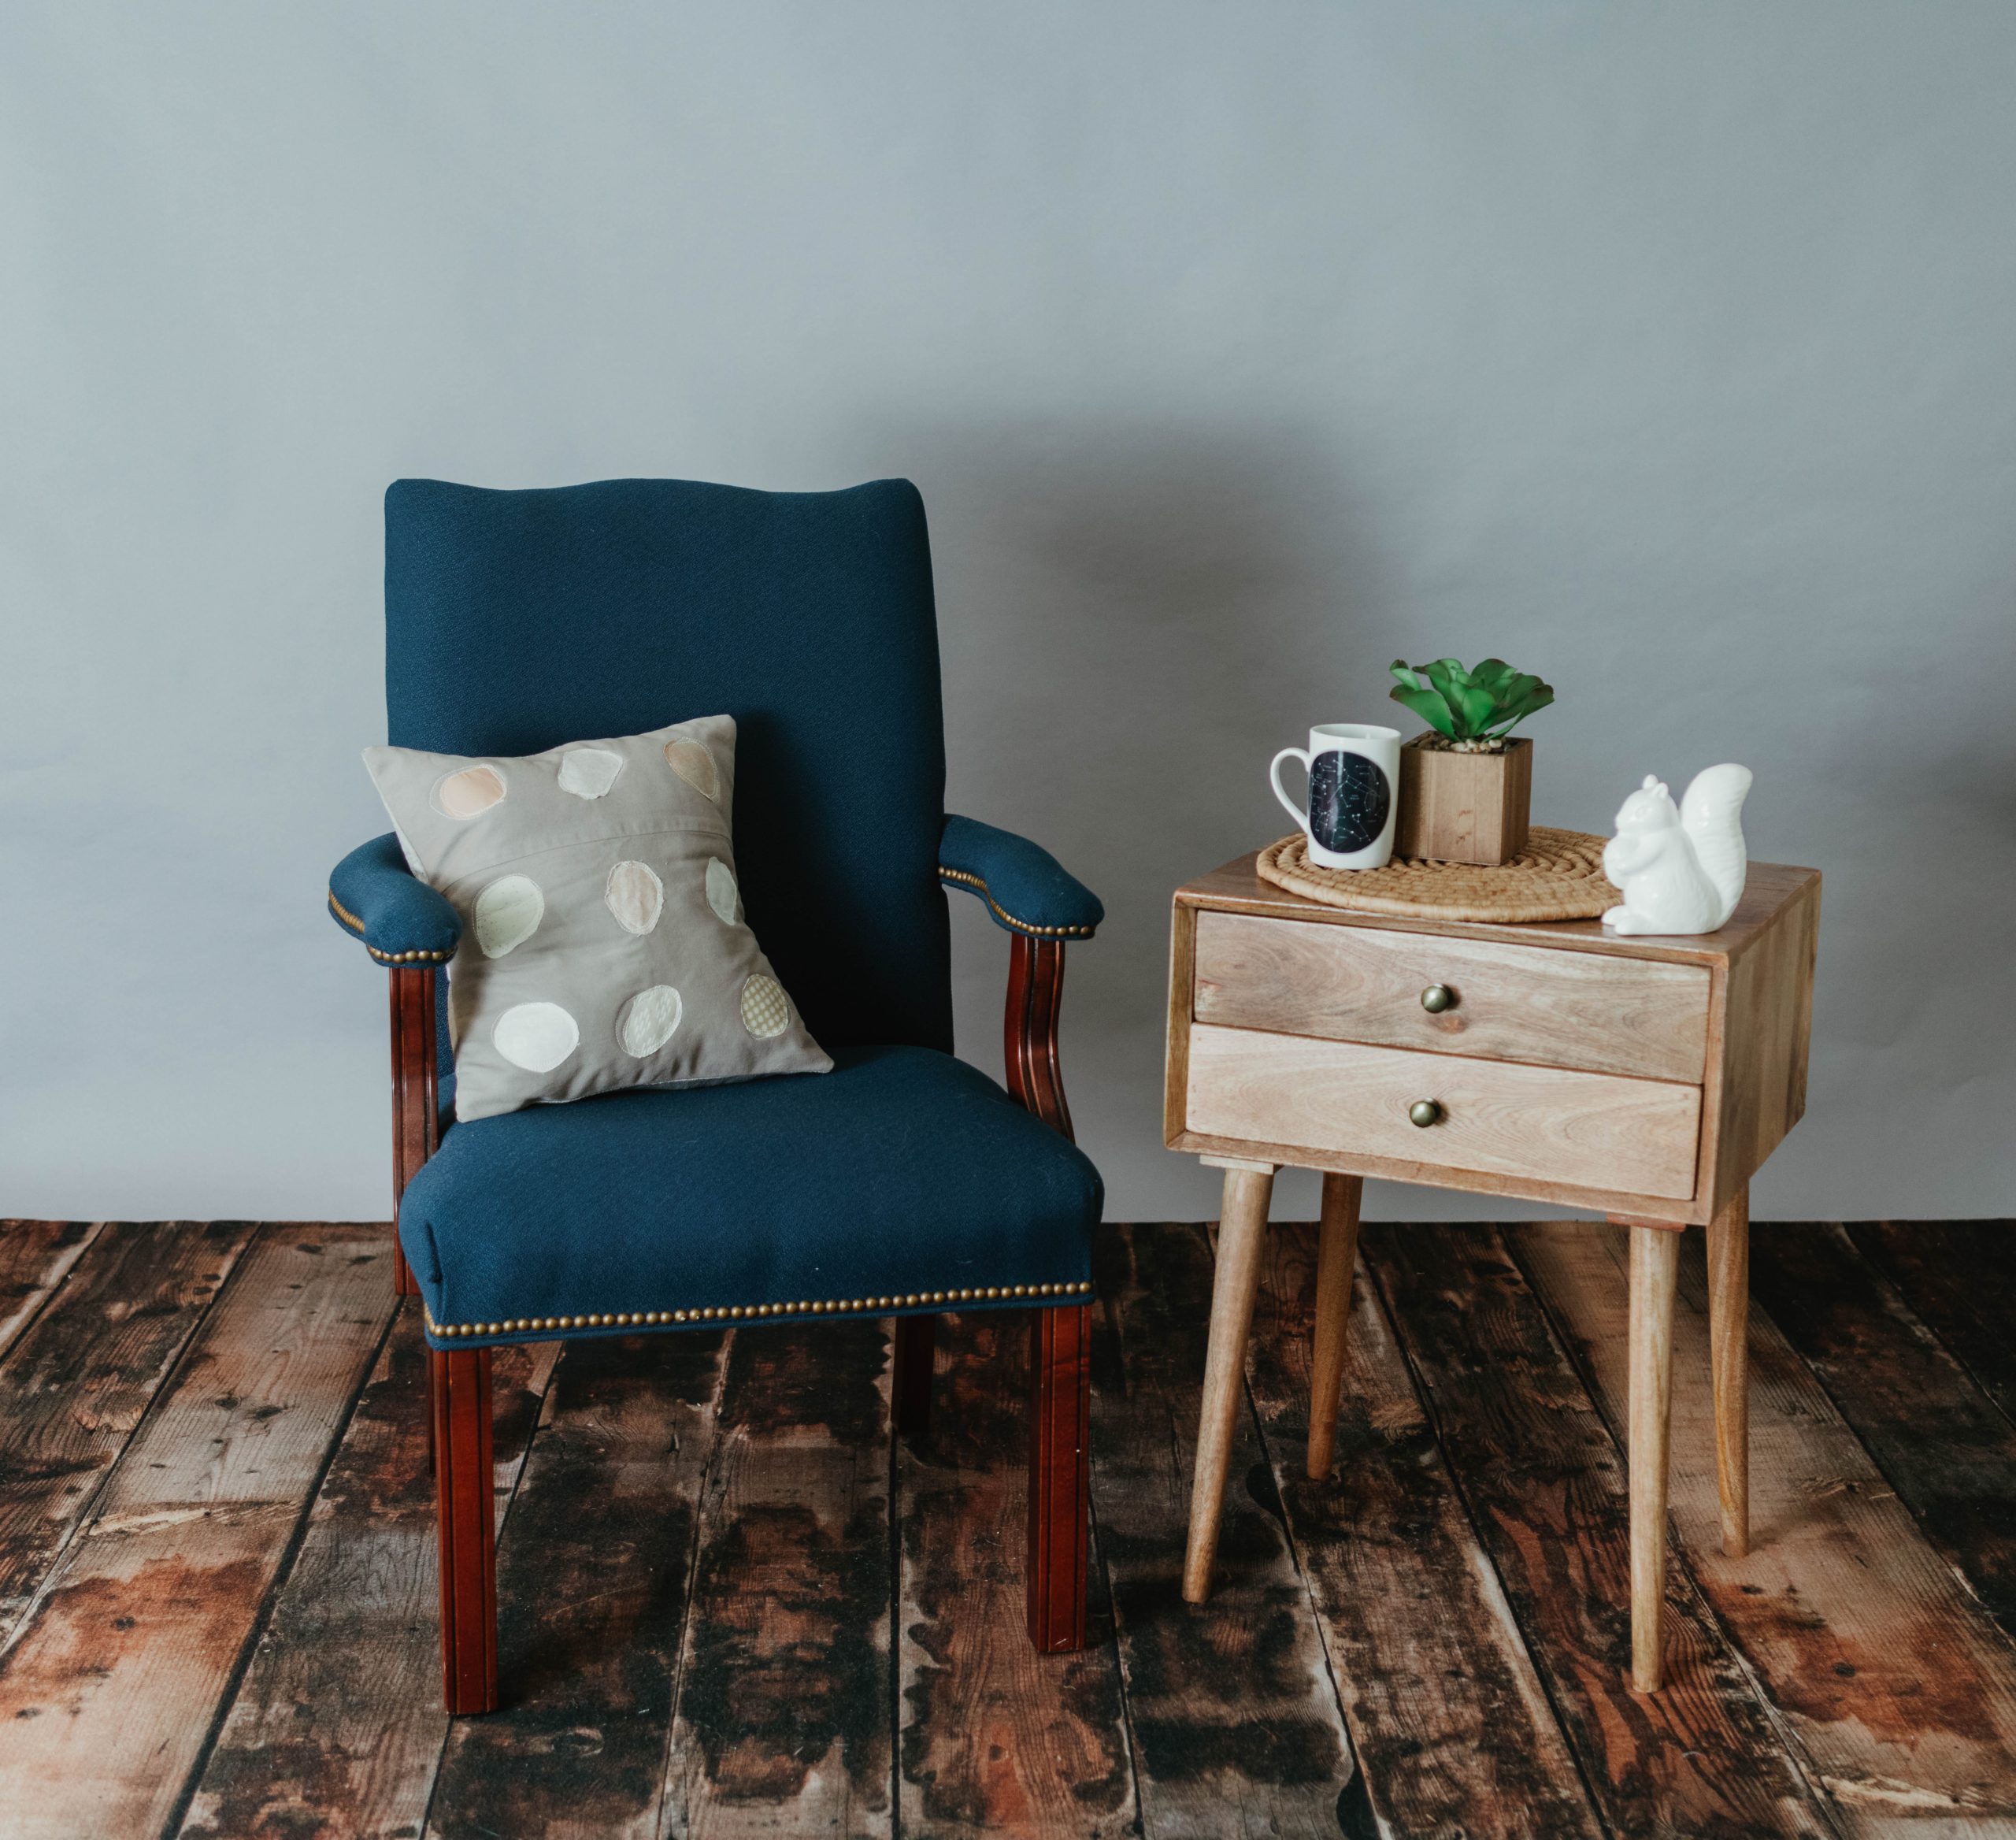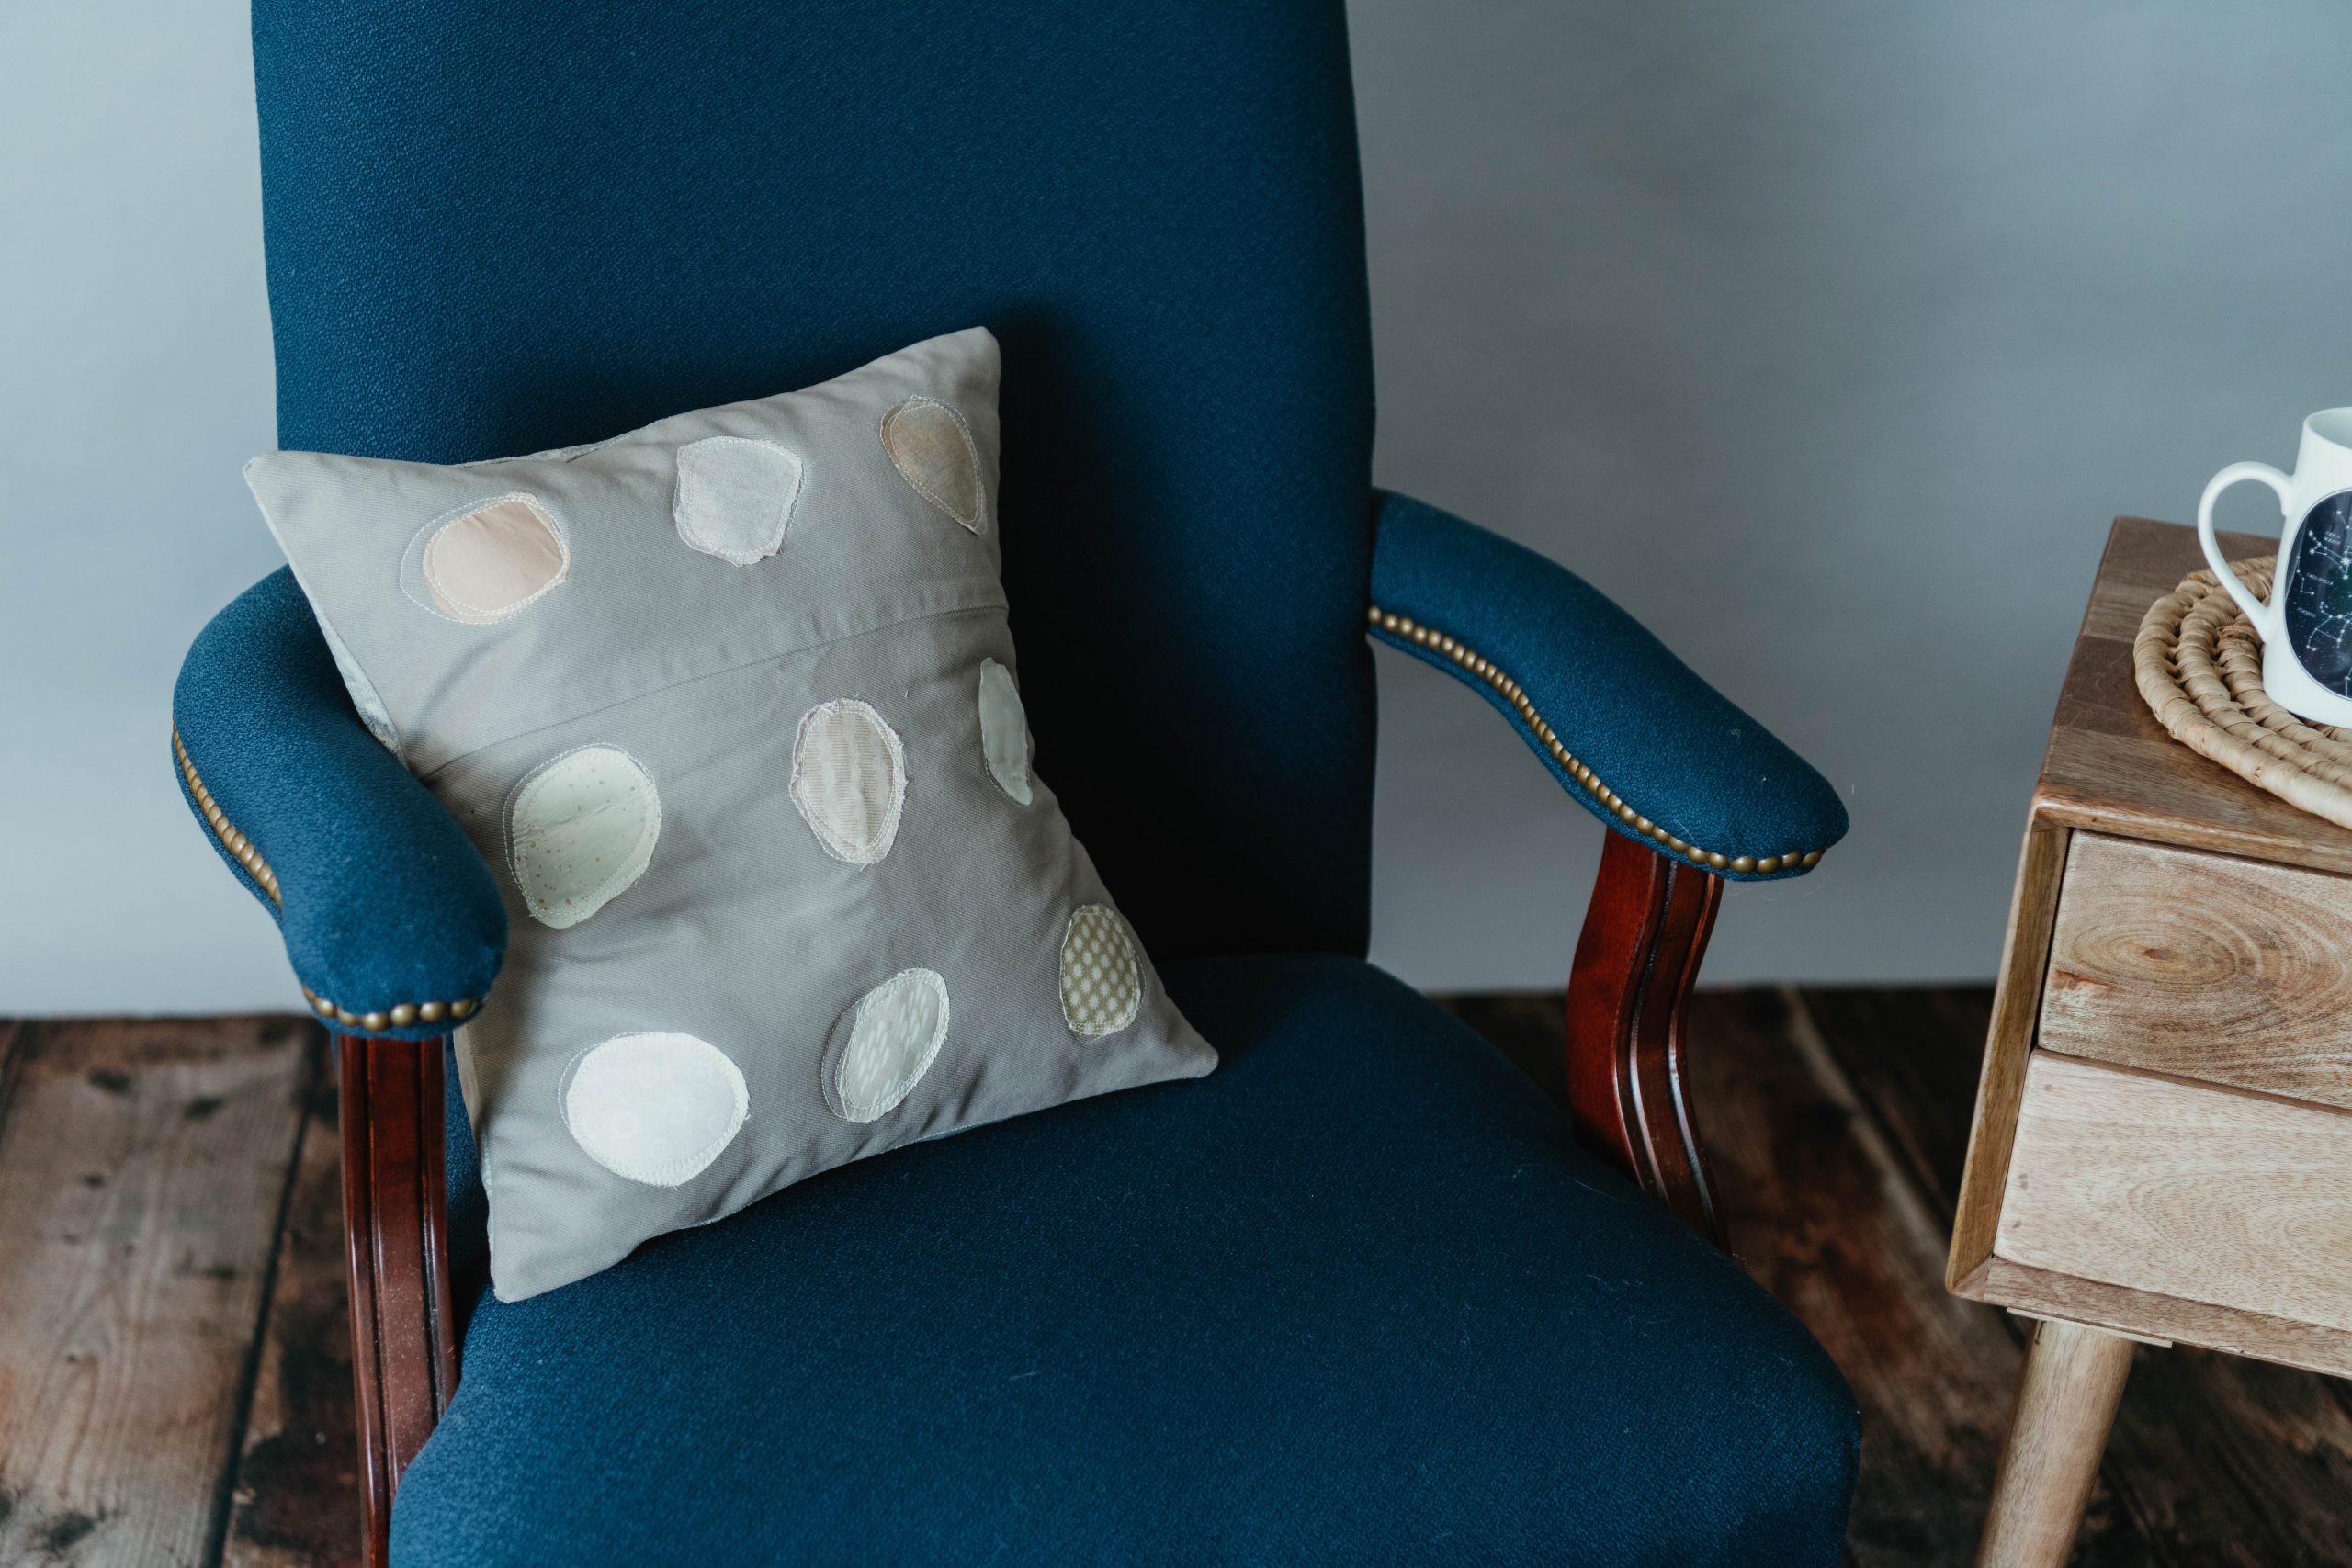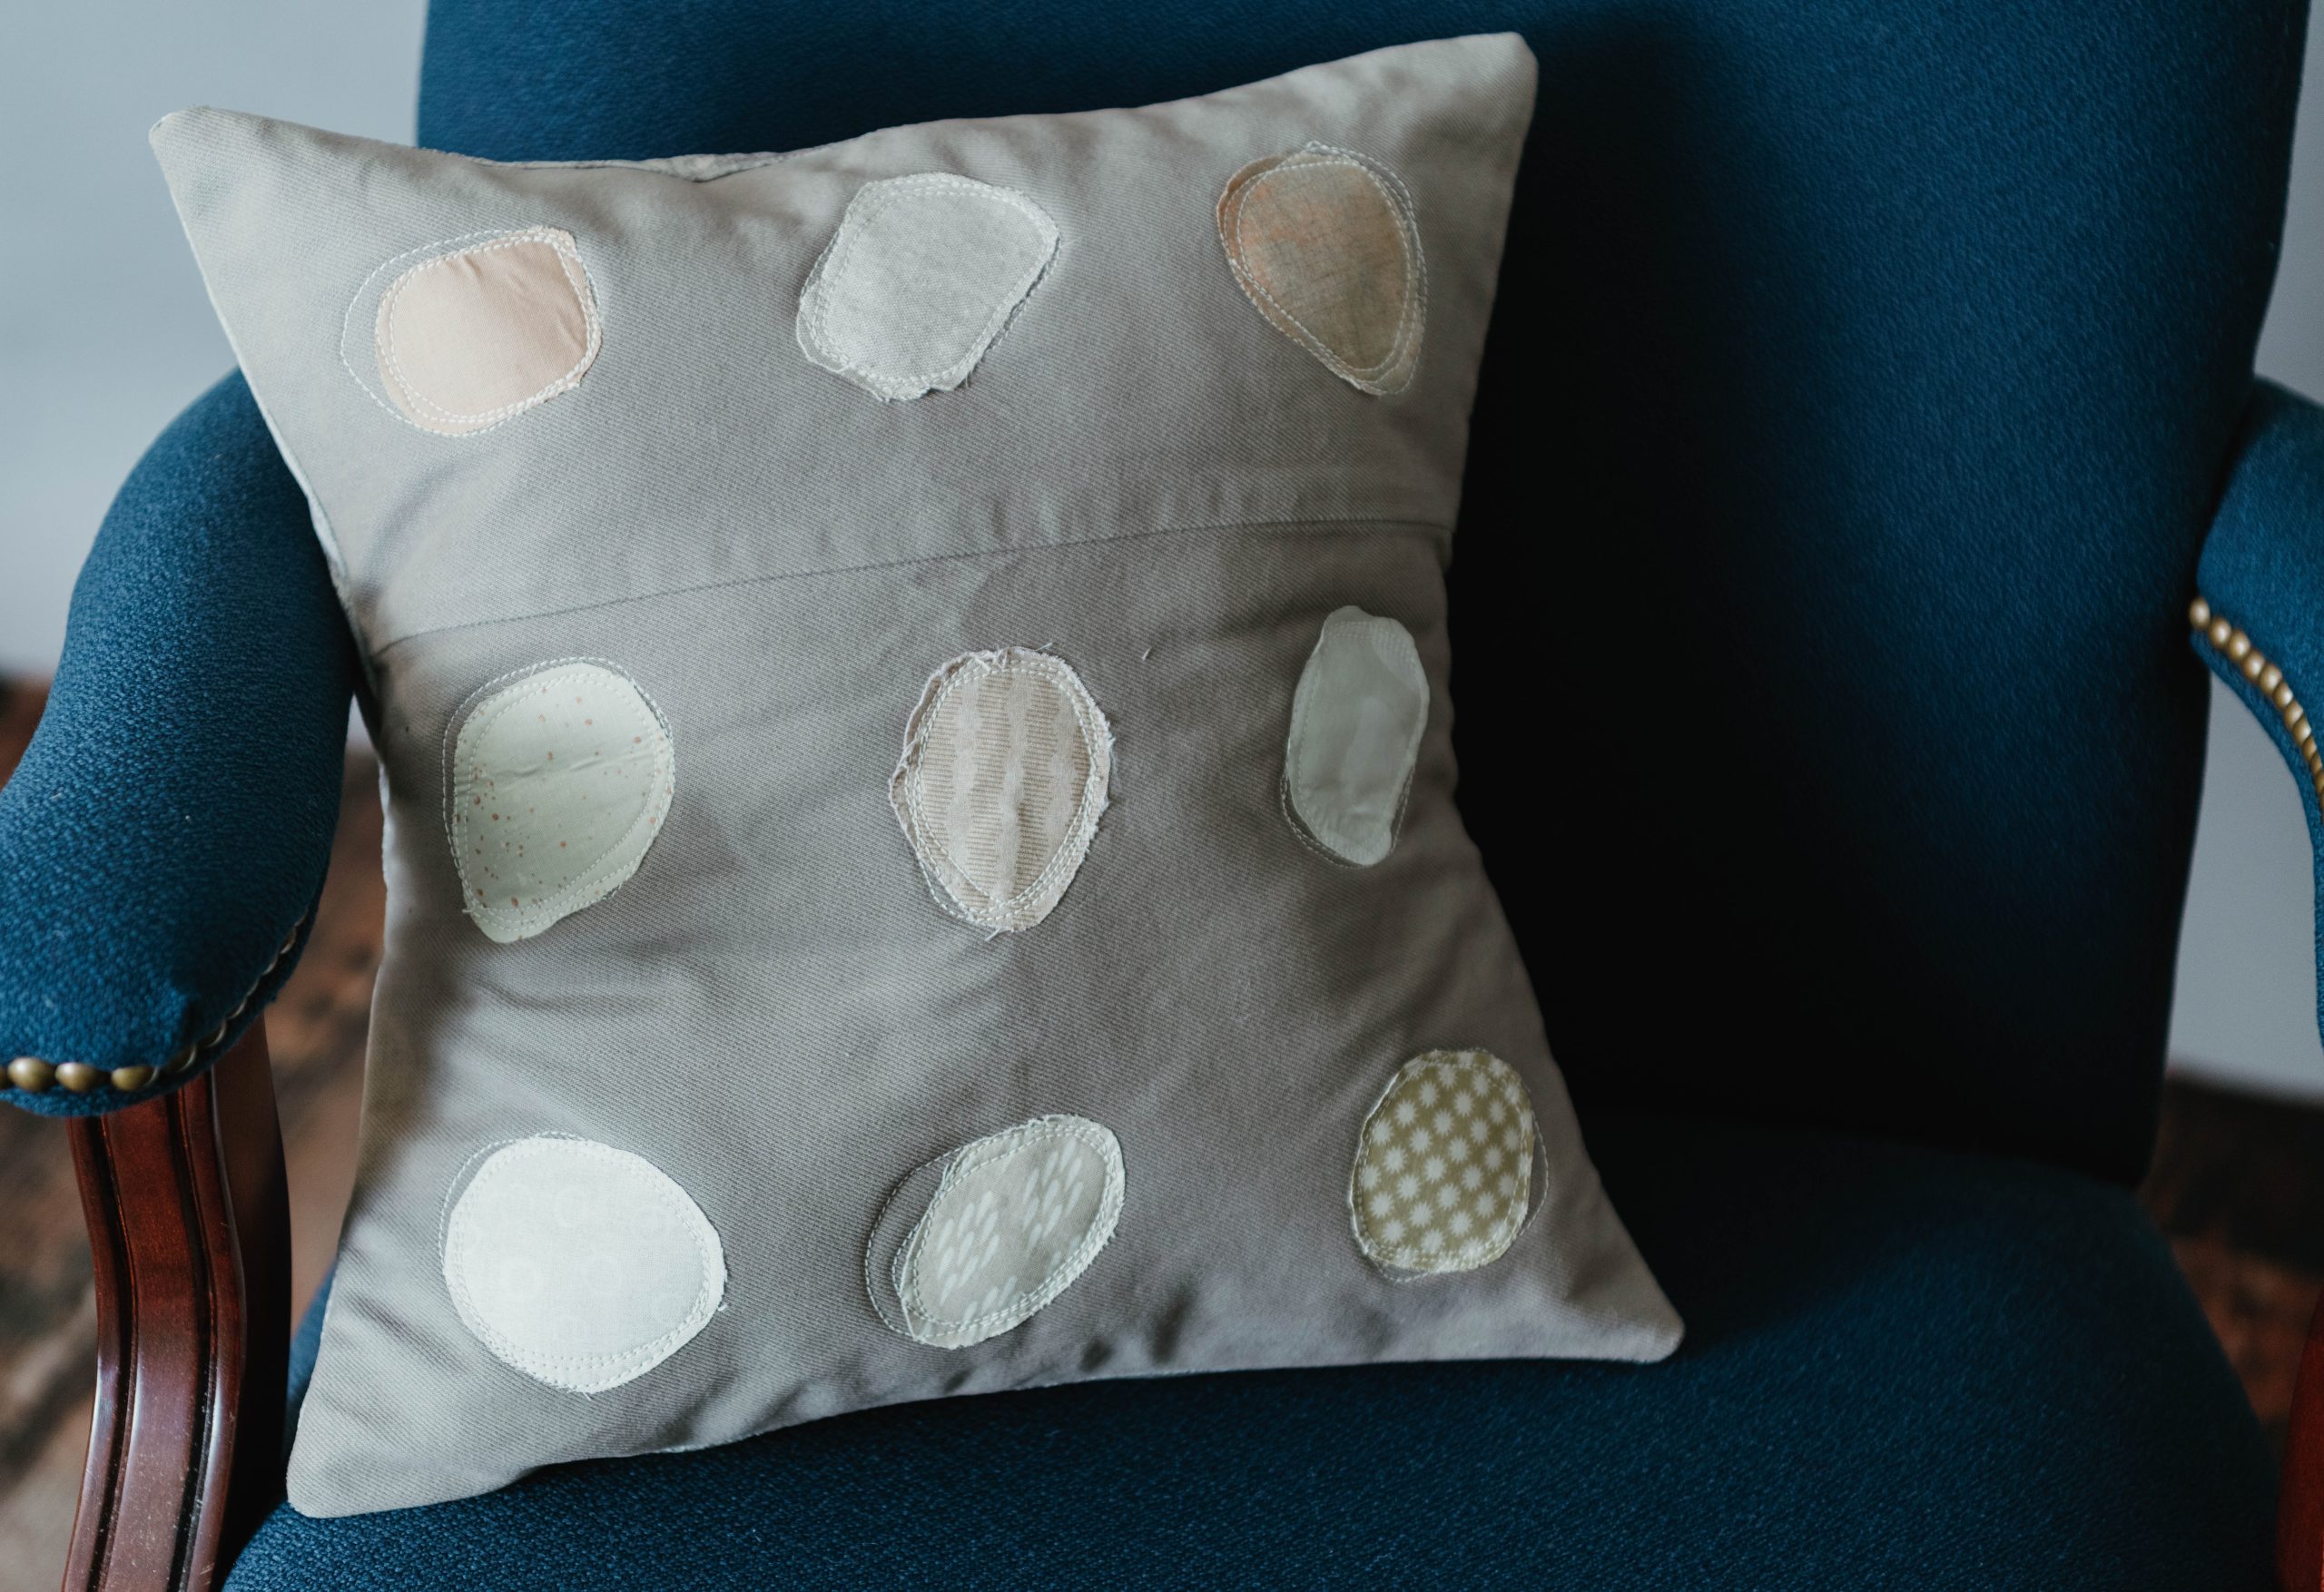
If you love the elevated elegance of fall neutrals, then you’ll love this muted sea glass pillow cover from Kristen Hubert. A sophisticated look for any room, this easy quilting project is ideal for using up small scraps of fabric in neutrals like vanilla latte or sandstone to create its gorgeous sea glass design. This pillow cover pattern finishes at 15” and its background fabric is made from old jeans, which makes it a wonderful upcycling project as well!
Skill Level: Easy
Finished Size: 15” x 15”
Seam Allowances: 1/4”
Materials:
- Fabrics:
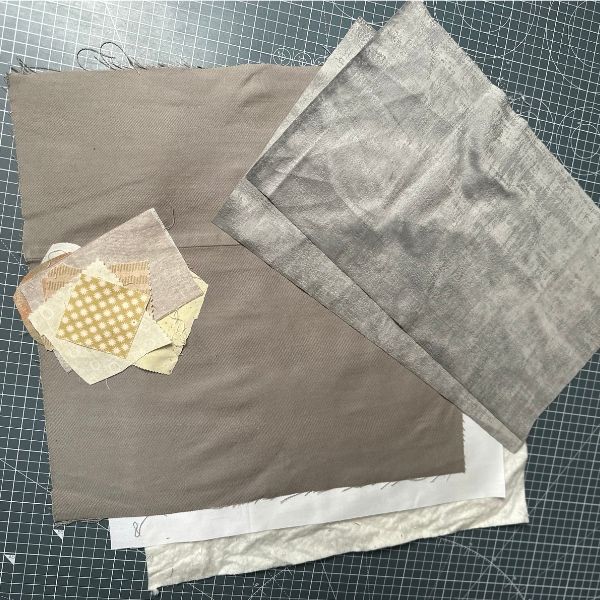
- Grey denim from old jeans – Cut (1) 16” x 16”
- Lining fabric – Cut (1) 16” x 16”
- Cushion back fabric – Cut (2) 9.5” x 16”
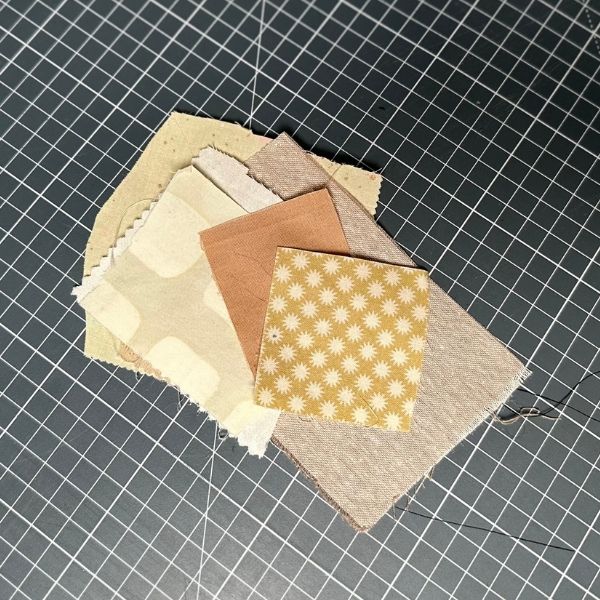
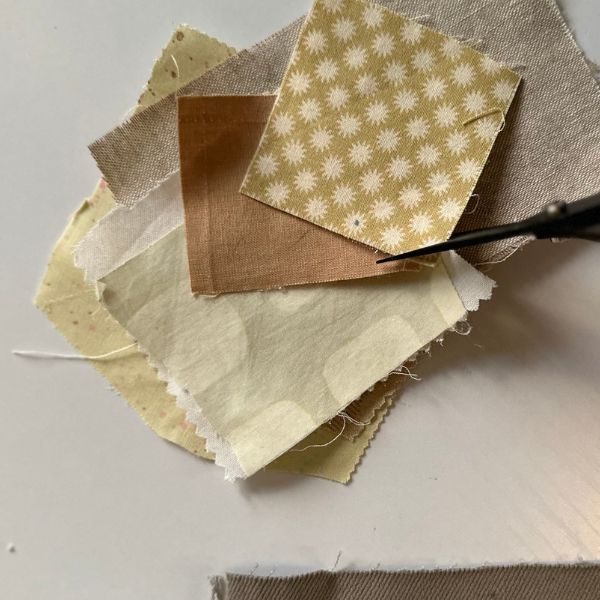
- Sea glass scraps in shades of beige – Cut (9) 2.5”- 3” squares, which will be trimmed down to irregular oval and circle shapes
- Your choice of double sided fusible – Cut (9) squares the same size or slightly smaller than your beige scraps
- Cotton batting: 16” x 16”
- Cotton fabric binding for envelope back (optional): Cut (2) 2 1/2 x 16”
- Cushion insert: 14”-15” square depending on how full you want your cushion to be
Sewing Instructions:
- This cushion cover is made up of a quilted raw edge applique front and an envelope back.
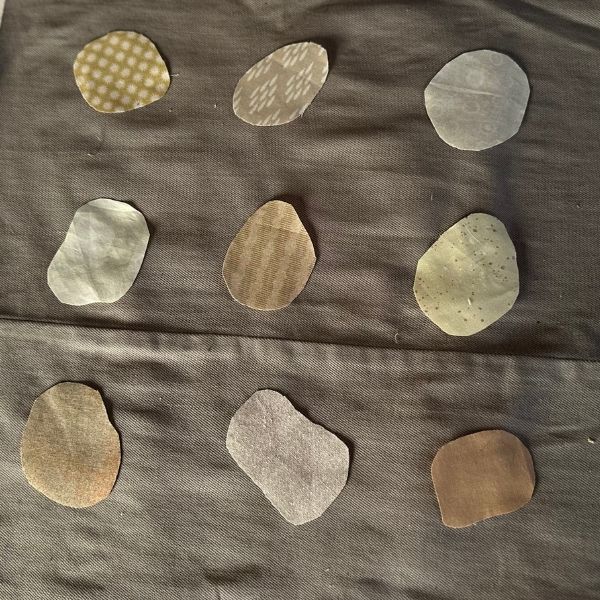
- To begin, follow the instructions on your chosen iron-on fusible product to apply fusible to the back of the 9 beige fabric scraps. Once cooled, trim them into irregular shapes – think of flat pebbles on the beach or pieces of sea glass for inspiration. There is no right or wrong here!
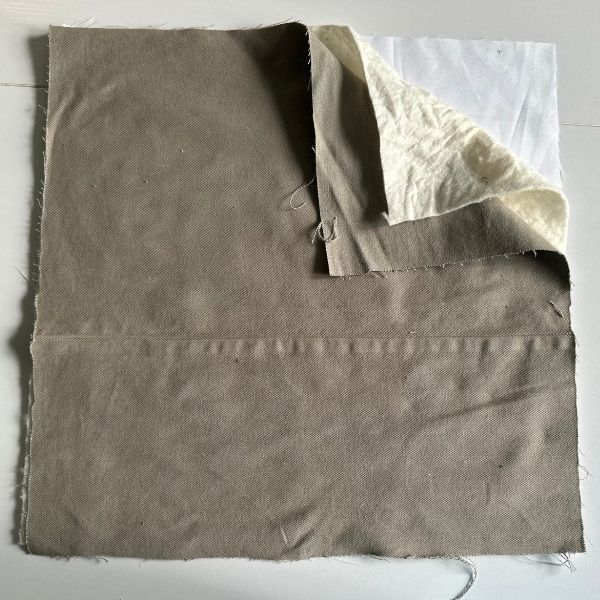
- Pin lining batting and denim together. Then join all layers together. Press seam allowances to one side, smooth fabrics out, and pin corners.

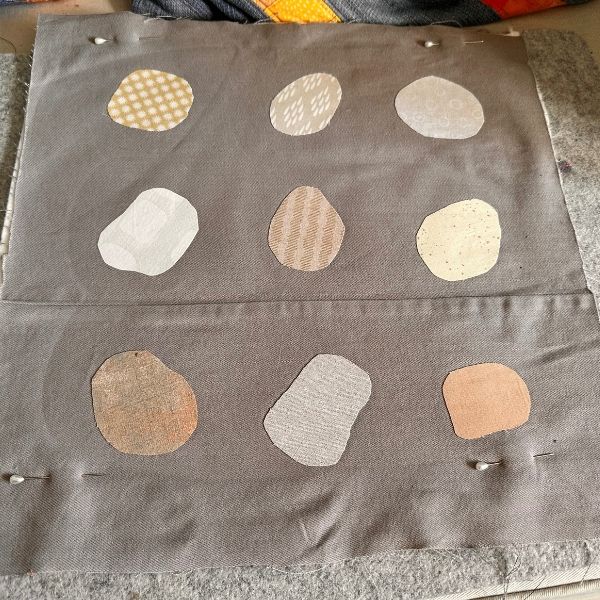
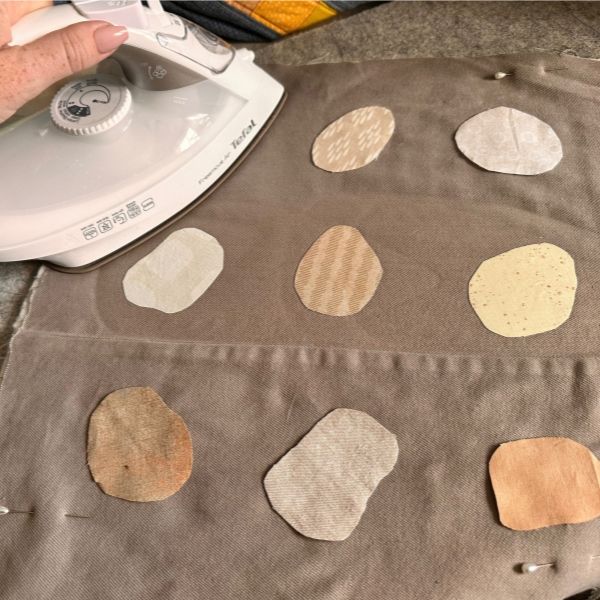
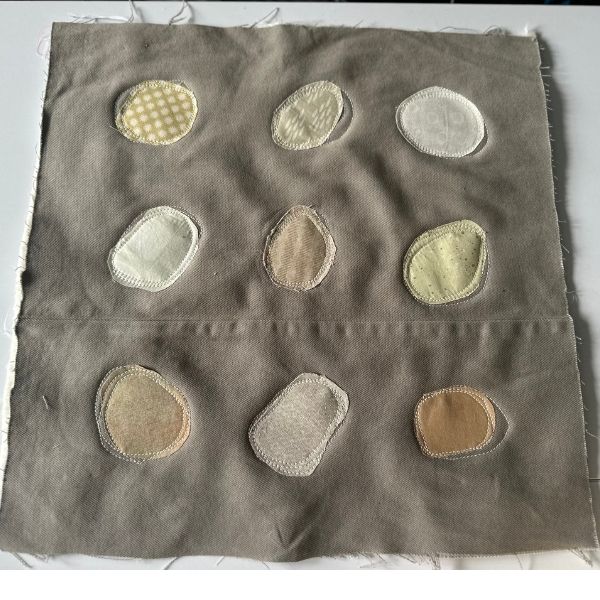
- Position sea glass shapes in 3 rows of 3 on top of the denim, leaving 2” from the edge of the cushion cover and approx. 2” between each sea glass shape in either direction. Fuse in place following the directions on your fusible product.
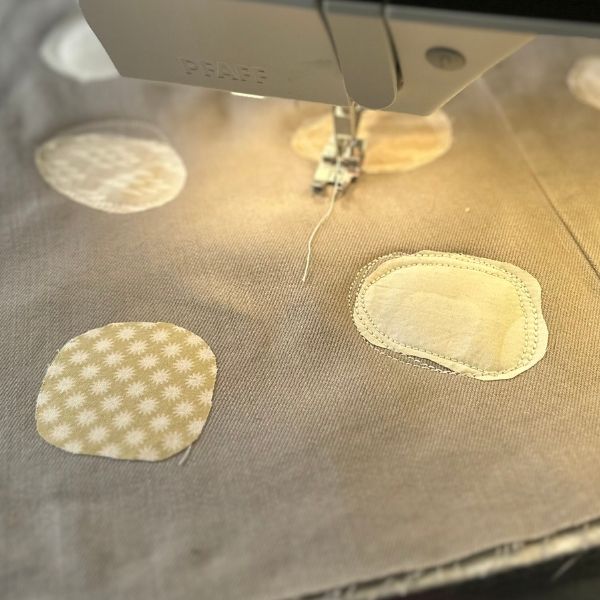
- Starting with the center sea glass shape, stitch roughly around the shape 3 times using a quilting stitch length. You are aiming to stitch down the edge of the shape but also to go wider of the shape in places to give the quilting a ‘sketch’ or ‘doodle’ sort of effect. This style of quilting the shapes down makes this fool proof for beginners – you can’t get it wrong! If you know how to free motion quilt, you can use that skill here to make quick circles to fix you sea glass shapes in place. If not, you can stitch a circle without dropping your feed dogs by slowing your speed and rotating your cushion cover as you stitch. Repeat for all 9 shapes, doing the middle shapes first and working out to the corners.

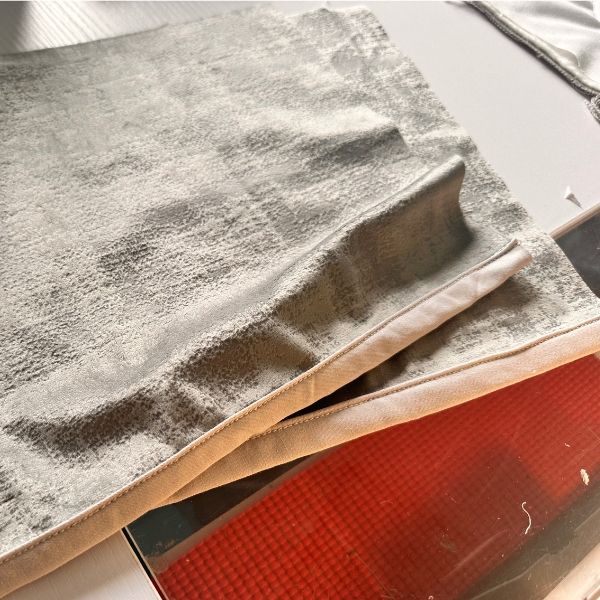
- Finish one long edge of each of your cushion back pieces by either folding the fabric over by 1/2” and hemming it OR use 16” strips of leftover 2 1/2” binding to bind the long edge of your cushion back. To do this, stitch the folded quilt binding raw edge to raw edge on the wrong side of the cushion back fabric then flip over and top stitch in place.

- Place your two cushion back pieces right sides to right sides with your cushion front. The two back pieces should overlap with the finished edge to the middle of the cushion. Pin in place.
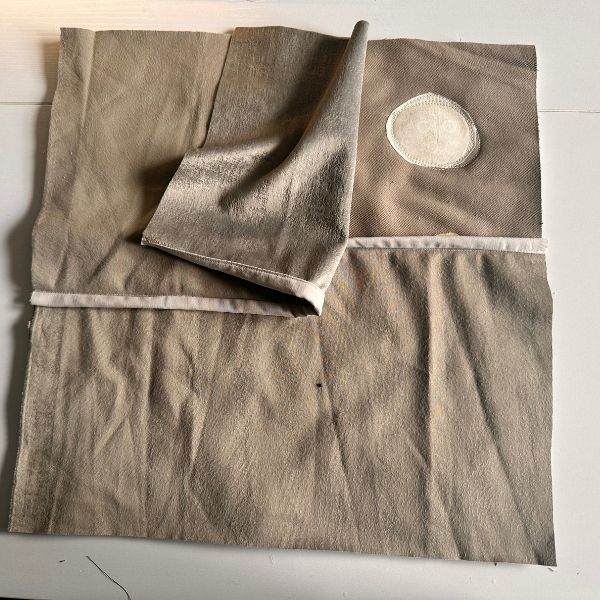
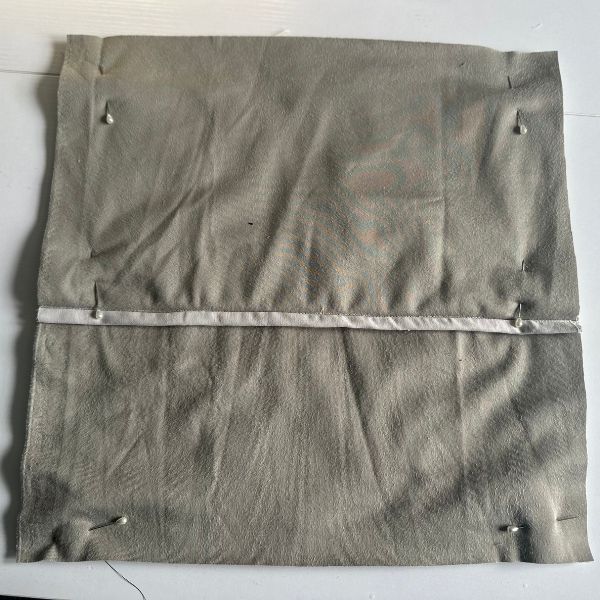
- Sew all the way around the edge of your cushion using a 1/4″ seam allowance. Then clip the corners and zig zag or serger stitch the raw edges to finish.

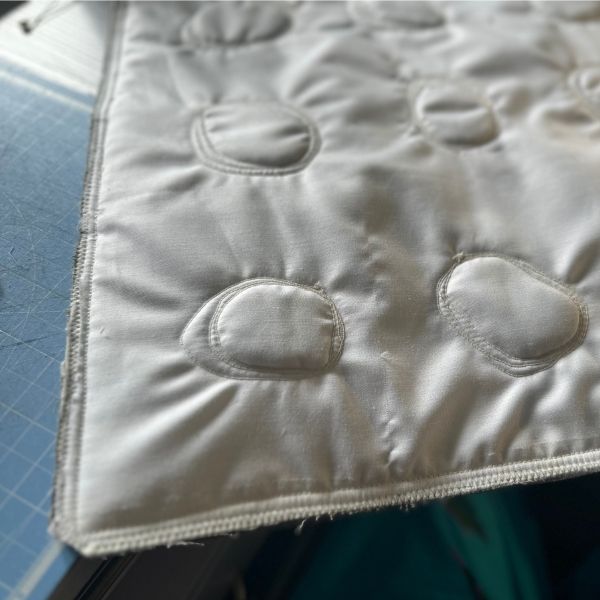
- Turn your cushion cover right side out and fill with a 14” or 15” cushion insert.

