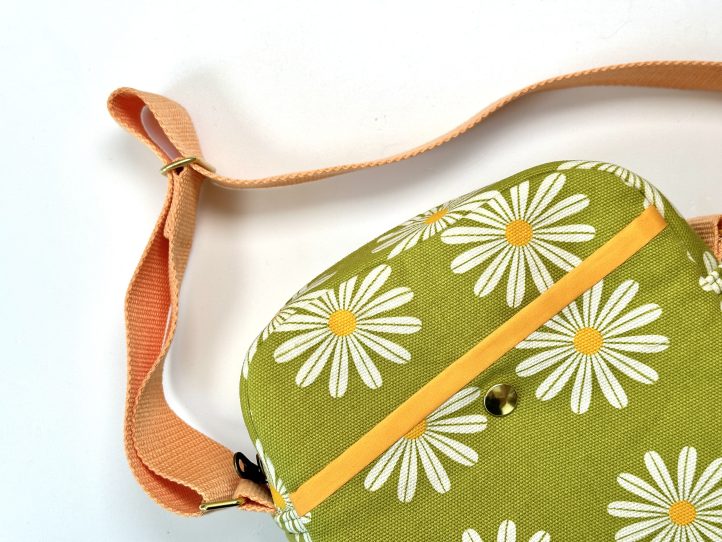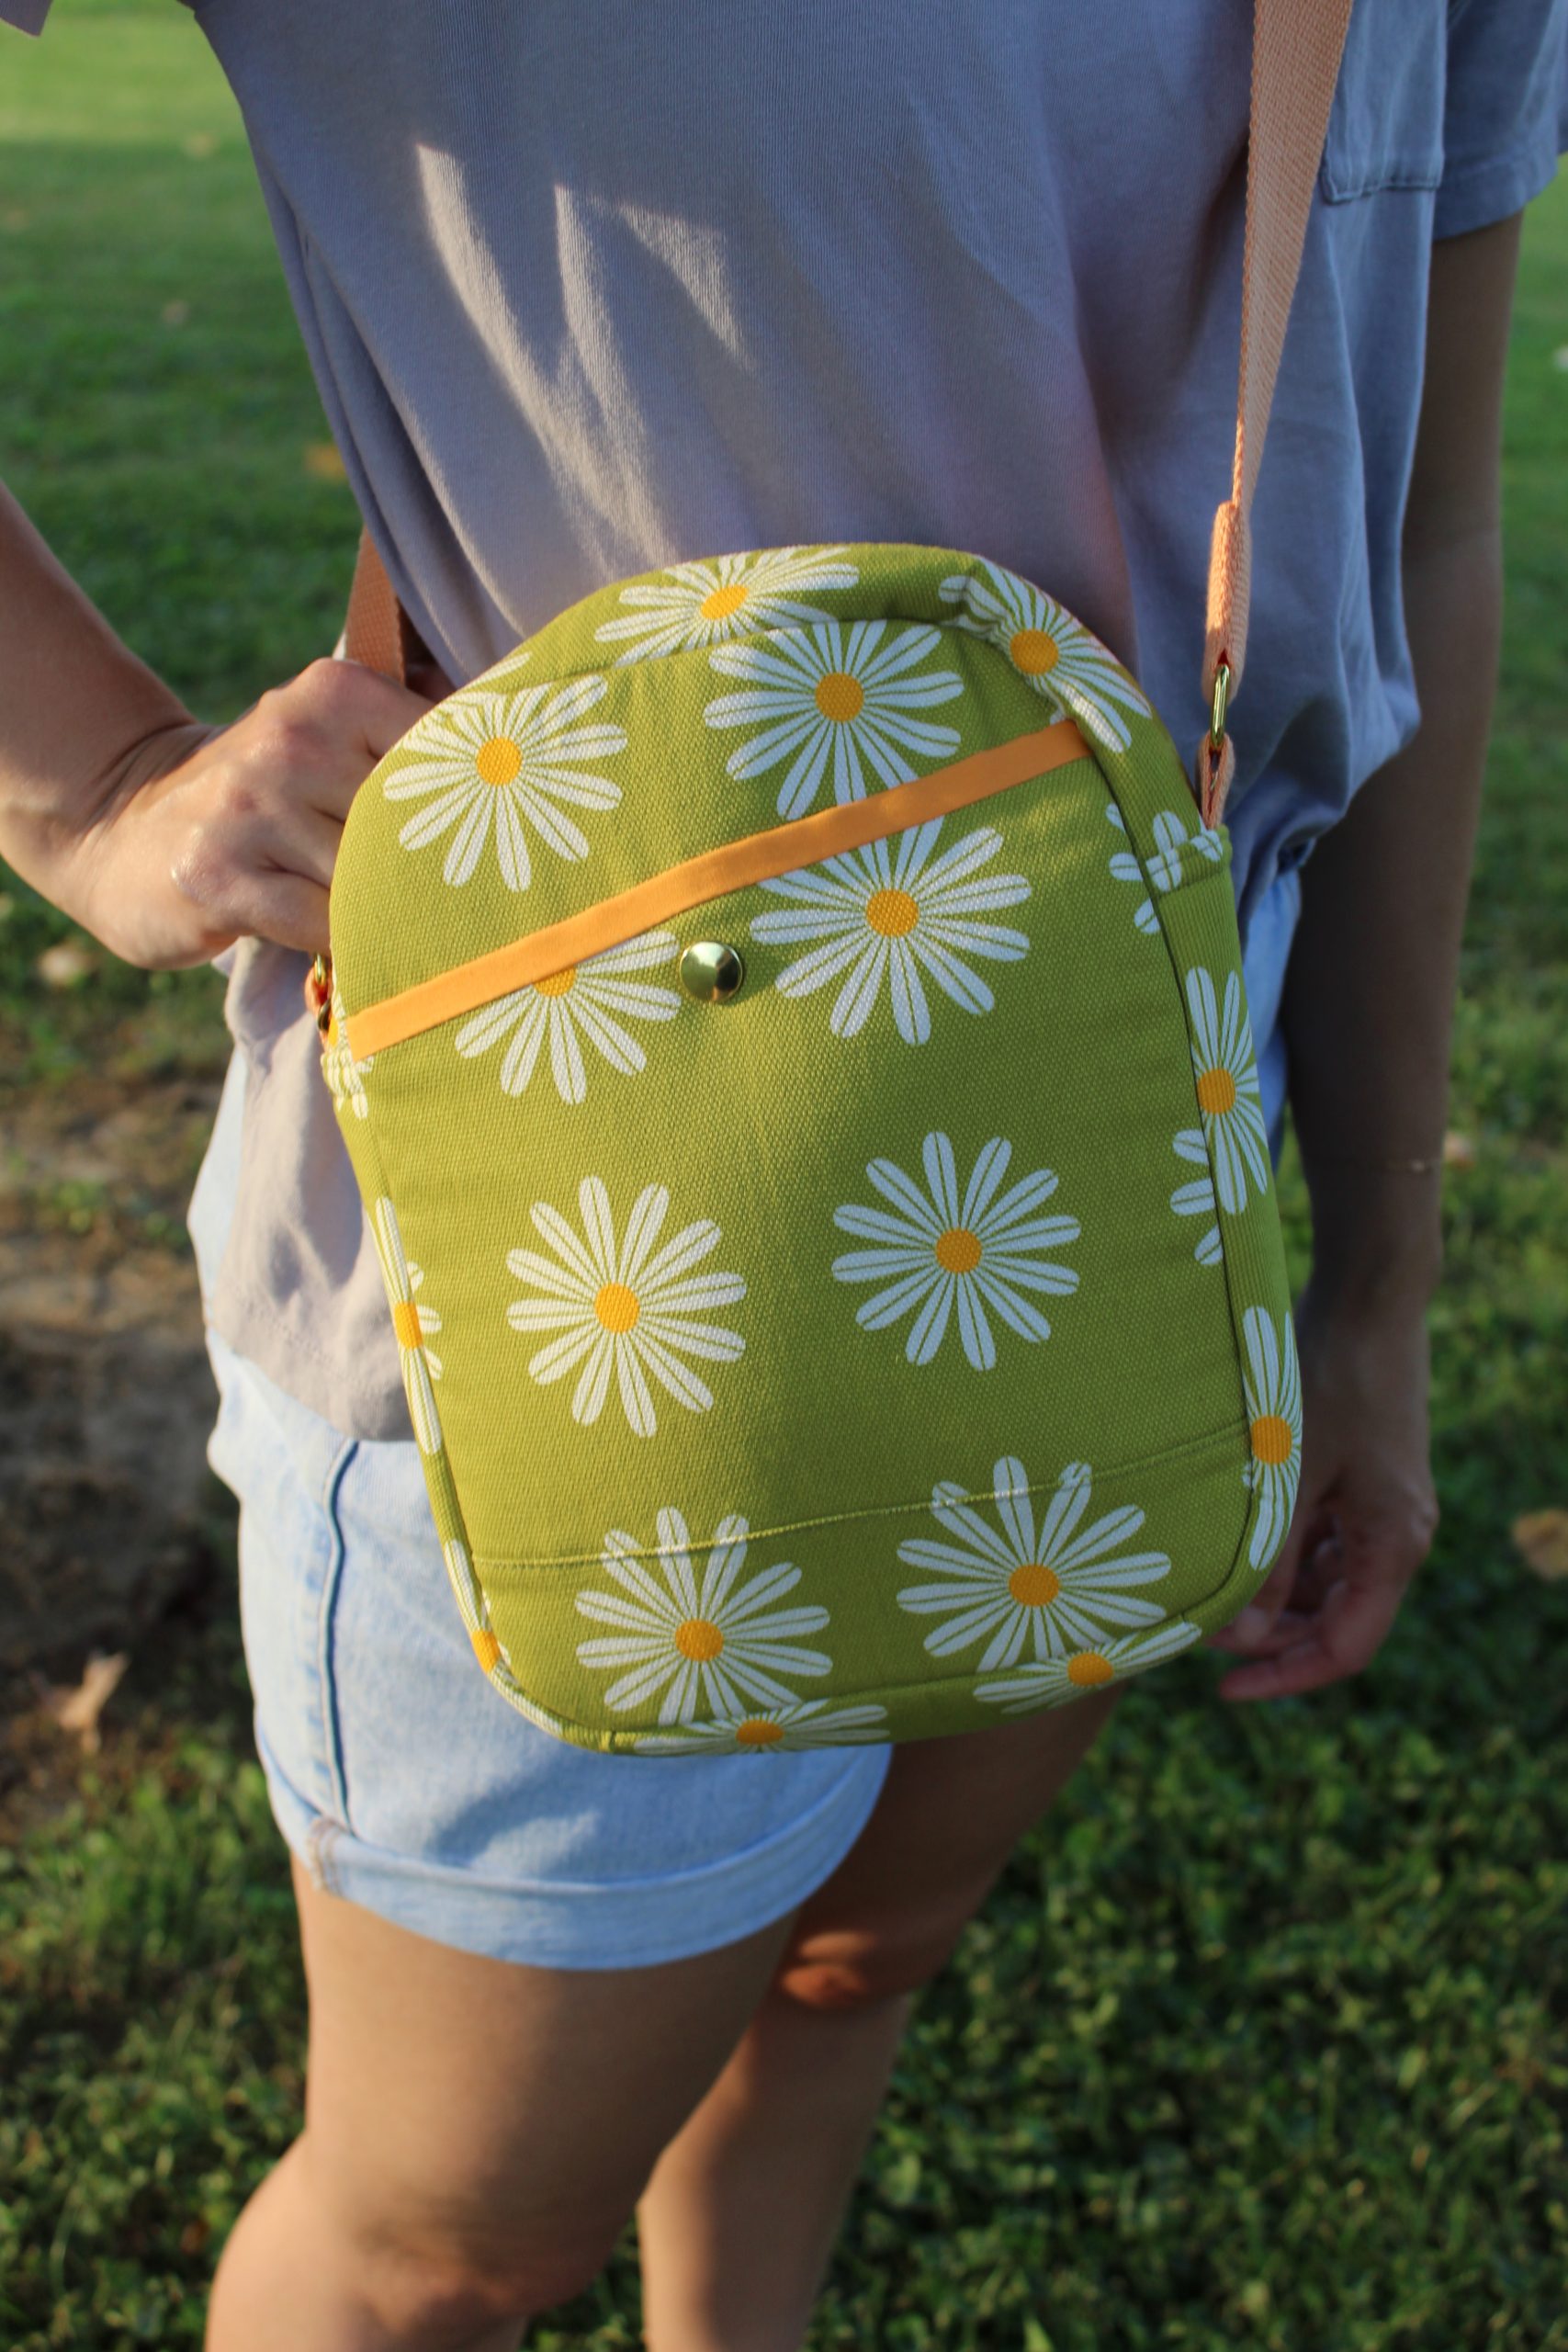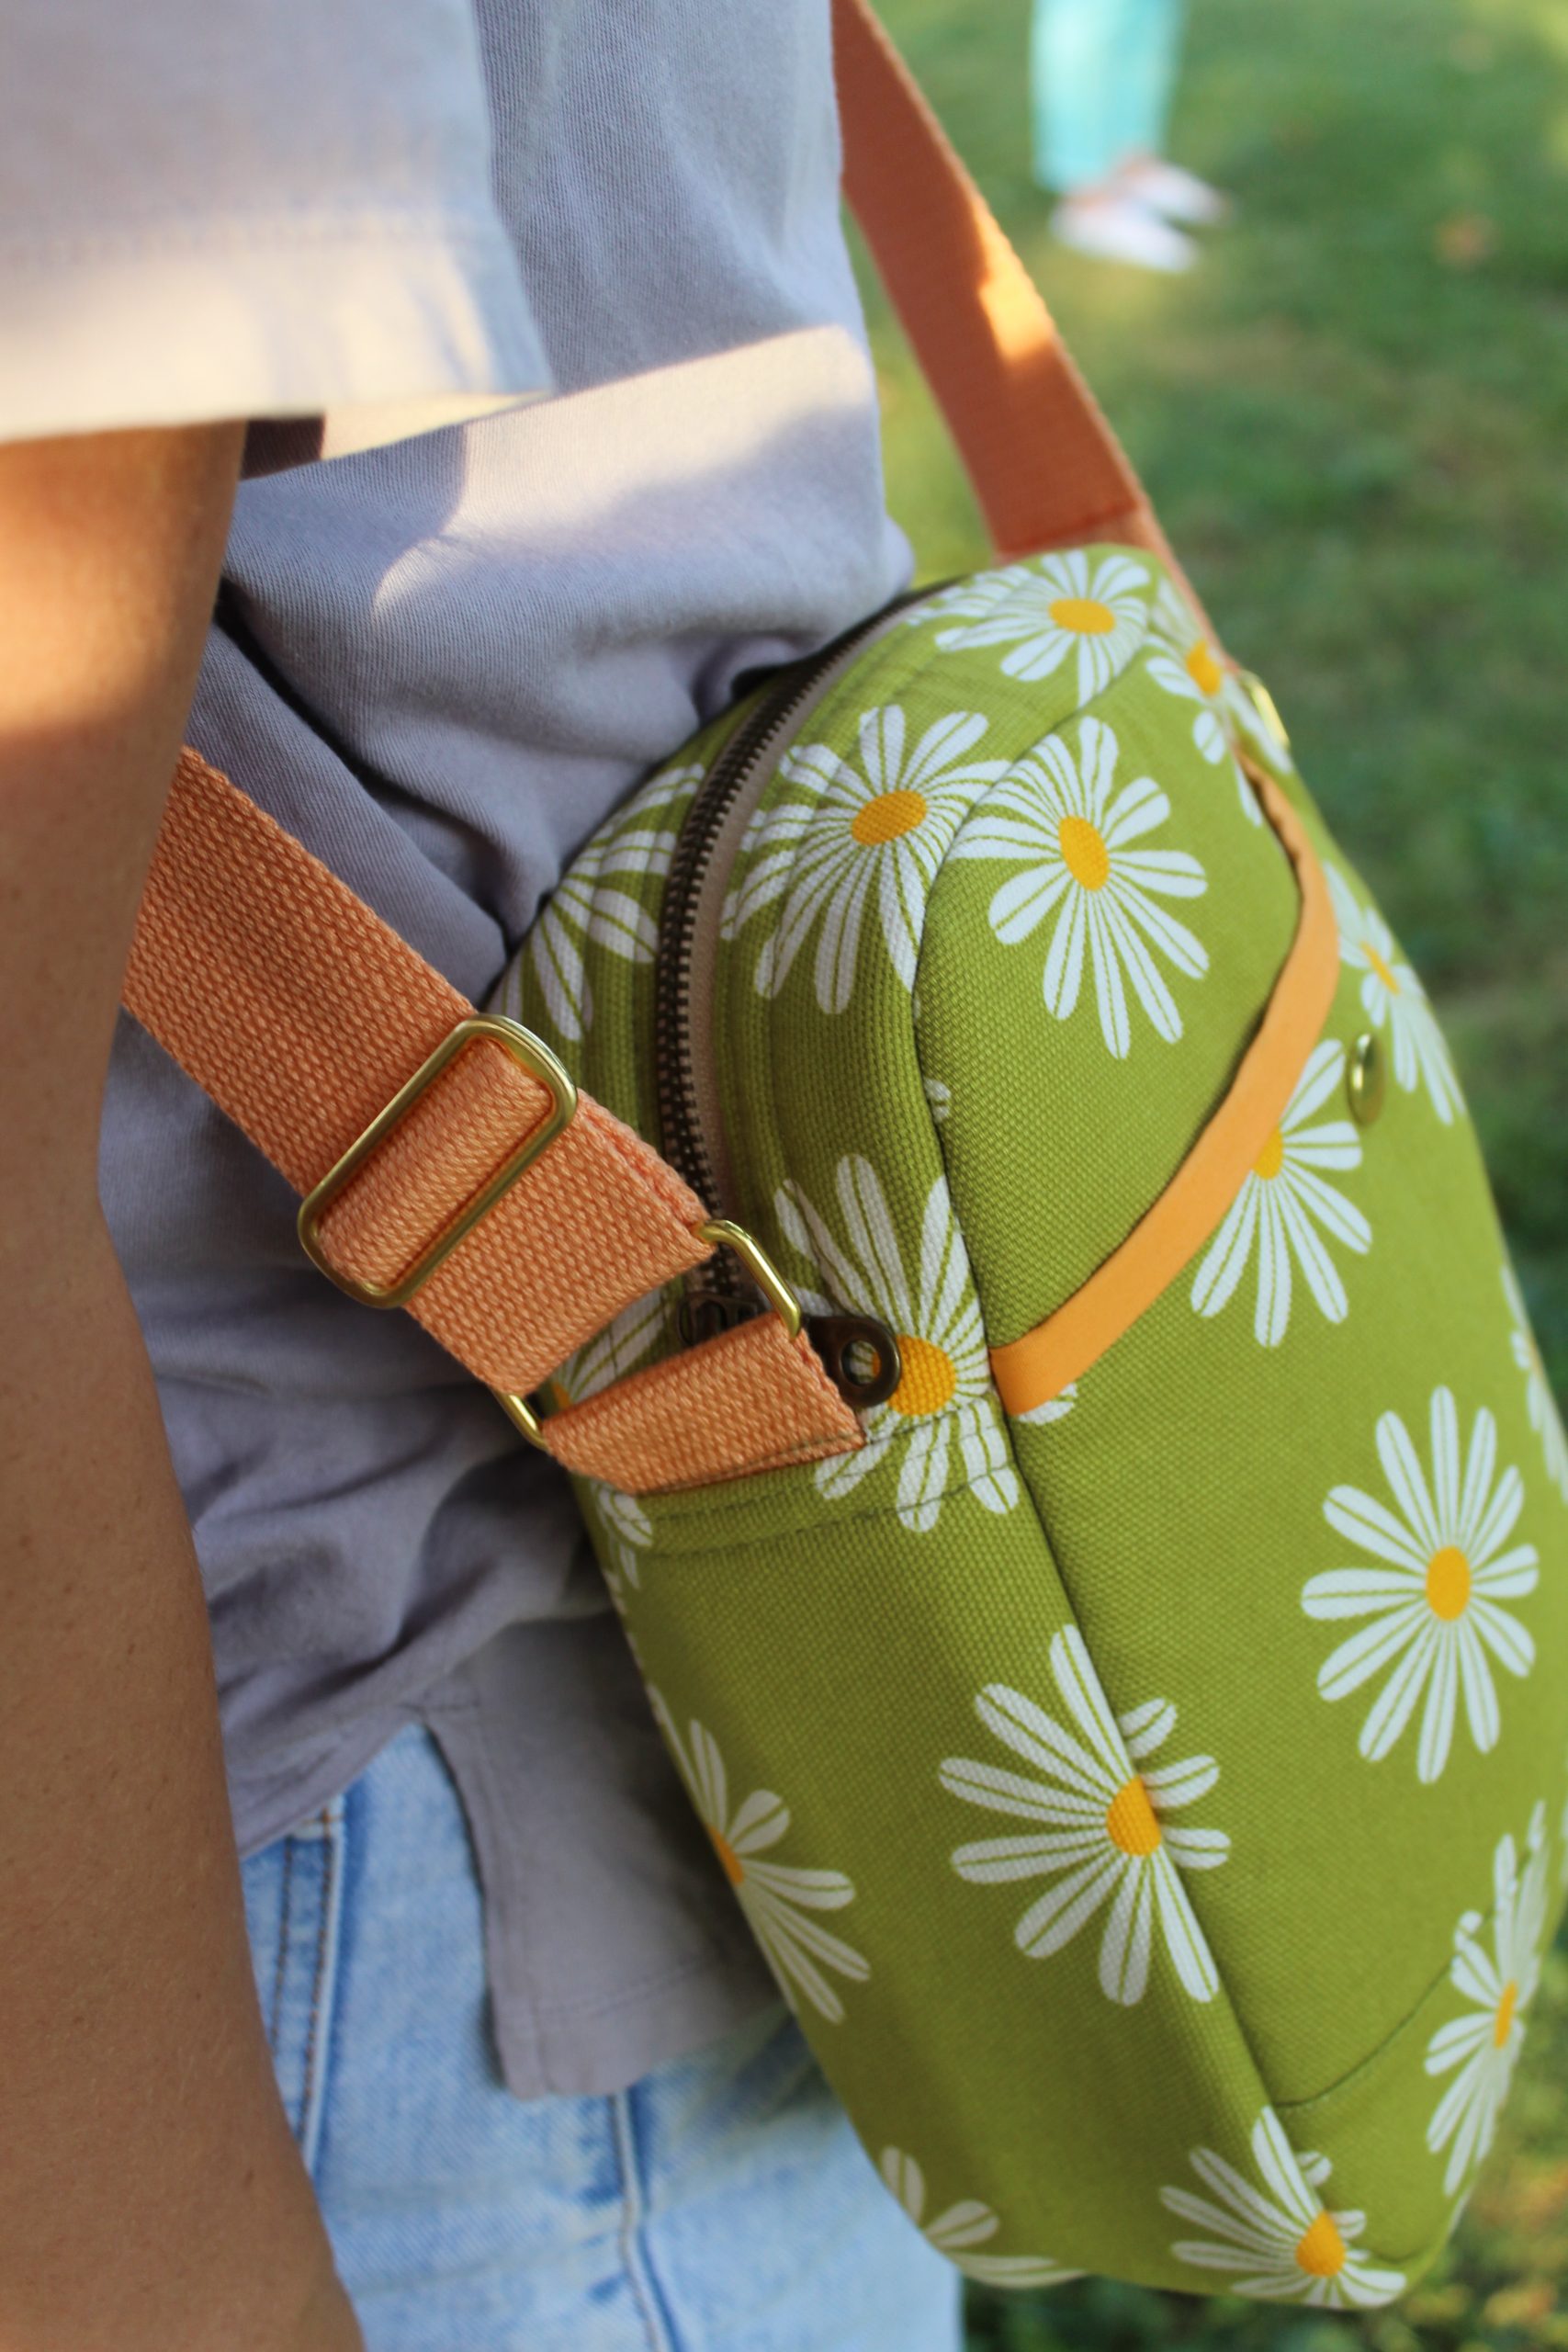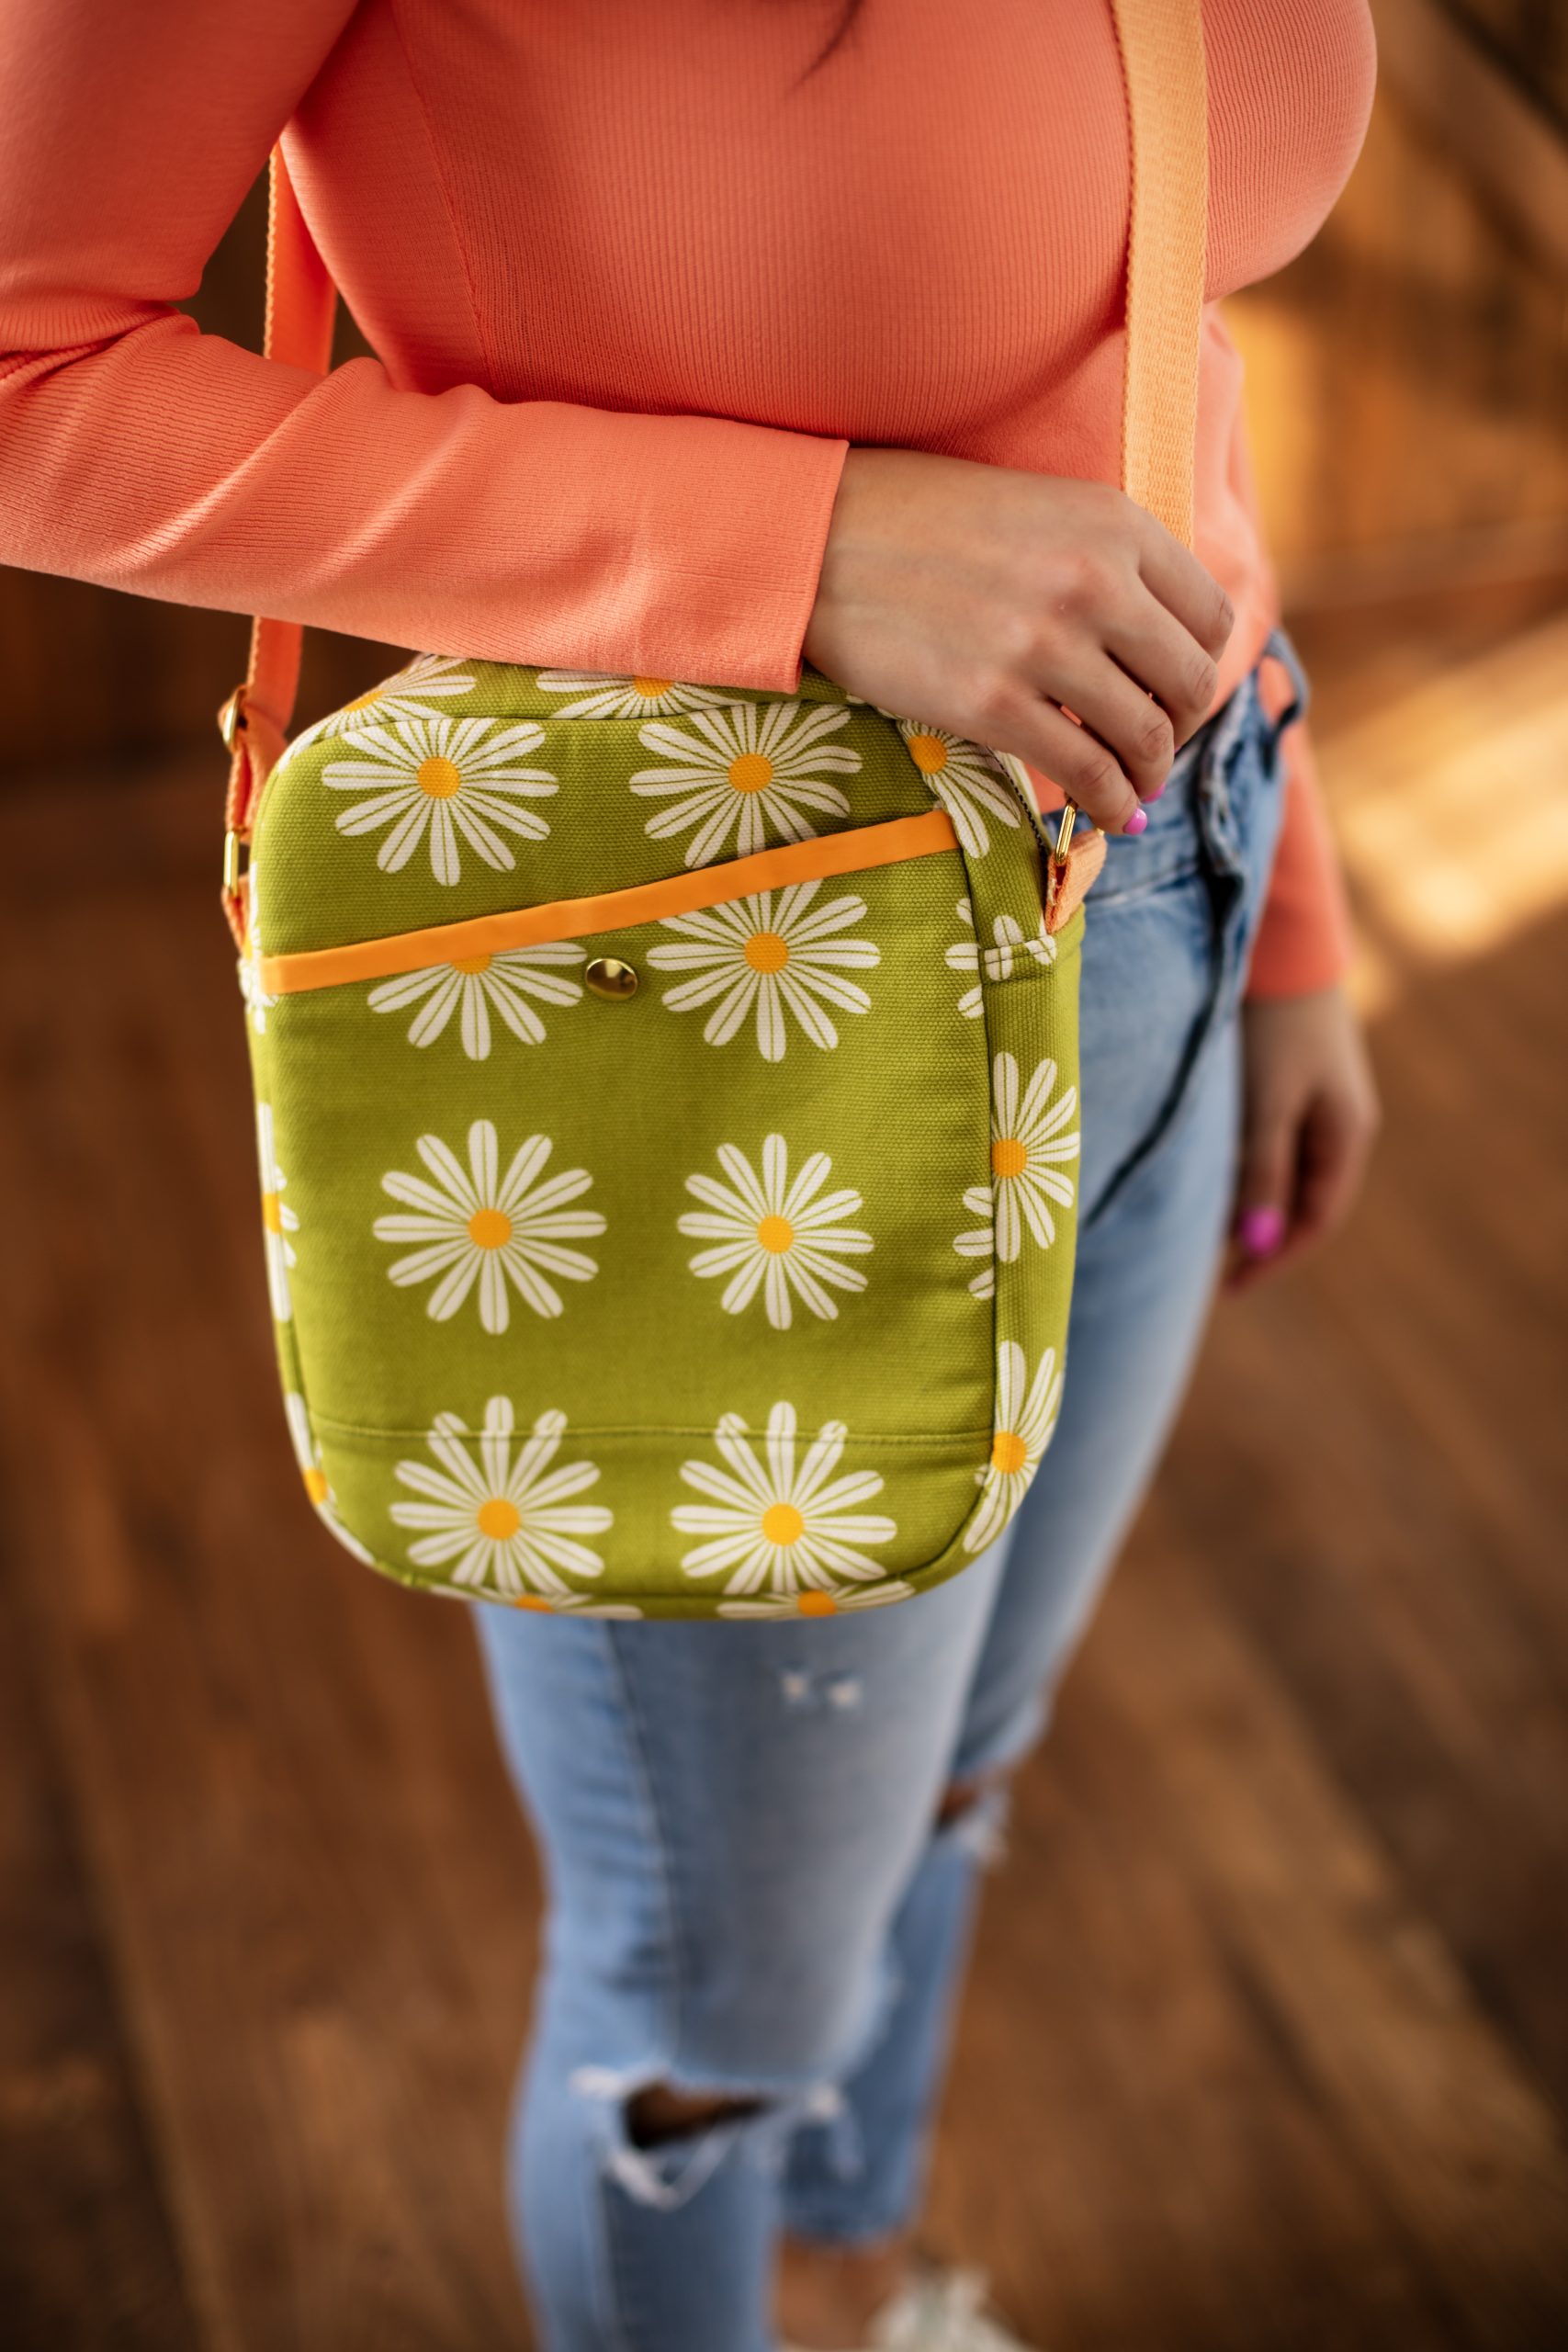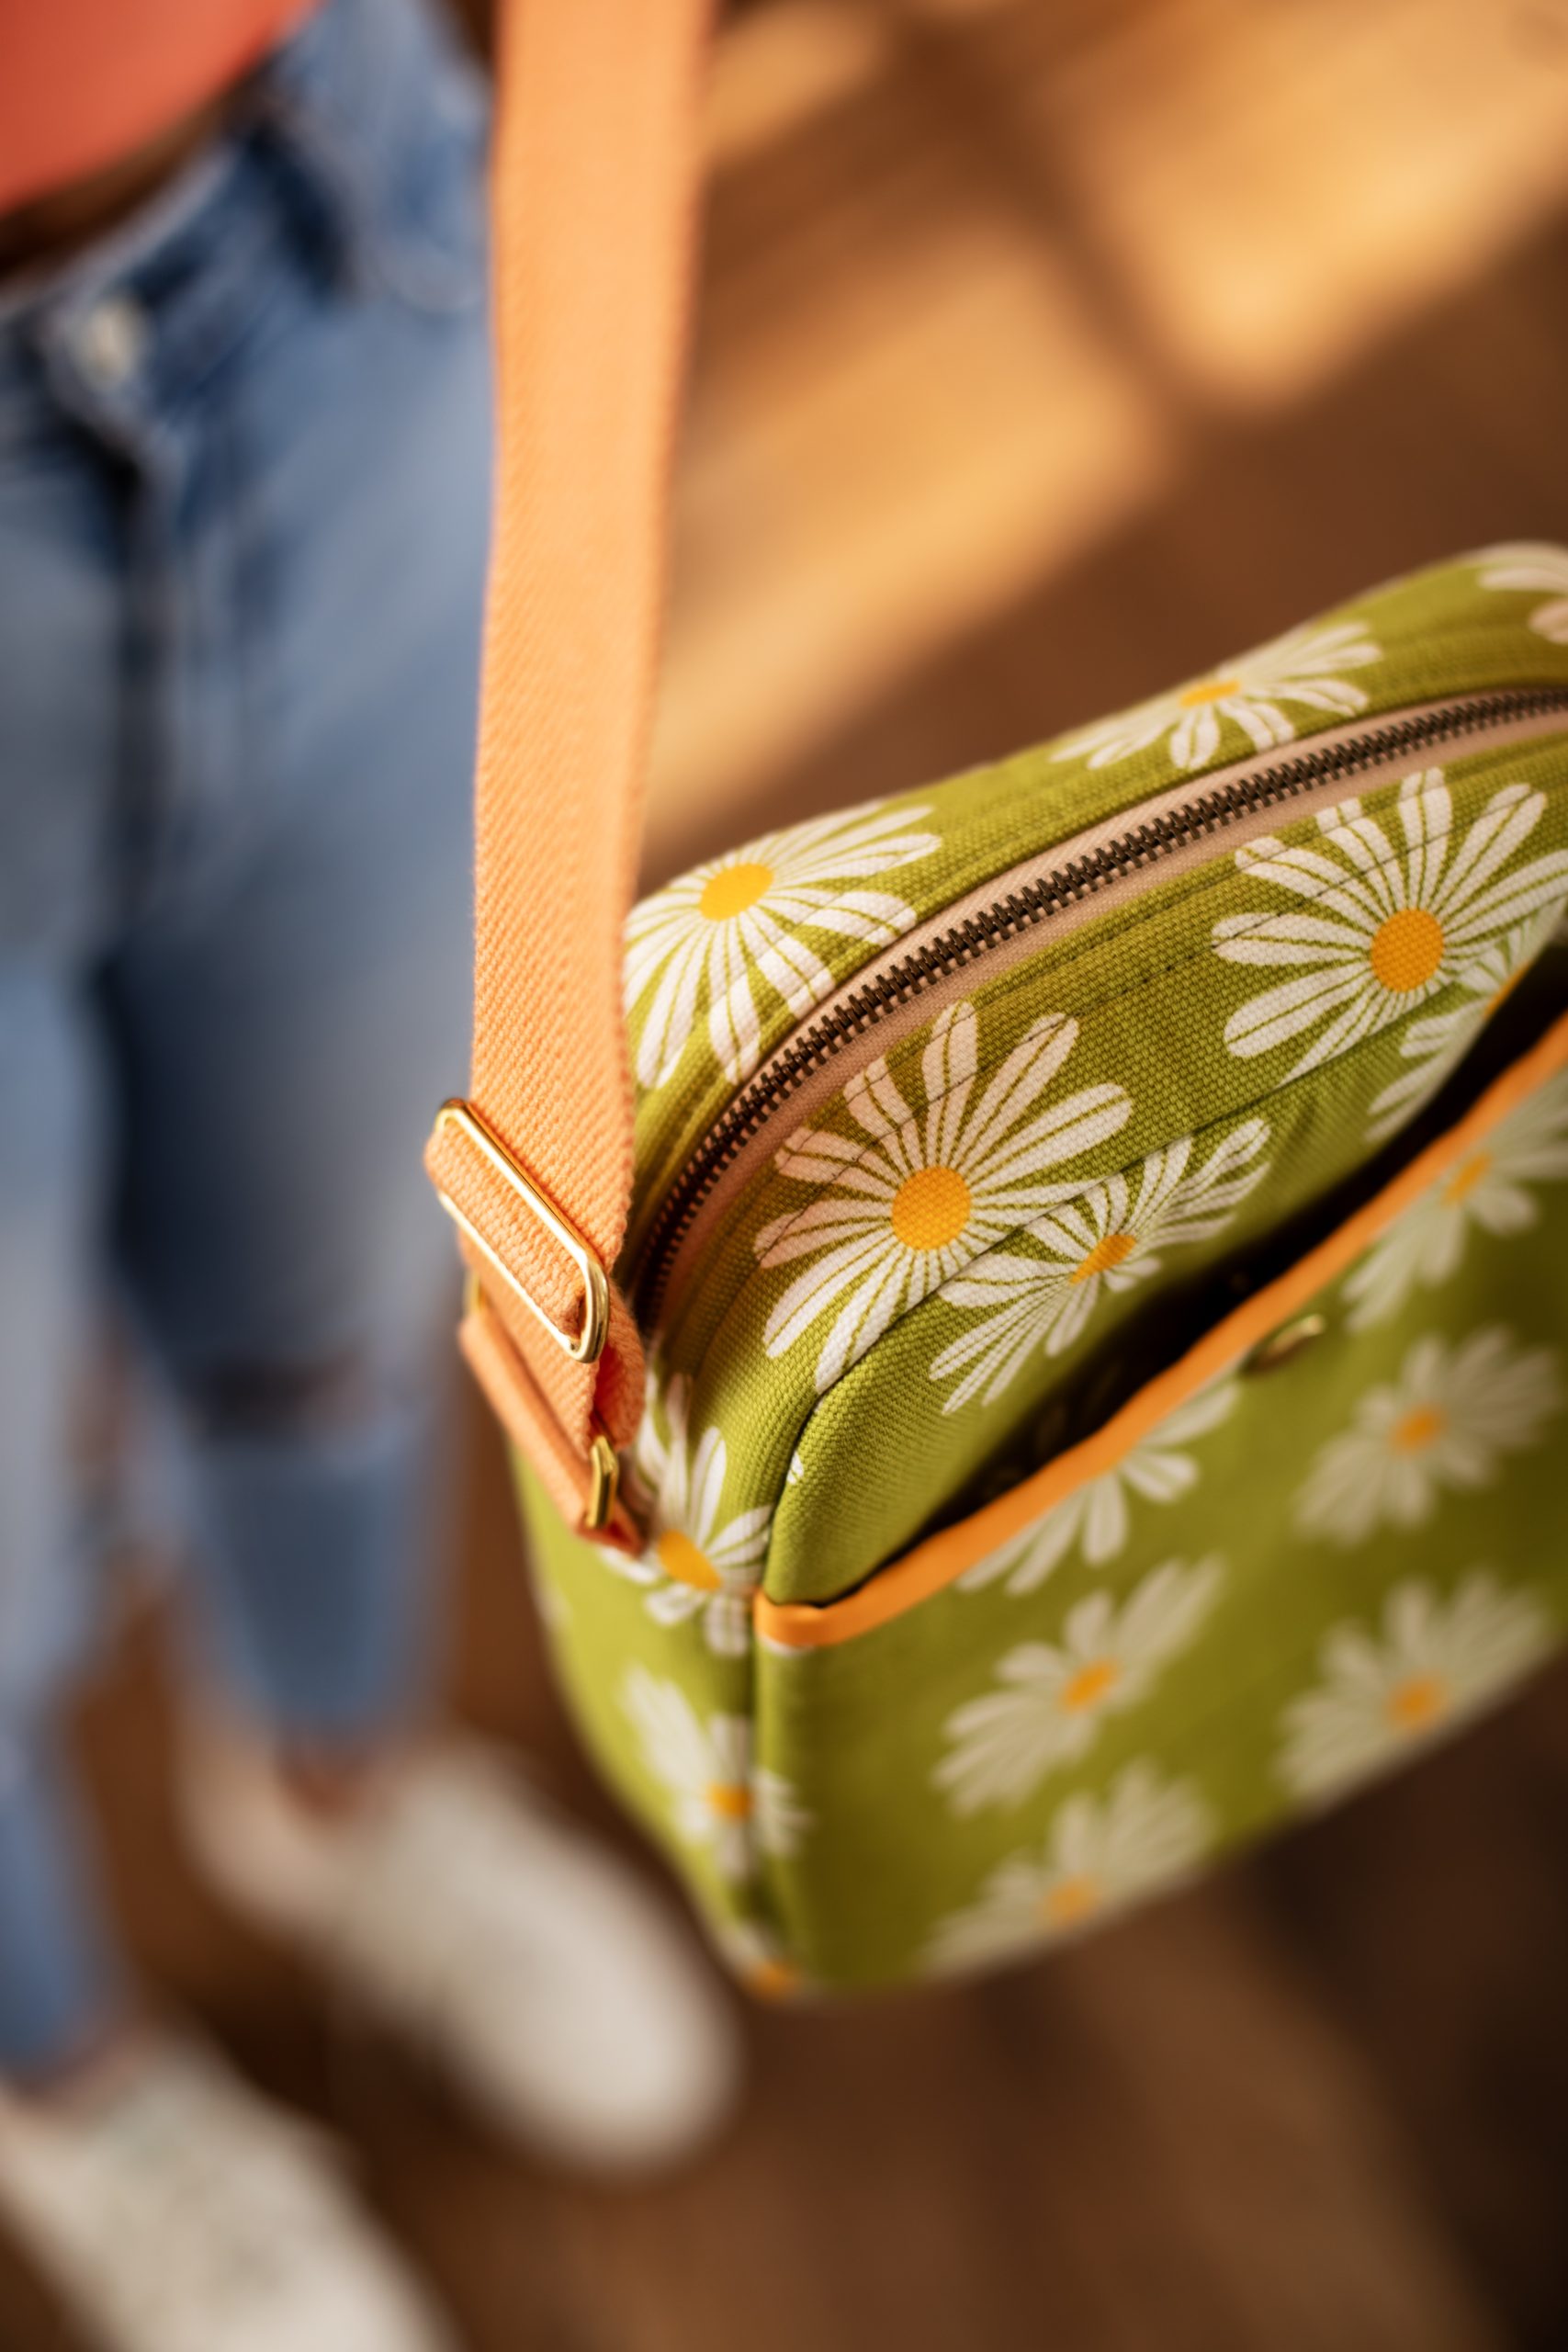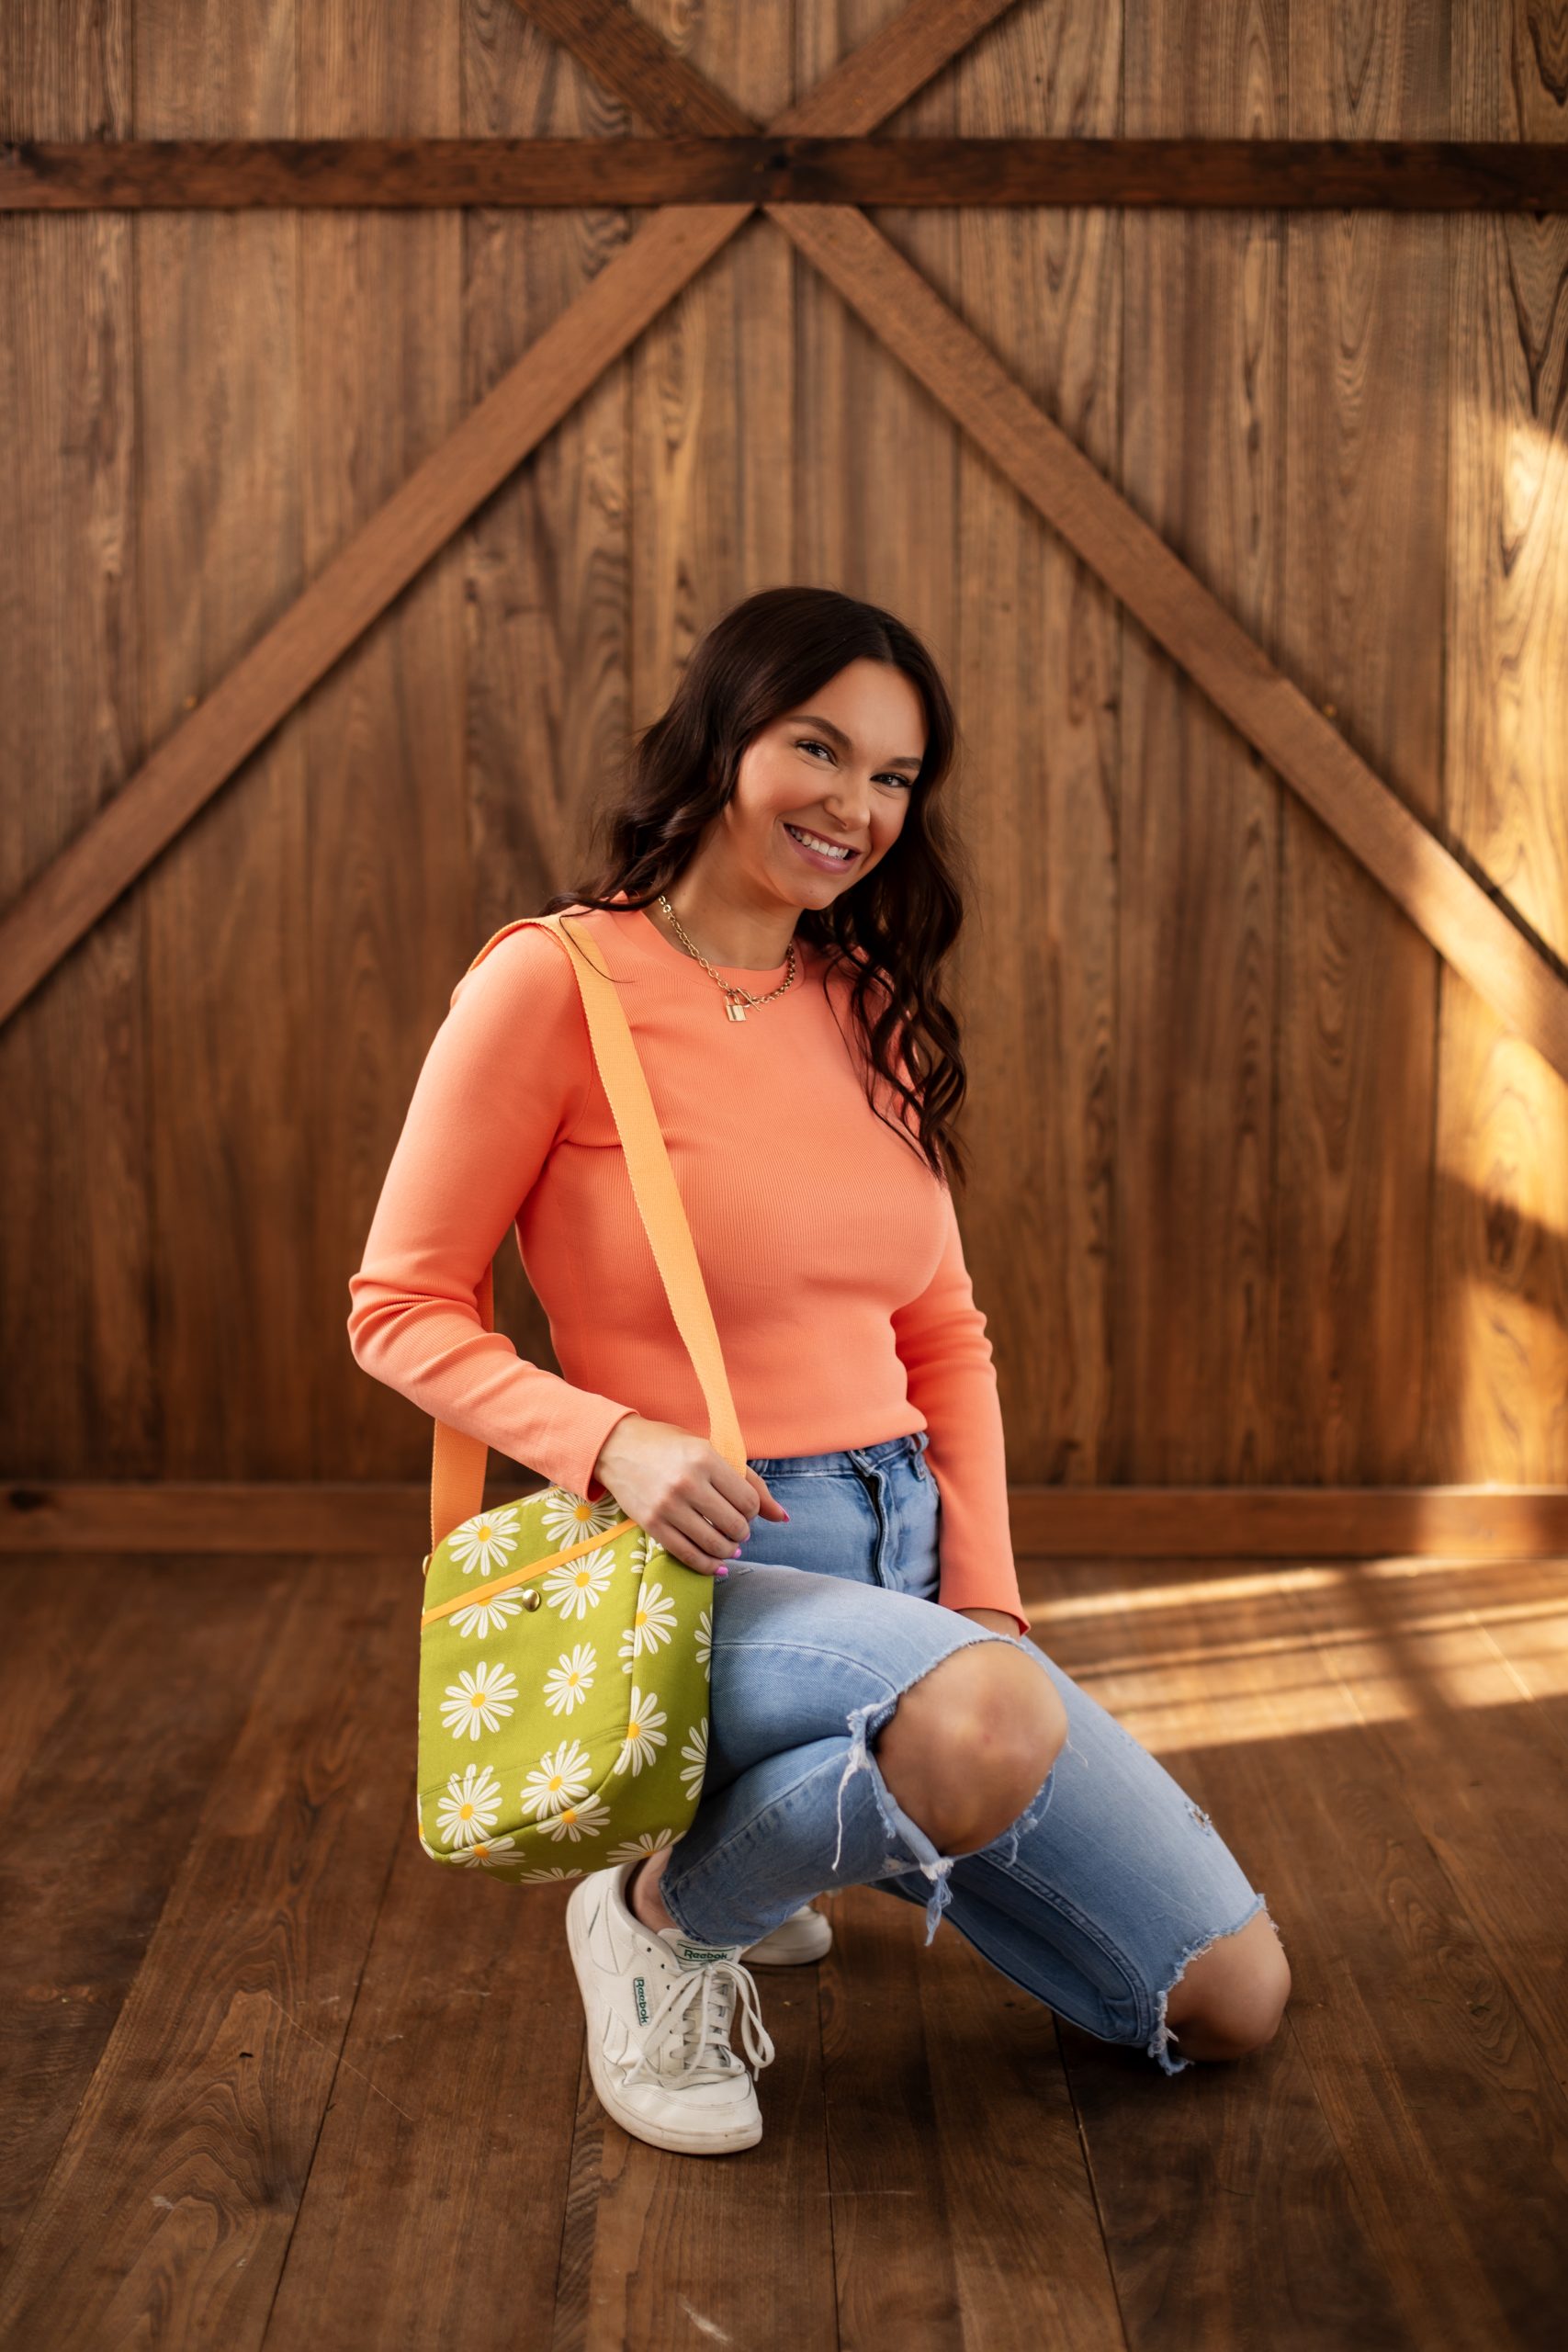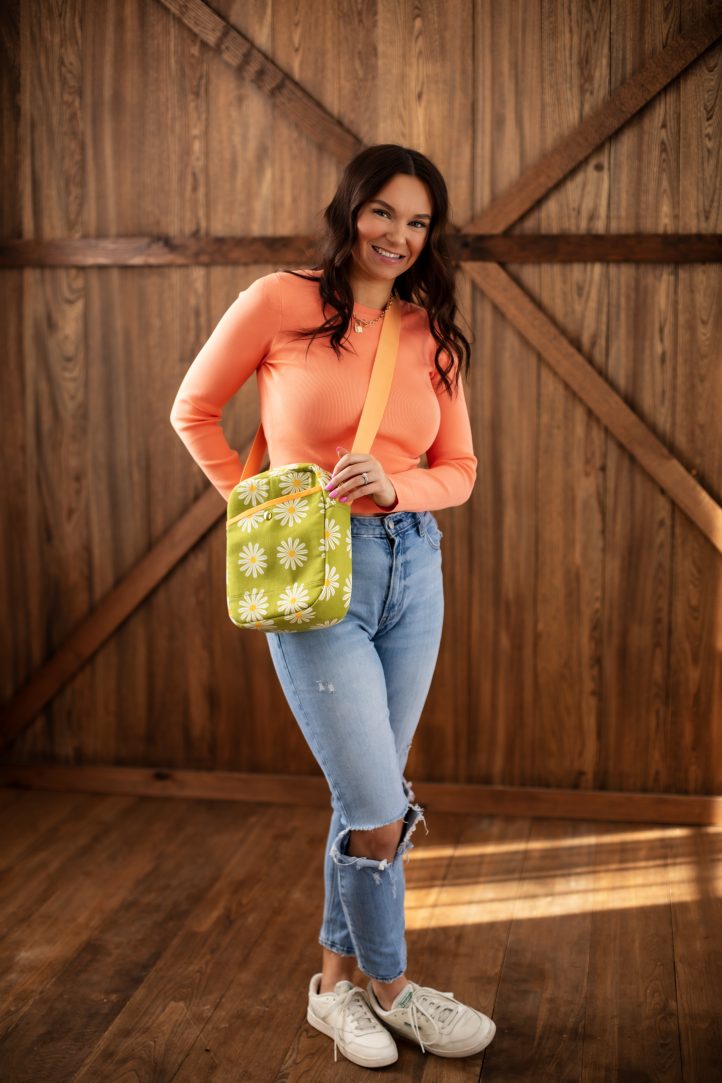
Transition your wardrobe from summer to fall with this cute crossbody bag pattern from Debbie von Grabler-Crozier. Perfect for showing off pretty seasonal prints, this crossbody bag pattern features an adjustable strap, roomy interior and stud closure for its exterior pocket. This bag sewing pattern is a fantastic option for carrying your necessities during back-to-school season without getting bogged down with a heavy purse, as its stylish, compact design makes it perfect for traveling.
Designer Note: Seam allowances are all 1/4” and have already been added.
Materials:
- Fabrics: (Note: All fabrics are from Art Gallery Fabrics.)
- 1/2 yd. canvas fabric with a summery print for the exterior panels. The designer loves Choose Happy Olive from the Flower and Bloom collection by AGF Studio.
- 3/4 yd. coordinating lining fabric. Debbie used Diamond Stripe from the Evolve collection by Suzy Quilts for AGF.
- Fat quarter coordinating fabric in a solid (This should ideally coordinate with the exterior canvas in some way). The designer has chosen Mandarin from the Pure Elements collection by AGF.
- Interfacing:
- 1/2 yd. – 3/4 yd. foam interfacing. Debbie used Style-vil by Vlieseline. A great alternative would be By Annie’s Soft & Stable.
- 52” x 1 1/2” wide cotton webbing for the strap
- 1x 11 1/2” metal zipper (#5)
- 2x 1 1/2” rectangle rings
- 1x 1 1/2” bag slider
- 1x 1/2” stud
- Clear drying glue suitable for fabric
- Coordinating threads for all fabrics and trims
- Scissors
- Fabric marking tools
- Extra feet for your sewing machine (zipper foot, for example)
Cutting Instructions:
From the exterior canvas:
- 2 pieces 8 1/2” sq. for the front and back panels
- 1 piece 8 1/2” wide x 7” tall for the front pocket
- 2 pieces 8 1/2” wide x 2 1/2” tall for the front and back bottom panels
- 2 pieces 2” wide x 12 1/4” long for the zipper panels
- 1 piece 4” wide x 23” long for the base panel
From the lining fabric:
- 2 pieces 8 1/2” wide x 10 1/2” tall for the front and back panels
- 1 piece 8 1/2” wide x 7” tall for the front pocket
- 2 pieces 2” wide x 12 1/4” long for the zipper panels
- 1 piece 4” wide x 23” long for the base panel
- 2 pieces 36” long bias tape cut at 1 1/2” wide and joined if necessary
From the coordinating solid:
- 1 piece 1 1/2” wide x 9 1/2” long (cut on the straight grain) for the front pocket binding
From the webbing:
- 1 piece 47” long for the adjustable strap (you can make this longer or shorter if you prefer but be aware that if it is longer, the amount that you need to buy may change).
- 2 pieces 2” long for the rectangle ring tabs
TIP: There are no cutting notes for the Style-Vil foam interfacing. Instructions will be given as we go along but the basic idea is to press the piece to be interfaced and then pin to a slightly larger (about 3/4” all around) piece of foam interfacing. Use a machine basting stitch to attach the panel to the foam, gently keeping a taut tension on it. Then trim the excess foam away.
Sewing Instructions:
PREPARATION:
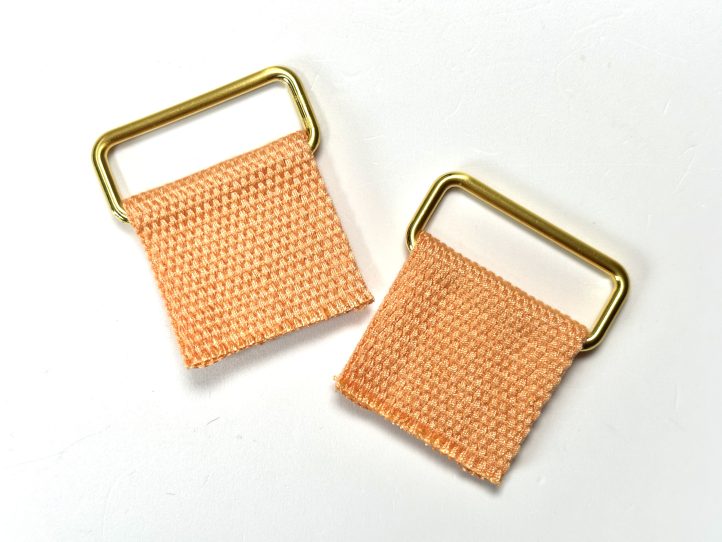
The Rectangle Ring Tabs:
- Fold the rectangle ring tabs in half and enclose a rectangle ring in each. A dab of glue or double sided tape will help to keep them closed.
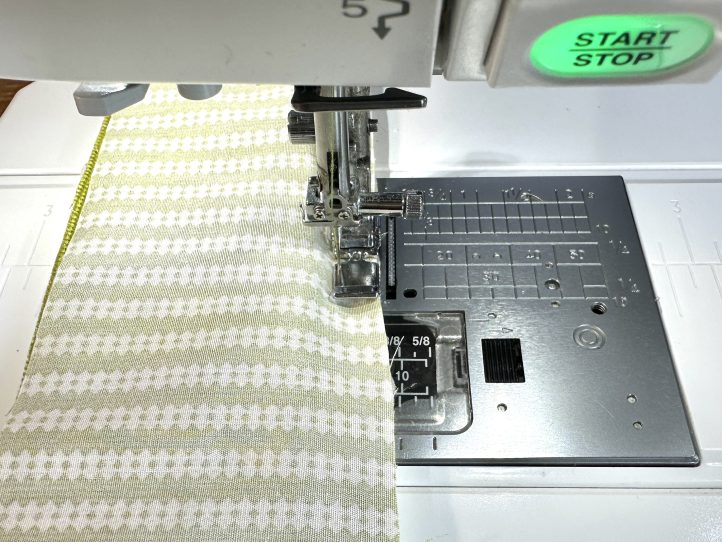
The Main Strap:
- Fold the end of the webbing over by 1/2” and then another 1 1/2” and attach it to the middle bar of the bag slider.

- Secure it either by hand or machine as you prefer.
- TIP: The designer usually does this by hand as it is just as secure but a lot neater.
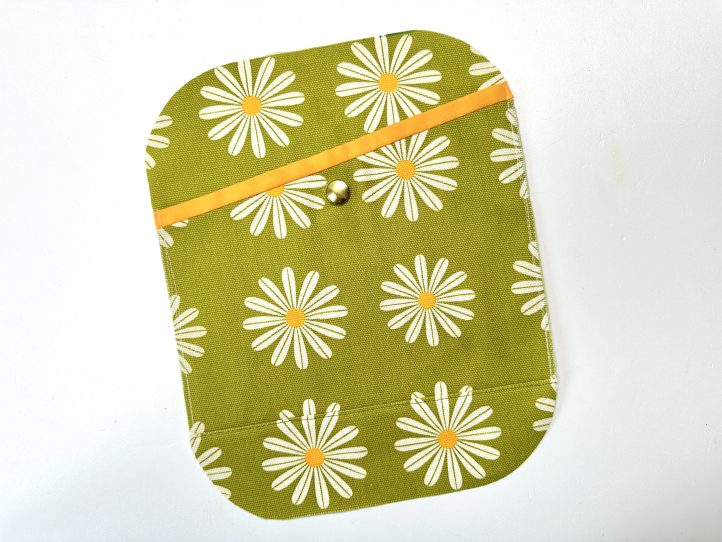
The Front Pocket:
The front pocket requires the smallest amount of simple shaping. This will be done once the lining is attached so that everything stays together.
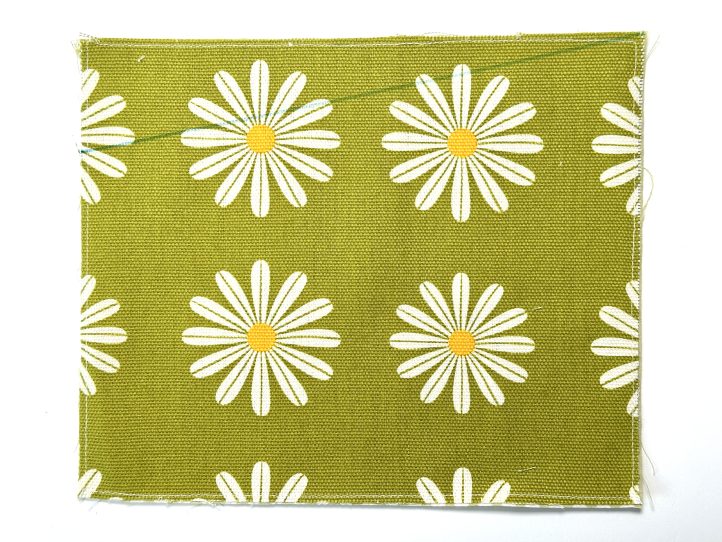
- Place the lining wrong sides together onto the canvas exterior panel. Baste right around narrowly (1/8”).
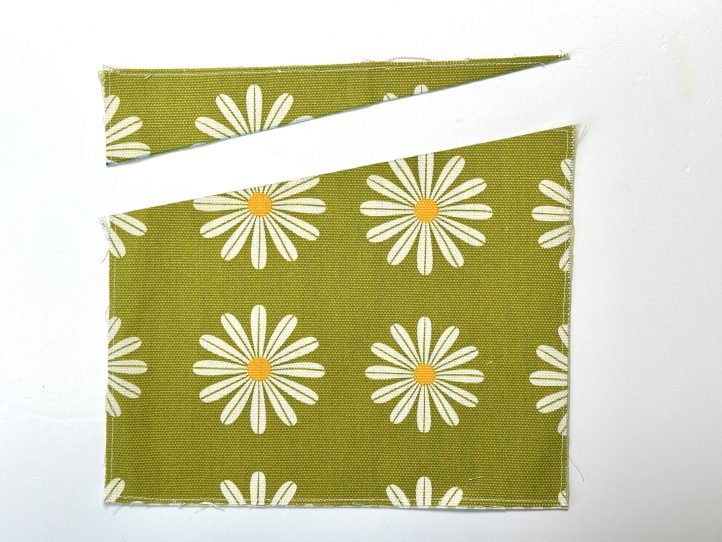
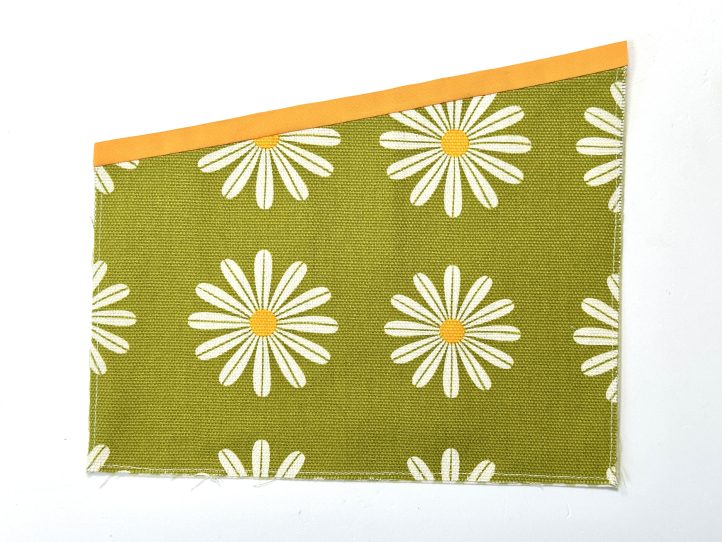
- To shape, measure down on the left hand side of the pocket panel 1 3/4” and make a mark. Rule a line from this mark to the top right hand side of the bag.
- Cut along the line. Re-baste that top edge.
- Bind the shaped pocket top with the coordinating solid strip. Trim the excess binding.
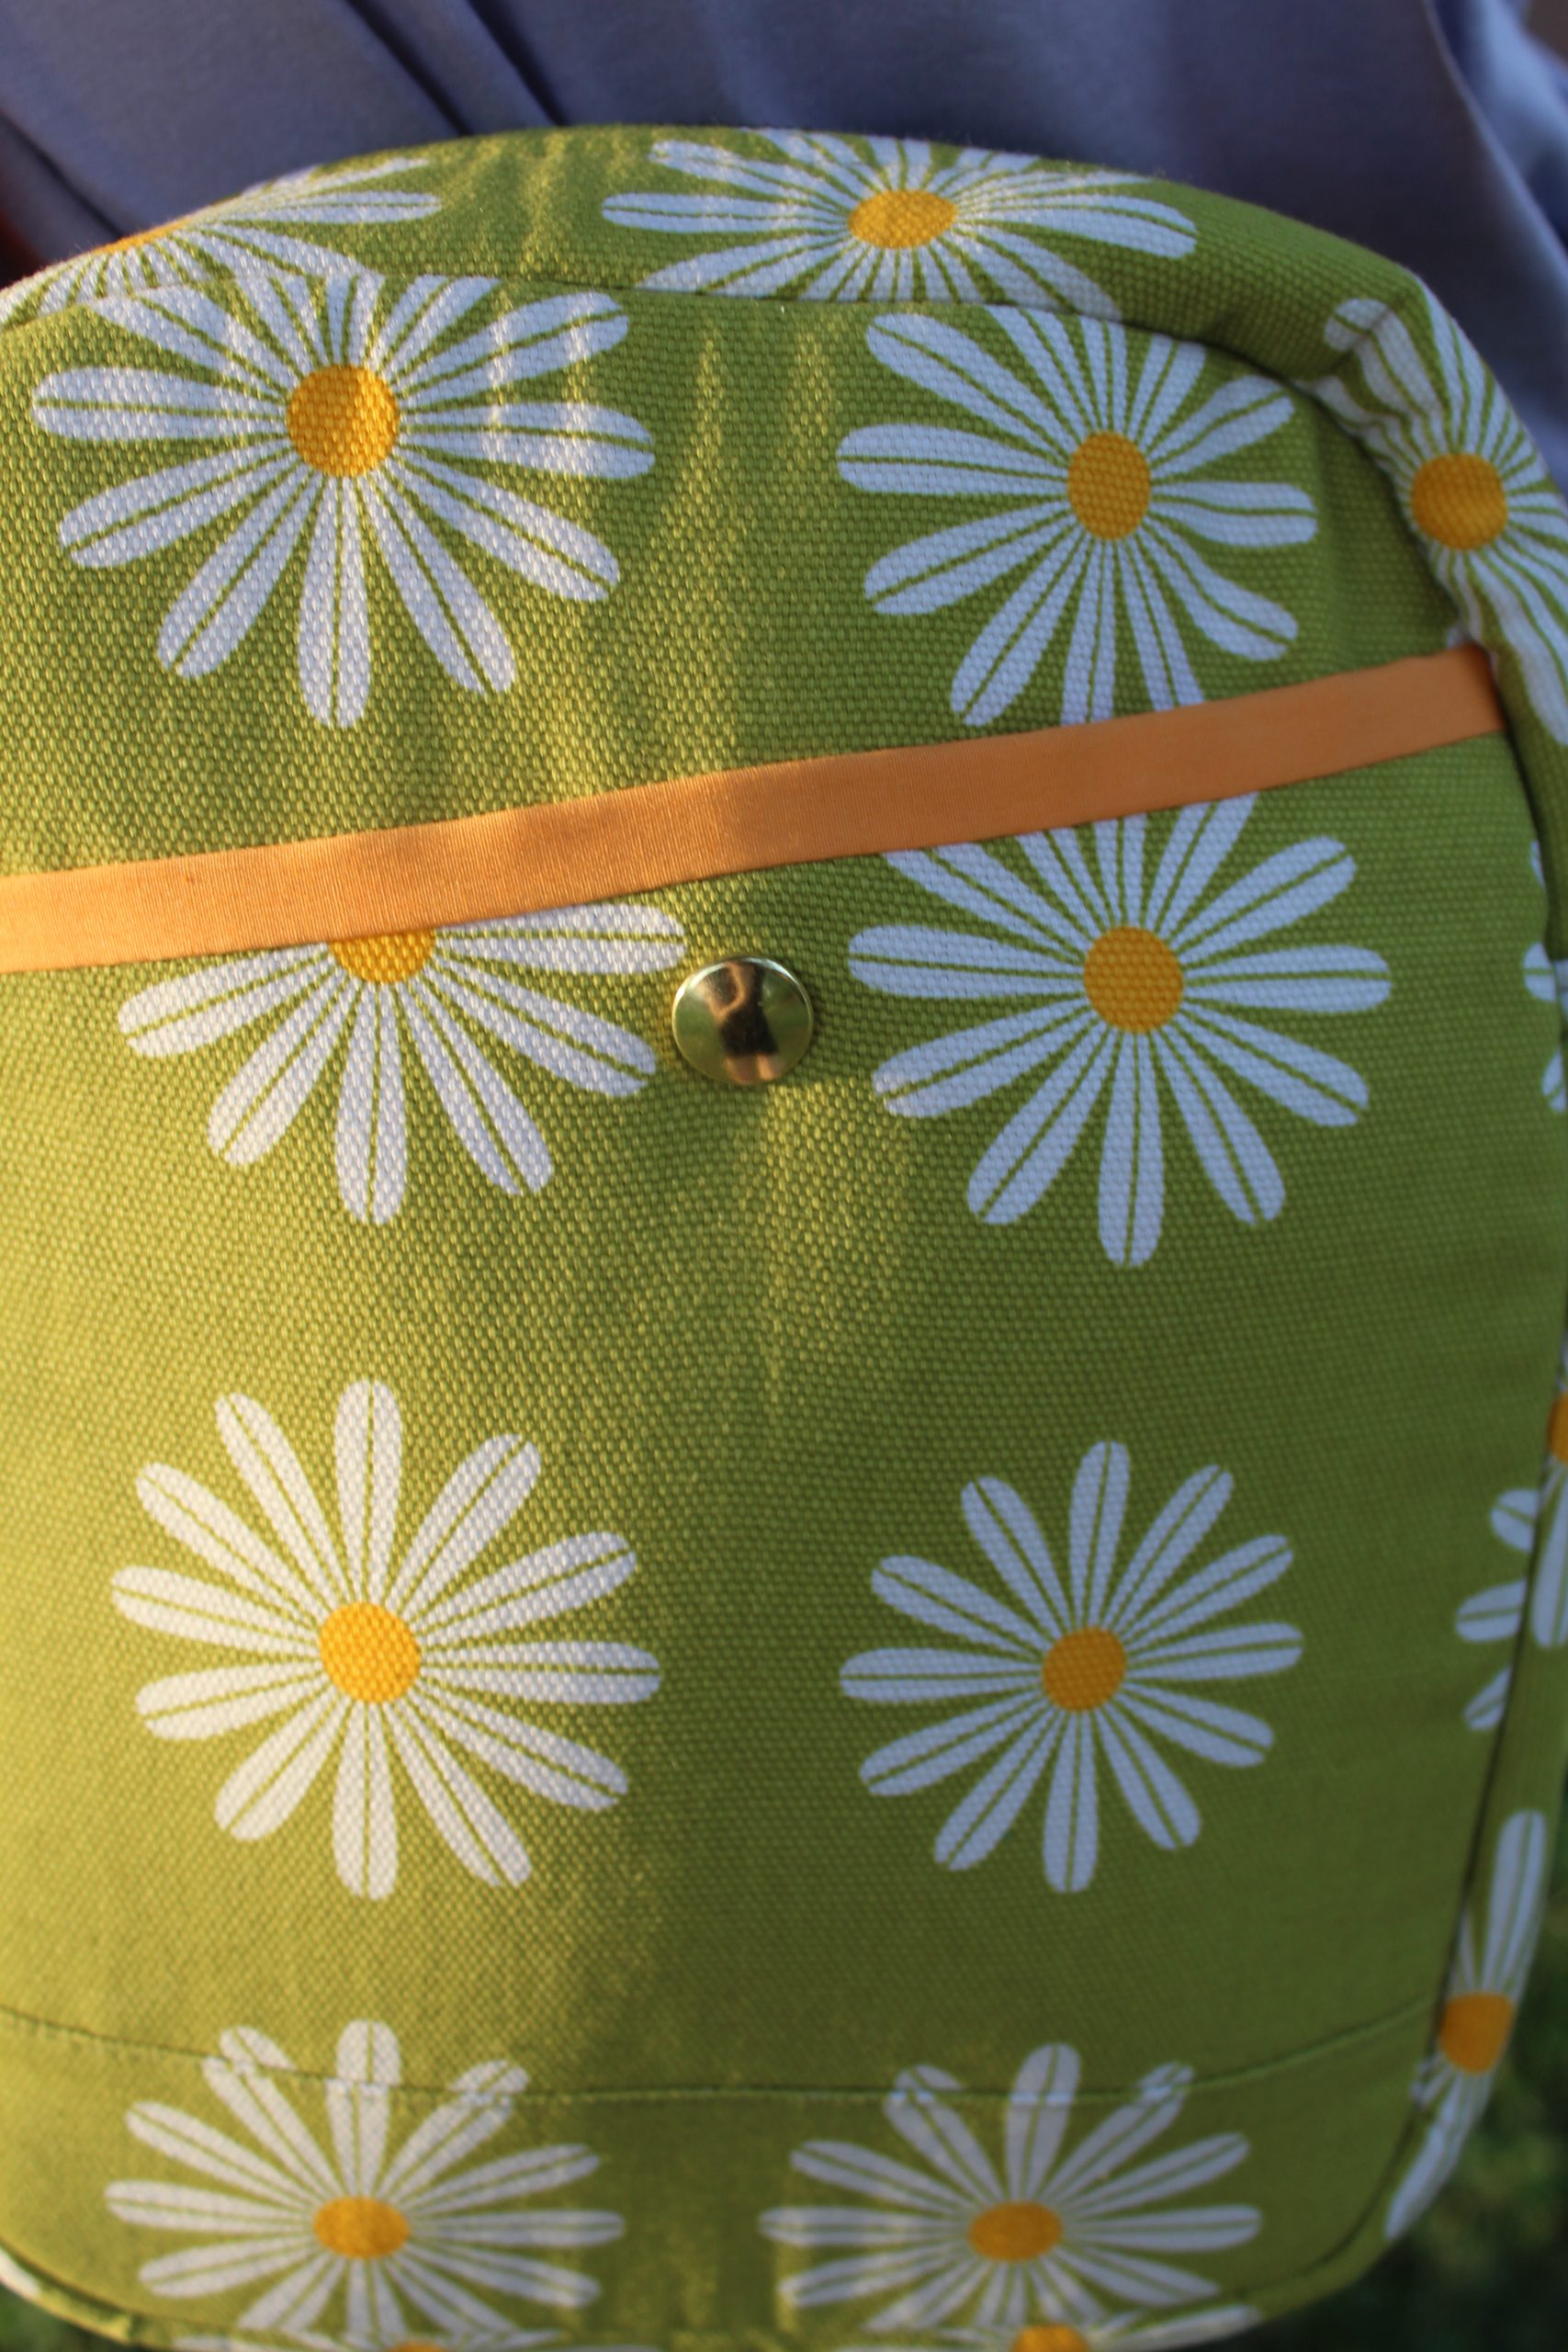
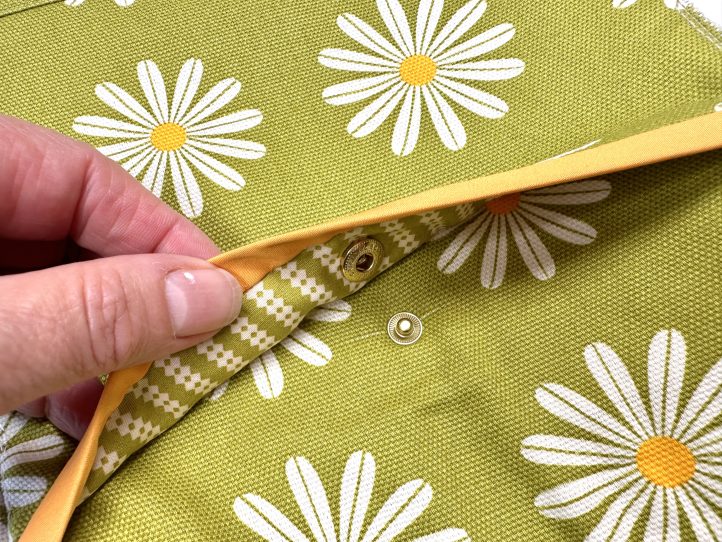
- Find the vertical center of the pocket by folding it in half and marking. Measure down 1” on the center line and make a hole. Attach the female half of the stud.
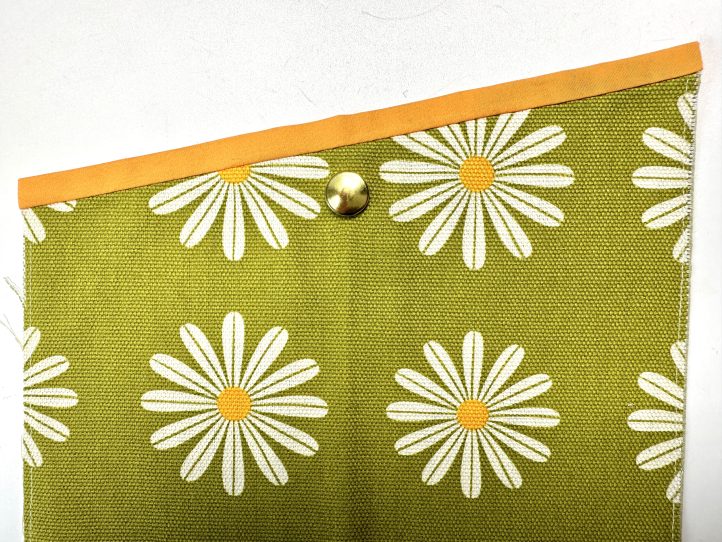
- TIP: These studs all differ brand by brand so it is best to install according to the manufacturer’s guidelines and using the tools which usually come with the studs.
The Front Panel:
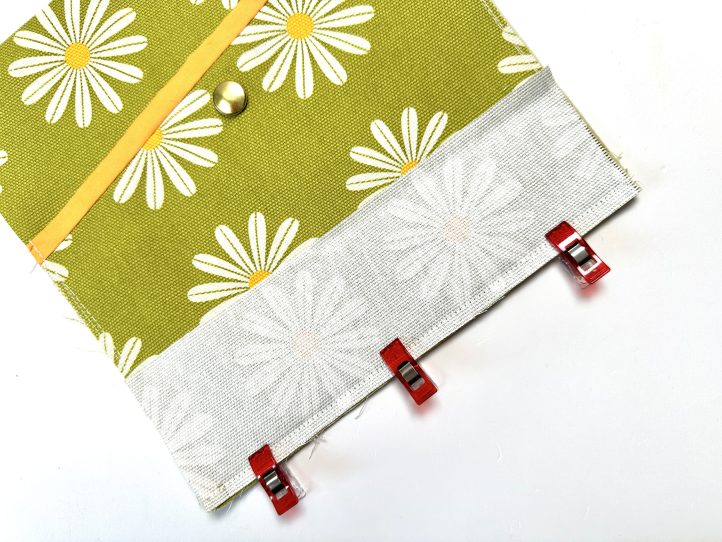
- Lay the pocket panel onto the front main panel. The sides and bases of both will be aligned. Baste the sides and base narrowly (1/8”).
- Pin or clip the bottom panel right sides together to the bottom edge of the front panel/ front pocket. Sew the seam and flip the panel pieces the right way out.
- Topstitch narrowly (1/8”) along the seam, which will be pointing down.
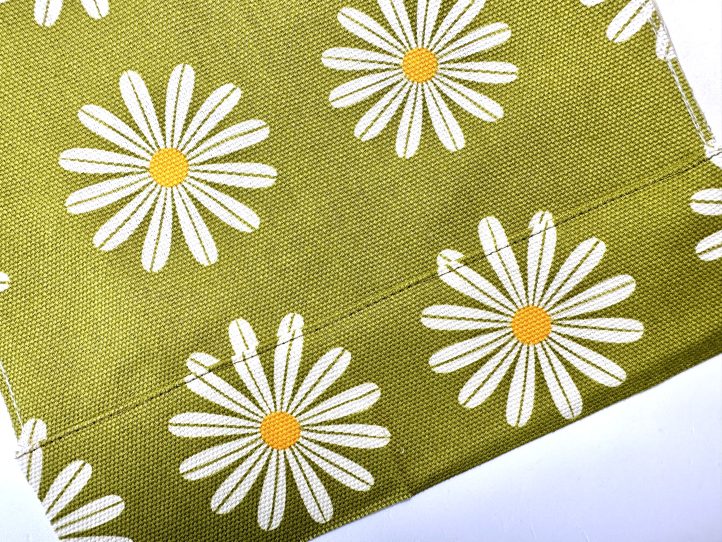
- Round the four corners of the front panel.
- TIP: All you need to do to achieve this is to trace around something round and then cut out. Debbie usually uses an upside down tea cup. If you have a ‘proper’ round ruler, by all means use that.
- Lay the completed front panel exterior onto a piece of slightly larger foam interfacing and pin well. Baste the panel to the interfacing and then trim the excess foam back to the canvas panel.
- See where the pocket stud sits naturally, make a mark inside the pocket and attach the male half of the stud, going through all layers.
The Back Panel:
- Attach the bottom panel to the bottom edge of the main back panel and topstitch as you did the front.
- Round all four corners and attach the back panel exterior to a piece of foam interfacing and trim.
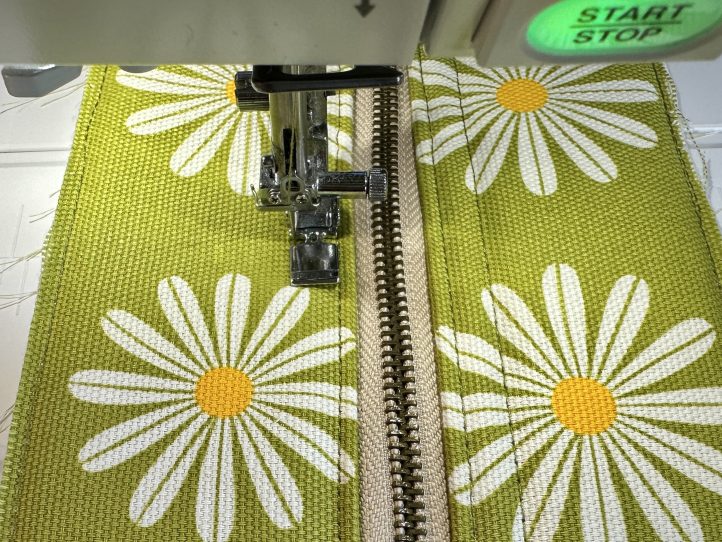
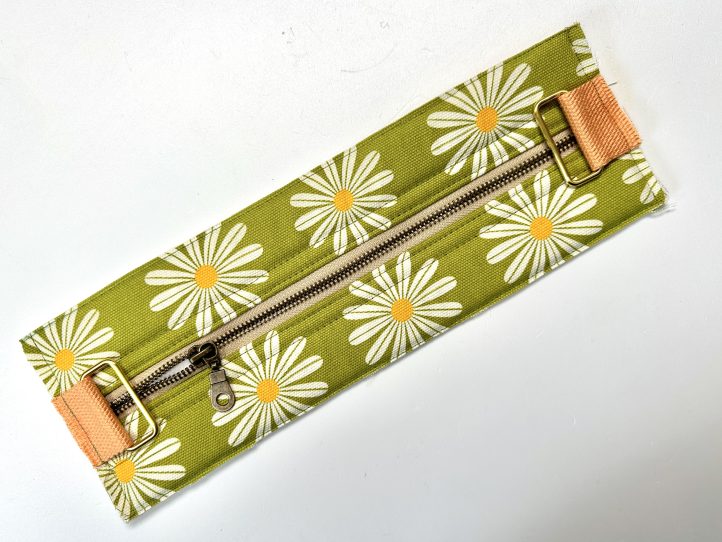
The Zipper Panel:
- Interface the zipper exterior panels with foam interfacing as you did for the front and back panels and trim.
- Lay the zipper and the right sides together onto one long edge of an interfaced canvas zipper panel. Baste it into place.
- TIP: This is always a step worth doing because it means that the zipper will not move during the lining step.
- Lay the lining on over the zipper and then sew through all layers. Flip the layers the right way out and topstitch twice along the zip.
- TIP: The first topstitch row will be 1/8” and the second one 1/4” under that.
- Repeat for the other side of the zip.
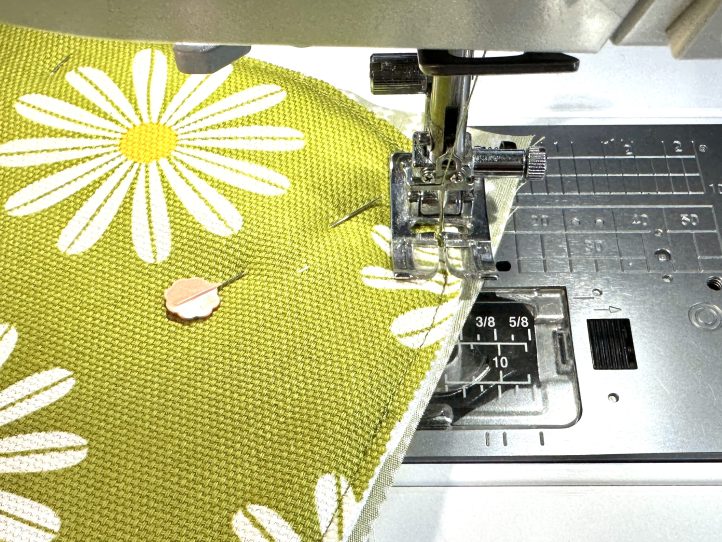
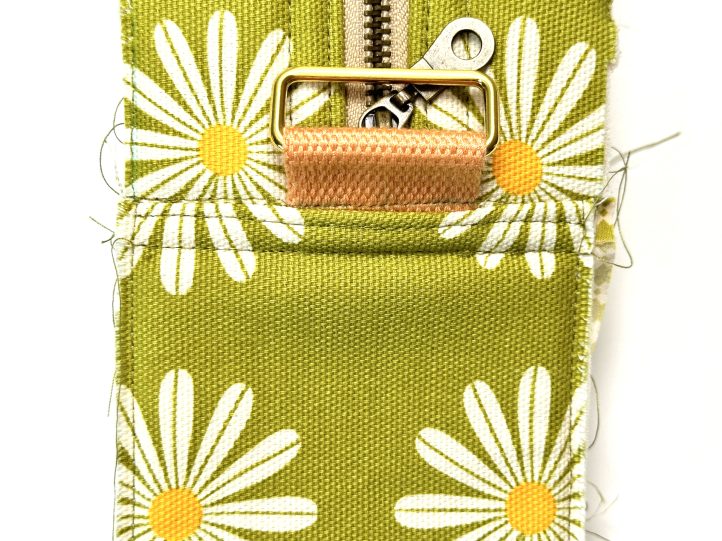
- Baste the ends of the zip closed if you have not done so already and add a rectangle ring tab centrally to each end of the zip.
Lining the Front and Back Panels:
- Lay a lining panel wrong sides together onto the front exterior panel and pin or clip. Baste the lining on, keeping the lining gently taut and then trim the corners round using the bag front as a template.
- Repeat for the other lining panel and the back exterior panel.
The Base Panel:
- Interface with foam interfacing and trim.
Making the Bias Tape:
- Fold the length of bias tape in half with the wrong sides facing and press to obtain a center crease. Open out and re-fold the long raw side edges to the center crease and press again. Re-fold along all of the creases, enclosing the raw edges and roll until it is needed.
MAKING:
Constructing the Zipper/Base Loop:
TIP: The zipper/base loop is a bit longer than needed to allow for our different fabric and interfacing choices and seam allowance anomalies which can affect the end result. So you need to temporarily fit it onto one of the lined exterior panels.
- Lay one short end of the interfaced base exterior panel onto one short end of the zipper panel with the right sides together and baste.
- Lay the lining, right sides together, with the zipper panel lining and sew the seam.
- Flip the layers the right way out (the raw ends will now be hidden in between the layers) and topstitch twice, the first pass at 1/8” and the second, 1/4” under that.
- Time to temporarily fit the loop onto the front panel.
- TIP: It is really useful to know where the centers of the bag components are. The top and bottom vertical centers and the side centers of the front and back panels (find and mark) and the center of both the zipper panel and the base panel. They can then be matched up when you are fitting (and in the ‘real’ sewing stage) to make sure that everything is where it needs to be.
- Pin or clip the zipper/base section onto the front panel, lining up any center marks and if necessary, trim any excess off the base panel end, remembering to leave 1/4” seam allowance on both the interfaced base exterior and the base lining. Re-baste the trimmed end.
- When you are happy with the fit, remove the base/zipper panel and join the remaining short end of the base exterior and lining to the remaining short end of the zipper panel to make a loop and topstitch.
- TIP: Baste the long sides together to keep them neat. This will make the next steps easier.
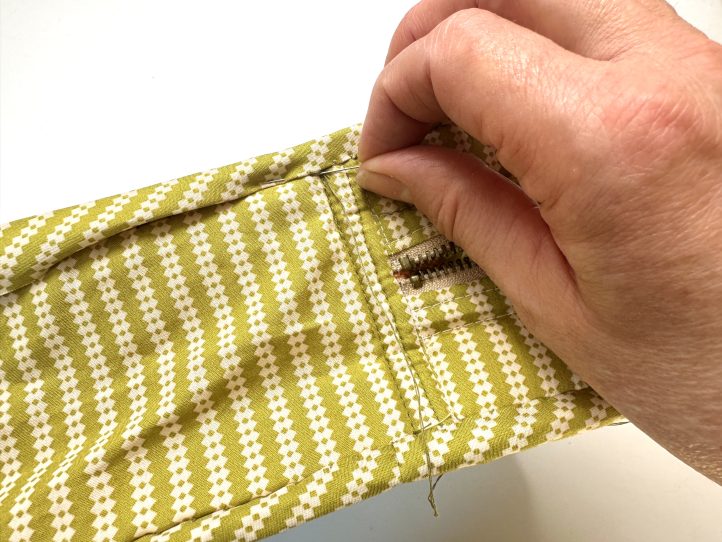
Adding the Front and Back Panels:
- With the right sides together, pin or clip the zipper panel/base panel loop to the front panel.
- TIP: Some very tiny (1/8”) where the straight loop edge negotiates the curved bag corner is helpful.
- Sew the panel on.
- Open the zipper about halfway and attach the back panel in the same way.
- Bind the raw edges with the bias tape.
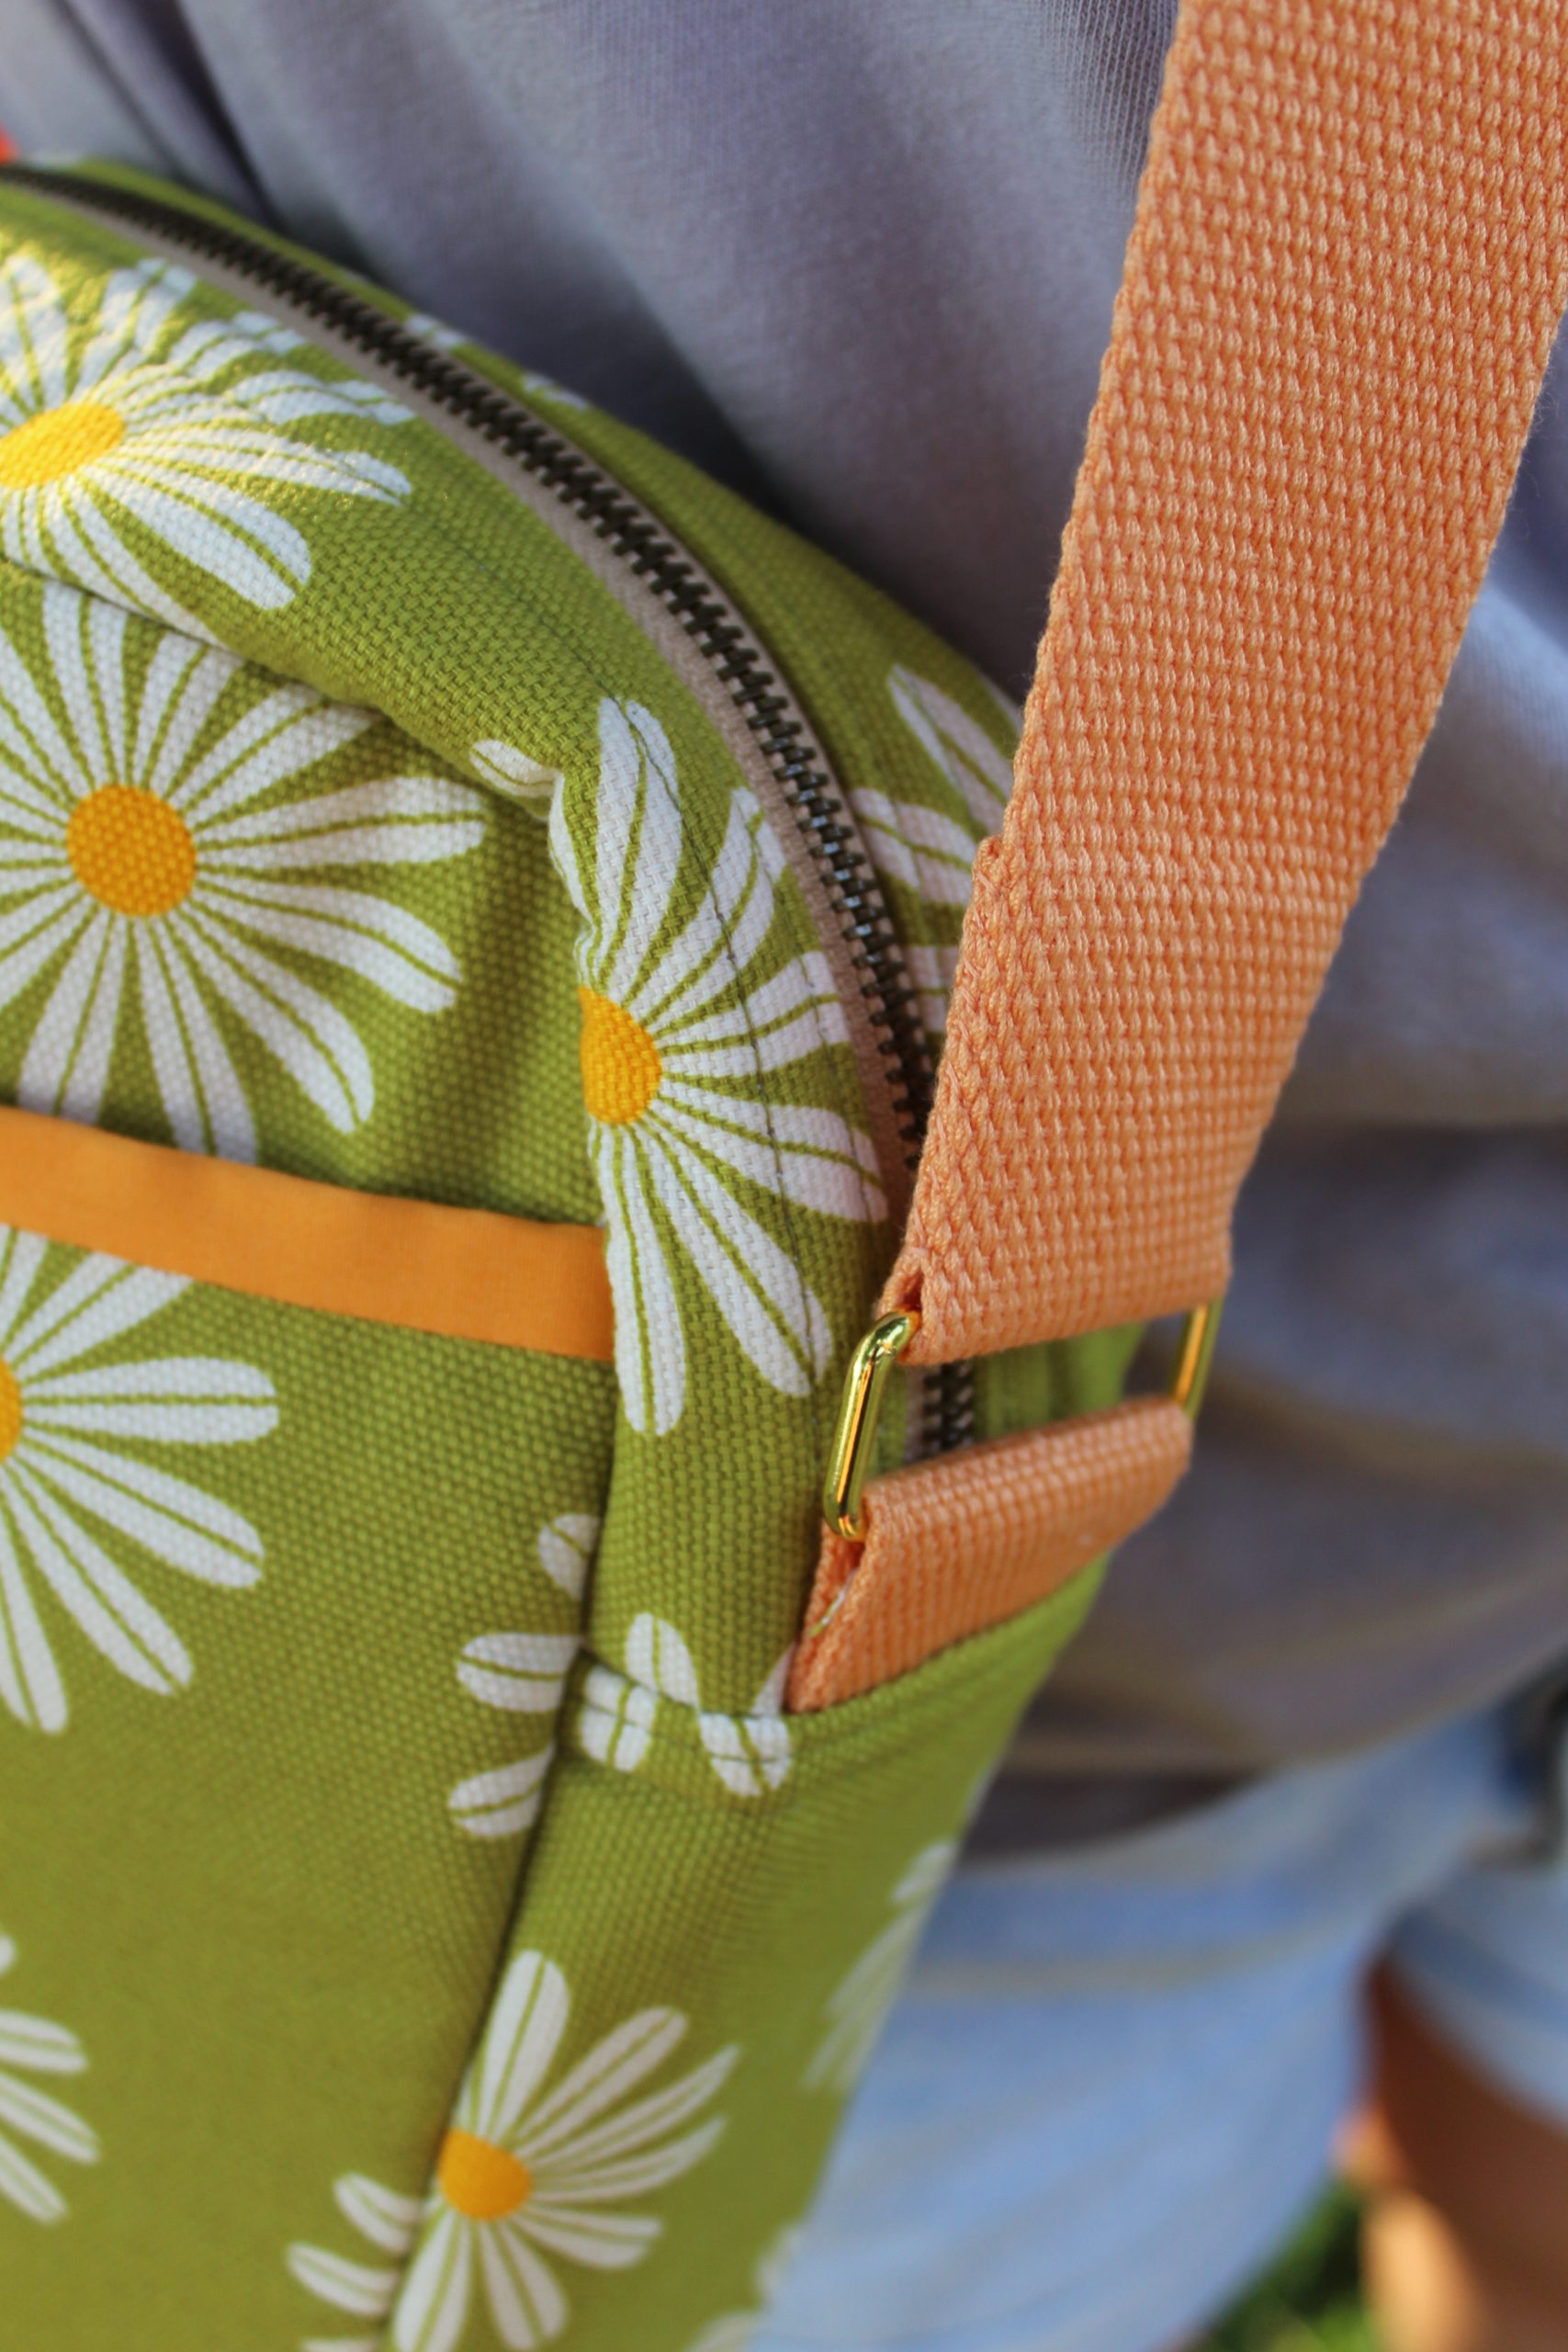
Attaching the Strap:
- Bring the strap down through the left hand side rectangle ring, back through the bag slider before securing it on the right hand side rectangle ring by turning the strap end 1/2” to the wrong side and then folding over by 1 1/2” and sewing securely.