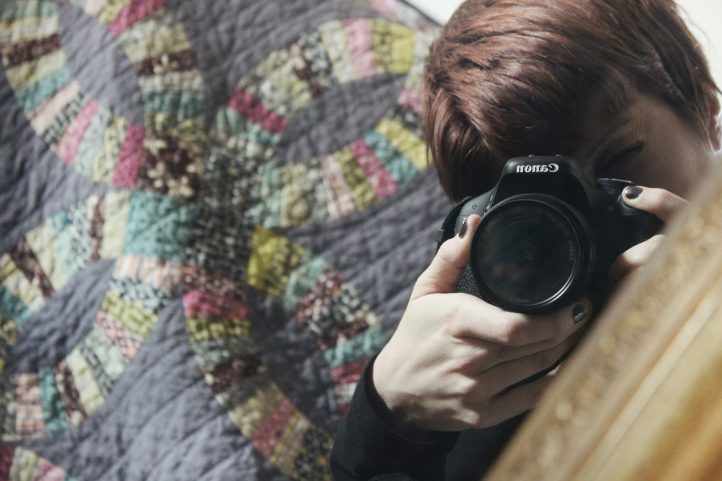
Whether you’re trying to start your own blog to showcase your quilting skills, launch an Etsy shop, or post your photos on social media, learning how to take pretty, polished photos of your quilting projects is essential. As someone who has spent the last few months getting familiar with my first camera, I’ve spent a lot of time researching tips and tricks for shooting not only nature photos and portraits of loved ones, but projects and patterns that we feature in the magazine as well. I’m here to share some of my favorite tips and tricks that I’ve learned about photographing quilts and quilting projects with all of you.
Almost all of us use some form of social media and can recognize how easily beautiful, colorful photos catch our eye. These tips and tricks can be applied to both cameras and phones, as we know just how expensive cameras and equipment can easily become. Ready to start taking gorgeous photos of your quilts? Keep reading to learn these essential tips and tricks for photographing your homemade designs.
Iron, Iron, Iron
Before you begin shooting, I cannot emphasize enough how important it is to iron or steam your quilting projects. While photos can, of course, be retouched, it will save you a lot of editing time to iron out any wrinkles in your quilts. If you’re working with non-traditional fabrics, a cheap steamer is also incredibly helpful. Make sure that you bring a lint roller and small pair of scissors with you as well once you get to your shooting location, as stray threads are also something that may need to be edited out of final photos. If you can roll large quilts instead of folding them, this will also help prevent your fabric from wrinkling.
Choosing Your Location
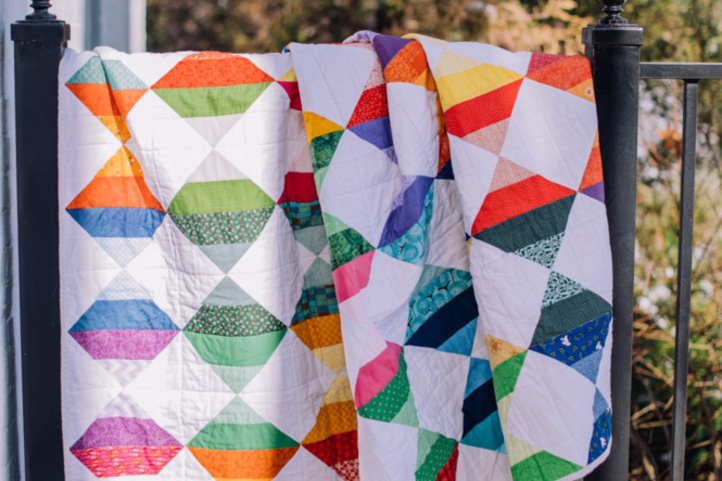
Often with quilt photography, you will see quilts shot outside, stylized and draped (such as over a bench or fence) or held up from the back of the quilt with only the holder’s feet visible. If shot indoors, quilts will often be shot draped over a couch or chair. Smaller projects like quilt blocks are often displayed using washi tape or clothespins.
If you’re stuck on how to style your quilt photos, we recommend Googling covers of quilting magazines or searching on Etsy for similar projects to see how those designers style their products.
If you decide to shoot your quilt outdoors, we suggest either shooting at your home, at a public place (like a local park/state park) or utilizing a pretty landscape in your area. You can also take your quilt with you on vacation! If you’re shooting on private property, always make sure you have permission. This includes farmland; in Illinois where we’re located, farms often have strict private property laws that include photography.
Don’t be afraid to hire local photographers as well if it’s within your budget. It’s a good way to pick up tips and see how professionals style your quilts, as well as props.
Think About Lighting
Whether you’re shooting indoors or outside, good lighting is crucial to taking beautiful photos. Natural light is always the best, so if you’re shooting indoors, be sure to choose a space near windows. Time of day also makes a huge difference in lighting for both indoor and outdoor photography, as the harsh light at noon tends to wash out photos (and can be a pain to edit).
Early morning and early evening, such as right after sunrise or before sunset, tend to provide beautiful natural lighting, especially for outdoor photography. If you are shooting midday, try to shoot for days that are overcast and cloudy as opposed to bright and sunny. Cloudy skies can work in your favor, as the colors of your quilts pop more easily when compared to being washed out in bright sunlight.
If natural light isn’t an option, you can buy relatively cheap lighting online from retailers like Amazon. Don’t forget about editing tools as well, as editing software can brighten your photos.
Hold It Steady
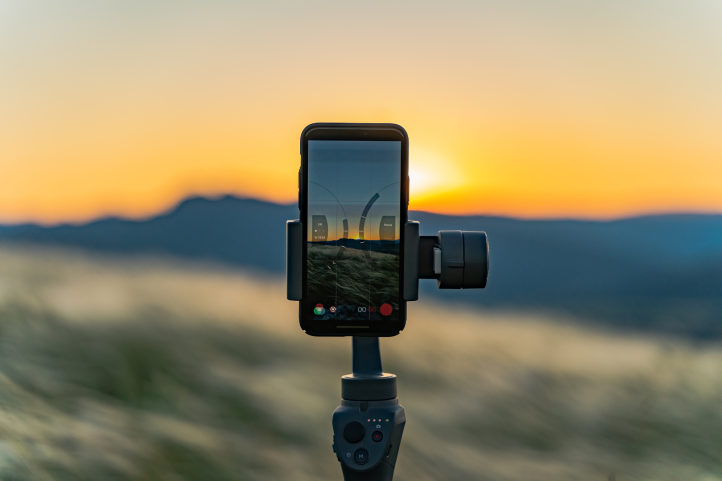
One of the tools that I wish I had invested in early into my photography journey was a tripod. Tripods hold your camera or phone steady so that you can take timed photos if you’re shooting solo, as well as avoid shaky pics that are difficult to edit. If you’re photographing late in the evening, tripods can also help your camera; for example, my camera automatically suggests using a tripod if shooting in dark/night mode. Most basic tripods are relatively cheap and fold up for easy storage or travel.
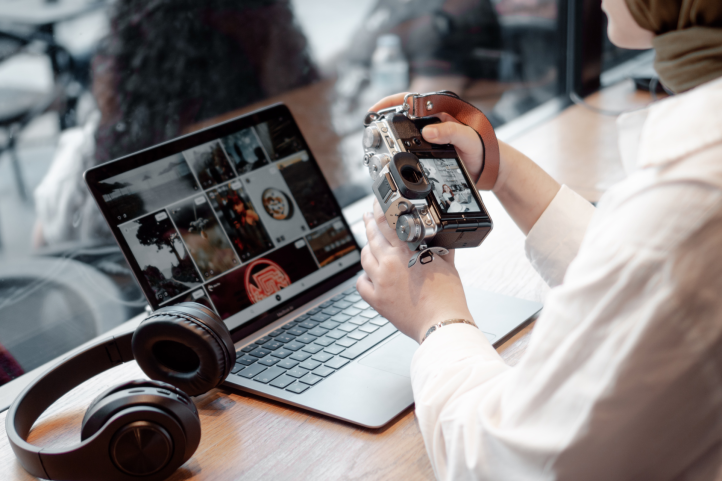
JPEG vs. RAW
It’s important to learn the differences between these two file types when editing your photos. While JPEGs are standard for most cameras (my Canon camera is set to JPEG images), RAW images often fare better during the editing process, depending on the type of editing program you use. JPEG files take up much less space due to their compressed nature, so it takes less time to upload JPEG photos to a laptop than it does RAW photos. However, as RAW photos contain more image data, this often plays to your advantage during the editing process and will give you more polished photos overall. RAW photos do take a lot longer to upload though, so that’s something to keep in mind if you’re often working on a time crunch.
Choose Your Editing Software
There are several different types of photo editing software available at all different price points, so let’s start with the most affordable. Instagram’s editing options are a little limited, but if you’re just starting out and will be posting your photos to social media, I recommend playing around with both their filters and editing tools; just be sure to turn down a filter if you choose to use one so that your photos aren’t oversaturated.
Adobe Photoshop and Lightroom both have their benefits and are some of the most widely used software available. Capture One Pro and Canva are also popular as well (as a frequent Canva Pro user, I will admit that their options are somewhat limited). Other options include GIMP, PicMonkey, Pixlr, and Darktable. Be sure to do your research before purchasing a subscription or buying pricey photo editing software.
Other Quick Tips for Photographing Your Quilts
- If someone will be holding up your quilts, be sure to think about what parts of their clothing will be visible, especially their shoes.
- Hit up garage sales for cheap furniture and props. If you’re starting a business, this will help you in the long run.
- Think about the size of your quilt when styling. We typically fold baby quilts on blanket ladders, while larger patterns are styled over chairs or larger pieces of furniture.
- Color is a huge aspect to consider when styling quilts, so think about how your background and props will factor into your final photos. Is a red chair going to help bring out the colors of your quilt or clash with your fabric?
- Set the mood with your background. When we shoot indoors, we think about how to add depth to the background, as well as what fits with the mood of the quilt. Dark wood has a rustic country feel, while white wood can go beachy or summery.
- Reflection and lights. One thing that I really love is adding in props with a metallic or reflective element (mirrors, metallic candy wrappers for smaller projects, vintage glassware) that will pick up the colors around them. Utilize Christmas or fairy lights to add a whimsical element while bringing in color and reflection.
- Shoot your quilts stylized and in simple flat lays. This gives you more photo options to choose from and is especially useful if you’re selling your own patterns, so that readers can see the pattern in full.
- Never be afraid of taking too many photos! Having a ton of options to choose from is wonderful.
- Turn the grid on your camera/phone and utilize the rule of thirds. This can give you truly compelling photos.
- Bring a friend or family member to shoot with. This makes the work less taxing and adding in a human element is a great way to make your photos more interesting. We’ll typically have our models take pictures with a few quilts to add some contrast to the stylized photos.