Fabric dyeing is a quick way to add color to a project or even change a garment already in your closet. The many options and techniques can be overwhelming, so it’s hard to know where to even begin. Join me as I walk you through a great beginner-friendly dye project using RIT dye. Once you start fabric dyeing, the possibilities of your projects are endless.
The method of dyeing we will be doing is called immersive dyeing, which simply means to immerse the fabric completely in the dye bath with room to move around. I find this to be the easiest way to dye fabric that will leave you with the most consistent color throughout.
Gathering Supplies
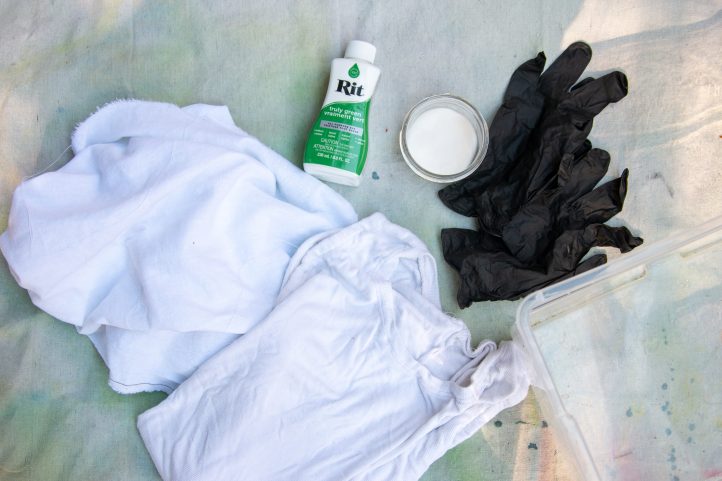
By using a product like RIT, there are not many supplies that you need for your dyeing project. But it is best to gather everything so you aren’t walking around your house with dripping dye trying to locate something.
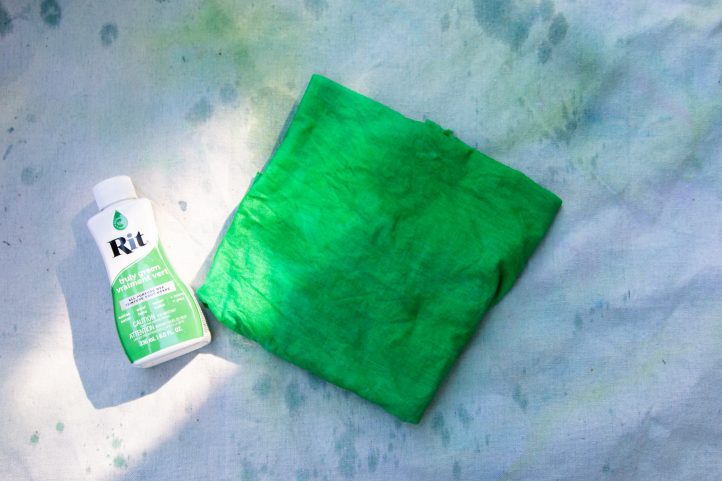
- RIT All Purpose Dye: This dye is intended for fabrics made up of cotton, linen, rayon, silk, wool, and nylon. For polyester and other synthetic fabrics, use RIT DyeMore. RIT dye comes in a variety of colors, so choose the color best suited for your project; I will be using Truly Green.
- Fabric: Always prewash the fabric or garment you will be dyeing, as this removes any residue, dirt, or chemical used in production that can keep the dye from working.
- Large bucket or plastic tub: Based on the items you are dyeing, make sure to have enough room for the fabric to move freely.
- Rubber gloves: This one is probably the most important item. While the dye is non-toxic, if you want to avoid having dyed hands for a week, make sure to wear gloves.
- Plastic drop cloth or tarp: To protect the surface you will be working on, it’s best to cover it in plastic. Even better is to just take the project outside where you don’t have to worry about making a mess.
- Salt or Vinegar: For best results when dyeing, add 1 cup of salt when working with cotton, rayon, or linen. Add 1 cup of vinegar if working with nylon, silk, or wool.
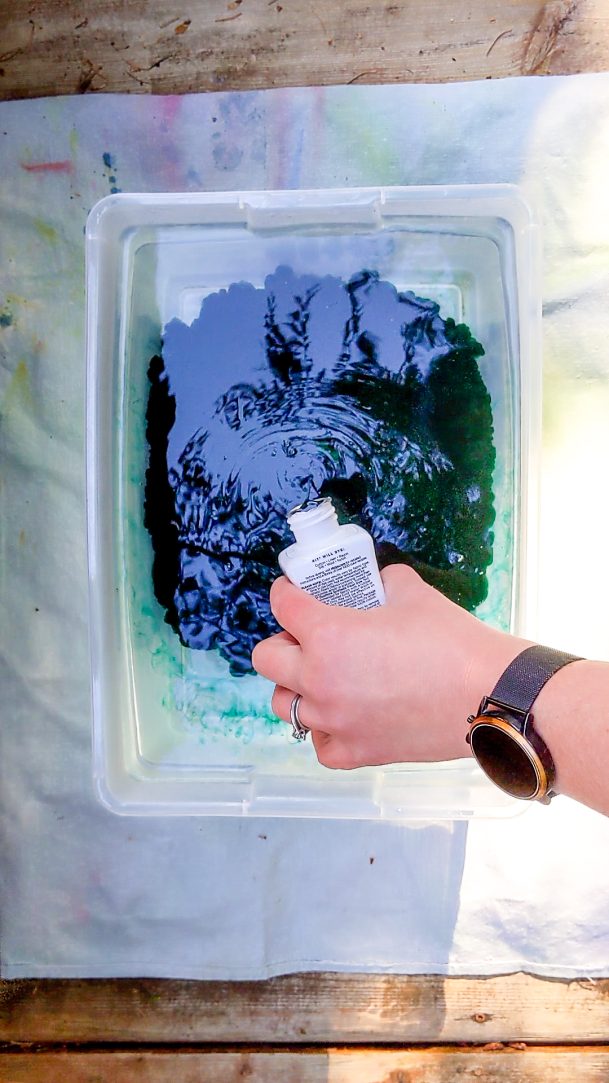
Preparing the Dye Bath
The concentration of dye to water is going to determine how dark the finished product is. The general rule of thumb, according to RIT, is for every pound of fabric/garments use 1/2 a bottle of dye with 3 gallons of water. For more intense color, you can double the dye.
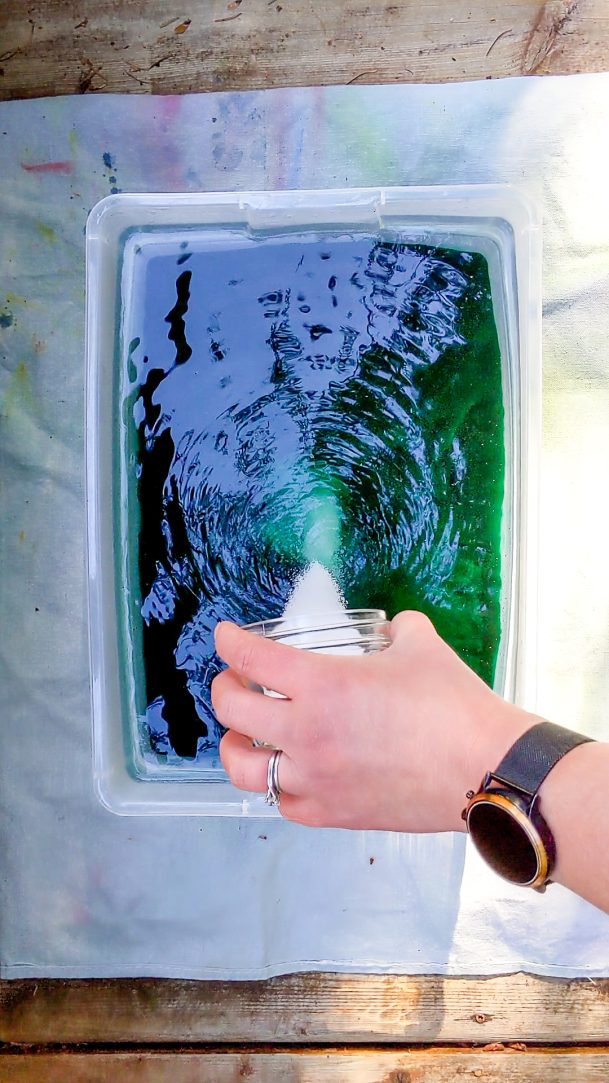
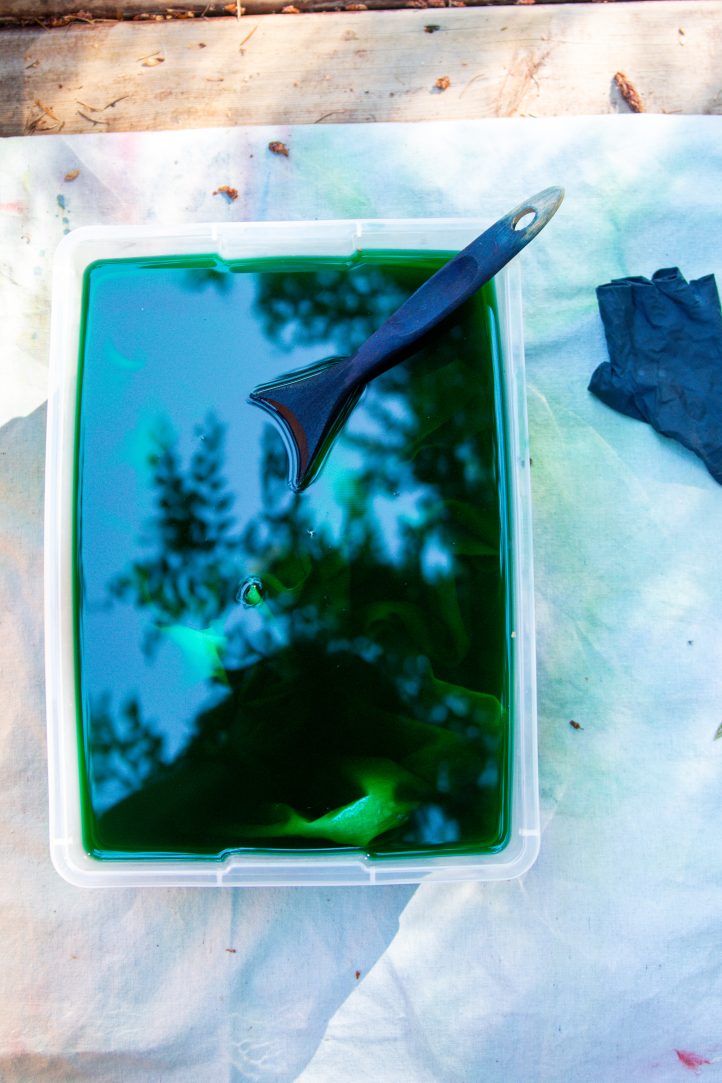
Shake the bottle well to ensure nothing has settled to the bottom of the bottle. Add hot water to the bucket or tub; the water is intended to be as hot as you can work with. Using the above guidelines, add the RIT dye to the bucket. Lastly, add either salt or vinegar depending on the fabric content you are working with. Once everything has been added, stir it.
Dyeing Fabric or Garments
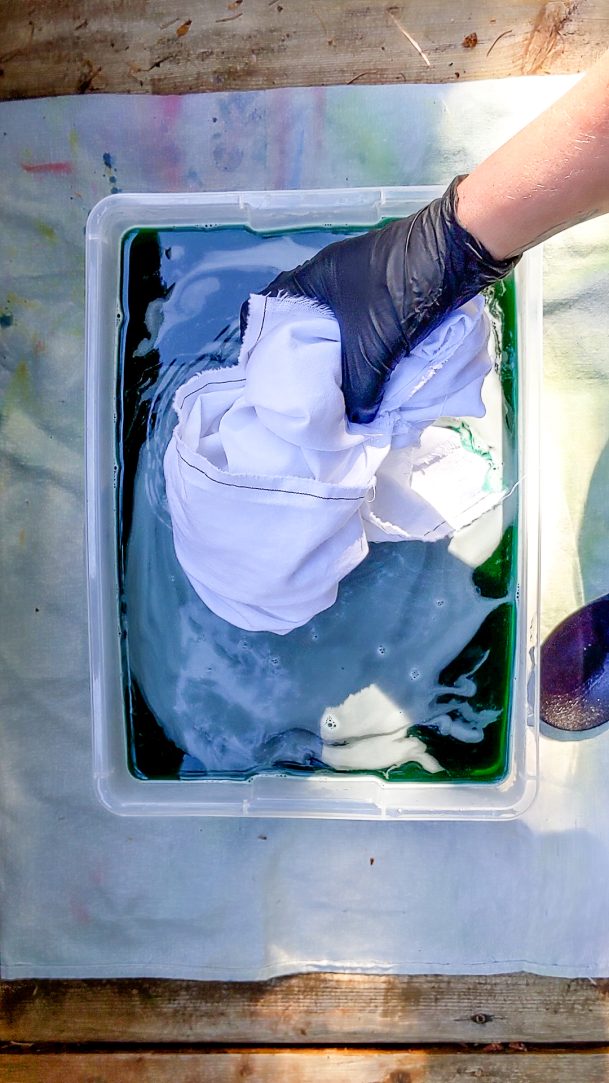
Now comes the fun part, dyeing fabric. With the dye vat ready to go, you can put your fabric or garment into the bucket. Make sure that there are no folds in the fabric that are keeping the dye from getting access. I find that moving the fabric around in the dye gives access to all areas of the fabric. The fabric should stay in the dye anywhere from 30-60 minutes depending on how saturated you want the finished product. I recommend stirring the fabric periodically while it is soaking to make sure all areas are covered.
Note: The fabric will look darker while it is wet and before it has been washed.
Finishing the Dyeing Process
When you have reached the desired color, it is time to remove the fabric and start rinsing. If you have a laundry sink or some other sink that has a non-porous surface, you can rinse the fabric there. If not, head outside and rinse the fabric with a hose.
The water should be cold, which will help remove excess dye and stop the dyeing process. Continue to rinse the fabric until the water runs clear. Once the fabric is rinsed, you can wash it in the washing machine with warm water and regular detergent. There is a chance there could be some lingering dye so it is best to wash with rags or old towels.
Once the fabric has been washed, you can work with and wash the fabric like normal.
Ready for More
Having completed a successful dyeing project, I hope you have the confidence to start exploring more dyeing methods. If you aren’t ready to start working with mixing dye ingredients, try playing around with color. RIT dye can easily be mixed to create custom colors. The most important thing to remember is that you always start with the lighter color and add in the darker color. Start small; you can always add more color.
Great