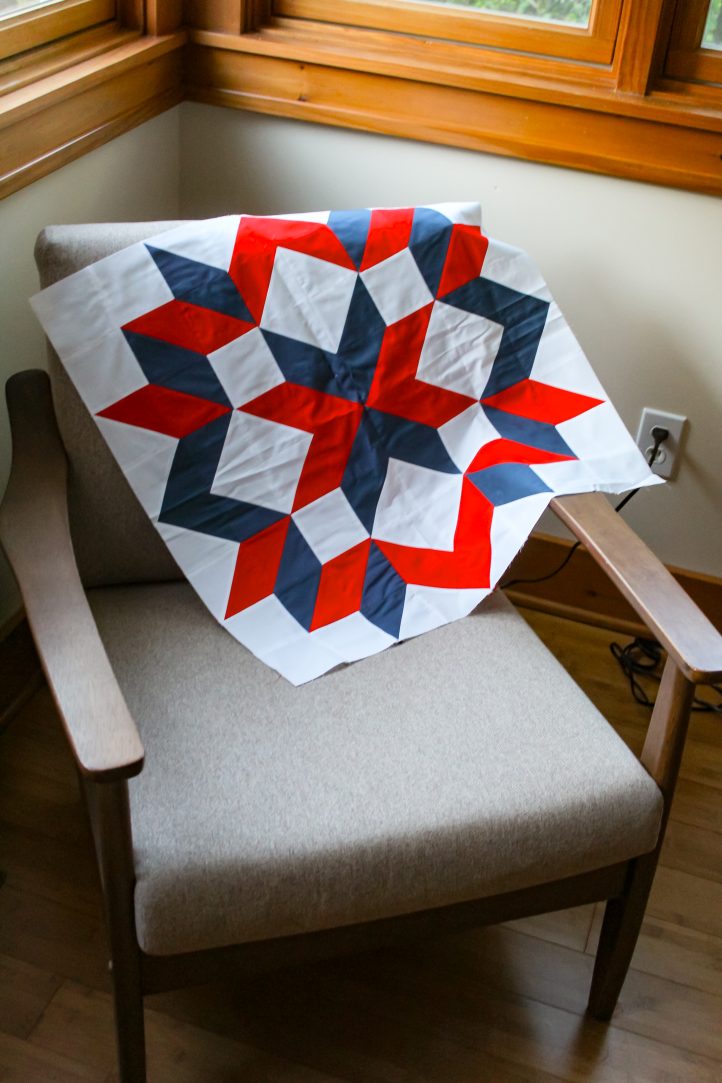
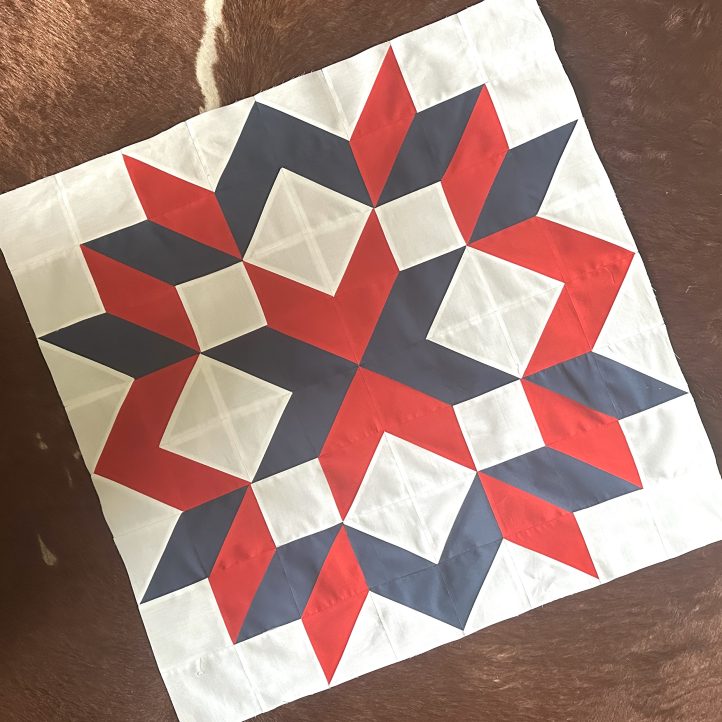
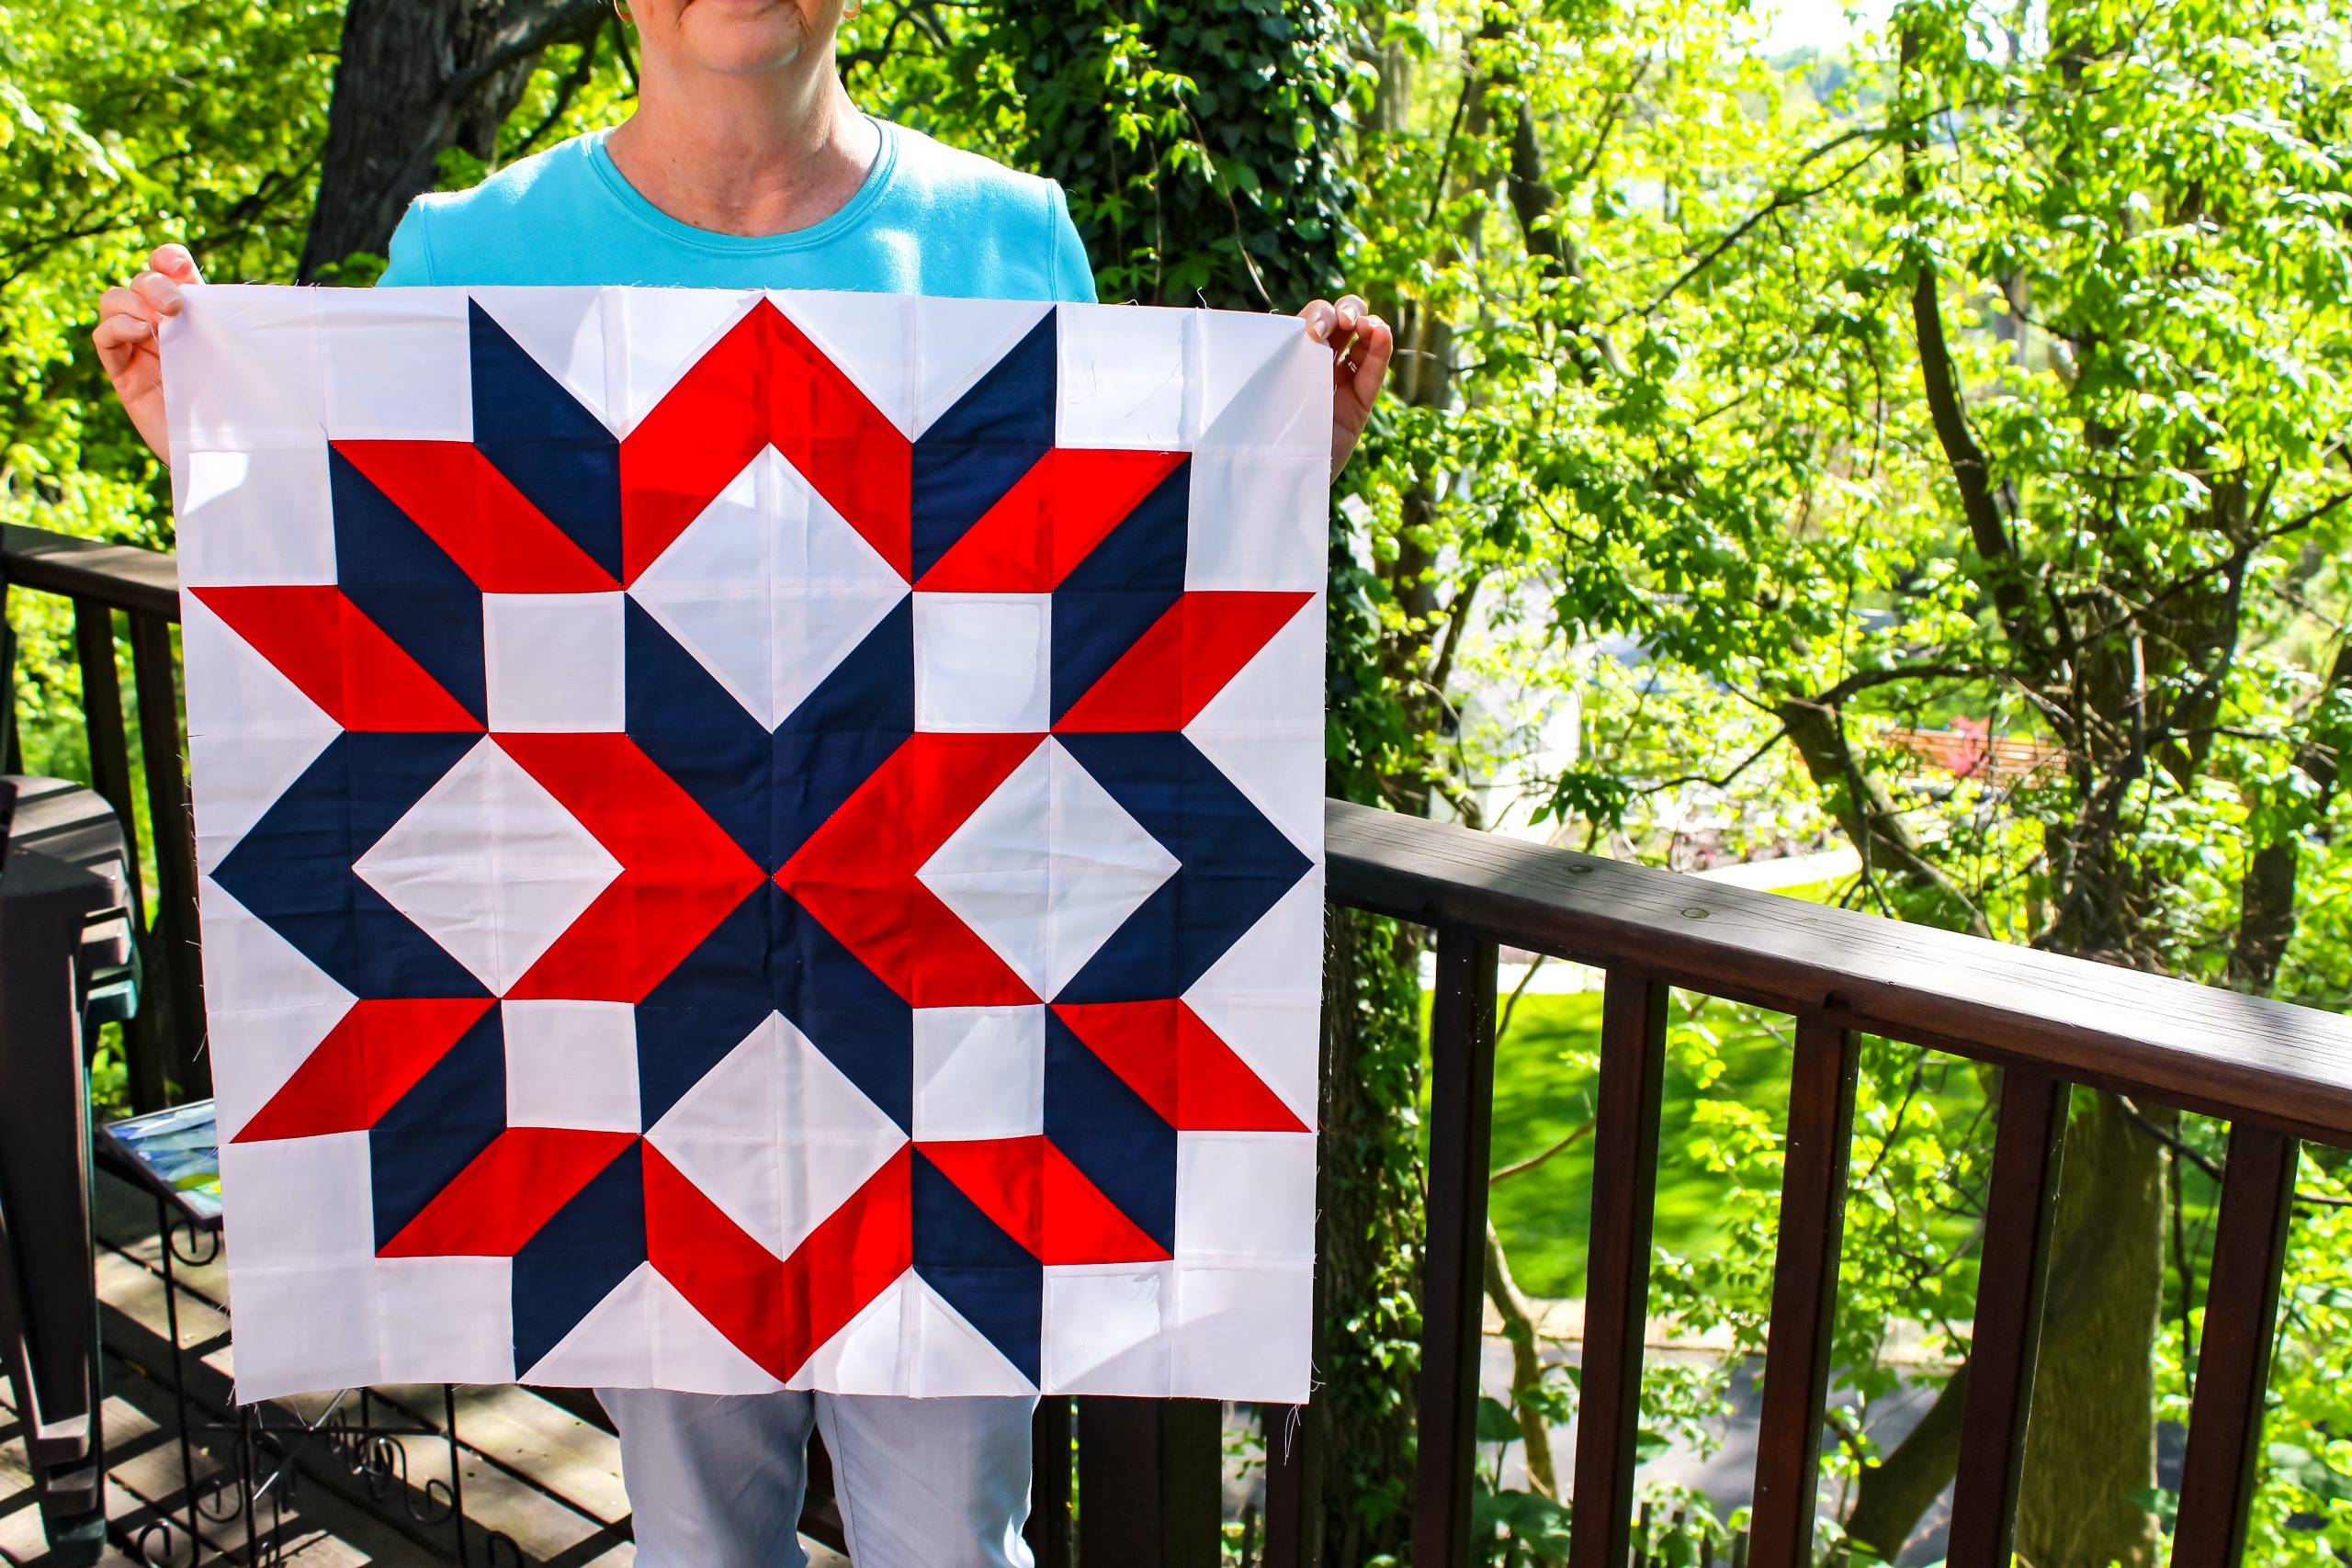
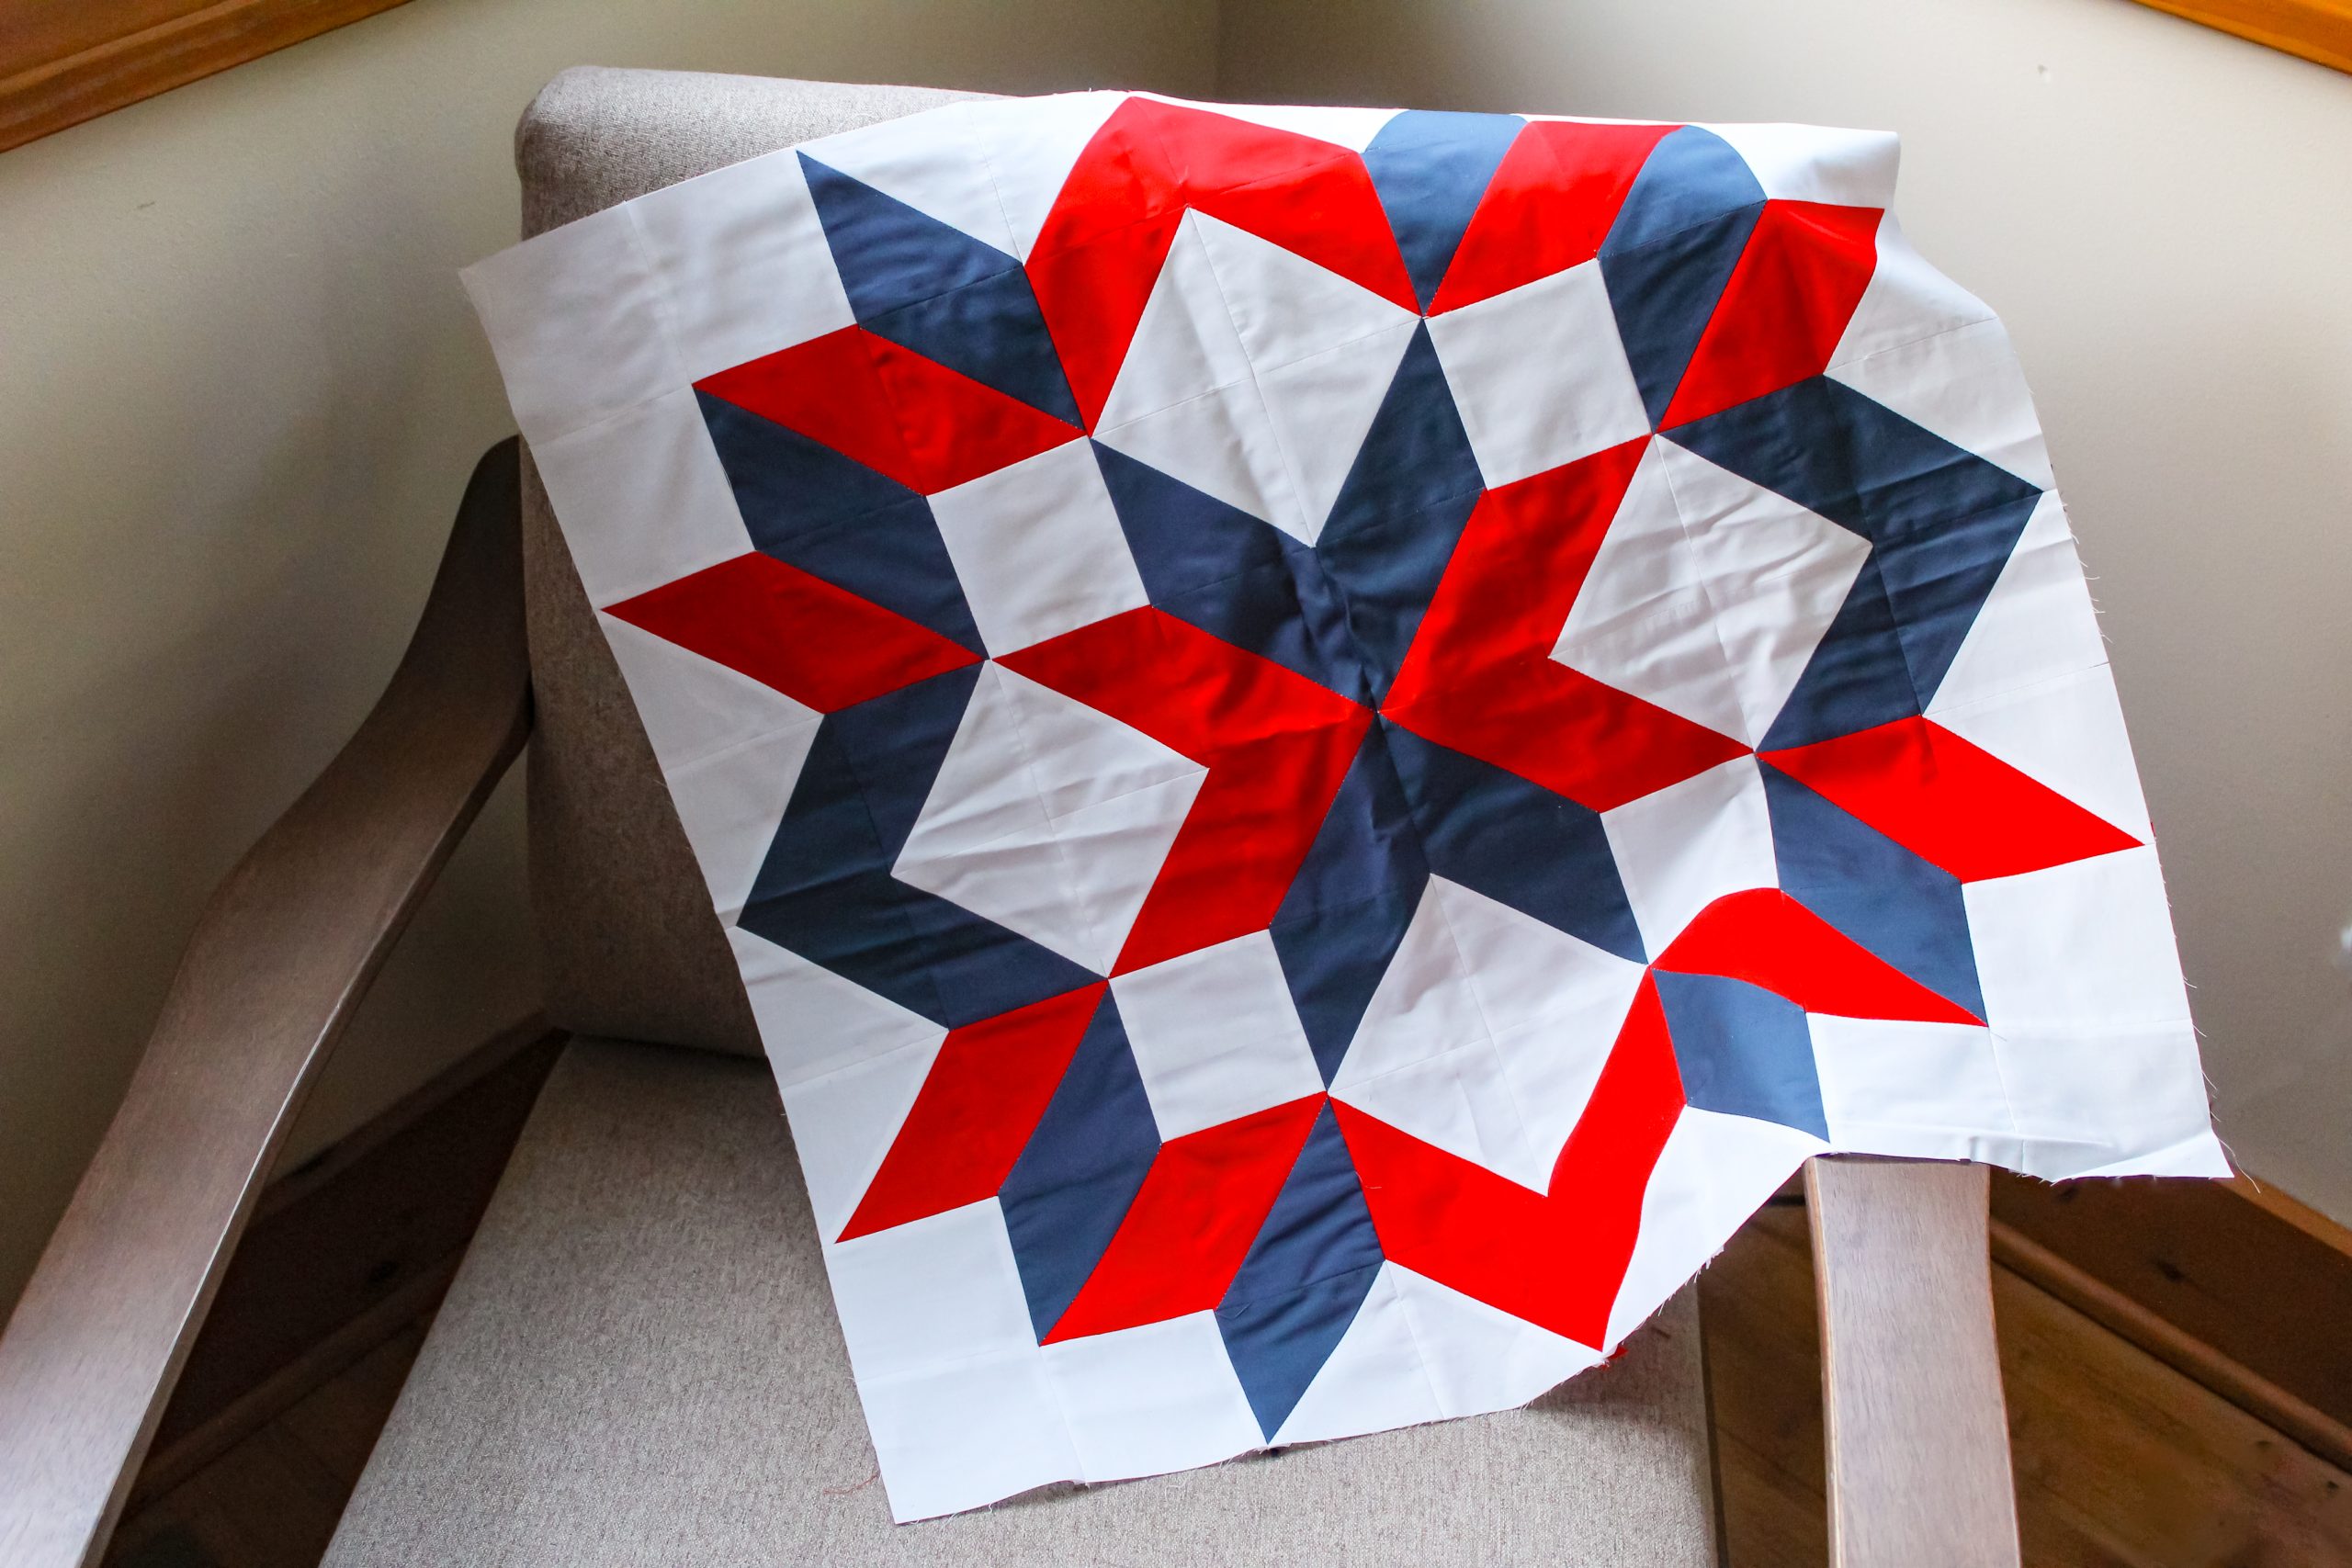
Carpenter star blocks are known for their large, eye-catching design, and this 4th of July inspired carpenter star is perfect for creating a stunning quilt, throw pillow or patriotic mantel décor. Made with half yards of red, white, and blue, this star quilt block pattern features a central 8-point star framed by coordinating geometric designs. This carpenter star would make a beautiful medallion quilt centerpiece, so if you’ve been wanting to stretch your quilting skills, don’t miss this classic block pattern.
Designer Note: Seam allowances are all 1/4” and have already been added.
Materials:
- Fabric: (Note: All fabrics are by Art Gallery Fabrics.)
- 1/2 yd. red solid. The designer used London Red from the Pure Elements collection by AGF.
- 1/2 yd. white solid. Debbie loves Snow from the Pure Elements collection by AGF.
- 1/2 yd. blue solid. The designer used Night Sea from the Pure Elements collection by AGF.
- Basic sewing and quilting tools
Cutting Instructions:
From the red solid:
- 16 pieces cut 4” sq. for the half square triangles (HSTs)
From the white solid:
- 16 pieces cut 3 1/2” sq.
- 16 pieces cut 4” sq. for the HSTs
From the blue solid:
- 16 pieces cut 4” sq. for the HSTs
Piecing Instructions:
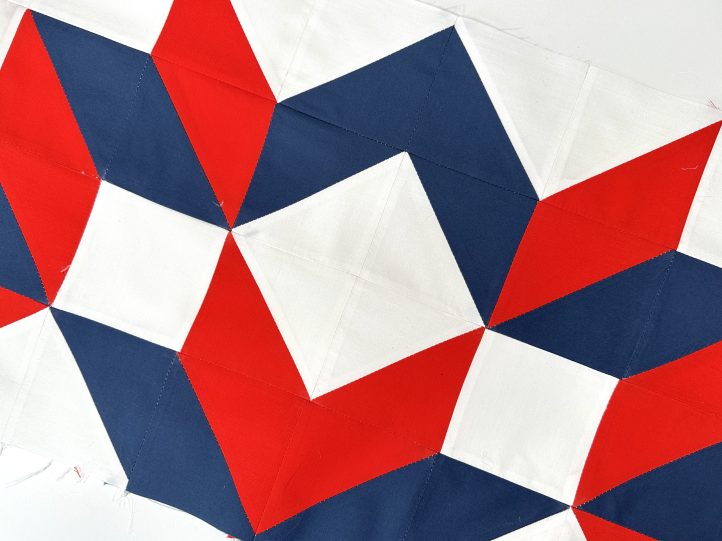
This quilt block is ‘read’ row by row and is made up of HST units as follows:
- 16 red/ white
- 16 red/ blue
- 16 blue/ white
The rest of the pieces are whole white squares (16 pieces).
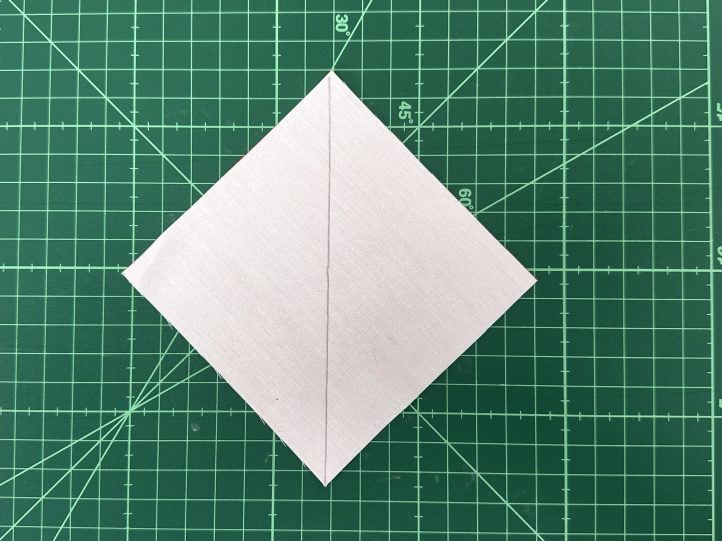
- To make a HST unit, take two squares cut for that purpose and place them right sides together.
- Draw a line diagonally.
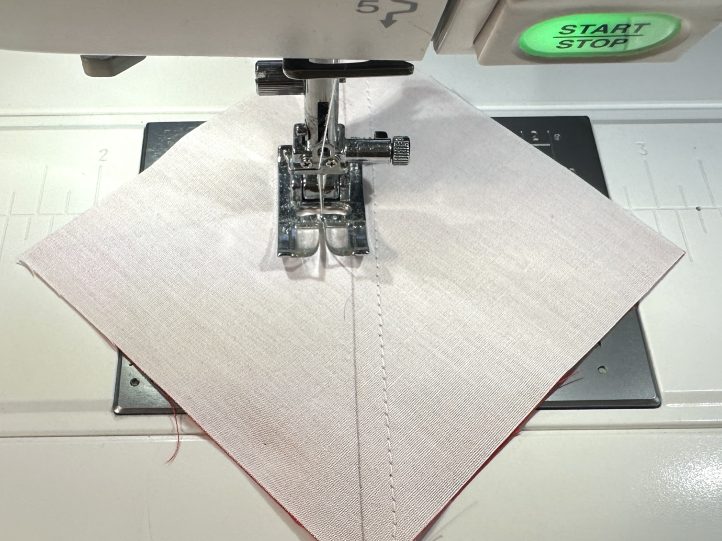
- Sew a seam 1/4” either side of this line and then cut along the line that you drew. This will give you two HST units.
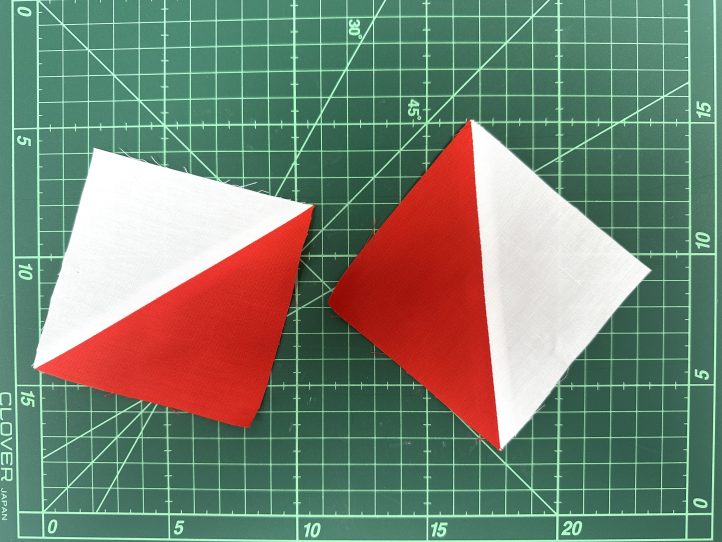
- Open the units out and press the seams open. Trim to 3 1/2” sq. Make all of the HST units the same way before assembling the rows.
- TIP: Pressing the seams open where possible is a great way to reduce bulk by distributing the layers more evenly. It is not always possible but initially, it is advised.
- Row 1: White, white, red/white, white/blue, blue/white, white/red, white, white.
- TIP: You will notice that I have said white/blue and blue/white, which are essentially the same thing? This different name for them gives you an idea of the orientation of the block. Use this plus the main photo to get the pattern right.
- Row 2: White, red/blue, blue/red, blue/white, white/blue, red/blue, blue/red, white.
- Row 3: White/blue, blue/red, white, red/white, white/red, white, red/blue, blue/ white.
- Row 4: White/red, red/white, white/blue, blue/red, red/blue, blue/white, white/red, red/white.
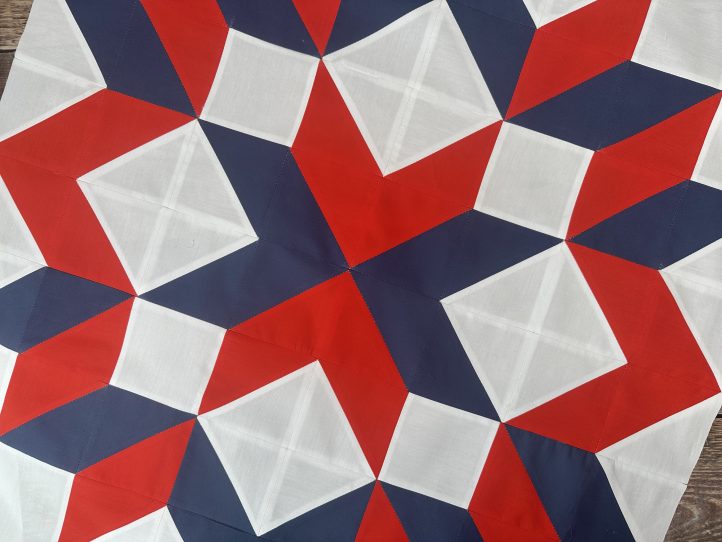
- Attach the rows together, making sure to line everything up and press.
- This is the center point of the block and from here, the rows are repeated but in reverse. The alignment is slightly different to give a mirror image of the first half of the block.
- Row 5: Same as Row 4 but mirror image.
- Row 6: Same as Row 3 but mirror image.
- Row 7: Same as Row 2 but mirror image.
- Row 8: Same as Row 1 but mirror image.
- Press and attach these to the first half of the block.
- TIP: It can be helpful to join row by row so that you can keep an eye on what you are doing. With such a large block, it is helpful to pin it up where you can stand back from it. If you have not got anything else, pinning it to a curtain is helpful.
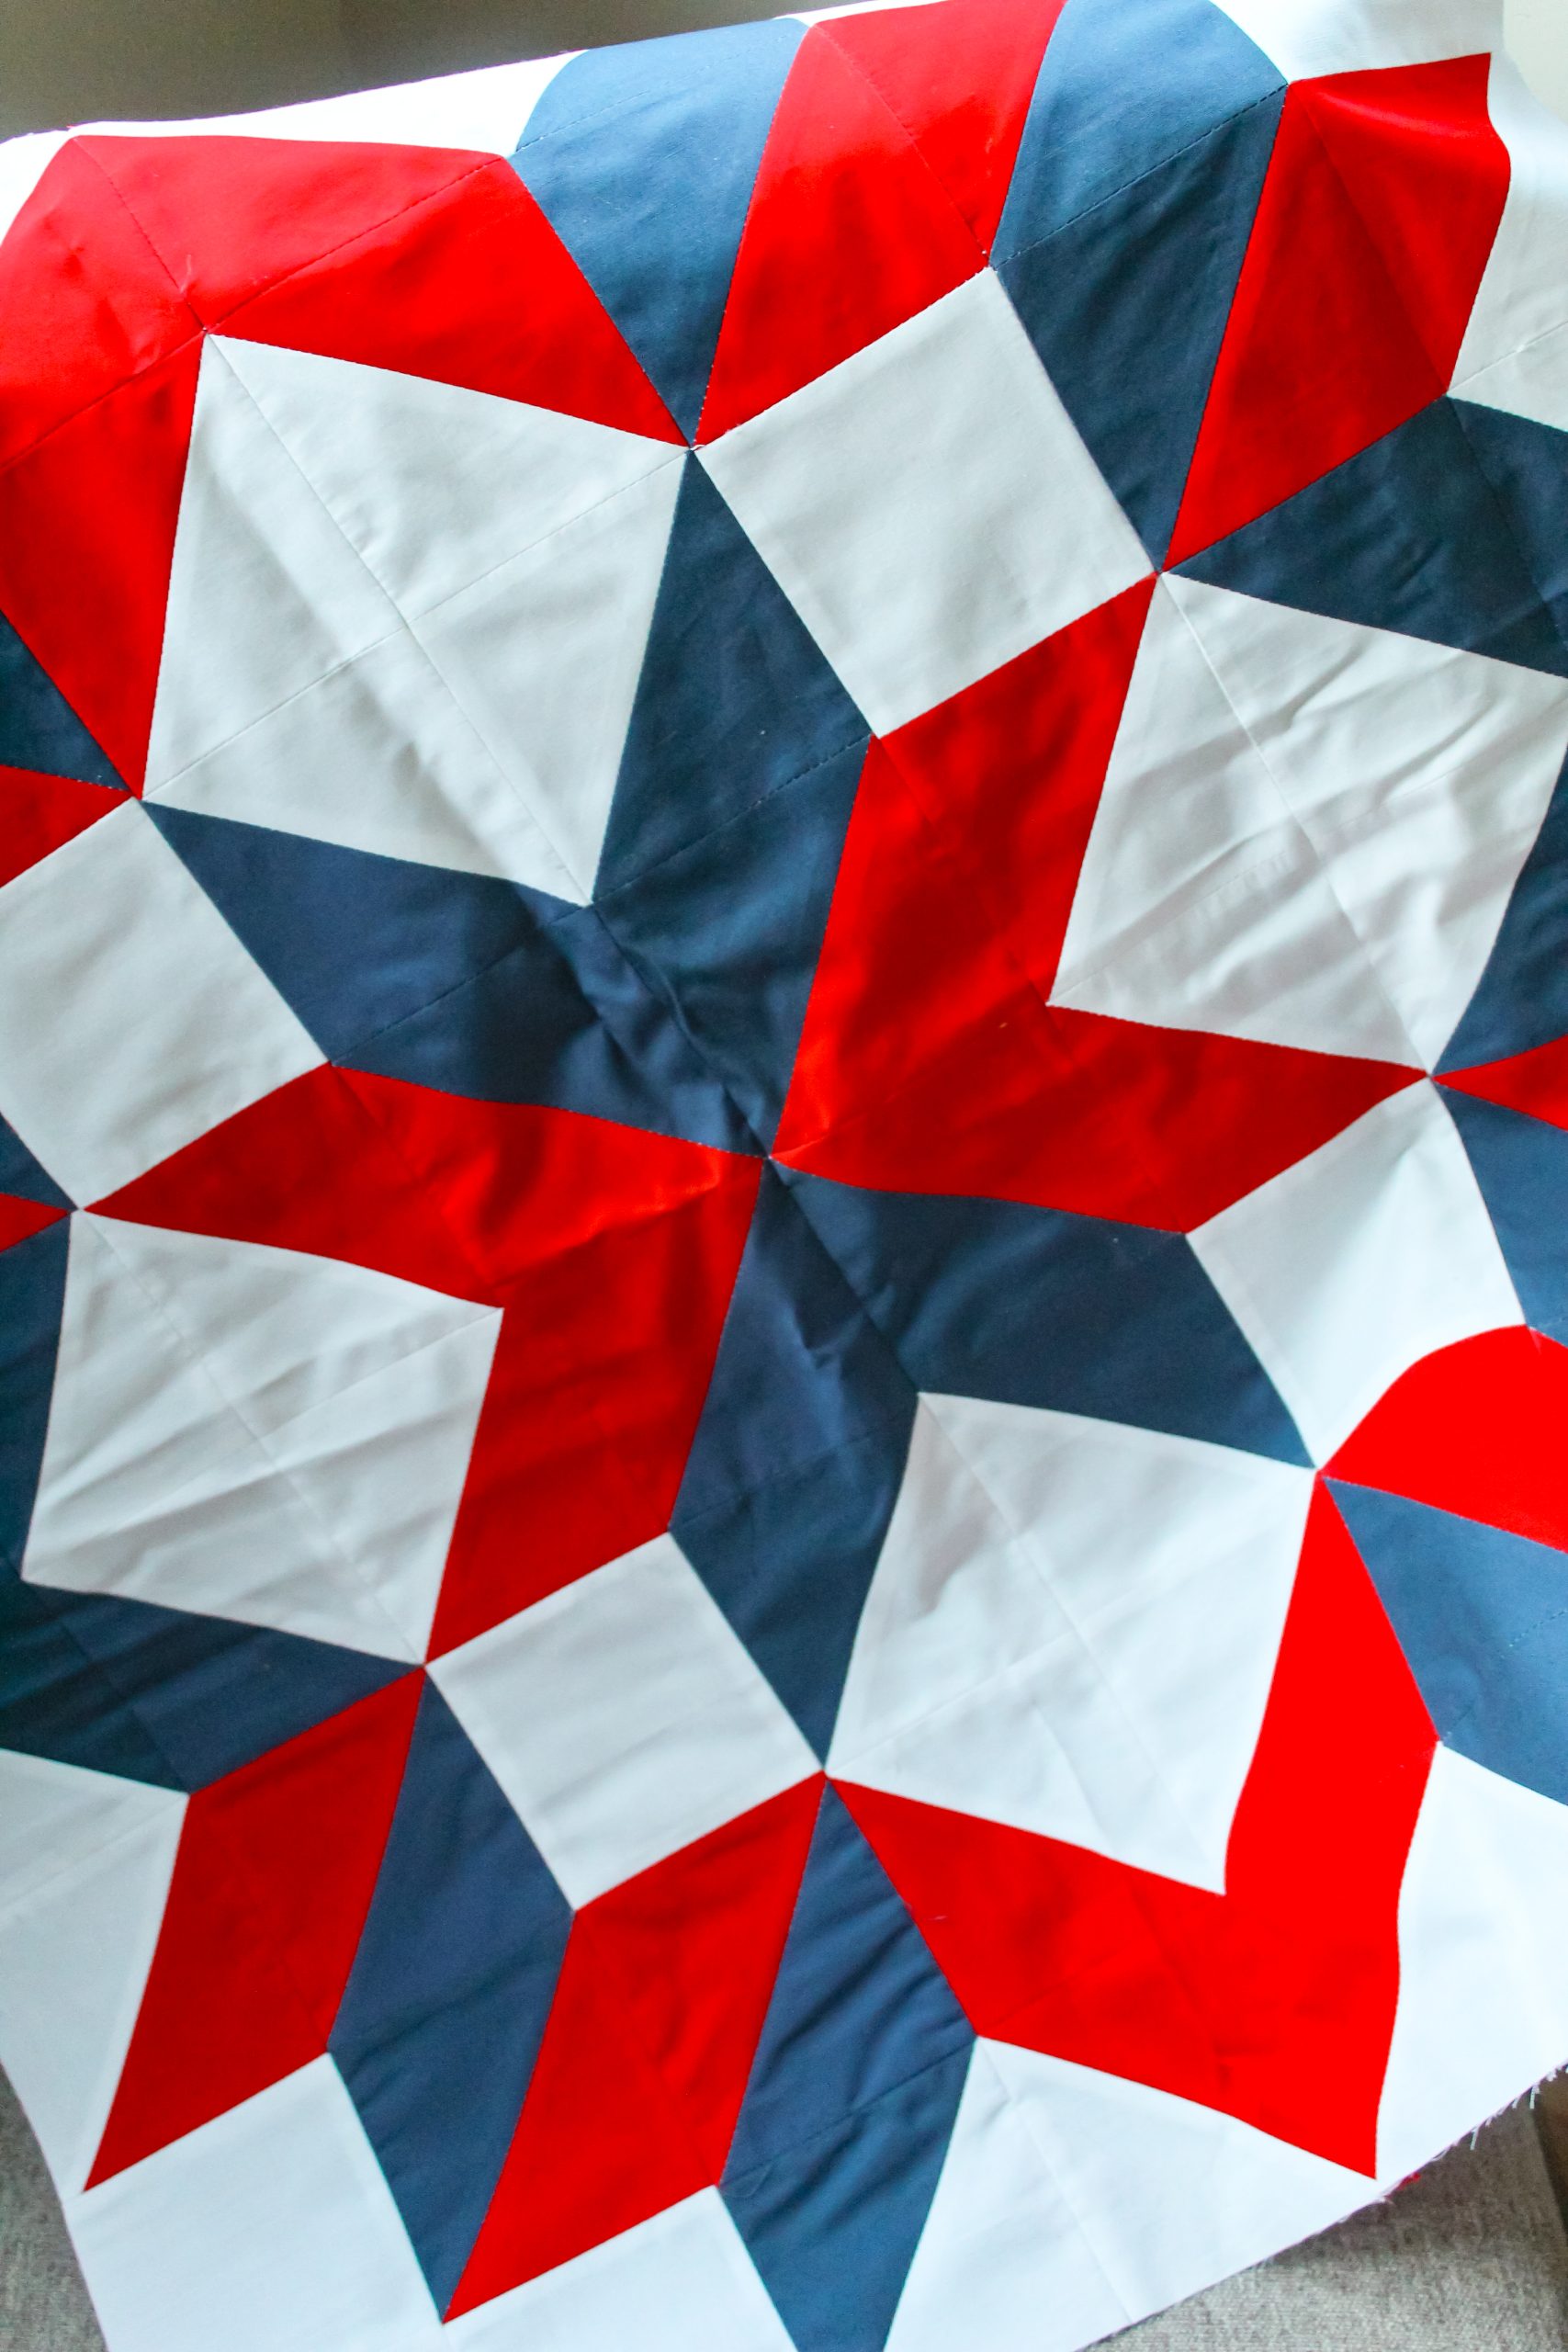
- Press the final block and trim to square.
- TIP: This is a great block to use as a medallion quilt or a large cushion if you cannot face making it in multiples.
Where can I get the pattern?
Hi Debra! This project does not have a downloadable PDF. Instructions and photos are available for readers on the pattern page. Please let us know if you have any questions. – Ashley, We Like Sewing