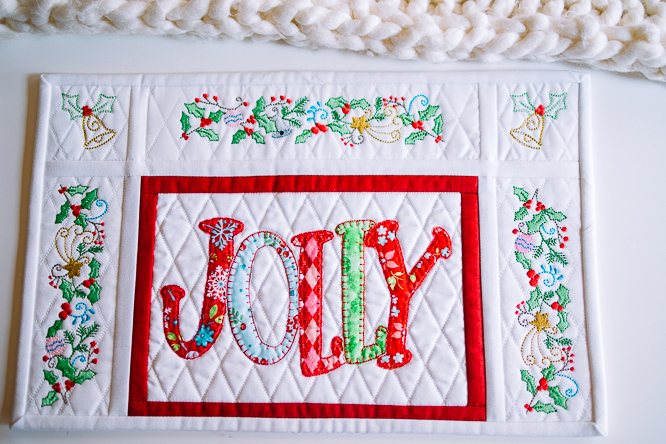
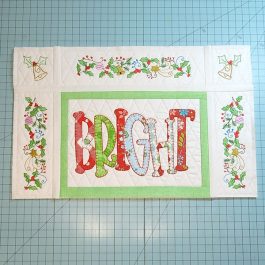
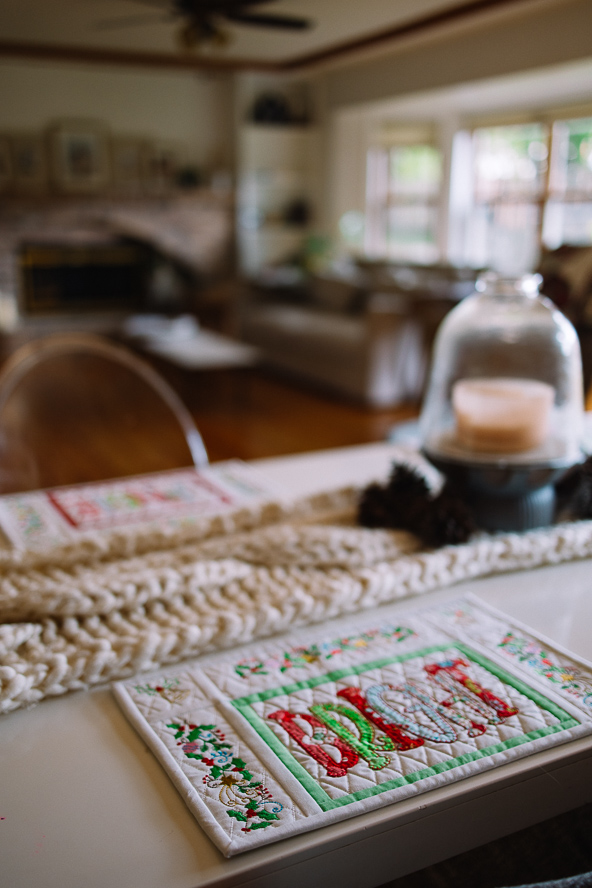
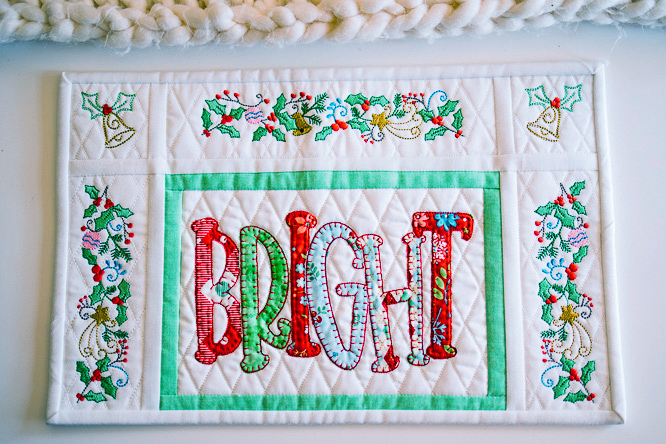
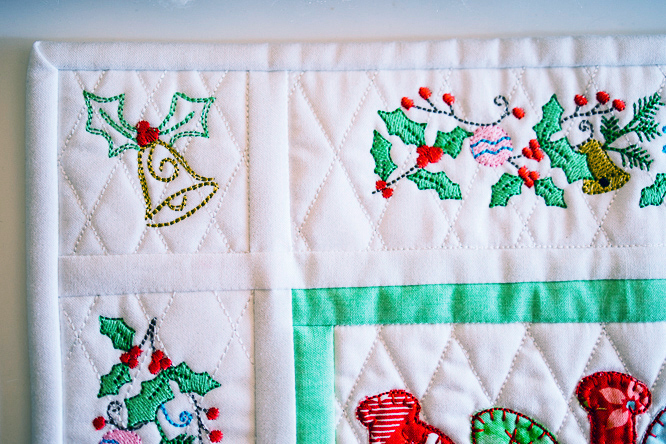
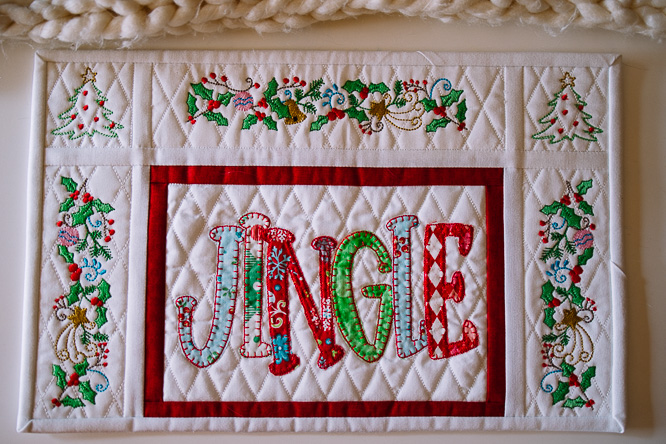
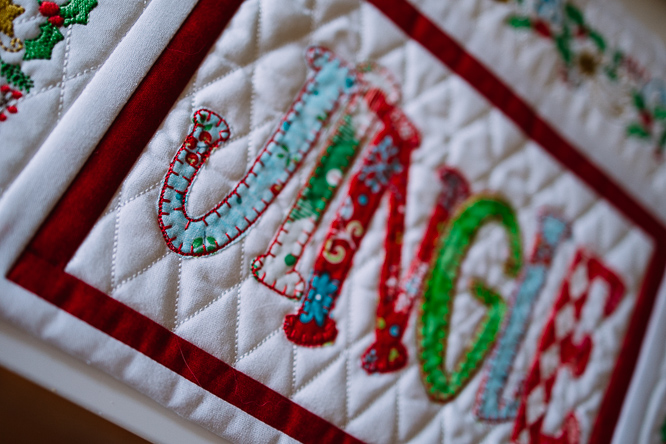
Applique and machine embroidery combine to make these bright and colorful holiday placemats! Made using in-the-hoop embroidery, these Christmas placemats feature applique words like “Merry” and “Jolly,” as well as delicate machine embroidery details around the edges. Make your applique words using fat quarters in fun, holiday prints while using a simple background fabric to make your embroidery designs pop. If you’ve been looking to step up your Christmas décor this year, then you’ll love this winter sewing project that lets you challenge your creativity.
Skill Level: Intermediate
Editor Note: Please note that the embroidery designs are located in a zip file at the end of this pattern. To learn how to download machine embroidery files, please see our FAQ page.
Materials:
- 6 “x 10” hoop
- Adhesive spray
- Quilt batting
- Coordinating embroidery thread
- Tear-away wash-away stabilizer
- Light steam-a-seam
- Fabric:
- White fabric for applique block 7.5” x 10.5”
- White fabric for embroidery side border 2 – 3.5” x 8.5”
- White fabric for embroidery top border 3.5” x 11.5”
- White fabric for embroidery top corner 3.5” x 8”
- Fat quarter for back of placemat
- Fat quarter for binding
- Christmas colored scraps for applique block
- Green strips for applique block border:
- 2 – 1” x 6.5”
- 2 – 1” x 10.5”
- White strips to connect embroidery blocks:
- 2 – 1” x 7”
- 2 – 1” x 10.5”
- 1 – 1” x 16”
Instructions:
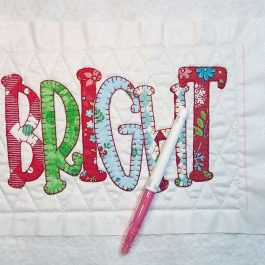
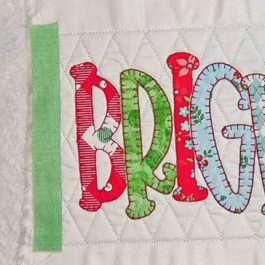
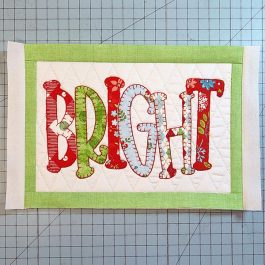
STITCH APPLIQUE BLOCK:

- Place quilt batting and white applique fabric piece in hoop. Use adhesive spray between fabric and quilt batting. Place hoop in embroidery machine. Follow the stitch order guide included in the digital file (Note: This is located at the bottom of this page.) to stitch the applique block. When complete, remove block from hoop. Do not cut around the stitch lines.
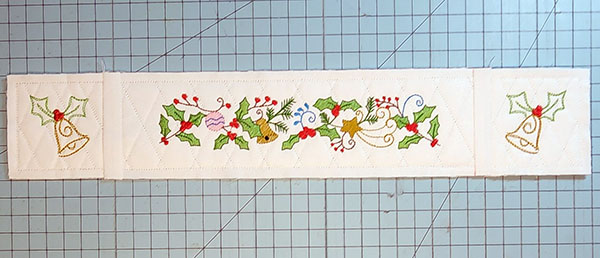
STITCH EMBROIDERY BLOCKS:
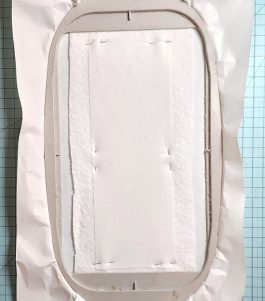
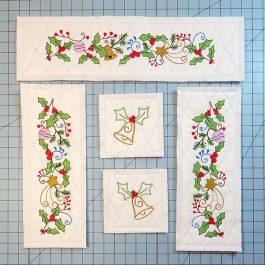
- Hoop tear away stabilizer. The designer used a wash-away tear-away stabilizer for this project, but either one will work. Place quilt batting and white fabric in hoop centered on top of stabilizer. Use adhesive spray between each layer to hold in place. Place pins along the outside edge to hold in place while stitching. Be sure the pins are close to the edge of fabric so that needle does not hit them. Place hoop in embroidery machine and follow the stitch order guide included in the digital file to stitch the applique block. When complete, remove from hoop and remove excess stabilizer.
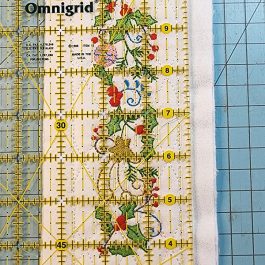
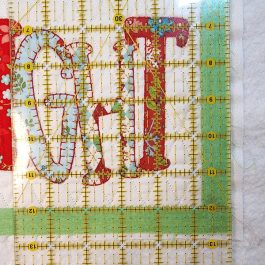
- Using a clear ruler, place the 1/4” mark over the stitch line and trim using a rotary cutter. Repeat on all 4 sides of each embroidery block.
ADD BORDER TO APPLIQUE BLOCK:
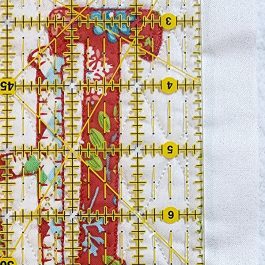
- Using a clear ruler, place the 1/4” mark over the stitch line and draw a line with a Frixon pen down the right side of the applique block. Repeat on the left side.
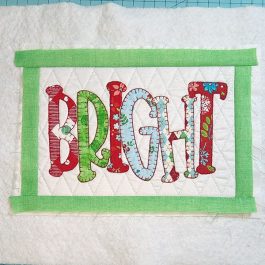
- With right sides together, place a 1”x 6 1/2” green strip beside the drawn line and stitch a 1/4” seam. Repeat on the left side.
- Repeat the previous 2 steps on the top and bottom of applique block.
- Be sure that the border strip is at least 1/4” longer than the top of the block top and bottom stitch lines.
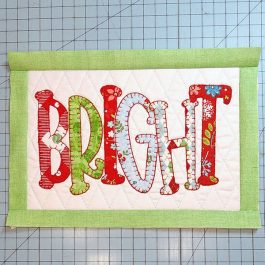
- Using a ruler and rotary cutter, cut along the outside of the green border edge.
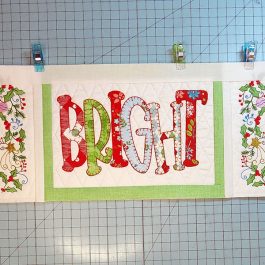
ATTACH EMBROIDERY BORDER TO APPLIQUE BLOCK:
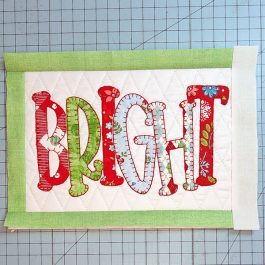
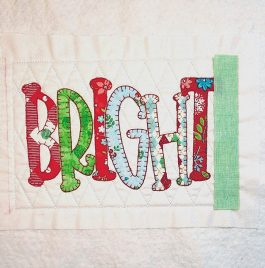
- Place a 1” x 7” white border strip, right sides together, on the right side of applique block (over the green border). Stitch a 1/4” seam and press open. Repeat on the left side.

- Place an embroidery block, right side together, on the right side of applique block (over the white strip). Stitch a 1/4” seam and press open. Repeat on the left side.
- Place a 1” x 16” white border strip, right sides together, across the top of blocks. Stitch a 1/4” seam and press open.
- To assemble the top embroidery piece, place a 1” x 3” strip of white fabric on the right side of the top border, right sides together. Stitch a 1/4” seam and press open. Repeat on the left side.
- Place the right corner square over the right side of top border, right sides together, and stitch a 1/4” seam. Repeat on the left side using the left corner square piece.
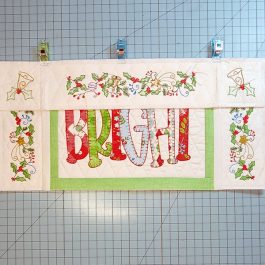
- With right sides together, place the top border over the top of the applique piece and stitch a 1/4” seam. Press open.
The front of the in-the-hoop placemat is completed. To finish, sandwich a layer of quilt batting between the front and coordinating back fabric.
For binding, cut approximately 64” x 2 1/2” of coordinating fabric. Fold the 2 1/2” width in half with wrong sides together and press. Place the raw edge of binding strip on the edge of the placemat and stitch around.
<!╌
Merry and Bright Machine Embroidered Placemats
Merry and Bright Machine Embroidered Placemats
Merry and Bright Machine Embroidered Placemats
Merry and Bright Machine Embroidered Placemats
My hoop is a 5 X 7. Do you have a smaller design available?
Hello there! At the moment, the only available sizes for this design are the ones currently listed in the zip file. However, multiple sizes for embroidery patterns is something we will take into consideration for future projects. Have a great day! – Ashley, WeLikeSewing
Have you further considered te 5 x 7 embroidery design (since June)
Hi everyone! We have looked into the issue with the files showing up as blank and it has now been resolved. Please let us know if you experience any other issues. Thanks so much! – Ashley, WeLikeSewing
I am tring to download designs for Merry and Bright placemats on my apple ipad but it will not download
thanks
Alannah
Hi Alannah, I will email you as well but we were able to replicate this error. I’ve passed this along to our tech team to see if there’s anything that needs to be fixed. Do you have a computer you can use to open the file? The zip does seem to open OK there. We will keep you updated. Thank you!
It downloaded as a zip file for me.
Kathryn
Thanks so much for your comment, Kathryn! This is how the project should download. Please let us know if you have any issues with this pattern or the zip file. Have a great day! – Ashley, WeLikeSewing
Says download cannot be open as the file is corrupt.
Hi Louise! Thanks so much for letting us know about this issue. I am able to open the zip file but we have had a few other readers who are unable to access the embroidery files. Can you let us know what type of device you are using (phone, laptop, tablet, etc.)? This will help our tech team troubleshoot this issue. Thanks so much! – Ashley, WeLikeSewing
Am I able to purchase the Merry and Bright Embroidery Pattern without taking out a subscription?
Hi Claire! This pattern is currently only available to subscribers. Have a great day! – Ashley, WeLikeSewing
It won’t let me download the file. Please help.
Hello! Can you please let us know what type of device you are using (laptop, tablet, phone, etc.)? This can help us troubleshoot what is causing the issue with downloading. Thanks so much! – Ashley, WeLikeSewing
The pdf file is blank.
Hi Nancy! We’re able to open the PDF files in the main zip file download and see the patterns. If possible, could you let us know what type of device you are using (phone, desktop, tablet, etc.)? That may help us be able to troubleshoot any issues. Thanks so much! – Ashley, WeLikeSewing