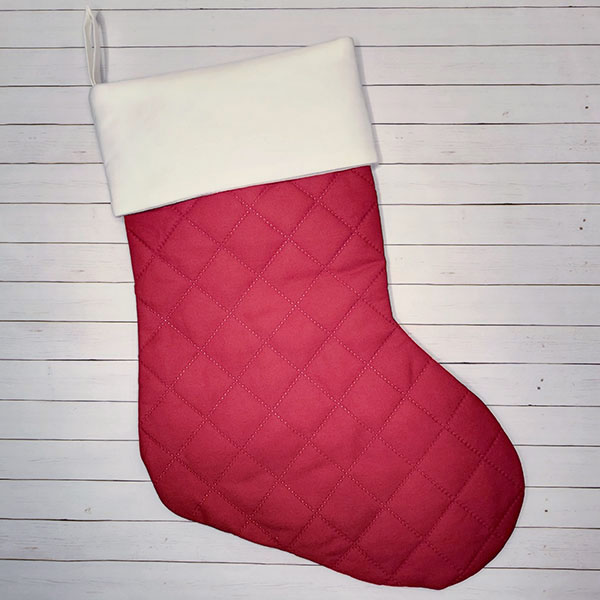
Do you think it’s impossible to embroider a Christmas stocking? I’m not going to sugar coat it: it is challenging and a little stressful at times, but not impossible!! This tutorial will show you how to add a monogram to a store-purchased stocking and share some helpful tips that should relieve the fear and stress.
A few important tips before getting started:
- Know the fabric the cuff of the stocking is made of:
- Smooth cotton fabric, like the one used in this tutorial
- Fuzzy or furry
- Felt
- Knitted, not recommend for a beginner
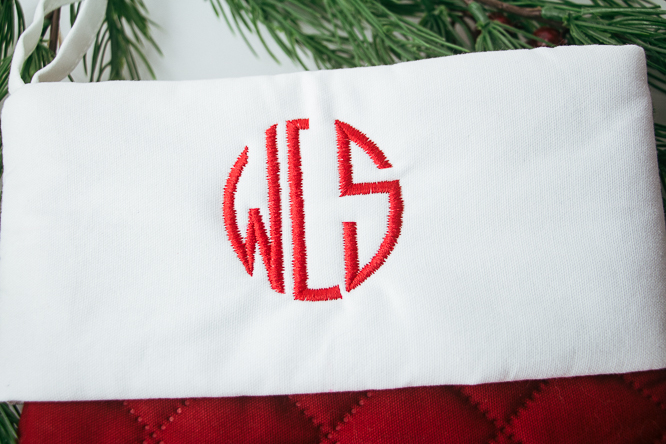
- Choose a nice thick satin monogram font. A thin line font will get lost in the thick nap of the fabric. If the stocking is furry, a layer of water-soluble stabilizer must be placed over the fabric before stitching. This will keep the stitches above the fabric.
- Don’t make the name too big. There isn’t a lot of room to work with so making the font too large will make it more difficult to stitch. The measurement for the monogram used in this tutorial is 2.25” tall and 2.5” wide.
- Don’t try to hoop the stocking; float it instead.
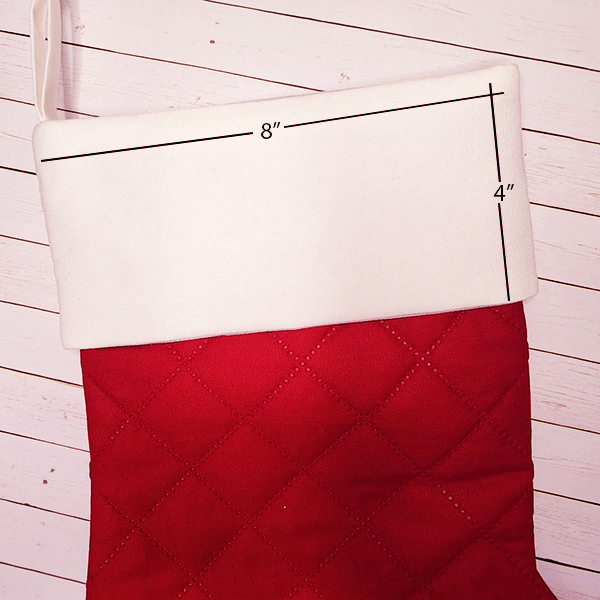
- Look for a stocking that has a wide opening. The one used here is 8” wide. If the opening is any smaller than 8”, ripping out the side seam, adding the monogram, and stitching the seams back together, would be an alternative method.
Materials:
- Tear-away stabilizer
- Adhesive spray or adhesive-backed stabilizer
- Disappearing ink pen
- Ruler
- Straight pins
- Water-soluble stabilizer (optional unless using a felt or furry stocking)
Instructions:
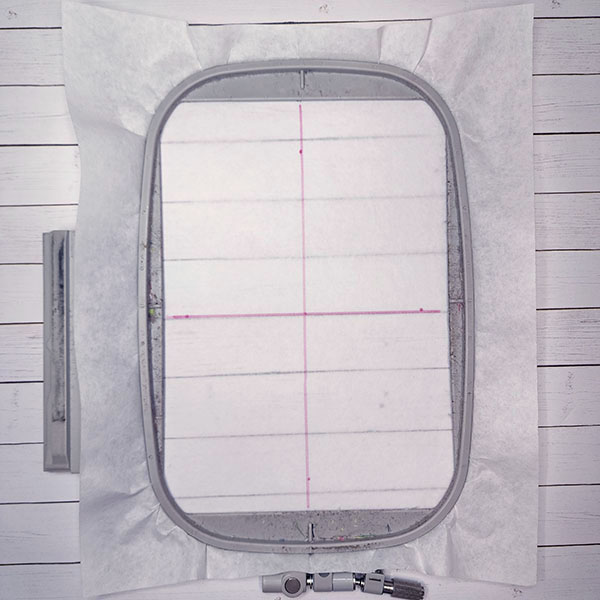
- Hoop tear-away stabilizer and using a disappearing ink pen, mark the center by drawing a horizontal and vertical line to mark the center of the hoop. If you are using adhesive stabilizer instead of tear-away, peel away the paper before marking the center lines.
- Measure the stocking cuff and find the center by drawing a horizontal and vertical line. The cuff used in this tutorial is 8” across and 4” wide. The lines were drawn at 4” vertical and 2” horizontal. Next, place a pin at the top of the stocking. This pin is used as a reference to know where the top of the stocking is once it is turned inside out.

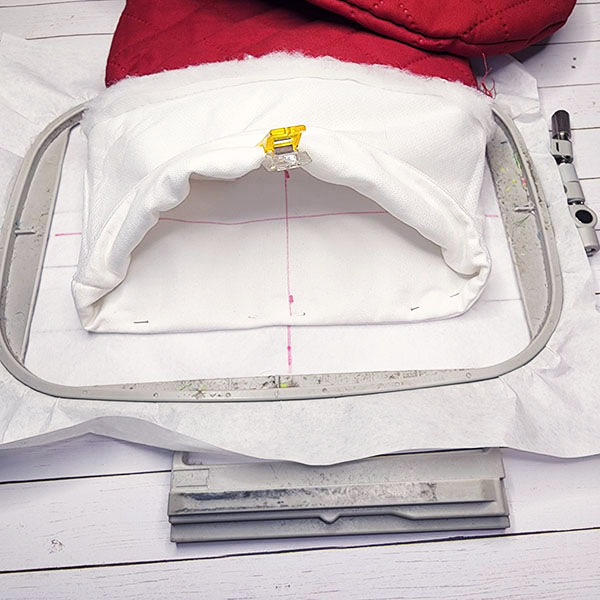
- Turn stocking cuff inside out. Line up the lines on the stocking and the hoop so that they meet in the center. Spray the adhesive spray and smooth the stocking cuff. Do the same if using adhesive stabilizer. Add a few straight pins around the outside to help the stocking stay in place. If you are using a stocking with a furry cuff, place a piece of water-soluble stabilizer over the cuff before pinning.
- Load the embroidery file containing the name or monogram being used. Be sure that it is rotated in the right direction so that it stitches correctly. This is where the pin comes in handy.
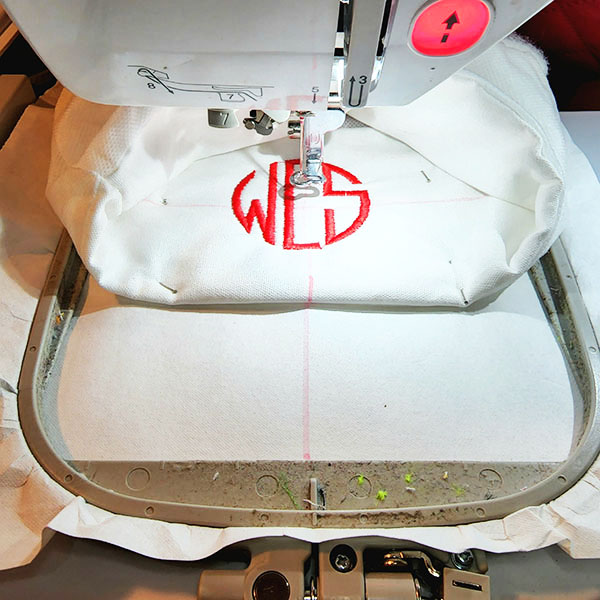
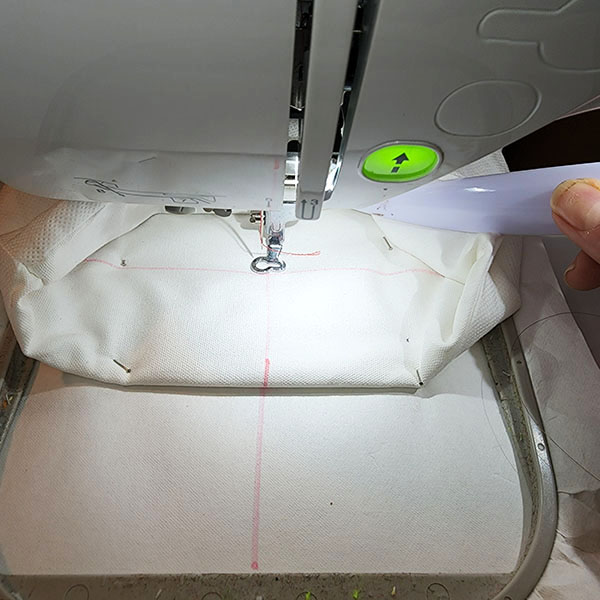
- Place hoop in embroidery machine and stitch. This is the stressful part! Don’t leave the machine. There is a small amount of space the needle has to move in, and it will need help keeping the top part of the stocking out of the way as it stitches. Do not to use your hands or fingers near the needle. Use a seam presser or a pencil to help with holding the top of the stocking up and making sure nothing gets caught or stuck.
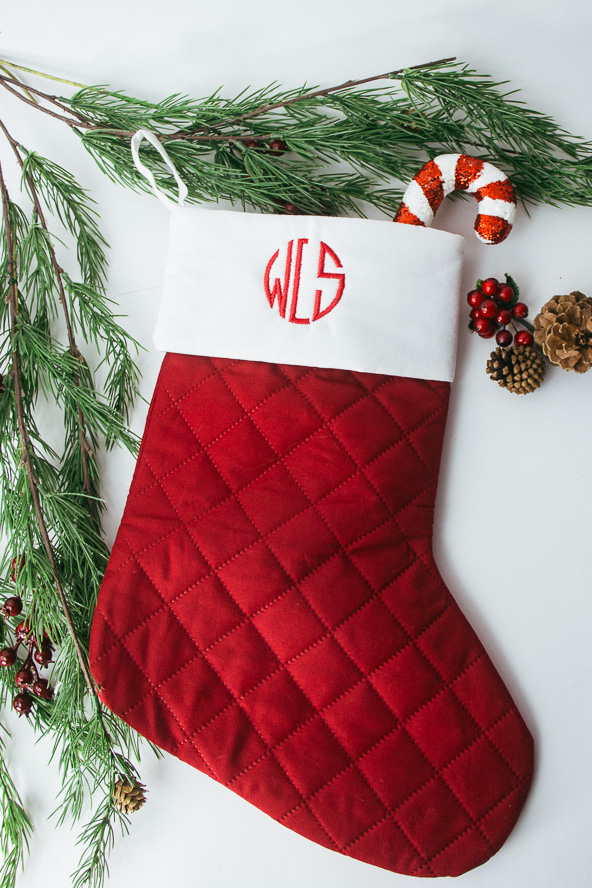
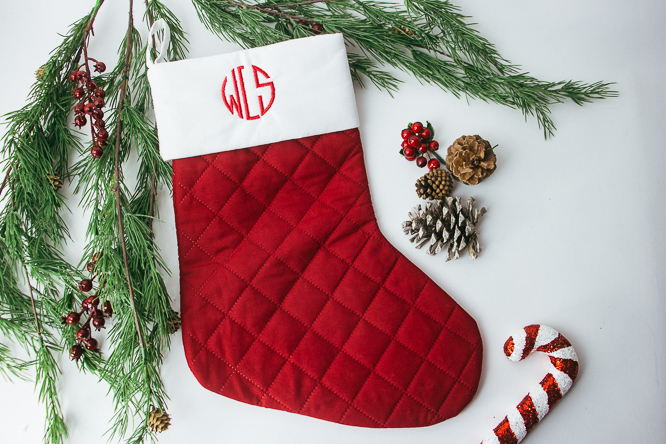
- That’s all there is to it! Remove the stitched stocking from the hoop and remove the excess stabilizer. Turn stocking right side out. Remove the disappearing ink from stocking and hang it on the mantle!