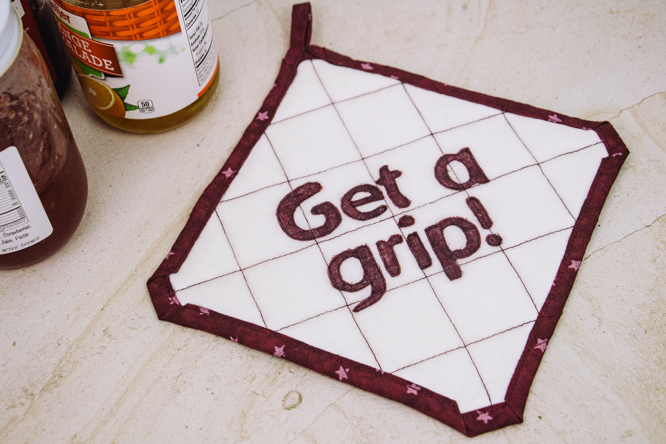
We’re suckers for cute kitchen projects, which is why our editors are adding this 2-in-1 potholder to their “to-make” list. Designed using a layer of silicone on one side, this DIY potholder also functions as a handy jar opener! This kitchen sewing project can easily be made in an afternoon and uses a foldover binding technique, making it perfect for beginner to advanced crafters alike. Customize your potholders to match your kitchen décor or gift these fun projects to family and friends.
Materials:
- Backing and front fabric (such as 100% cotton, linen, or wool)
- Insulating material (such as cotton batting, wool felt, or Insul-Brite)
- Non-permanent marking tool
- Cotton or cotton-wrapped polyester thread
- Size 14 sharp sewing machine needle
- Clear 100% silicone sealant
- PDF pattern – located at the bottom of this page.
DESIGNER TIPS:
- You will need a piece of fabric for each side of the potholder. Choose two fabrics that coordinate with each other but contrast well. The fabrics can be cotton, linen, or wool, which all hold up to heat very well. (That’s why they use the highest heat settings on your iron!) Take care to avoid synthetic or synthetic blend fabrics that may melt when they are exposed to high levels of heat.
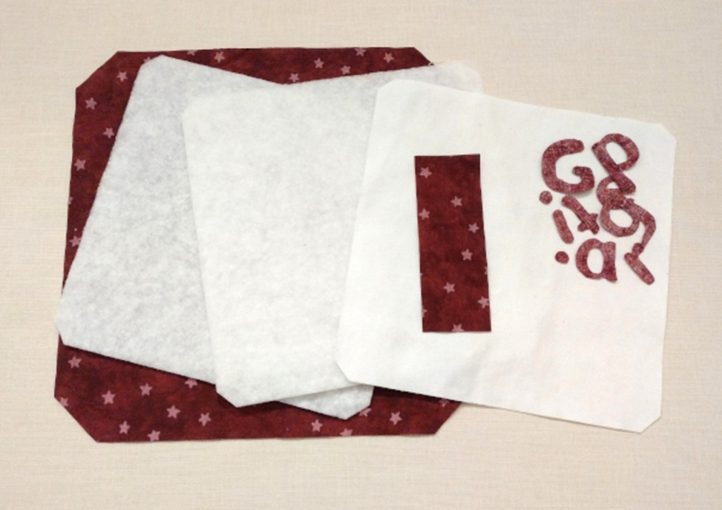
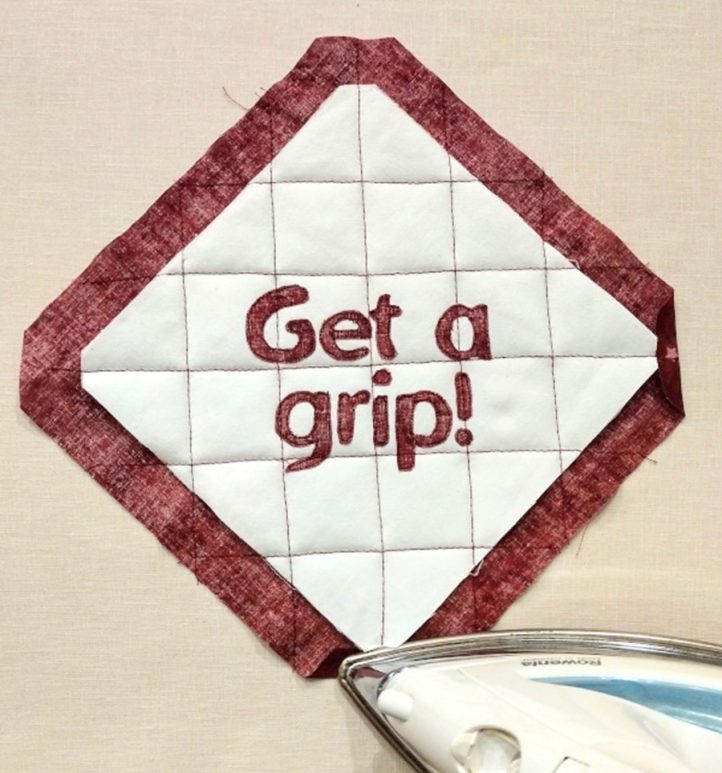
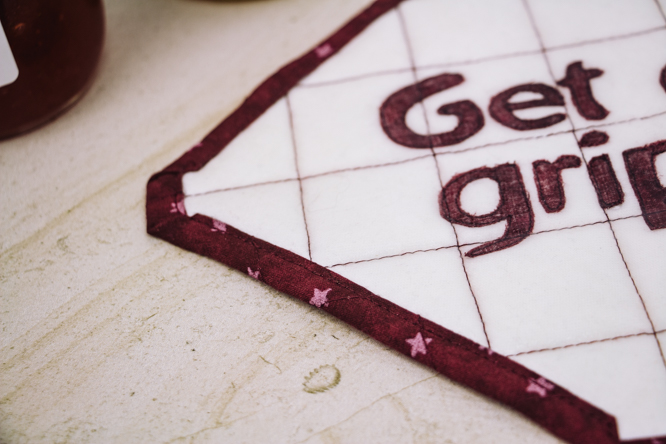
- The designer chose a maroon and pink quilting cotton for the backing fabric, and a white cotton twill for the front fabric. They then used the wrong side of the maroon fabric to cut out the letters, which gave another coordinating fabric option.
- The insulating material in the center of the potholder can be made from layers of cotton batting, wool felt, or a specialty insulating material such as Insul-Brite. The designer used two layers of 1/8” cotton batting, but you could use 3 layers of wool felt, or a layer of batting and a layer of Insul-Brite. You want the insulating layer to be roughly 1/4” to 3/8” thick in total. Since the pieces you need for the potholder aren’t very large, your scrap bin might have the perfect material waiting for you!
- The designer recommends using either a cotton or cotton-wrapped polyester thread to assemble this project.
- The lighter-colored fabric works better for the front (the jar opener side), because the silicone will protect the white fabric from stains. Any future stains will be less visible on the maroon cotton that the designed used for the backing (potholder side).
Instructions:
- Start by printing out the pattern (located at the bottom of this page). Cut the insulating layers and front fabric using the smaller “jar opener side” pattern piece. Cut the larger “potholder side” pattern piece, loop, and letters out of the darker backing fabric.
- You can increase or decrease the size of your potholder if you’d like; the backing starts out as a 9” square and the front fabric is a 7” square. You could easily start with 10” and 8” squares if you’d like, or 8” and 6”. You can still use the printable pattern as a guide for trimming the corners of each square, and to cut the loop and letters.
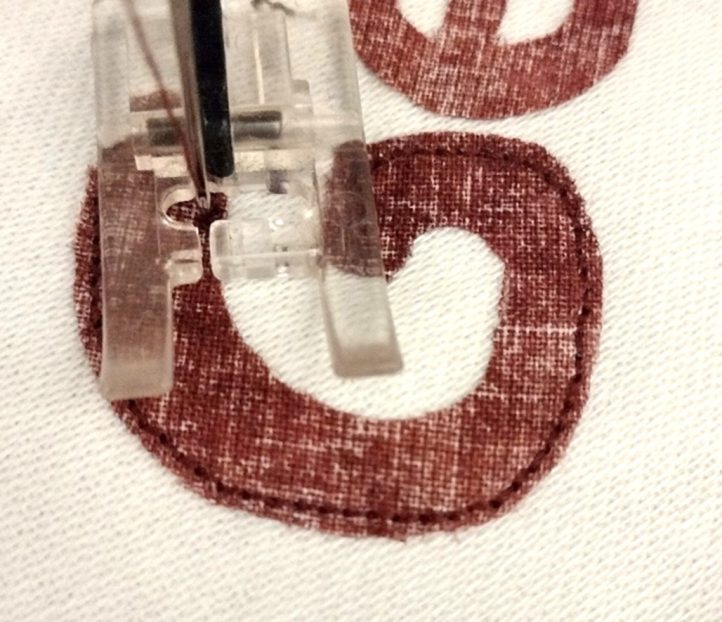
- Arrange the letters diagonally on the right side of the front fabric, keeping them at least 3/4” away from each edge. Use temporary spray adhesive on the back side of the letters to hold them in place if desired. Set your machine for a short straight stitch (roughly 12 stitches per inch), and stitch around each letter very close to the edges. Sew slowly, and stop with your needle down to pivot your fabric as often as you need to. A clear or open-toe presser foot will make it easier to keep your stitching lines where you want them.
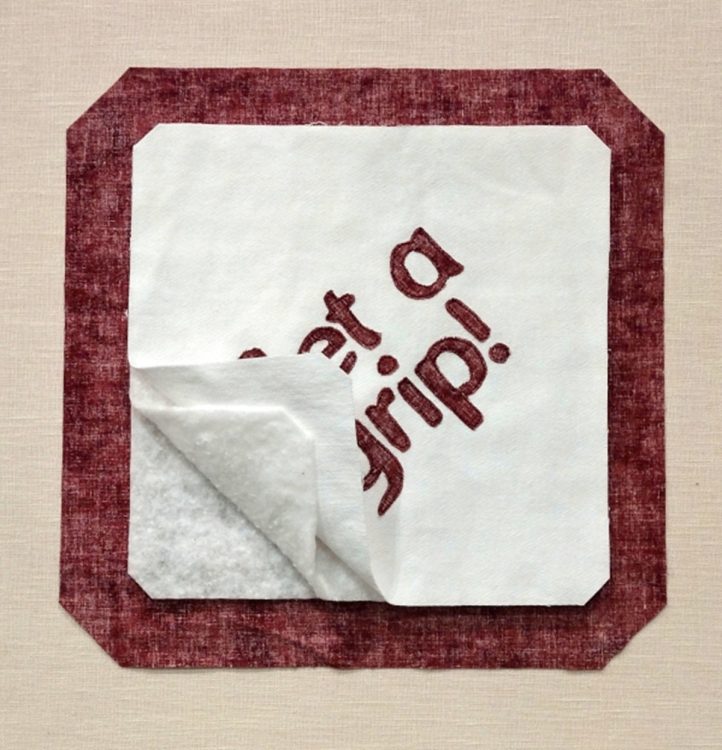
- Lay the piece of backing fabric wrong side up, and stack the insulating layers in the center. Place the front fabric on top of the stack, with the letters facing up. Starting in the center, mark (with a non-permanent/disappearing marking tool) 5 diagonal quilting lines, each 1.5” apart. Repeat the process to create intersecting lines in the other direction. Pin all layers together in between the marked lines.
- Using a longer straight stitch (8 stitches per inch), sew all of the layers together on your marked lines, beginning and ending each line of stitching at the edge of the backing fabric. Remove the pins as you come to them.
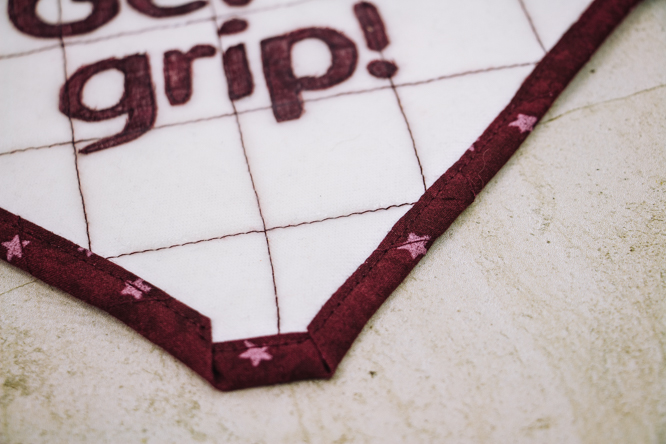
- Fold each corner of the backing fabric in, so that the raw edge of the backing fabric meets the raw edge of the front fabric. Press the folds with your iron. Fold the corners of the backing fabric over again at the edge of the front fabric, so that the backing fabric covers the corner of the front fabric and the raw edges on the corner are enclosed. Press the folds again, and pin them in place.
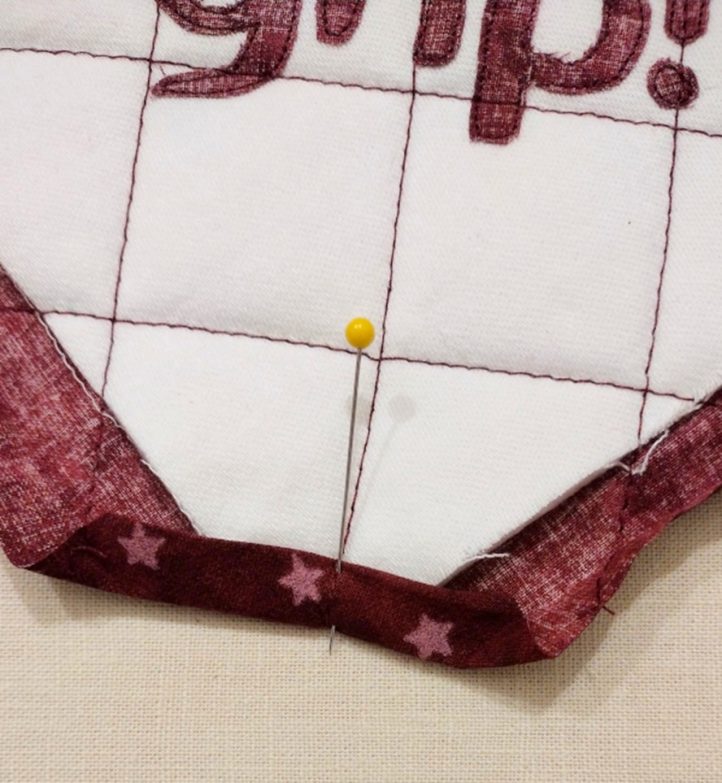
- Fold each side of the backing fabric in to meet the raw edge of the front fabric, just like you folded the corners. Press the fabric in place, and then fold the backing fabric over again so that it covers all of the raw edges. Press and pin the backing fabric in place. You should have a border of backing fabric all the way around the piece of front fabric, with the backing fabric folded snugly over the edge of the front fabric and wrapped over the raw edges.
- Take the small piece of loop fabric and press the long edges in towards the center. Fold the piece in half lengthwise, so that the long raw edges are enclosed in the middle, and press again. Topstitch the piece 1/8” from the edge to hold the folds in place.
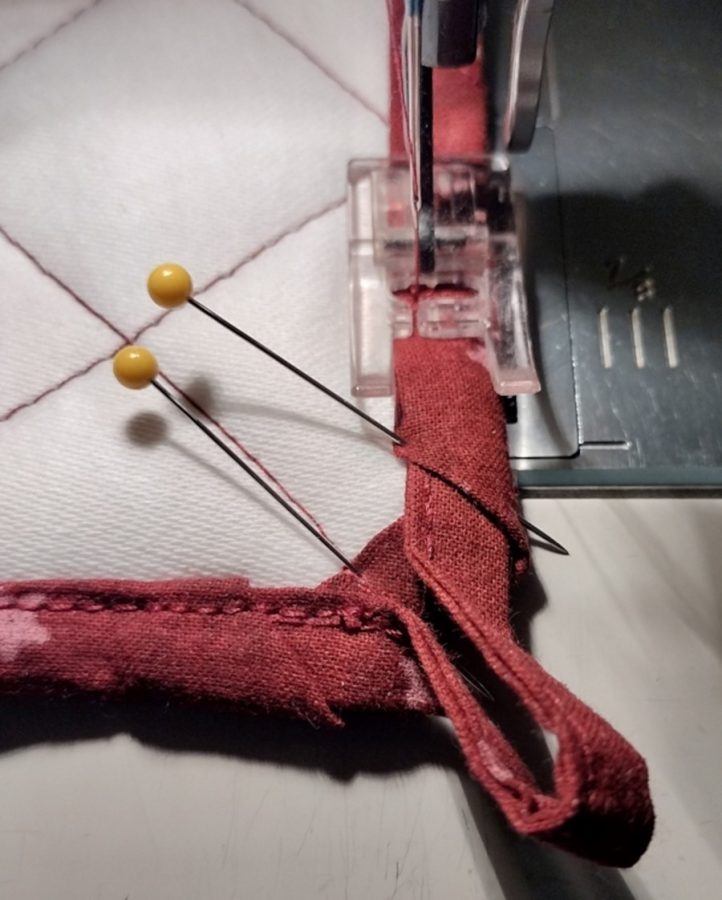
- Fold the loop in half, and insert the ends into the folded backing fabric at the top corner of the potholder. The raw edges on the ends of the loop should be hidden in the binding, and the rest of the fabric should create a hanging loop for your potholder.
- Starting and ending at the loop, stitch all the way around your potholder 1/8” from the edge of the binding, removing the pins as you come to them. Sew a little ways onto the loop at the beginning and end of your line of stitching, and back tack to make sure that the loop is held securely in place.
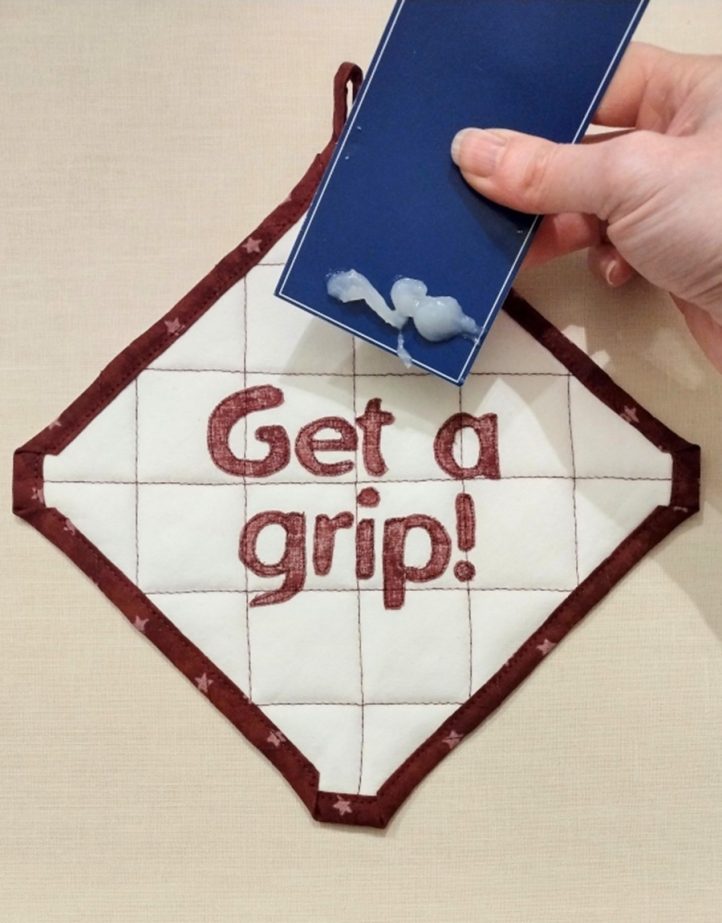
- If you have any bits of lint or stray threads on the front of the potholder, remove them at this point. Squeeze a small amount of silicone onto a piece of scrap cardboard or plastic, and spread a thin, even layer of silicone over the letters and front fabric. I chose to avoid the border of backing fabric, in order to have a nice clean edge. You should be able to spread it nicely with a straight edge tool, but if you need to smooth out the silicone further, you can wet a paper towel with soapy water and pat the silicone with it.
- Leave the silicone to cure in a safe place away from pets and curious kids during the curing time that is listed on your tube of silicone (typically 24 hours). After this time, you may machine wash and dry your potholder, and use it to handle pans and open jars. Voila! You’ve created your own kitchen accessory that’s useful, playful, and customized to match your décor!

This s a wonderful pattern and I am going to make a few with matching kitchen towels as a wedding shower gift. Thanks for the pattern.
Hi Lois! That sounds wonderful! I’m sure it will turn out lovely. Have a great day! – Ashley, WeLikeSewing