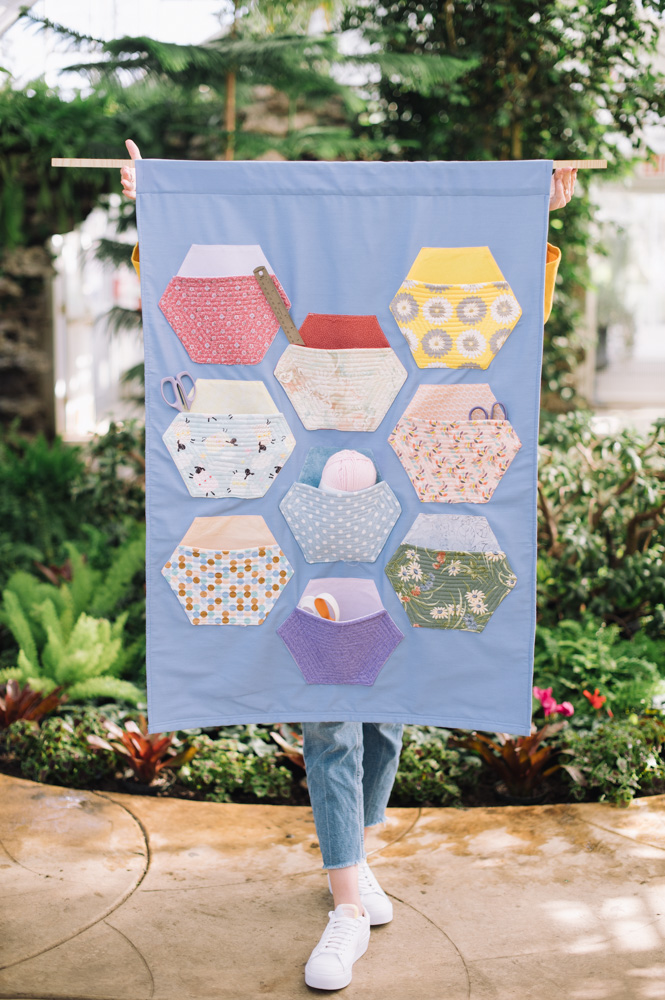
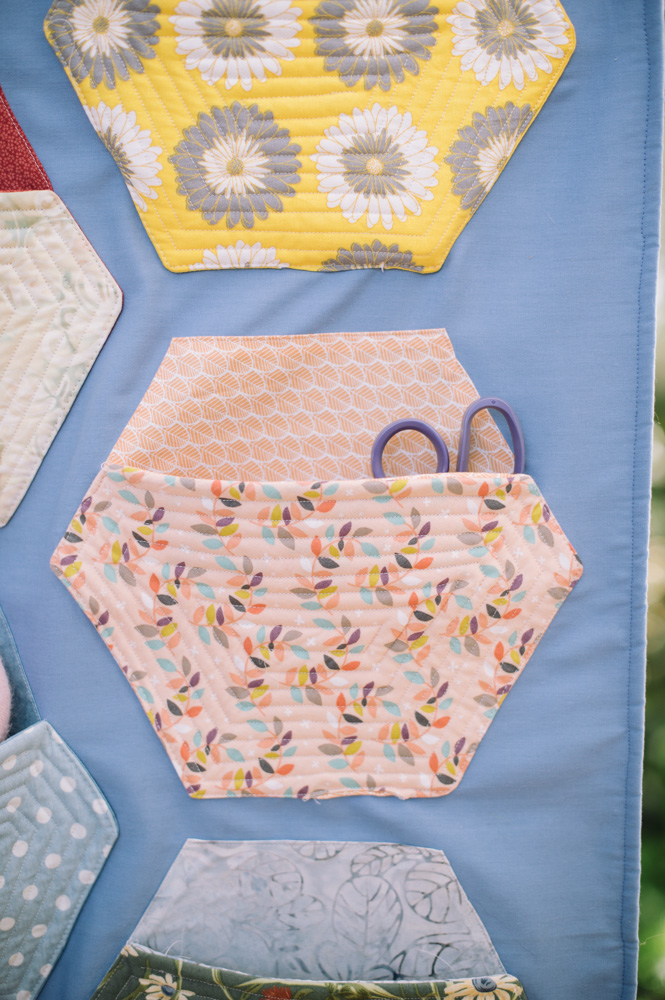
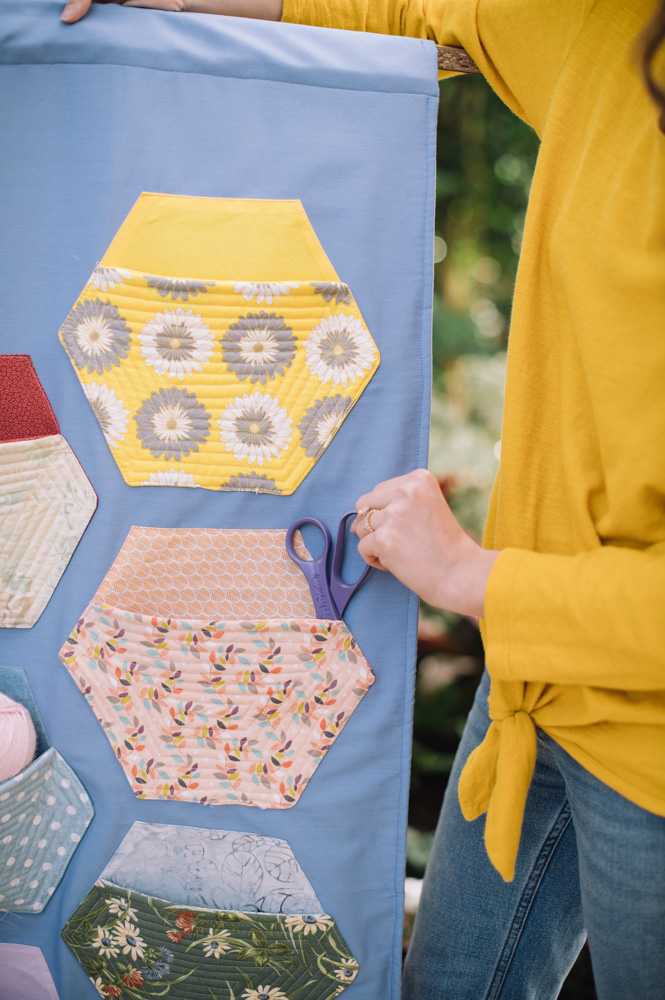
Clear out your fabric stash and organize your odds and ends with this colorful quilted organizer! This hanging wall organizer is a wonderful way to declutter your home office or sewing room and its hexie pockets are ideal for holding small necessities like fabric markers or quilting clips. We adore the scrap-busting aspect of this project and its versatility makes it easy to customize to your needs. Keep your desk and sewing station free of clutter with this clever organization idea.
Materials:
- Scraps of fabric (18 different pattern prints) to create pockets
- Appendix A (larger) hexagon shape for pockets
- Appendix B (smaller) hexagon shape for fusible interfacing
- Felt for backing – 30 X 40 inches
- Solid fabric for backing (to mount pockets) – 32 X 45 inches
- 1/2 yard of batting for between pocket fronts
- 1/2 yard of double-sided fusible interfacing with paper to stabilize pockets
- Approx. 32” piece of doweling for hanging
Instructions:
- Cutting Instructions:
- Cut 9 pairs of matching hexagons [larger] (for inside lining and backs of pockets).
- Cut 9 hexagons [larger] of different patterns for tops of pockets.
- Cut 9 pieces of batting using hexagon shape for placing between inside and top of pocket.
- Cut one piece of felt and one piece of solid backing.
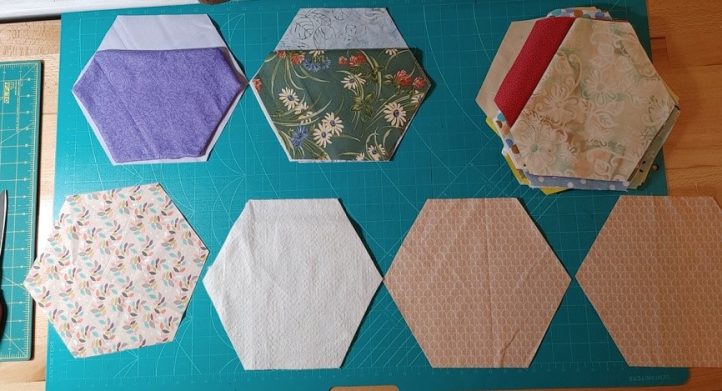
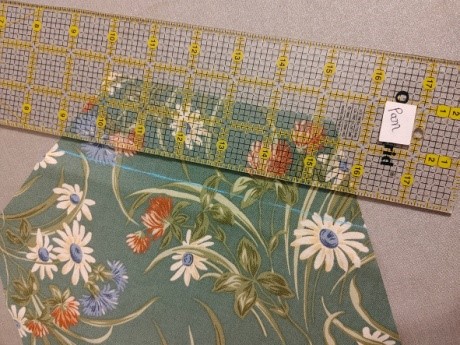
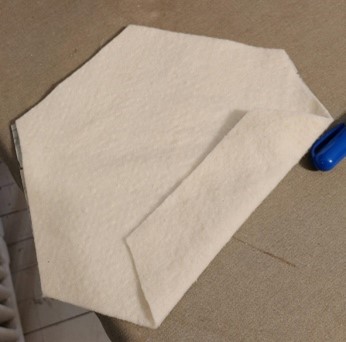
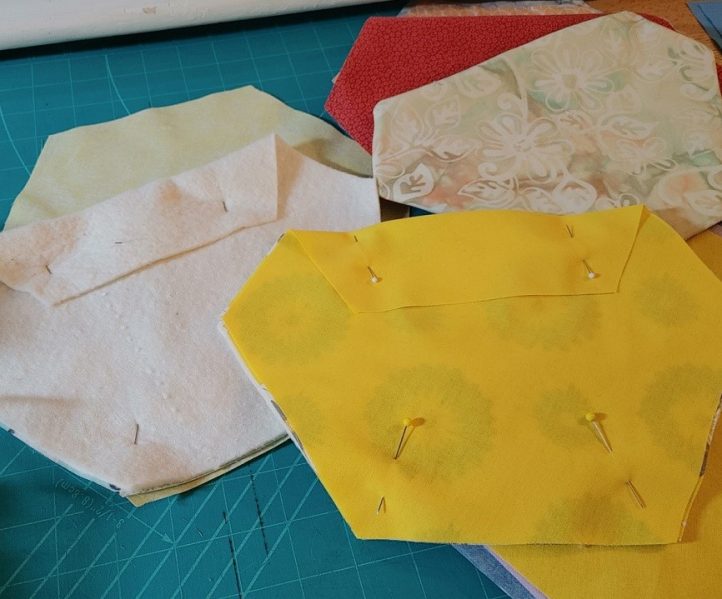
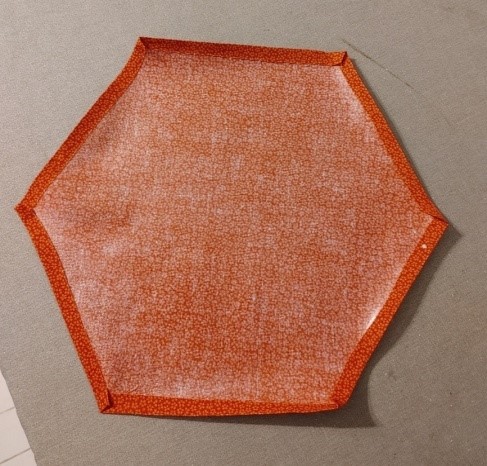
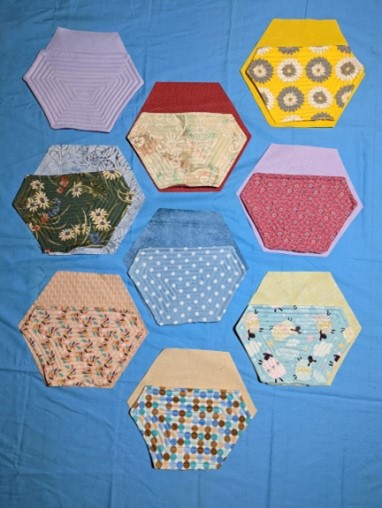
- Create the pockets by folding the top edge of Appendix A (inside & outside pieces) towards wrong side of fabric, creating a 2″ fold. Then repeat with batting fabric. Pin the pockets with right sides together and batting on top. Sew a 1/4” seam around the outside, leaving an opening at the bottom and trim corner points of seam allowance down to reduce bulk at corners. Then turn right-side out. Quilt the tops of the pockets. Start in one corner 1/4″ away from the edge and follow the perimeter of the shape, working in a spiral and keeping the quilting lines 1/4″ apart.
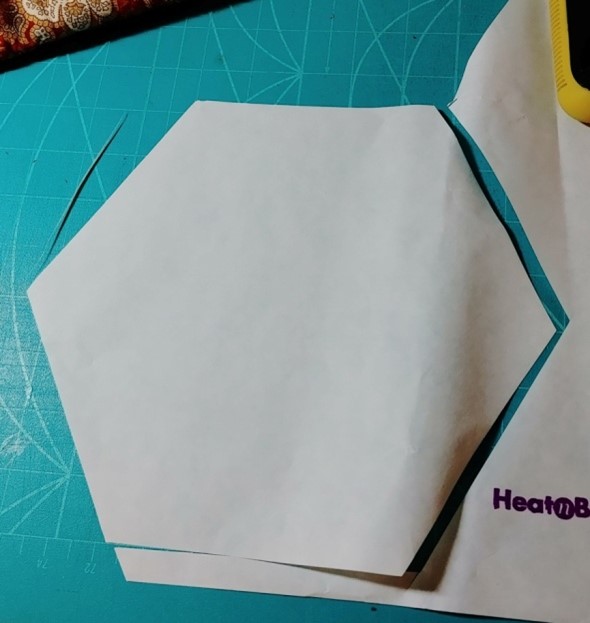
- Using the Appendix B (smaller hexagon), cut 9 pieces of fusible interfacing. Iron them, centered on the back with the paper side up. Pull off the paper, fold the fabric in to hide the raw edges, and iron carefully to avoid touching the inside glue of the hexagons (just glue down the raw edges).

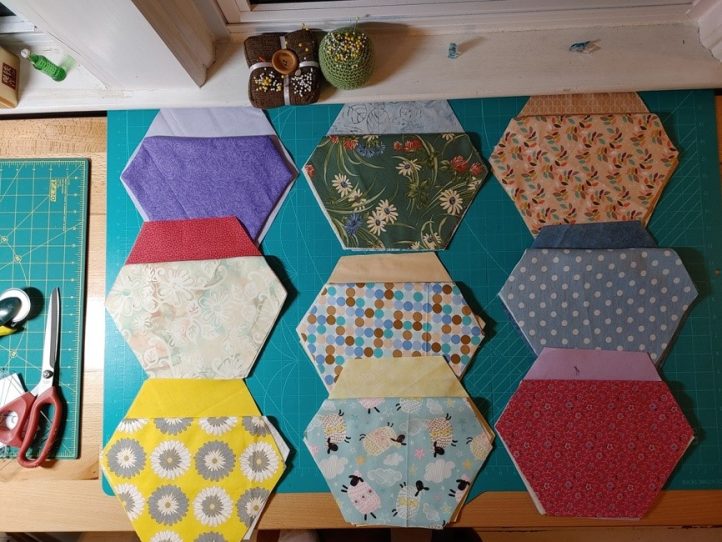
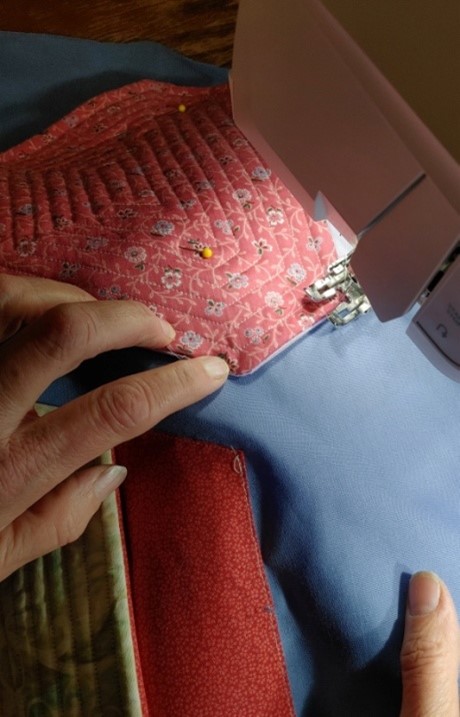
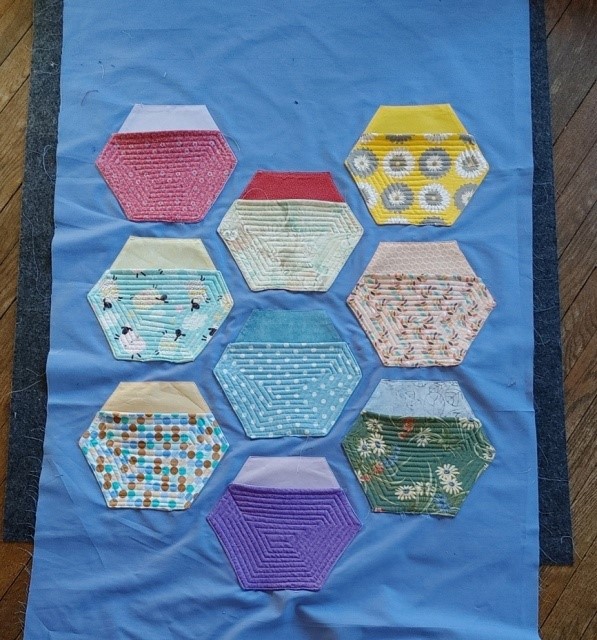
- Arrange the hexagons on the large background fabric and pin them. Iron each hexagon in place and then top-stitch 1/8” around the outside of the back of each pocket to hold it in place. Arrange the pocket fronts on top of each pocket and sew 1/8” seam around the 5 sides of the bottom (backstitch at beginning and ends to secure stitching at pocket corners). This seam will close the open edge of the bottom of the pocket.
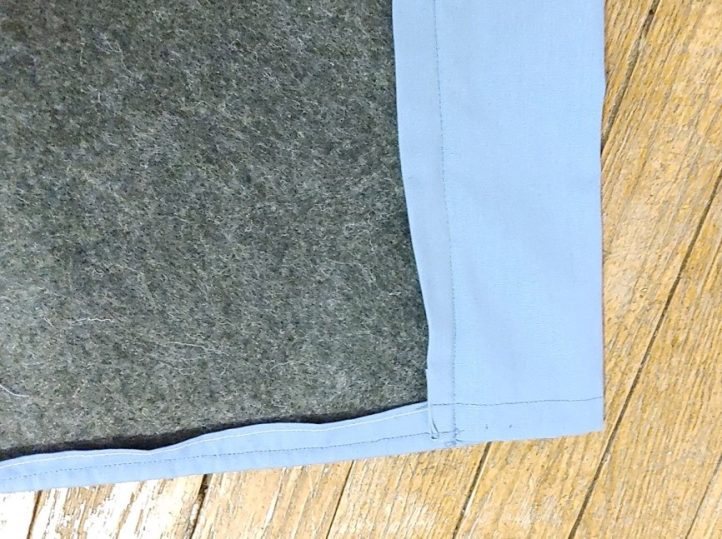
- Take the solid backing fabric and fold and press 1/2” along the long edges to the wrong side. Fold and press 1/2” along top and bottom edges to the wrong side. Lay the backing right-side down but do not unfold edges. Lay the felt on top of wrong side of backing approximately 1/2” from the bottom folded selvage. Fold the backing up over the felt ensuring the raw edges stay folded under and pin or clip in place. With felt facing, along bottom edge sew through folded backing, felt, and right-side of back (3 layers) 1/4” from edge. Repeat for both long edges but when there is no felt at the top edge where the backing fabric extends approximately 5 inches from top edge of felt, simply sew through layers of folded selvage and backing. (Note: The felt is too thick to fold. The backing fabric comes up and over the felt and is secured by sewing through the 3 layers; the felt is approximately 1 inch smaller along bottom and long edges than backing fabric so it can be nested within). With felt side visible, fold the top edge of the backing fabric so that 1/2” from folded edge covers the top edge of the felt. Then sew 1/8” along the folded edge of the backing fabric (through 3 layers, folded backing, felt, right-side of backing). Tack near felt at base of doweling casing to strengthen.
This project can be completed with any size hexagons or any size or shape of felt or backing. The quilting you add can be any design. Use your creativity and make this project your own!

Great, can’t wait to start!!! Thank you!