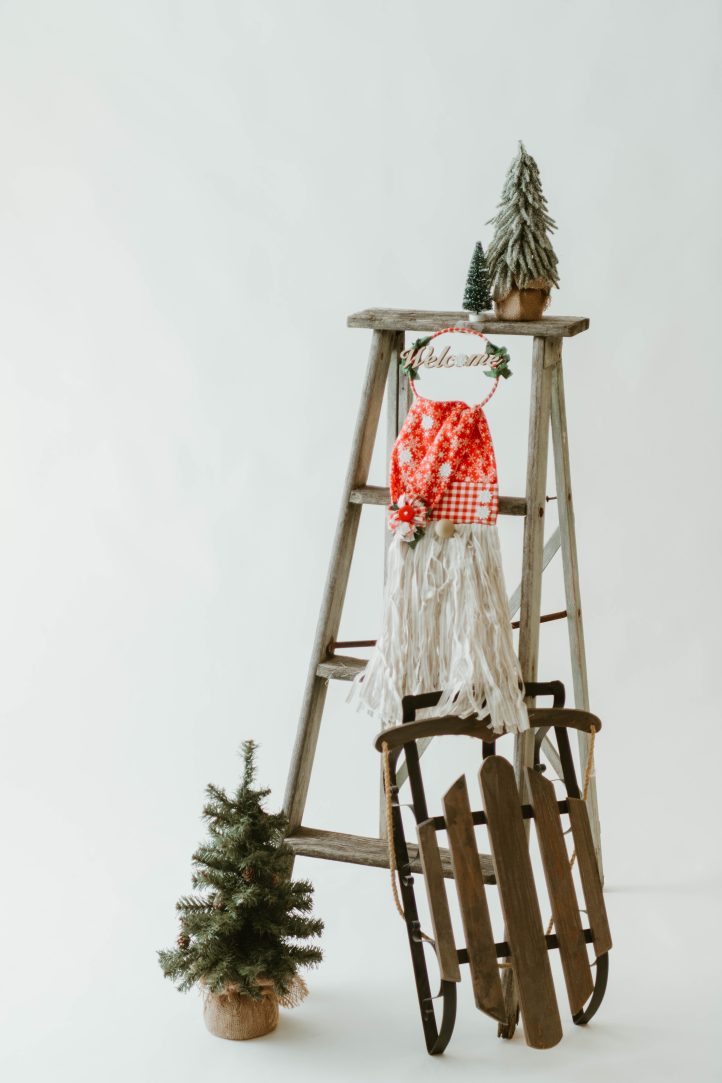
Greet guests with a friendly face this holiday season! Debi Schmitz shares her pattern for an adorable holiday door gnome in our latest issue, just in time for Christmas crafting. Using holiday prints and fabric scraps, this Christmas sewing pattern uses an embroidery hoop as the base of its design, making it easy to hang your gnome from your front door or walls. Deck your halls this holiday season with this charming gnome sewing project that our editors can’t get enough of.
Designer Notes: All seams are 1/4″.
Materials:
- 1/2 yard red snowflake cotton fabric – 44” wide
- 1/4 yard red and white gingham cotton fabric – 44” wide
- 1/2 yard white ticking stripe cotton fabric – 44” wide
- Fat quarter or scraps of dark green fabric for leaves
- Batting of choice – 2” x 13”
- (1) 1 1/4” wood knob
- (1) 6” wood disc (1/8” thick)
- (1) 6” wooden embroidery hoop
- (1) wooden word approximately 1 1/2” x 7” (or use individual wood letters)
- (6) 1” miniature plastic snowflakes – white
- (1) 1” red buttons with two holes
- Folk Art Acrylic Matte Paint – C#953 Camel
- Paintbrush
- White thread
- Glue gun
- 2 1/2” wide piece of cardboard for pom
- Scissors
- Cutting mat
- Acrylic ruler
- Rotary cutter
- Hand sewing needles
- Iron
- Matching thread
- Pins
- PDF Template – This is located at the bottom of this page. Please see printing instructions below.
PRINTING INSTRUCTIONS:
Note: To download the template, click on the pattern download button at the bottom of the page. We recommend opening your pattern download using Adobe Acrobat.
Cutting Instructions:
Red snowflake fabric:
- 15” x 18”
Gingham fabric:
- 6” x 14” and (8) strips 1/2” x 18” for pom
Ticking fabric:
- Use the full 18” piece of fabric.
Dark green fabric:
- Cut (8) holly leaves using the pattern.
Sewing Instructions:
- Paint the wood knob and wood disc on both sides. Let dry. Paint another light coat to cover. Set it aside.
- Fold the red snowflake fabric in half for a 7 1/2” x 18” piece with right sides together. Stitch the two together along the open 18” edge. Iron the seam open. Flip the tube inside out for right sides out.
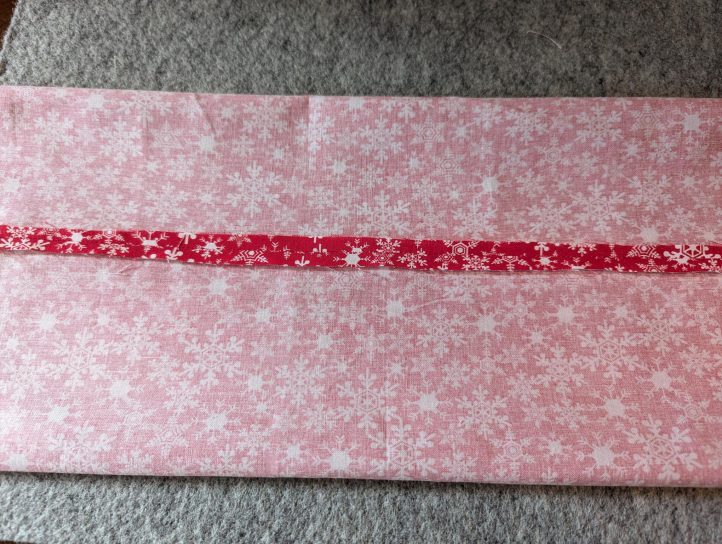
- With a hand sewing needle and thread, run a gathering stitch along the open end of the tube. Pull the gathers as tightly as possible and knot. This will be the pom end of the hat.
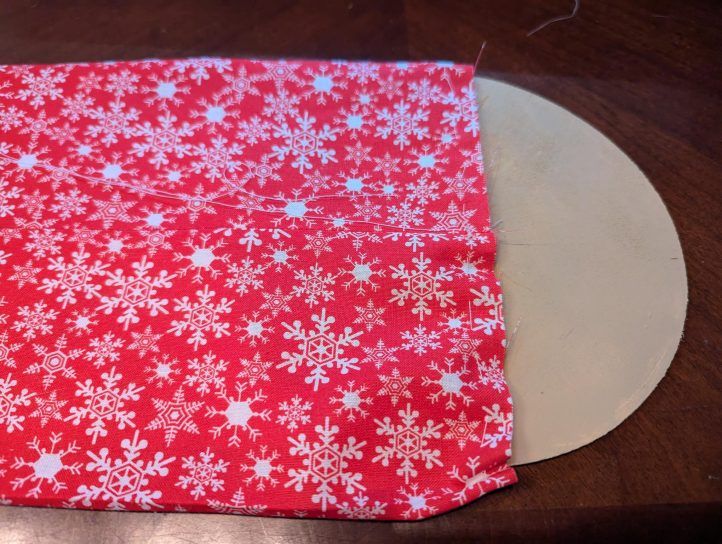
- Insert the 6” wood disc into the opposite end of the hat opening just over halfway. Gather the edges of this open end and gather tightly to fit the disc snug. Knot the thread.
- Fold the gingham 6” x 14” piece of fabric in half for a 3” x 14” piece with right sides together. Stitch the two together along the open 14” edge. Iron the seam open. Flip the tube inside out and then insert the batting into the tube with the seam in the center of the back of the tube for a hat brim.
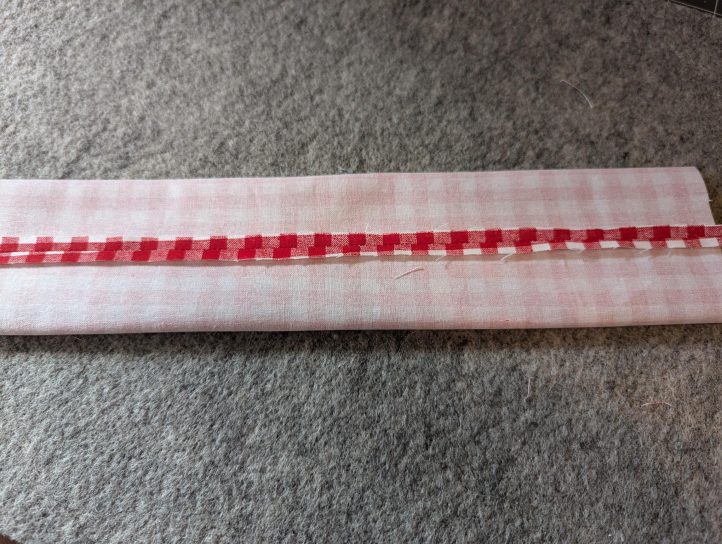
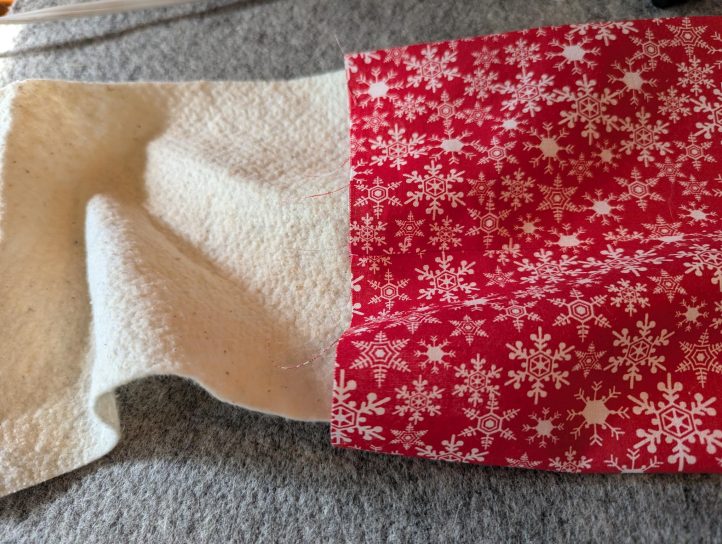
- Place the Gingham fabric (brim) around the hat opening and glue the ends of the brim to the back of the hat, folding and overlapping the ends.
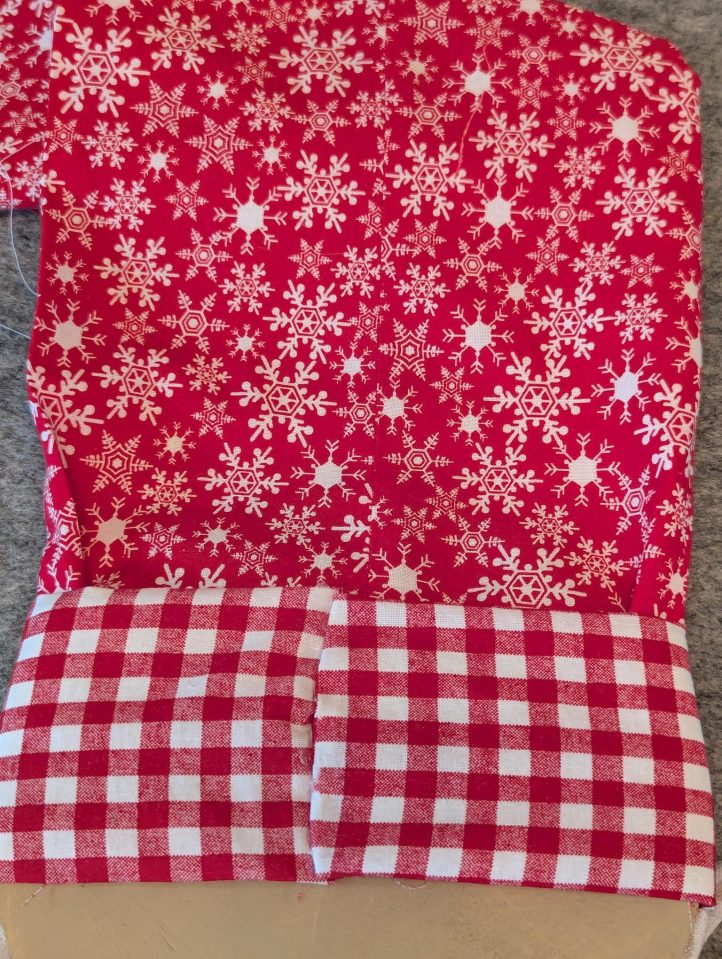
- Wrap the remaining gingham strips around the hoop at a slant to cover and glue as needed. Glue the wooden word to the hoop as desired and then tie with short strips of the gingham fabric for added hold. Slide the hat halfway over the hoop to use as a hangar.
- To make the pom, wrap 6 of the gingham strips of fabric around the 2 1/2” wide piece of cardboard. When one strip ends, add another, and wrap around. When 6 strips are completed, carefully slide the wrapped strips off the cardboard and tie in the center with a remaining gingham strip tightly. Cut the loops and trim to an even length. Pull and twist the strips around to make a pom. Glue this pom to the end of the hat. Thread a piece of fabric from the front with the two strip ends into the button, tie a knot in the back, and cut it close. Glue the button into the center of the pom.
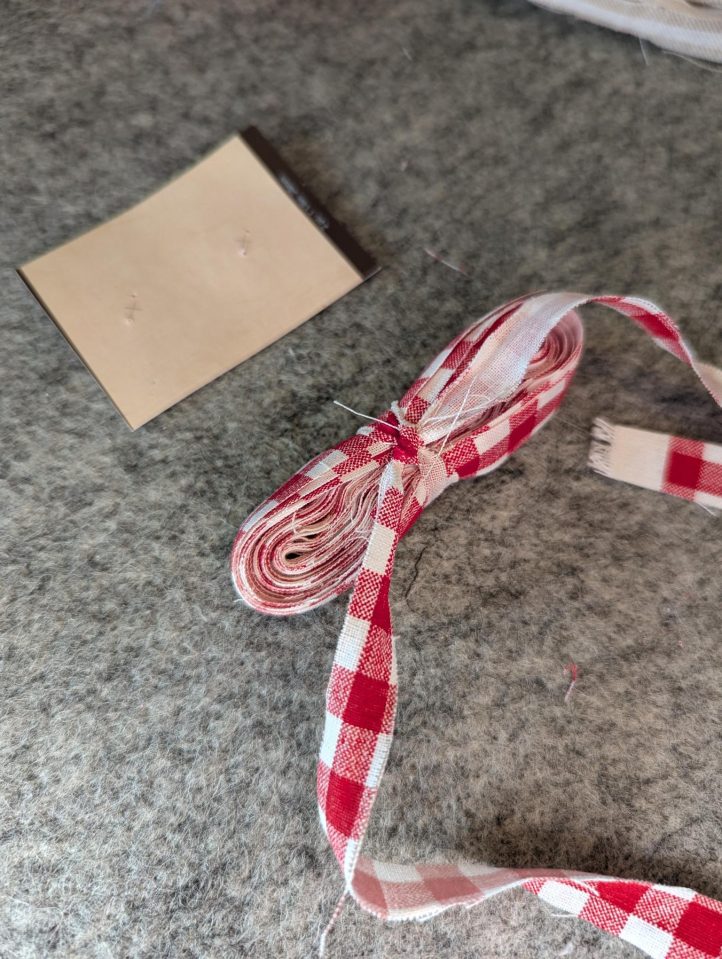
- Sew along the 44” side 1/2 inch from the raw edge. Fold the ticking fabric in half for a 22” x 18” piece of ticking. (Make sure the ticking stripes run in the 18” direction or you will need to adjust for the beard to have stripes vertically.) Cut strips 1/4” to 3/8” wide from the non-folded end to the folded edge with a rotary cutter or scissors up to the 1/2 inch edge stitching. The designer prefers scissors for this step- and like to follow the stripes.
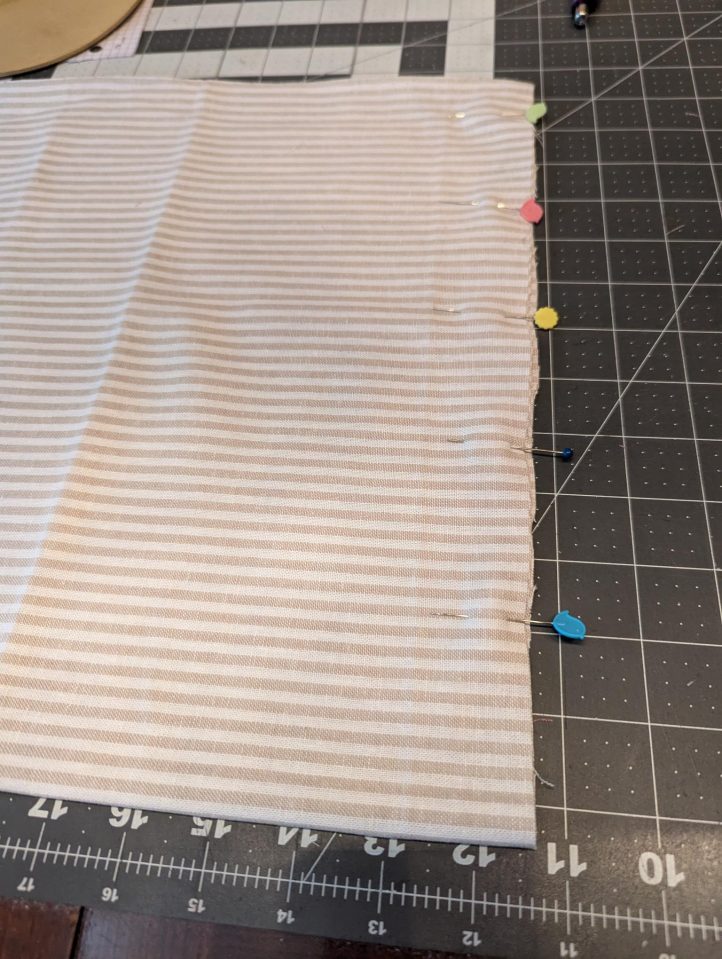
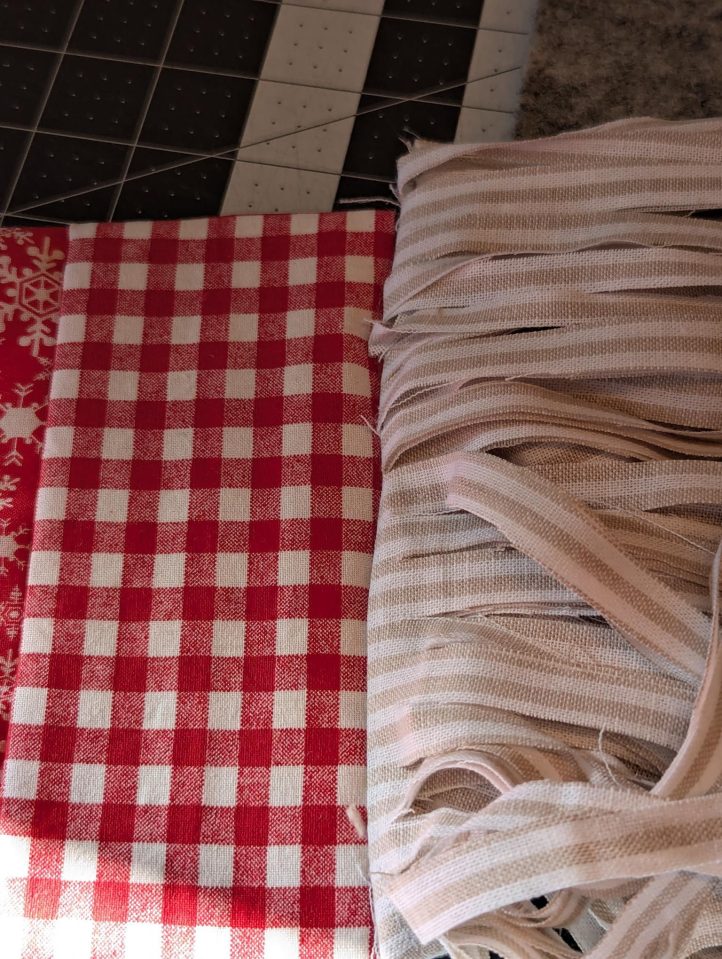
- Cut the beard in half for (2) 11” x 18” beard pieces along the folded edge. Fold one in half for a 5 1/2” x 18” piece and glue the stitched edge to the gnome next to the hat brim. Fold the remaining beard piece to the back and glue it to the back hat brim. (We don’t want the seam to show.)
- Tie random knots into the beard for extra texture and then cut the length of the beard as desired.
- Glue the knob nose onto the gnome in the center and just under the brim. Be sure to glue through layers for a secure hold.
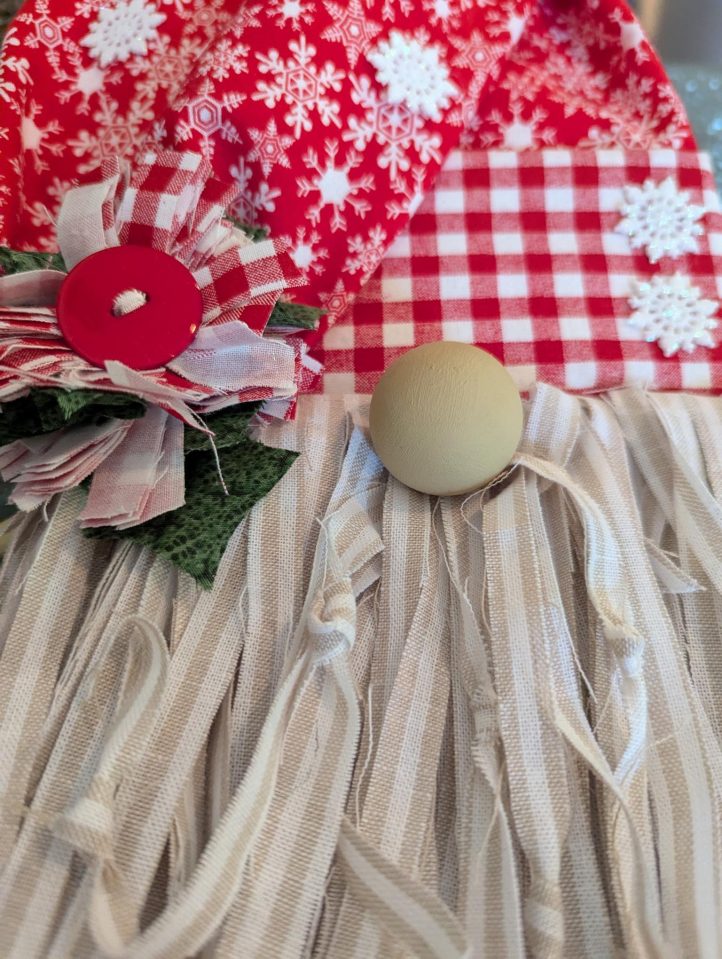
- Glue the snowflakes randomly around the hat.
- Fold the fabric holly leaves in half and tuck into the pom for depth. Glue a few around the ends of the words as well.
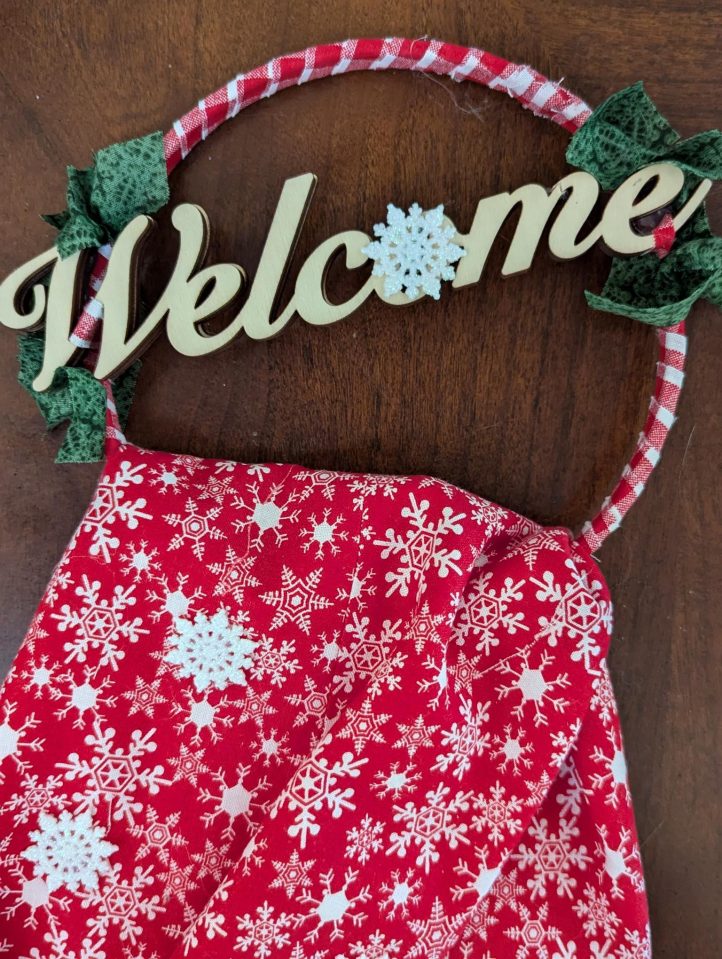
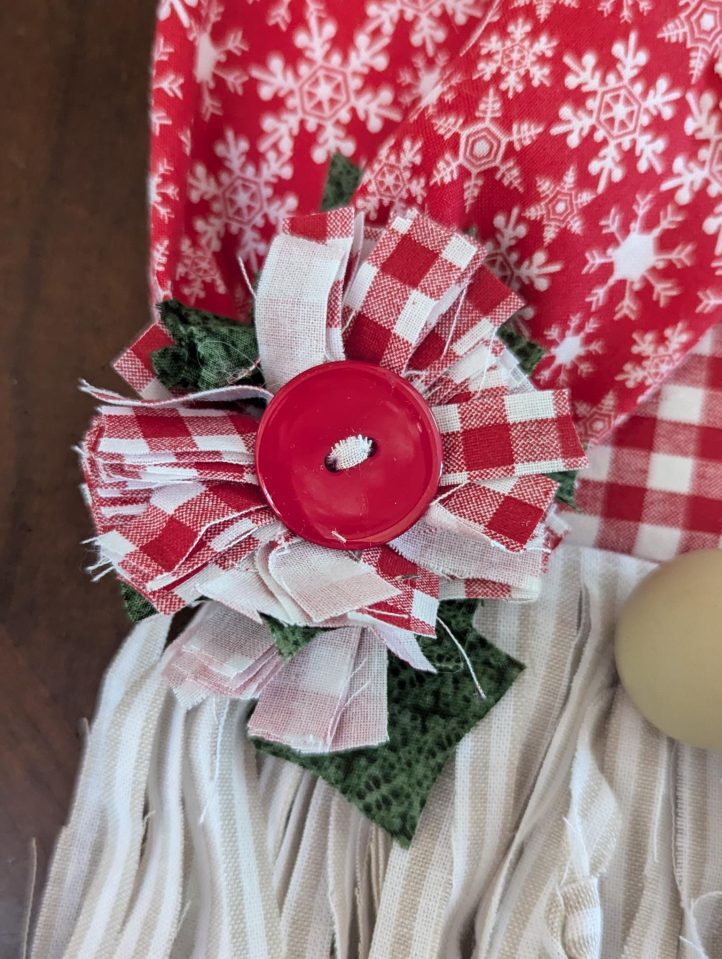
Note: To protect the gnome from the elements, Debi suggests hanging it between the storm door and front door if you have one. If you don’t have two doors but do have an overhang or roof over the entry, you will be fine as well. Otherwise, he is cute hanging in the foyer just inside the front door.

