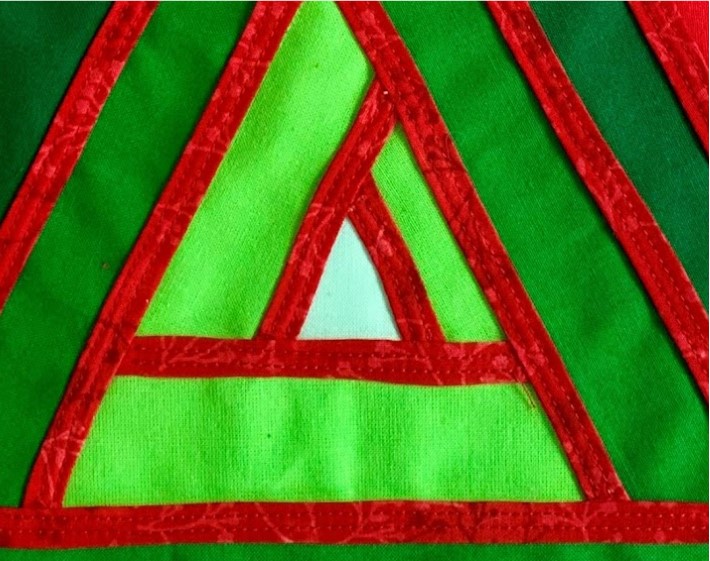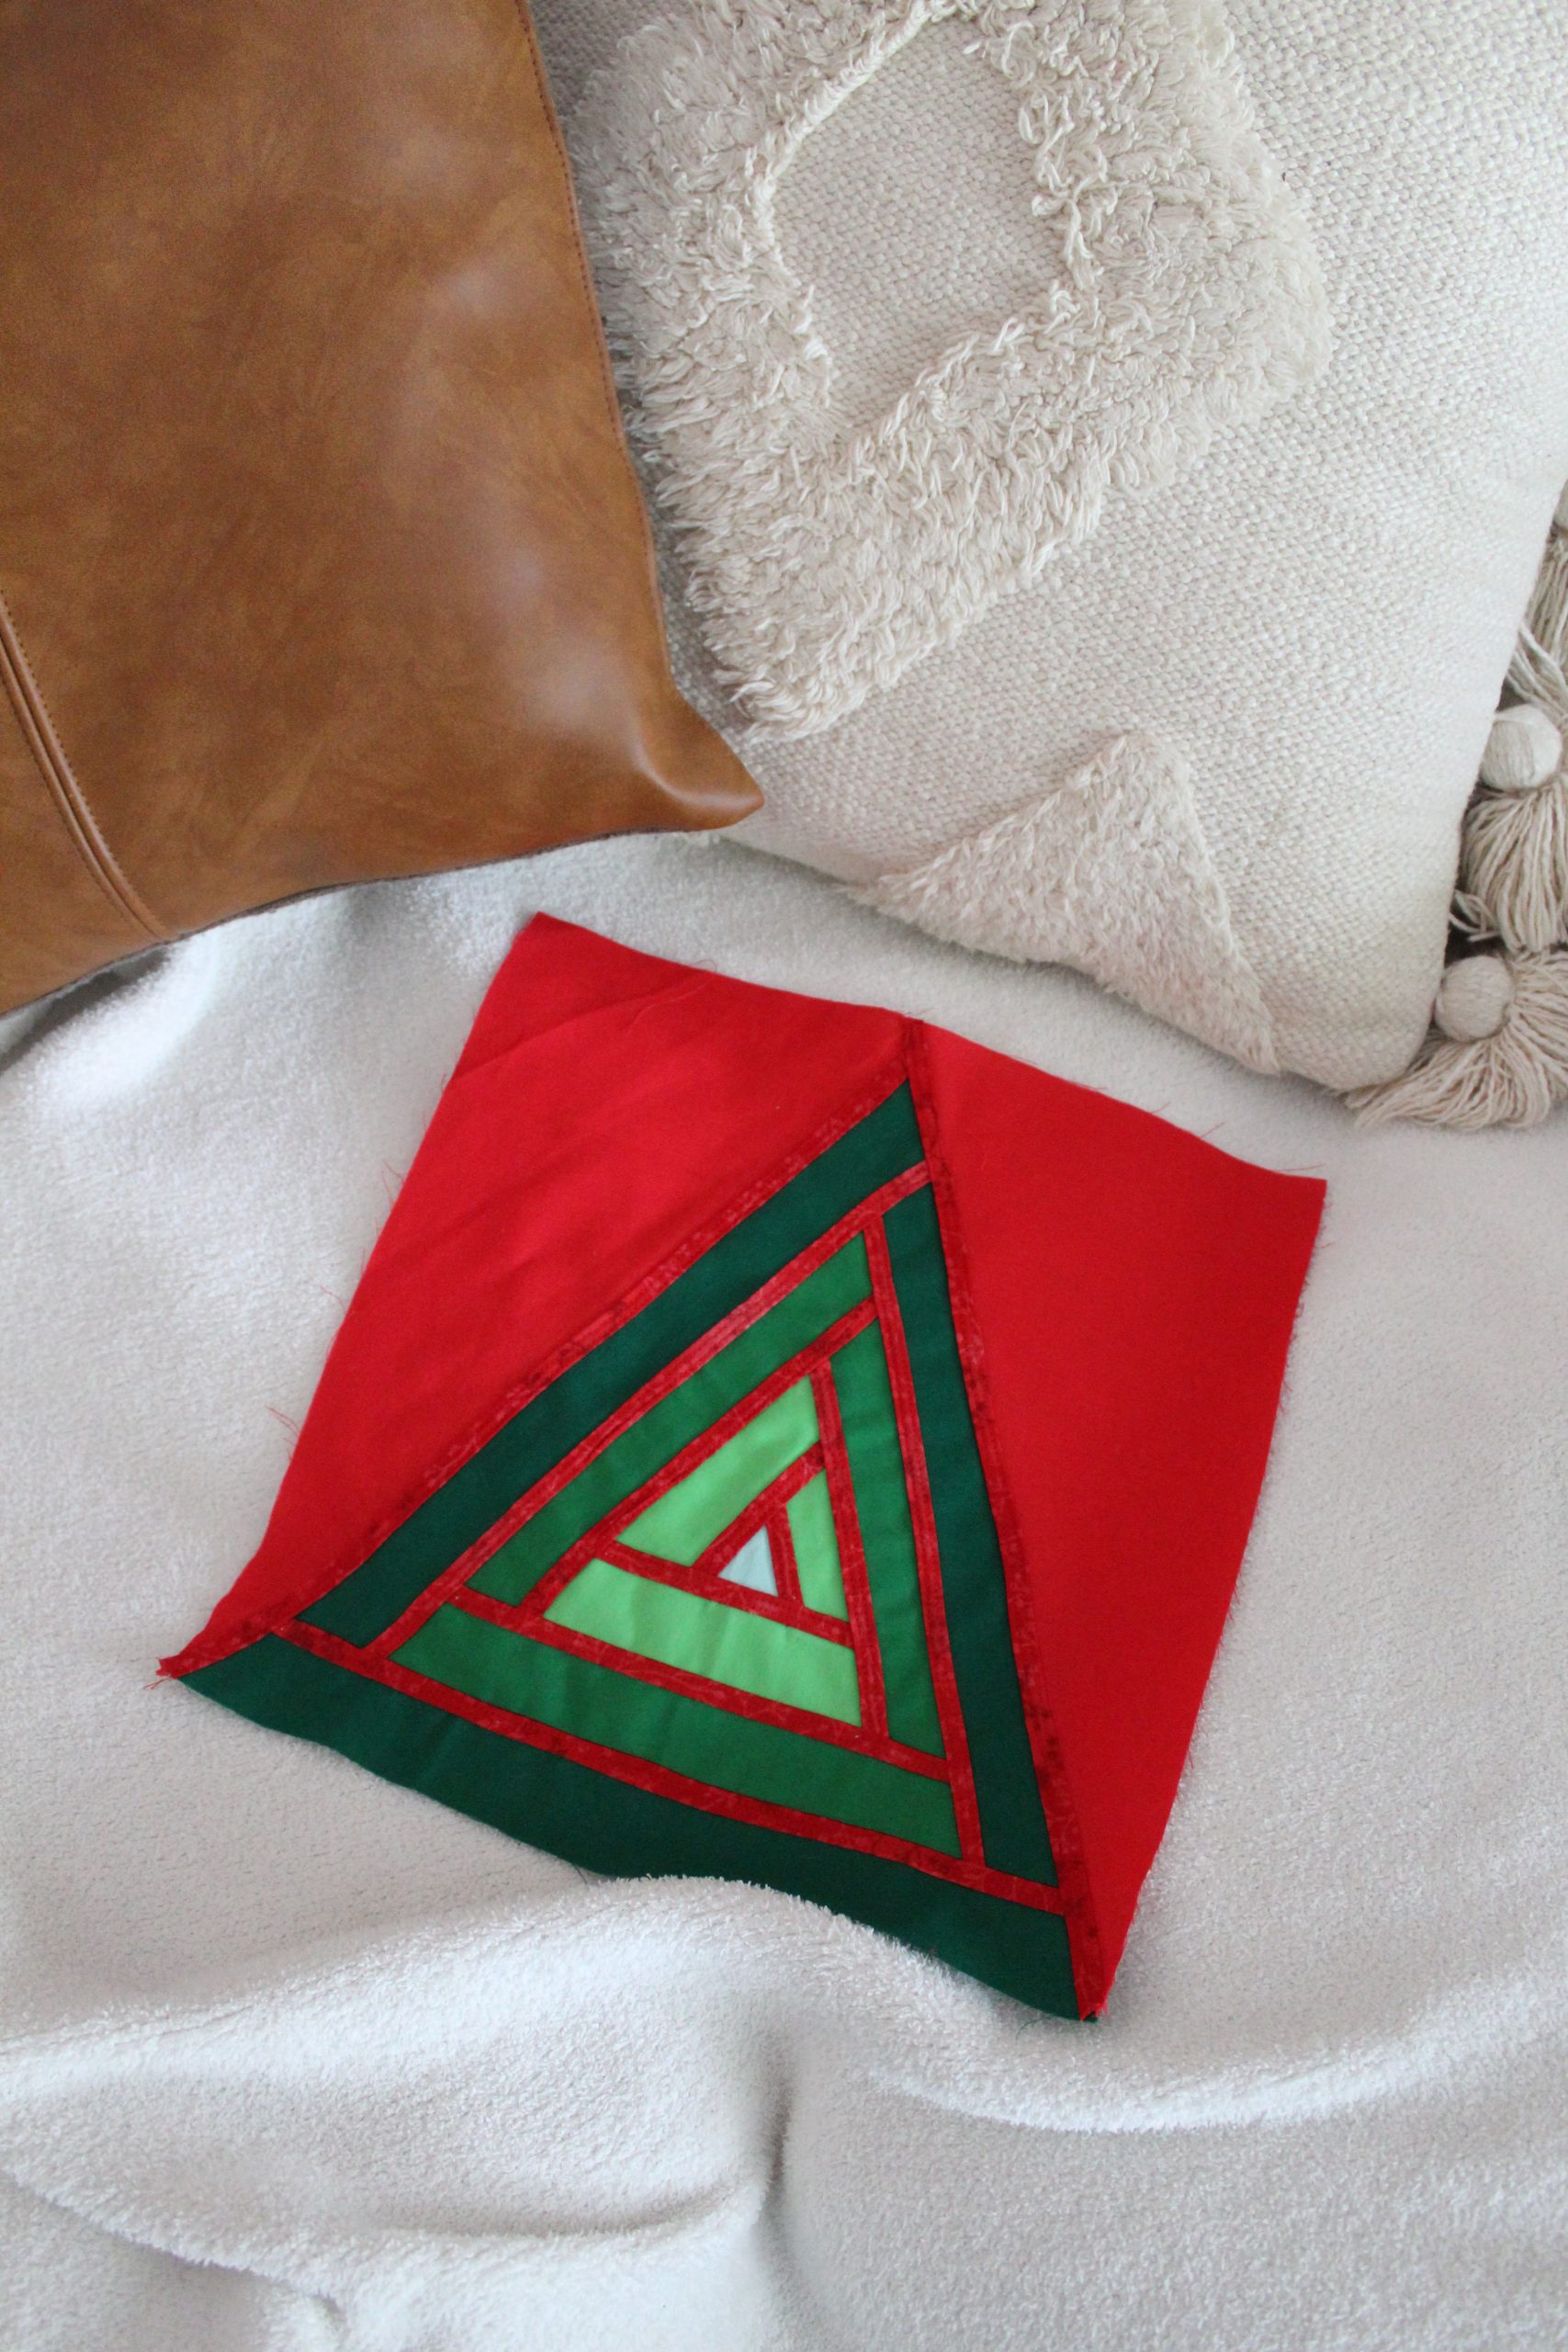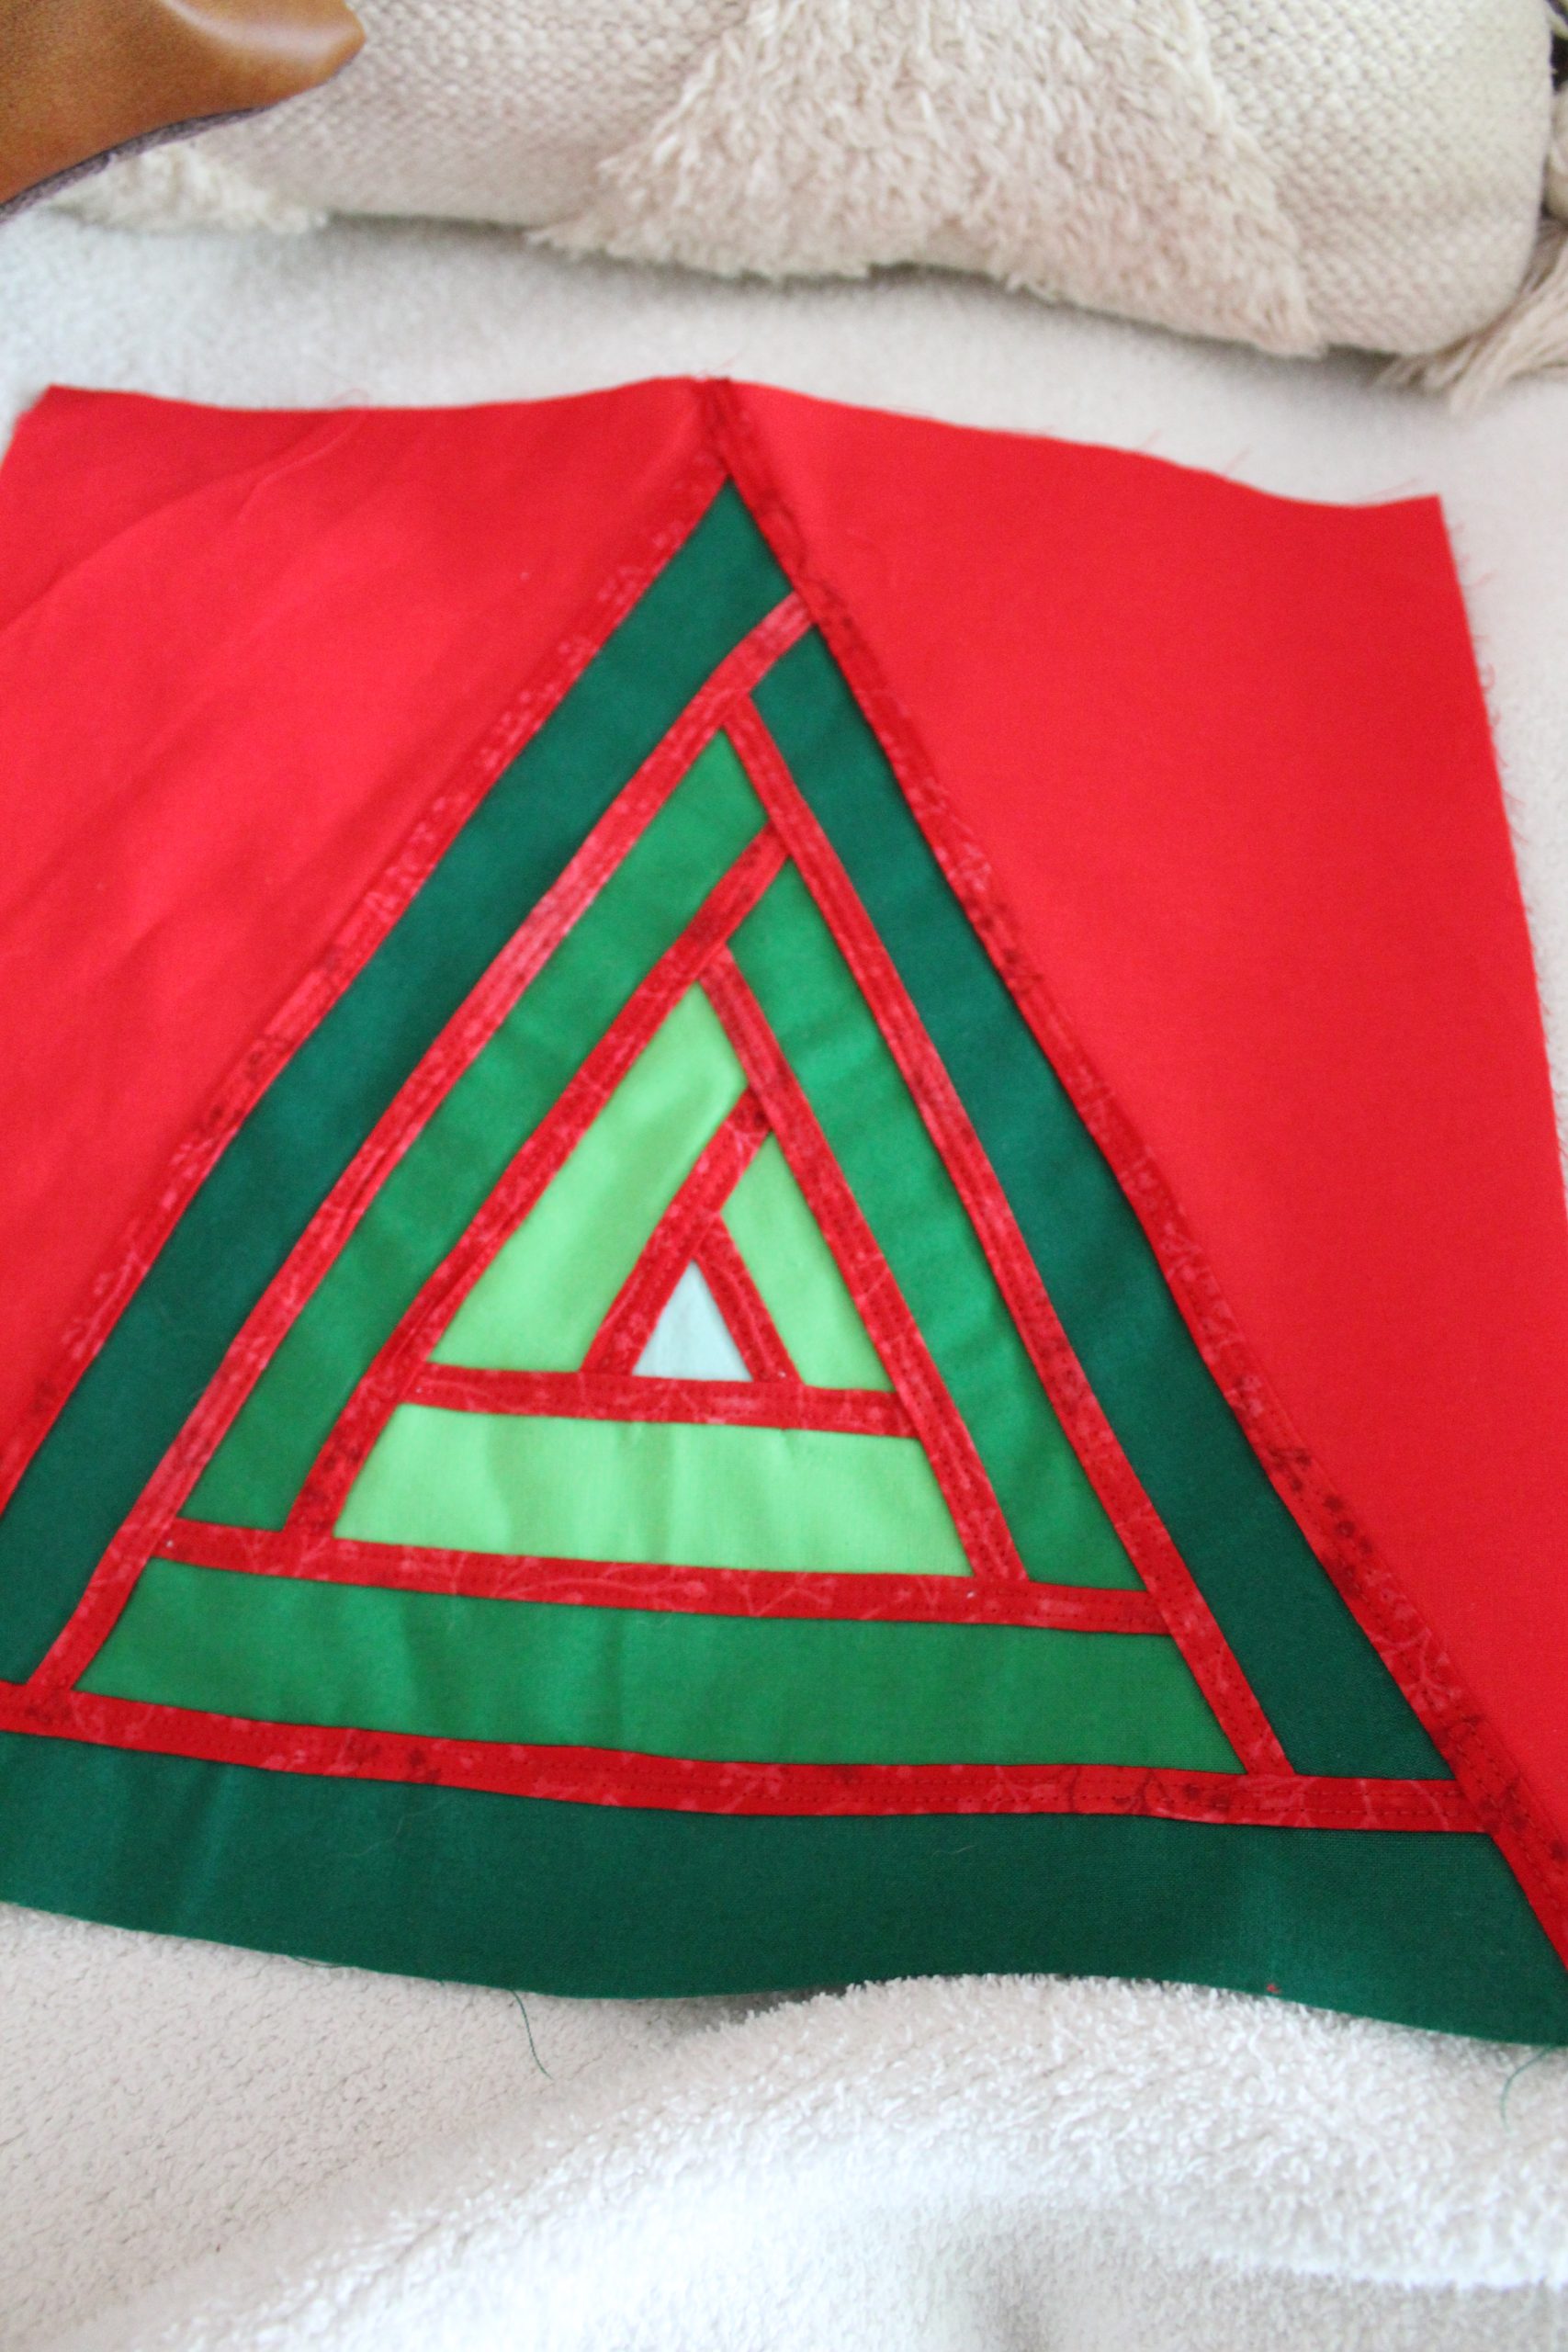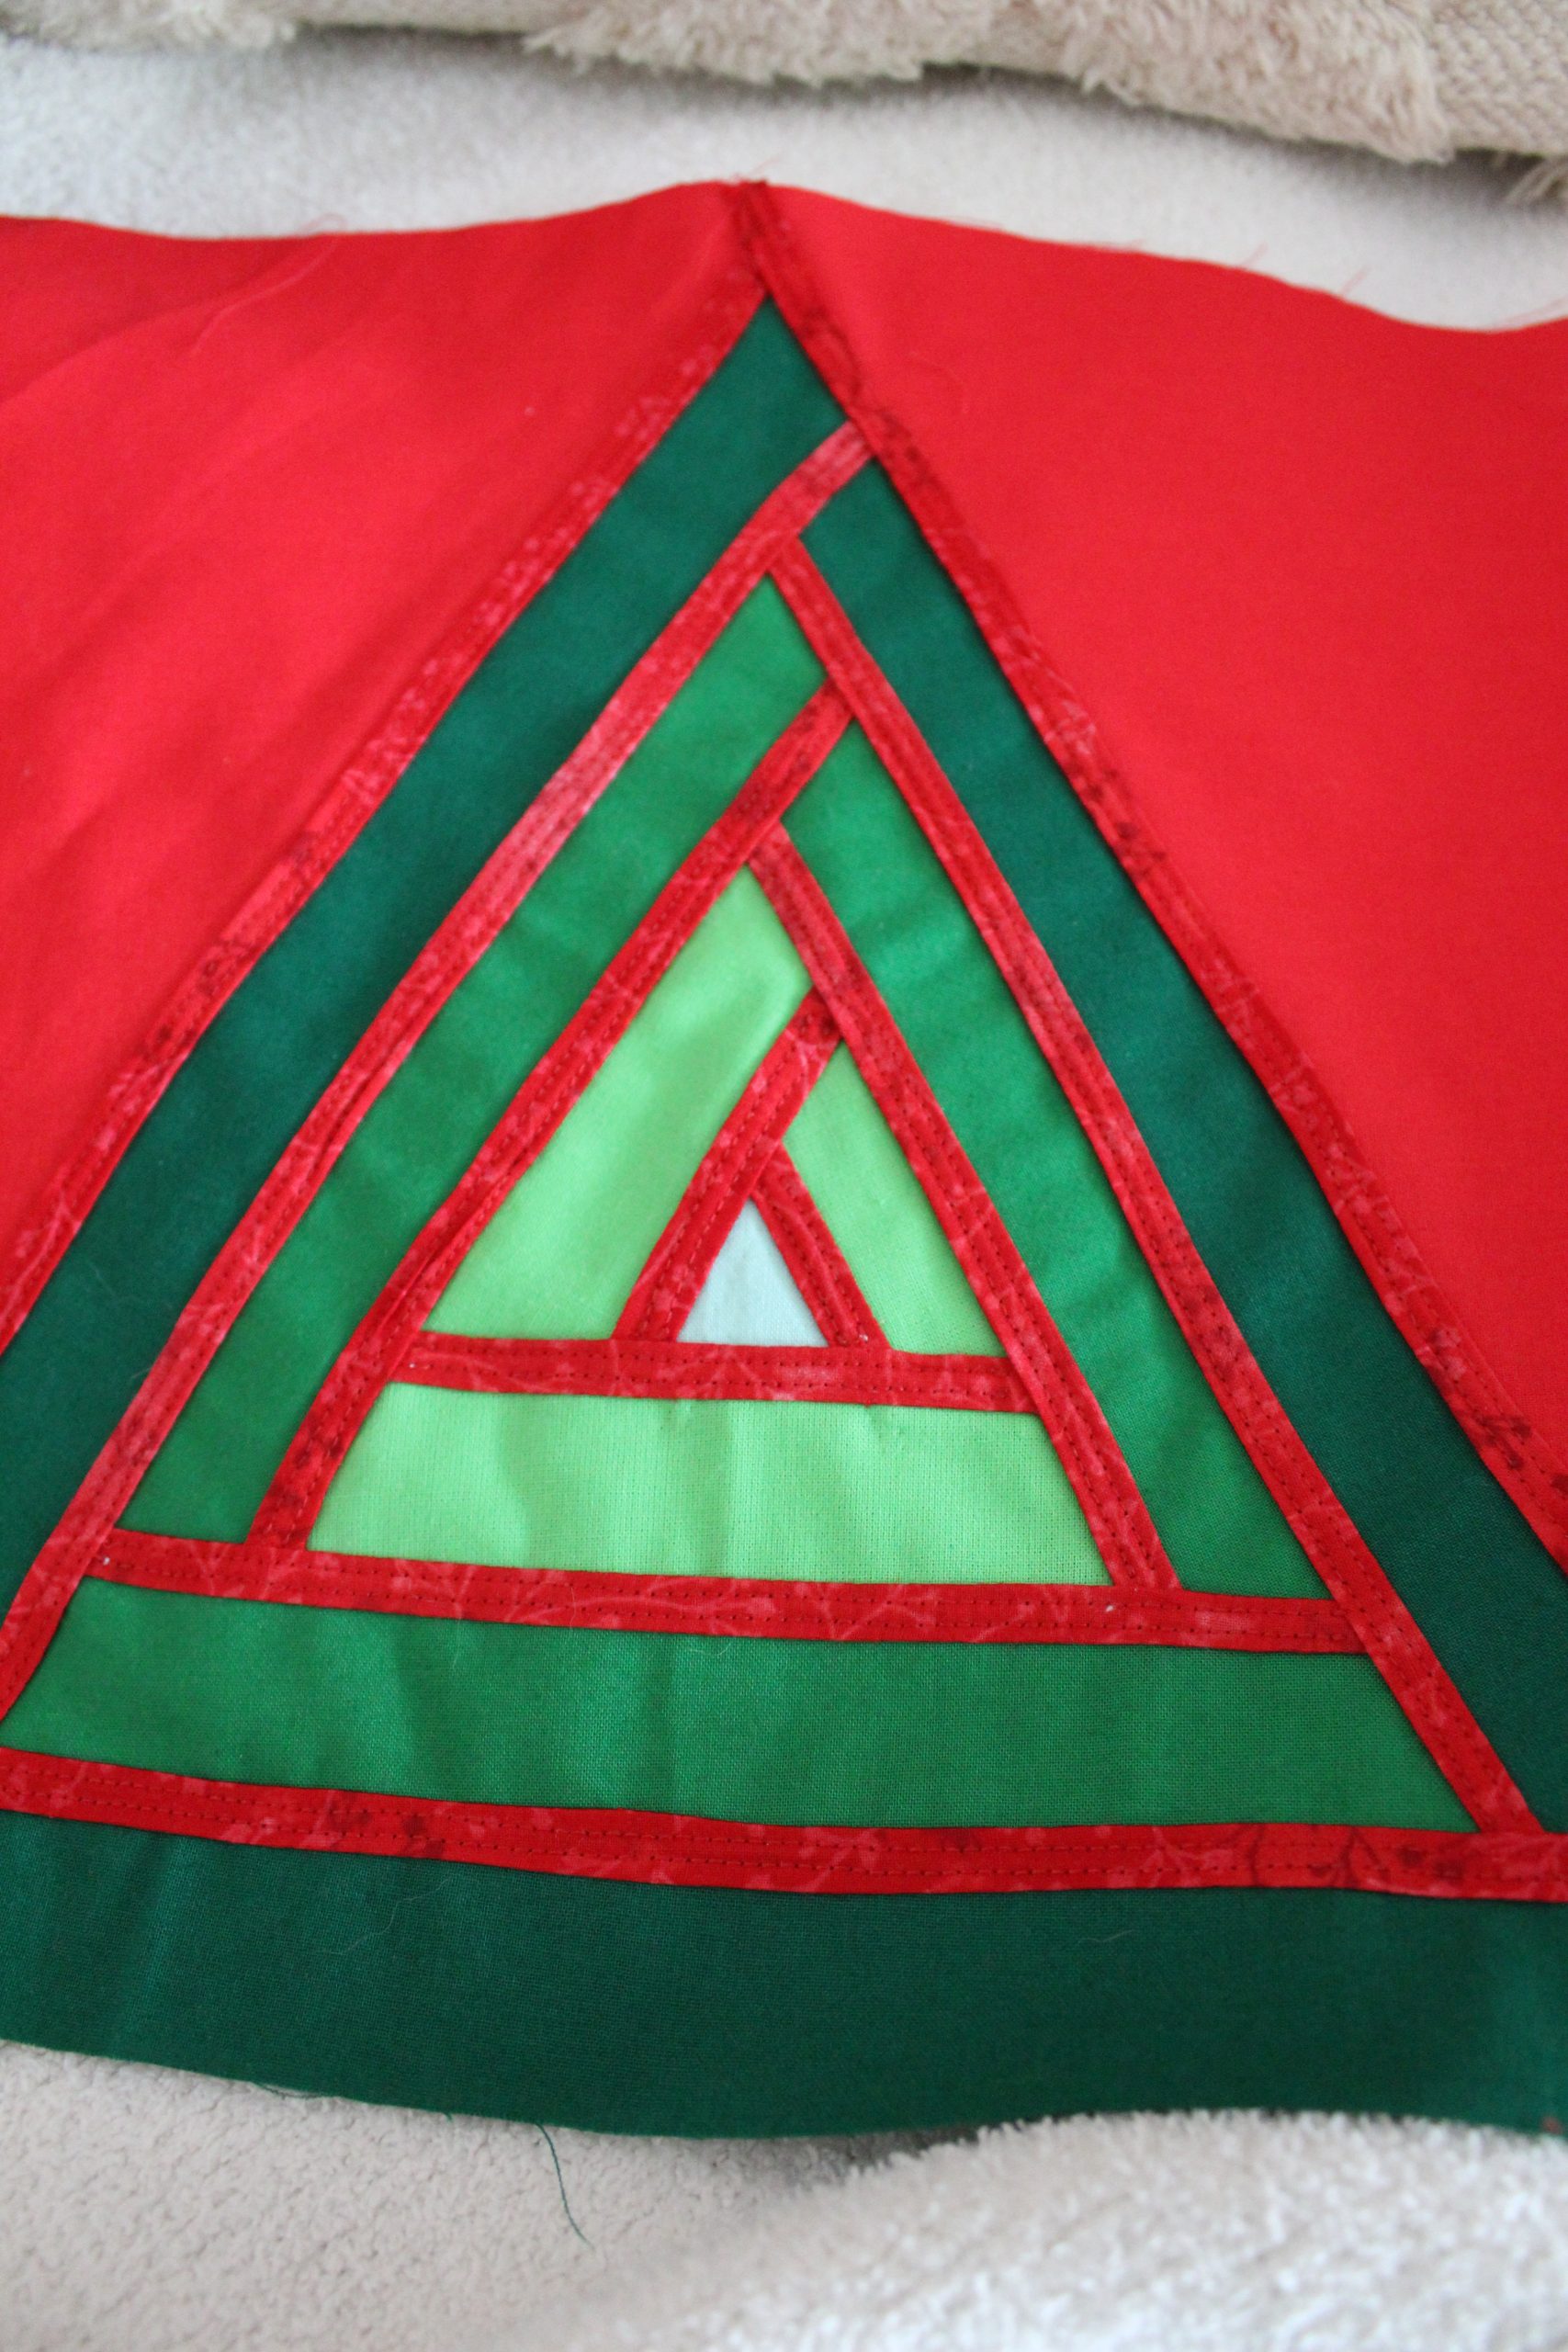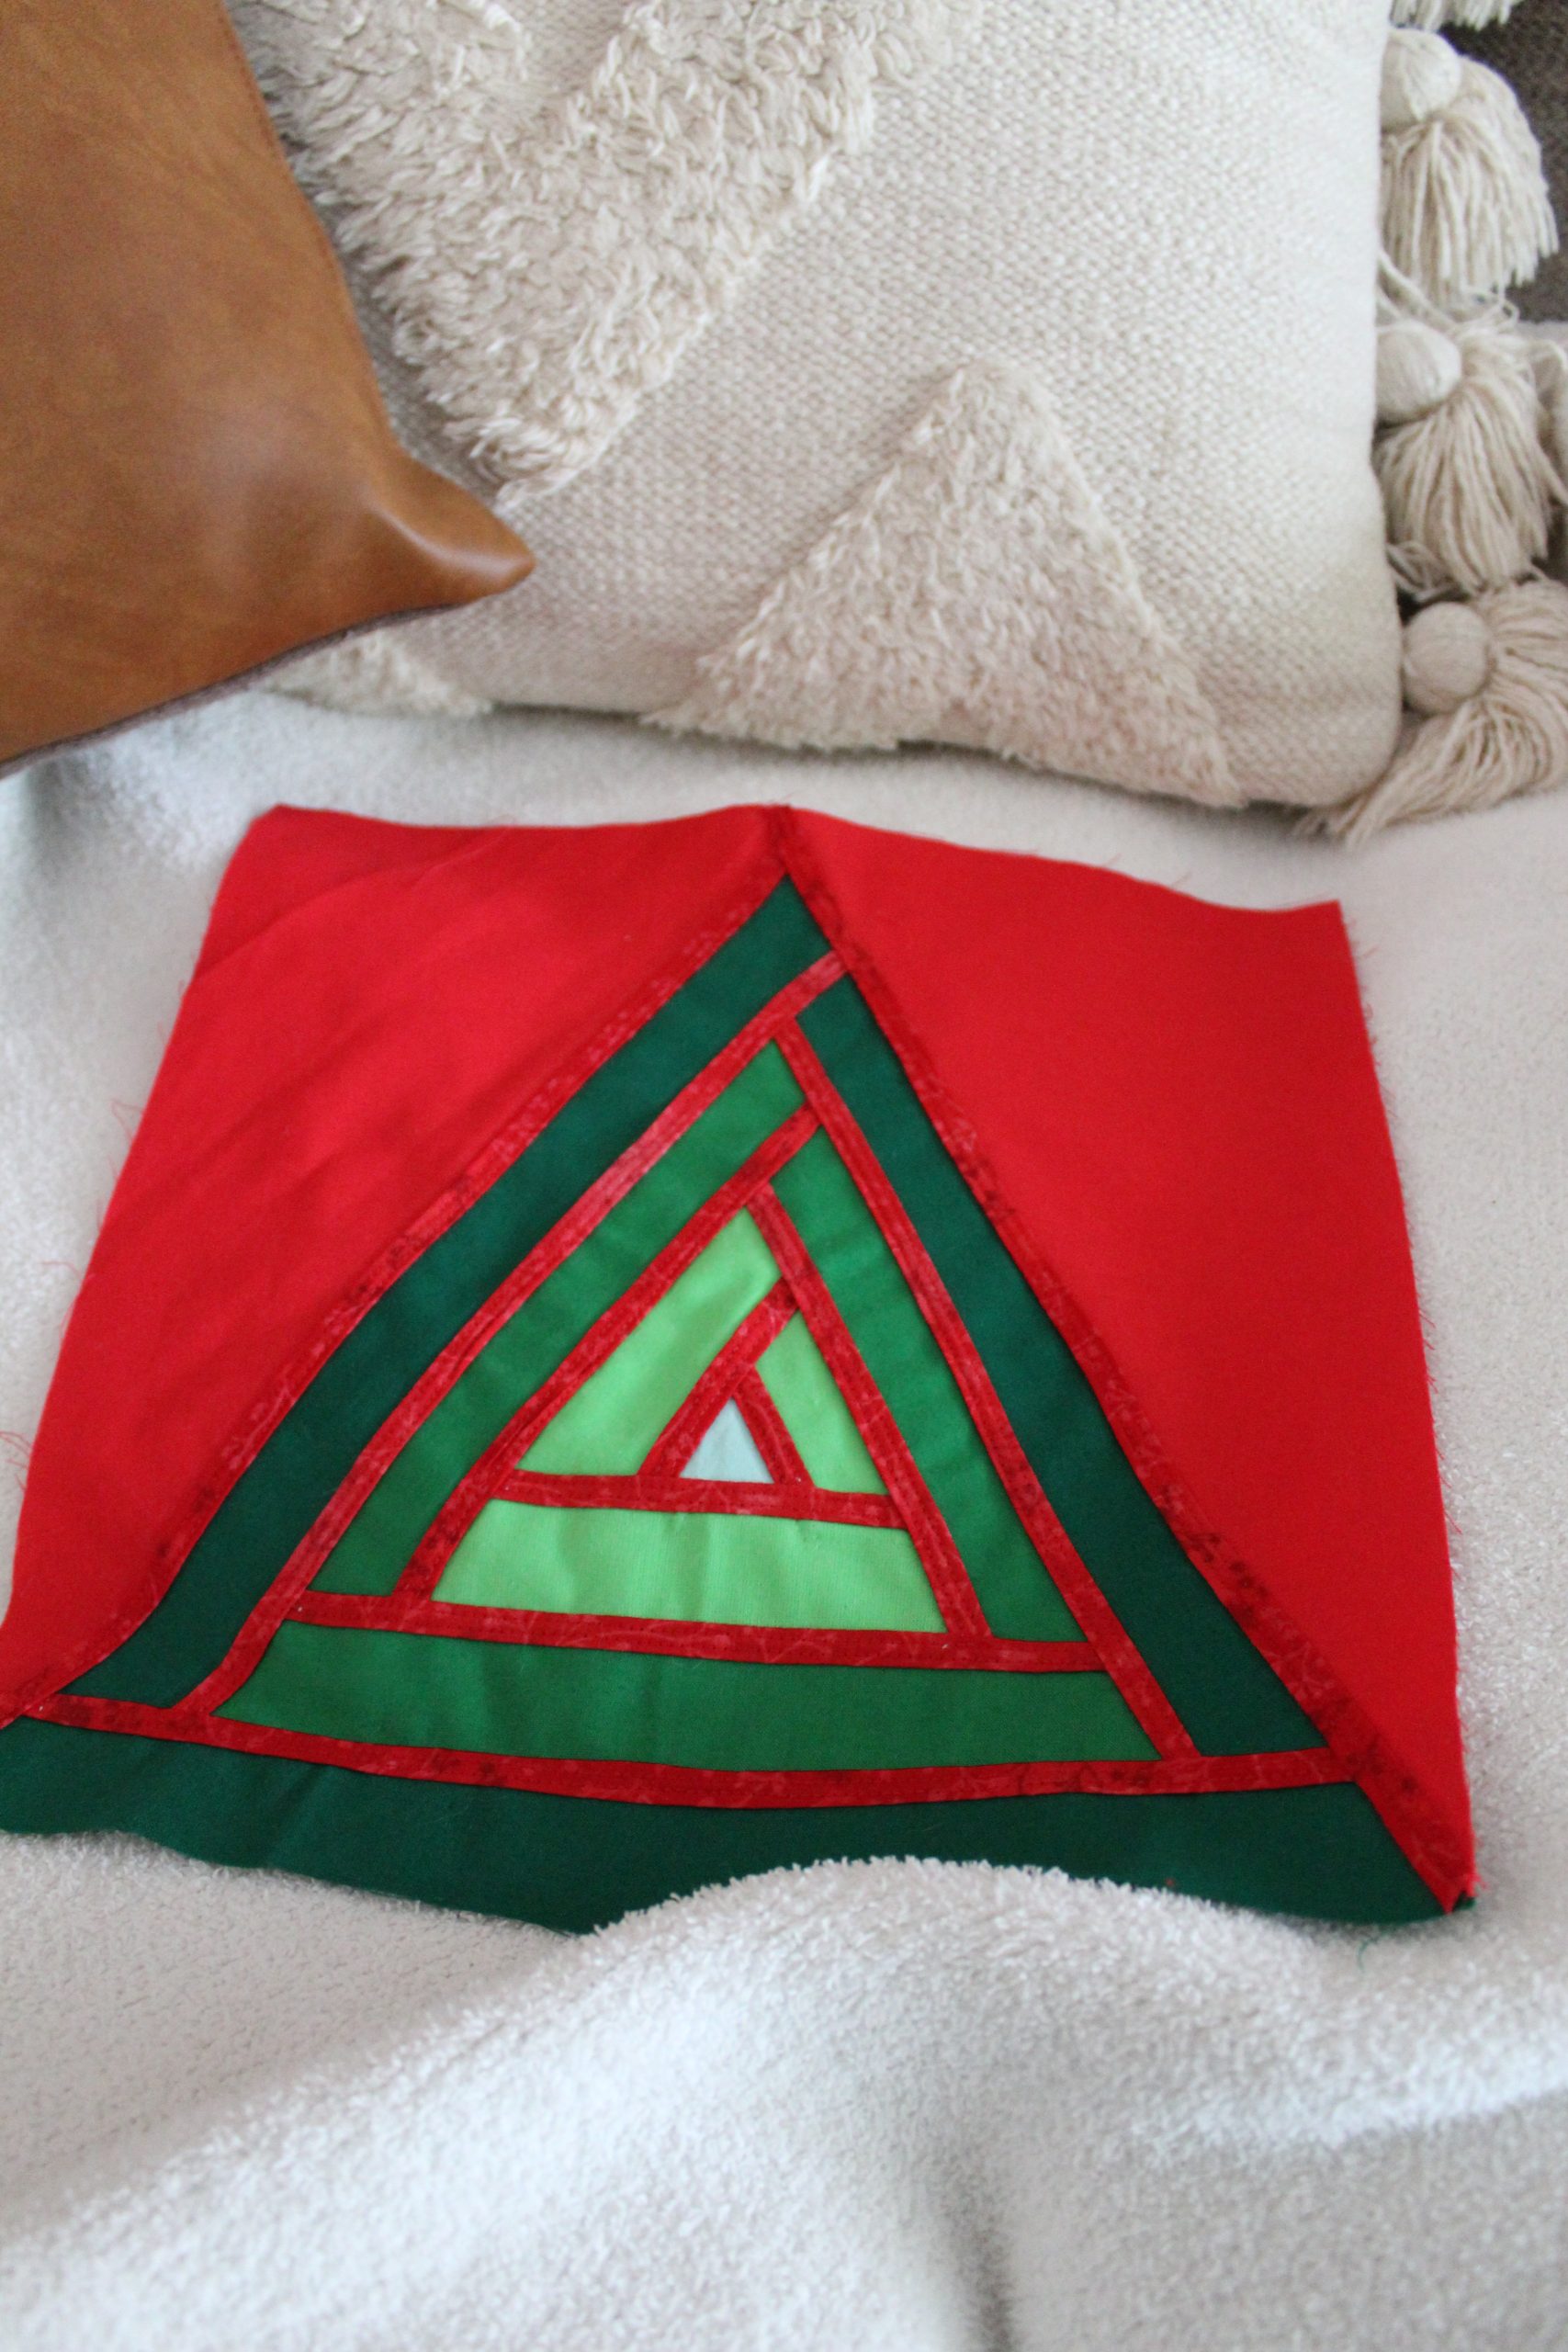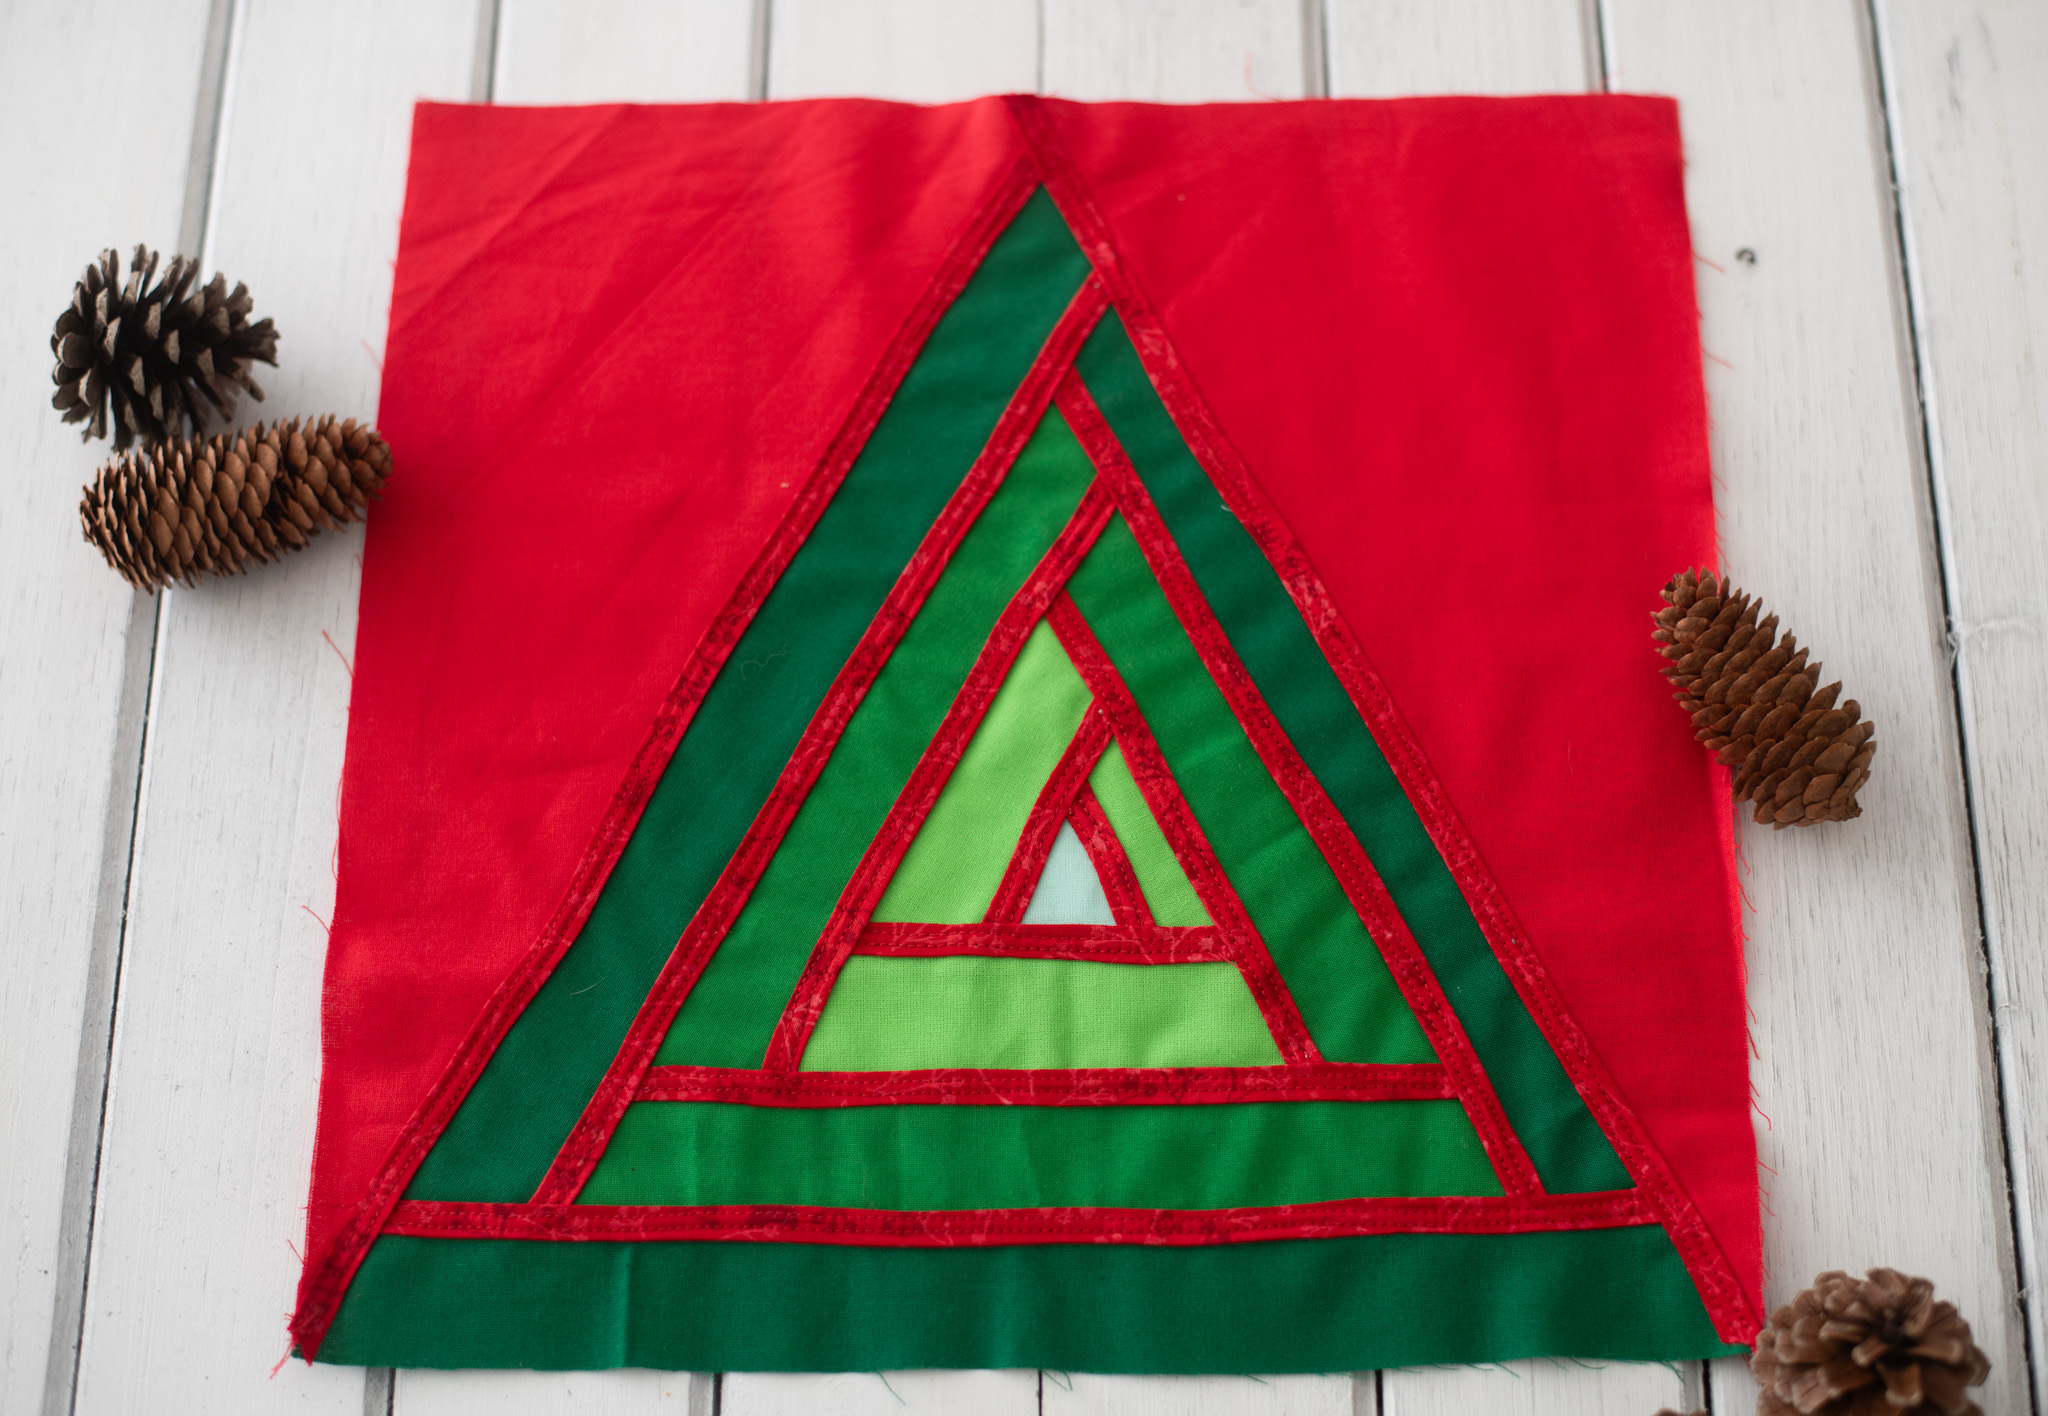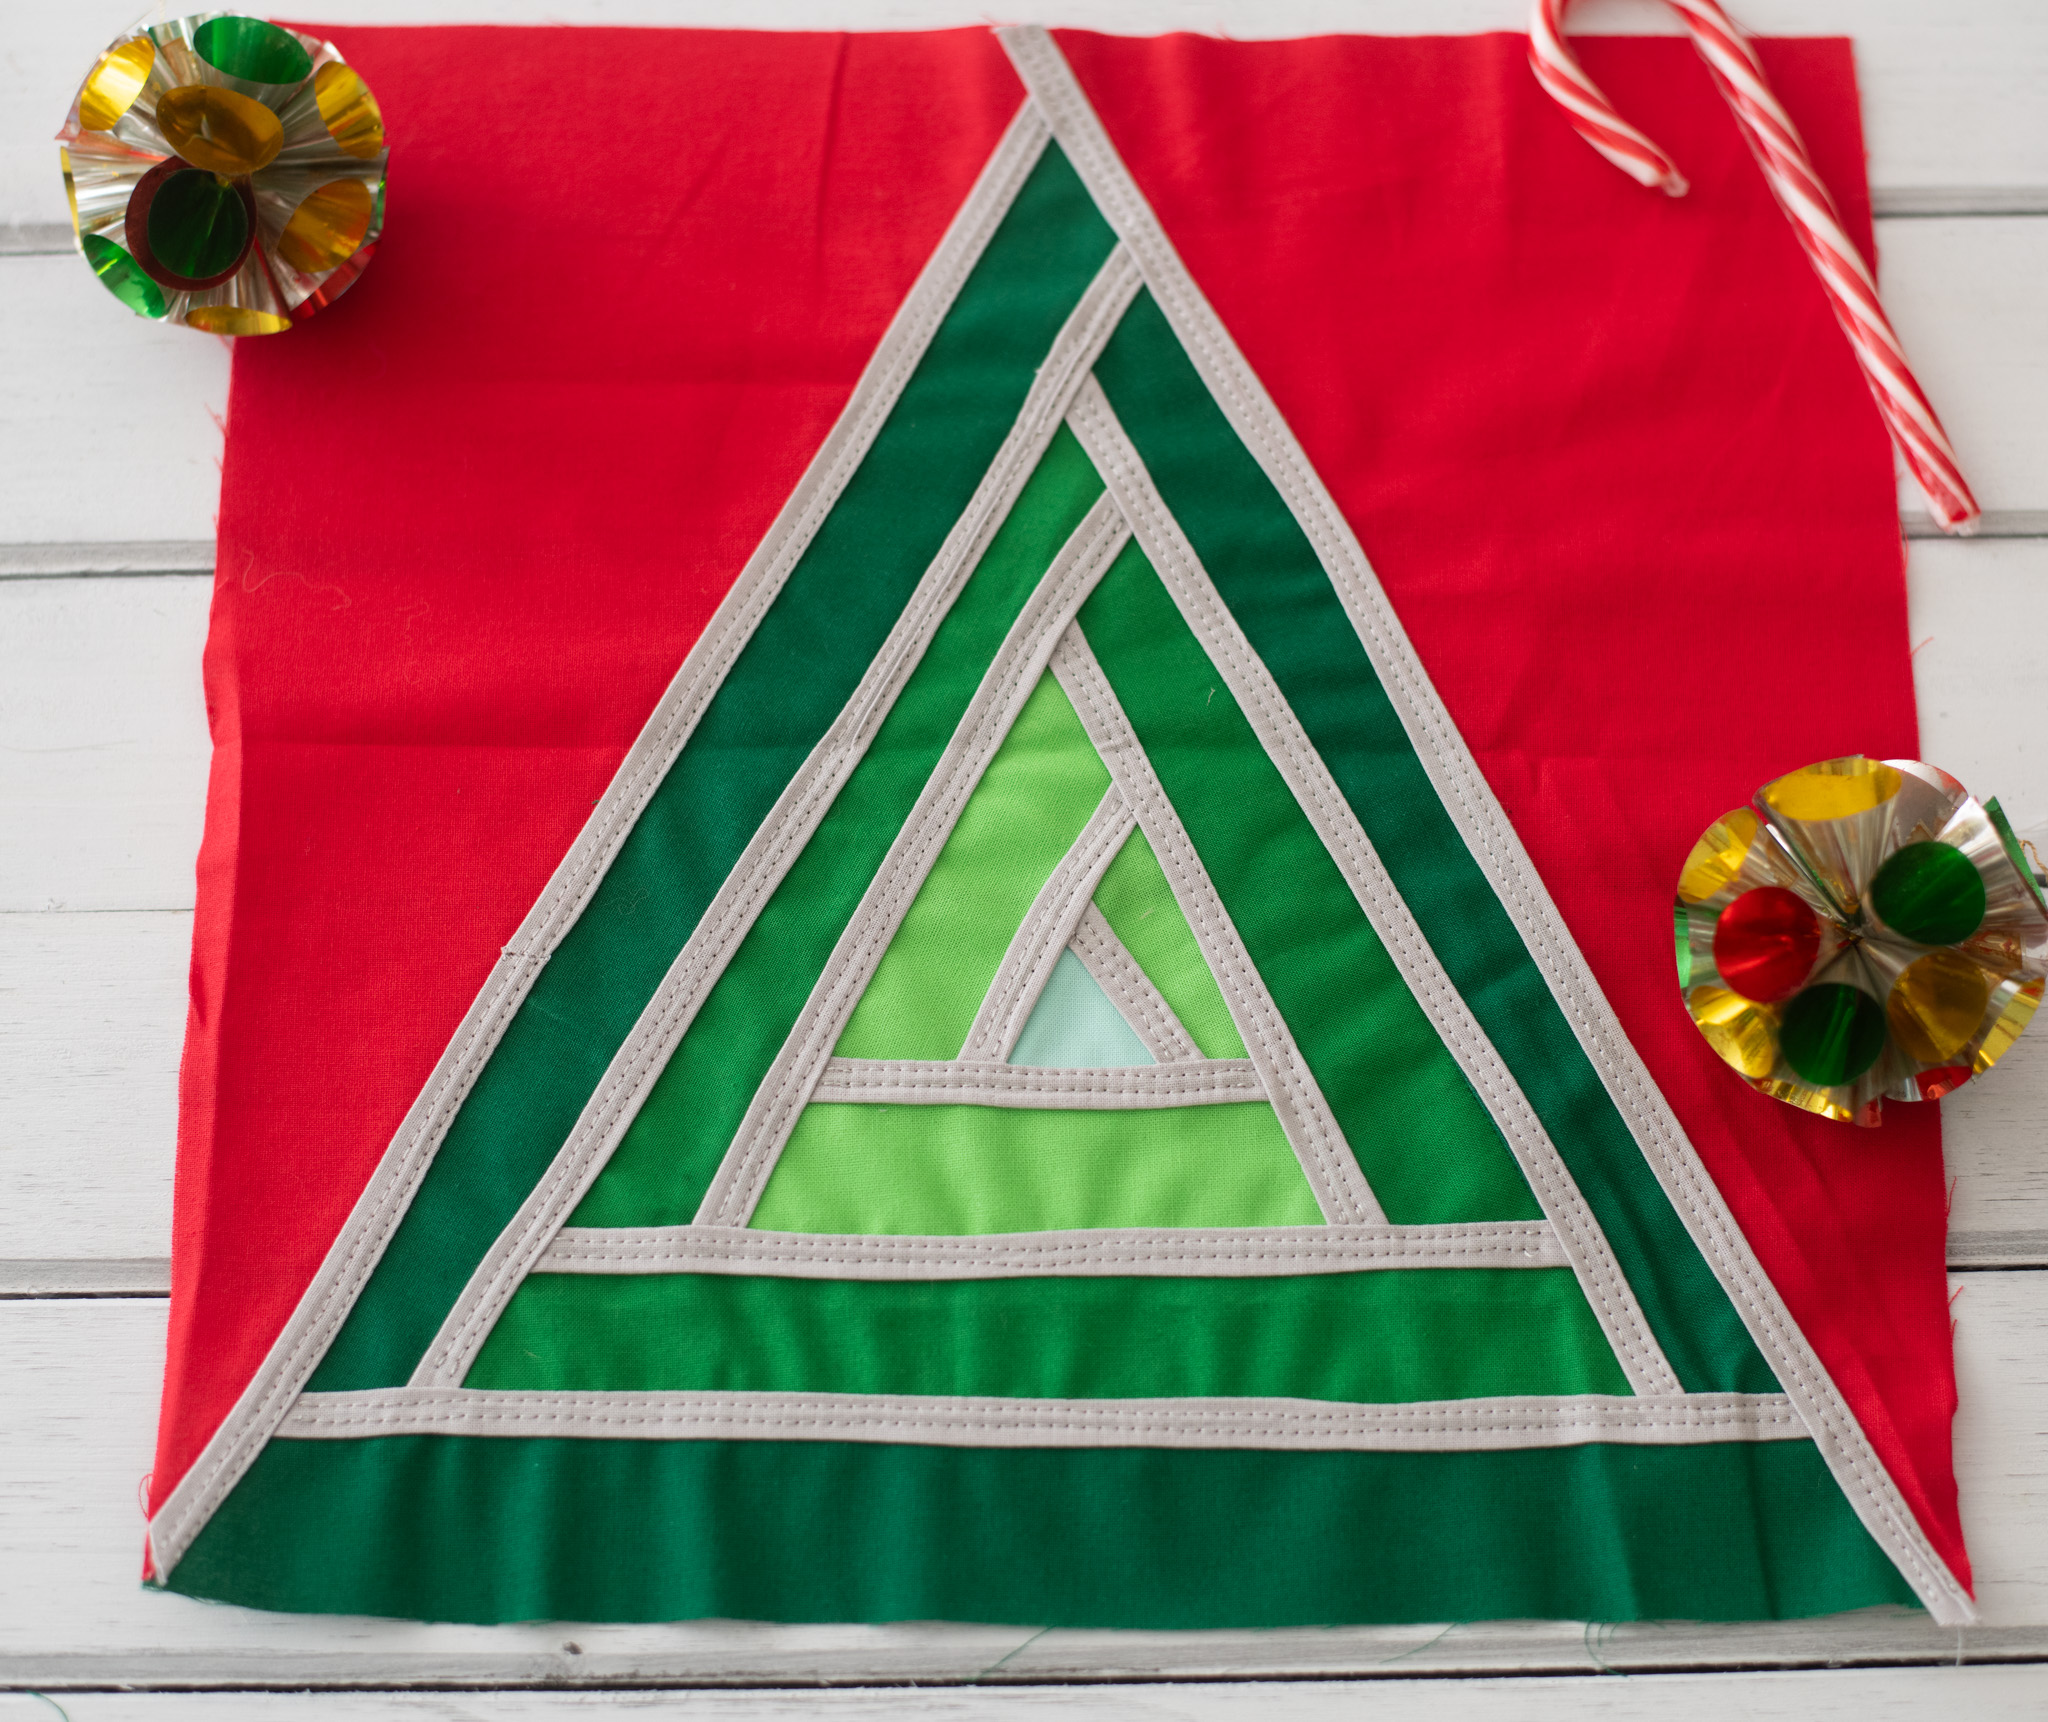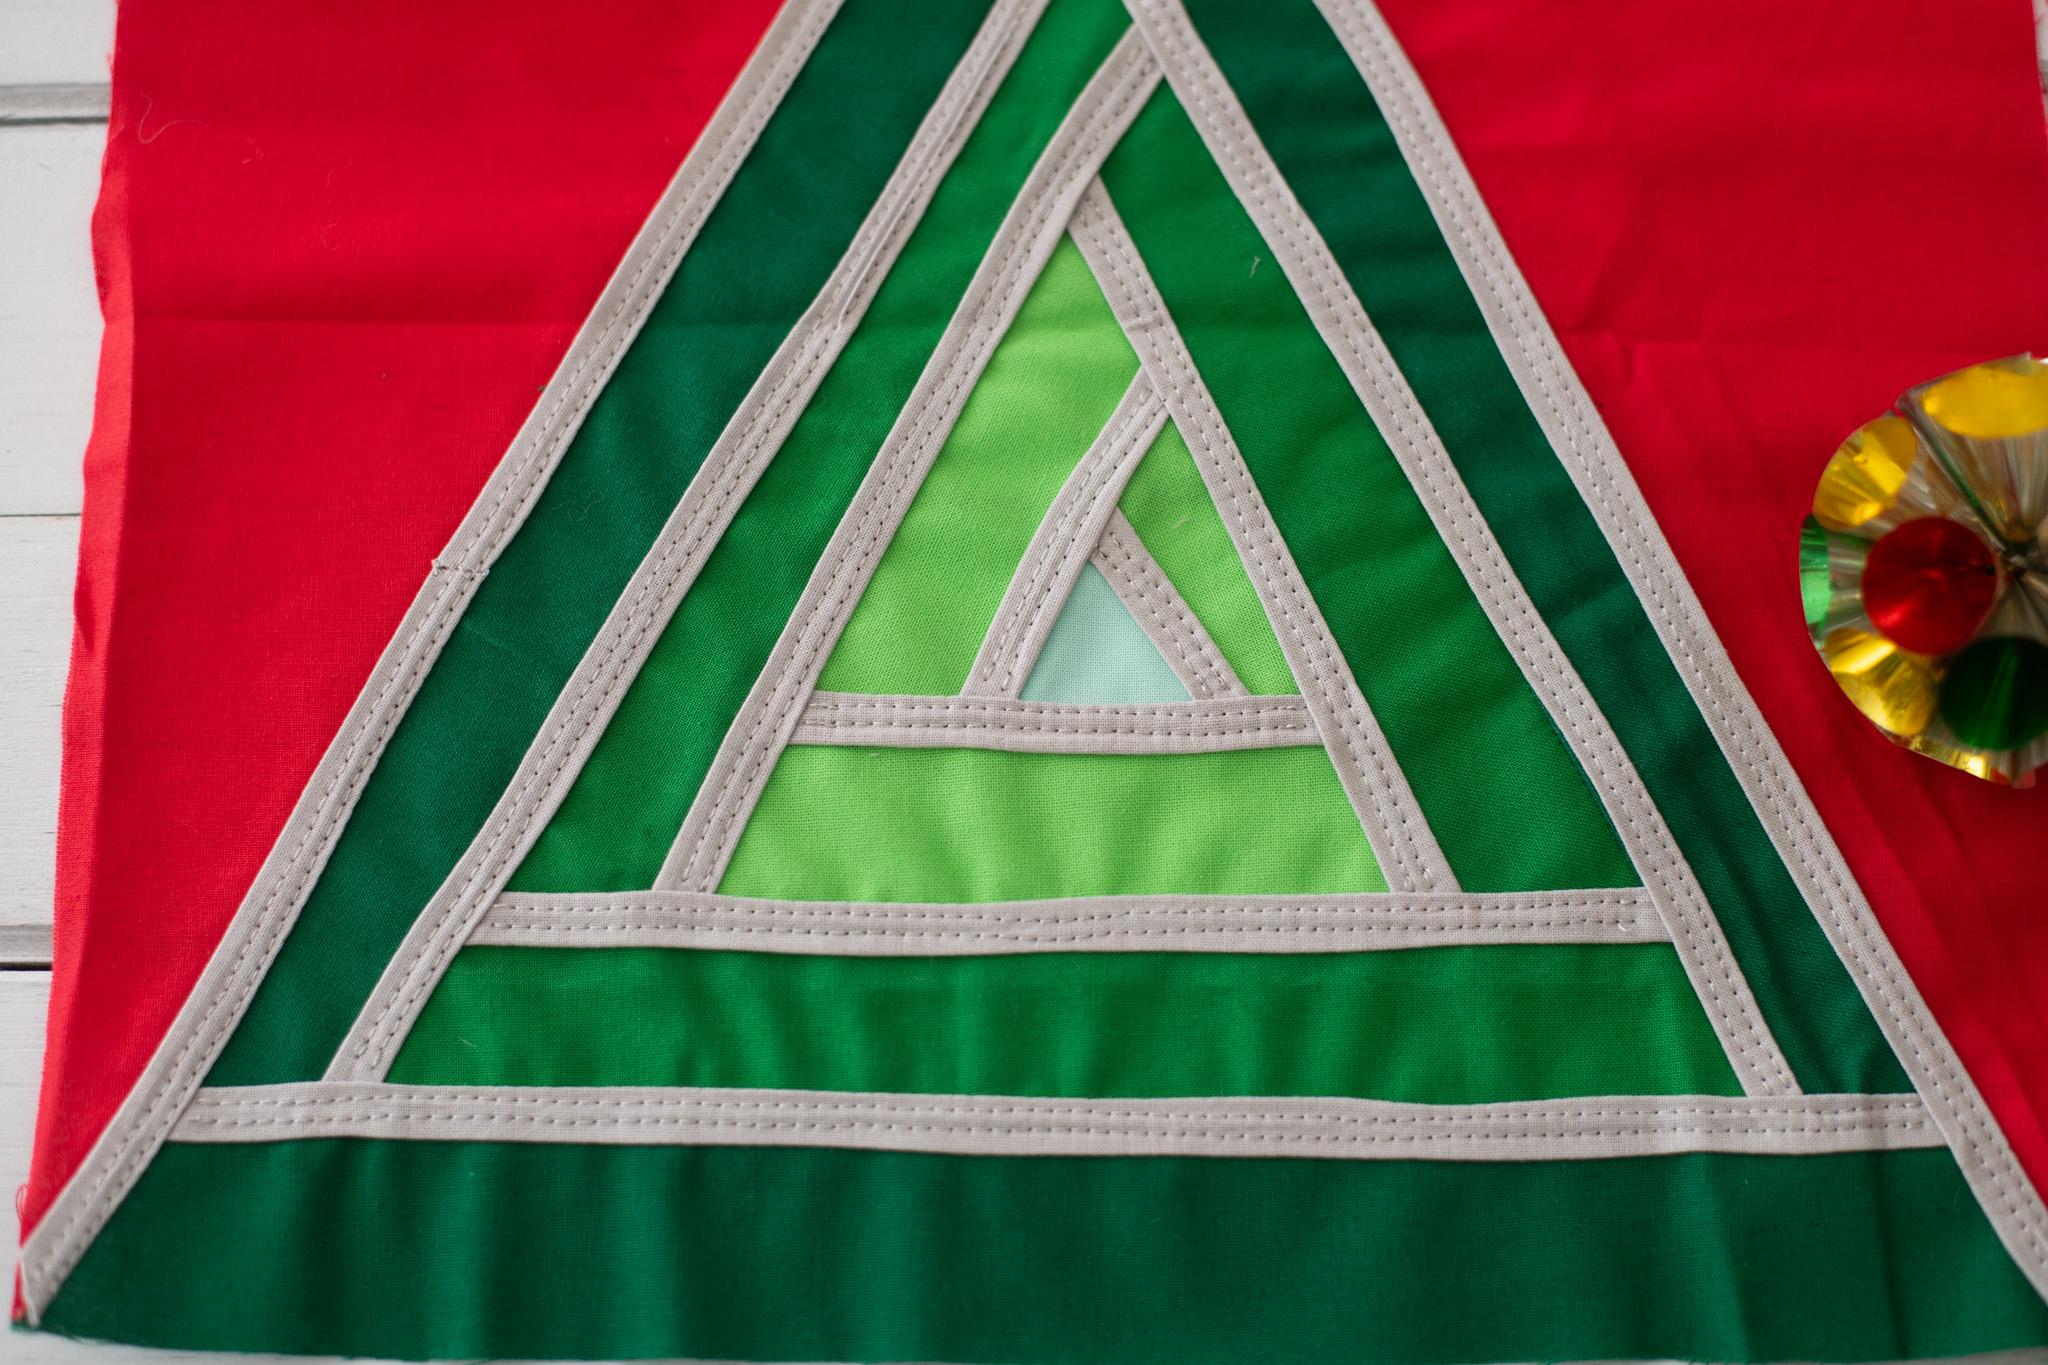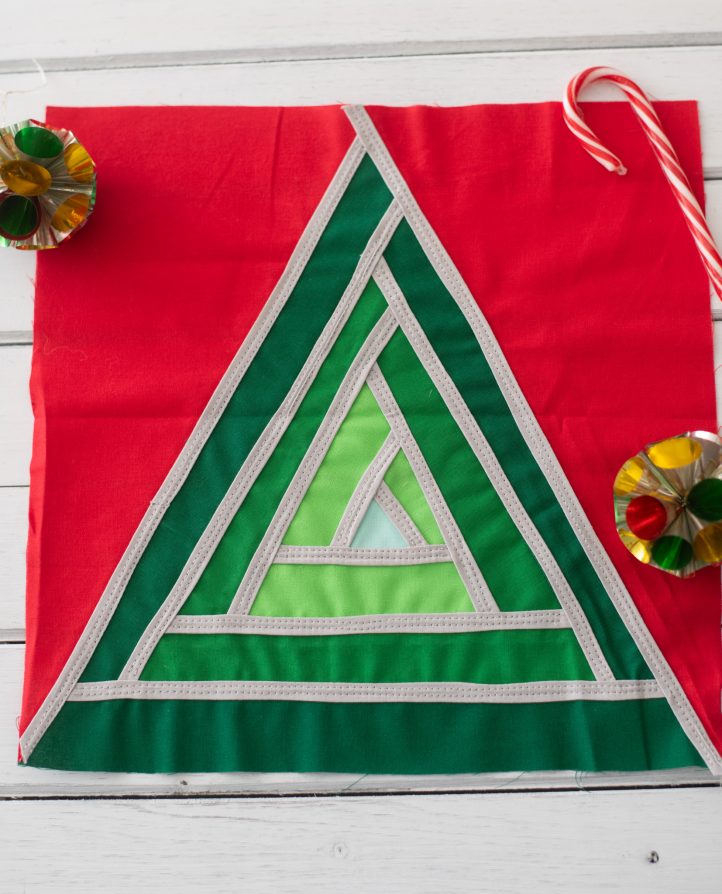
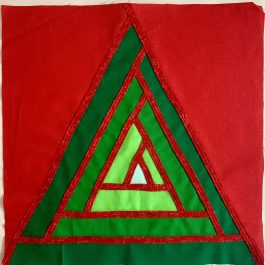
Love the look of modern quilting? Update your holiday décor with a beautiful, stylish throw pillow or wall hanging using this new block pattern from Zoe Ballard. Designed using fat quarters and fat eighths, this Christmas quilt block pattern uses strips of fabric to create an ombre Christmas tree that is accented with cherry red bias tape. Start your holiday quilting now with this festive modern quilt block.

Skill Level: Confident beginner
Unfinished Size: ~12 1/2” x 12 1/2”
Seam Allowances: 1/4” seam used throughout.
Designer Note:
- WOF – Width of Fabric
Materials:
- Fabric:
- Red A – Fat quarter
- Red B – Fat quarter
- Green A – Fat eighth
- Green B – Fat eighth
- Green C – Fat eighth
- Green D – Fat eighth
- 6mm (1/4 inch) fusible bias tape maker
- 5mm (3/16 inch) fusible bias tape webbing
- 4mm twin needle
- PDF Diagram/Template – These are located at the bottom of this page. Please see printing instructions below.
PRINTING INSTRUCTIONS:
Note: To download the diagram/template, click on the pattern download button at the bottom of the page. We recommend opening your pattern download using Adobe Acrobat.
Cutting Instructions:
Note: Below are cutting instructions for one block.
Red A:
- Three 5/8” x WOF strips (This can be cut on the bias)
Red B:
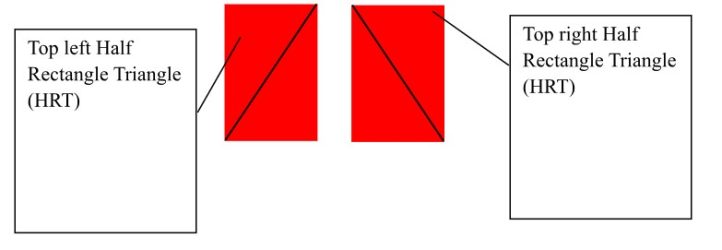
- Two 13 3/4” x 7” rectangles cut on opposite diagonals (Tip: If you are using a solid fabric with no wrong side, then cut one rectangle and flip the patch to get the correct orientation).
Green A:
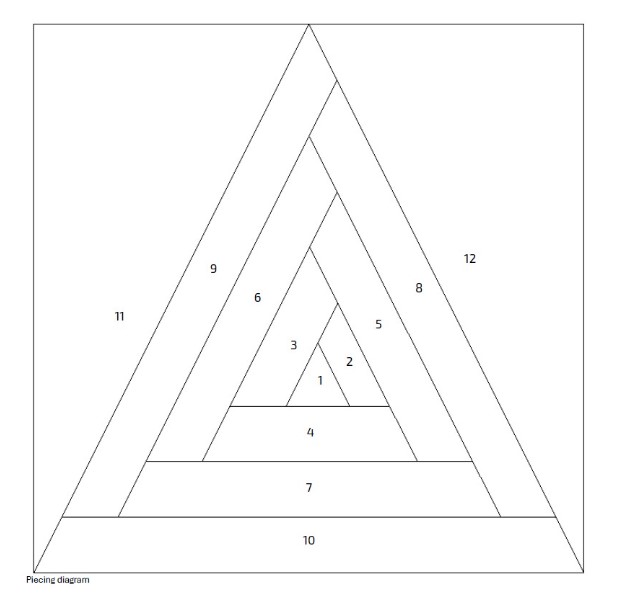
- One patch using PDF Template 1 (center 1)
Green B:
- One 3 5/8” x 1 1/4” (2)
- One 5” x 1 5/8” (3)
- One 5 3/4” x 1 3/4” (4)
Green C:
- One 7 3/4” x 1 5/8” (5)
- One 9 1/8” x 1 5/8” (6)
- One 9 3/8” x 1 3/4” (7)
Green D:
- One 11 5/8” x 1 5/8” (8)
- One 13” x 1 5/8” (9)
- One 12 3/4” x 1 3/4” (10)
Sewing Instructions:
CONSTRUCTION:
- Starting with the center patch 1, find the middle of each strip and with right sides together, stitch the strips to the patch in order, trimming and pressing after each strip.
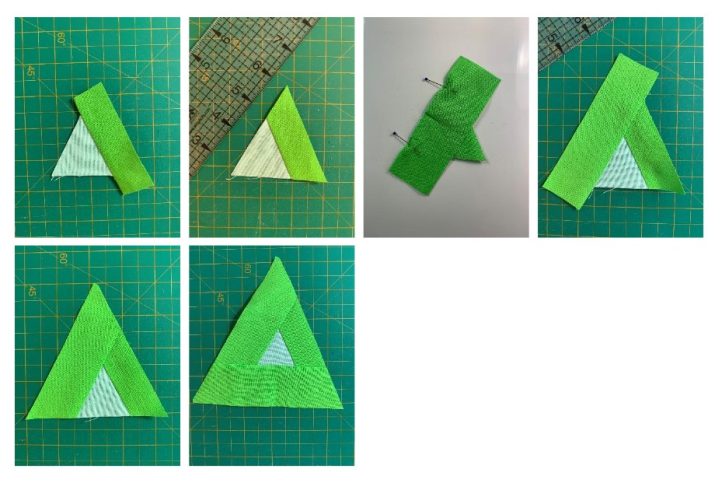
- Continue until all the green strips are stitched together in a triangular patch.
- With right sides together, stitch the top left Red B HRT to the left side of the green triangular patch. Press towards the red B HRT.
- With right sides together, stitch the top right Red B HRT to the right side of the green triangular patch. Press towards the red B HRT.
ADDING THE BIAS TAPE:
- Use the instructions on the fusible bias tape webbing to make at least 80” of bias tape.
- Cover the seams of the block with the bias tape in the same order that the strips were added.
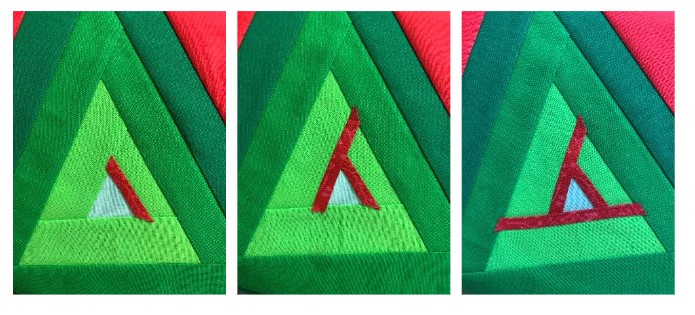
- Using a twin needle, stitch each piece of bias tape in place.
- Attach blocks to your preferred design layout to complete your quilt.
