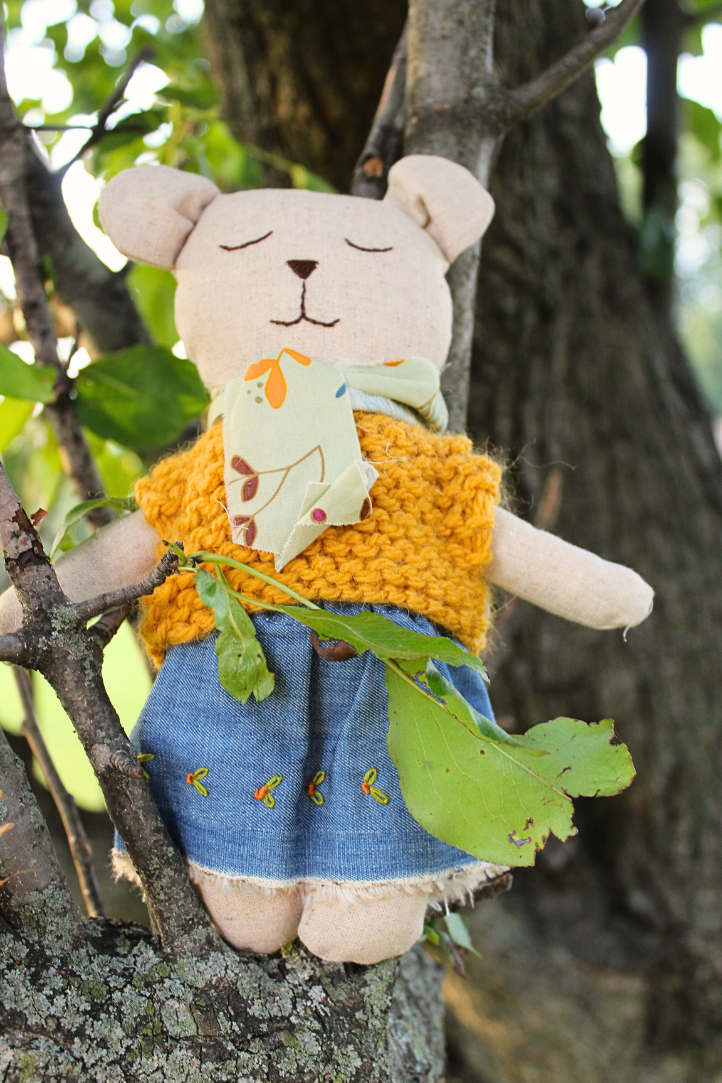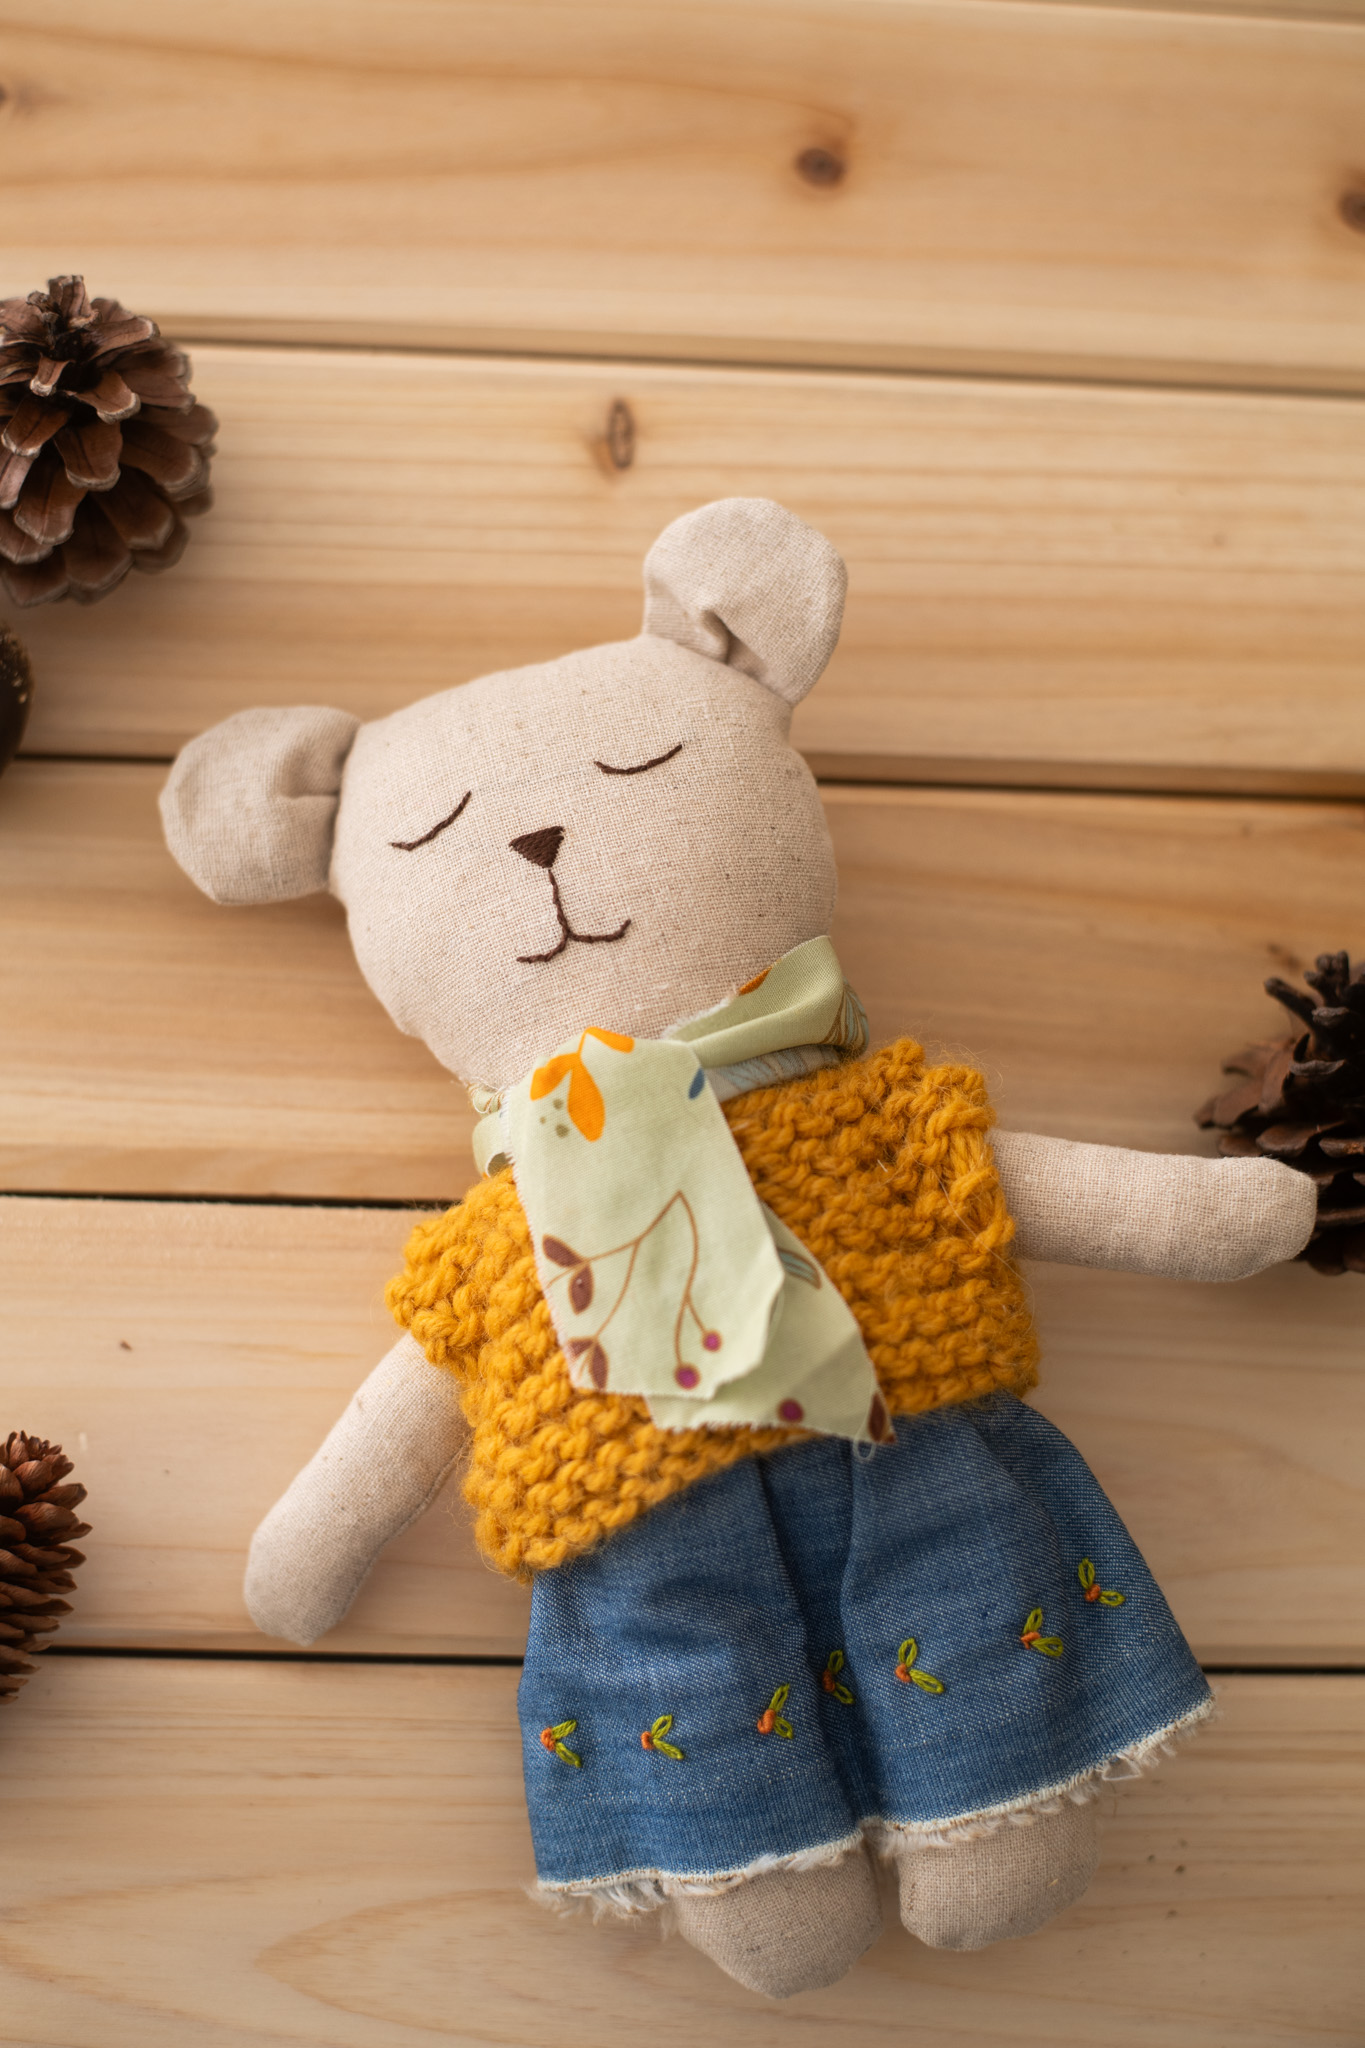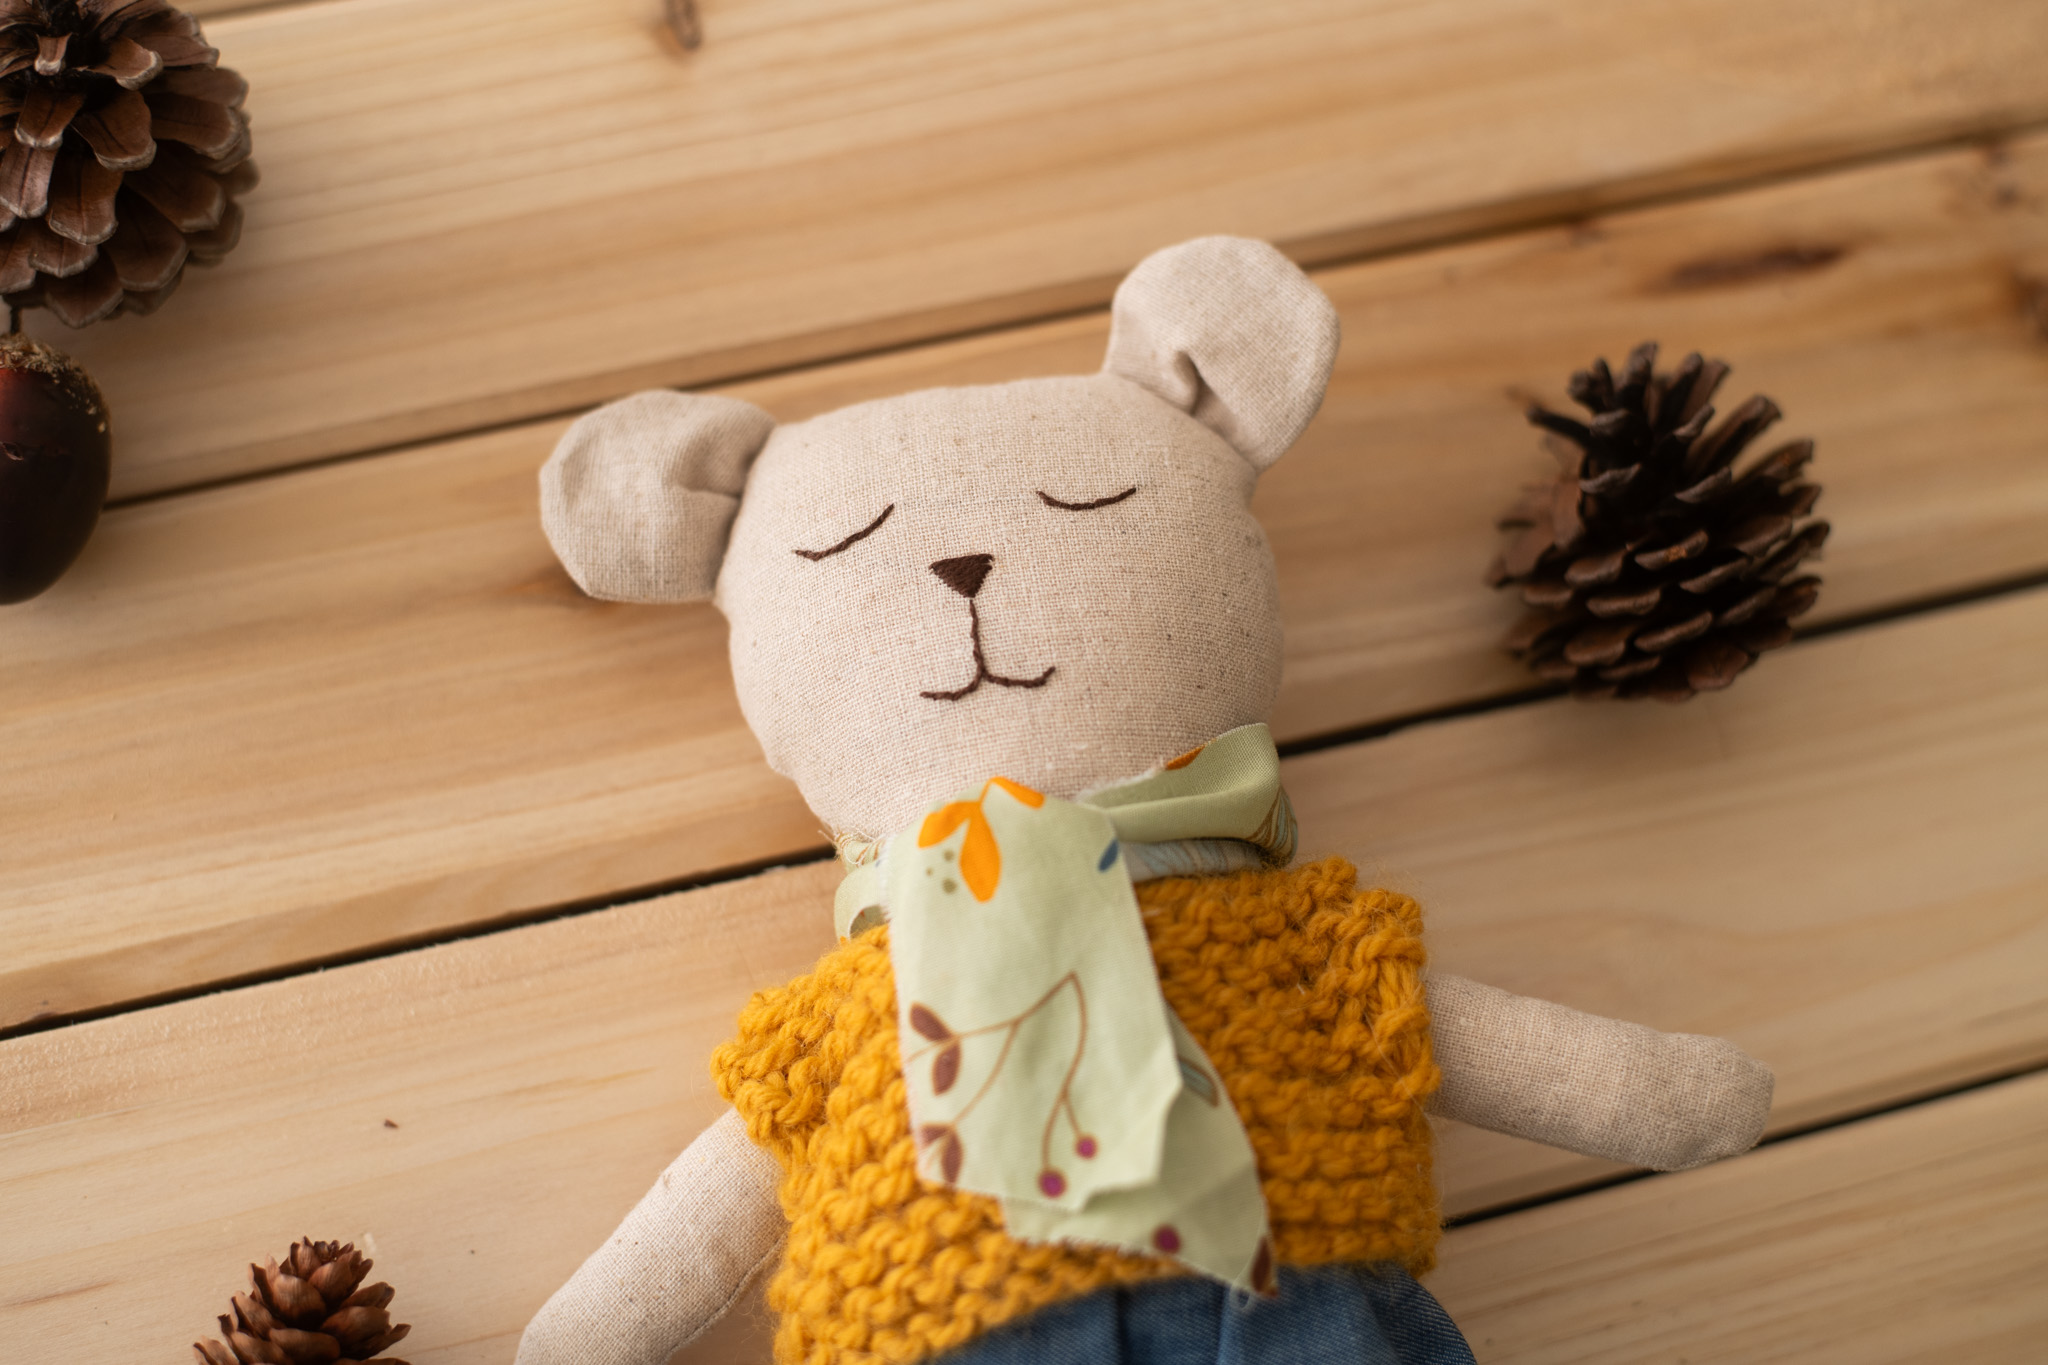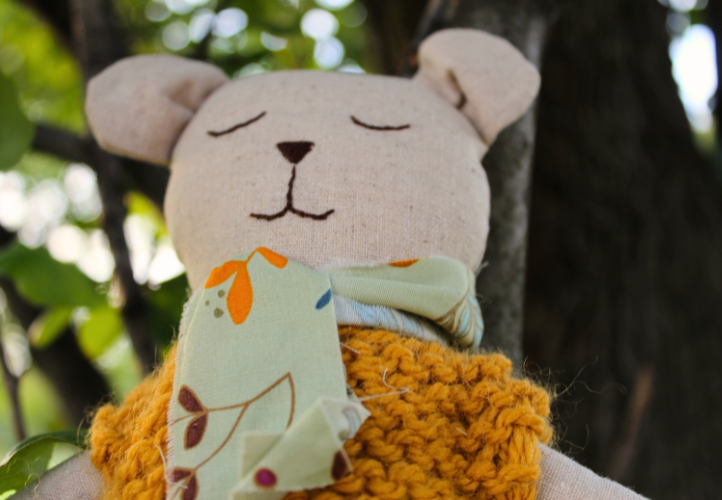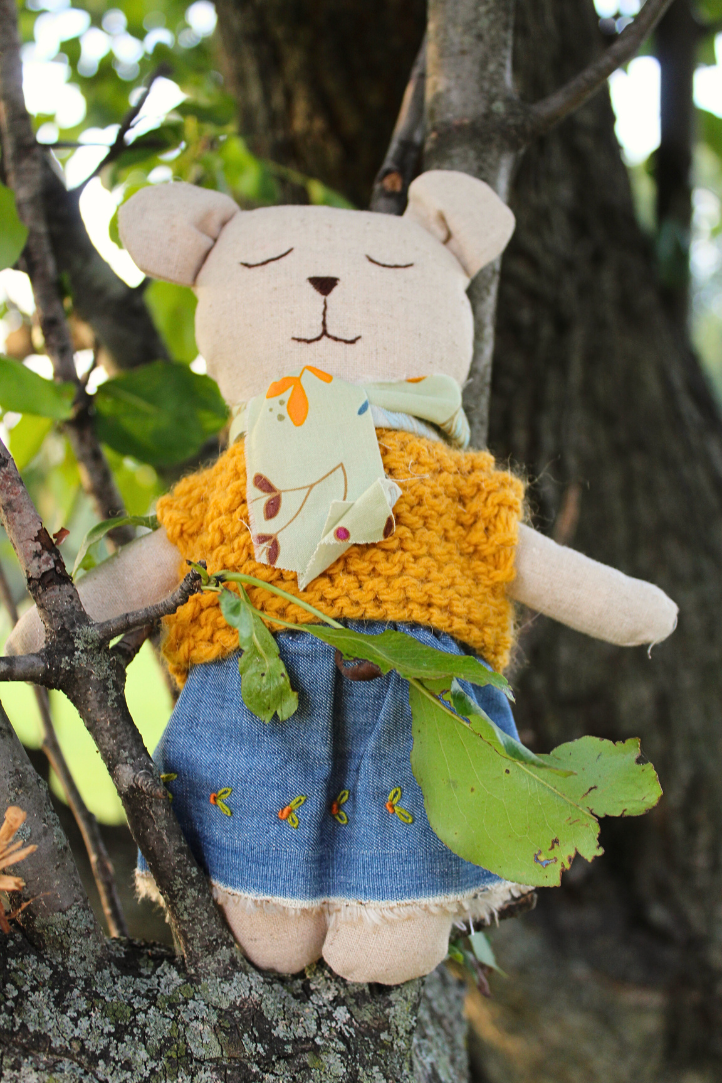
This winter, sew your grandchild a sweet, homemade teddy bear with this darling doll sewing pattern from Debbie von Grabler-Crozier. Made using soft, huggable linen, this teddy bear pattern is an easy project to try your hand at toy making and is completed with small, embroidered face details. Dress up your teddy with a sewn scarf and denim skirt and knit your bear a quick top in a cheerful shade of yellow.
Designer Note: Seam allowances are all 1/4” and have already been added.
Materials:
- Fabric: (Note: All fabrics are by Art Gallery Fabrics.)
- Fat Quarter natural linen fabric. The designer chose Soft Sand from The Denim Studio by AGF.
- 11” sq. light denim. Debbie loves Afternoon Sail Solid Smooth Denim by The Denim Studio by AGF.
- Scrap of fabric 1 1/4” wide x about 15” long for the scarf.
- Interfacing:
- Small amount polyester toy stuffing. The designer used Deco- Watte by Vlieseline.
- Stranded embroidery thread in- dark brown, orange and olive green
- Mustard colored pure wool yarn. Debbie used Drops Alaska but any yarn requiring US #8 knitting needles will work.
- Knitting needles. The designer’s are Takumi Bamboo 5mm (US 8) by Clover MFG.
- TIP: Knitting not part of your skill set? You can also use knit fabric if you cannot bribe a relative or friend to make this tiny sweater. Chocolate helps!
- 6 1/2” x 1/4” wide elastic
- Clear drying glue suitable for fabric
- Coordinating threads for all fabrics and trims
- Hand sewing needle
- Darning needle
- Thimble and embroidery hoop
- Scissors
- Fabric marking tools
- PDF Template – This is located at the bottom of this page. Please see printing instructions below.
PRINTING INSTRUCTIONS:
Note: To download the template, click on the pattern download button at the bottom of the page. We recommend opening your pattern download using Adobe Acrobat.
Cutting Instructions:
From the linen fabric:
- 4 ear pieces, 4 arm pieces and 2 body pieces using the PDF template
TIP: Only cut 1 body piece out for now. Trace around the other one and leave it untrimmed until it is embroidered to minimize fraying.
From the denim fabric:
- 1 piece 3 3/4” wide x 10 1/2” long for the skirt
TIP: If you can, use the natural selvedge edge for the hem. The AGF denim has an attractive fringe that looks lovely. If you haven’t got this or if your chosen fabric is different, cut the skirt 4 1/4” wide and hem it normally instead.
Sewing Instructions:
MAKE THE TEDDY:
- Put the teddy pieces aside apart from the untrimmed panel. Thread your hand sewing needle with two strands of dark brown floss.
- Use a backstitch to embroider the eyes and mouth and a satin stitch for the nose.
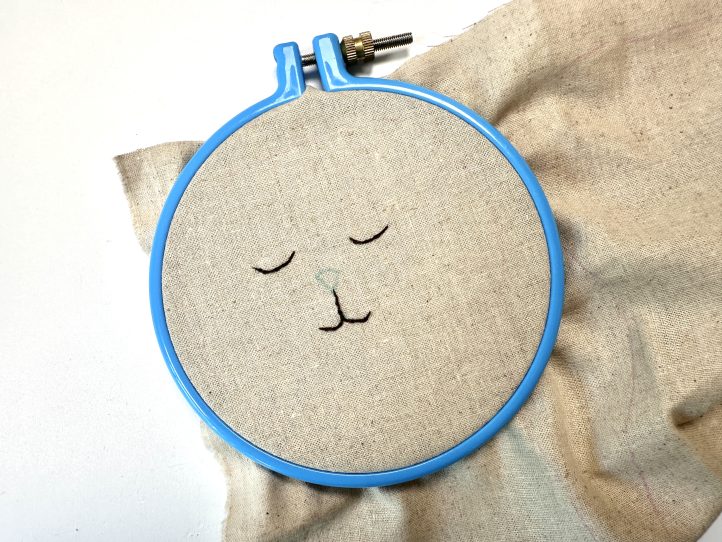
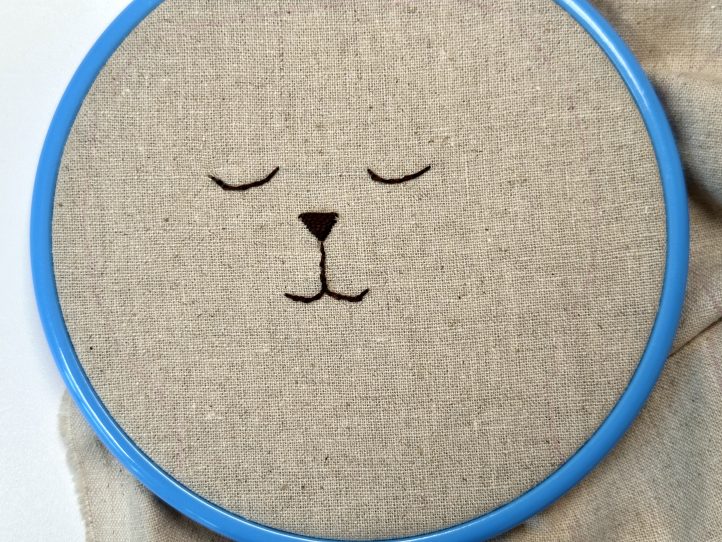
- TIP: Embroidered face details means that the doll is safer for smaller children. However, still do not leave them unsupervised.
- Cut the embroidered body section out and make up the teddy. Sew the ear pieces right sides together to make two ears. Notch the curves and turn the right way out. Pleat the flat bases using the guide marks on the template and attach to the head in the indicated position.
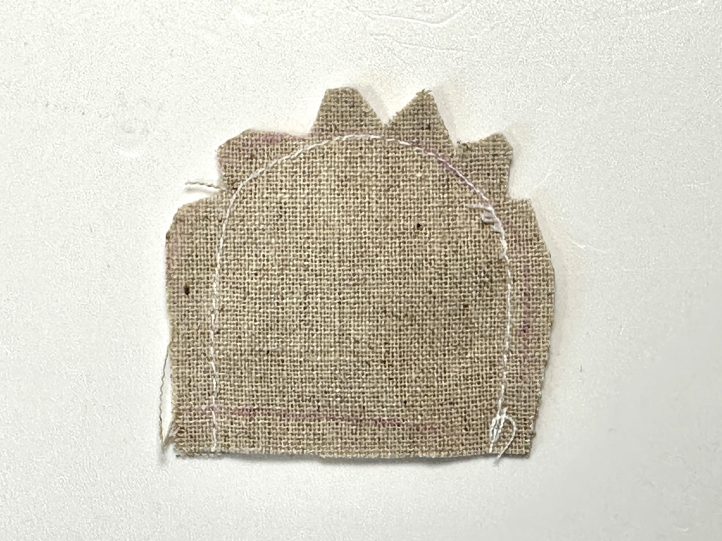
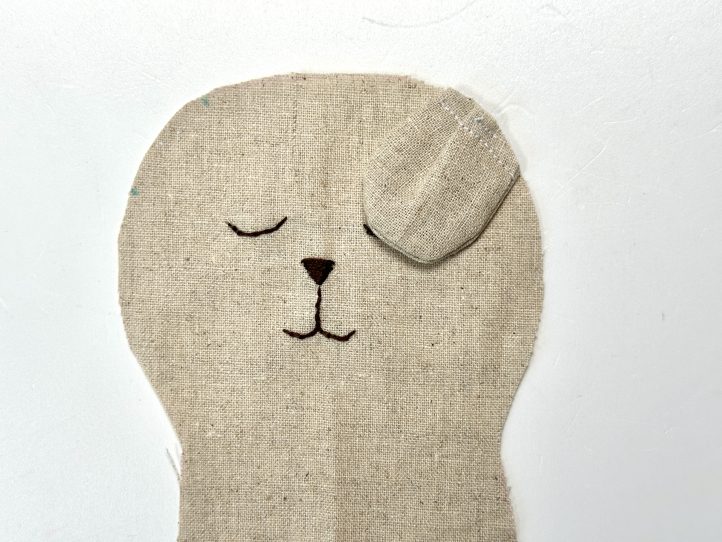
- TIP: Shorten your stitch length to make the body parts stronger.
- TIP: The ear base is flat and the head is round. When you attach the ear to the head, trim it round using the head as a guide as you see in the image above.
- The arms are sewn all the way around and then the curved ends are notched before being turned out.
- TIP: Don’t forget that the arms have to be a mirrored image.
- Turn the arms the right way out and stuff.
- Attach the arms to the body in the marked places.
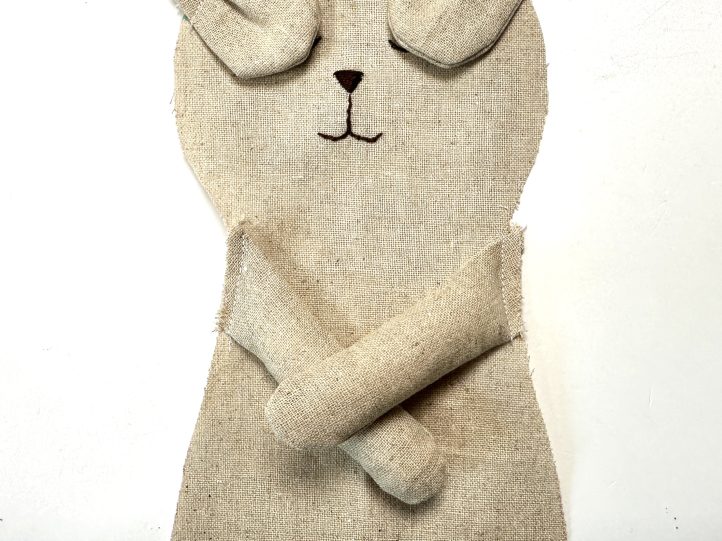
- Place the body pieces right sides together and pin. The ears and the arms will be pointing inwards. Sew all around the outside edge leaving a turning gap somewhere hidden under the clothing. Notch any curves and turn the teddy the right way out.
- Stuff the teddy body well and close the turning gap with a neat ladder stitch.
MAKE THE SKIRT:
- Embroider the skirt with a row of delicate orange French Knots (3/4” apart) and some small leaves using a Lazy Daisy stitch and the green thread. Thread the needle with two strands of embroidery floss each time.
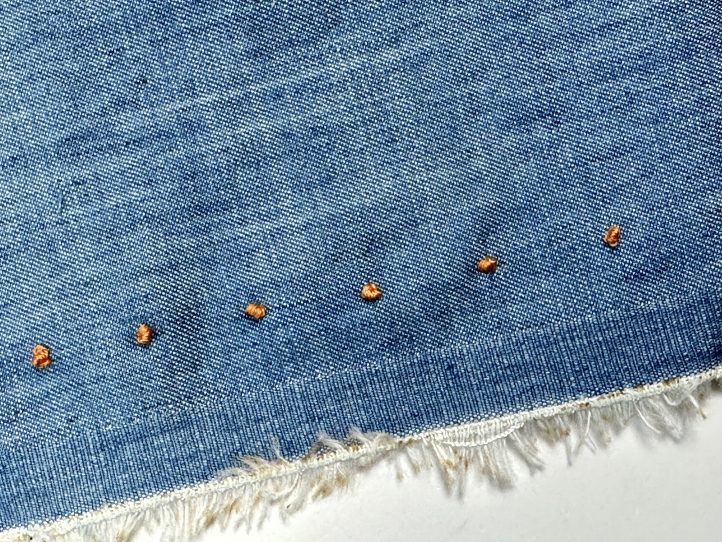
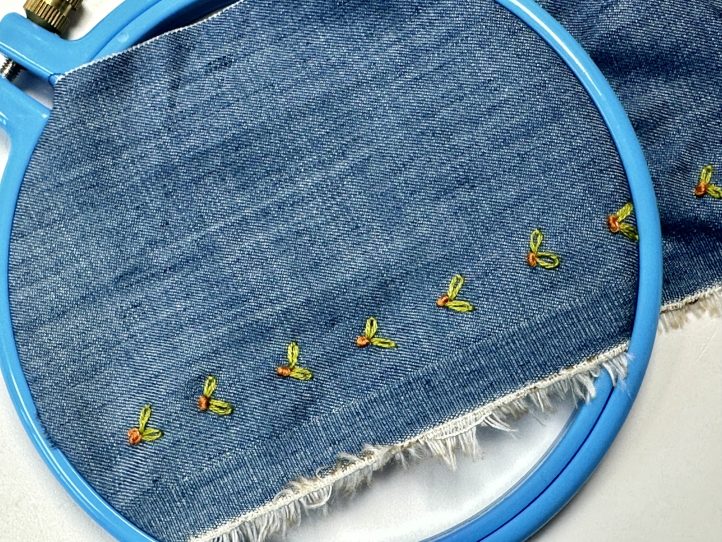
- The skirt is French seamed to make it neater inside. Place the two short ends together, wrong sides facing and pin. Sew the seam.
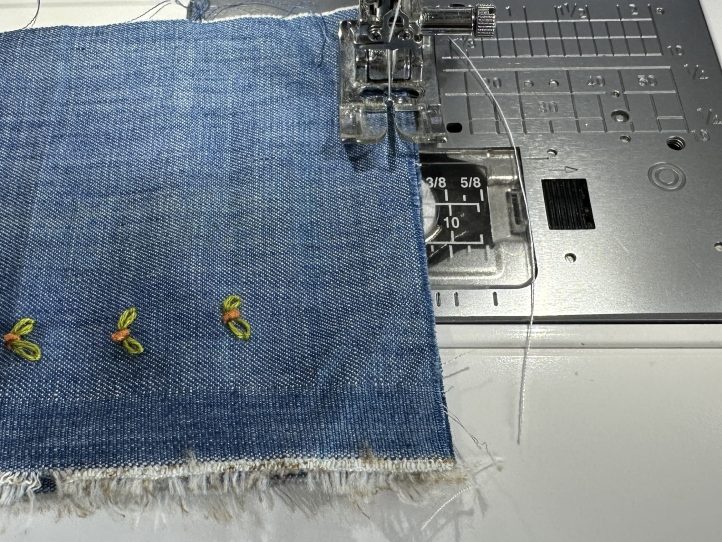
- Trim the seam so that it is about 1/8” (leave enough fabric for the stitches to bite into though). Turn the skirt inside out and press the seam. Now with the right sides together, sew a normal 1/4” seam, enclosing the raw edge.
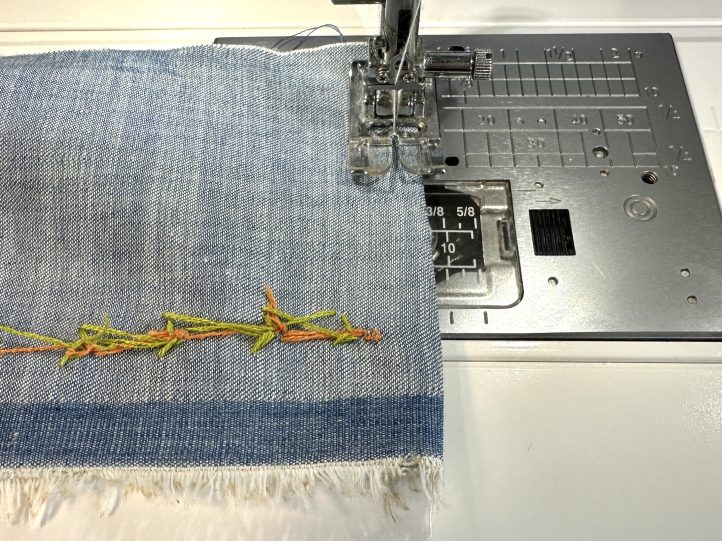
- If you are using fabric without a frayed edge, turn the hem up by 1/2”- this is achieved by one 1/4” turn followed by another, enclosing that raw edge. Sew the hem.
- Do the same thing at the top of the skirt, this time with a 1/4” turn followed by a 1/2” turn. Leave a gap of about 3/4” when sewing the top edge of the skirt and thread the elastic into the casing. Stitch the elastic securely together and close the gap.
MAKE THE SWEATER:
- Cast on 15 stitches onto the knitting needles. Knit until it measures 2” long and bind off. Make a second panel exactly the same.
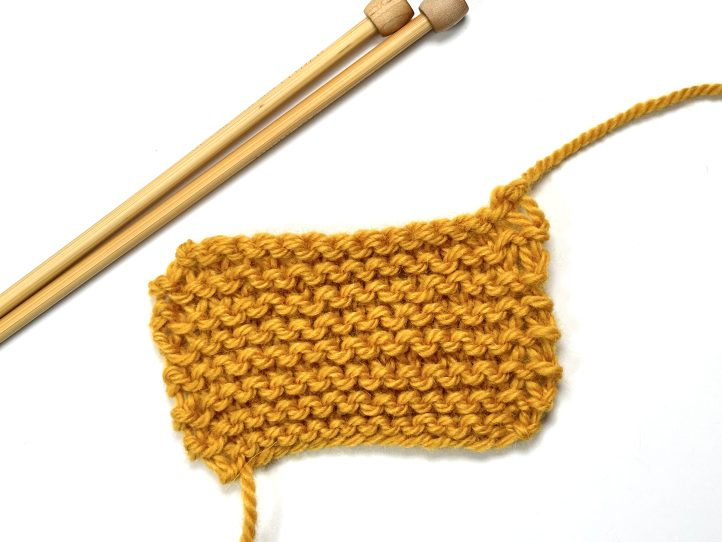
- TIP: Leave the ends of the yarn long when casting on and binding off to sew the sweater together.
- Place the two sweater pieces together. Thread the darning needle with the thread ends and sew shoulders about 3/4” in from each side at the top. Leave a snug head gap.
- Then sew the sides of the sweater leaving about 1” for arm holes in the top.
- TIP: Stitch from the bottom of the sweater towards the top to make this easier.
- Put the sweater onto the doll and tie the scrap of fabric around the neck for a scarf.

