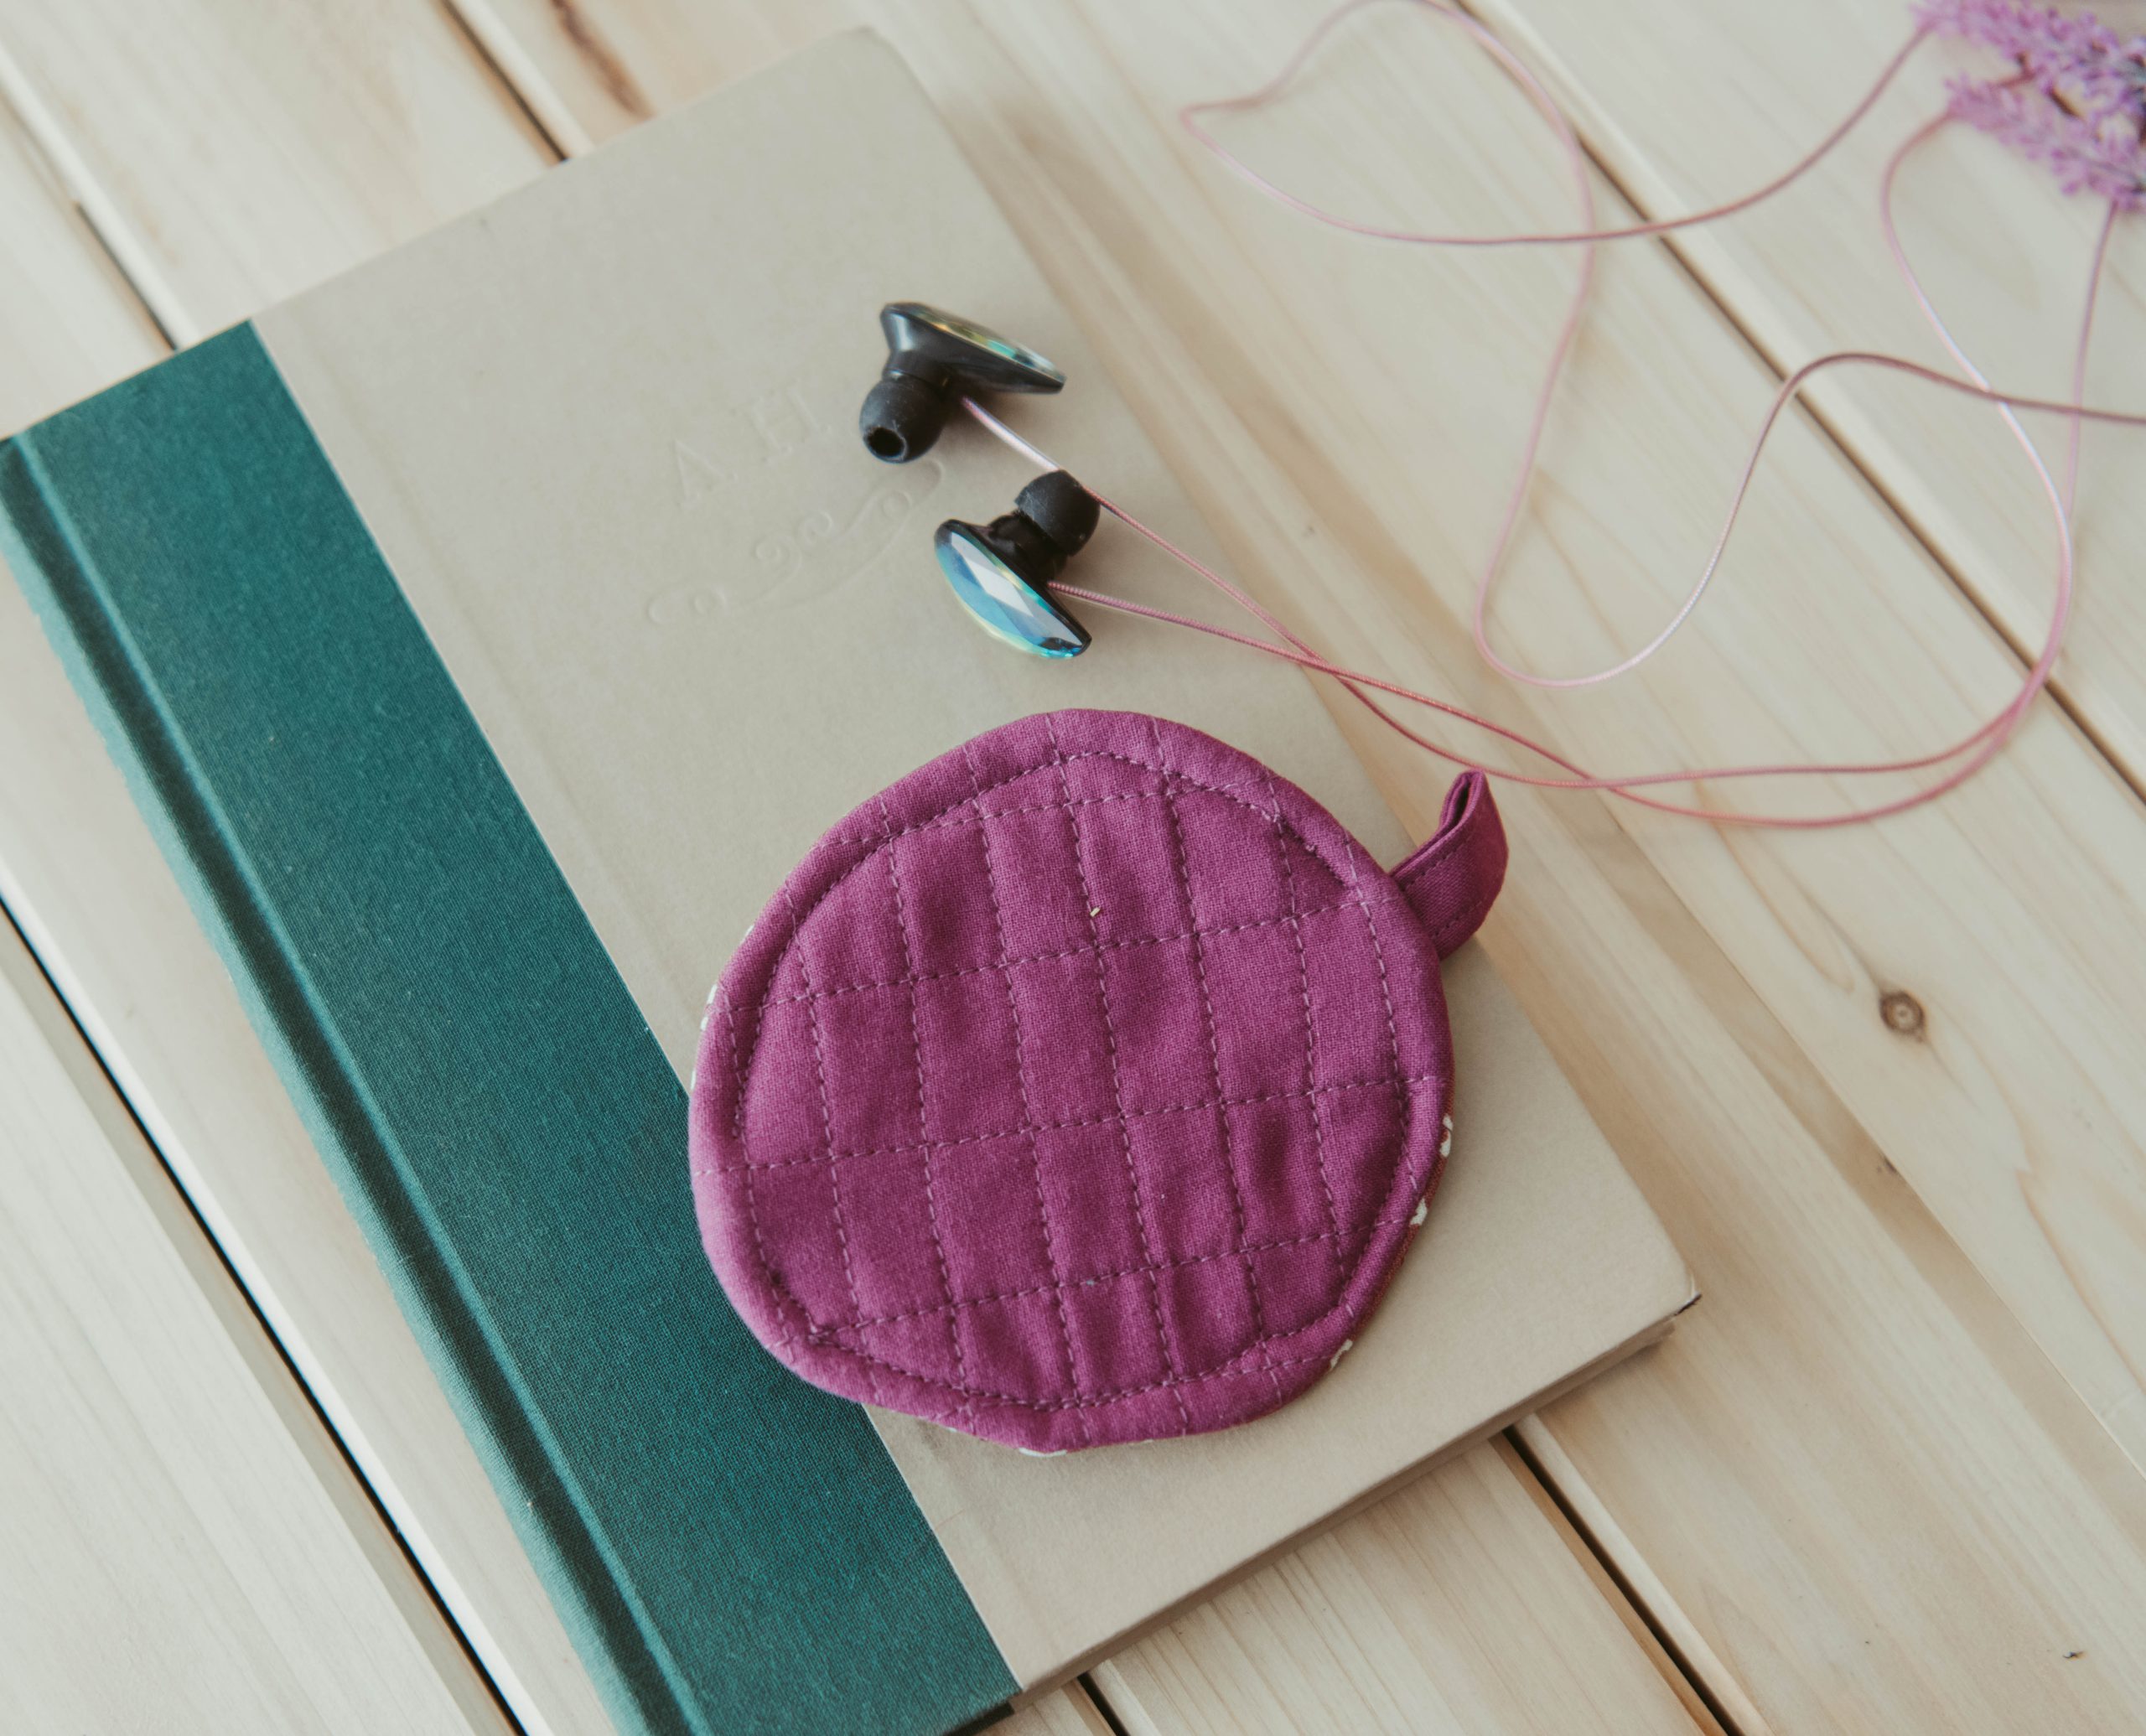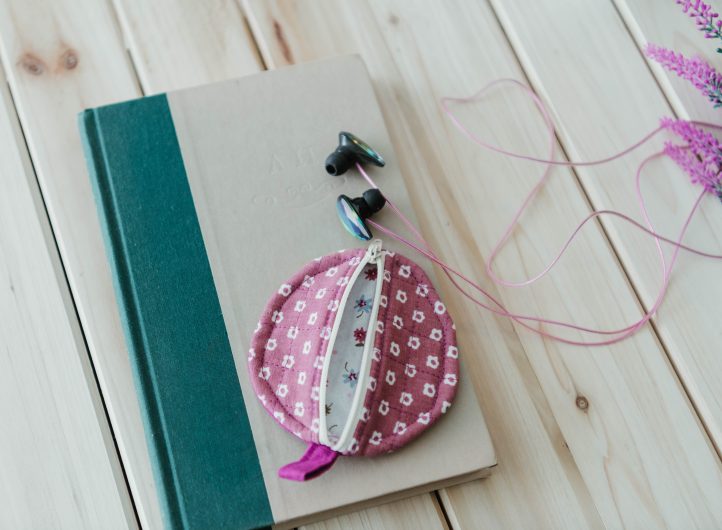
Have you been saving up your fabric scraps all year for the perfect project? This fun gift sewing pattern from Claudia Nicholson is exactly what you’ve been searching for. A great DIY stocking stuffer, this earbud case pattern is ideal for mixing and matching small fabric scraps to create a unique holiday gift for your loved ones. Sew up a batch of these fabric gifts for every member of your family this Christmas!
Do you find yourself with a collection of small fabric scraps from all your sewing adventures this year? As we approach the end of the year, it’s the perfect time to tackle them. But what to do with them? Let’s transform those forgotten bits into something unique and super handy. In this guide, we’ll show you how to create a quilted earbud case from scraps. It’s a fun and easy project and a great way to use up leftover fabrics.
Before we begin, let’s talk about the fun part – choosing your scraps. Don’t worry if your scraps don’t match perfectly—this project is all about mixing and matching! Pick whatever fabric types, colors, or patterns resonate with you. The choice is yours. The sky’s the limit. Ok, grab those scraps, and let’s dive in!
Materials:
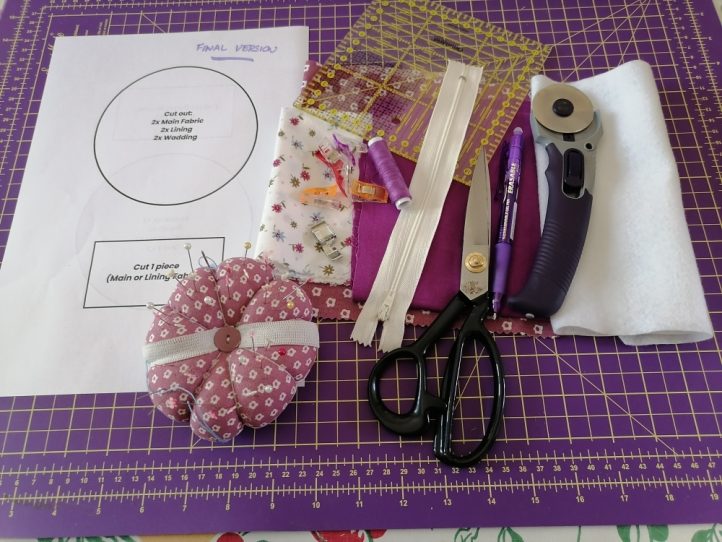
- Ruler, heat erasable pen, pins, or clips
- Scissors or rotary cutter, and mat
- Fabric scraps in various colors and patterns (enough for your main fabric and the lining)
- Batting (lightweight batting or felt works best to minimize bulk)
- A short all-purpose zipper
- Matching or contrast thread
- Sewing machine, zipper foot, and walking foot (or alternative for quilting, if needed)
- PDF Pattern – This is located at the bottom of this page. Please see printing instructions below.
PRINTING INSTRUCTIONS:
Note: To download the pattern, click on the pattern download button at the bottom of the page. We recommend opening your pattern download using Adobe Acrobat.
Sewing Instructions:
CUTTING AND PREPARING FABRIC SCRAPS:
- Print out your pattern and cut out the pieces.
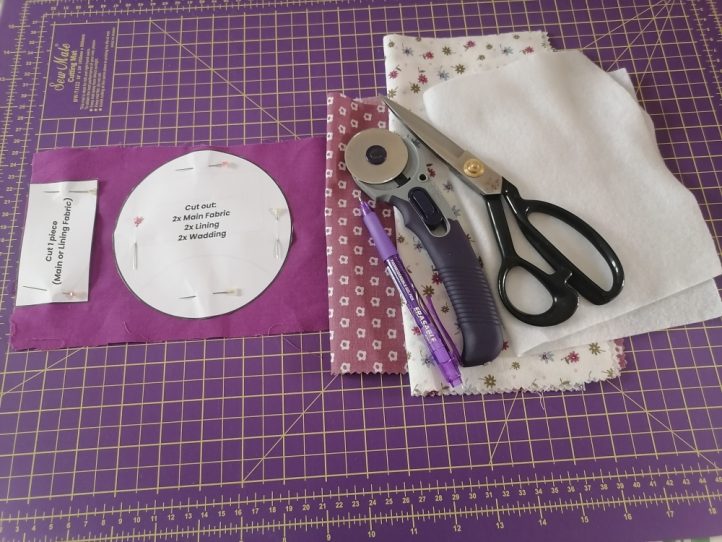
- Place your pattern pieces onto your chosen fabric and pin them in place. You can draw around your pattern or just cut around it. Follow the instructions on the PDF Pattern for the number of pieces to cut out. Don’t stress about perfect circles—a little imperfection adds character!
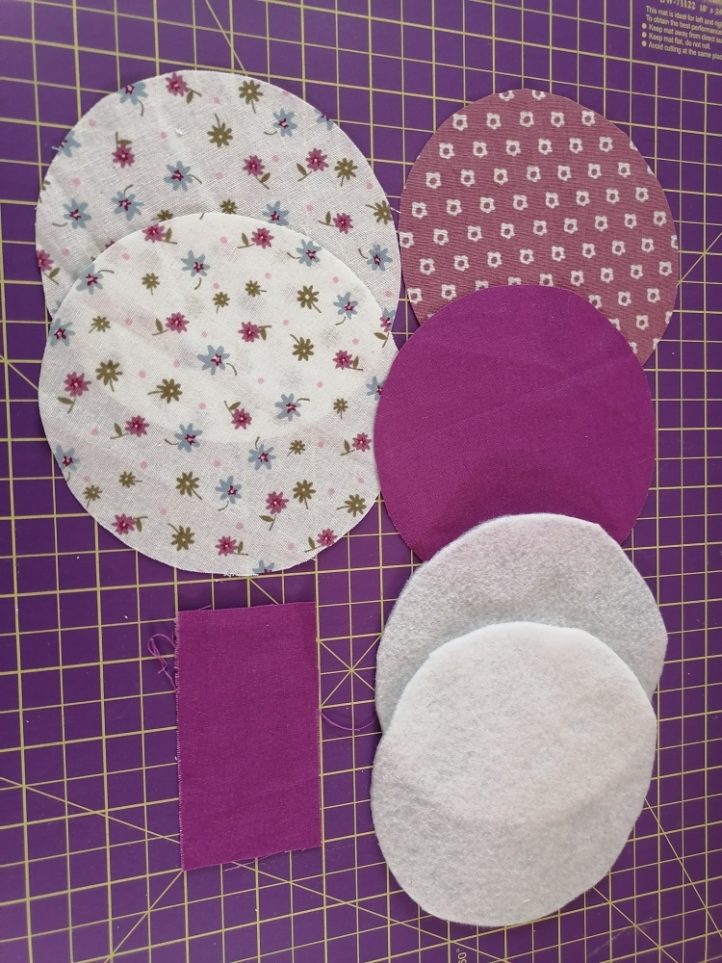
Tip: Make sure your fabric (not batting!) is ironed and wrinkle-free before you cut out your circles.
QUILTING:
Once you have cut out all your circles, you can get to quilting.
- Place your batting circles behind each main fabric circle and pin or baste it.
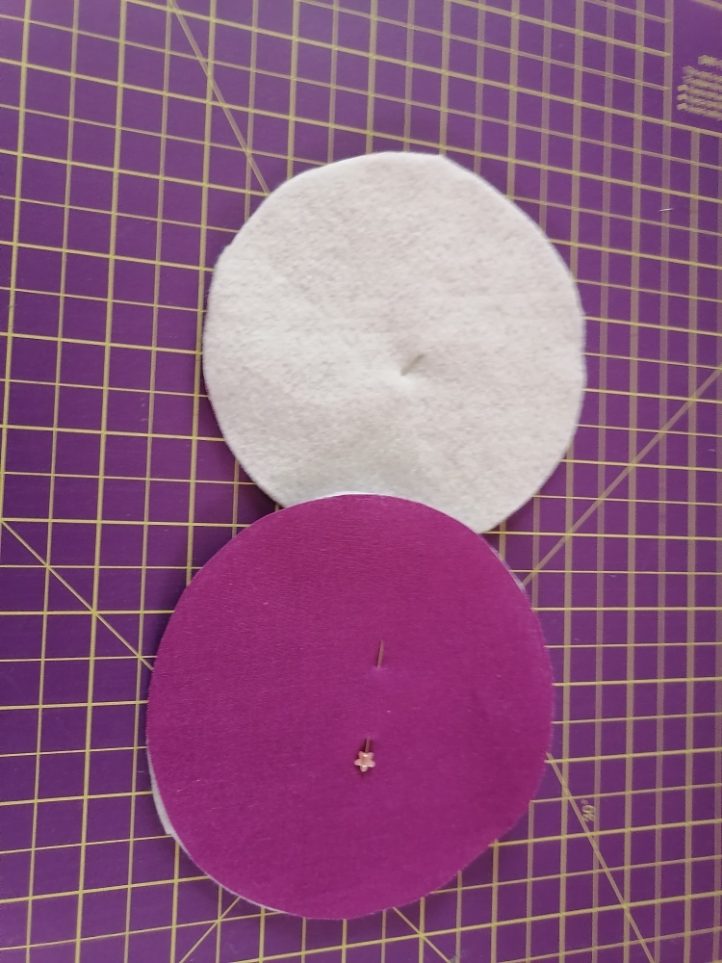
- Using a walking foot or your preferred foot for quilting, sew lines or patterns across the surface of each fabric circle to secure the layers together. Get creative with your quilting design—you can sew straight lines or curves or even try some free-motion quilting!
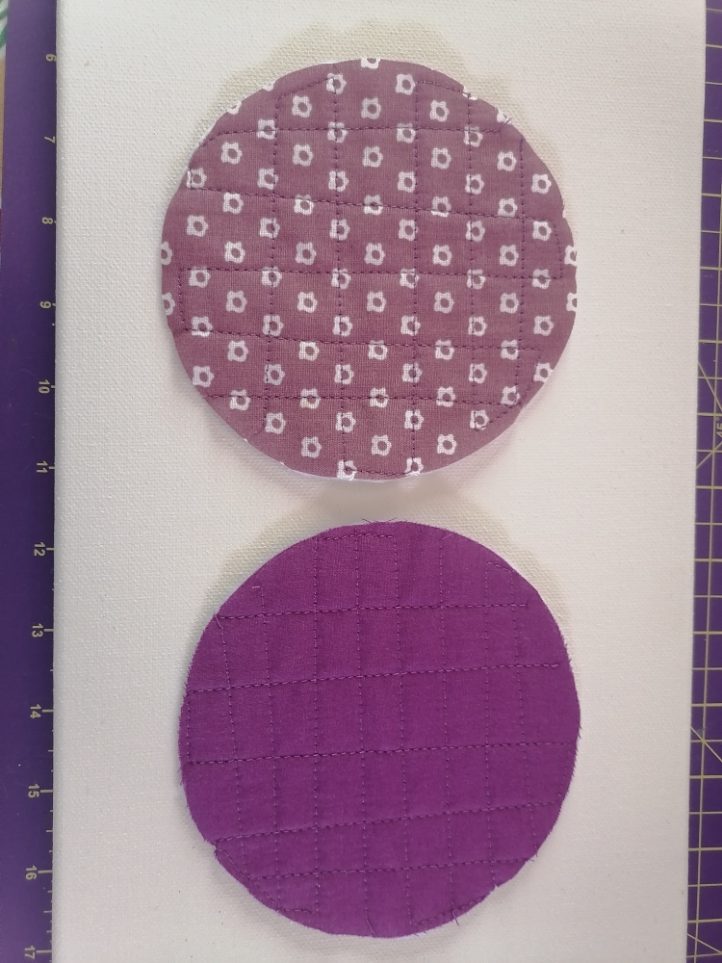
Now, let’s sew everything together.
SEWING THE EARBUD CASE:
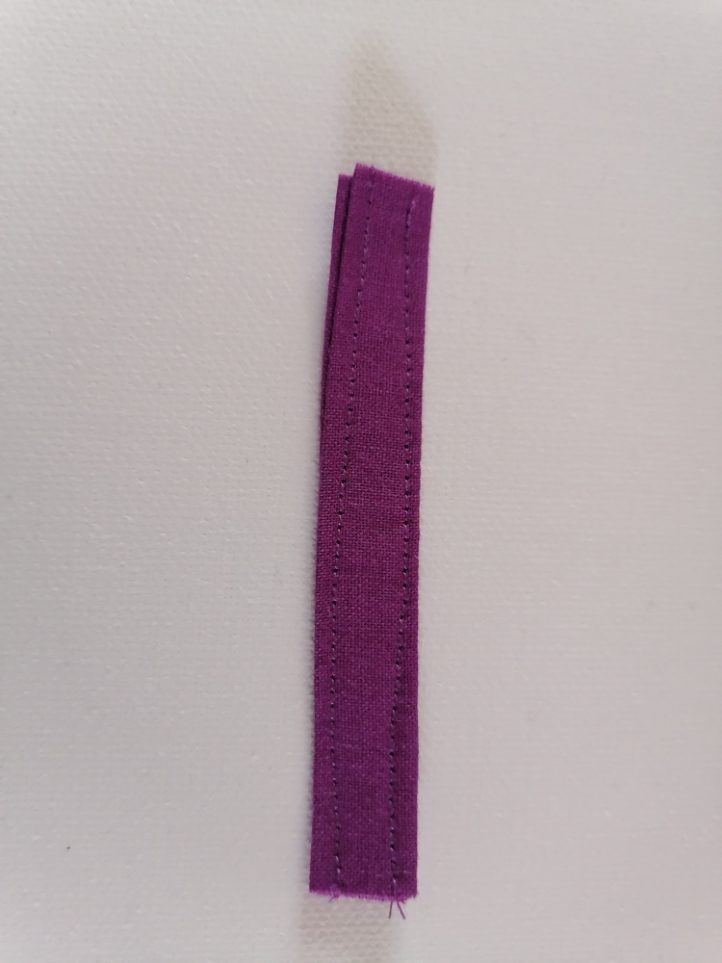
- First, take your small rectangular piece of main fabric, fold both long sides towards the middle, and press with your iron. Then fold it in half and press again. Take it to your sewing machine and sew a straight stitch down each side. This will make the hanging tab.
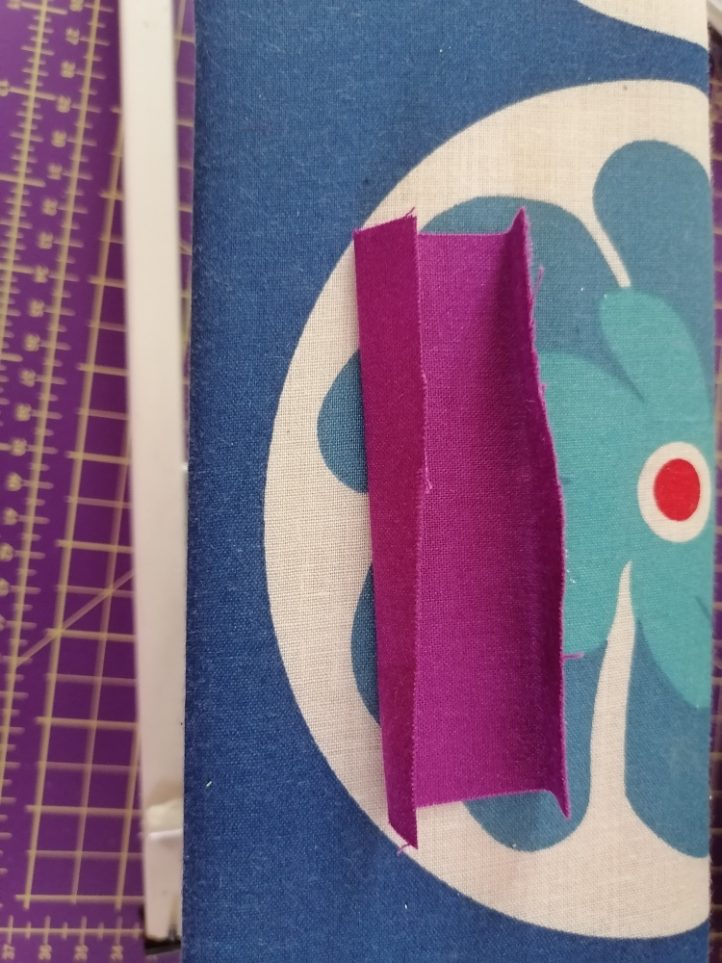
- Next, take one of your main and lining fabric circles and cut them in half. You can measure this with a ruler to find the middle of your circle or simply fold it in half and iron it.
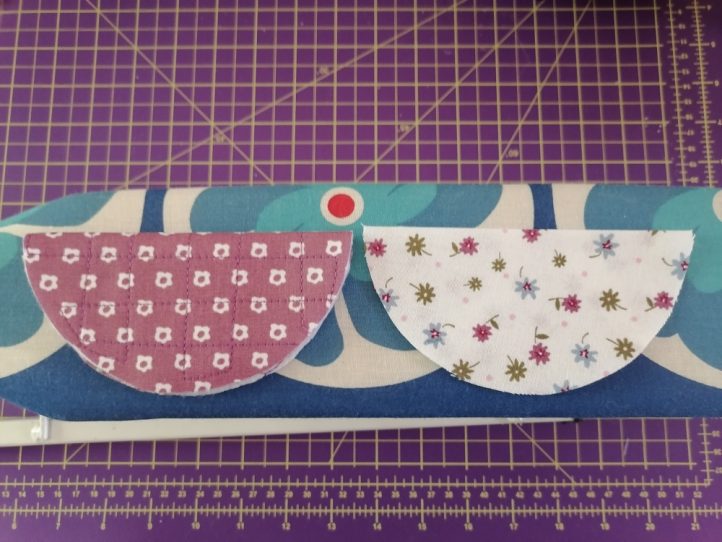
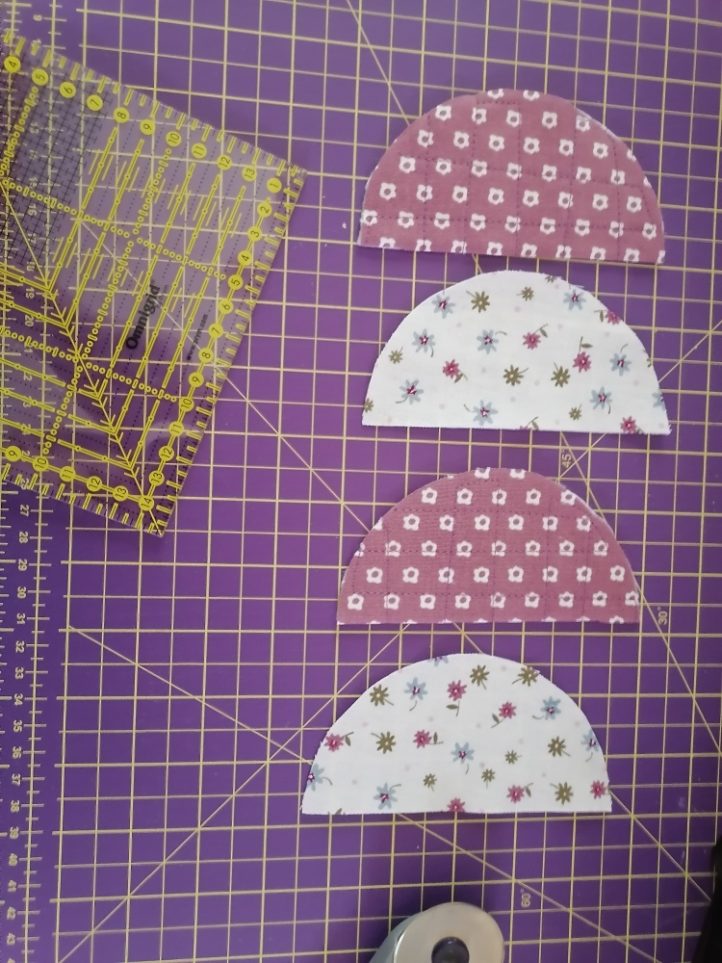
- Take one half of the lining material face up and place the zip (zip pull facing towards you) on top, lining it up with the edge of the fabric. Place the main fabric half directly over the lining piece, sandwiching the zip in the middle. Pin it all together.
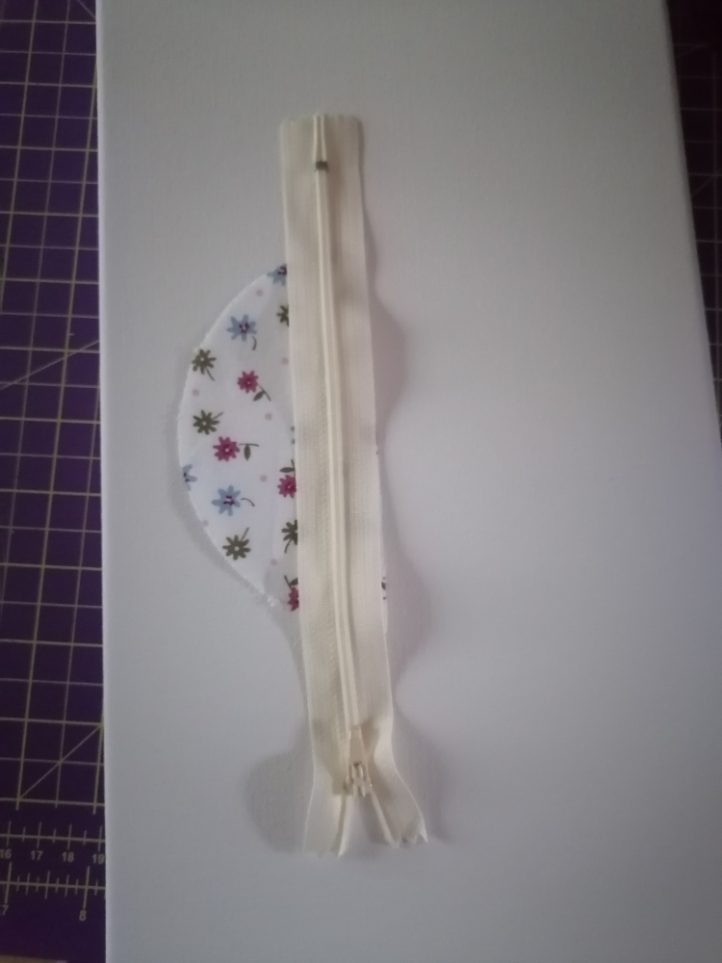
- Using a zipper foot on your sewing machine, sew a straight stitch as close to the zipper teeth as possible. Fold back the main fabric and the lining and press your seam. Then, sew a line of topstitching to keep the zipper catching the fabric. Repeat this process for the other side of the zipper.
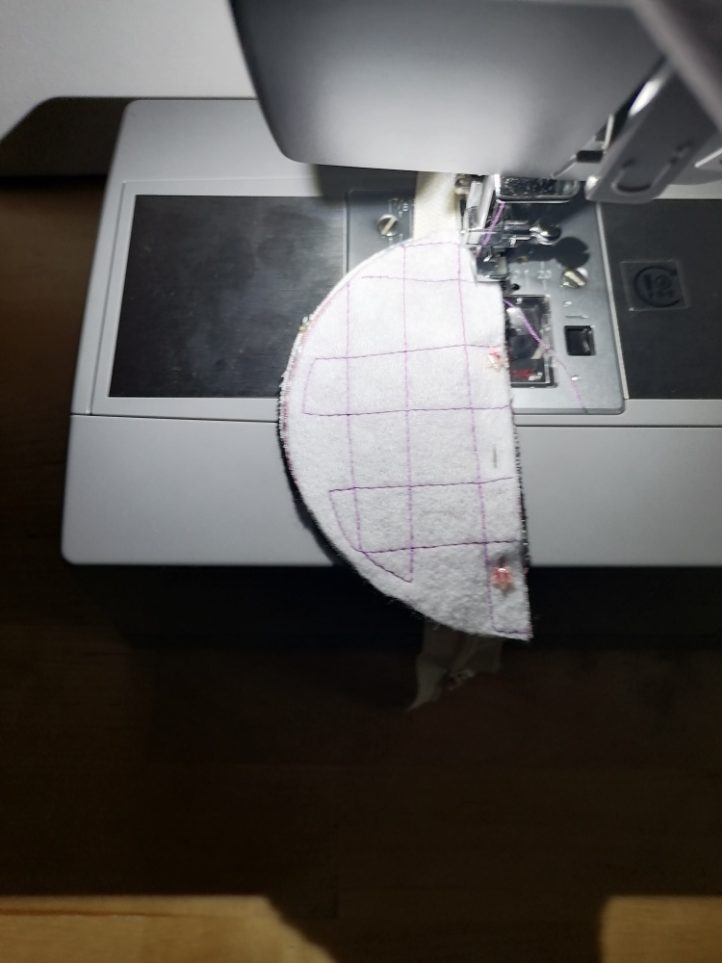
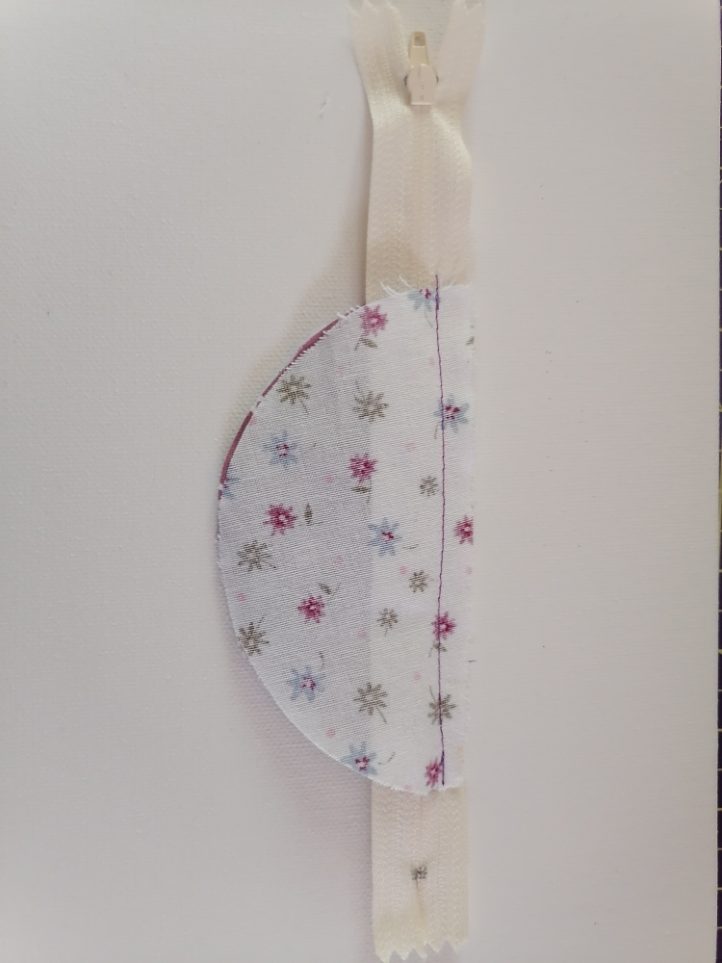
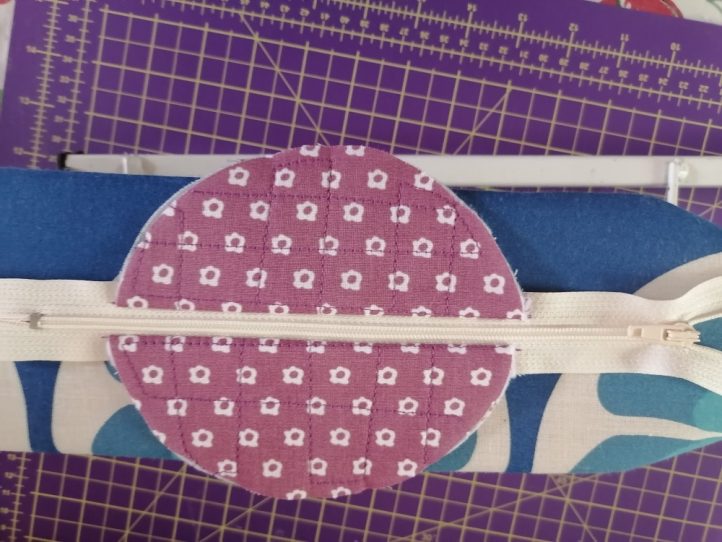
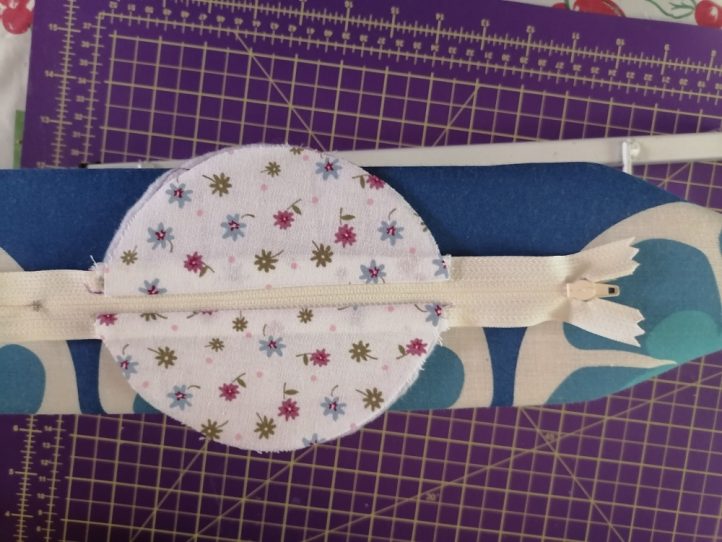
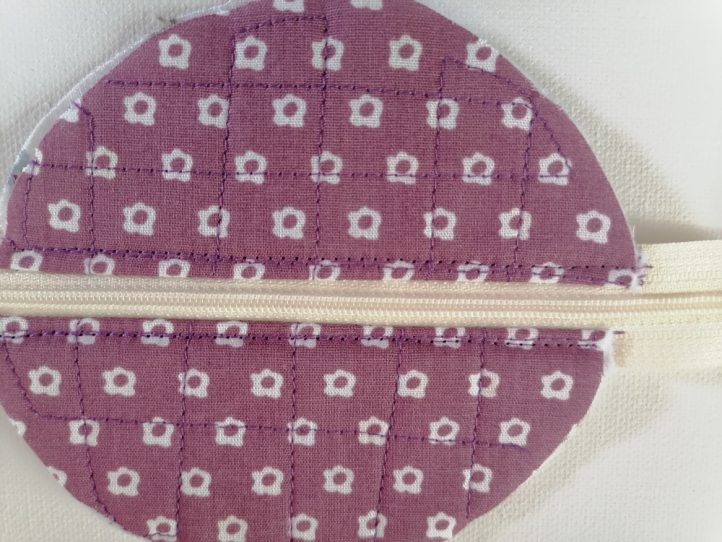
- Tip: Don’t go too near the zipper teeth with the iron to avoid melting your zip!
- Make sure that the zip is pulled just over halfway across your circle. Sew some stitches to keep the zip together at the open end. Take your hanging tab, fold it in half, and place the folded edge directly over the zip where you sewed those stitches.
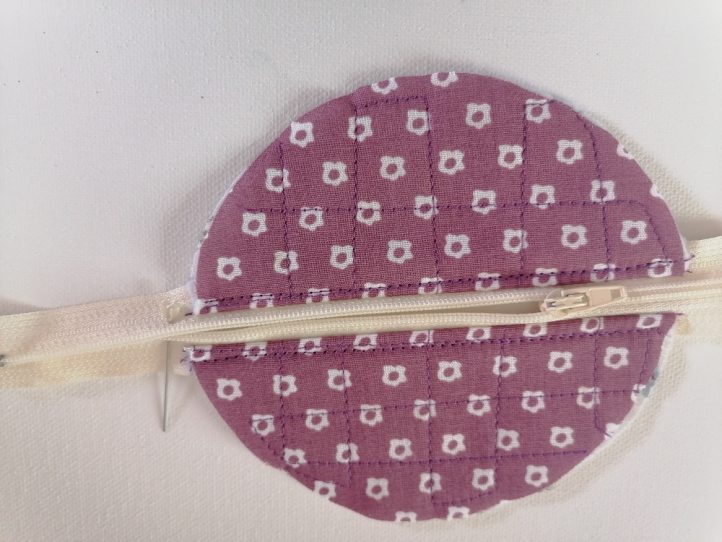
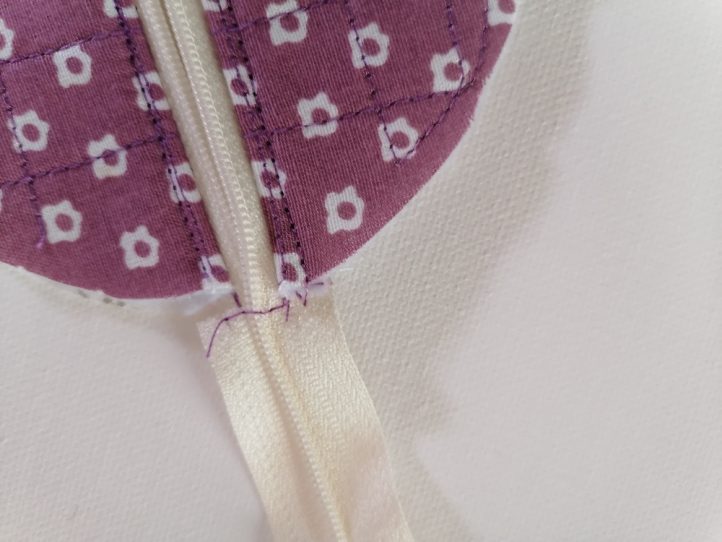
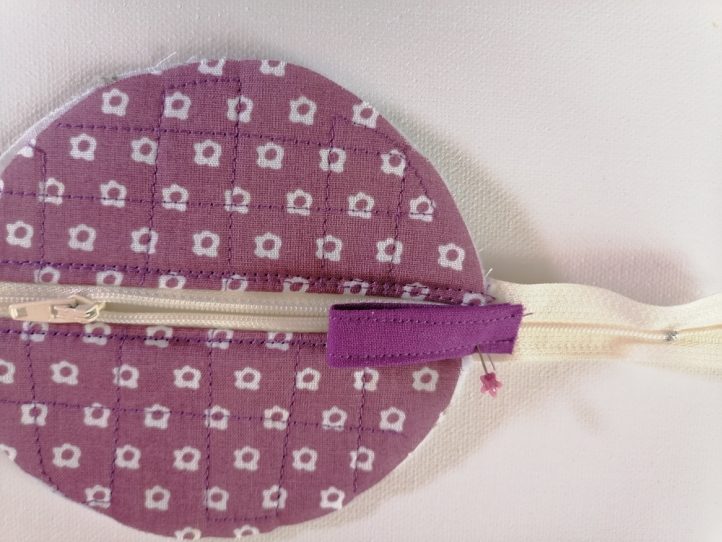
- Place the full circle of the main fabric right side down and the full circle of the lining fabric right side up on top. Pin all this together and take it to your sewing machine.
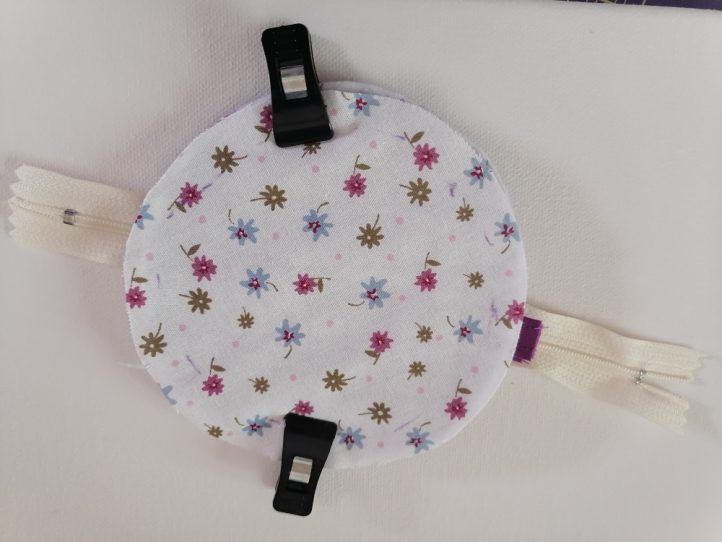
- Sew all the way around with an 1/2 inch seam allowance. Circles can be tricky to sew, so you can mark out the line with a heat-erasable pen to follow as you sew. Don’t forget to sew reinforcing stitches over the zip ends, especially where your tab is (Simply sew back and forth over the area a couple of times.)
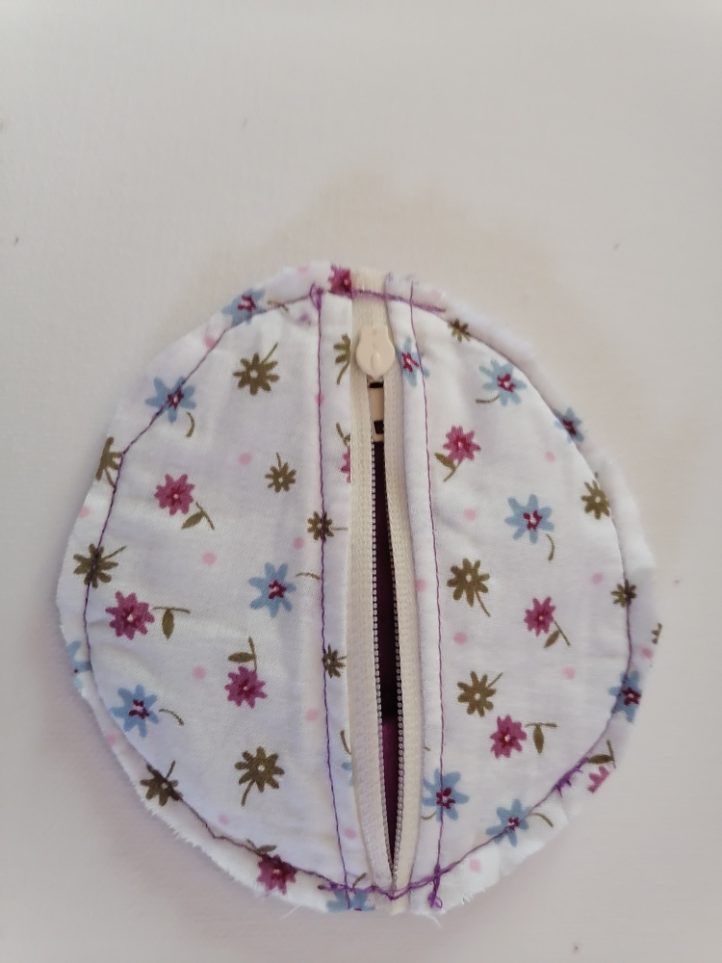
- Tip: Depending on your batting, your sandwich may now be bulky, so go slow when sewing and use the hand wheel on your machine if you’re nervous, especially when going over the zip ends.
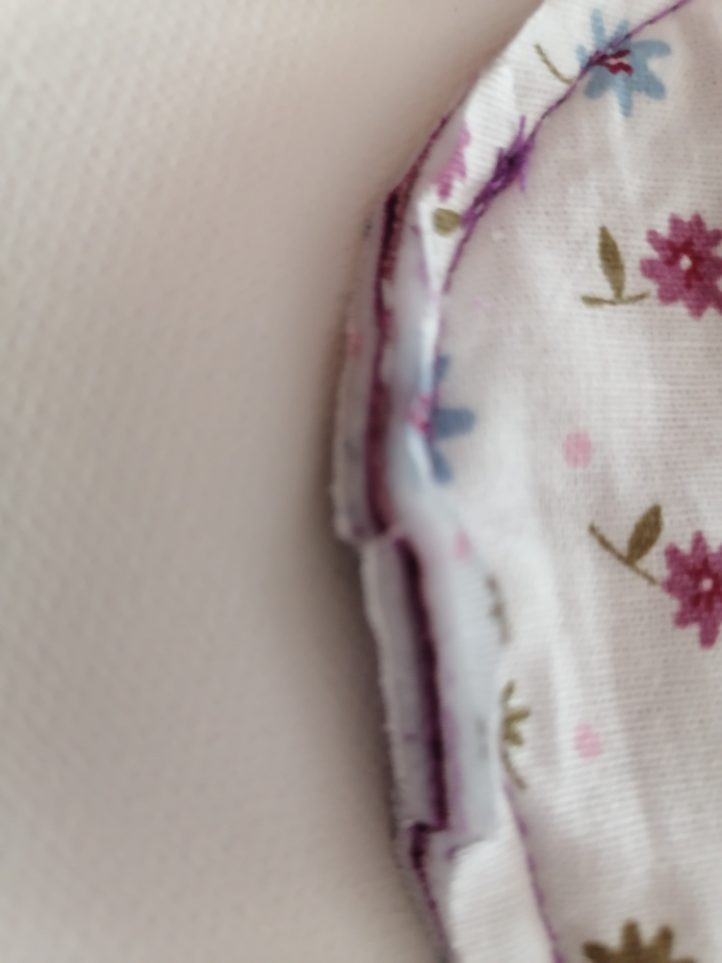
- Once you’re done sewing, cut off the extending ends of the zip. Then, trim your seam allowance and snip your wadding back to the seam, careful not to cut the stitches. This reduces bulk and gives the pouch a smoother shape. Turn the pouch right side out through the open zip.
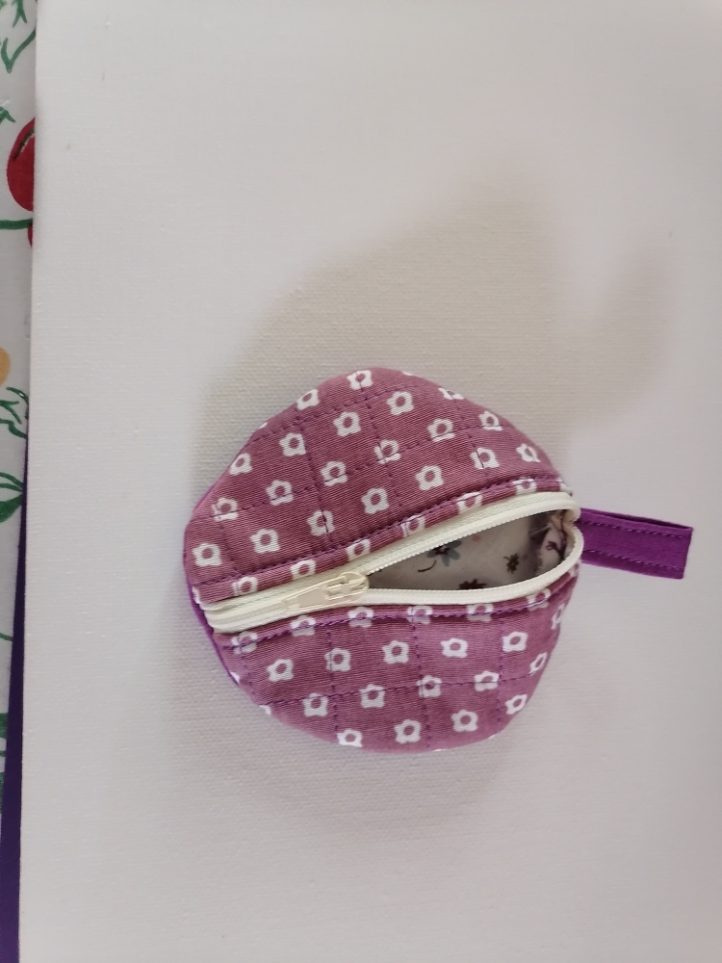
- Give it a good press. Finally, sew a small (a little less than 1/4 inch) topstitching seam on both halves up to the zip around the outside edges of the pouch. This seals and hides the raw edges inside, leaving you with a lovely, neat zipper pouch. Press a final time to set your topstitch seam.
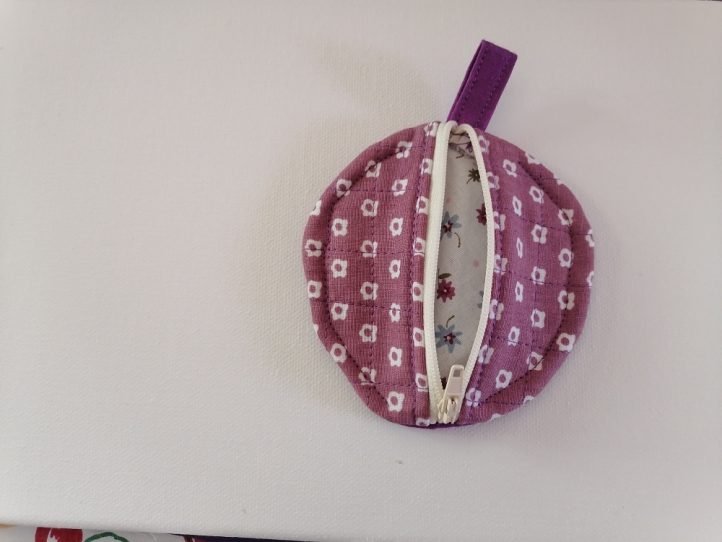
ADDITIONAL TOUCHES:
If you’ve gone for plain fabric or denim, don’t be afraid to add a personal touch. You can embellish your case even more by adding embroidery, some little buttons, or even a ribbon. This is your opportunity to let your creativity shine and make your case truly unique, especially if you’re making it as a gift for someone. So go ahead, experiment, and see how these touches can elevate your creation.
- Note: You can add these touches in Step 2 in the Quilting section once you’ve quilted!
We hope we have inspired you to make a variety of these scrappy earbud cases. They’re stylish accessories that make great Christmas gifts for friends or family. A simple yet fabulous quilted earbud case made from scraps! With just a few materials and a sprinkle of creativity, you can transform your fabric scraps into something super useful. So go ahead, raid your scrap stash, and get creative.

