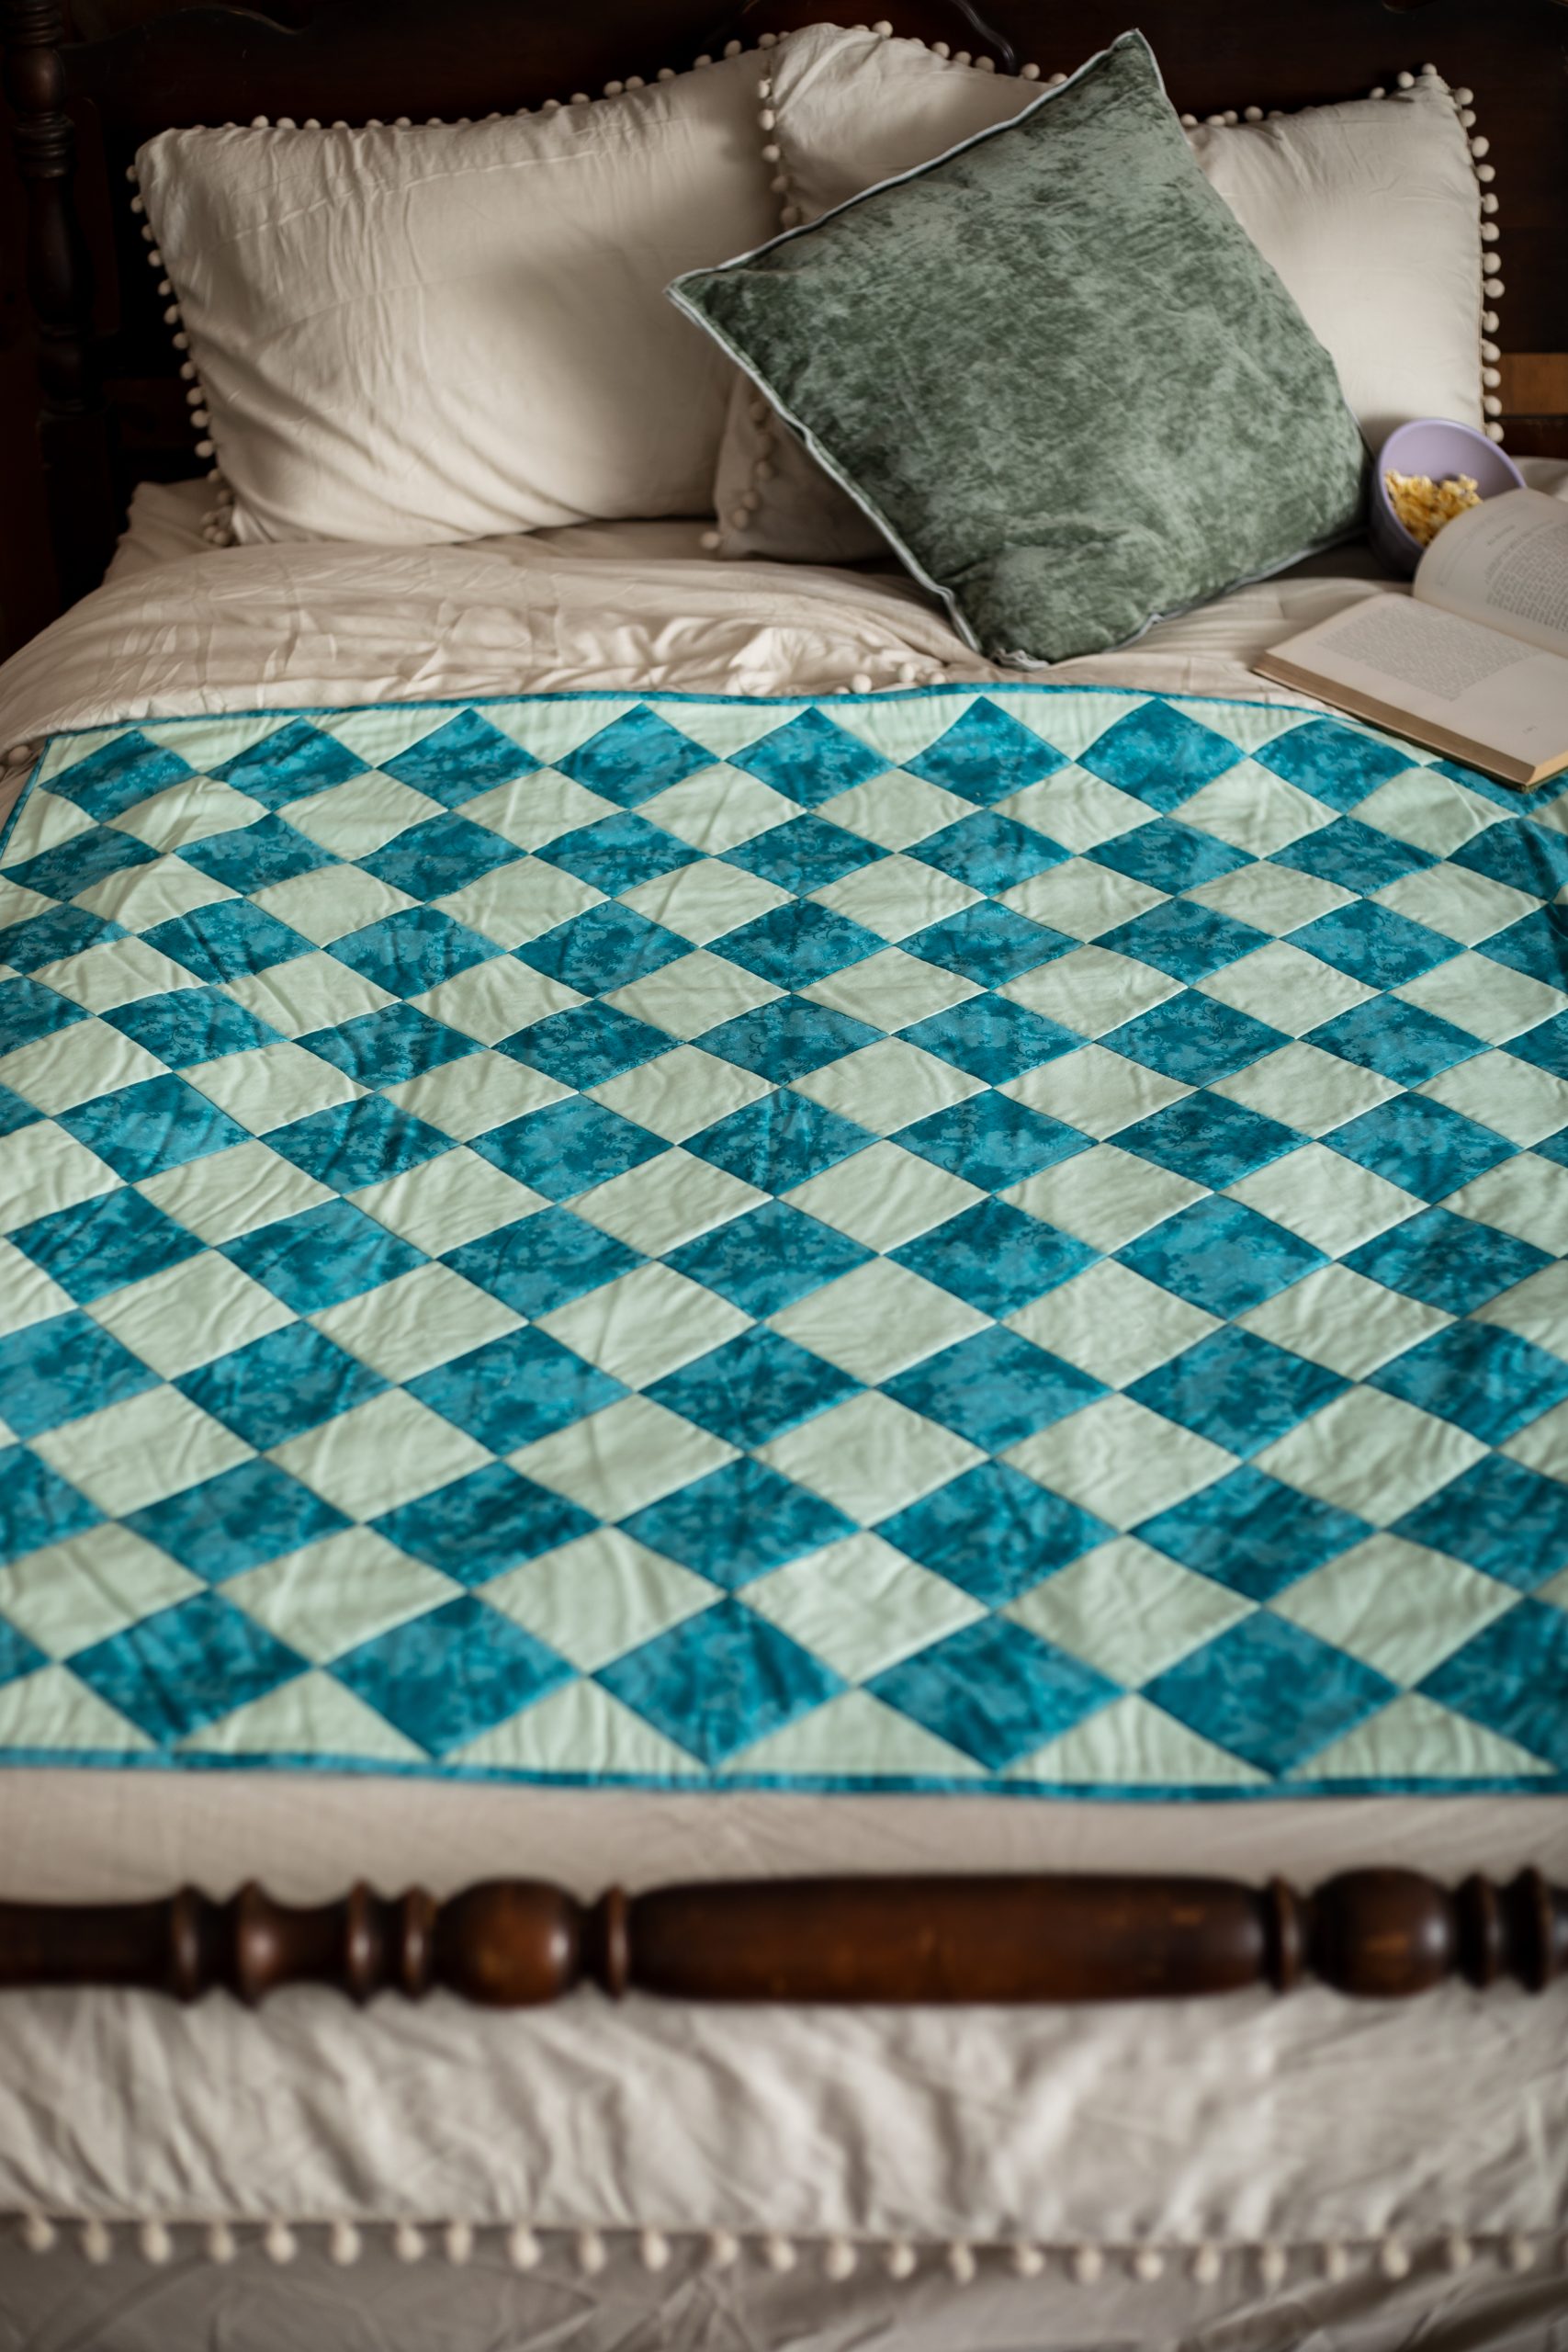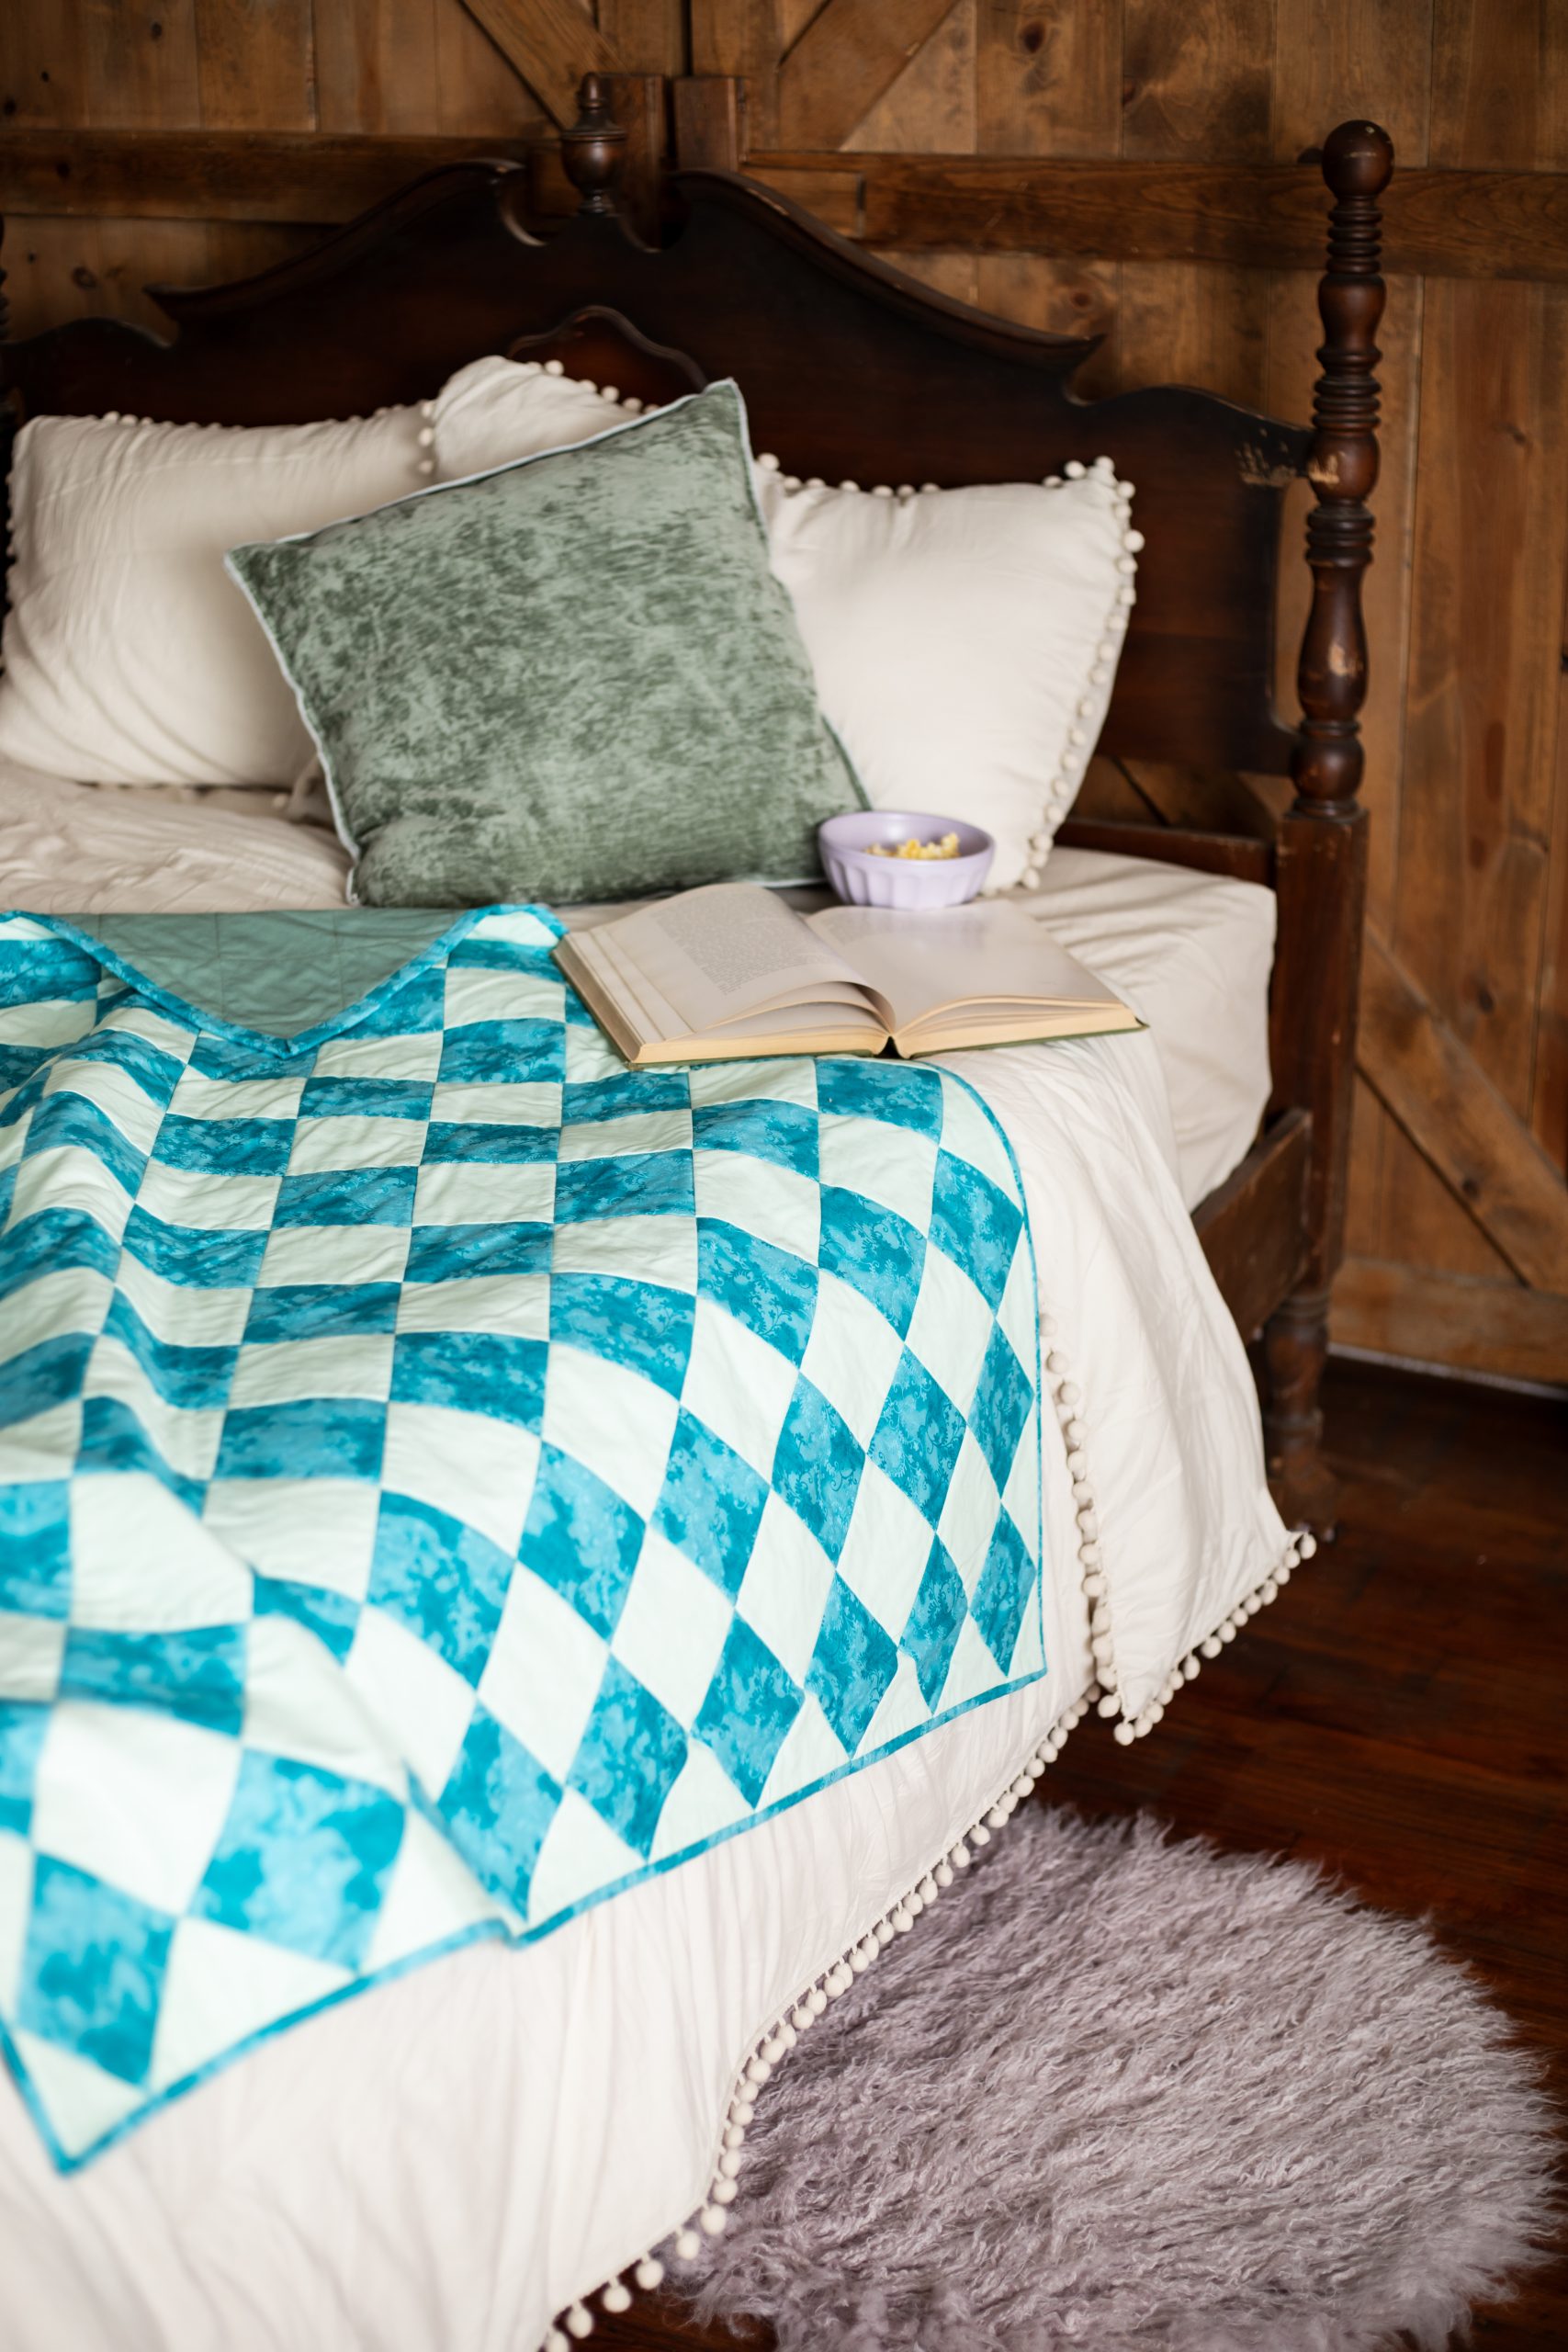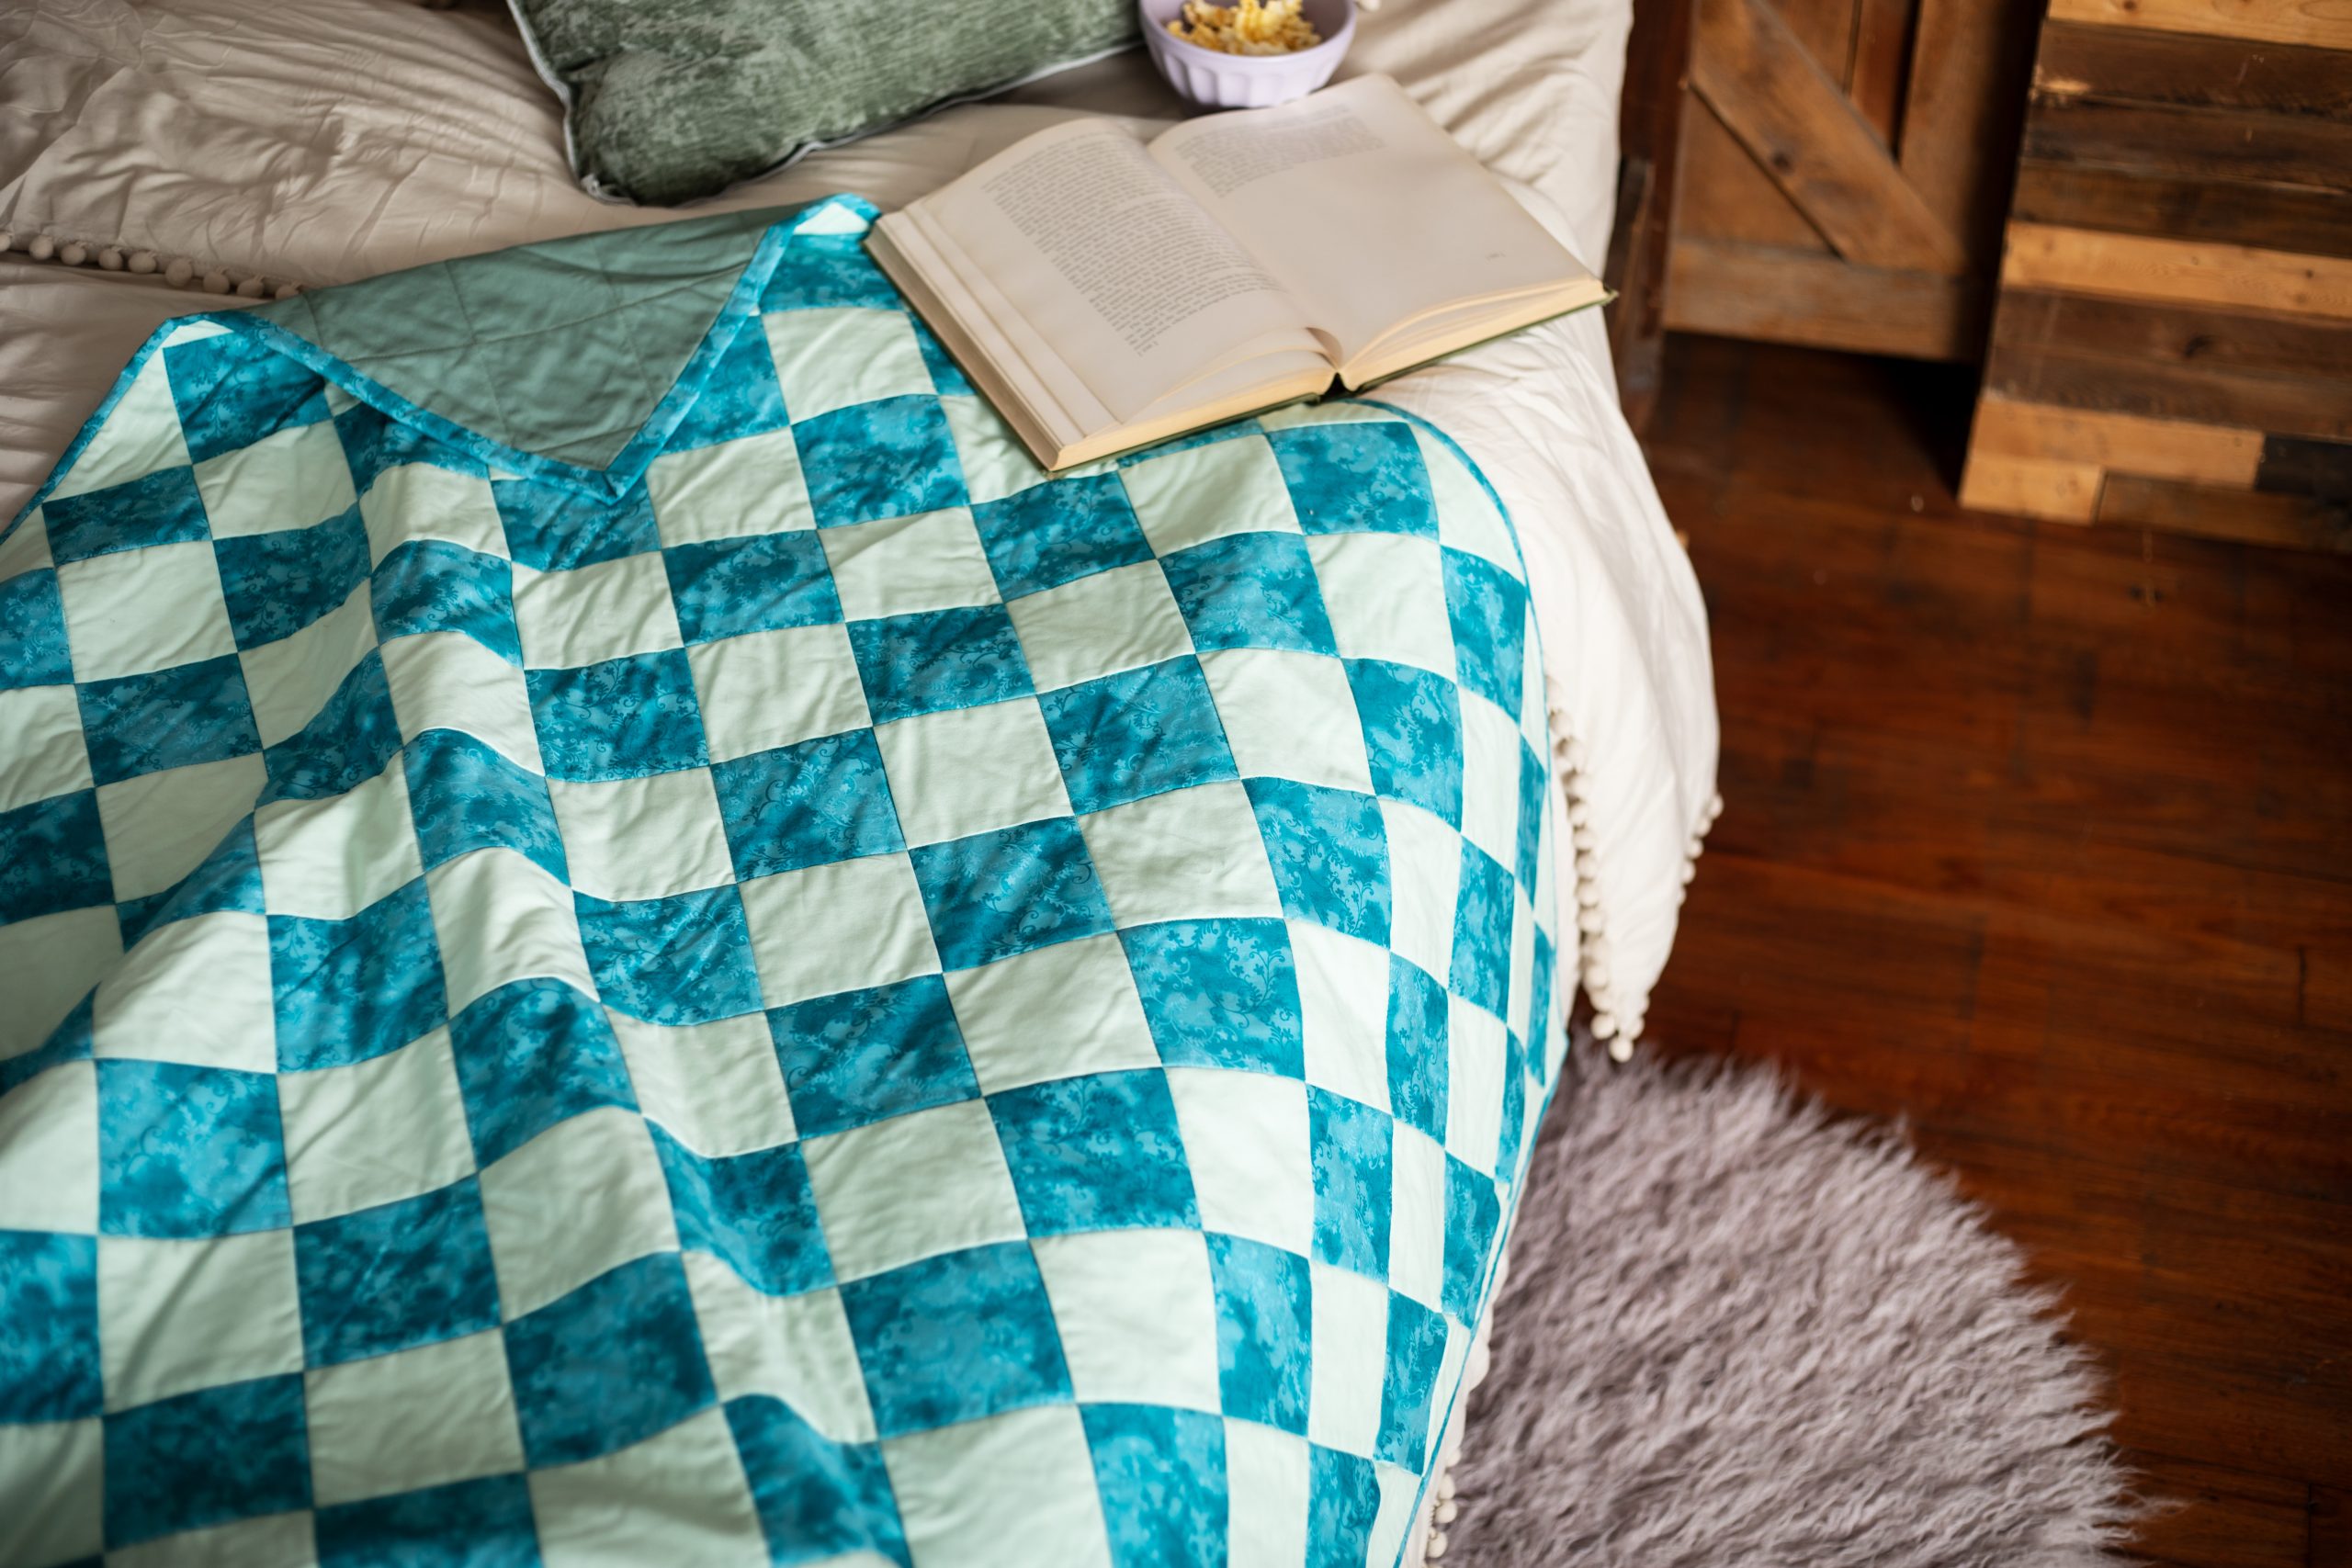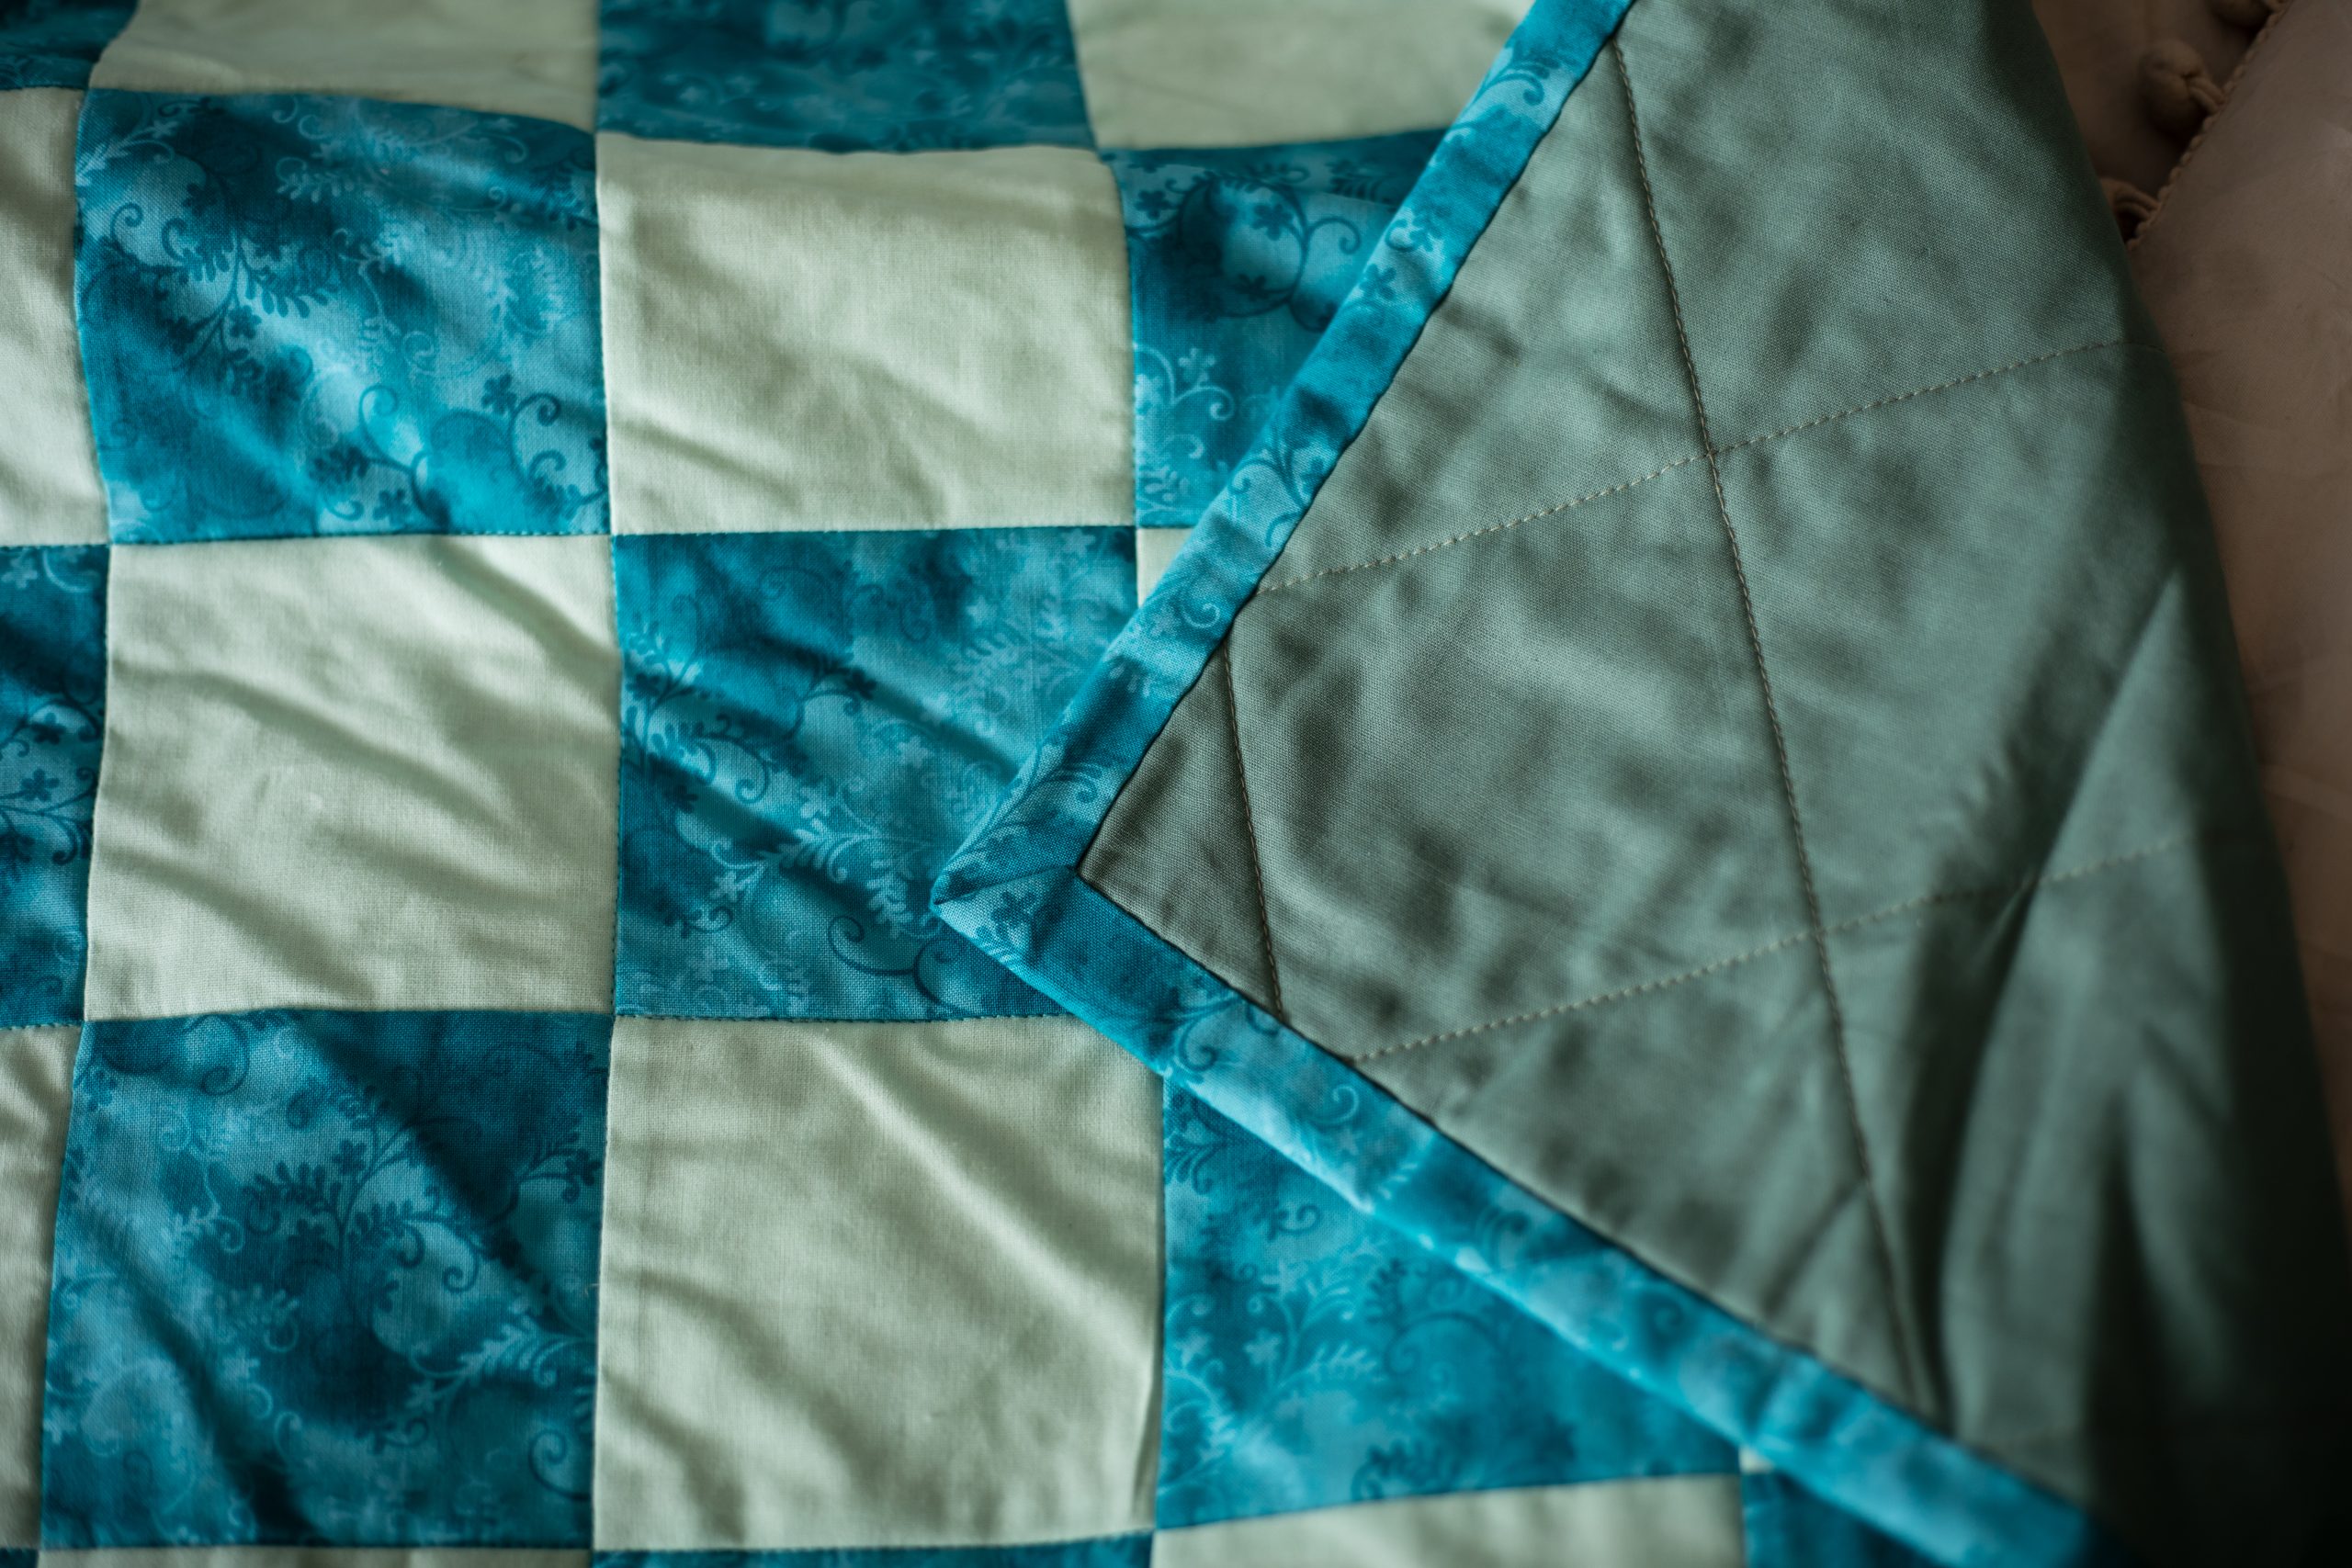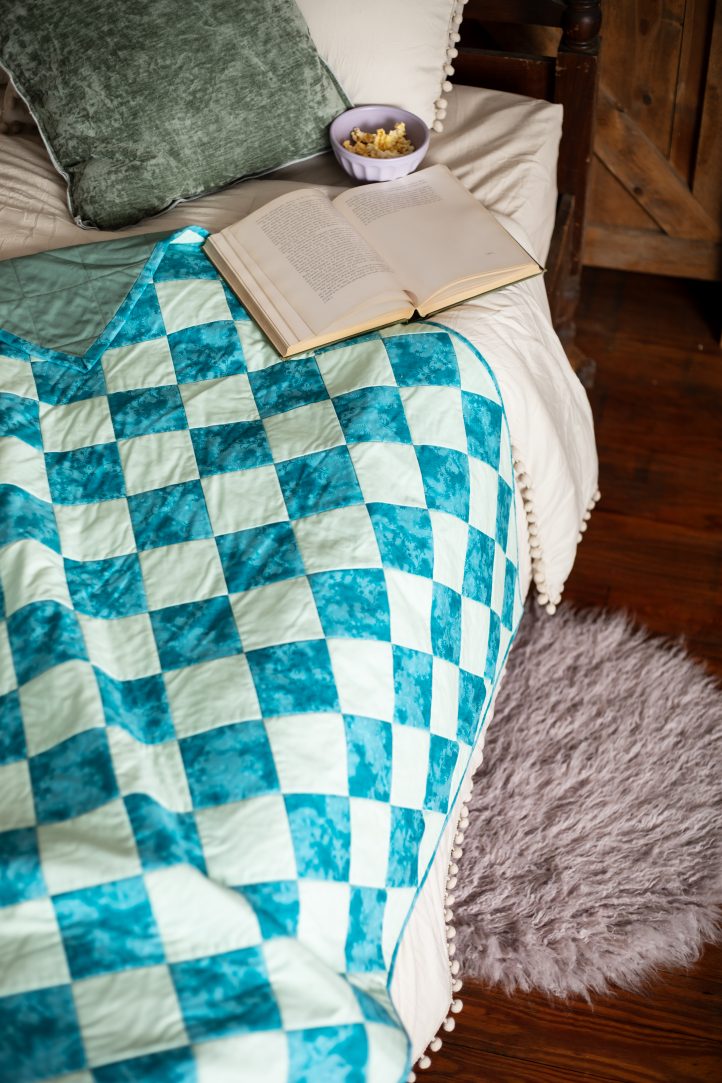
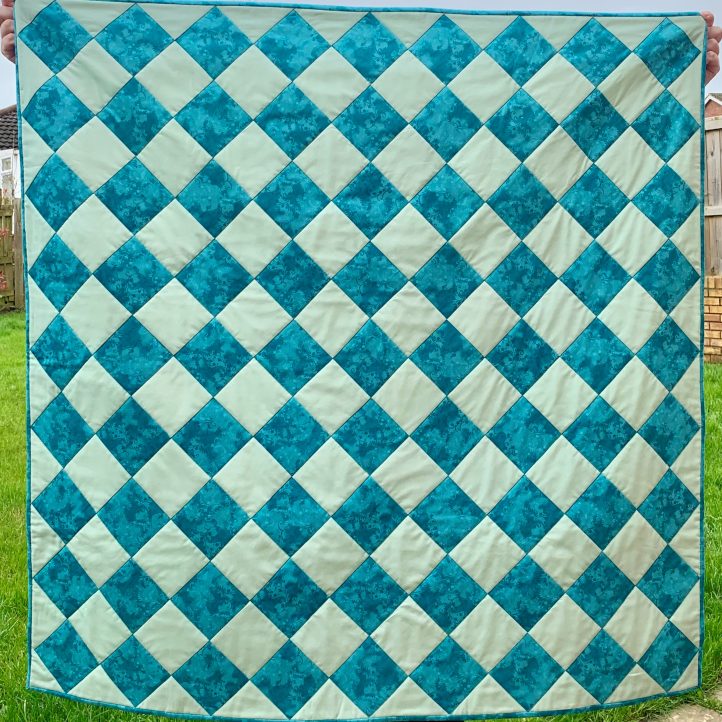
We’ve been seeing groovy versions of the classic checkerboard print everywhere in clothing and home décor, and we’re so excited to share this beautiful checkerboard quilt pattern from Zoe Ballard. Made in eye-catching shades of seafoam and teal, this trendy quilt pattern scratches our love of all things retro while still maintaining its modern look. Make your own version in alternating light and dark shades in bold summer colors.
Skill Level: Confident beginner
Designer Note: WOF – Width of Fabric
Materials:
- Fabric requirements:
- Dark fabric: 1 3/4 yards
- Light fabric: 1 1/2 yards
- Batting: 55” square
- Backing: 60” square
Cutting Instructions:
- Dark fabric:
- Nine 4” x WOF strips
- Five 2 1/2” x WOF strips (binding)
- Light fabric:
- Seven 4” x WOF strips
- Two 6 1/8” x WOF strips
Sewing Instructions:
- With right sides together, stitch one dark 4” strip to one light 4” strip along the long edge. Press the seam towards the dark fabric. Repeat to make four more sets, five in total together.

- From the five sets, sub-cut to make forty-nine (49) 4” wide strips.

- From the remaining dark and light 4” strips, with right sides together, stitch a dark and a light strip along the long edge. To the opposite long edge on the light strip, stitch a second dark strip. Press towards the dark strips. Repeat to make 1 more set.

- From the two sets, sub-cut to make fifteen (15) 4” wide strips.

- Cut an extra 4” strip and unpick the dark squares to be used in top left and bottom right of the quilt top.
- From the two 6 1/8” x WOF light strips cut eight 6 1/8” squares. Cut all of these squares on both diagonals to make thirty-two (32) quarter square triangles for the row ends of the quilt.

- From the leftovers of the 6 1/8” x WOF light strip, cut two 3 3/8” squares. Cut both squares on one diagonal to make four half square triangles for the corners of the quilt.

CONSTRUCTION:

Rows 1 and 17:
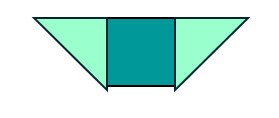
- With right sides together, stitch a light quarter square triangle to a single 4” dark square making sure the diagonal is in the correct position. With right sides together, stitch a second light quarter square triangle to the opposite side of the dark square making sure the diagonal is in the correct position. Press the seams towards the dark fabric.
Rows 2 and 16:
- With right sides together, stitch a light quarter square triangle to one short edge of a set of three making sure the diagonal is in the correct position. With right sides together, stitch a second light quarter square triangle to the opposite side of the set of three making sure the diagonal is in the correct position. Press the seams towards the dark fabric.

Rows 3 and 15:
- With right sides together, stitch a set of three to the light side of a set of two. Press the seam to the dark fabric.
- With right sides together, stitch a light quarter square triangle to one short edge of the strip making sure the diagonal is in the correct position. With right sides together, stitch a second light quarter square triangle to the opposite side of the strip making sure the diagonal is in the correct position. Press the seams towards the dark fabric.

Rows 4 and 14, Rows 5 and 13, Rows 6 and 12, Rows 7 and 11, Rows 8 and 10:
- For each of the next five pairs of rows stitch an extra set of two into the row. Press the seams to the dark fabric.
Row 9:
- With right sides together, stitch one set of three and seven sets of two into a row. Press the seams to the dark fabric.
Completing Your Quilt Top:
- Stitch the rows into pairs, adding Row 17 to Row 15/16. Stitch the pairs into fours. Stitch the fours into eight (and a nine). Stitch the two halves together.
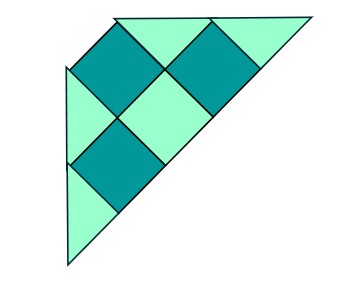
- With right sides together, stitch a light half square triangle to each corner of the quilt top.
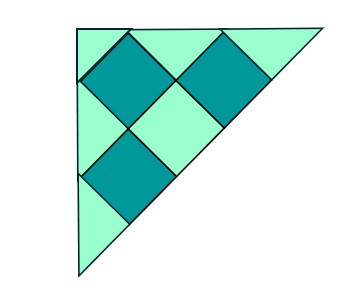
- Press the seams well in one direction.
LAYERING UP:
- With smaller quilts, Zoe finds that she can turn the quilt over during layering and it doesn’t wrinkle. Use your preferred way to layer your quilt.
- On a flat surface, lay the quilt top right side up on the batting and smooth out. Turn the quilt/batting over and lay the backing on, right side up, and smooth out. Turn the quilt so the top is showing. Pin/baste well.
QUILTING:
- Quilt as desired. Zoe stitched in the ditch along all the seams.
BINDING:
- Bind using your preferred method. The designer used double fold binding.

