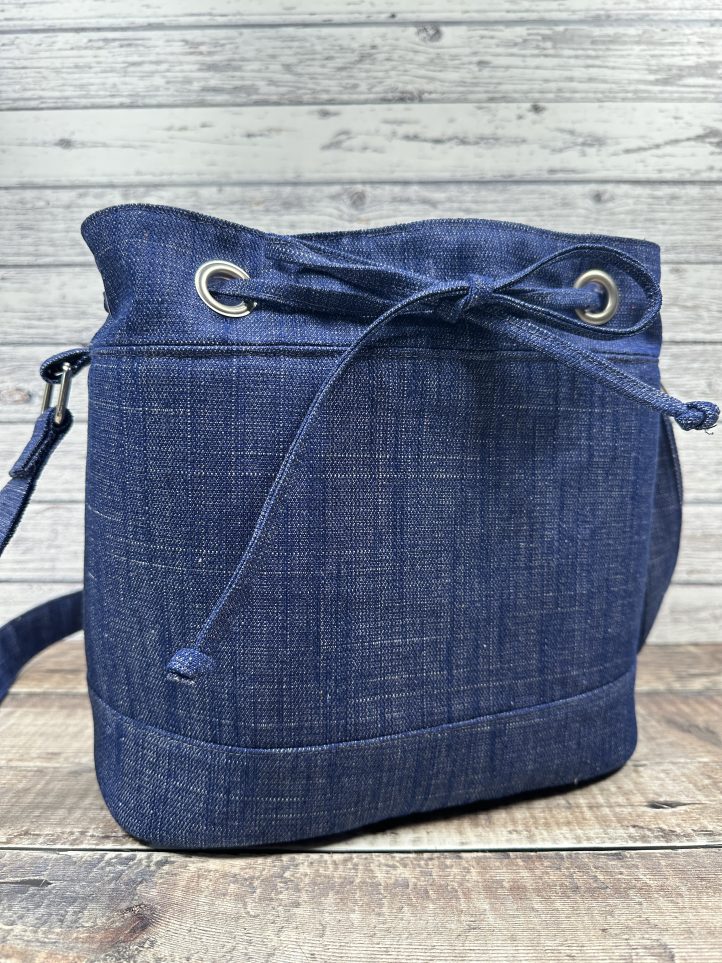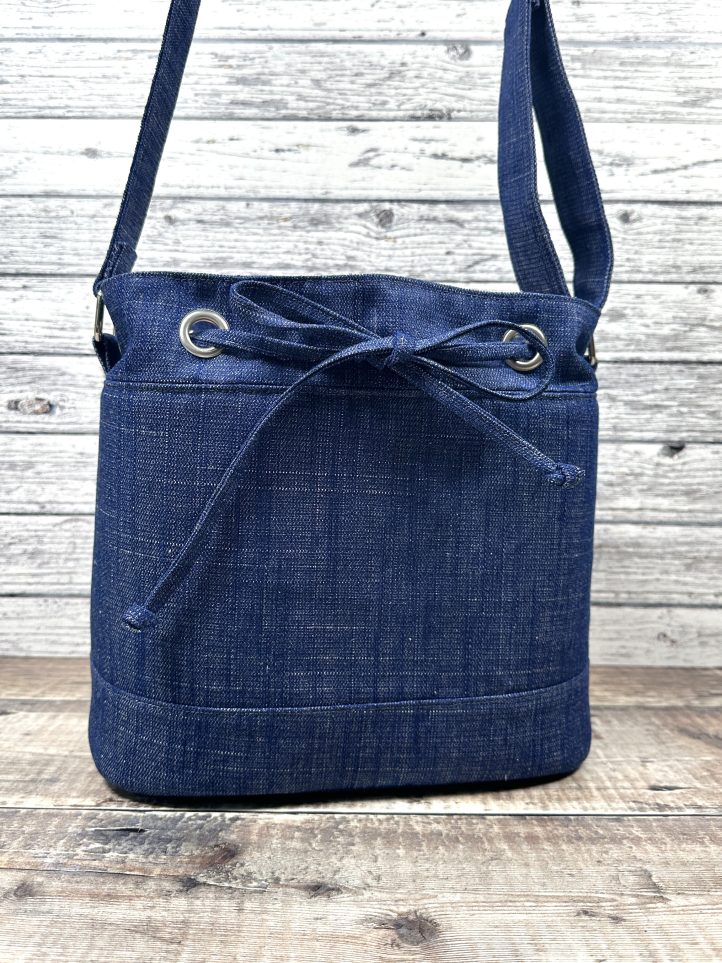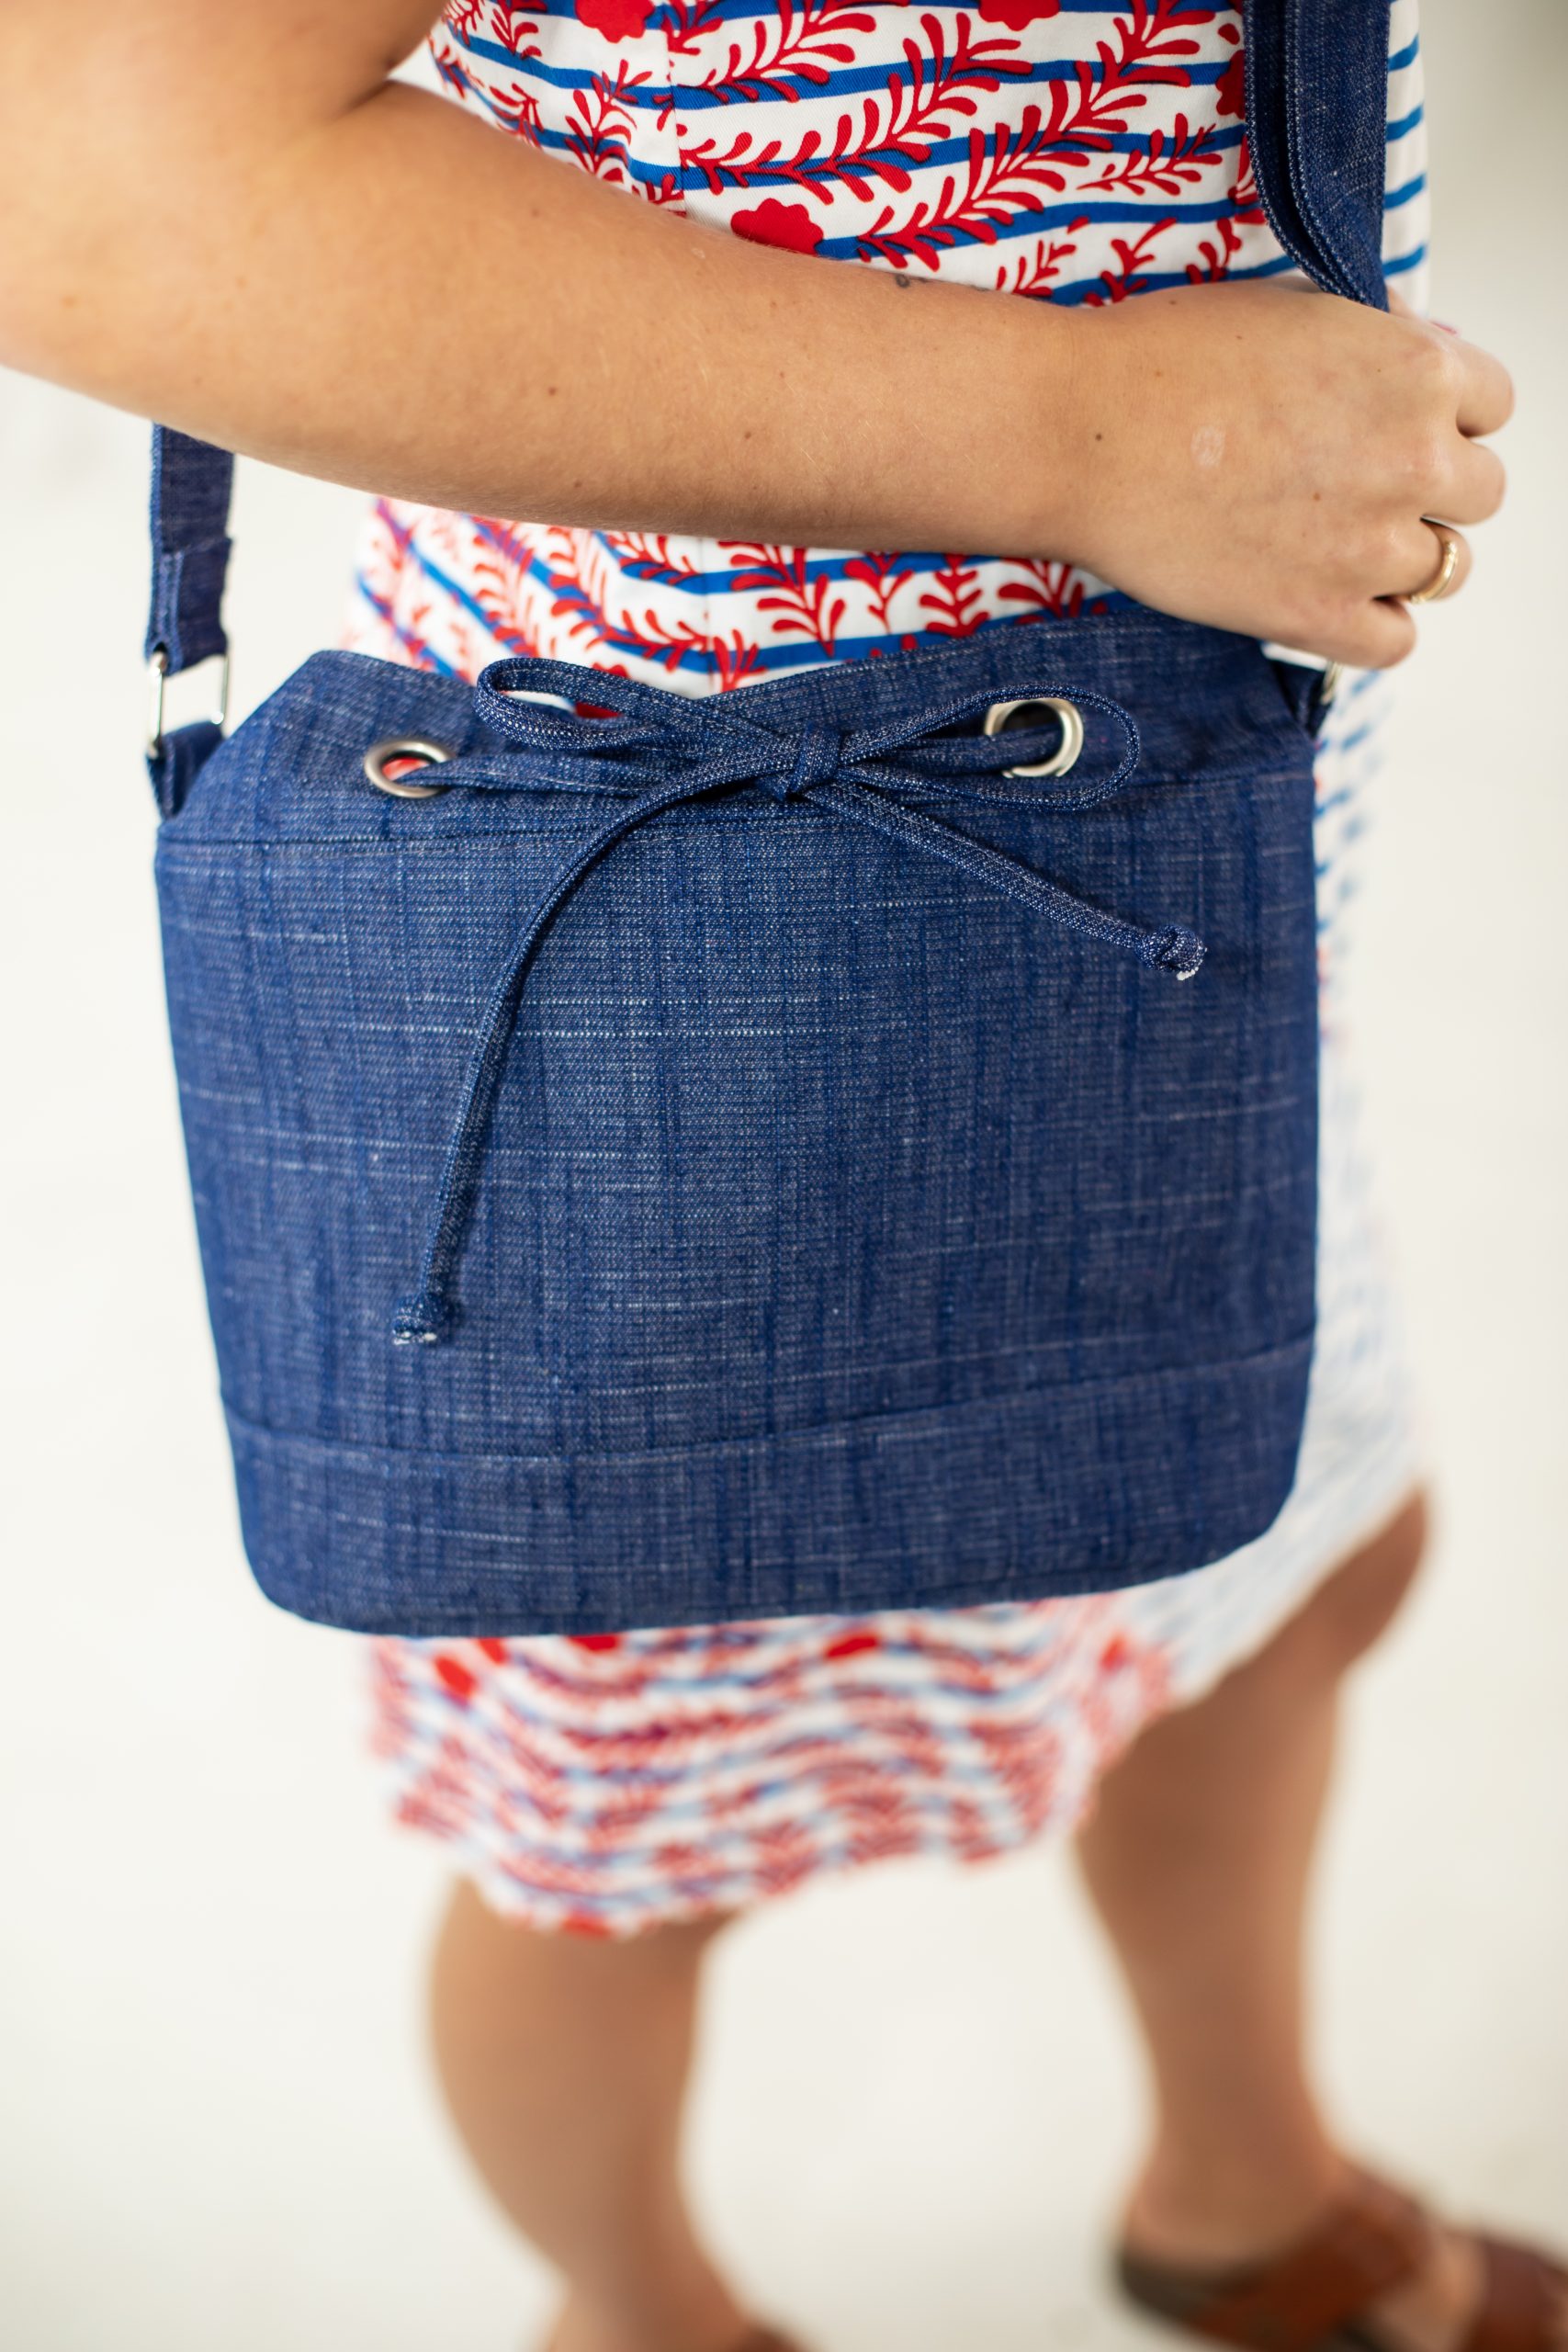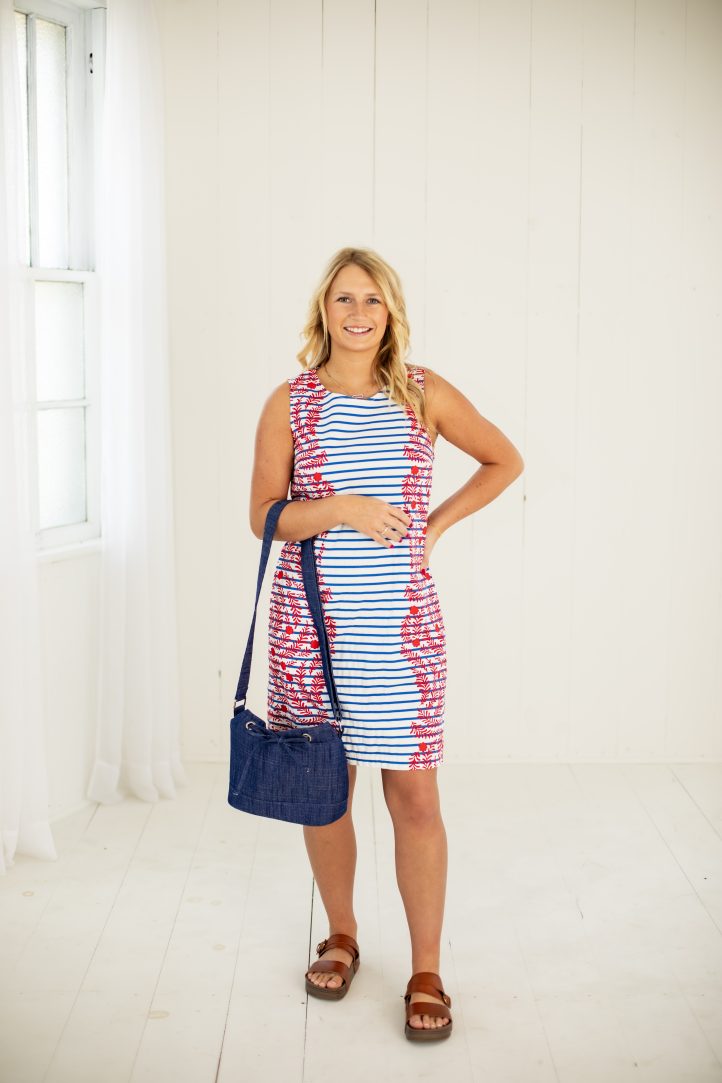
We adore how cute and practical bucket bags are! This darling denim drawstring bag pattern is roomy enough to hold all of your day-to-day essentials and its lightweight design makes it ideal to take with you on your summer adventures. Designed by Debbie von Grabler-Crozier, this bag sewing pattern features an adjustable strap and is made in a sturdy indigo denim.
Designer Note: Seam allowances are all 1/4” and have already been added.
Materials:
- Fabric:
- 1/2 yd. heavy indigo denim. Debbie loves Bluebottle Field from the Solid Textured Denim collection (Denim Studio) by Art Gallery Fabrics.
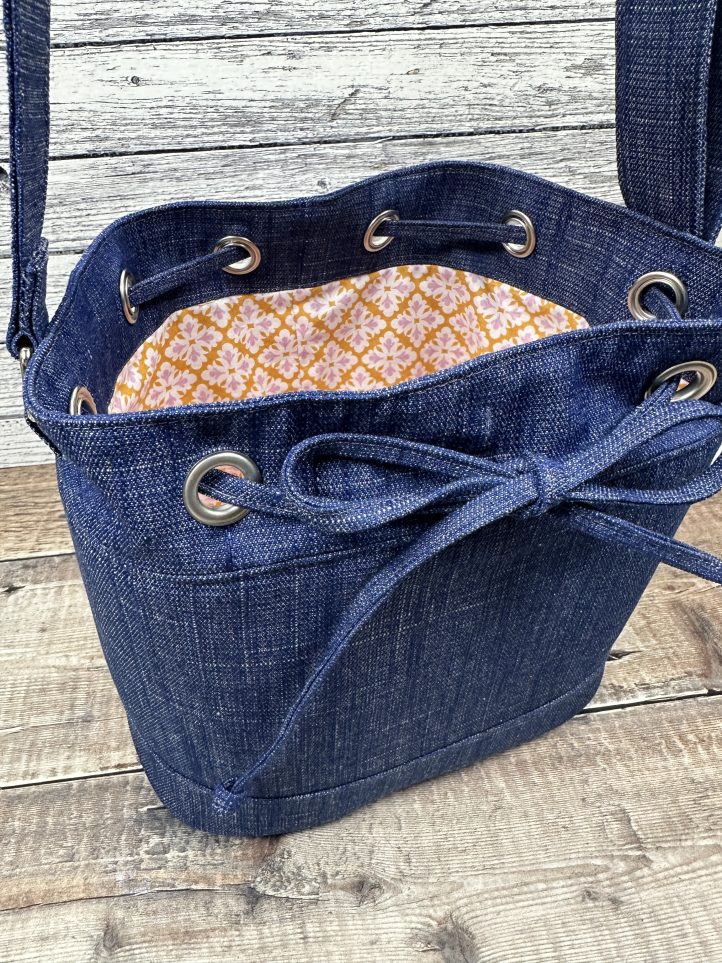
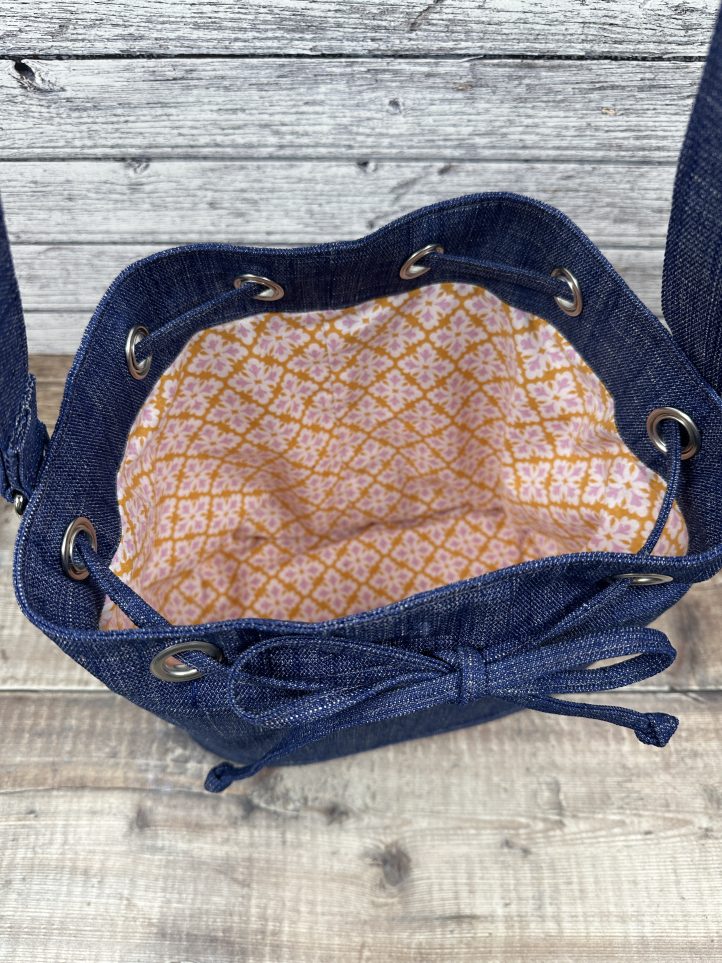
- 12” strip floral cotton fabric for lining.
- Interfacing:
- 1 yd. Style- vil foam interfacing (Vlieseline)
- 8x 3/4” eyelets
- 2x 1 1/4” rectangle rings
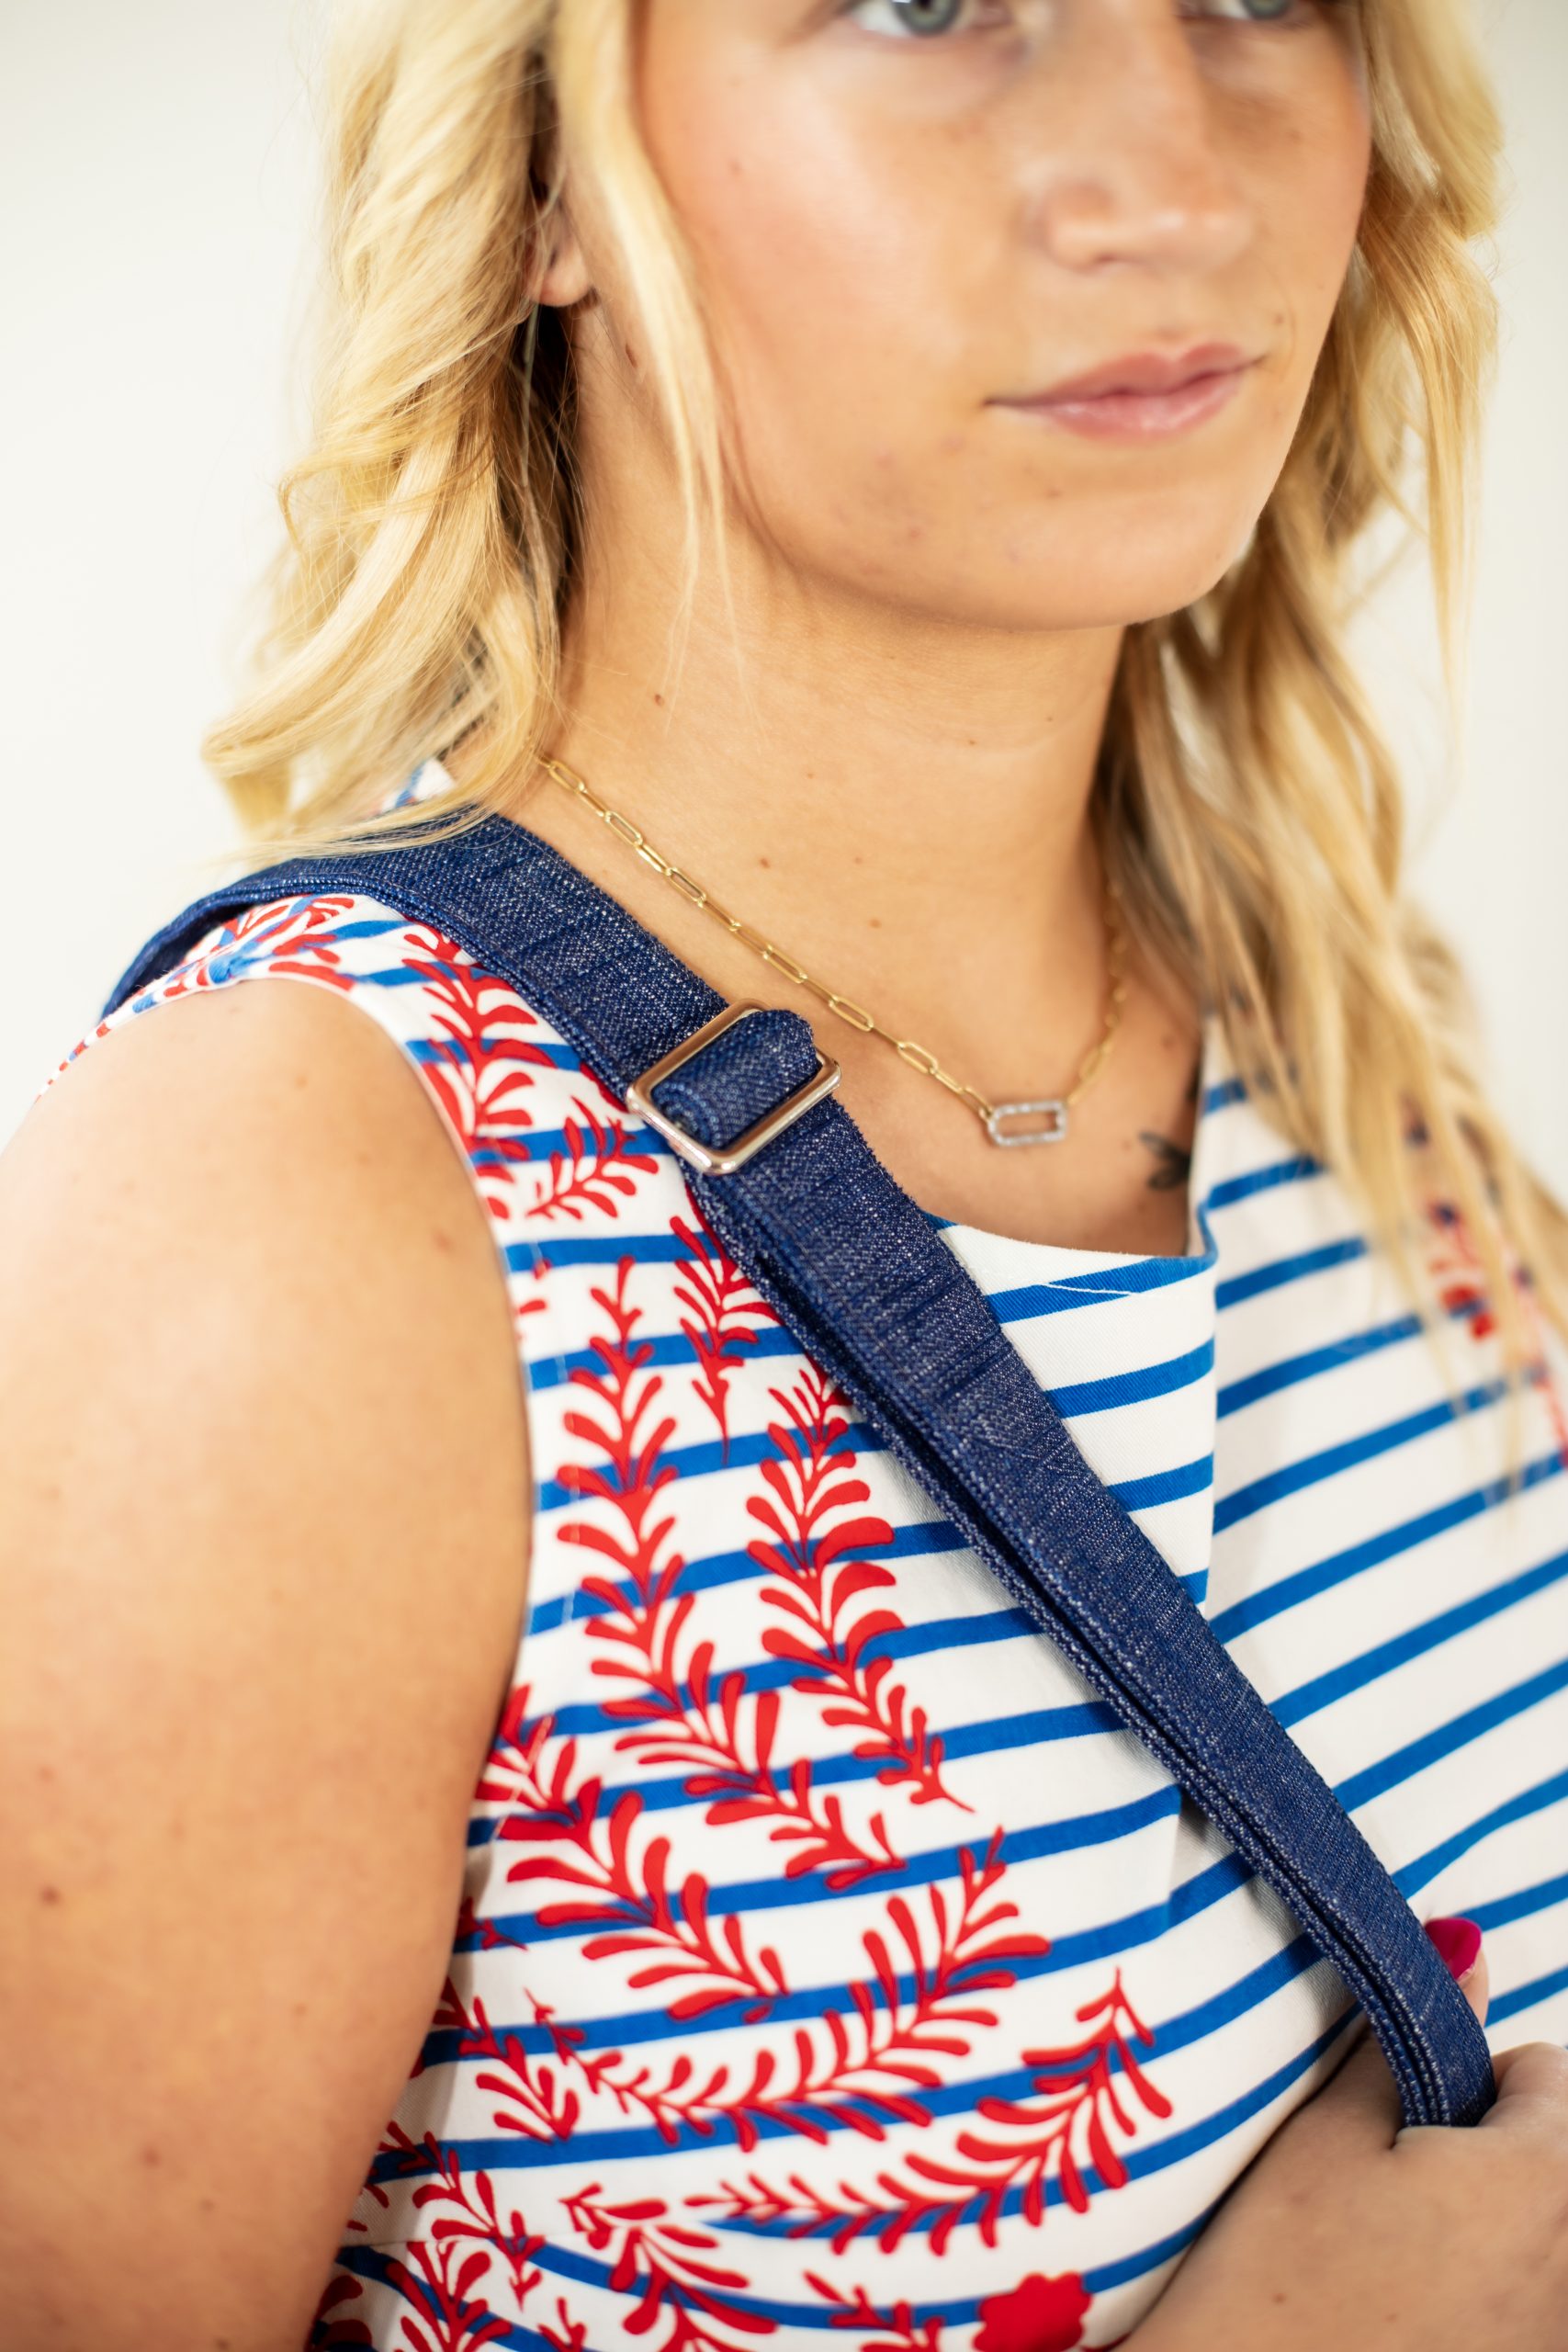
- 1 1/4” bag slider
- Clear drying glue suitable for fabric
- Coordinating threads for all fabrics and trims
- Scissors
- Fabric markers
- PDF Template – This is located at the bottom of this page. Please see printing instructions below.
PRINTING INSTRUCTIONS:
Note: To download the template, click on the pattern download button at the bottom of the page. We recommend opening your pattern download using Adobe Acrobat.
Cutting Instructions:
From the denim:
- 1 piece 29 1/2” wide x 2 1/2” tall for the exterior top panel
- 1 piece 29 1/2” wide x 6” tall for the exterior middle panel
- 1 piece 29 1/2” wide x 2 1/2” tall for the exterior bottom panel
- 1 piece 29” wide x 2 1/2” tall for the interior facing panel
- 1 piece (template) for the exterior base panel
- 1 piece 5” wide x 60” long for the adjustable strap (straight grain)
- TIP: You can make this strap longer or shorter to suit your needs but be aware that the fabric needs may change.
- TIP: If you need to join the strap pieces to get a longer length, join them with a diagonal cut as it is easier to spread the seam bulk and make it less visible.
- 1 piece 5” wide x 6” long for the rectangle ring tabs (to be sub-cut into 2 pieces) (straight grain)
- 1 piece 1 1/4” wide x 54” long for the drawstring (straight grain)
From the lining fabric:
- 1 piece 29” wide x 8 3/4” tall for the main lining panel
- 1 piece (template) for the base lining panel
TIP: There are no cutting notes for the Style-Vil foam interfacing. Instructions will be given as we go along but the basic idea is to press the piece to be interfaced and then pin to a slightly larger piece of foam interfacing. Use a machine basting stitch to attach the panel to the foam, gently keeping a taut tension on it. Then trim the excess foam away.
Sewing Instructions:
MAKE THE ADJUSTABLE STRAP:
- Fold the adjustable strap in half lengthways with the wrong sides facing and press to obtain a center crease. Open out and fold the long raw edges to the center crease, also wrong sides facing and press.
- Open out again and fold the ends in by 3/8”. Press and refold along all creases, enclosing all of the raw edges.
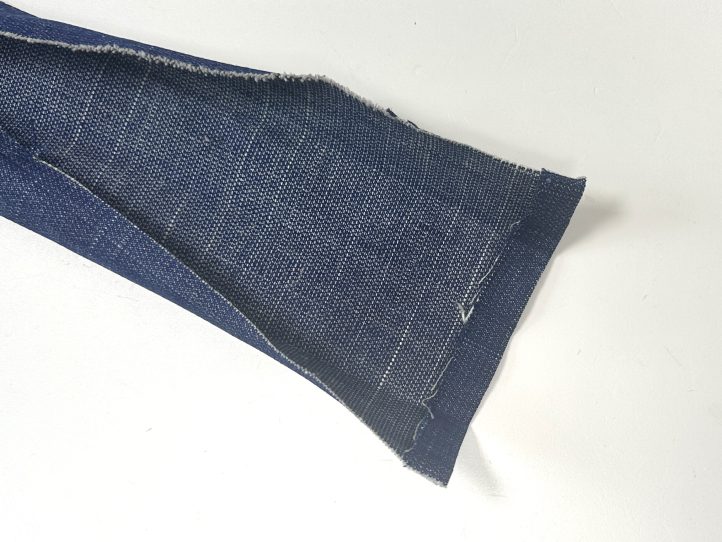
- Repeat this for the other end to make a closed strap.
- TIP: You will need to trim some of the excess fabric from the ends. The designer prefers to lightly glue the ends closed so that they are perfect and this makes precise sewing easier.
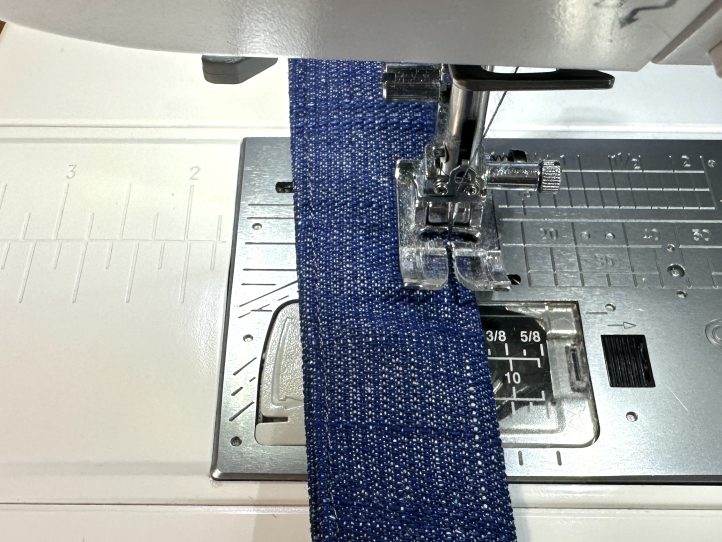
- Topstitch narrowly (1/8”) all the way around the outer edge of the strap.
- Fold one end of the strap over by 1 1/4” and attach it to the center bar of the bag slider.
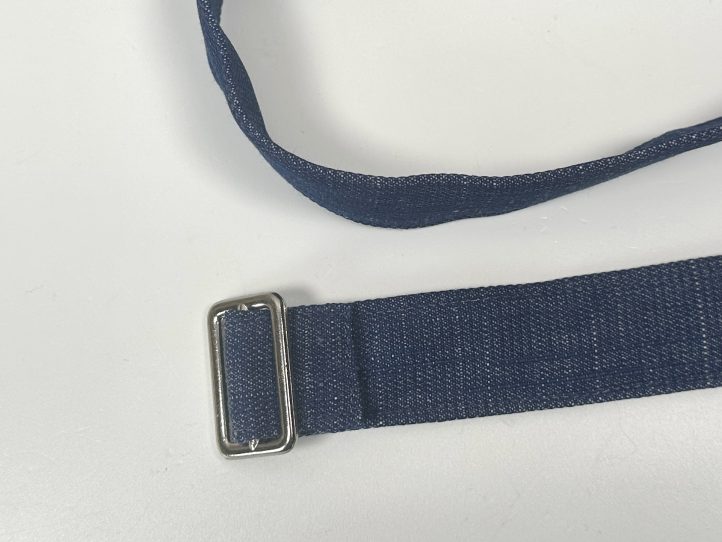
- TIP: The designer prefers to do this by hand because it is neater and just as strong. The choice is yours, of course.
- Put the strap aside until needed in the final steps.
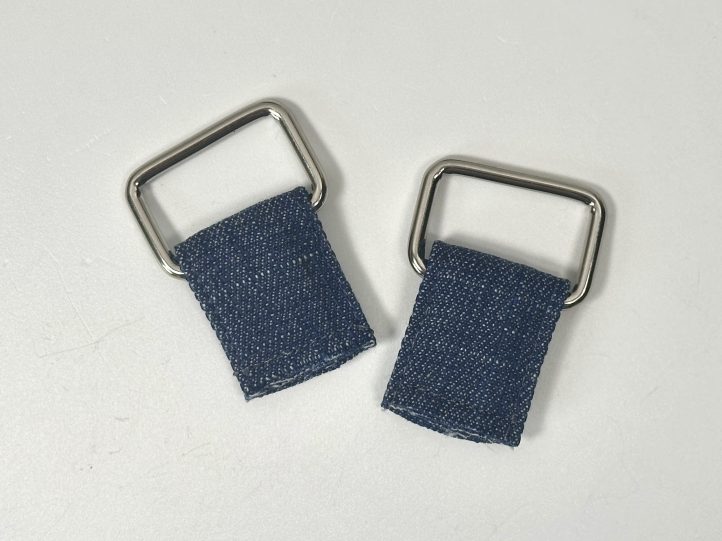
MAKE THE TABS:
- Make the tabs exactly the same as the strap but omit closing the ends. They can be left raw as they will be hidden between the layers when they are attached.
- Make the tabs as one piece and then cut the piece in half to make two tabs. Enclose a rectangle ring in each and baste the ends closed.
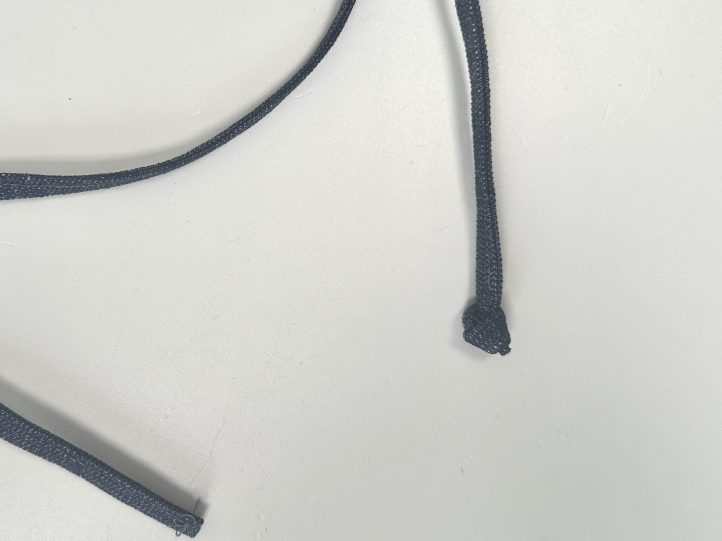
MAKE THE DRAWSTRING:
- Similar to the strap and tabs, fold and press but leave the ends raw. Tie a knot in one end and trim.
CONSTRUCT THE LINING:
- With the right sides together, sew the short, rear lining seam to form a loop. You don’t need to leave any turning gaps. Press the seam open.
CONSTRUCT THE EXTERIOR (THE OVAL BASE PANEL):
- Lay the base panel onto a piece of slightly larger foam interfacing and narrowly (1/8”) machine baste the edge.

- Trim the interfacing back to the denim all around and then, turn it over so that the interfacing is uppermost. Lay the lining, wrong side facing the interfacing and narrowly machine baste this on in the same way. Trim any excess lining overhang.
CONSTRUCT THE EXTERIOR (THE SIDES):
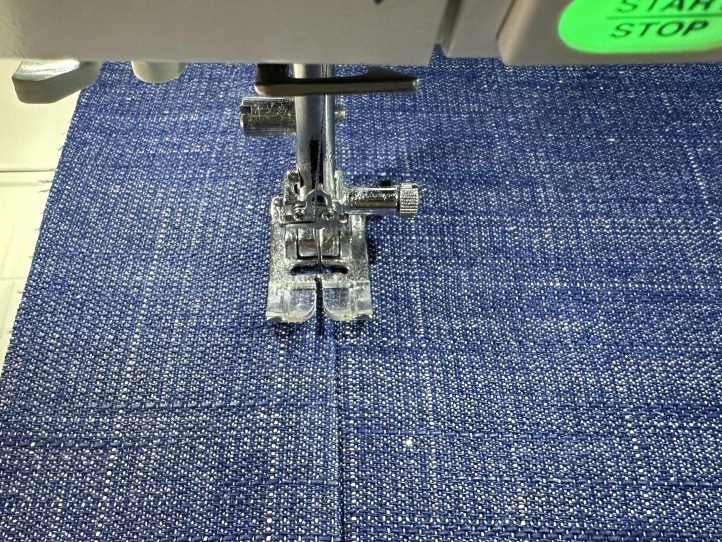
- Attach the bottom exterior panel to the middle exterior panel. Open the pieces the right way out and press the seam down. Topstitch narrowly (1/8”) along the seam.
- Attach the pressed exterior panel to a piece of slightly larger foam interfacing and trim the foam back to the denim edge.
- Temporarily fit this onto the oval base panel and trim if needed.
- When you are happy with the fit, sew the rear seam and attach the exterior to the base panel.
- Notch the curves of the base panel and turn the bag the right way out. The raw edges will be bound in the final steps.

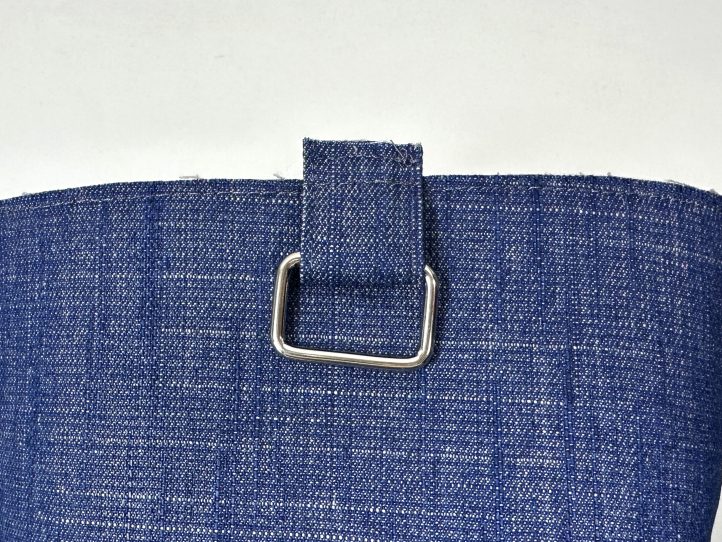
ATTACH THE SIDE TABS:
- Find the center of the top edge on the exterior and mark it. Measure 7 1/2” to the left of this mark and 7 1/2” to the right of it and make a mark in both places.
- TIP: These marks should be on the side centers left and right.
- Attach a side tab to the top edge of the exterior on the marks that you have made and allowing 1/2” overhang for added strap security. Repeat for the other side.
CONSTRUCT THE EXTERIOR (THE TOP EYELET PANEL):
- The eyelet panel has an exterior panel and a matching facing panel. Sew the top exterior panel on each short end to form a loop (right sides facing) Press the seam open.
- Repeat all of this for the facing panel.
- Attach the facing panel to the top of the lining, making sure that all opened seams line up.
- TIP: Before you put the lining panel on, make sure that everything fits and trim if needed. The lining should fit smoothly to the exterior.
- Press the facing seam upwards and topstitch narrowly (1/8”) on the bottom of the facing.
- Attach the top exterior panel loop to the top edge of the bag exterior, lining the seams on both. The raw ends of the tabs will now be hidden.
- Press the seam downwards and topstitch narrowly right around.
- TIP: This may feel a bit wrong because the seam wants to naturally sit up due to the bulk of the foam interfacing. But the tabs will not behave properly if you press the seam up and topstitch it.
- Pin or clip the facing/lining unit with the right side together to your exterior and line the back seams up perfectly. Sew right around the top edge.

- Turn the right way out so that the facing/ lining is inside the bag and the lining and exterior wrong sides are now facing. Press the top edge so that it is perfect and topstitch narrowly (1/8”) around.
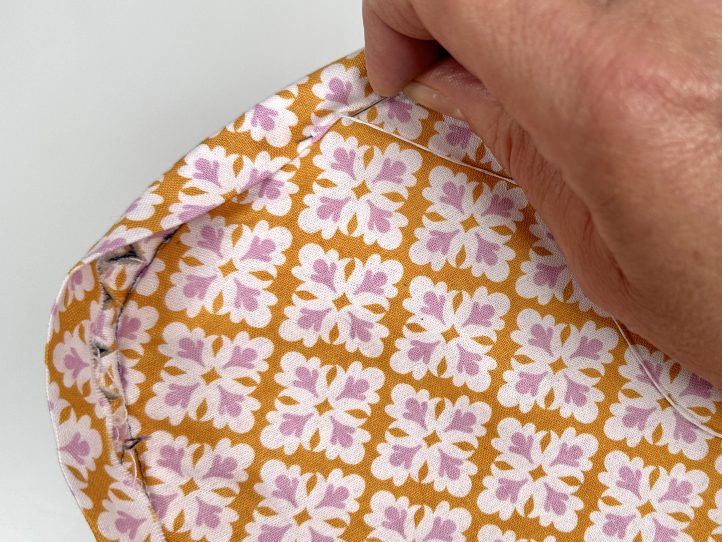
FINISH THE RAW LINING EDGE:
- Reach into the bag and fold the lining over to the wrong side. The amount may vary a bit depending on seam allowances but as a general rule, it will be 1/2” to 3/4”. The idea is that it sits smoothly against the exterior without pulling the exterior down.
- Finger press to crease and then turn the bag inside out. Using your finger press crease as a guide, turn the bottom edge of the lining to the wrong side all the way around and then hand stitch it to the base lining.
- TIP: Check from time to time that everything is smooth. This requires you to turn the bag the right way out because the lining will sit differently when the bag is inside out.
ADD THE EYELETS:
- The 8 eyelets sit 3” apart around the edge. Because brands differ, only general instructions will be given here.
- Find the front center point and mark it. No eyelet sits on this point, as this is where the drawstring is tied.
- Measure down 1” from the top edge and make a mark 3” to one side of the center mark (Debbie has shown the center with a pin so that you can see it). Make a hole here and add an eyelet. Measure 3” to the next one, also 1” down from the top edge.
- Keep going until all of the eyelets are installed.

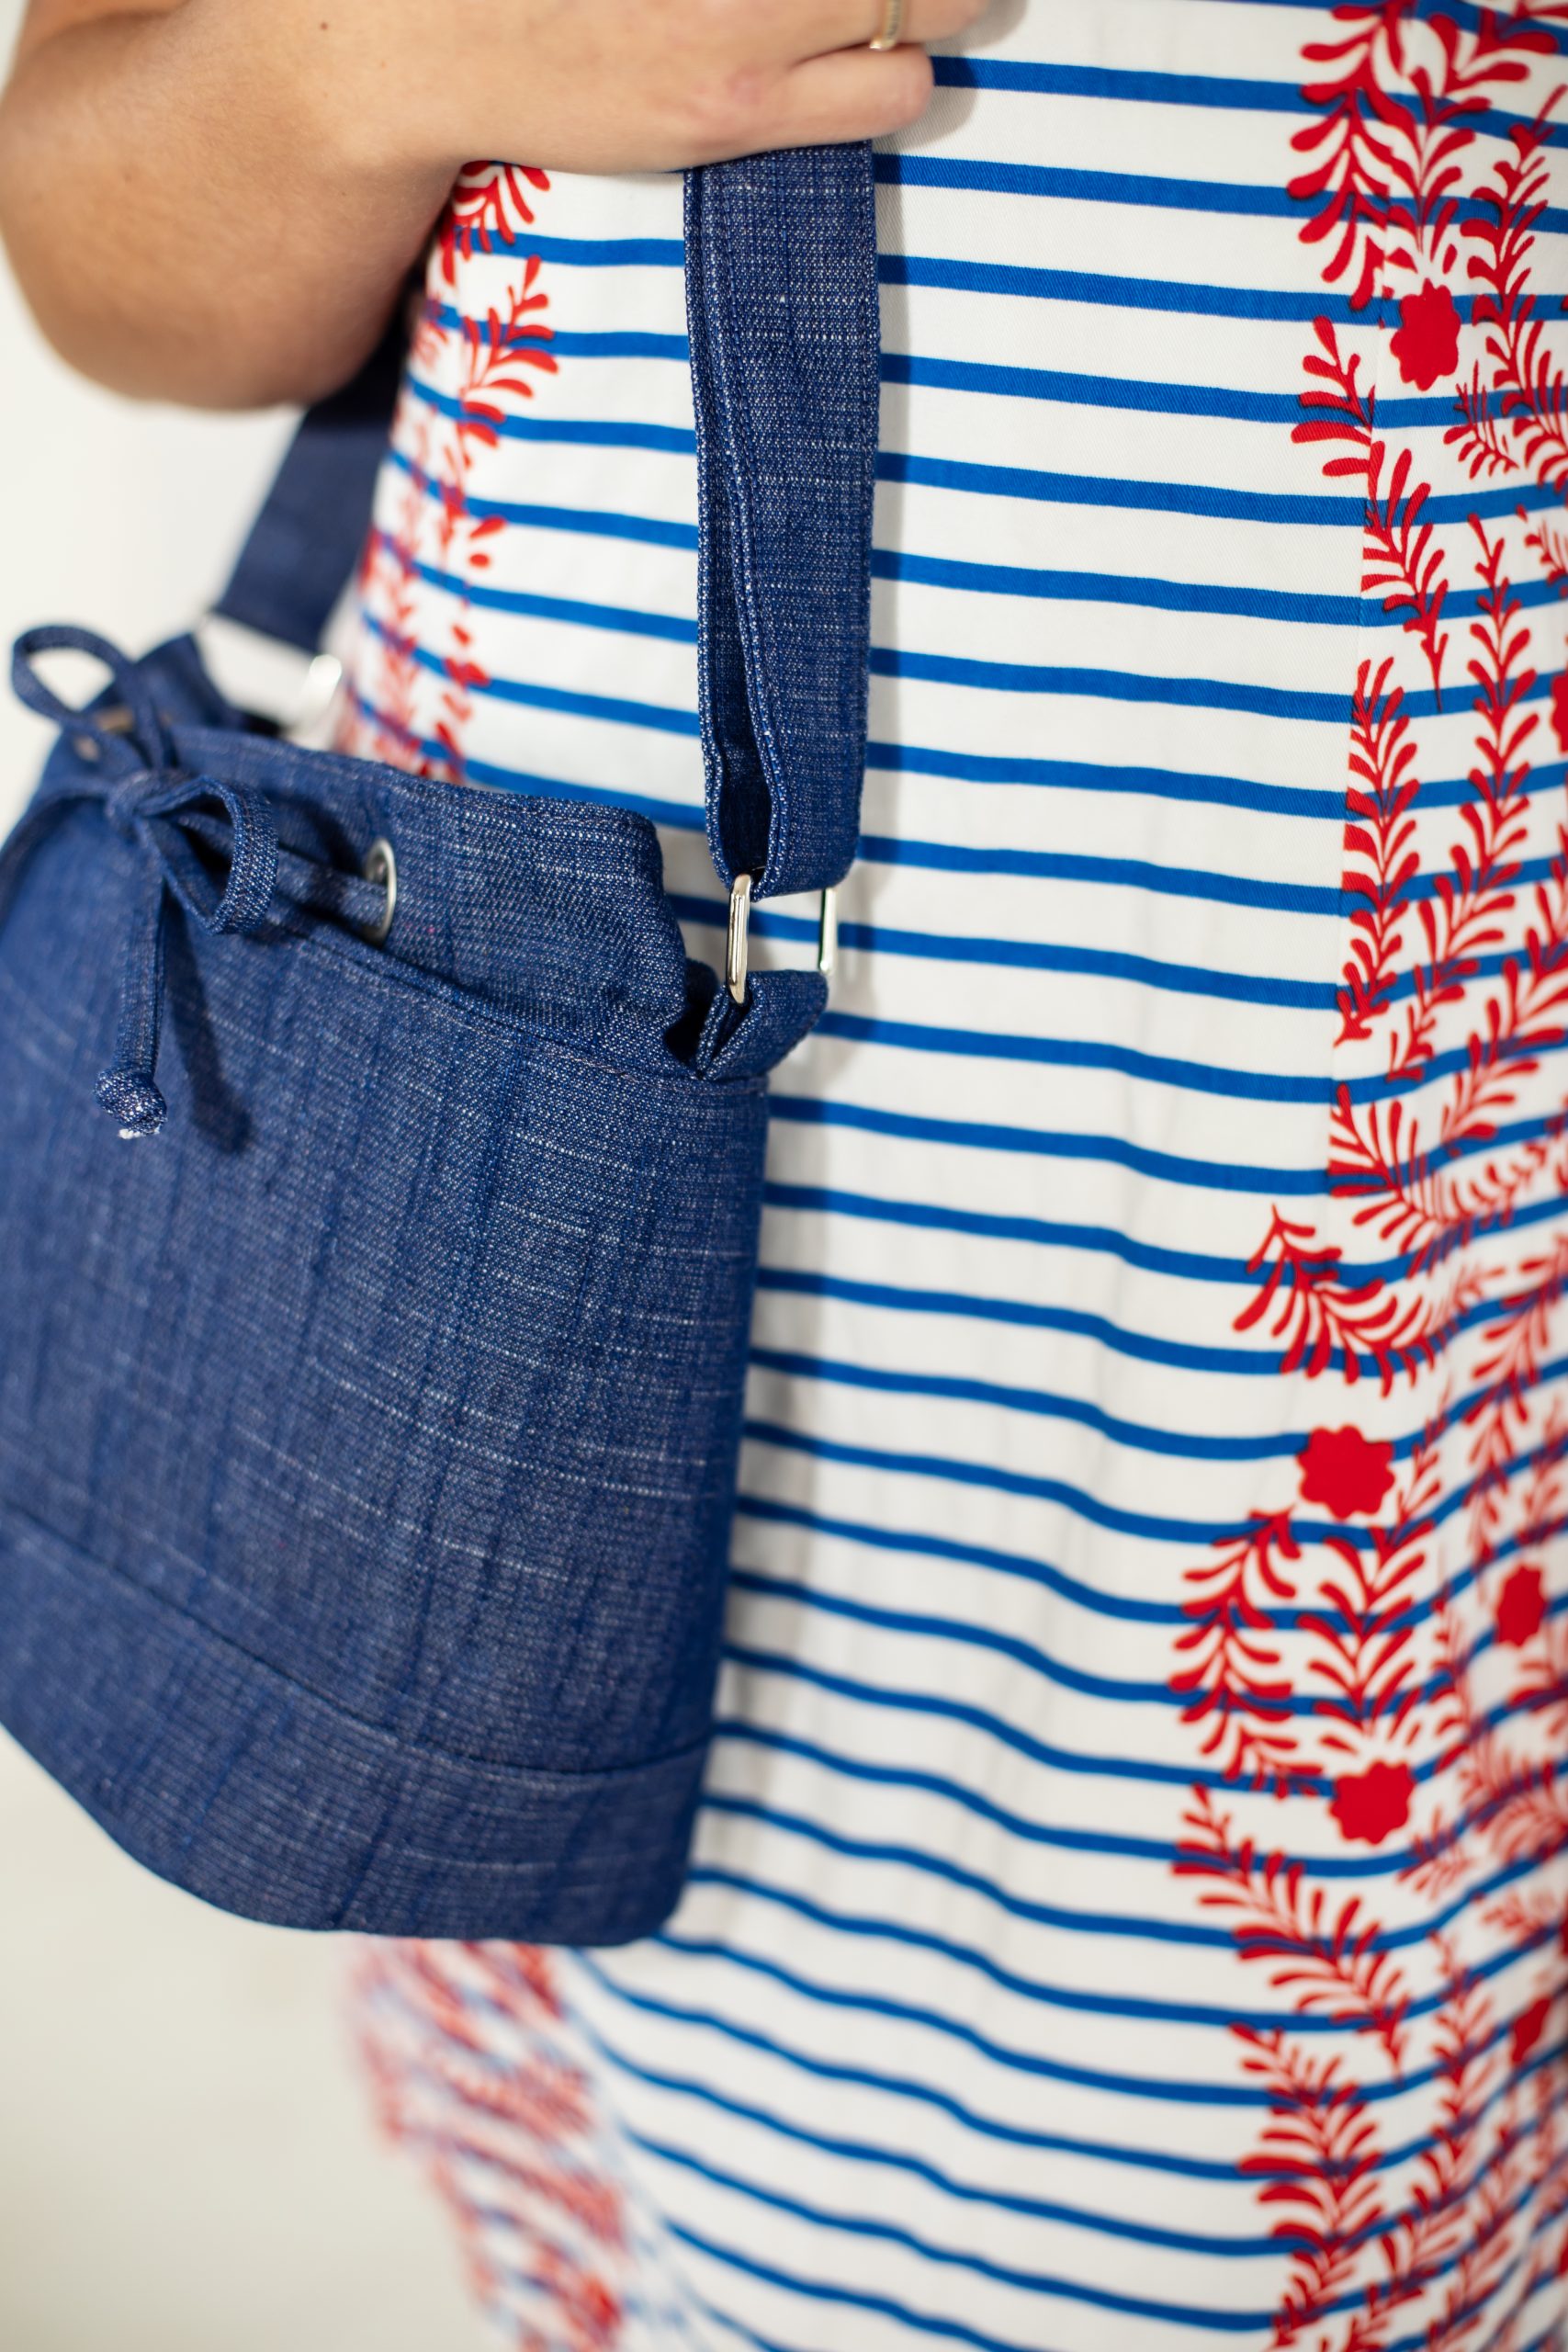
ADD THE ADJUSTABLE STRAP:
- Time to add the adjustable strap that we started in the first steps. Take the free end (without the bag slider on) and bring it down through the rectangle ring on the right hand side (as the bag is facing you).
- TIP: This is a tight fit and a pair of pliers is very useful to help it through the slider.
- Then take the free end back through the bag slider and fasten it on the other rectangle ring.

ADD THE DRAWSTRING:
- Finally, thread the drawstring through the eyelets going in through the eyelet on one side of the center mark and out through the next and so on until you get back to the eyelet on the other side of the front center.
- Tie a knot in the other end of the drawstring.