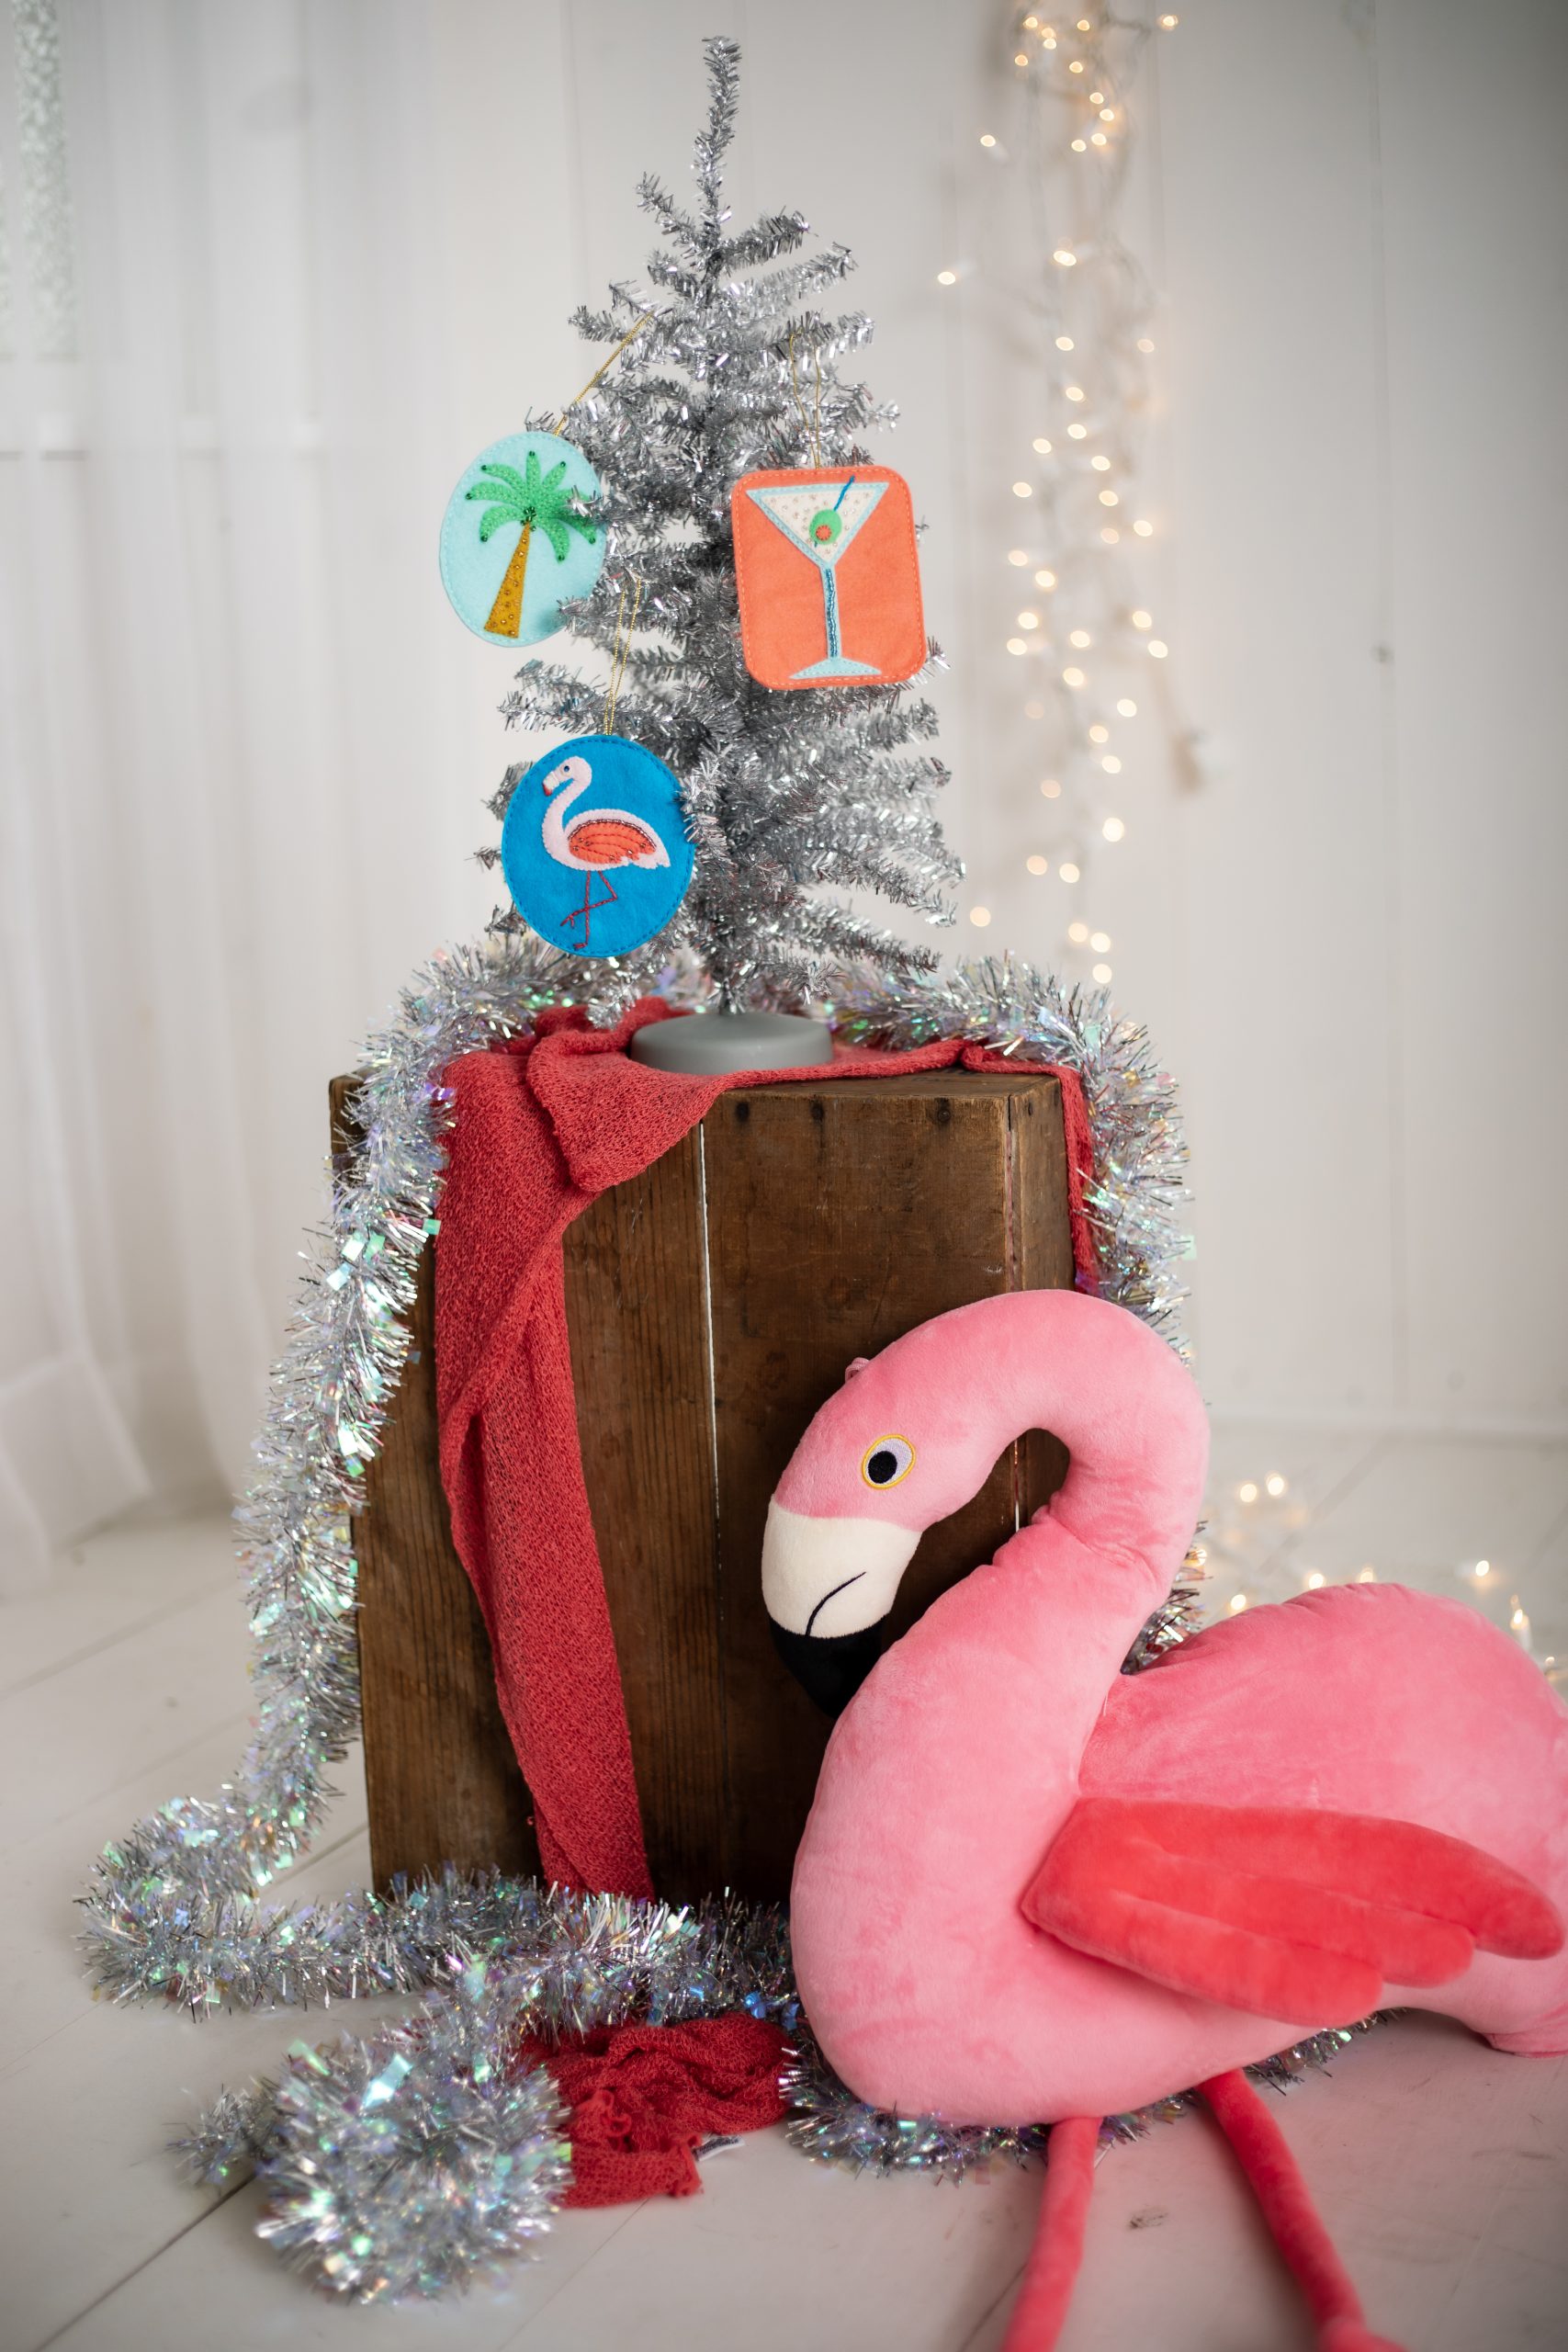
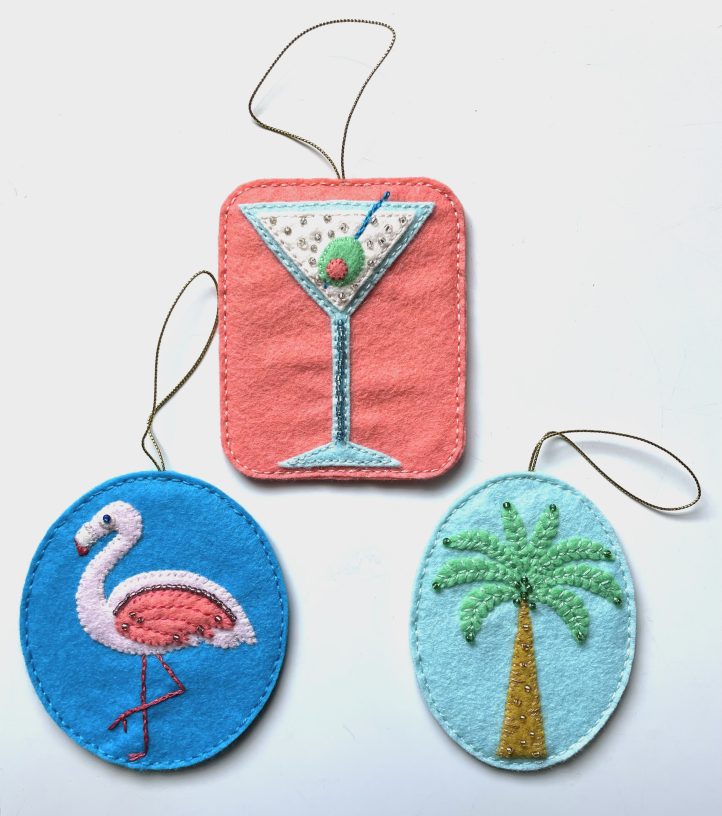
If you’re a sucker for kitschy fun holiday décor, then you’ll love this trio of Christmas ornament patterns from Kathleen Berlew. Fitting with the retro Palm Springs feel of this issue, these ornament sewing patterns feature flamingo, palm tree, and martini glass designs. Made in colorful wool felt, these whimsical sewn ornaments are finished with seed beads and gold cording.
Skill Level: Easy
Time: 8 hours
Finished Sizes: Flamingo Ornament: 3 1/2 inches wide x 4 inches high; Martini Ornament: 3 1/4 inches wide x 4 inches high; Palm Tree Ornament: 3 inches wide x 4 inches high
Designer Note:
- Embroidery Stitches Used:
- Whipstitch
- Straight stitch
- Backstitch
- Split stitch
- Satin stitch
Materials:
- Wool Felt: (Note: Wool Felt provided by Commonwealth Felt)
- 4 1/2 inch x 9 inch piece bright blue
- 4 1/2 inch x 9 inch piece coral
- 8 inch x 9 inch piece light turquoise
- 3 inch x 3 inch piece pink
- 2 inch x 3 inch piece pale peach
- 4 inch x 4 inch piece seafoam green
- 2 inch x 3 inch piece gold
- Thin, stiff cardboard: Cut 1 each of inserts D, E and F.
- Six-strand embroidery floss: Pink, coral, dark coral, pale peach, bright blue, light turquoise, seafoam green, tan
- Seed beads: Lavender, dark blue, light blue, clear, gold, green
- Gold cord: Three 8-inch pieces
- White tissue paper
- Fine-point black marking pen
- Freezer paper (optional)
- Hole punch or leather punch (optional)
- PDF Pattern – This is located at the bottom of this page. Please see printing instructions below.
PRINTING INSTRUCTIONS:
Note: To download the pattern, click on the pattern download button at the bottom of the page. We recommend opening your pattern download using Adobe Acrobat.
Cutting Instructions:
CUT FELT:
Cutting Tips:
- Trace each appliqué template the number of times indicated below onto the dull side of freezer paper. With a hot, dry iron, press each template to the indicated color of wool felt. When the pressed pieces have cooled, cut the shapes on the marked lines and peel the paper backing away. (Note: Test iron on felt first; non-wool felt may melt under high heat.)
- For the eye (3/16-inch diameter) and pimento (1/4-inch diameter) pieces, use a sharp paper punch or leather punch in the size indicated to cut out shape.
From bright blue: Cut 2 A backgrounds.
From coral: Cut 2 B backgrounds, 1 wing, 1 pimento.
From light turquoise: Cut 2 C backgrounds, 1 martini glass.
From pink: Cut 1 flamingo body.
From pale peach: Cut 1 martini inset, 1 beak, 1 eye.
From seafoam green: Cut 2 of each palm leaf A, B, C and D.
From gold: Cut 1 palm tree trunk.
Sewing Instructions:
Note: Refer to corresponding diagram and photo for each ornament.
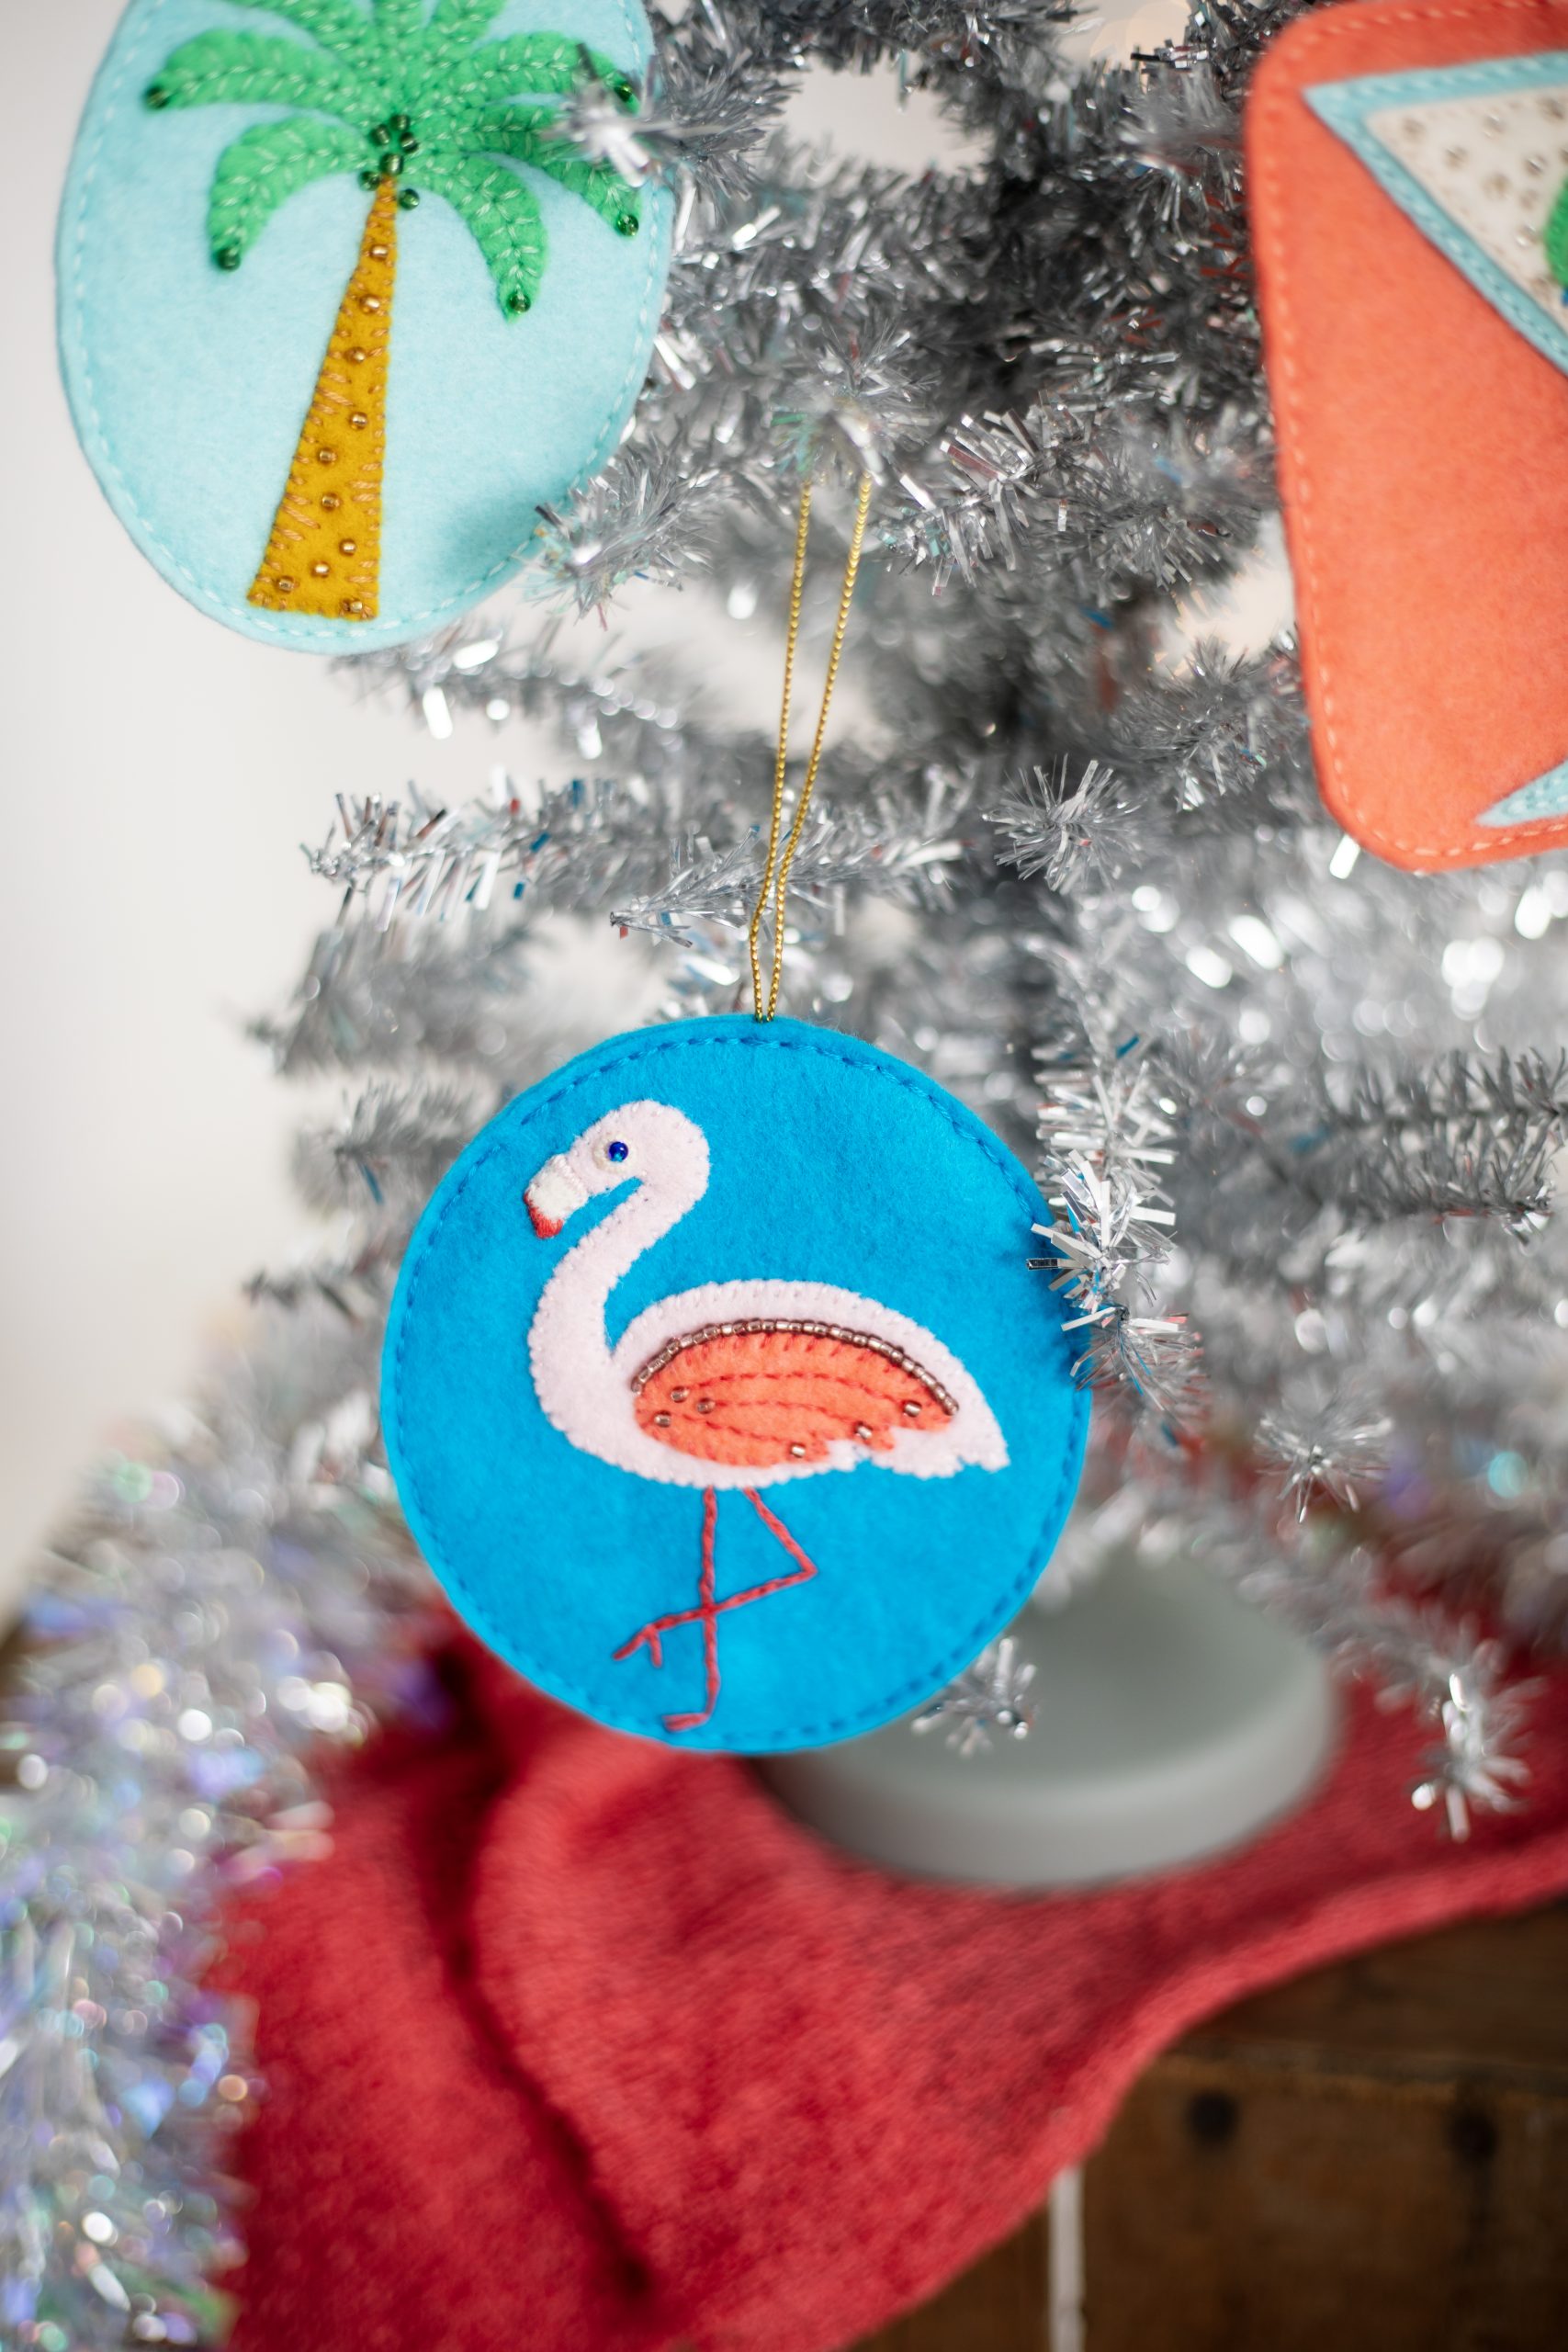
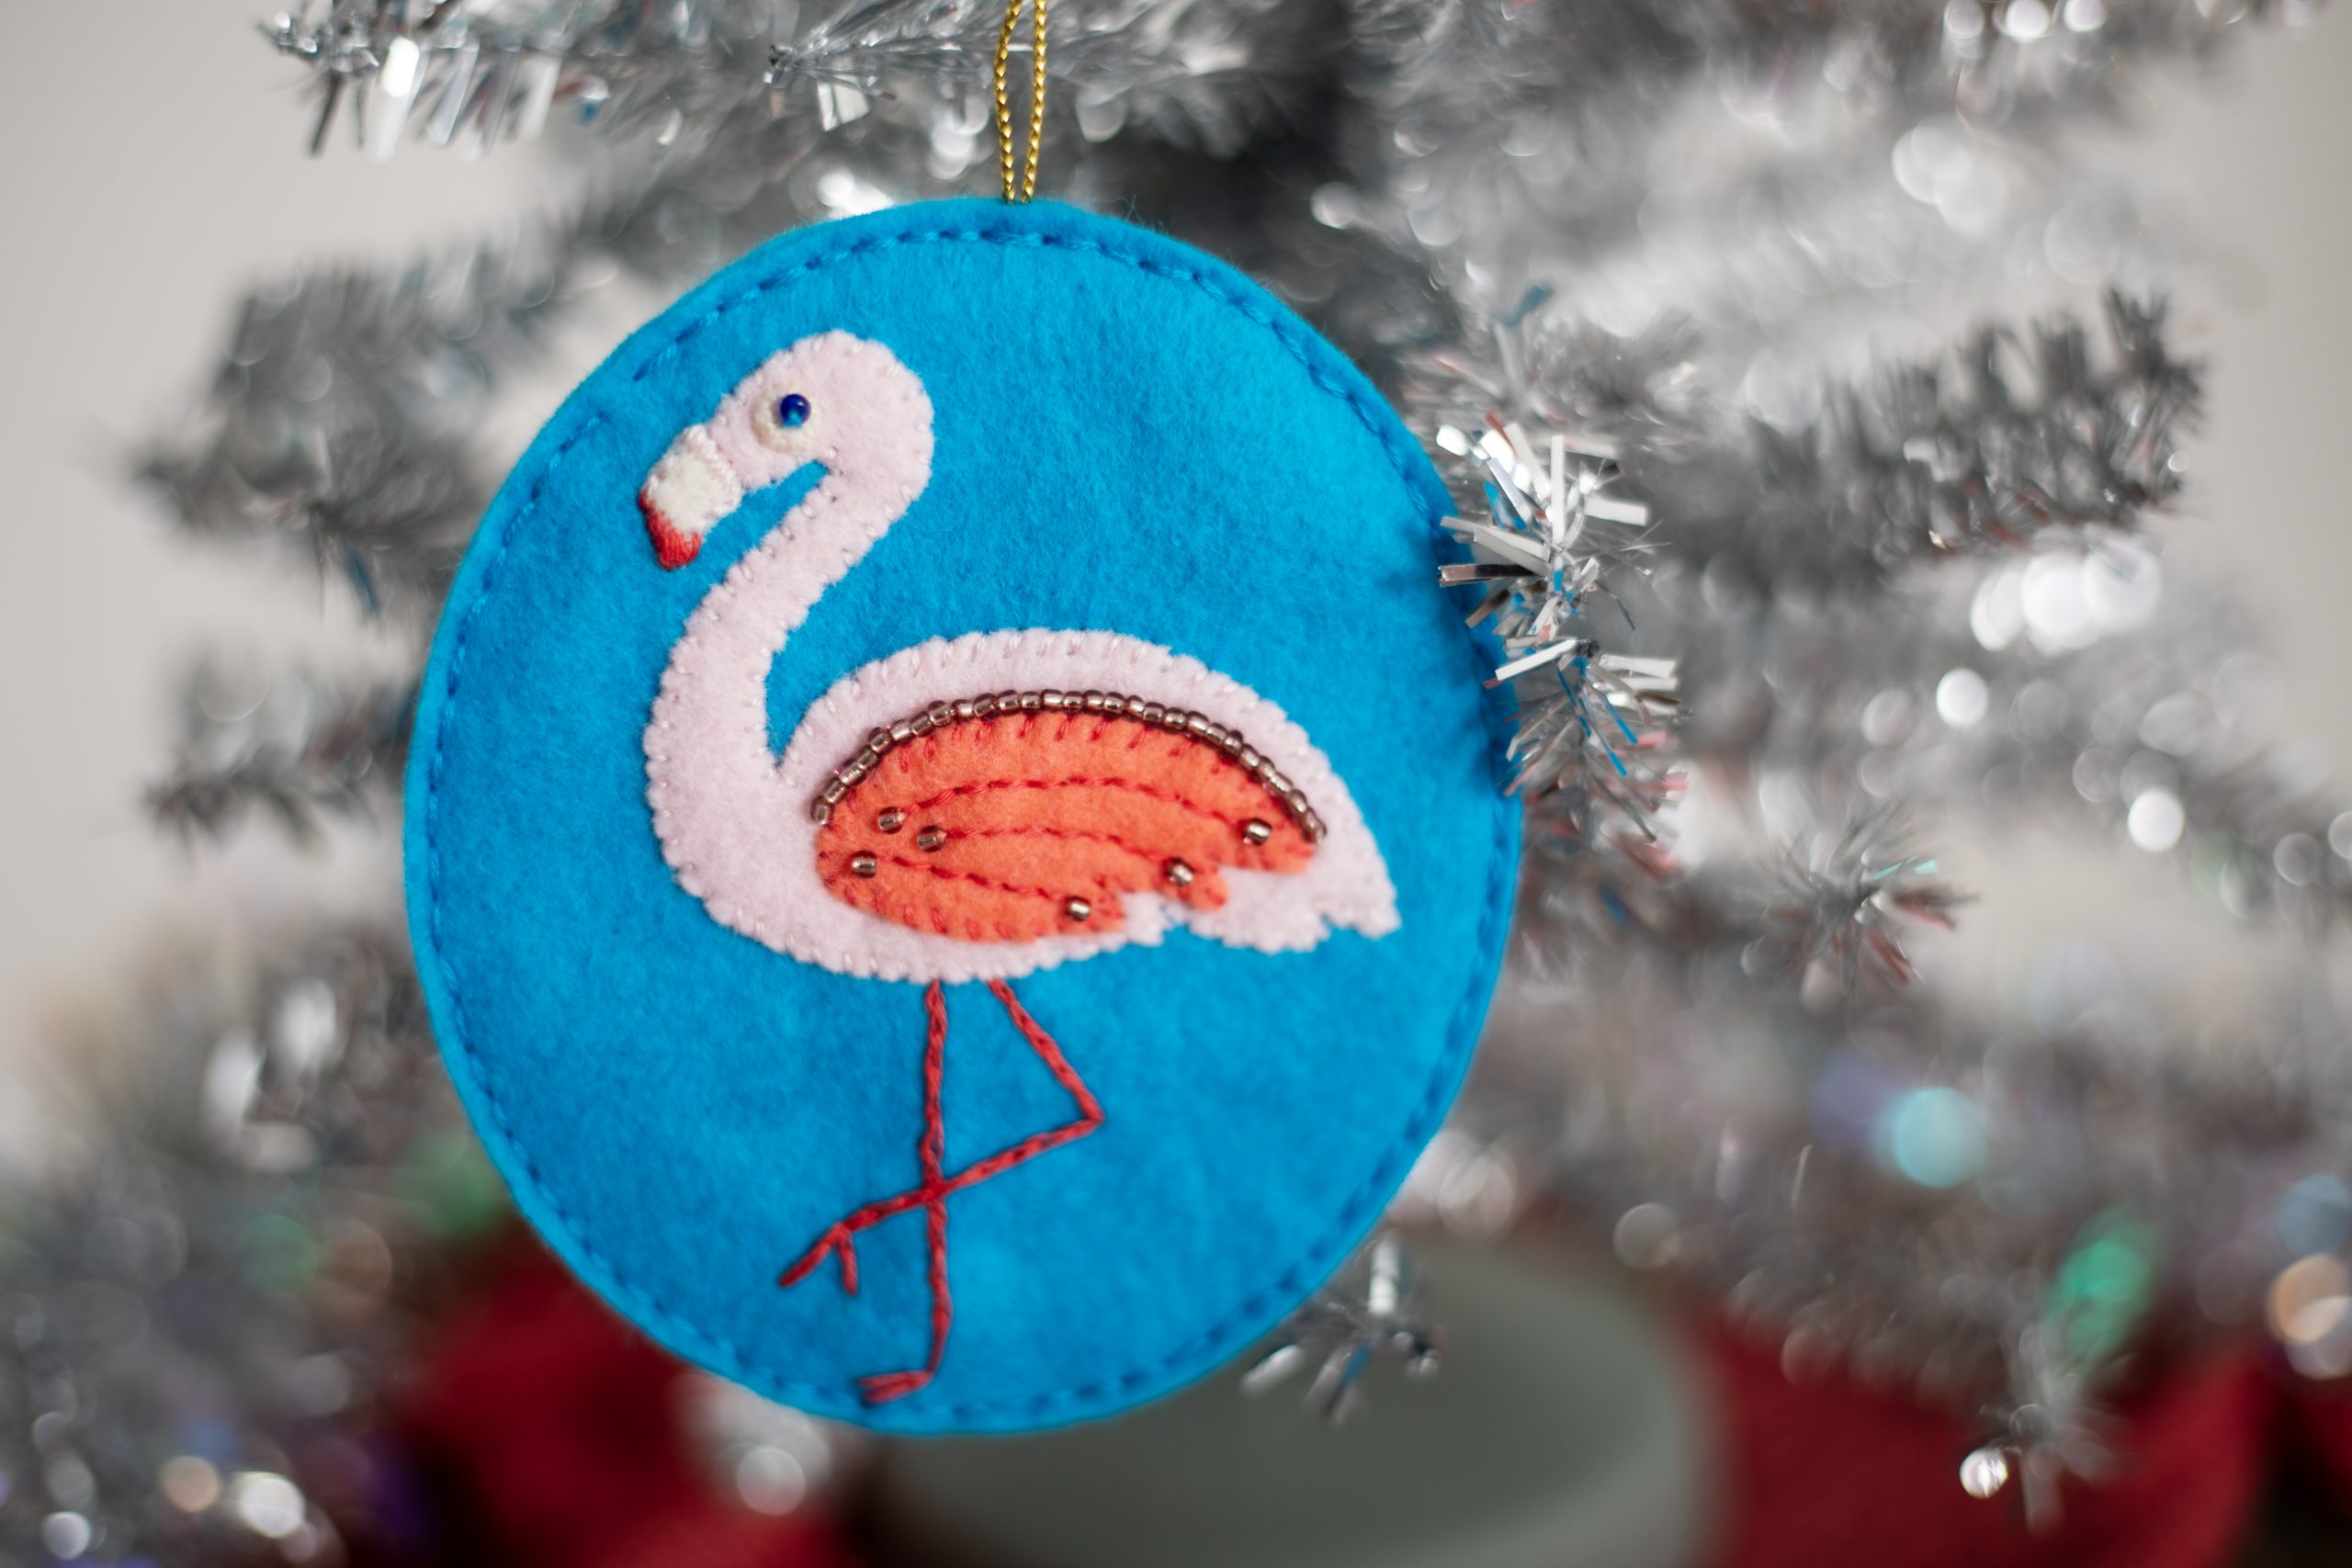
FLAMINGO ORNAMENT:
- Position wing on flamingo body and whipstitch in place with 2 strands of dark coral embroidery floss. Backstitch 3 curved lines on wing as indicated by dash lines in diagram.
- Position eye on flamingo body and whipstitch in place with 2 strands of pale peach floss.
- Position flamingo body on 1 A background piece and whipstitch in place with 2 strands of pink floss, leaving beak edge unstitched. Position beak on flamingo with the top edge of the beak slightly overlapping the beak edge of the flamingo’s head. With 2 strands of pink floss, satin stitch over the seam between the beak and head edge, and then backstitch along top and bottom edges of beak as shown in photo. With 2 strands of dark coral floss, satin stitch over tip of beak.
- Place a small piece of tissue paper over the Flamingo Ornament Diagram and trace the legs with the fine-point marking pen. Position traced leg template over flamingo ornament so top of legs align with underside of flamingo and pin in place. With 3 strands of dark coral floss, embroider split stitch over traced lines. When stitching is complete, gently tear tissue paper away.
- With 1 strand of bright blue floss, sew a dark blue seed bead to center of eye.
- Referring to photo, use 1 strand of pink floss to sew a lavender seed bead to the end point of each backstitched wing detail. Sew a line of lavender beads along the top edge of the wing.
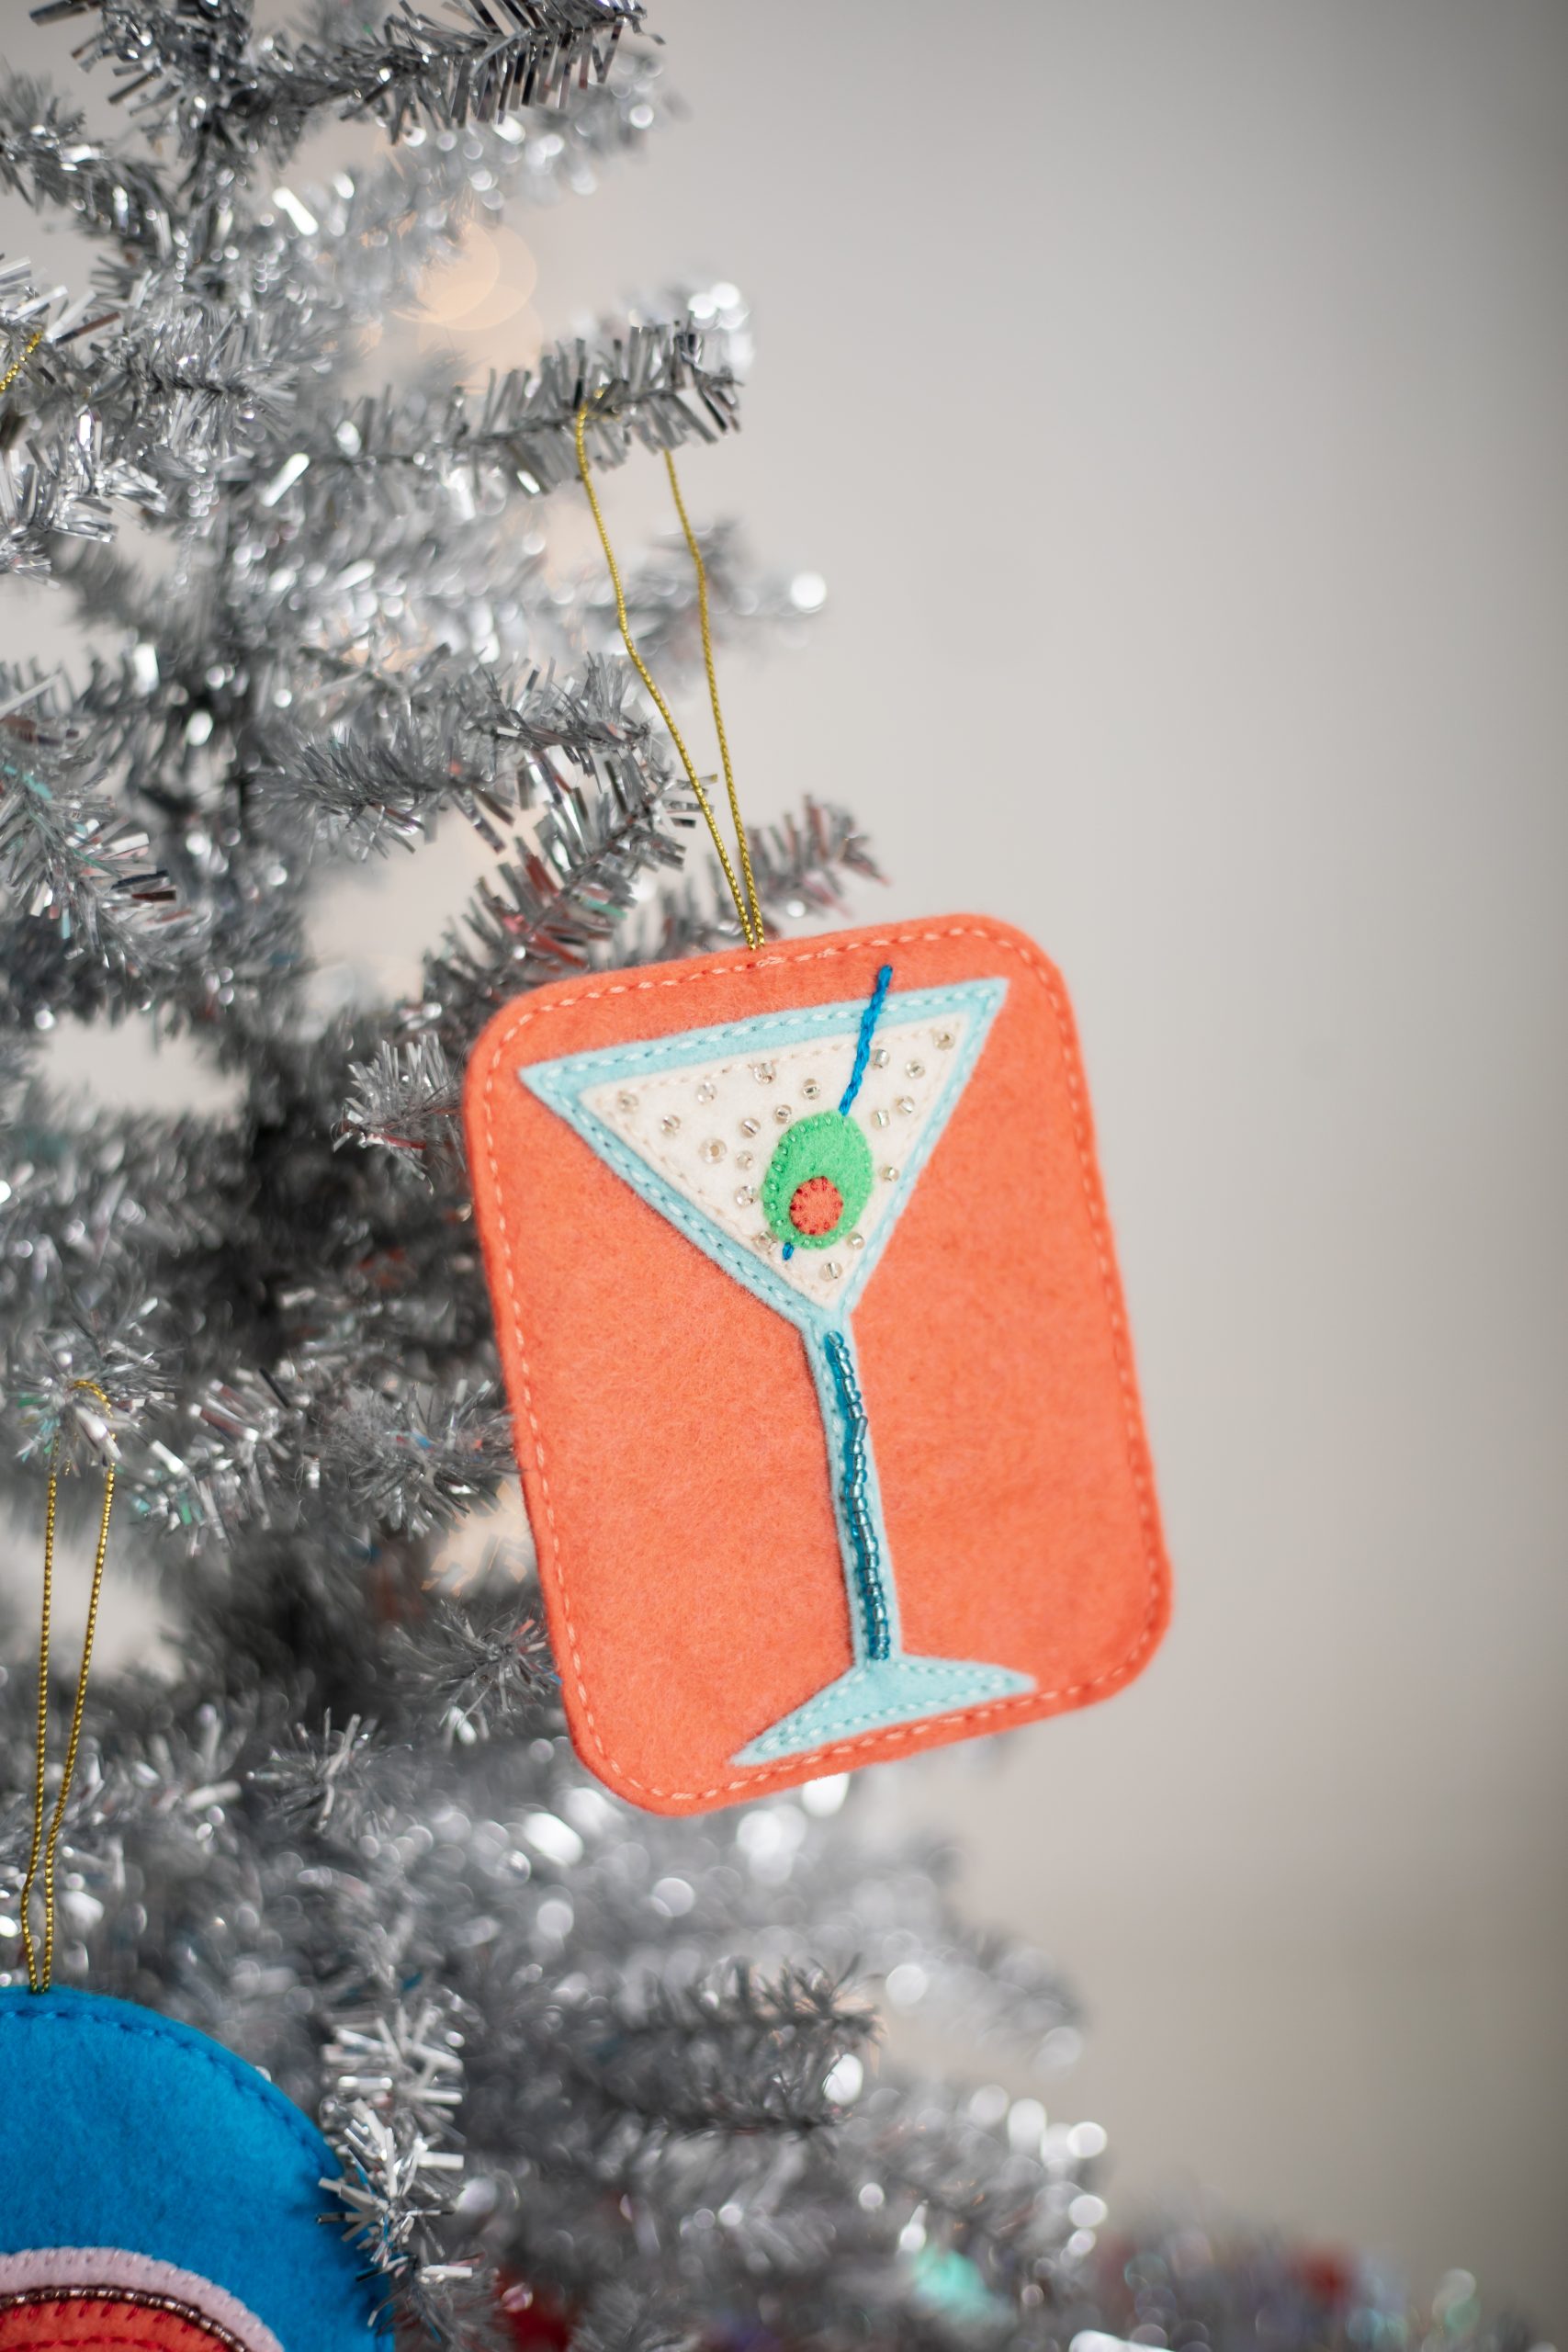
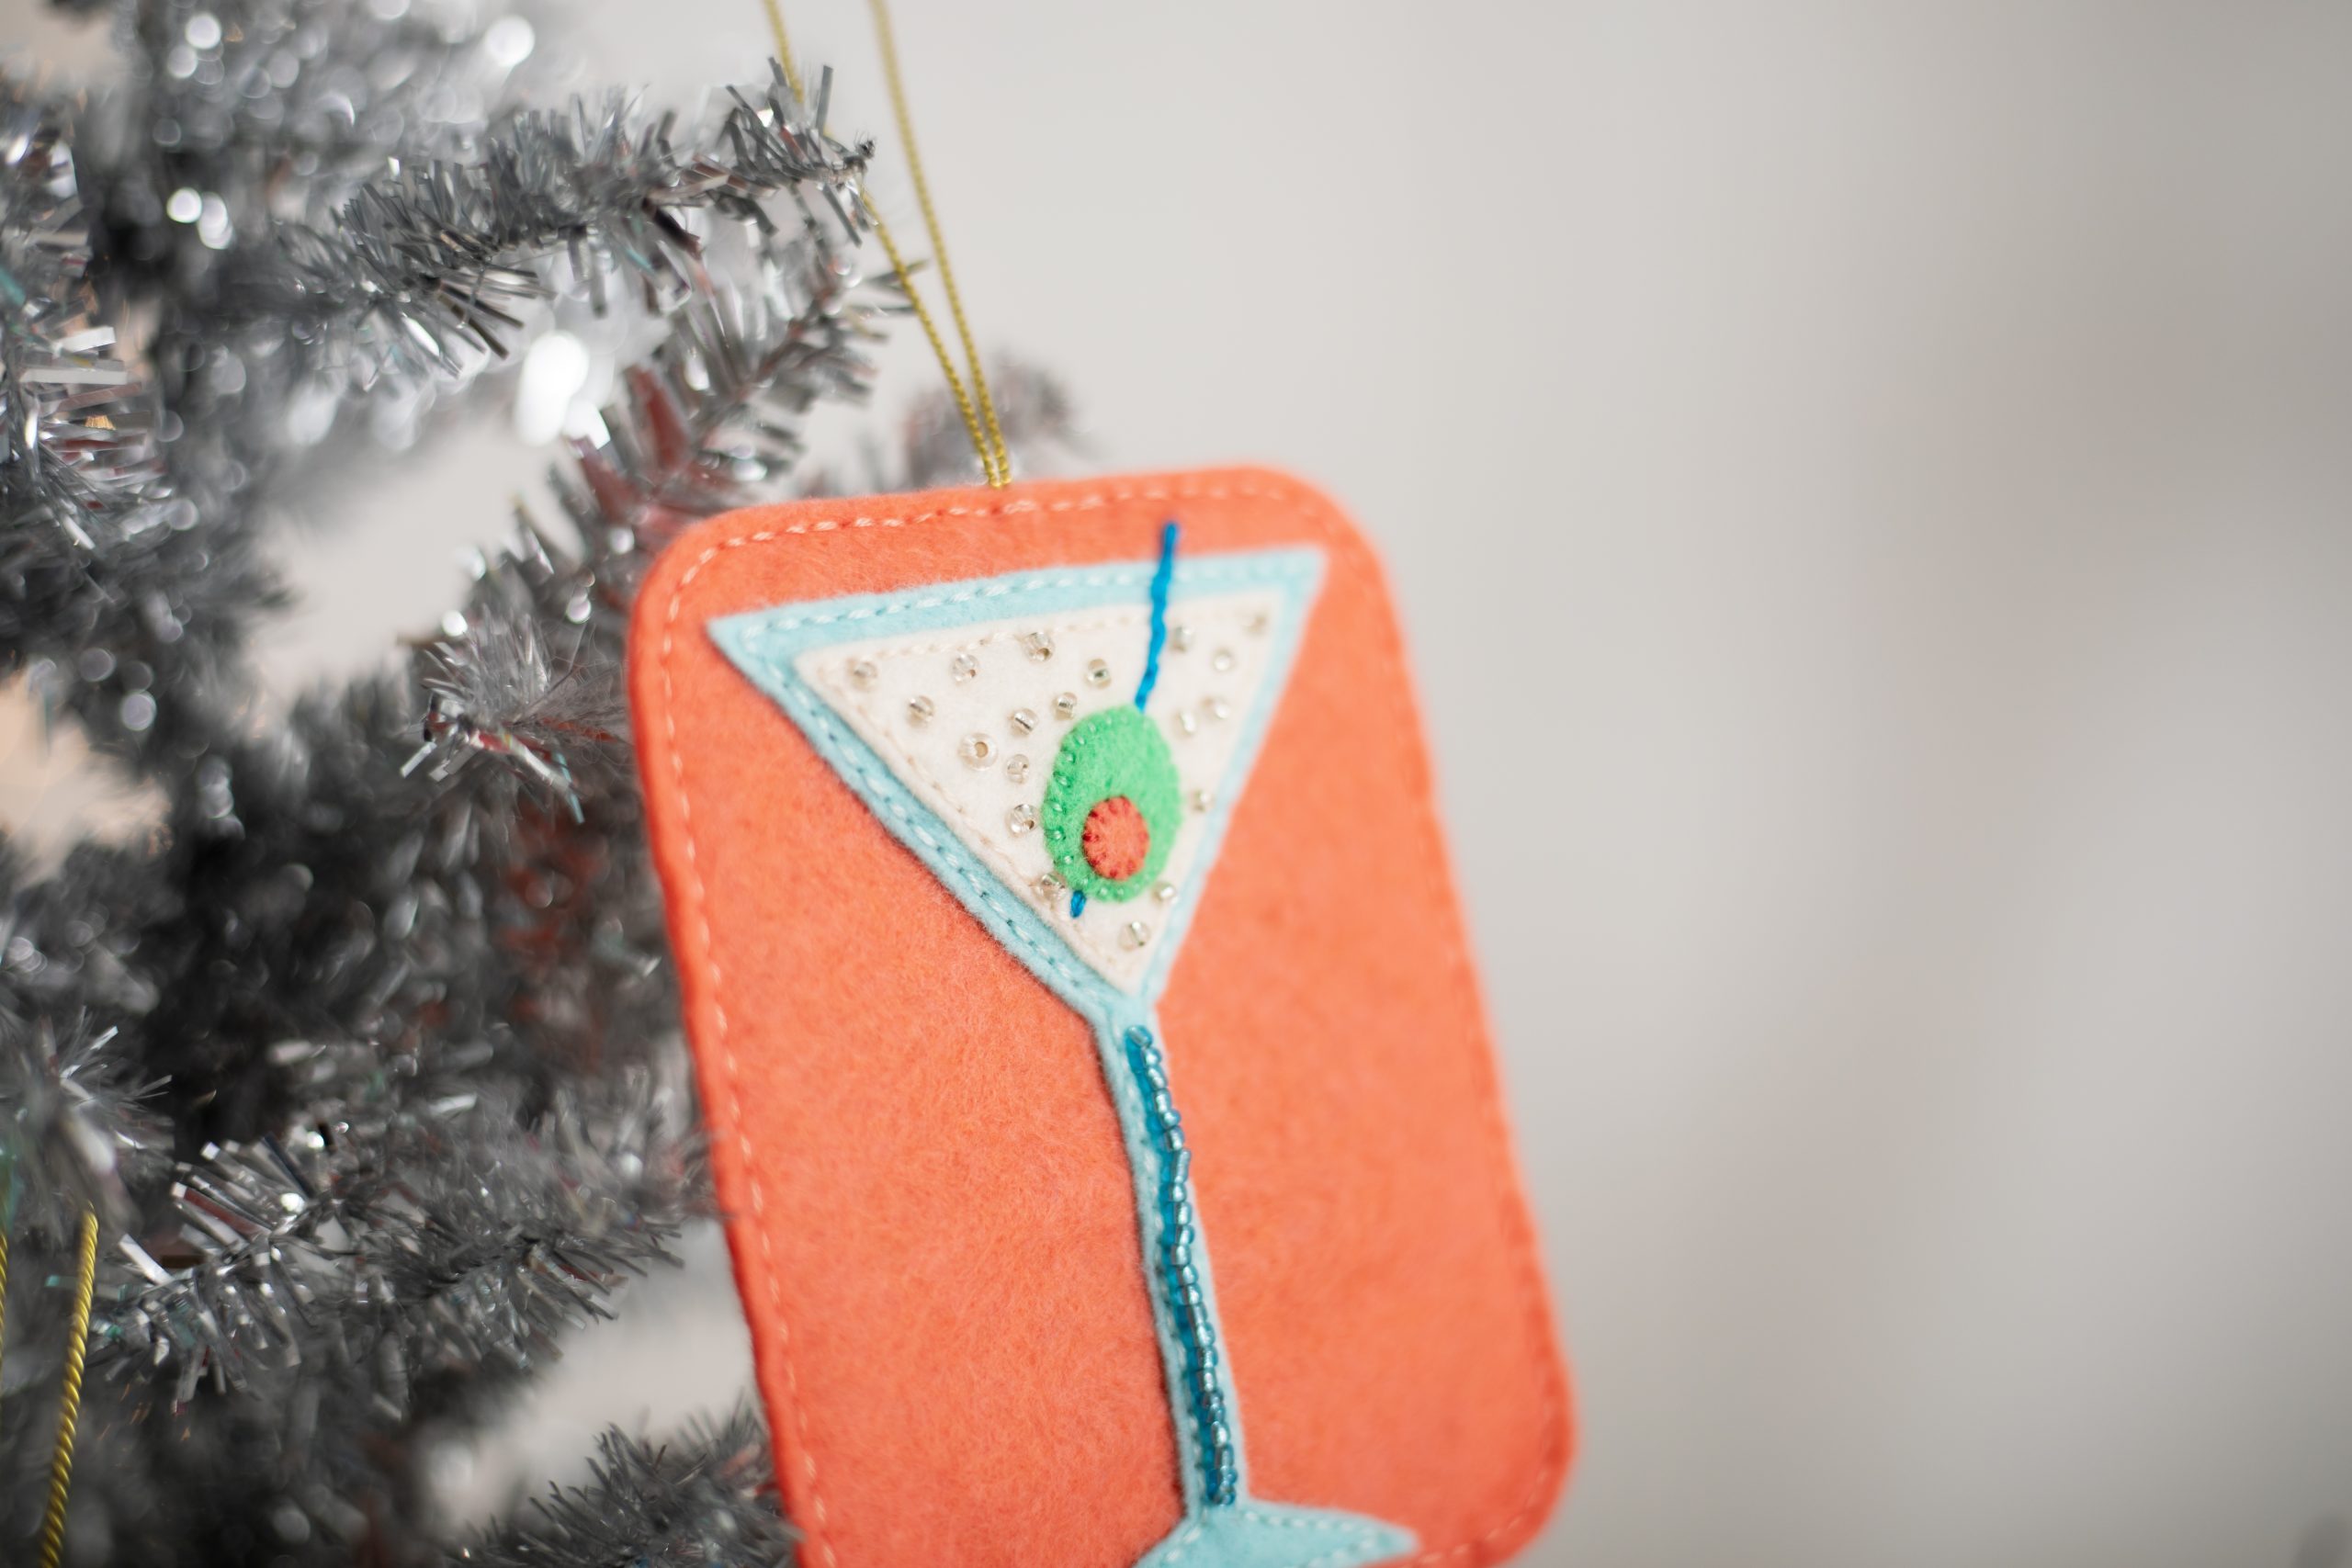
MARTINI ORNAMENT:
- Position pimento on olive as shown in diagram and whipstitch in place with 2 strands of dark coral floss. Position olive on martini inset and whipstitch in place with 2 strands of seafoam green floss.
- Position martini inset on martini glass and backstitch in place with 2 strands of pale peach floss.
- Position martini glass on 1 B background piece and backstitch along all edges with light turquoise floss.
- Place a small piece of tissue paper over the Martini Ornament Diagram and trace the toothpick with the fine-point marking pen. Position traced toothpick template over martini ornament so toothpick appears to pierce the olive and pin in place. With 3 strands of bright blue floss, embroider a double line of backstitch over the traced lines. When embroidery is complete, gently tear tissue paper away.
- Use 1 strand of pale peach floss to sew crystal seed beads on martini inset as shown in photo. Sew a line of light blue seed beads along the stem of the glass.
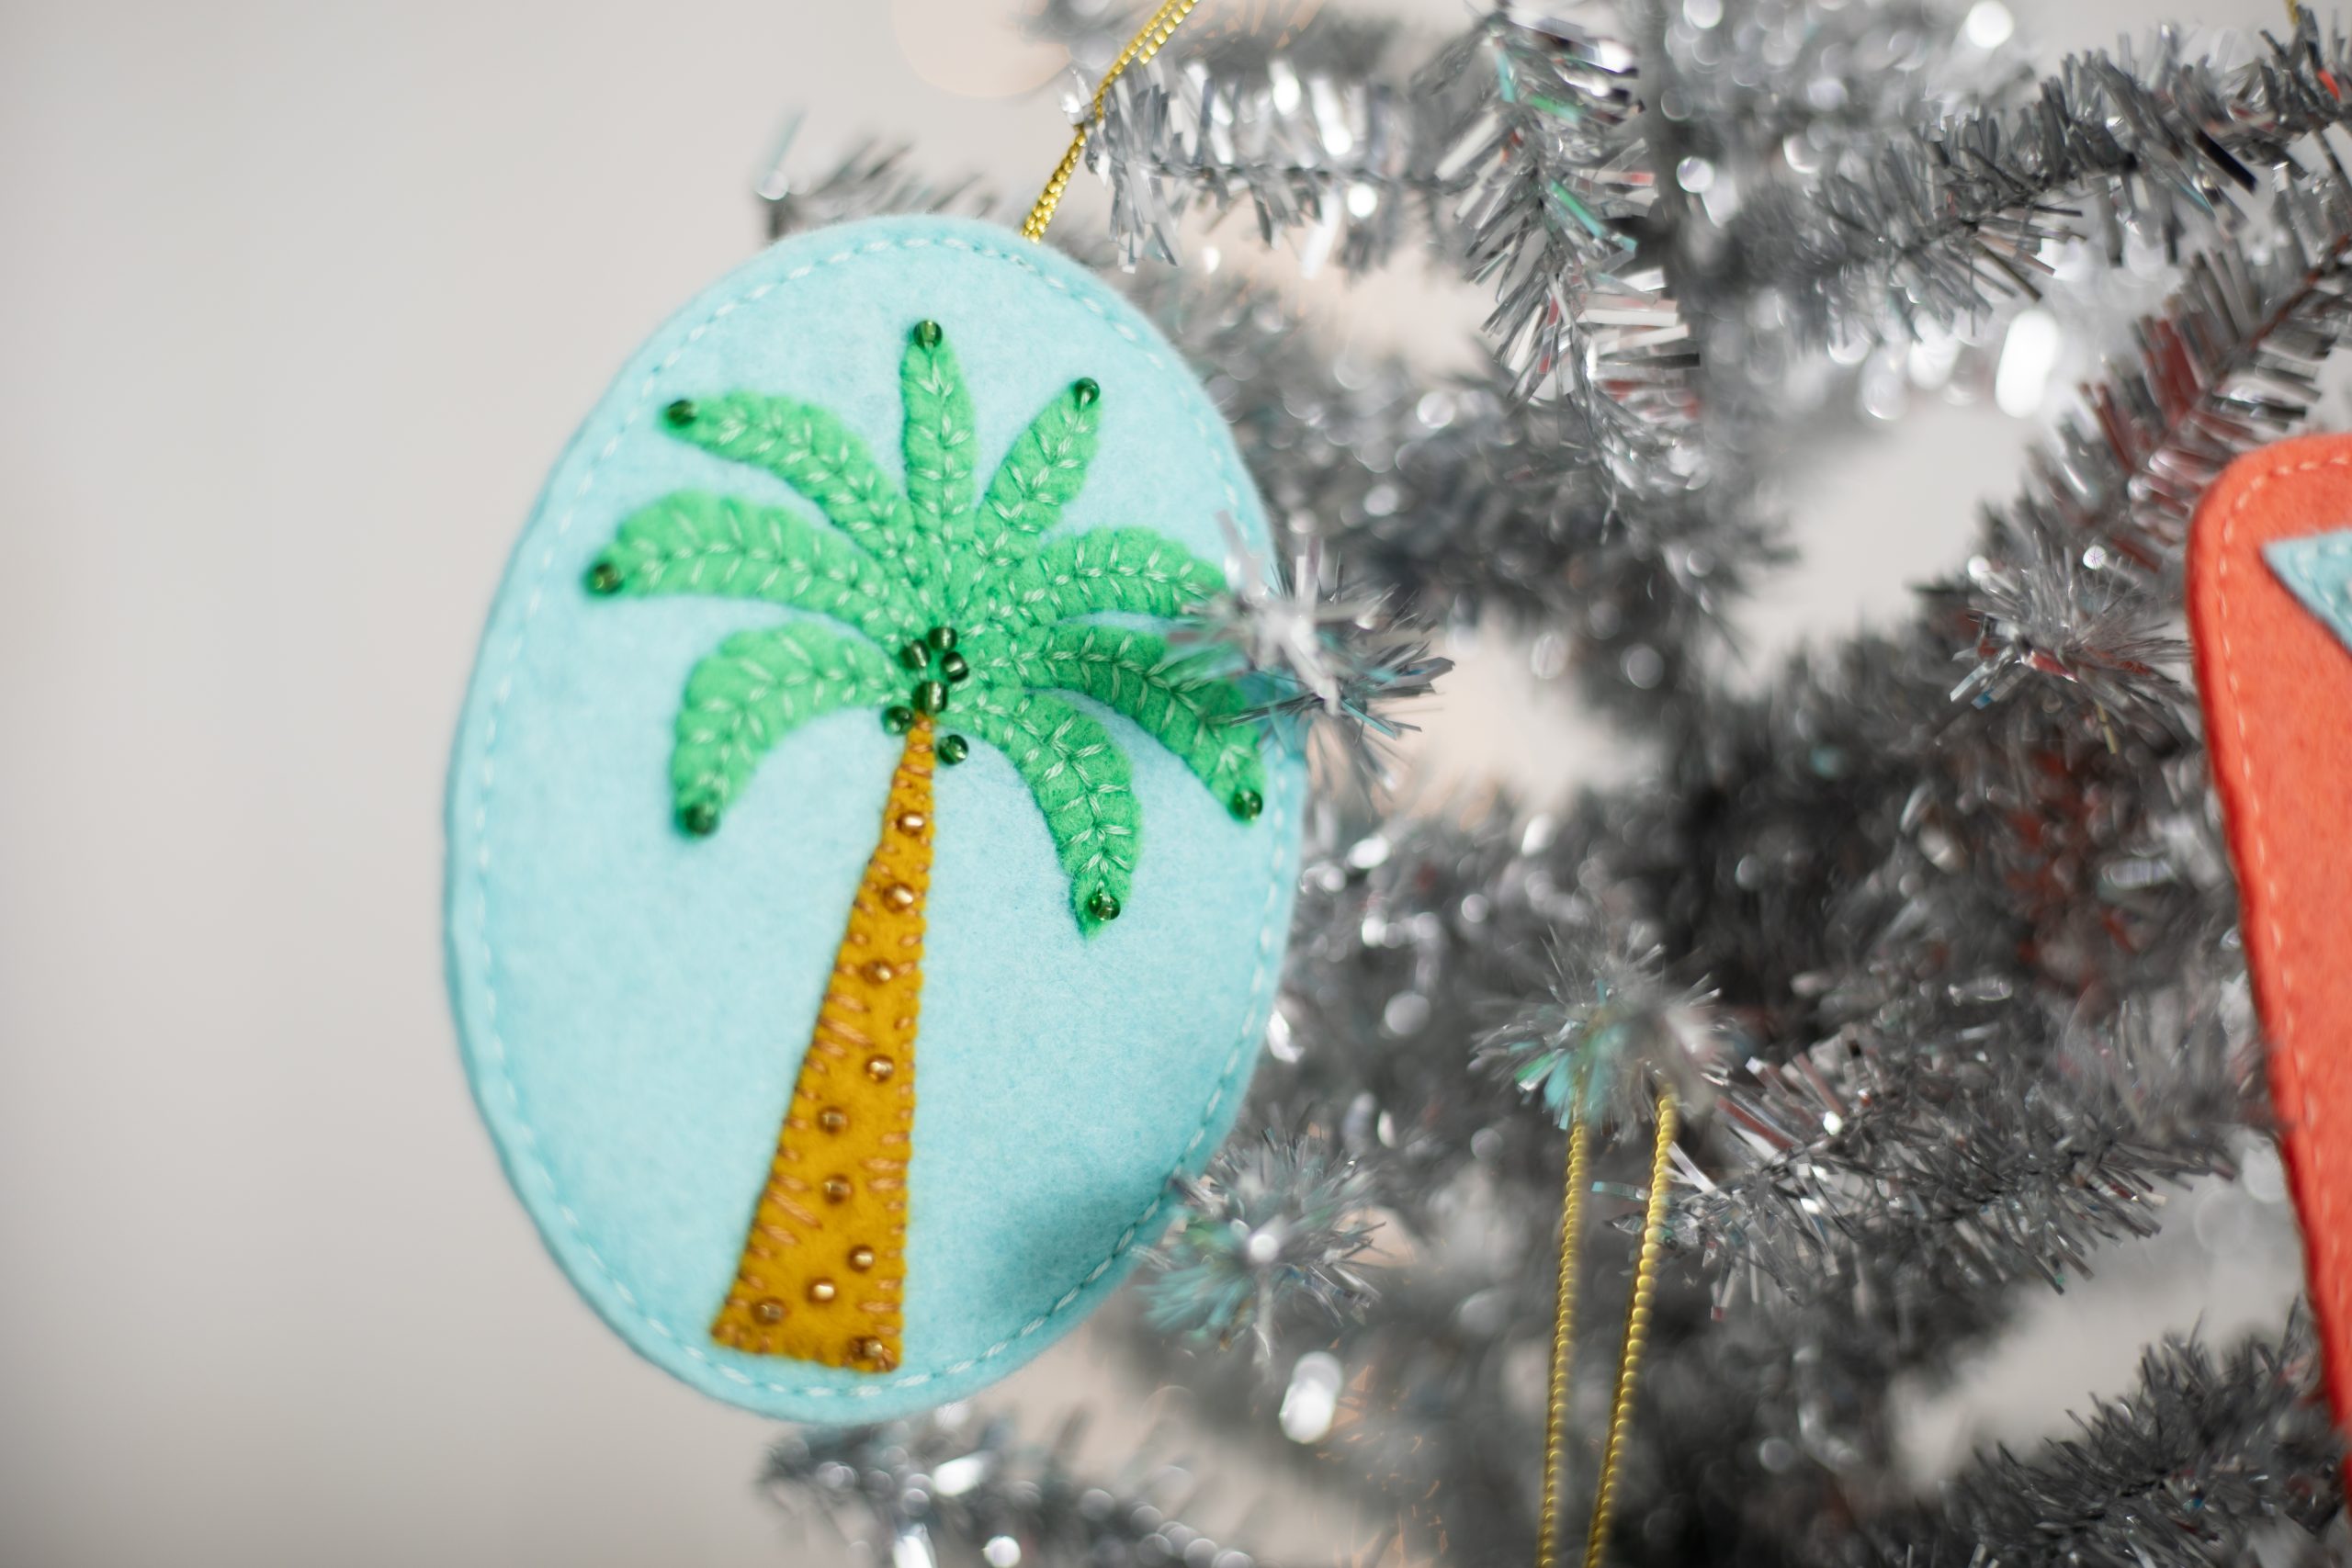
PALM TREE ORNAMENT:
- Position the tree trunk on 1 C background and whipstitch in place with 2 strands of tan floss. Vary the lengths of the stitches as shown in photo.
- Referring to diagram, position bottom left leaf A on background. Backstitch a curved line along the center of the leaf with 2 strands of seafoam green floss as indicated by dash lines in diagram. Sew long, straight stitches radiating out from the center line along the top and bottom edges of the leaf as shown in photo. Follow the same process to sew the right A leaf in place, then both B leaves, both C leaves, and both D leaves.
- Referring to photo, sew several green seed beads over inner and outer points of leaves with 1 strand of seafoam green floss. Sew a scattering of gold beads on the tree trunk with 1 strand of gold floss.
ASSEMBLY:
- For each ornament, fold one of the gold cord pieces in half and knot the ends together. Position cord at the top center of the corresponding cardboard insert with the knot just below the top edge of the cardboard and the loop extending upward. Tape the knotted end in place on the cardboard.
- Center the insert, knot side down, on top of the corresponding ornament backing. Place the corresponding ornament front, right side up, on top of the cardboard insert. Pin the edges of the felt pieces together, securing the cardboard insert between them.
- With 2 strands of floss (bright blue for flamingo ornament, coral for martini ornament, and light turquoise for palm tree ornament), backstitch the edges of the ornament together. Make several extra stitches over the cord to secure it.