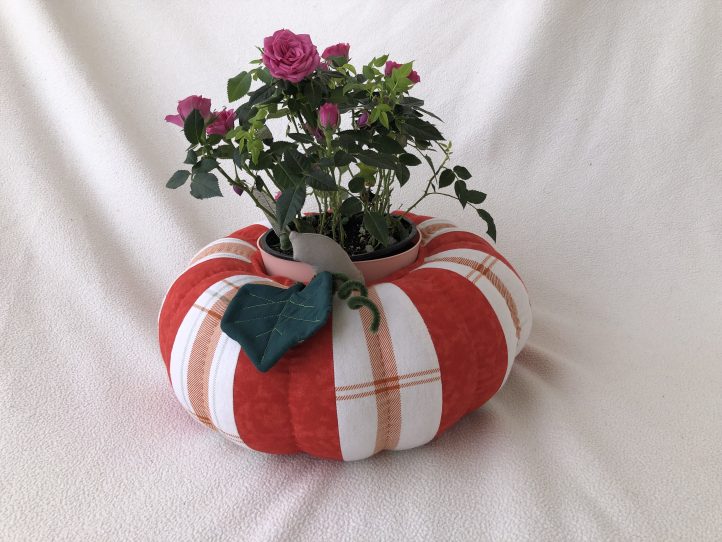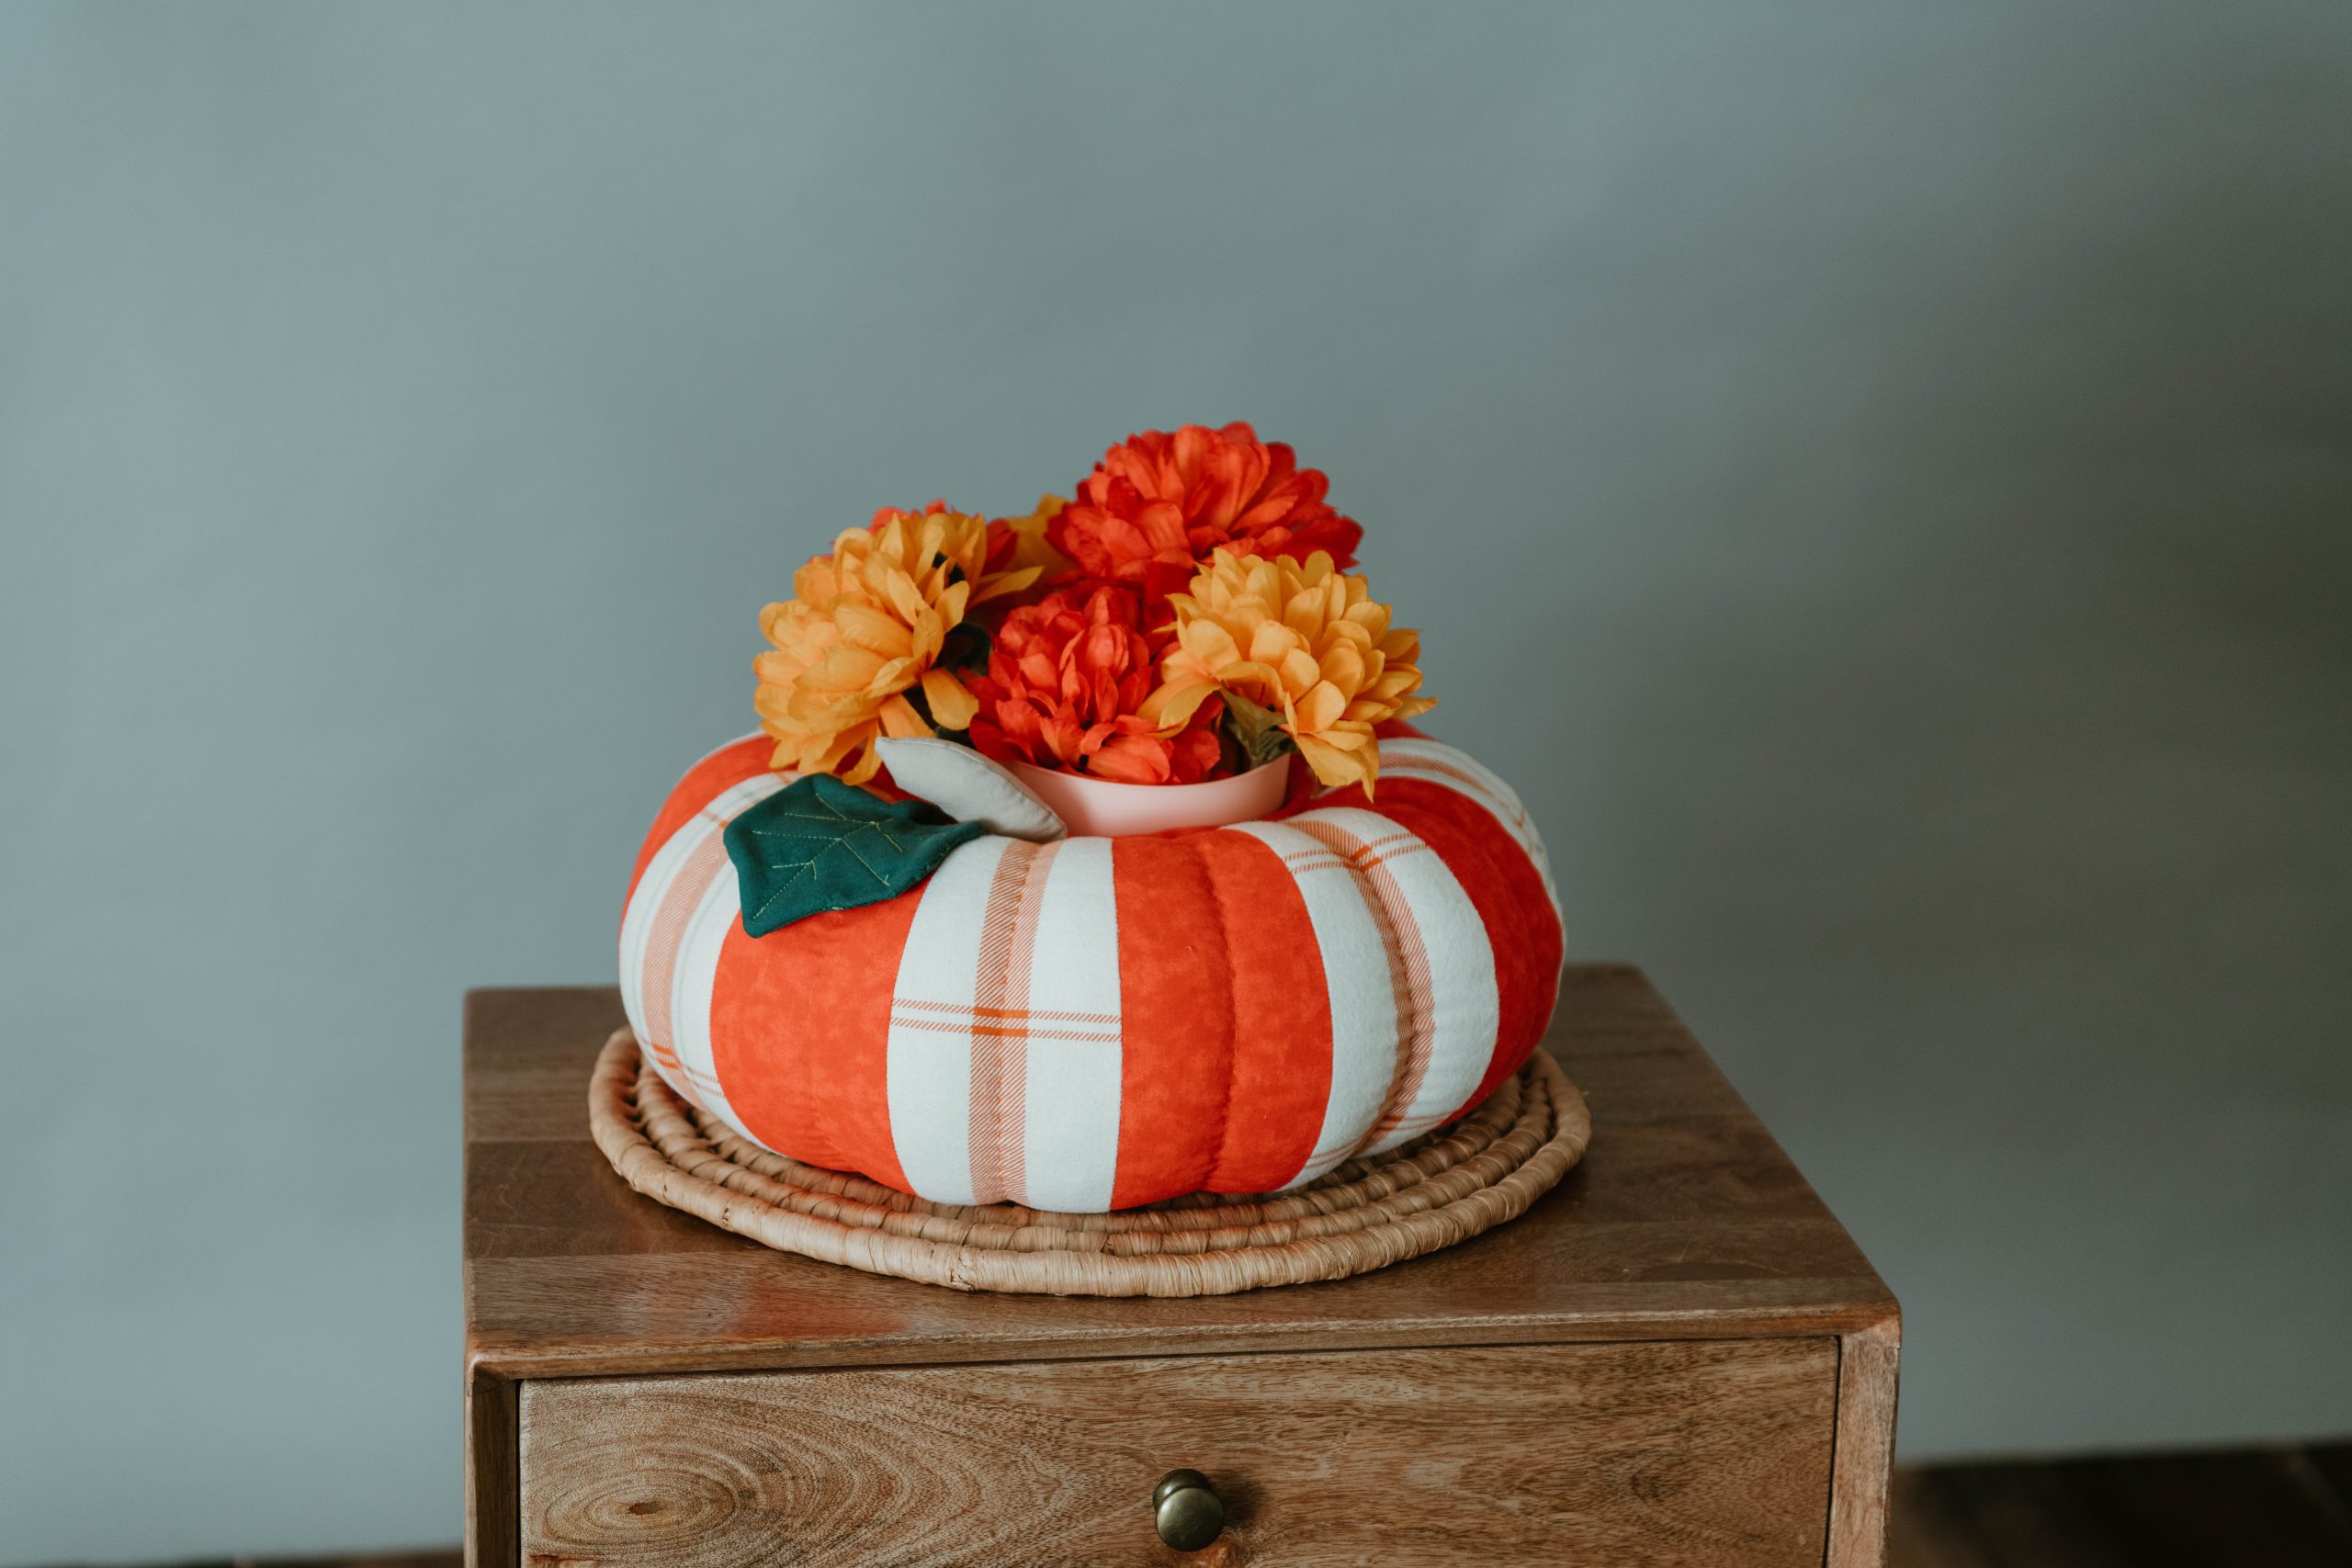
Our editors are going wild over this precious planter cozy as it combines two of our favorite seasonal things: pumpkins and beautiful fall flowers. Dress up your porch planters in time for fall with this plush planter cozy pattern from Deborah Bagley. Taking only a few hours to make, this fall sewing project is completed with the addition of a green felt leaf and curly pipe cleaner stem. Sew your own planter to liven up your living room or make one as a gift for your mom or best friend.
Skill Level: Easy
Estimated Time: 2 hours
Finished Size: 15 1/2” x 15 1/2” x 7 1/2” to the top of the stem
Seam Allowances: 1/4”
Materials:
- Fabrics:
- Orange cotton fabric
- Cut 7 – pumpkin wedges (approximately 1 3/4” x 11”) – A
- Cut 1 – interior pumpkin 6” x 20” – A
- Orange striped cotton fabric – Cut 7 – pumpkin wedges (approximately 1 3/4” x 11”) – B
- Dark green cotton fabric – Cut 2 – leaves (approximately 4 1/8” x 5 5/8”) – C
- Khaki cotton fabric – Cut 2 – stems (approximately 2 7/8” x 3”) – D
- Green felt – Cut 1 – leaf (approximately 4 1/8” x 5 5/8”)
- Orange cotton fabric
- Poly-fiberfill
- Green fuzzy stick – 1
- Heavy duty orange thread for making embroidered veins on pumpkin
- Flower pot with a 19 1/2” circumference at the top and a height of 5 1/2” (or taller). The pot can taper and still fit in the cozy.
- PDF Templates – These are located at the bottom of this page. Please see printing instructions below.
PRINTING INSTRUCTIONS:
Note: To download the templates, click on the pattern download button at the bottom of the page. We recommend opening your pattern download using Adobe Acrobat.
Sewing Instructions:
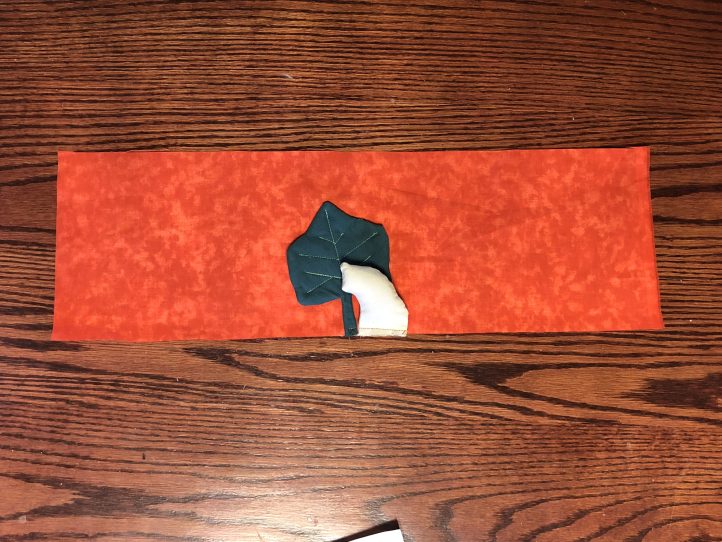
- Cut a leaf and its reverse from Fabric C. Cut 1 leaf from green felt.
- Place the two cotton leaves together right sides facing. Place the felt leaf on top. Sew together all the way around leaving 1 1/2” open for turning. Trim with pinking shears. Clip the points and the valleys to reduce puckering when turned right side out.
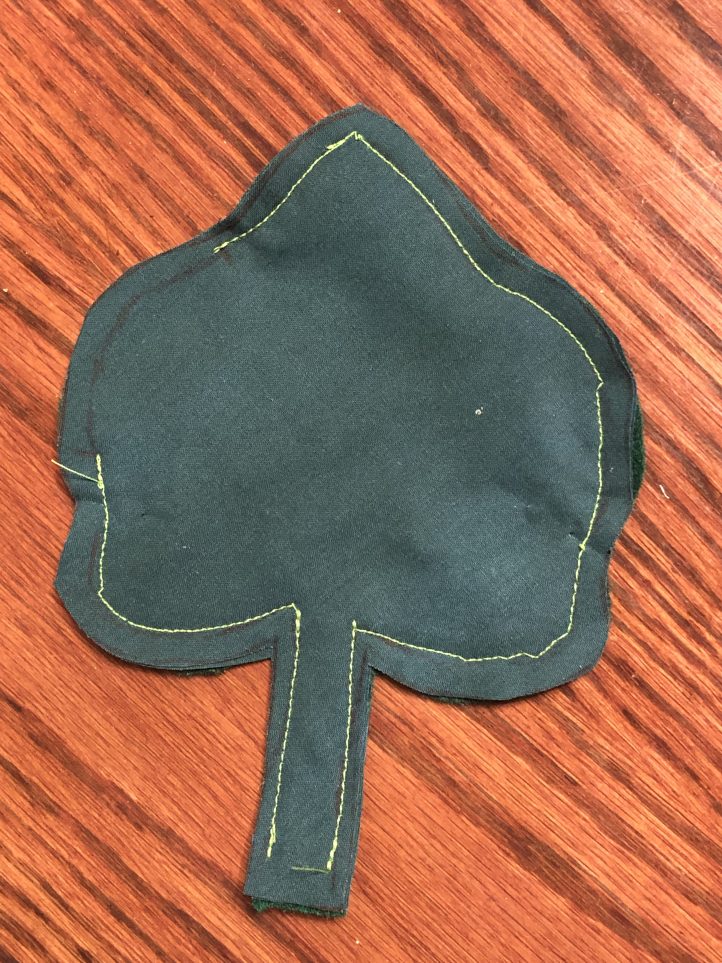
- Turn right side out. Use an invisible join to close the leaf.
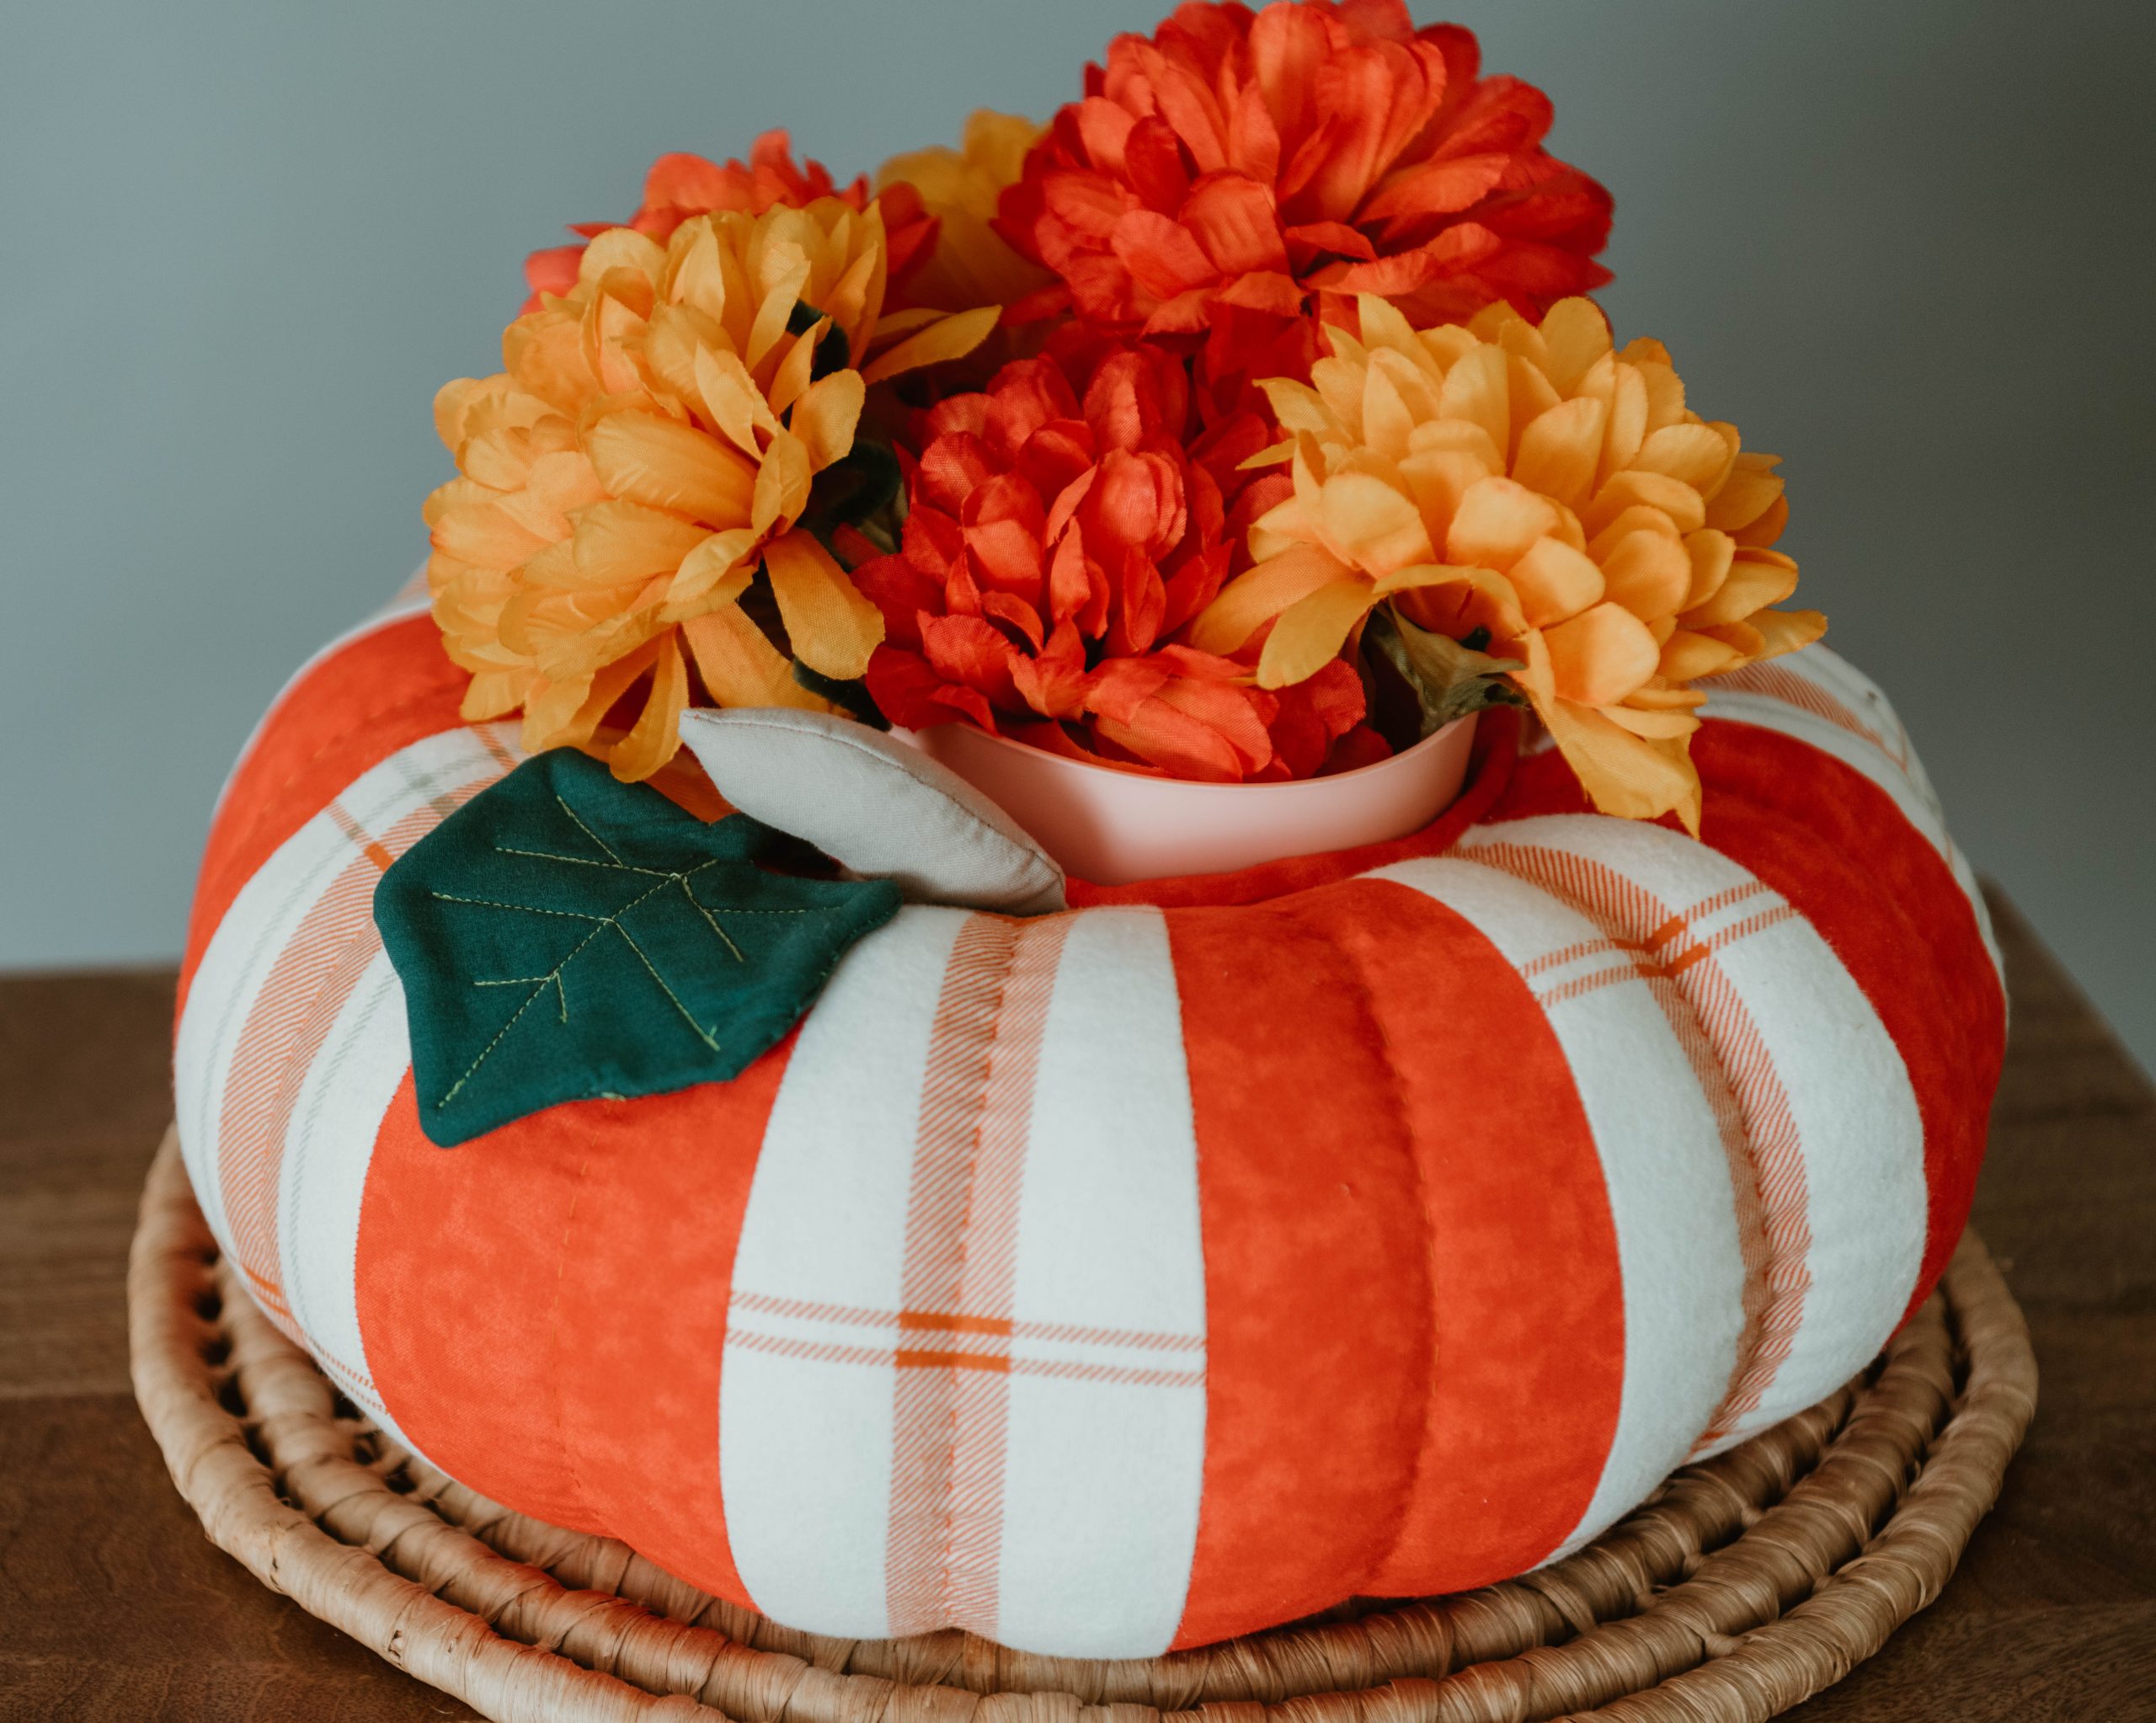
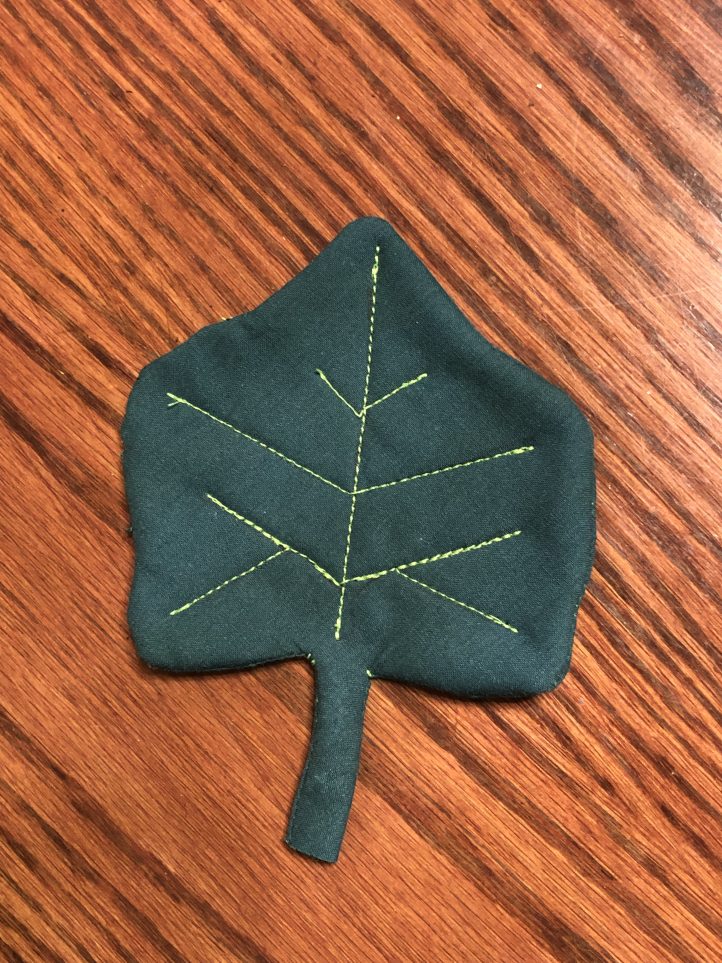
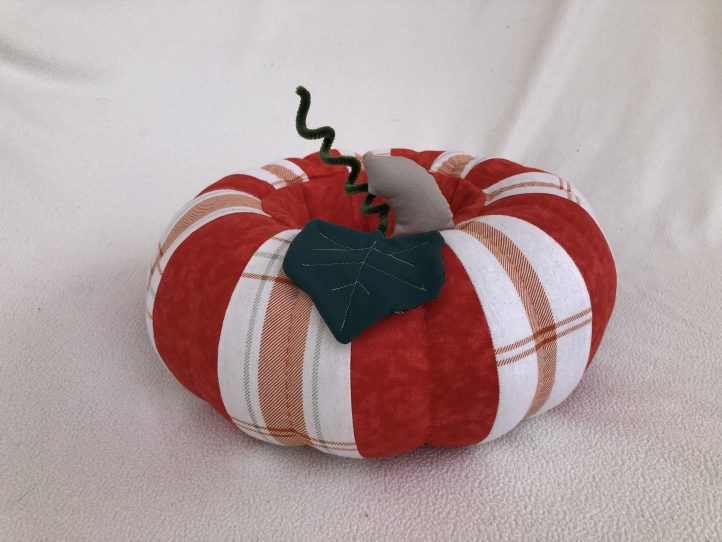
- Top stitch or embroider veins on the leaf. See photo below. Set aside.
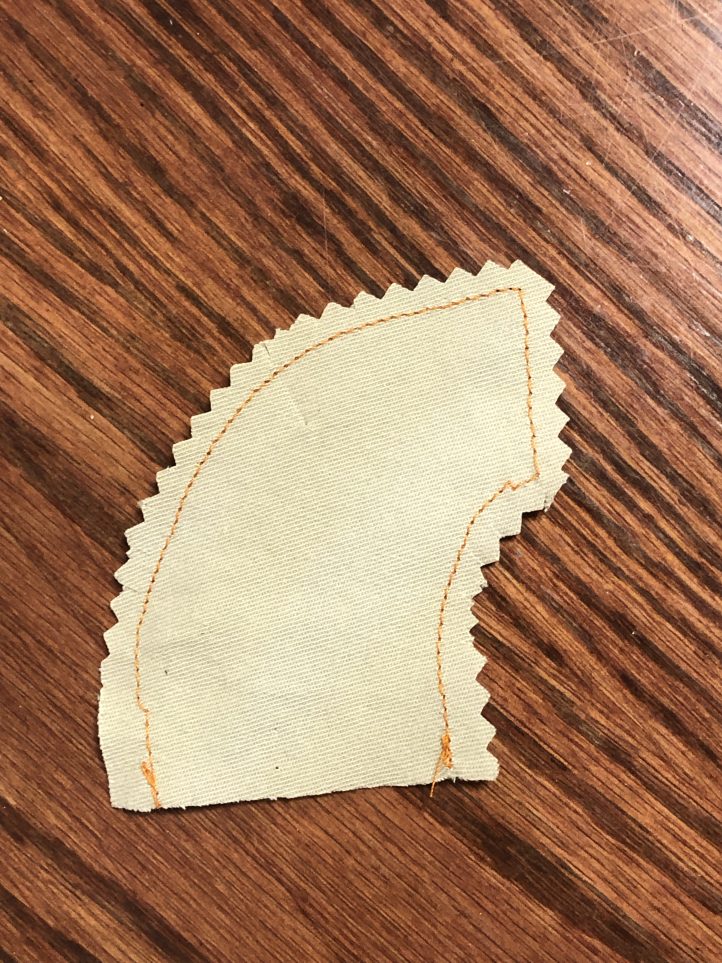
- Cut a stem and its reverse from Fabric D.
- Place the stem pieces right sides together. Sew around the stem leaving the bottom open. Trim with pinking shears. Trim off the points. Turn right side out and stuff lightly. Set aside.
- Cut out the pumpkin wedge template twice. Tape together along the dotted line to make a wedge 11” long.
- Cut 7 pumpkin wedges from Fabric A and Fabric B for a total of 14. (The template is symmetrical, so there is no right/wrong top/bottom.)
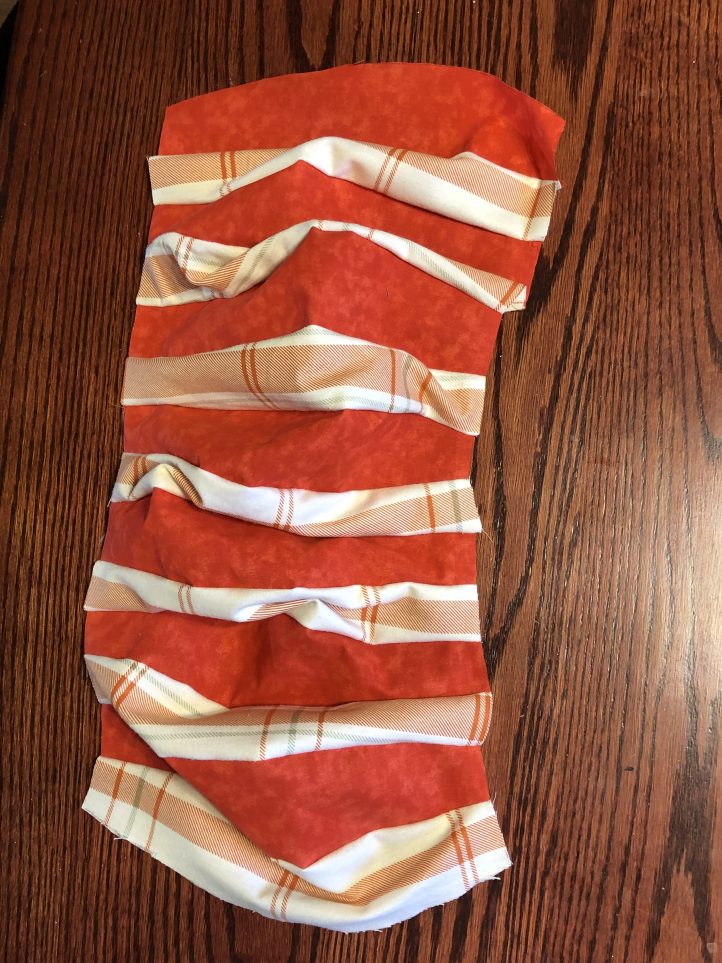
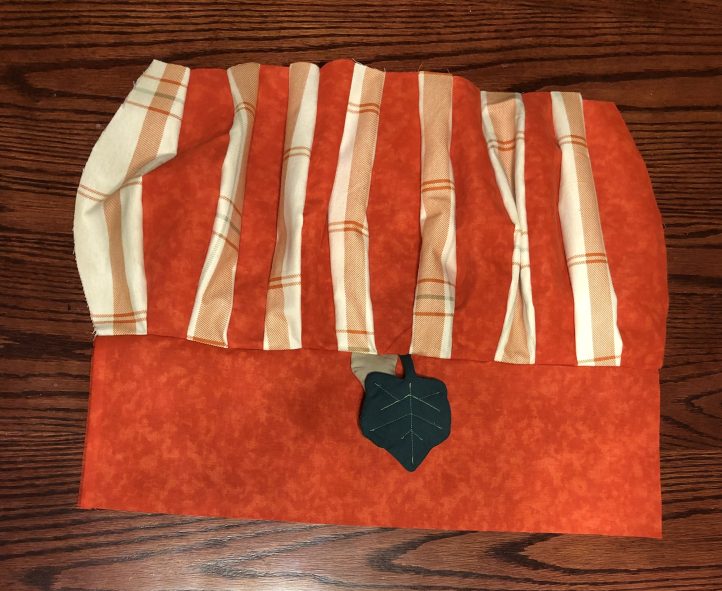
- Place a Fabric A piece and Fabric B piece together right sides facing and sew together along one edge. Repeat for a total of 7 pieces.
- Place two pieces together face to face so the colors alternate and sew together along one edge. Continue to sew pumpkin pieces together alternating colors until all the pumpkin pieces are sewn together. Open and measure. The top and bottom edges should be about 20” long. Note: The length matters if you are making this to fit around a specific pot. If not, you can continue with the directions. If the top edge is shorter than 20”, you can add another pumpkin wedge or remove a wedge and add a wider wedge. If it’s too wide by just an inch, continue with the pattern. You will be sewing in some creases and it will work out fine. You can also trim the edges a little if necessary.
- Cut the interior pumpkin piece from Fabric A.
- Pin the stem and leaf side-by-side on the interior pumpkin piece facing upside down on top of the interior piece aligned at the top edge in the middle of the 20” edge. Tack in place with a scant 1/4” seam.
- Place the pumpkin on the pumpkin interior piece so they both align on the 20” edge that has the stem and leaf.
- Sew together along the 20” edge. Repeat on the other 20” edge. Turn right side out.
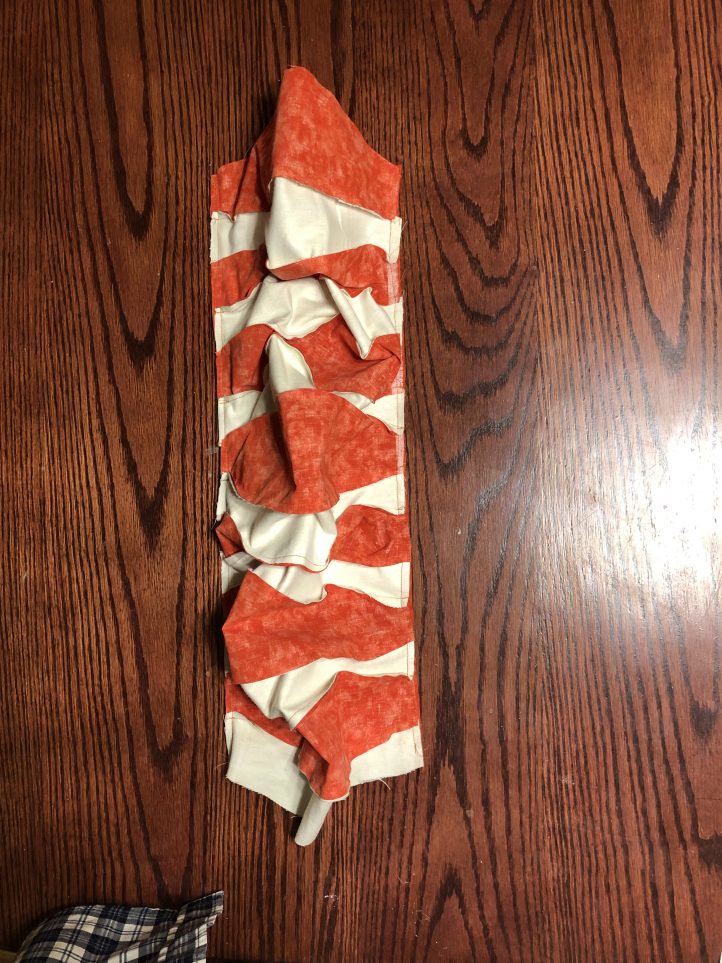
- Bring the two open ends together. Pin the interior sides together right sides facing. Continue pinning the pumpkin sides, right sides facing, about 2-3 inches on each side. Sew together leaving an opening for stuffing.
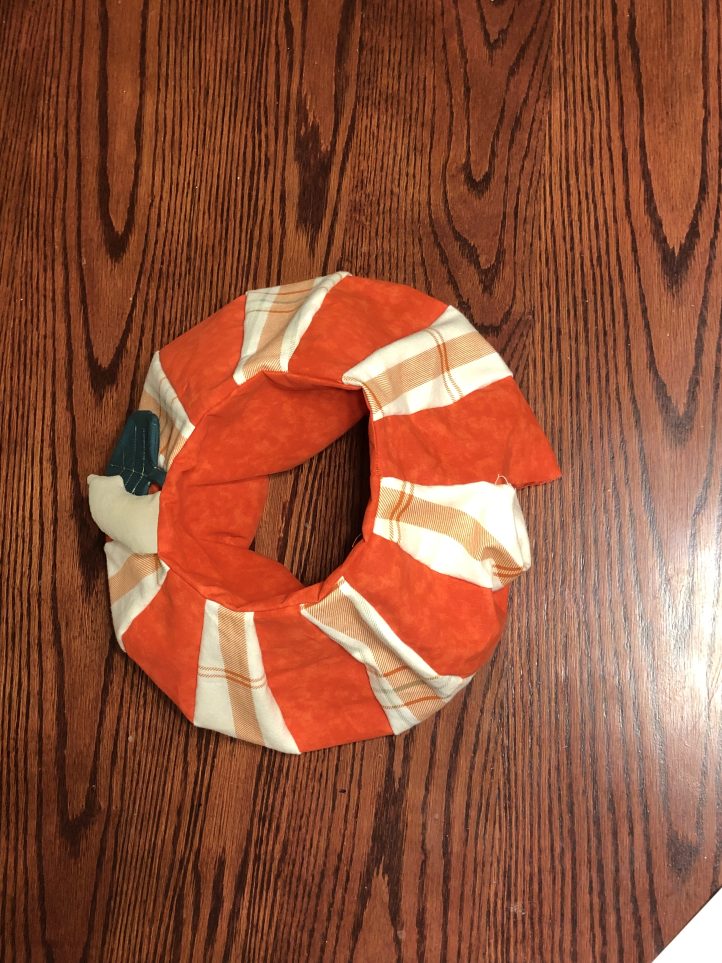
- Stuff the pumpkin, making sure to fill the top and bottom to give it a nice rounded look. Do not overfill. Sew closed with an invisible join.
- Thread a long needle with about 4’ of heavy-duty orange thread. Place the needle in the middle so the thread is doubled. Insert the needle at the bottom center of a pumpkin wedge at the seam. Push the needle out at the top center of the same wedge at the seam and pull through, leaving several inches for tying. Sew a running stitch down the center of the wedge. Pull on the running stitch strand only to create the pumpkin vein. Tie the ends together. Trim excess thread. Repeat for every pumpkin wedge.
- Twist a fuzzy stick around a pencil. Remove from pencil and twist around the leaf stem once or twice. Spread out the curls as desired.
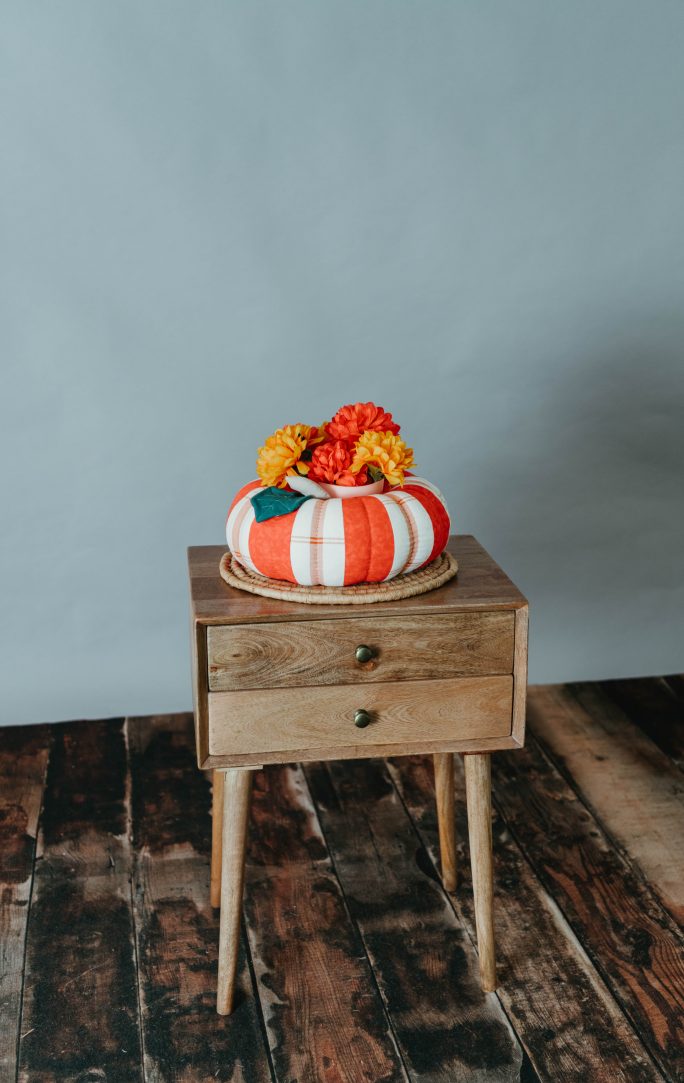
- Insert flower pot.