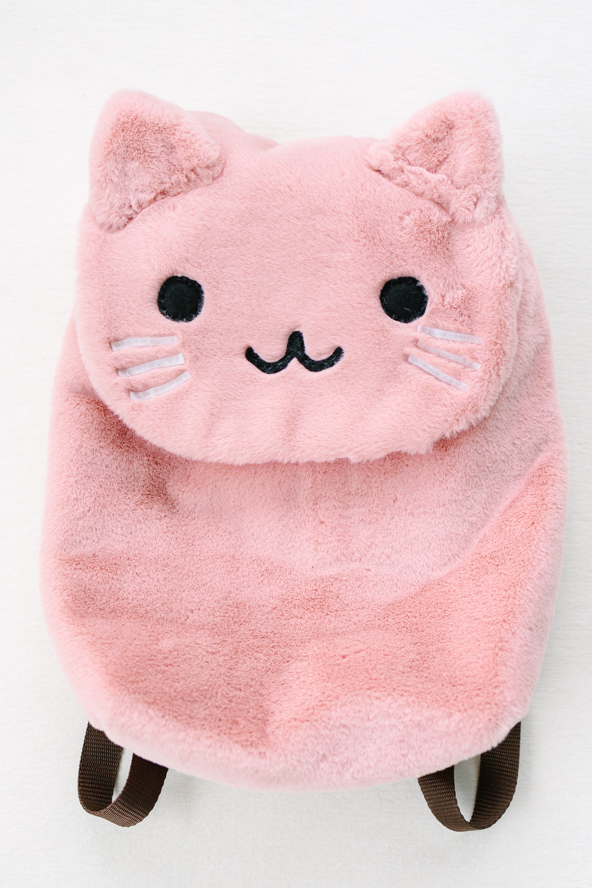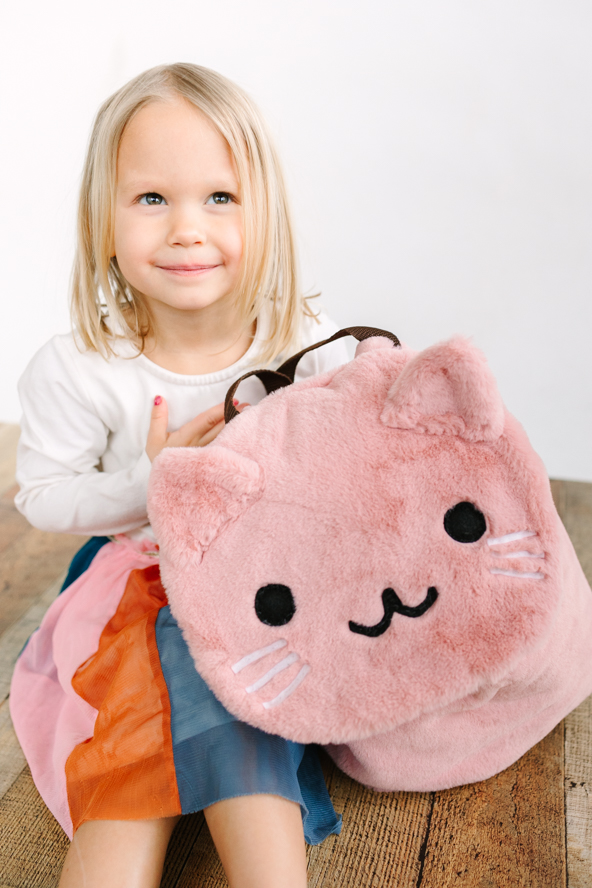
Your little one will start the school season off in style with this adorable kitty backpack! Full of fun purr-sonality, this kids’ backpack pattern is made in soft faux fur and features a sweet cat face, drawstring closure, and custom-sized straps. This super cute backpack pattern is a great alternative to expensive store-bought backpacks and is ideal for preschool and elementary school kids. Challenge your sewing skills by working with thick, plush fabric with this back-to-school sewing project.
DESIGNER NOTES:
- This project uses a 1/2” seam allowance throughout unless otherwise stated.
- Working with fur can create a lot of bulk, so you may need to trim your seam allowances down as you go. Snip them back to around 1/4” to lessen the load and keep things neat.
Materials:
- Fabric: Low pile pink fur; pink cotton; one yard of each
- Lightweight quilt batting, one yard
- Spray adhesive
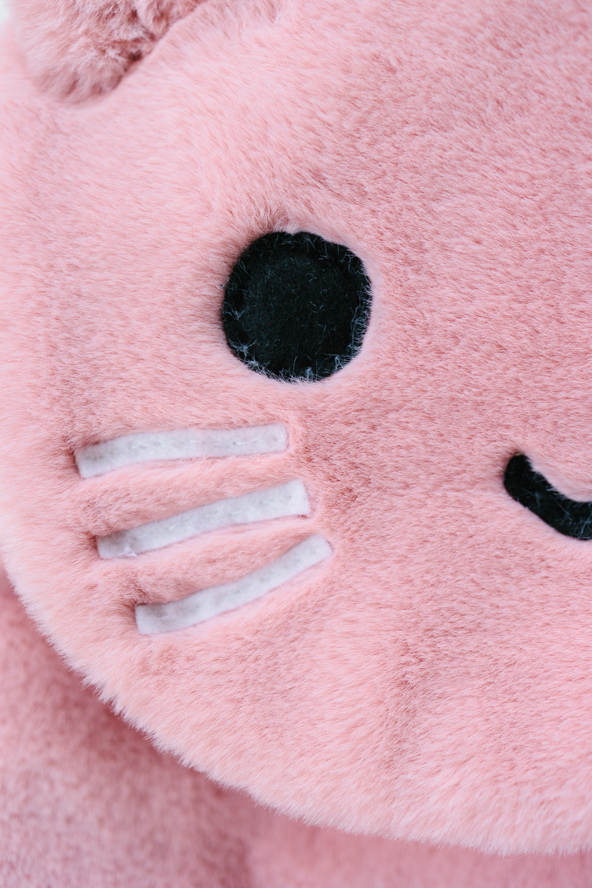
- Felt: Black and white, one 4” square of each
- Bias tape: 28” (sample pictured uses 1″ wide tape)
- Ribbon: One yard (1/2″ wide ribbon was used in the sample)
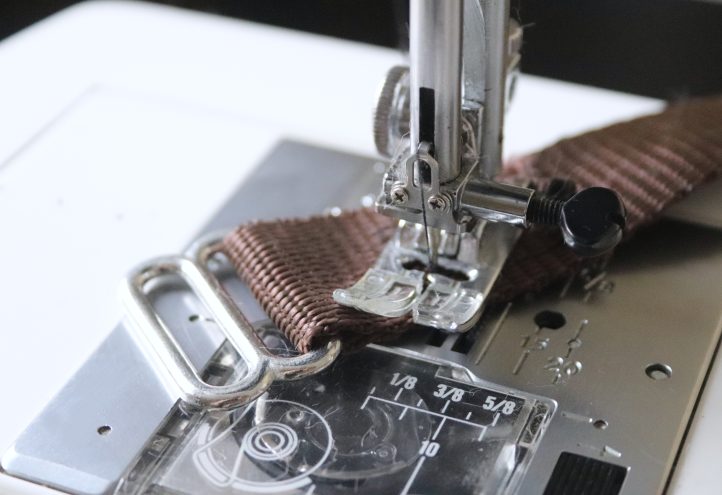
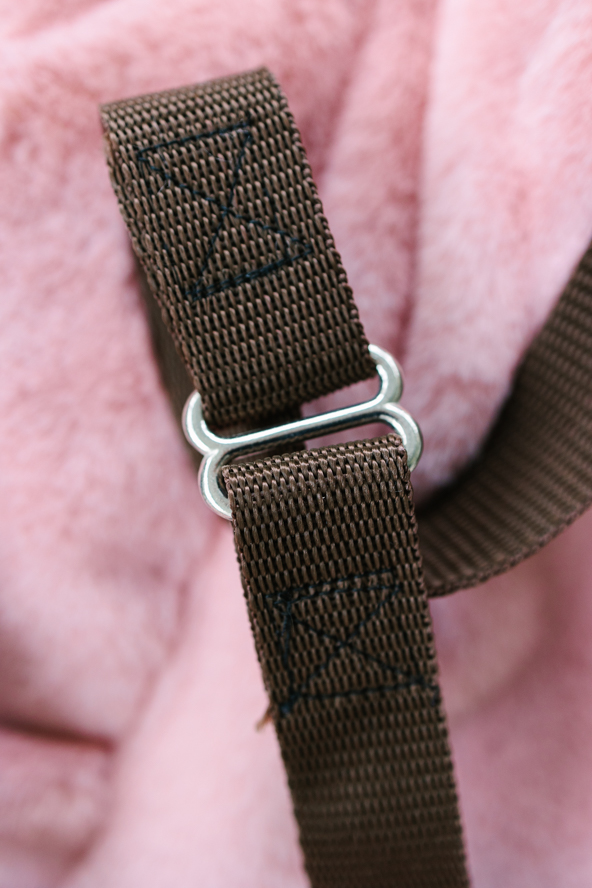
- Webbing straps: Two yards (1″ wide webbing used in sample)
- Strap adjusters
- Sewing thread: White, black
- PDF Template – This is located at the bottom of this page. Please see printing instructions below.
Tools:
- Dressmaker’s shears
- Pen
- Pins
- Sewing clips
- Sewing machine
- Hand sewing needle
PRINTING INSTRUCTIONS:
Note: To download the template, click on the pattern download button at the bottom of the page. We recommend opening your pattern download using Adobe Acrobat.
Instructions:
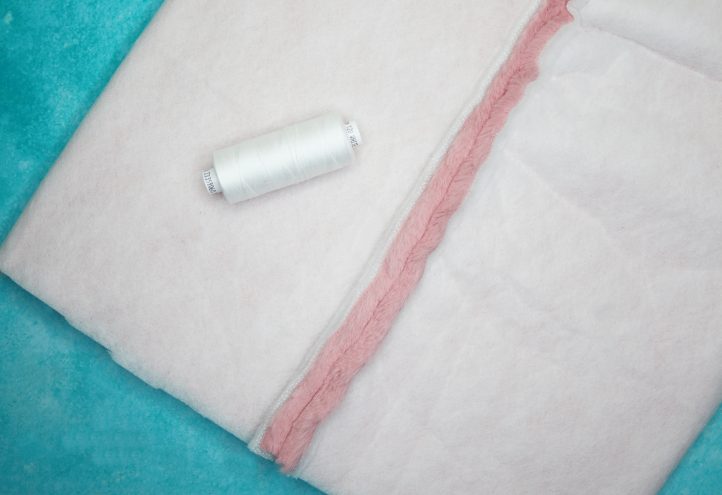
- Begin by cutting an 18”x 28” rectangle from pink fur, then cut an identical piece from lightweight batting. Use fabric spray adhesive to fix the batting to the wrong side of the fur, then fold the work in half widthways with right sides together. Stitch along the side edge to create a tube. Trim the seam allowance back.
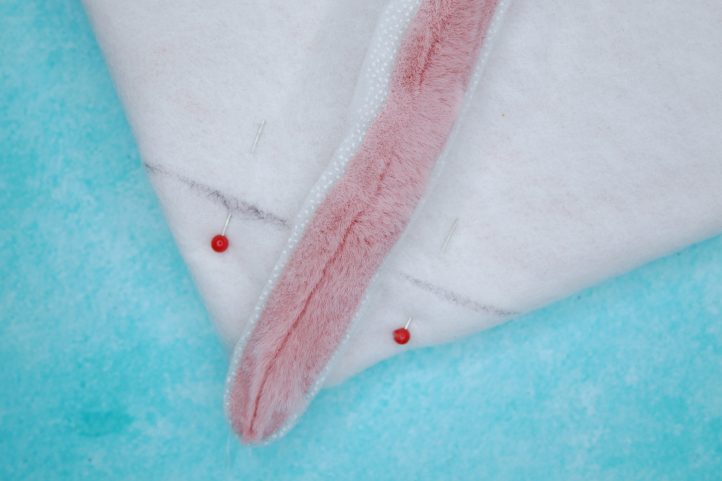
- Box off the bottom corners. To do this, first lay your tube out flat, with right sides together. Roll the work around until the side seam is positioned down the center of the work, then pin and stitch across the bottom of the tube to close it and form a basic bag. Turn the work and use both hands to pinch and pull apart one of the corners. As you pull, the fabric will begin to form a little peak, with the seam line running down the center. Measure the peak and draw a line across it at the point it becomes 4” wide. Pin, then stitch along this line. Trim off the peak, leaving a 1/4” seam allowance. Repeat on the opposite corner.
- Repeat Steps 1 and 2 with your pink cotton to make the lining. Turn the lining bag right sides out and fold the top edge over to the right side by 1/2”. Next, cut a 28” length of bias tape and press each of the short cut edges over to the wrong side by 1/2”. Run the binding around the bag, placing it around 1” down from the folded top edge and making sure the two short edges meet at the center front. Pin into place, then work a straight machine top stitch along both long edges to create a channel.
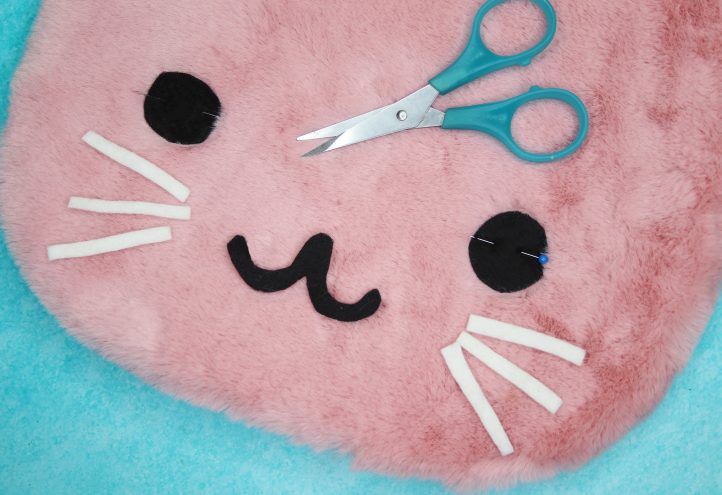
- Use the templates provided to cut one cat face from fur, one from batting, and another from cotton. Back the fur one with the batting, then place it right sides together with the cotton one and stitch around the curved edge, leaving the straight edge open. Turn right sides out and trim the seam allowance down around curve. Cut the eyes, mouth, and whiskers from felt as indicated and hand stitch each one to the face.
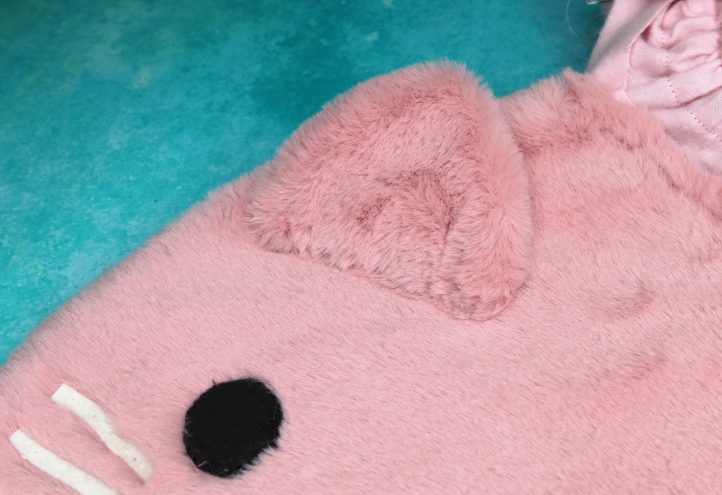
- Cut four ear shapes from pink fur, using the templates provided. Place them together in pairs with right sides facing and stitch along the top two edges, leaving the bottom straight edge open. Turn right sides out, then fold the bottom edge in by 1/2” and pin. Hand stitch across the bottom to close the seam, then stitch each one to the face.
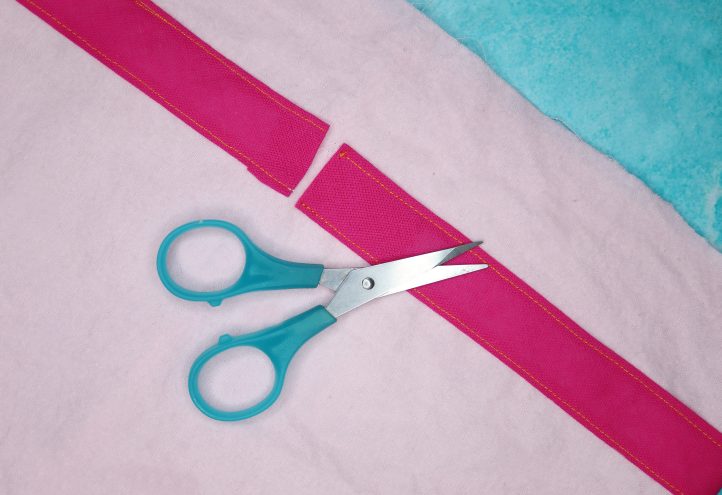
- Make two straps from strips of webbing, cutting them to size and using strap adjusters to get a correct fit. Once you’re happy with the straps, assemble the bag. Ease the lining inside the outer bag with right sides of both facing outwards, making sure to match up the seams. Fold the top edge of both over to the wrong side by 1/2” and clip to hold in place. Place the straight open edge of the cat face flap in between the two at the back of the bag, with the top of the straps positioned on either side. Pin, then work a straight machine stitch all around the top edge, to finish the seam and hold the flap and straps in place. Machine stitch the opposite end of each strap to the bottom back corners of the bag, then thread a length of ribbon through the channel you created in Step 3 and pull it tight to close.