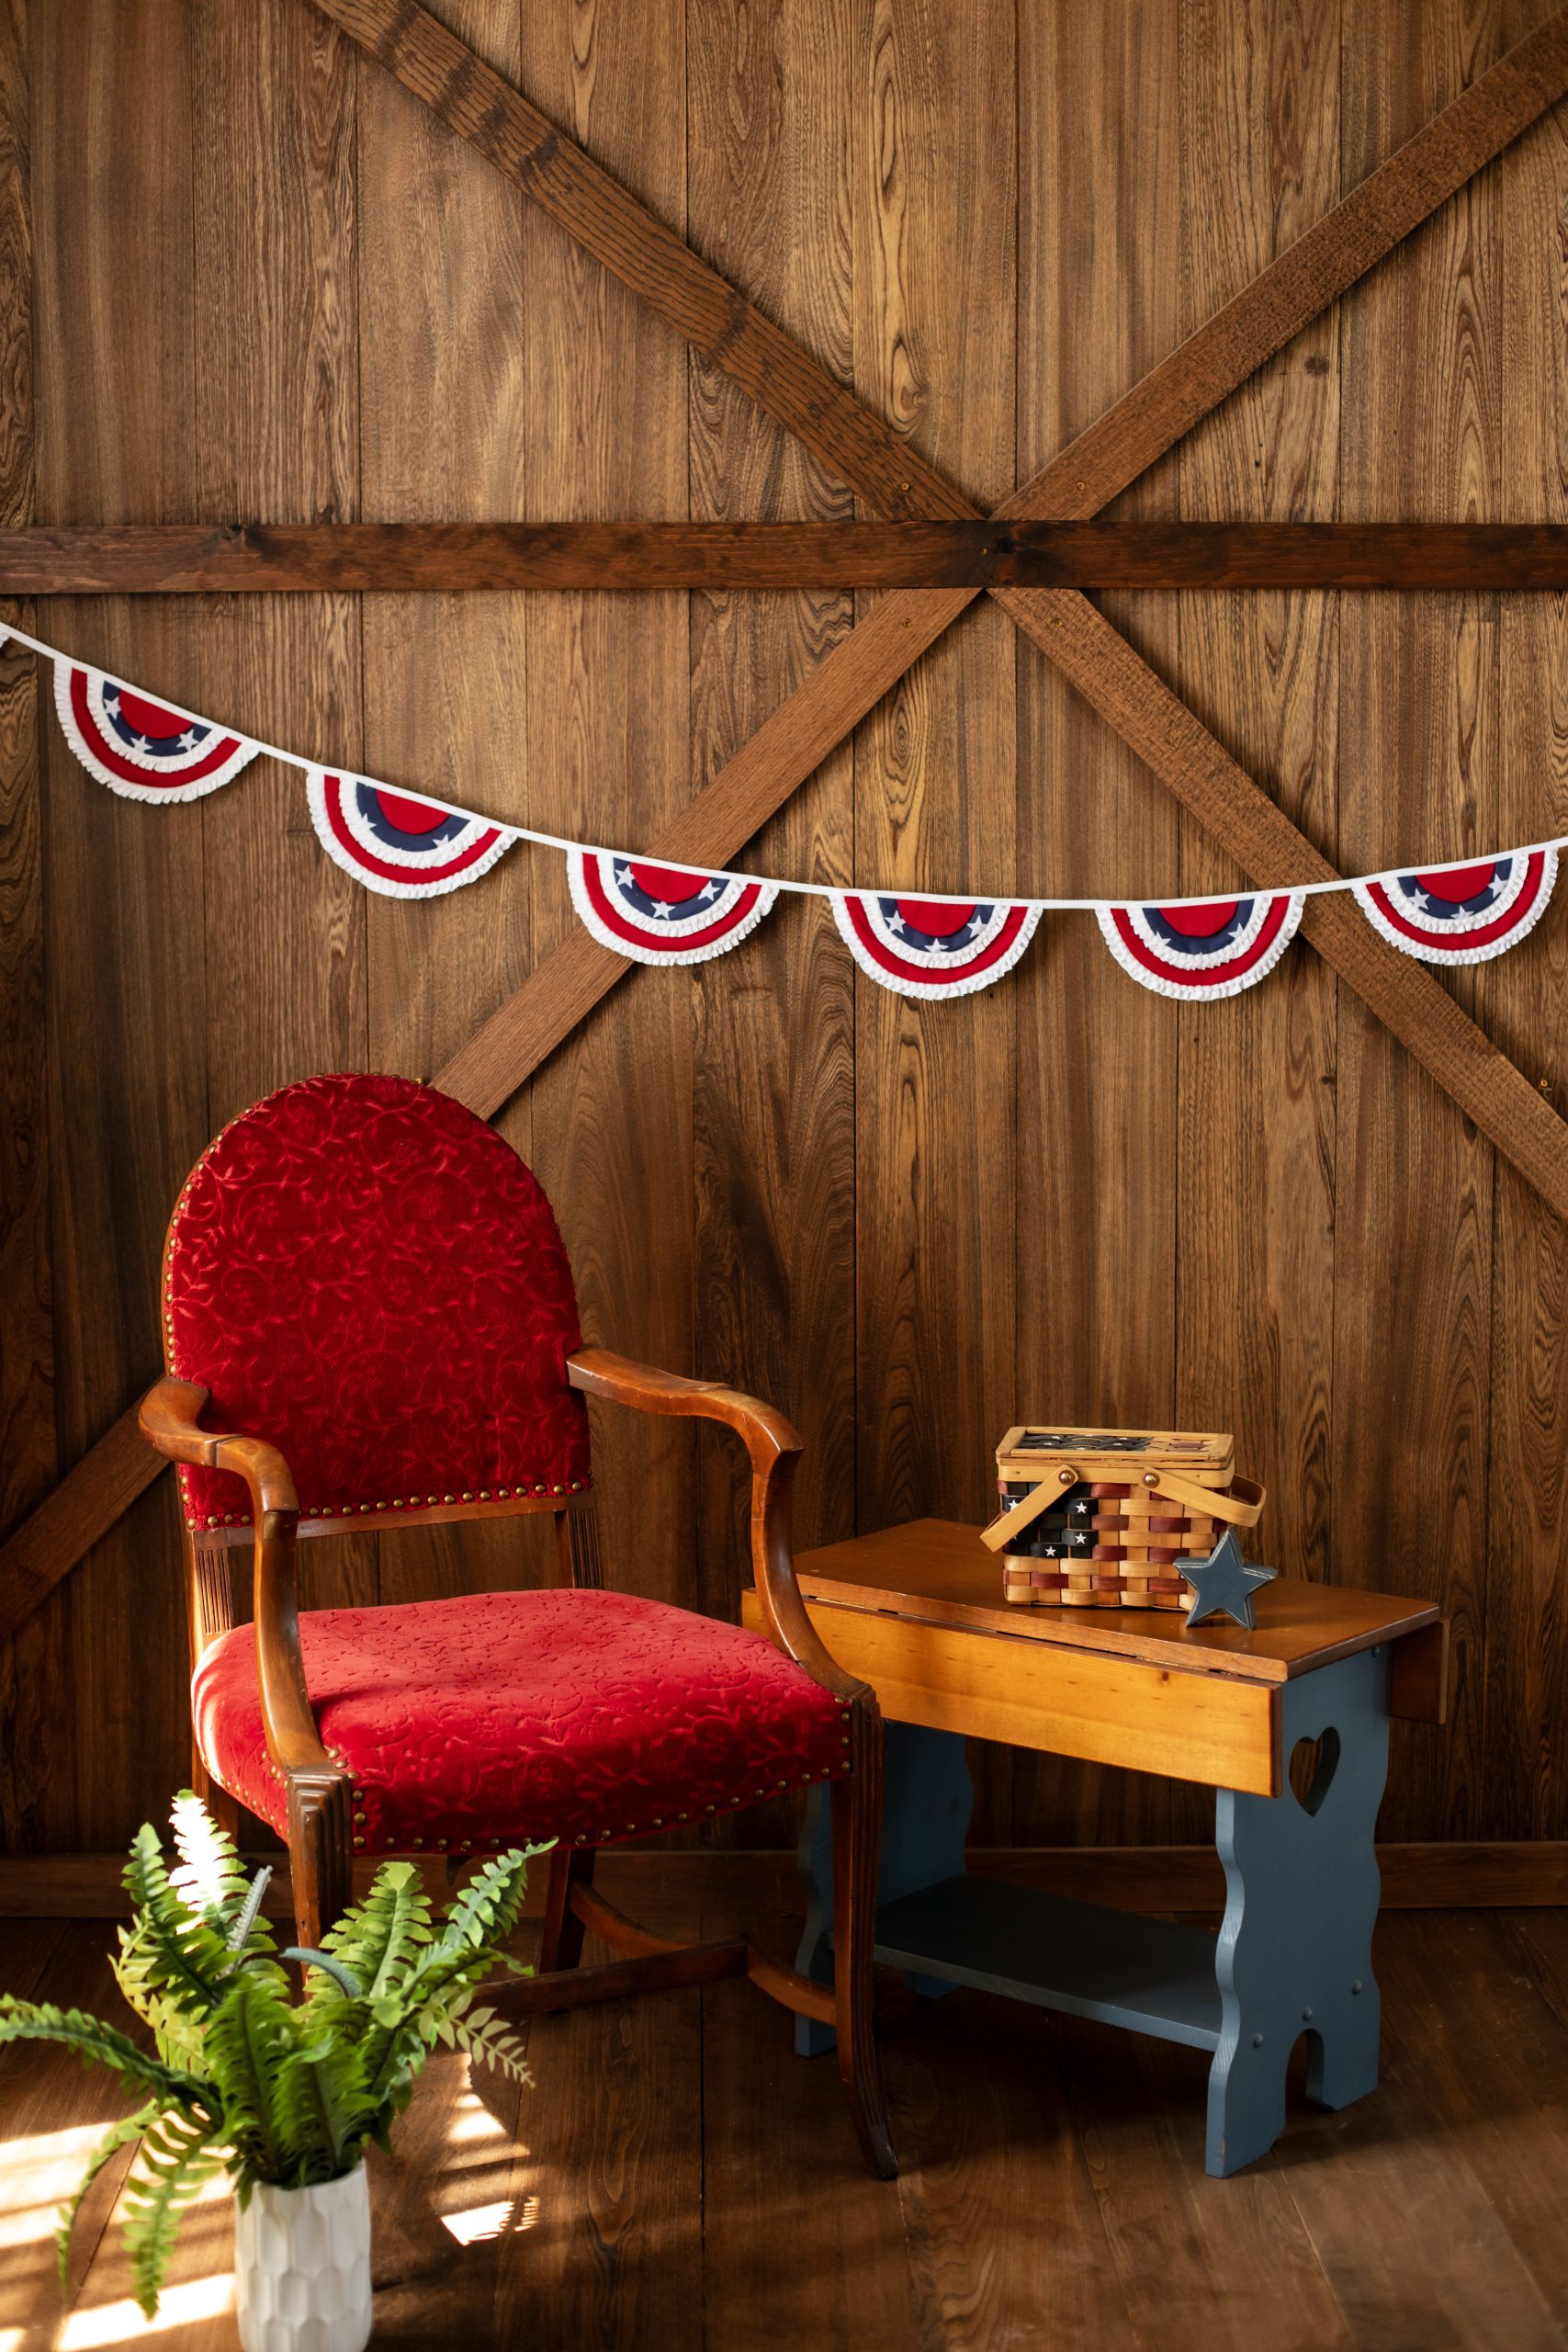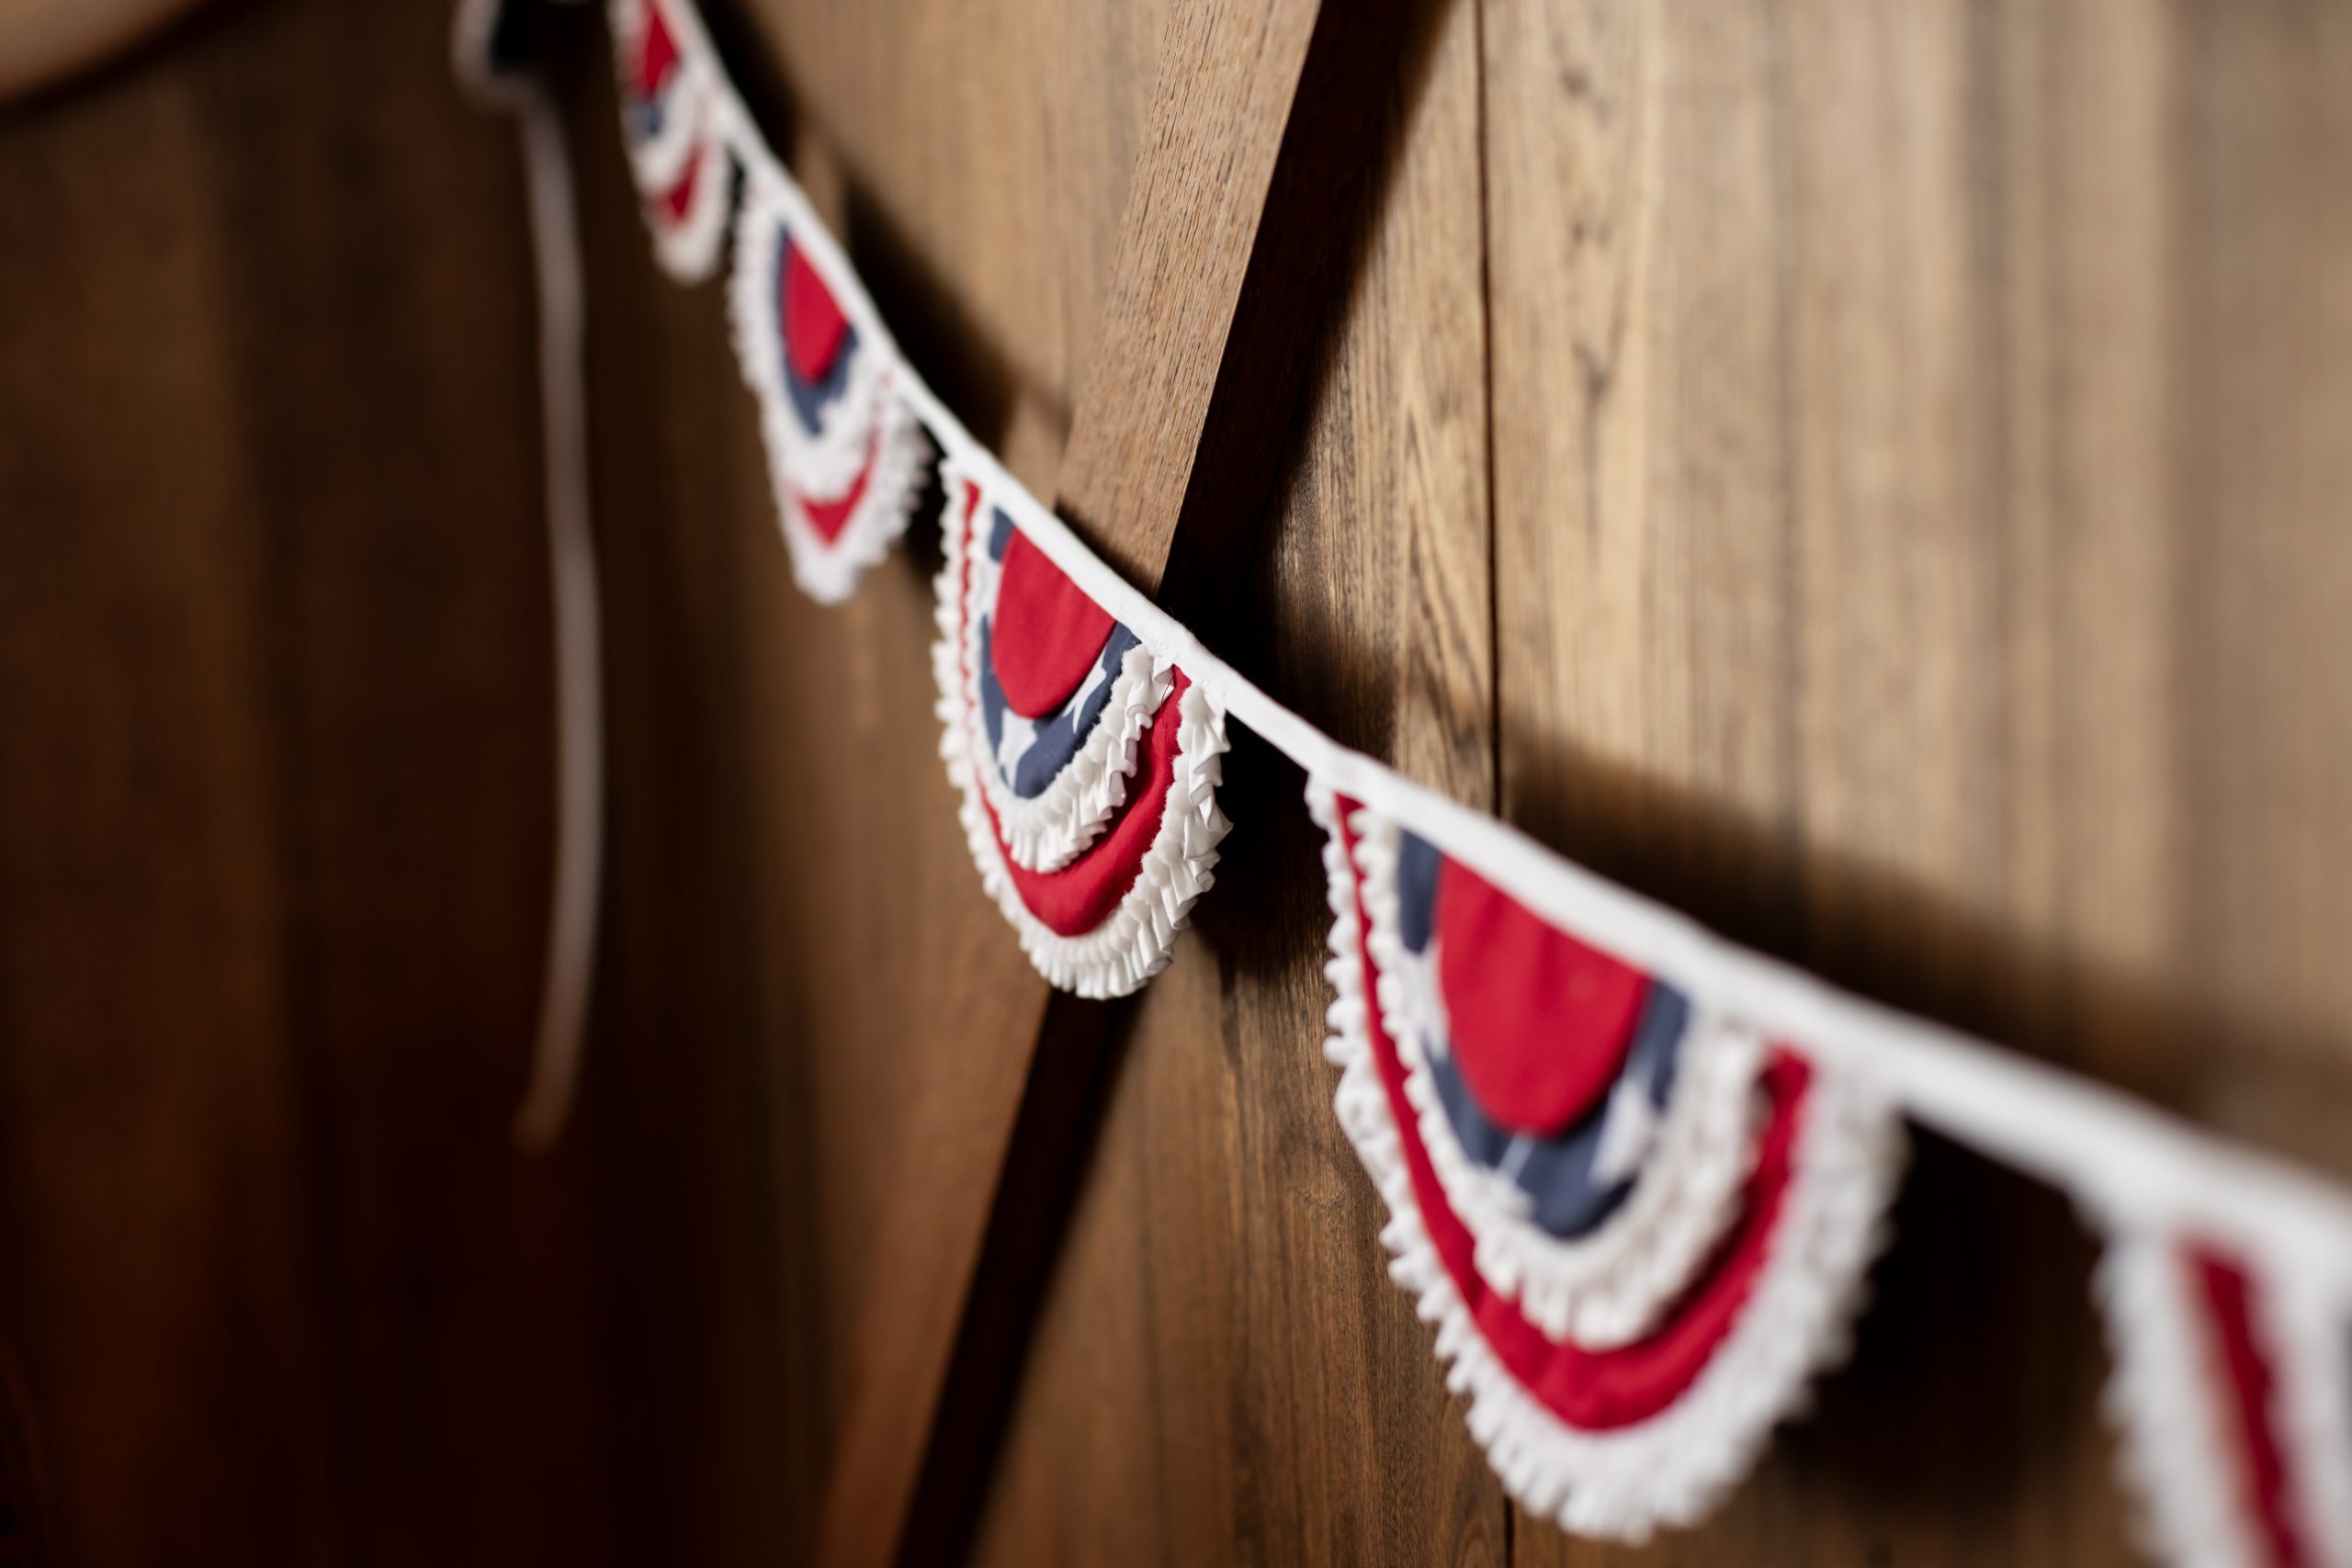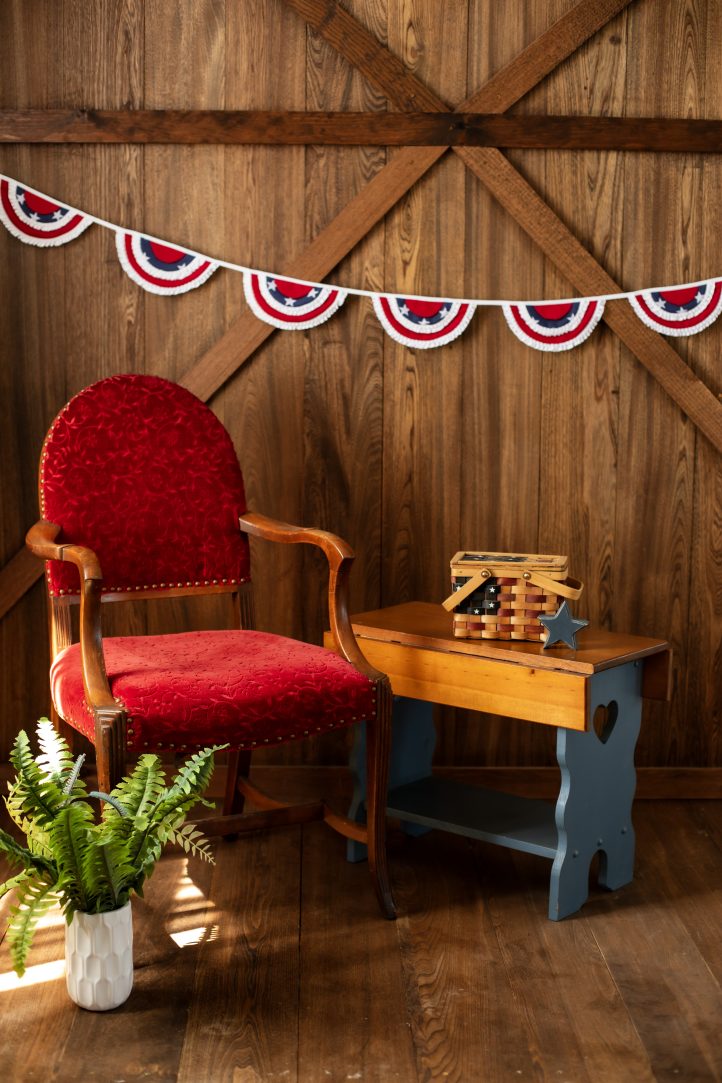
Decorate your home, backyard, or party venue with delightful retro-inspired bunting with this pattern from Sophie Tarrant. A dreamy decoration for the 4th of July, this fabric bunting pattern takes its inspiration from traditional patriotic designs and is made with classic cotton and finished with pom pom trim. This DIY patriotic garland is an eco-friendly option compared to plastic single-use decorations and can easily be stored for years to come.
Skill Level: Beginner
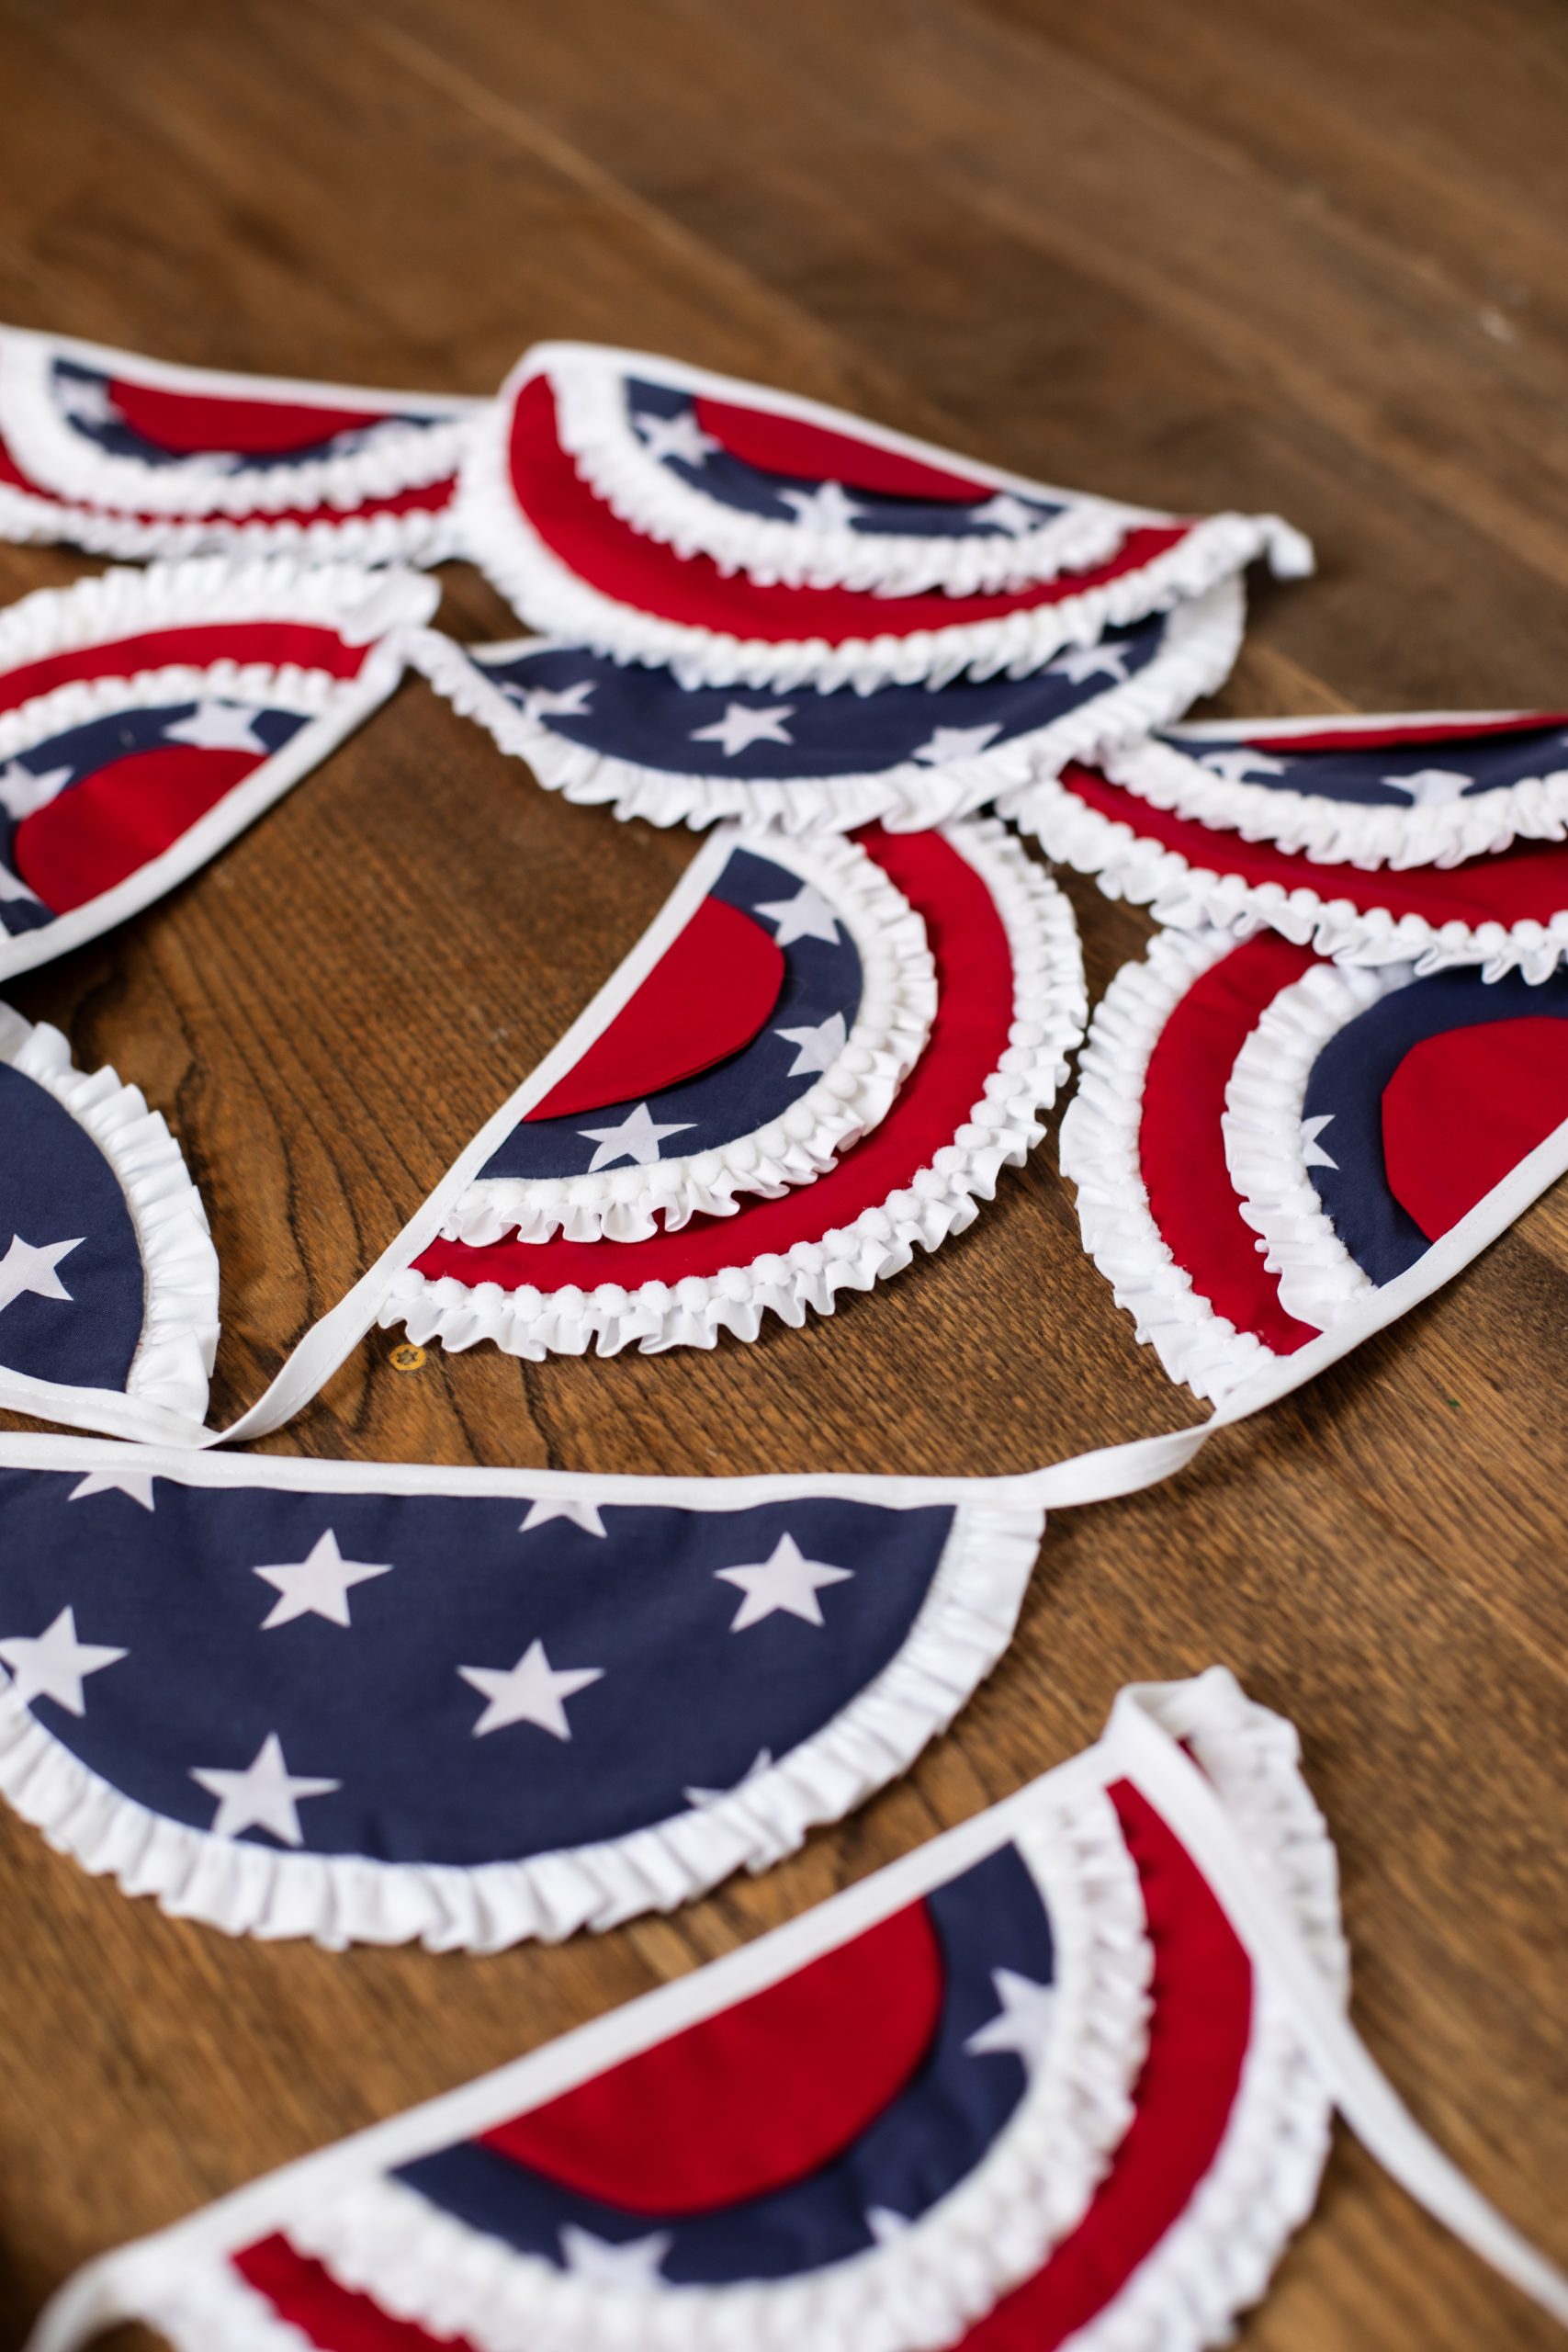
Finished Size: Custom, each pennant is 9” (inches) wide x 4 1/2” (inches) tall
Designer Notes:
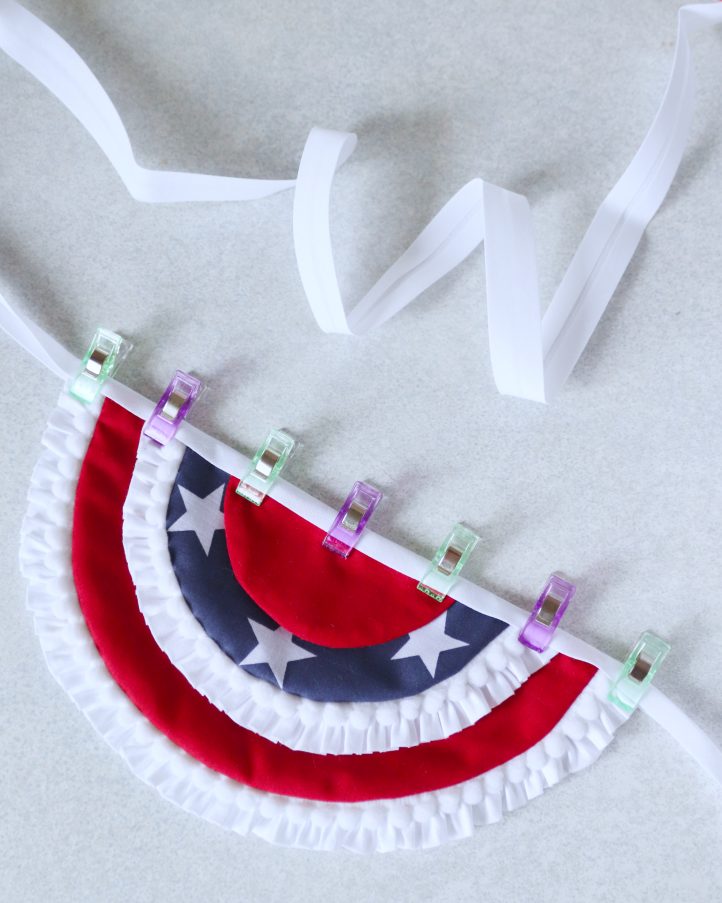
- Perfectly Spaced Pennants: To keep the gap between each pennant even, cut a piece of scrap paper or cardstock to 2” wide and use it as a spacer when clipping your pennants into place.
Materials:
- 1/8 yard of each fabric: Red cotton, blue cotton with white stars
- 1 yard of pom pom ruffle trim: White *Optional: Pom pom trim without ruffle can be used in place of pom pom ruffle trim.
- Thread: White
- 1 Package of 3/8” to 1/2” wide double-folded bias tape: White
- PDF Template – This is located at the bottom of this page. See printing instructions below.
Tools:
- Rotary cutter
- Clips
- Sewing machine
- Iron
PRINTING INSTRUCTIONS:
To download the PDF template, click on the download button at the bottom of the page. We recommend opening your download using Adobe Acrobat.
Sewing Instructions:
- Start by downloading and printing the PDF templates, then use them to cut out your fabric pieces. For each pennant, cut two of the smallest shapes from red cotton fabric, and two of the medium shapes from blue cotton fabric with white stars. Then, use the largest template to cut one piece from each fabric. This will give you a total of six fabric pieces per pennant.

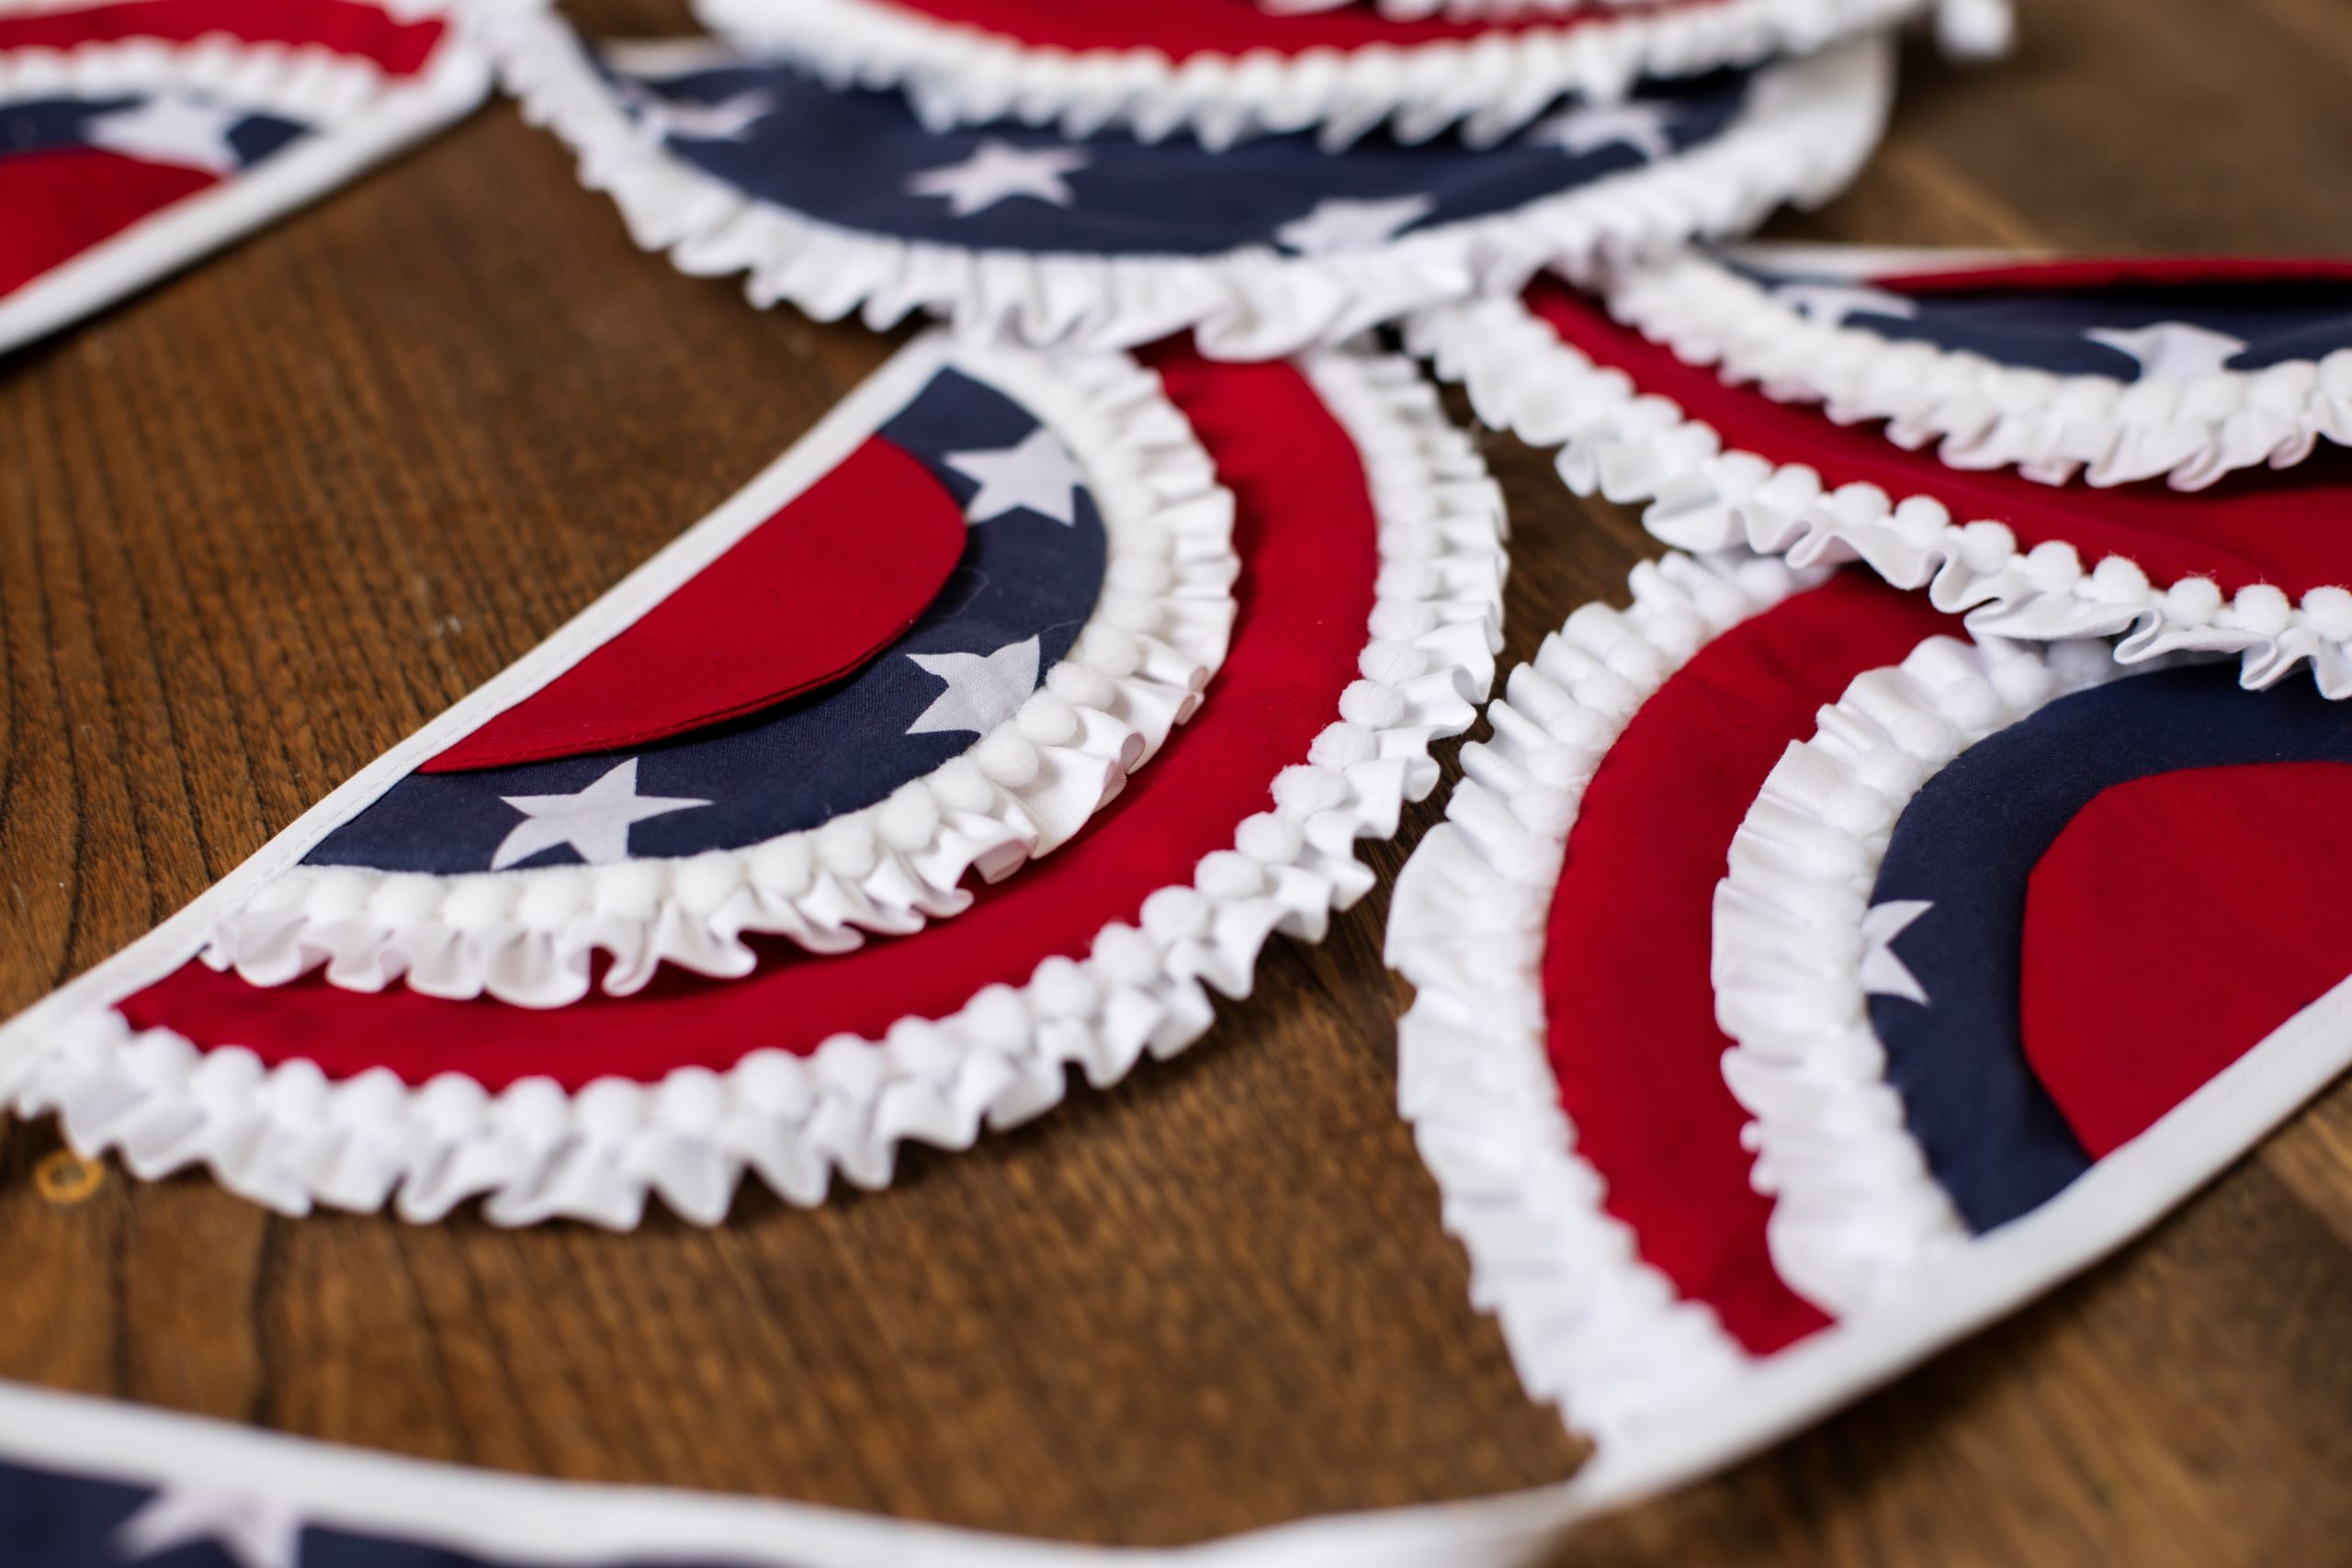
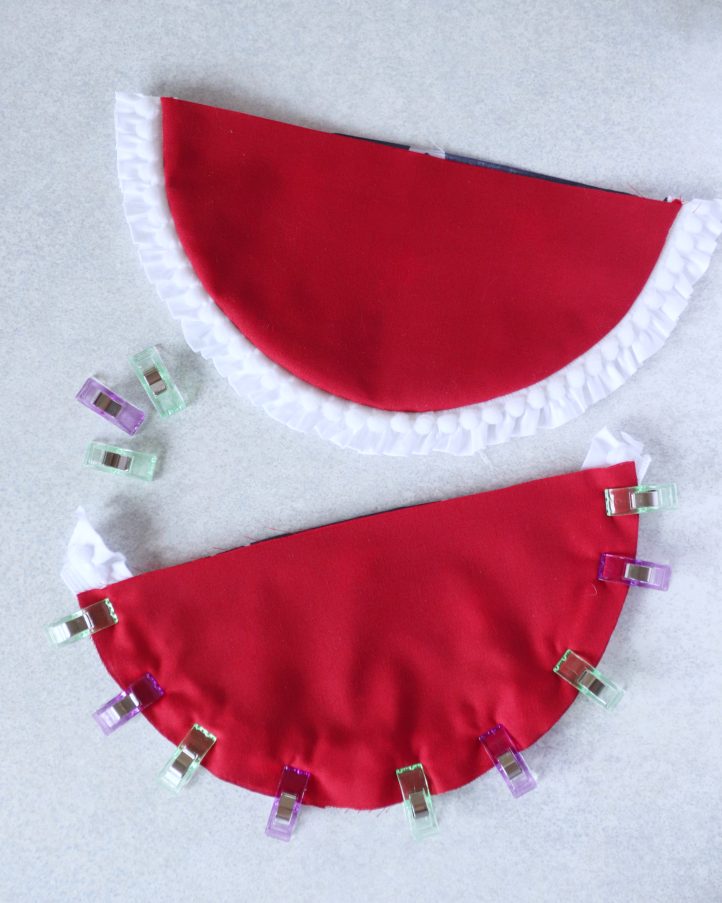
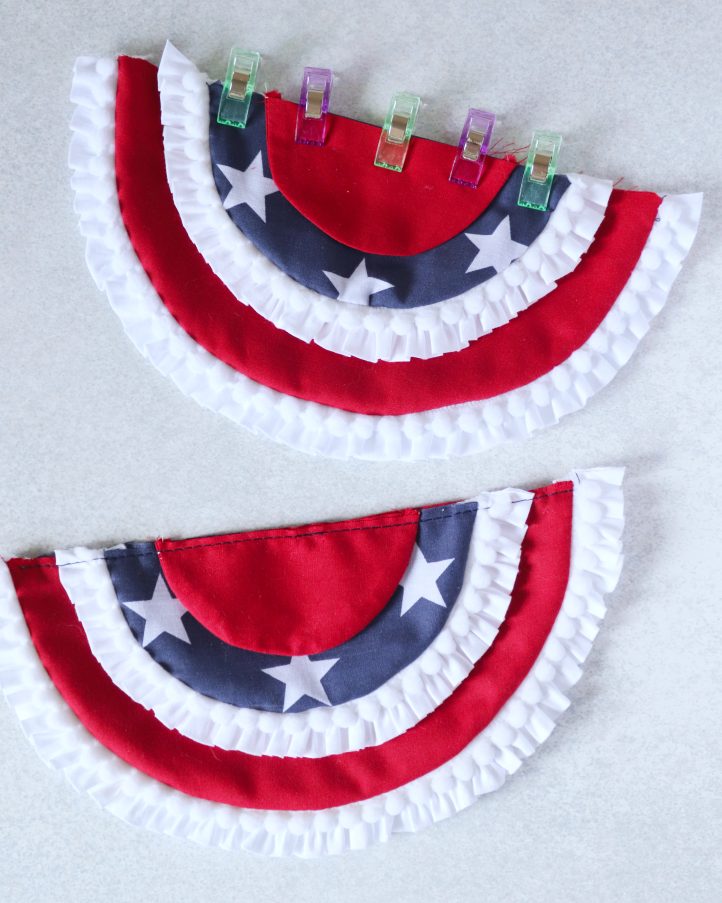
- Lay your largest red fabric piece right side up. Cut a 15” length of pom pom ruffle trim and position it along the curved edge, ensuring the ruffle faces inward while the flat edge aligns with the fabric’s curve. Use clips to hold it in place – it’s fine if the trim extends slightly beyond the edge of the fabric. Next, place the large blue and white star piece on top with the right side facing down, sandwiching the trim between the two layers. Clip along the edge again, then sew along the curve with a 1/4″ seam allowance. Snip notches along the curve to help the fabric turn smoothly, then turn it right sides out and press. The trim should now sit neatly along the curved edge. Finally, use sharp scissors to trim any excess trim away from the top edge.
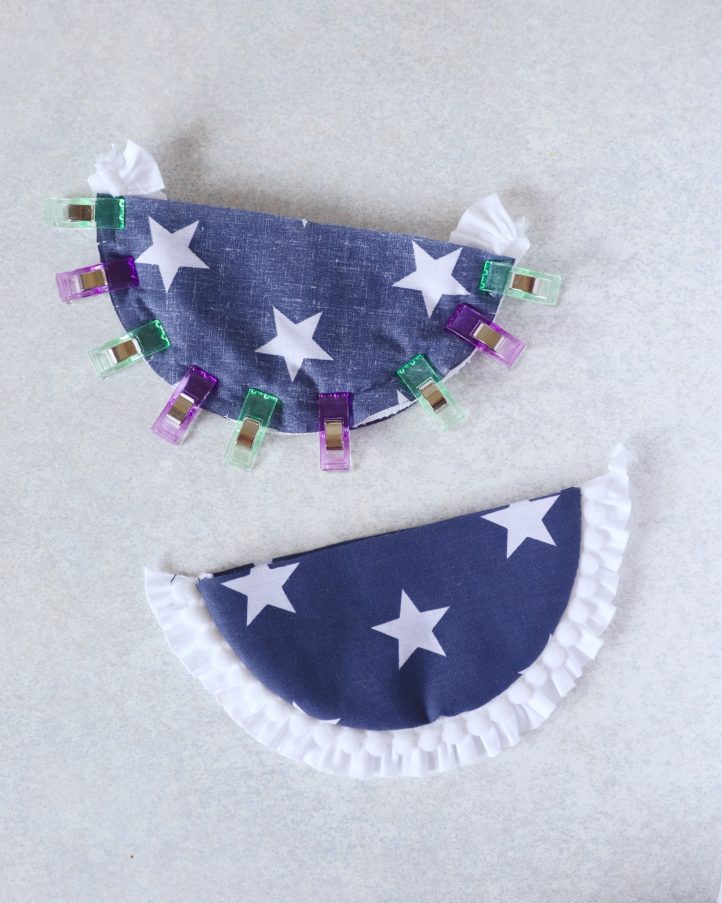
- Repeat the same steps to make the medium-sized shape, sandwiching an 11” strip of ruffle trim between the two layers of blue and white star-print fabric. Remember to snip into the curve before turning it right sides out to ensure a smooth finish. For the smallest shape, sew the two red pieces together with right sides facing, but this time, skip the trim. Simply stitch around the curved edge, snip notches into the seam for a clean turn, then turn it right sides out and press.
- Now that all three shapes are complete, it’s time to layer them up. Center the small red shape on top of the medium blue and white one, then place both on top of the largest shape, ensuring all the layers are aligned. Make sure the trim on the medium and large pieces faces upwards. Clip the layers together along the top edge, then machine stitch them in place with a 1/4″ seam allowance. Your first pennant is complete! Repeat Steps 1-4 to make as many pennants as you need – you can fit around three pennants per yard of bunting.
- Finally, it’s time to assemble your bunting. Cut a length of bias tape long enough to fit all your pennants, leaving a 2” gap between each one and extra length at both ends for hanging. Fold the bias tape in half lengthwise and press to set the crease. Next, sandwich the flat top edge of each pennant inside the folded bias tape, ensuring they are evenly spaced. Clip everything in place, then machine stitch along the entire length of the tape to secure the pennants and complete your bunting.