
Don’t toss your torn umbrella in the trash! Give it a second lease on life by transforming it into something new. This upcycled sewing tutorial shows you how to cut and piece torn fabric from an umbrella into a small, foldable tote. With this sewing project, you’ll use basic sewing skills, such as creating and adding lining and straps to your bag, so it’s a fantastic project for new sewists who are ready to improve their skill set. Going green has never looked cuter!
Skill level: Easy
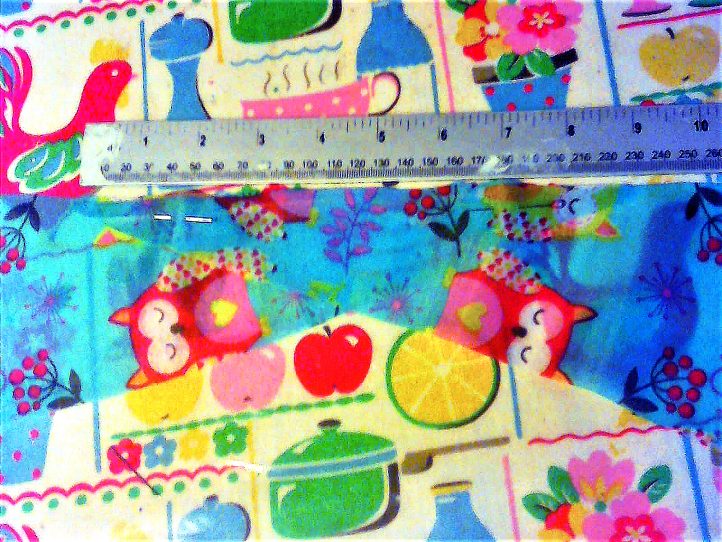
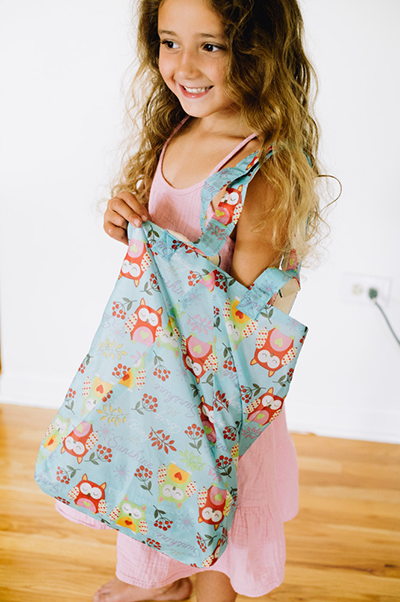
Finished Size: 13” w x 16” h
Project Notes
- Note that patterned umbrella fabric has a “right” side. The difference can be subtle, so we recommend putting a sticker on the right side of each triangle you use.
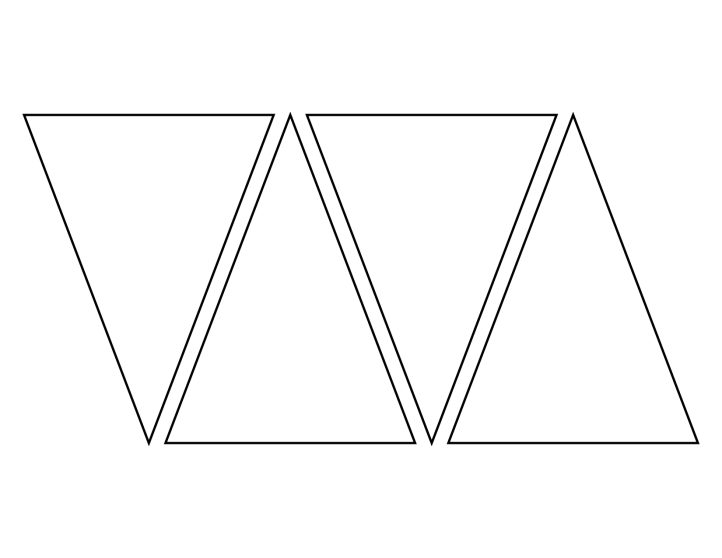
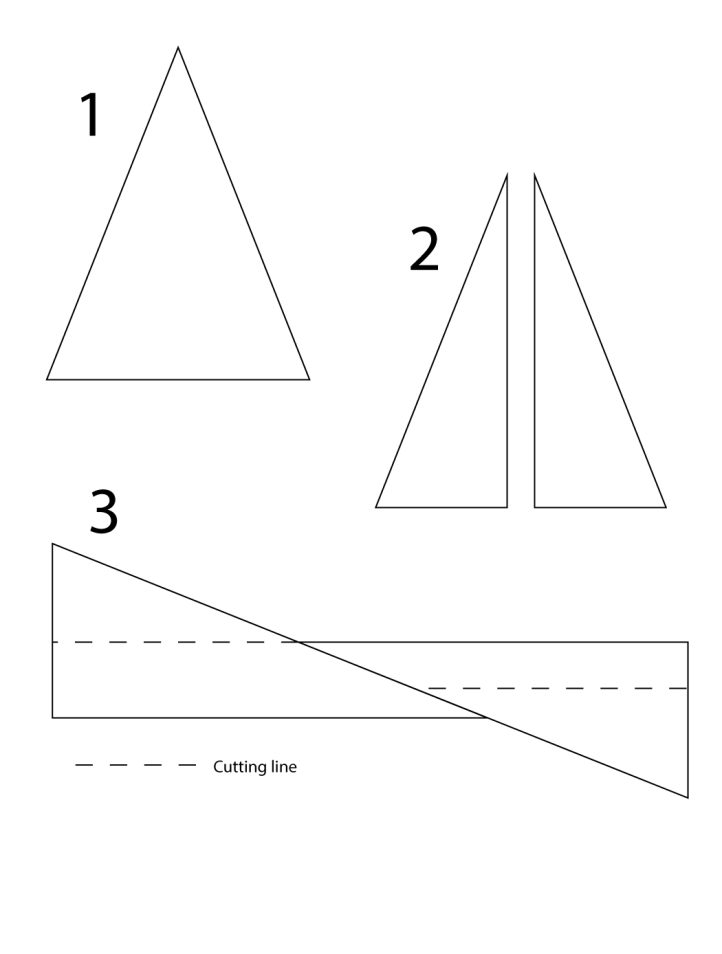
- This umbrella bag is made up of 8 triangular sections (isosceles triangles). If you prefer, a 6-equilateral triangle umbrella can be used instead; just make sure to only mark the lower edge on each piece, so that when you line the triangles up to join them in Step 3, the grain of the fabric is straight.
- To add to the strength and durability, and because lighter colored bags especially are translucent, this bag is lined with fabric from another umbrella. Cloth could be used if preferred; just skip the steps where you make a matching bag out of (B) and fold and seam a rectangle of cloth the same size as the bag (A) instead. You may also prefer to use the umbrella fabric as a lining for a textile bag.
- (Optional) If you’d like the option to wrap your bag up using a Velcro strap for easy storage, make sure when selecting your 4 triangles for Fabric A that you include the triangle with a Velcro strap closure. Once your bag is finished, you can use this to wrap up the folded bag and easily store it in a pocket or handbag.
Tools
- Iron
- Sewing machine
- Sharp scissors
- Pins or clips to join fabric prior to sewing
Materials
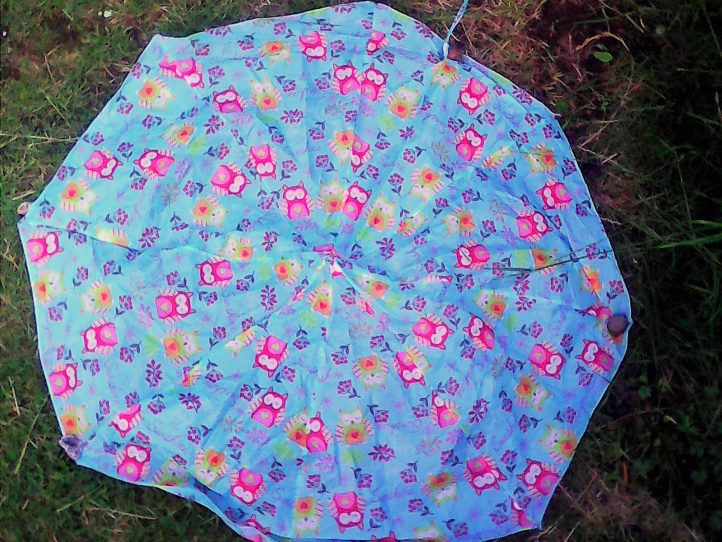
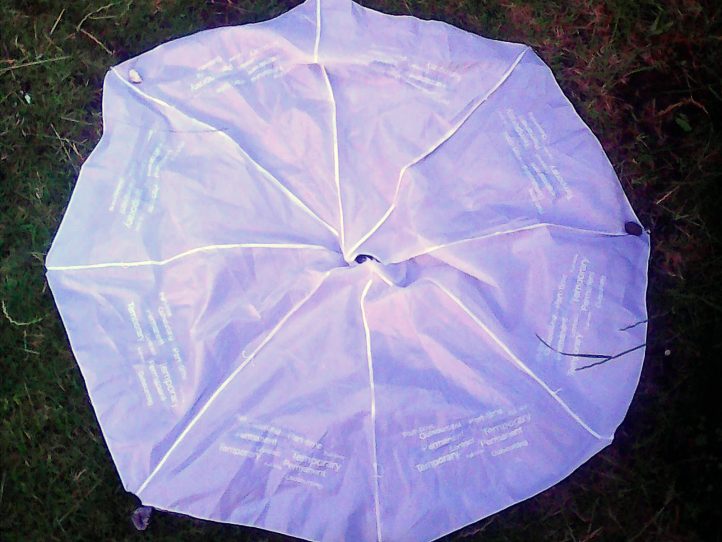
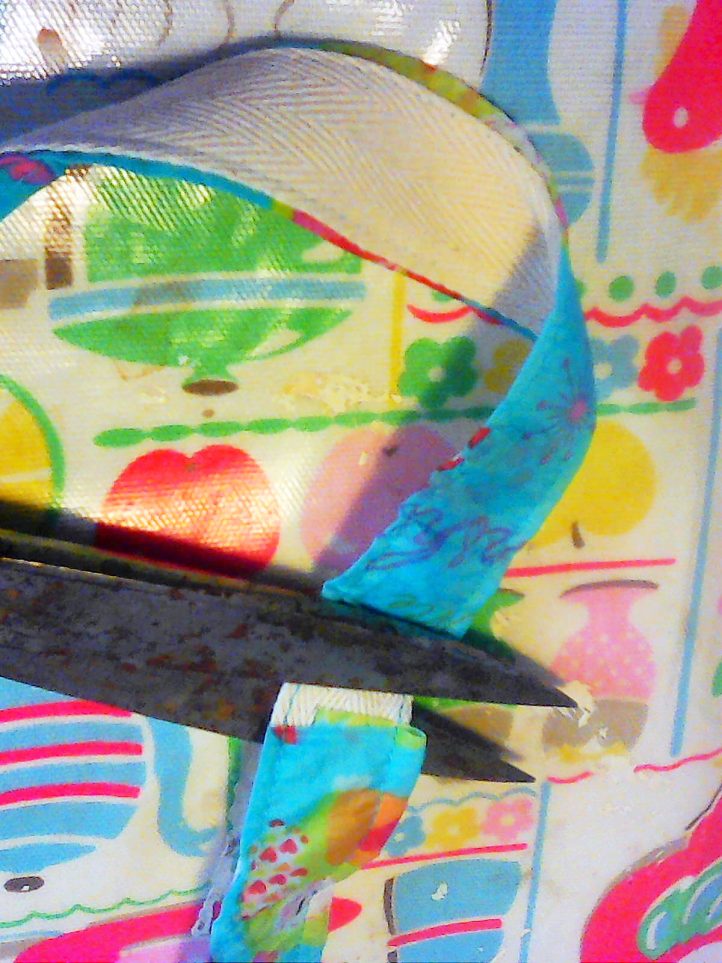
- Fabric from an umbrella, removed from the metal frame, laundered if required. To make this bag, you will need the fabric from at least two umbrellas, ideally patterned for the outside (A) and plain for the lining (B). First, detach the fabric from the metal frame by snipping the stitches which attach it, and remove any metal or plastic tips from the end of the spokes. If required, the whole piece of umbrella fabric can be laundered at up to 40 degrees Celsius (104 degrees Fahrenheit) in the washing machine.
- Fabric from an umbrella in a tonal or neutral color for lining (B)
- Matching sewing thread
- 1 yard woven cloth tape to match, 1” wide
Instructions
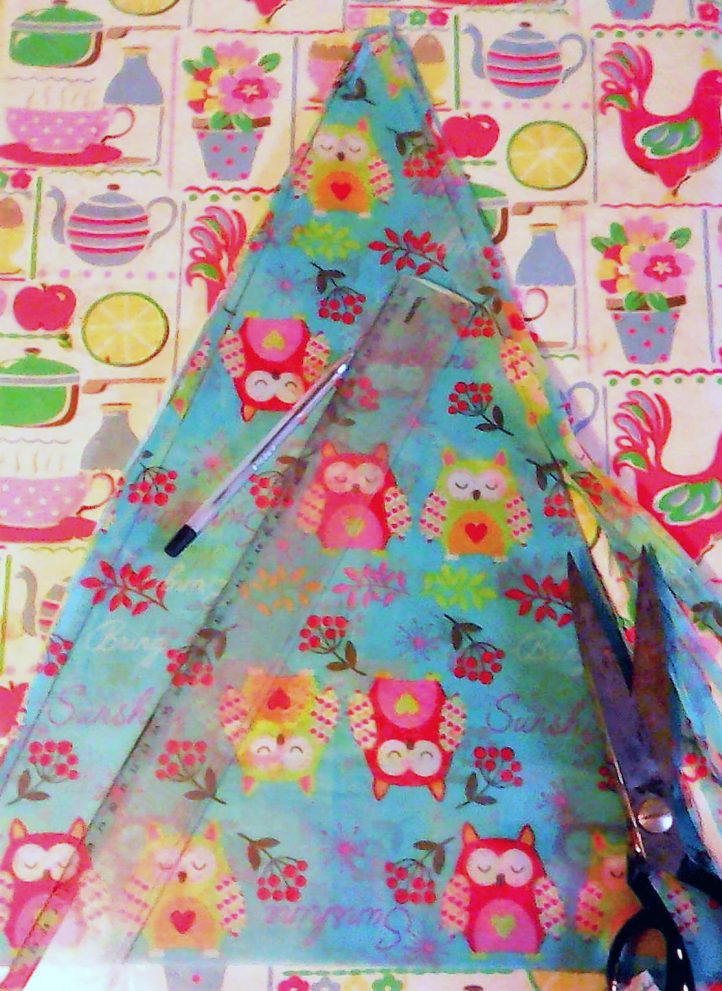
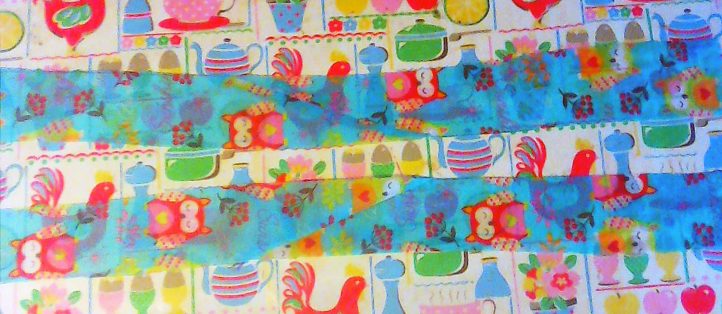
- Separate the triangles by removing the threads which make up the seams. There should be 8 triangles all the same size. Make sure to also remove the thread along the outer edges. Press each piece with a warm iron. Note: Make sure your iron is on a very low setting so you don’t melt the fabric.
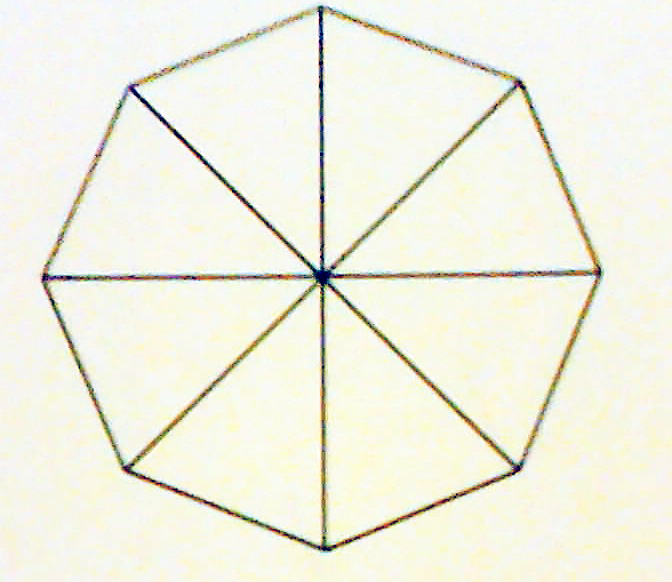
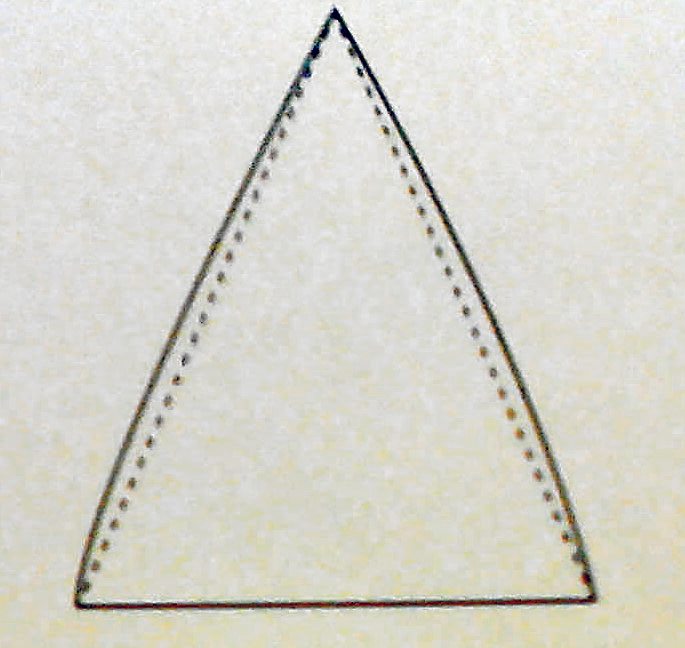
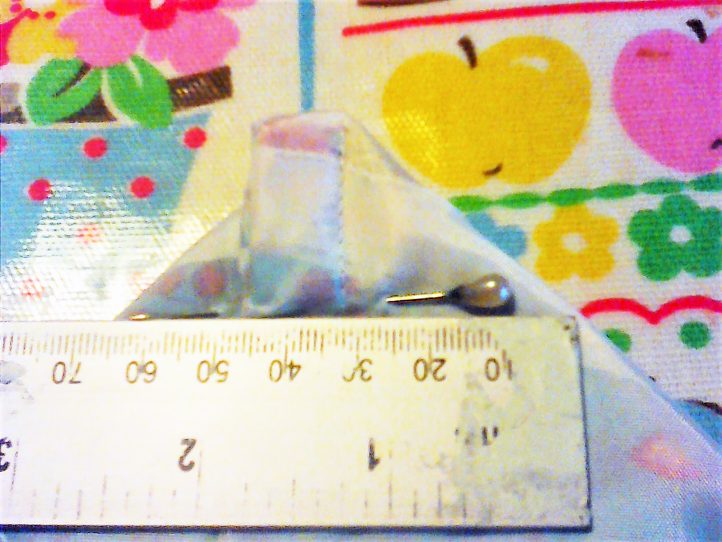
- Take 4 triangles of each fabric, (A) and (B). Note: The edges of each triangle where the spokes were might be slightly curved. To make sewing straight seams easier, it is crucial to straighten these areas. Lay triangles on top of each other and with a ruler, draw a line with a ballpoint pen from the apex to the outer corner on each side. Next, trim away the excess.
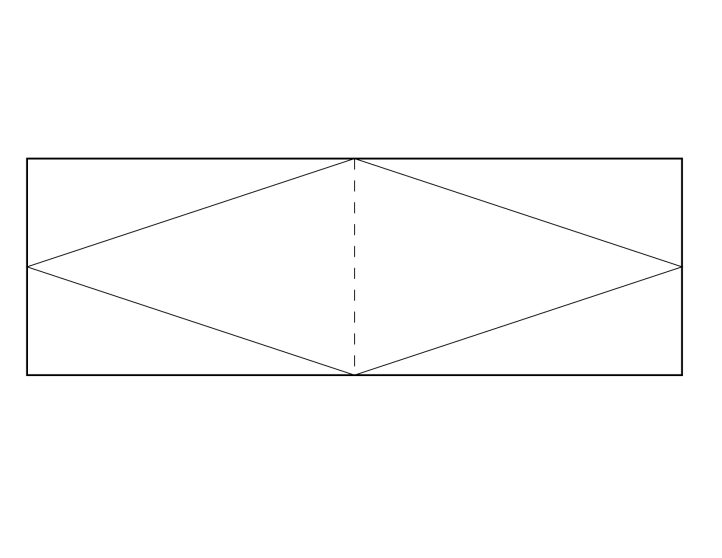
- There will now be 8 triangles the same size with straight edges: 4 in (A) and 4 in (B). You will sew two identical bags using these pieces. This is how the pieces are laid out prior to joining — apex to wide end, then joined to make a tube shape.
- Pin right sides together and sew seams. Press.
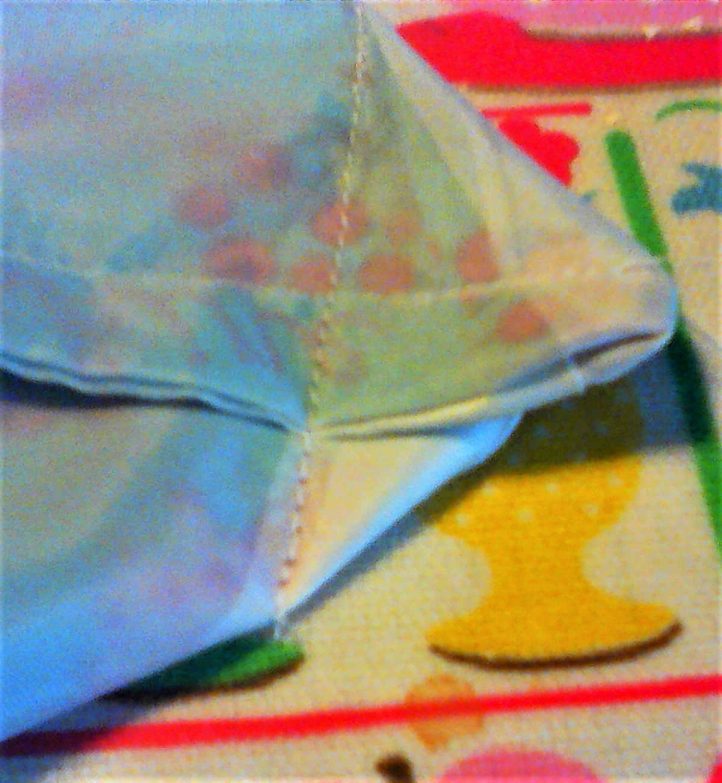
- With right sides together, pin seam about 1/2” from top edge, matching apexes of the triangles, and sew together. Trim seam allowance to about 1/4”.
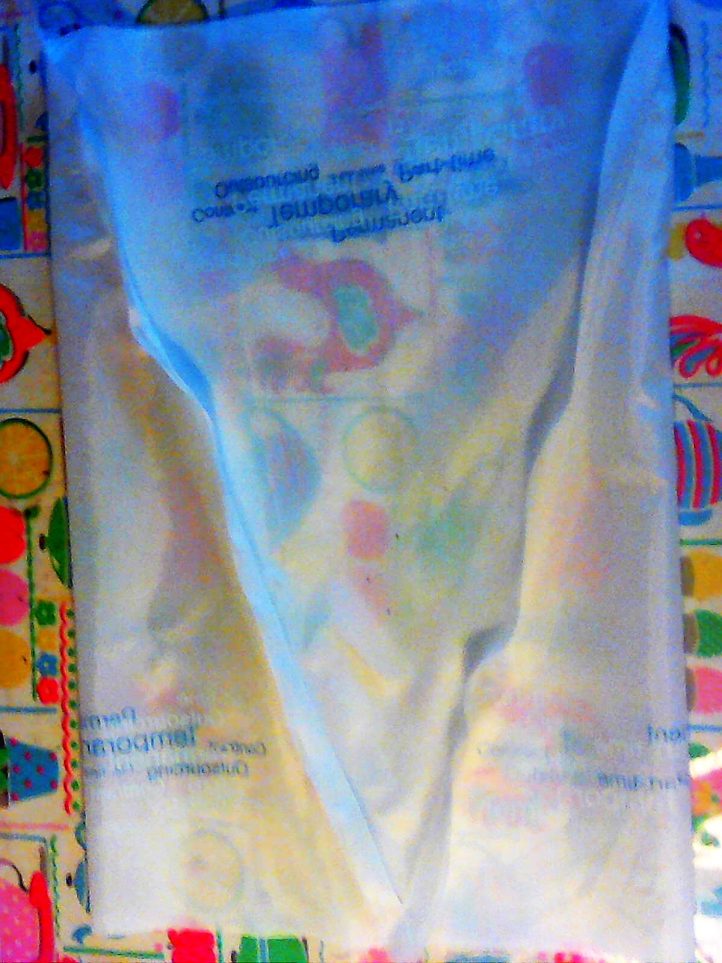
- Turn bag so right sides are facing each other. You should have a long tube comprising of bags in A and B joined in the middle which looks like this:
- Turn seam allowance towards lining side and stitch close to the top edge on the lining side.
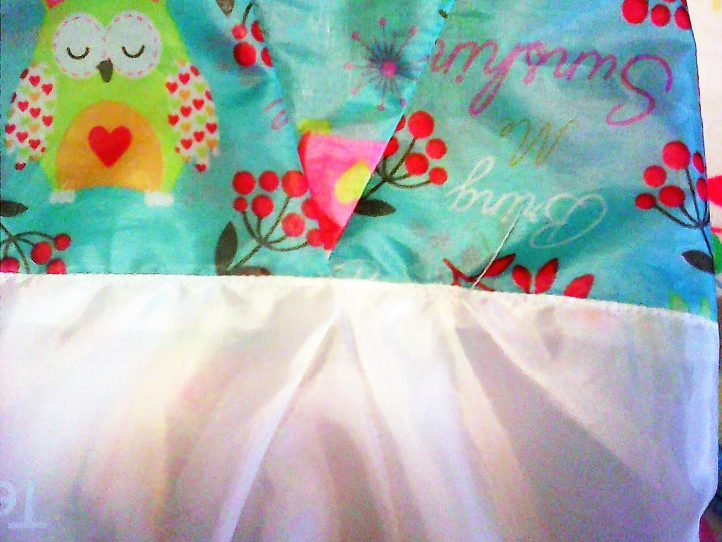
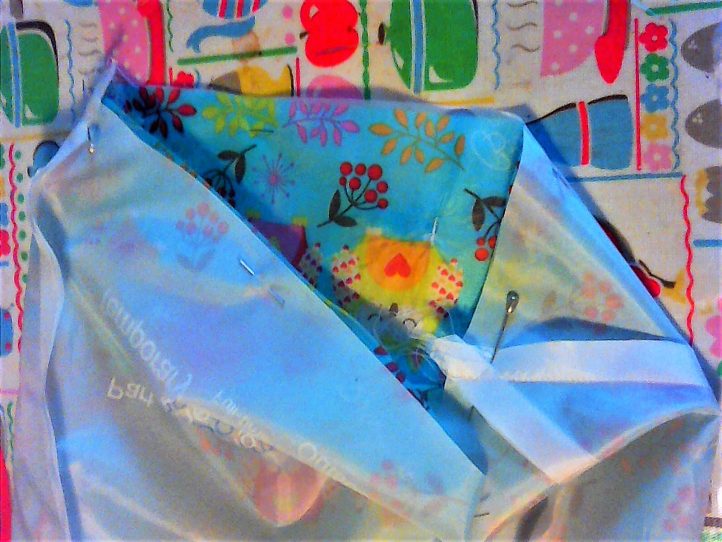
- Fold bag where different fabrics join, with the lining fabric on the inside of the bag.
- Press bag flat with right side outwards arranging the ‘v’s of the triangles symmetrically. Measure from the center top edge to the central point where all layers meet at the bottom edge. Pin together. Measure the same amount on either side edge and pin lower edge through all layers. Stitch this seam and trim excess to about 1/4”.
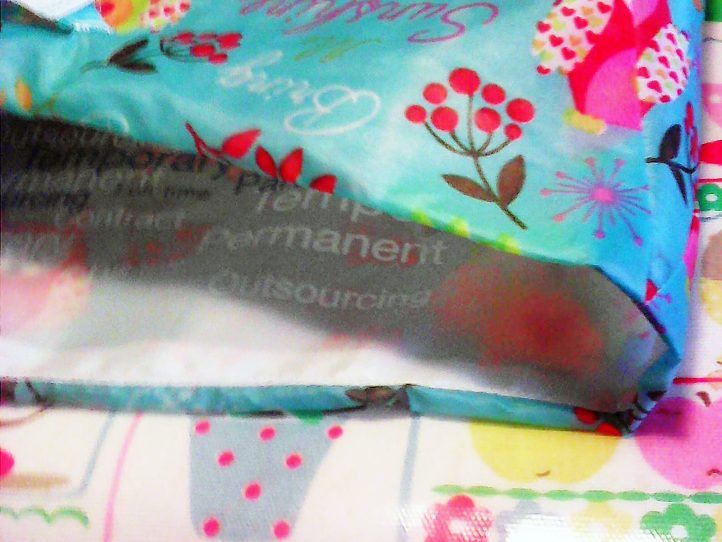
- Turn bag inside out so the lining is on the outside. Make a French seam at bottom edge and stitch about 1/2” from first seam. This makes a completely flat tote bag shape. At this stage, you can choose to add store-bought handles if you like or use nylon webbing tape (the kind that’s used for luggage straps). To make handles in fabric (A) with a cloth lining, follow the instructions in Step 12.
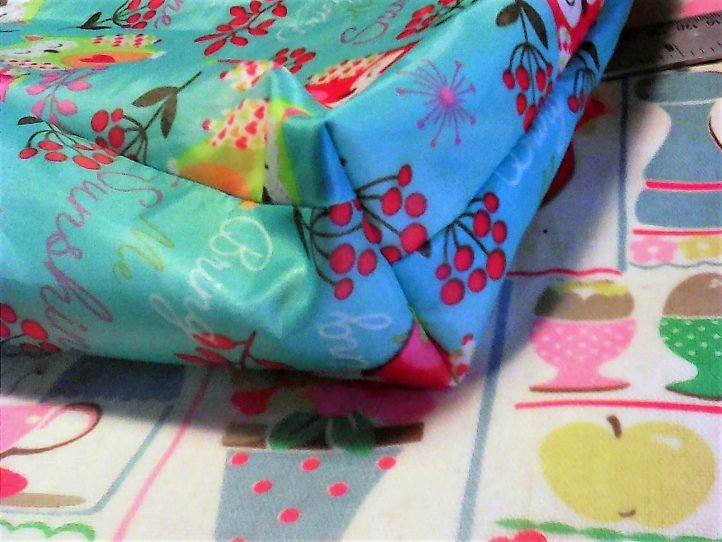
- (OPTIONAL) To give the bag’s base more shape, fold the lining seam allowance to one side, then stitch across each corner to form a gusset approx. 2 1/4” wide. Turn bag right side out.
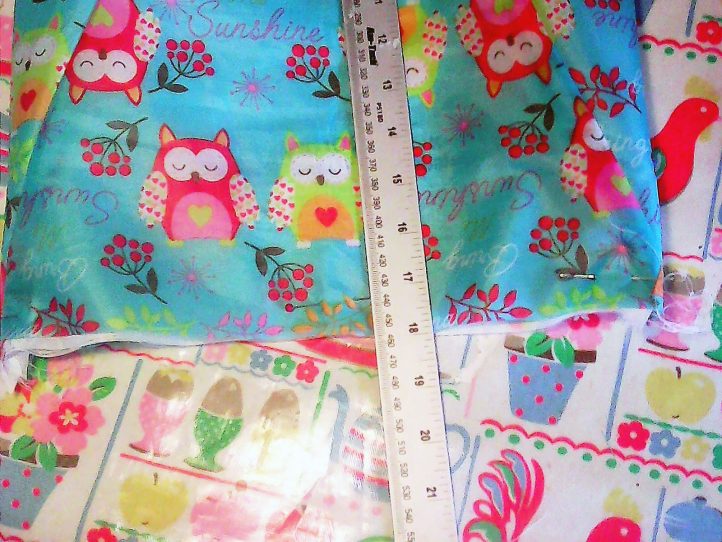
- For handles, take two of the remaining triangles in outer fabric and cut them in half vertically.
- Overlap narrow edges by about 7” or so, right sides together, and stitch. Press open. Cut away excess to get two long handles with a diagonal join in the center.
- With wrong side of handle facing, turn in each edge and press so that it is slightly wider than the cloth tape you are lining it with. Pin through all layers and stitch tape to handle along long edges. Pinning each pressed piece of the handle fabric to the cloth tape without cutting it saves time when sewing, as both can be done at the same time on the machine. Once stitched, cut tape at join to get two separate handles. Trim to same length if required.

- Joining handles to bag: Pin each narrow end of handle about 1” from the top edge, right sides together, an equal distance from the center (about 4″).
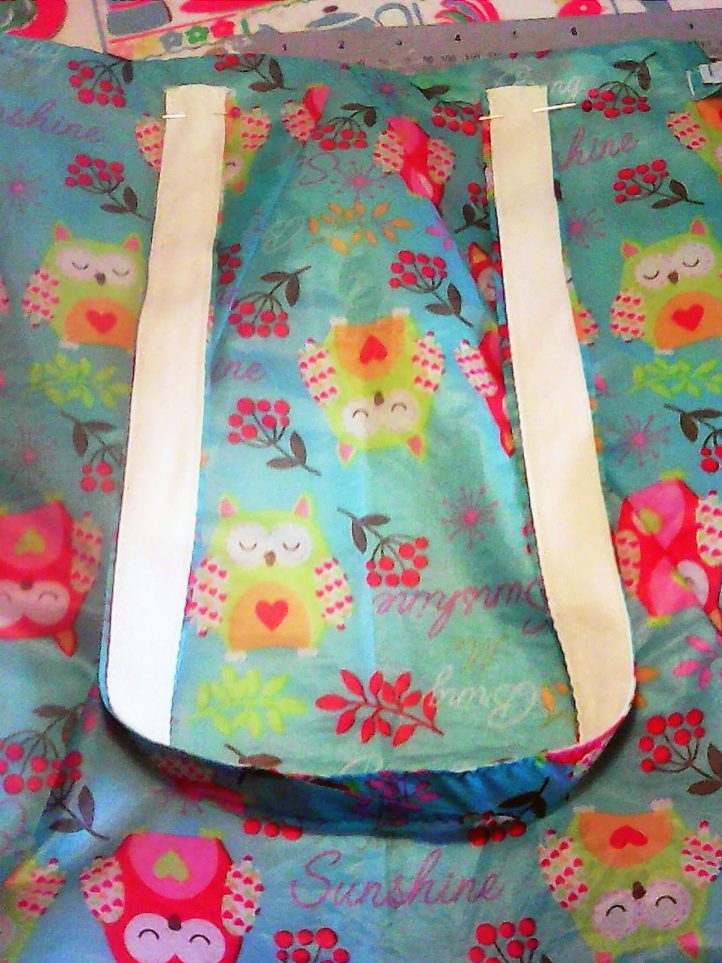
- Stitch across the two short ends, sewing through one layer of bag to attach handles. Fold each one to right side and pin near top edge of bag. Stitch a square with a cross in it through all layers on each side of bag to hide raw edge of cloth tape and strengthen handles.


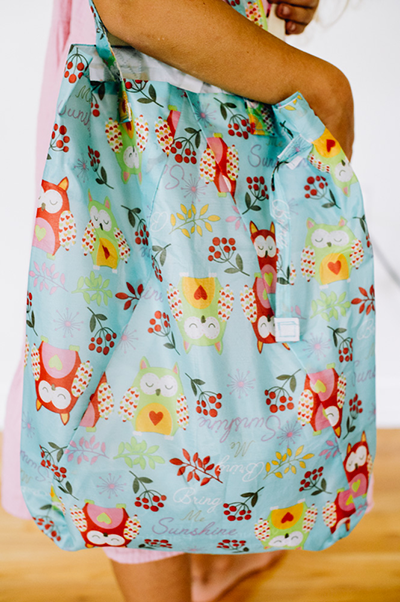
Right as Rain Upcycled Umbrella Tote
Right as Rain Upcycled Umbrella Tote
Right as Rain Upcycled Umbrella Tote
Right as Rain Upcycled Umbrella Tote
I just love this project and would love to see more like this.
Hi Robin! You might enjoy our collection of upcycled patterns. Click on the Collections tab on our homepage and scroll down until you find the “Upcycling and Refashioning Ideas for Thrifty Sewists” collection. Have a great day! – Ashley, We Like Sewing
The patterns look great
Thanks so much for your kind comment, Judy! Have a great day 🙂 – Ashley, We Like Sewing