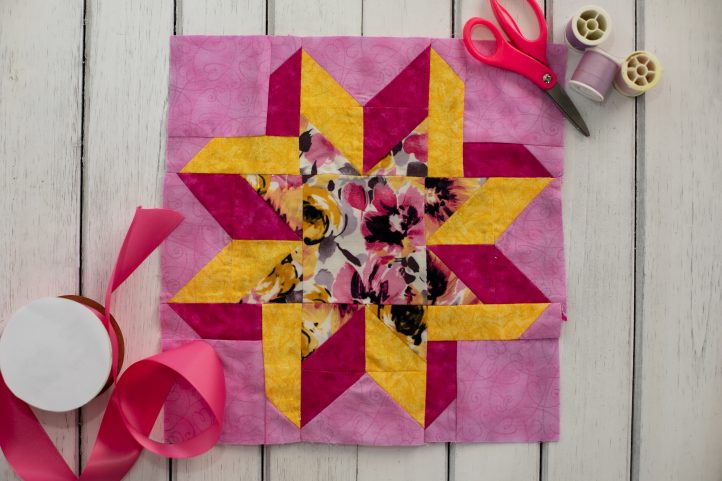
Create a dynamic quilt block with movement and elegance with this block pattern from Ann Butler. Perfect for precuts or scraps, this ribbon quilt block pattern gives the illusion of twisting ribbons weaving across your quilt and would look beautiful in a variety of color palettes. No matter whether you’re creating a standalone block or a full quilt, this quilt block pattern is made with straightforward piecing techniques and is suitable for quilters of all skill levels.
Designer Note: Sew using a 1/4” seam allowance.
Finished Size: Unfinished block is 12 1/2″ x 12 1/2″.
Materials:
Note: Materials are for one block.
- Fabric: Quarter yard of light pink, dark pink, yellow, print
- Thread
Tools:
- Sewing machine
- Ruler
- Pins
- Needle
- Iron
- Rotary cutter
- Cutting mat
- Scissors
Sewing Instructions:
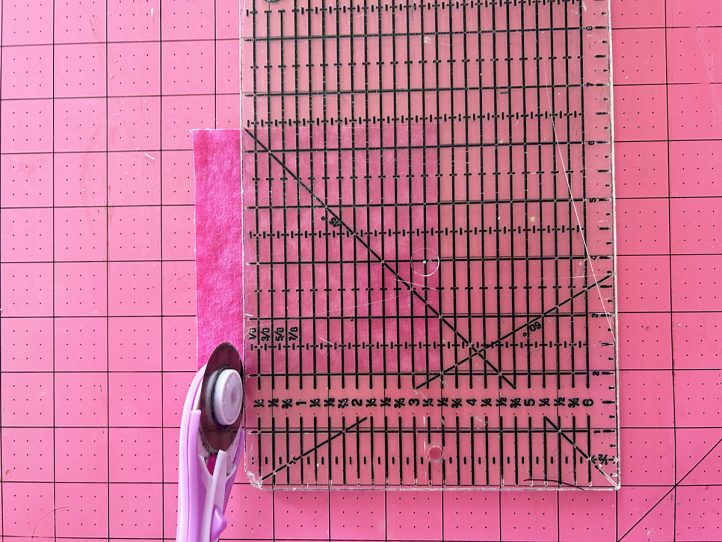
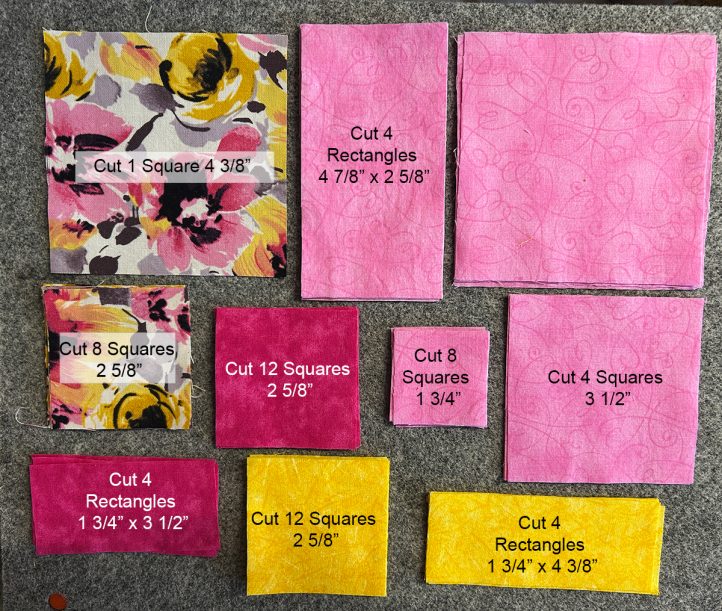
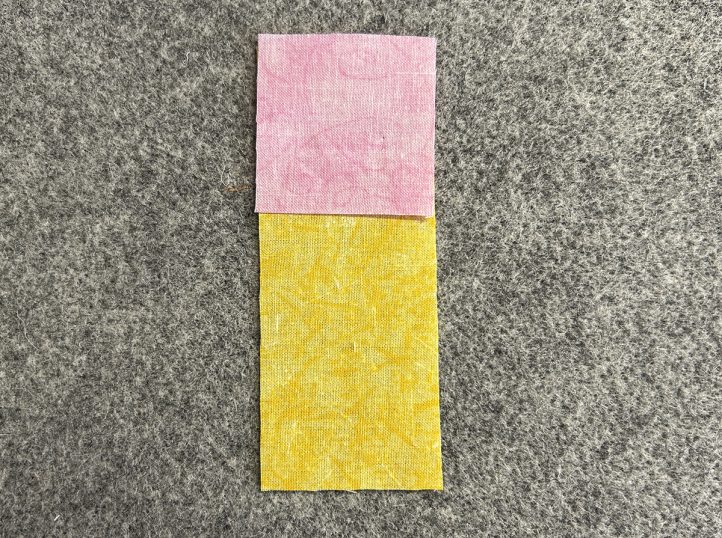
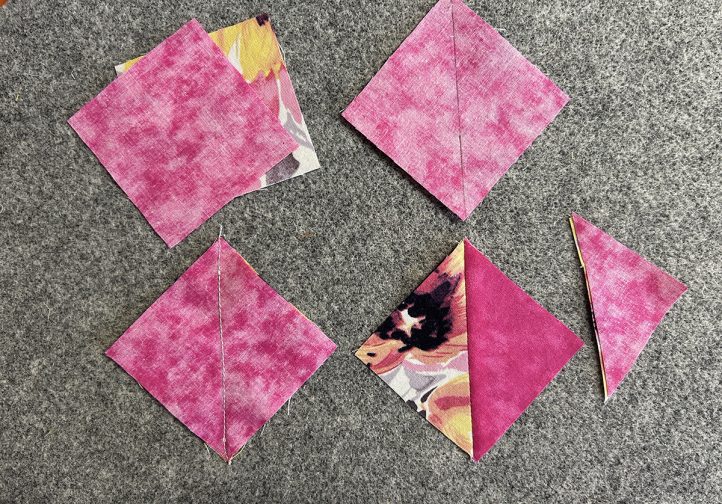
- Using a rotary cutter, mat, and ruler, cut all your fabrics into the sizes and amounts shown in the photos below.
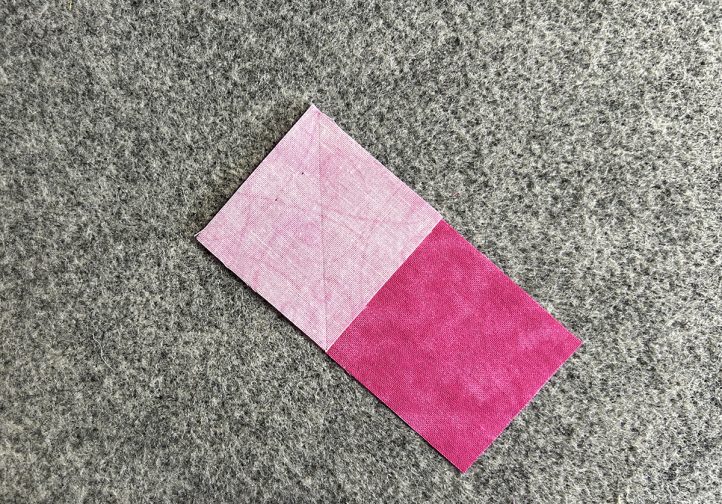
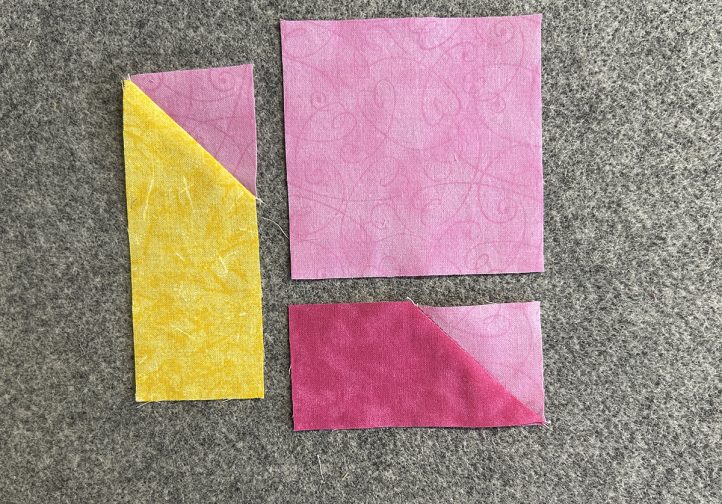
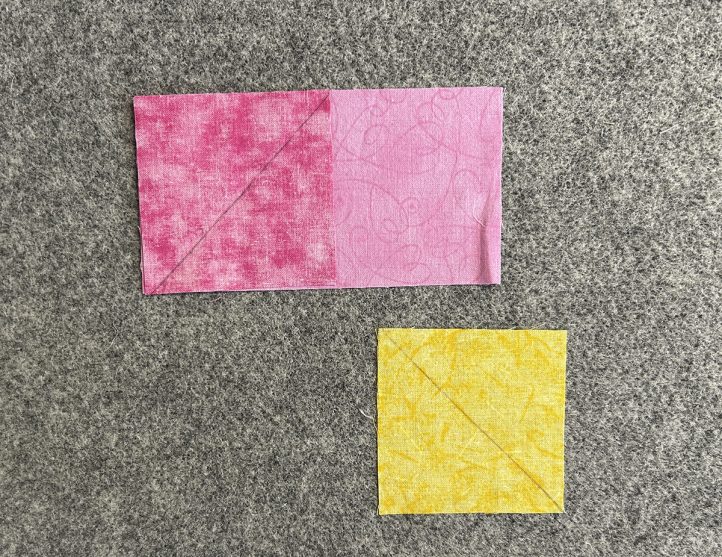
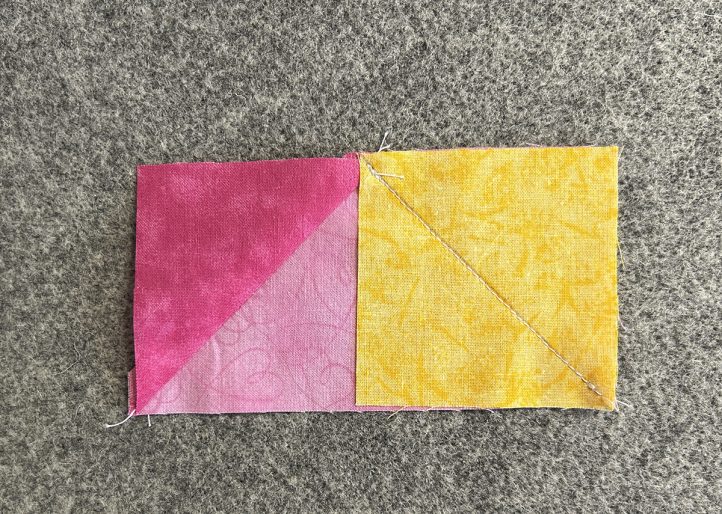
- With right sides together, place one 1 3/4” light pink square onto a dark pink rectangle.
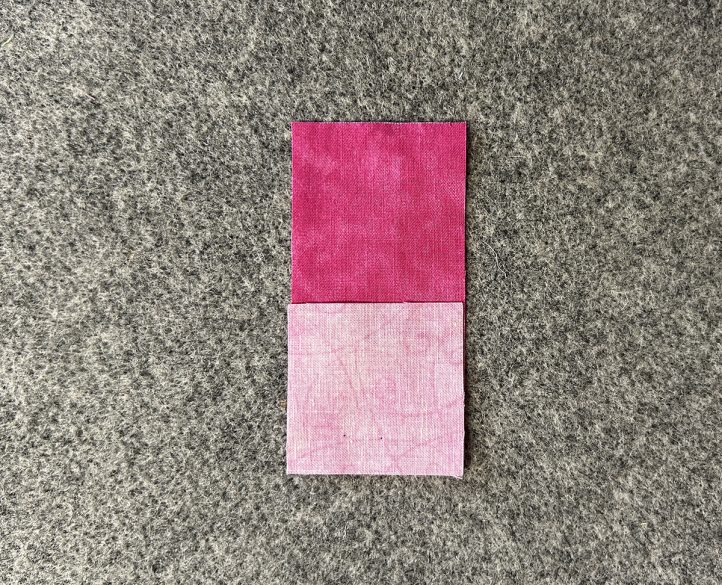
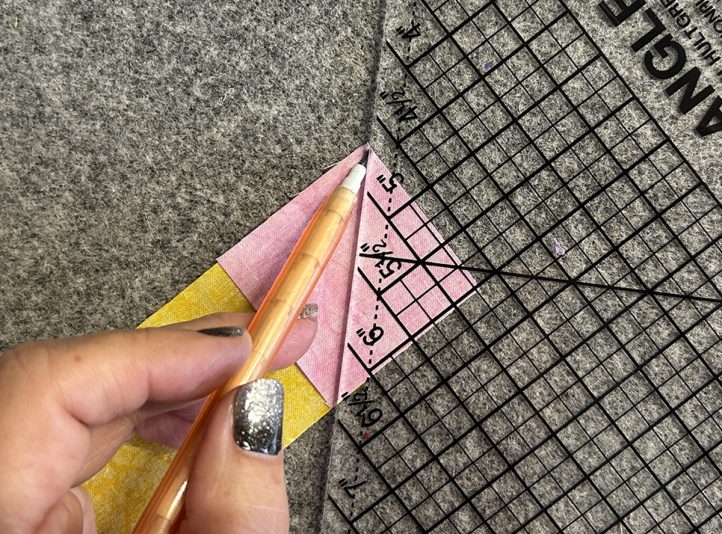
- Draw a diagonal line from corner to corner on the wrong side of the light pink square.
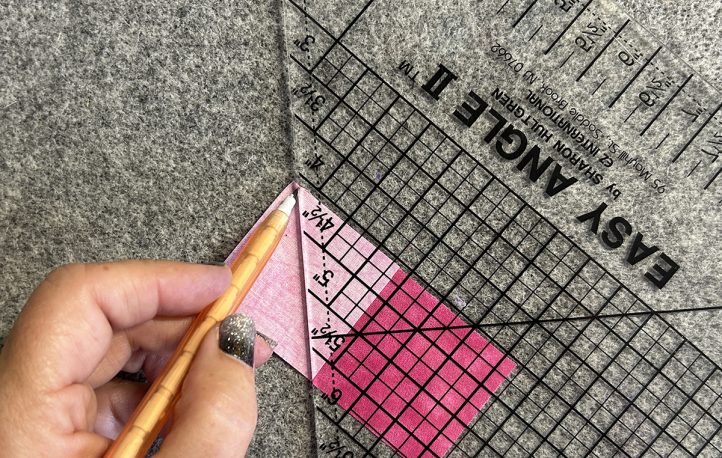
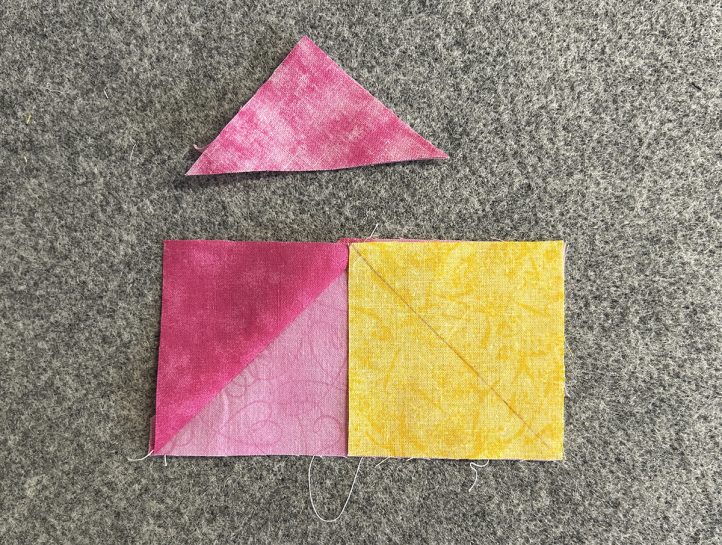
- Stitch along the line.
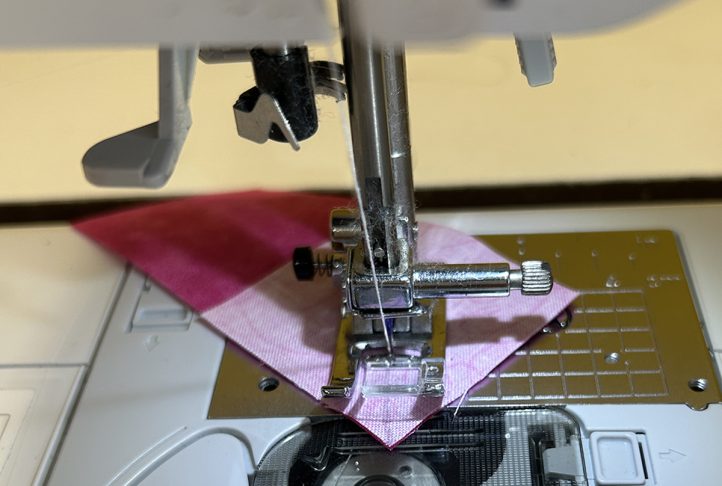
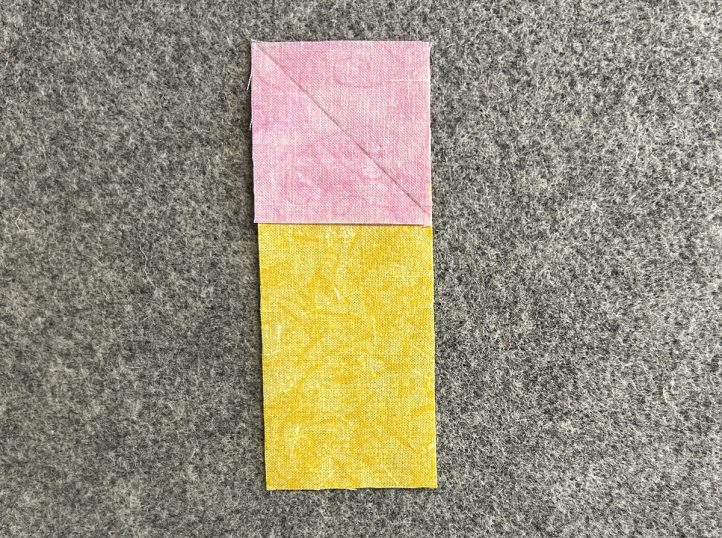
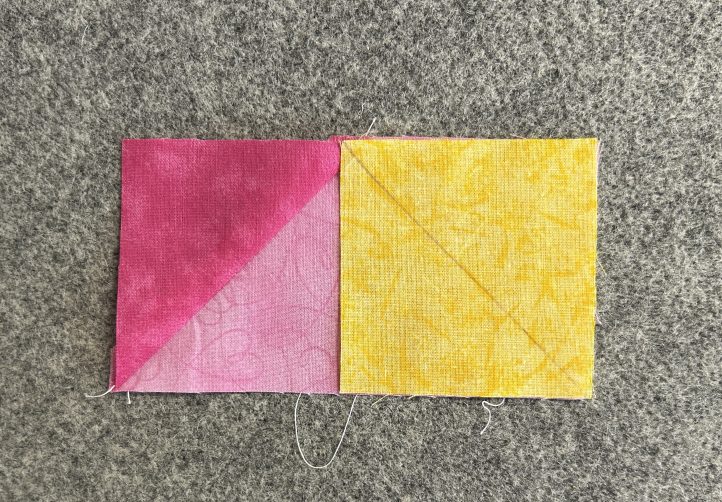
- Trim the excess, and press the seam to one side.
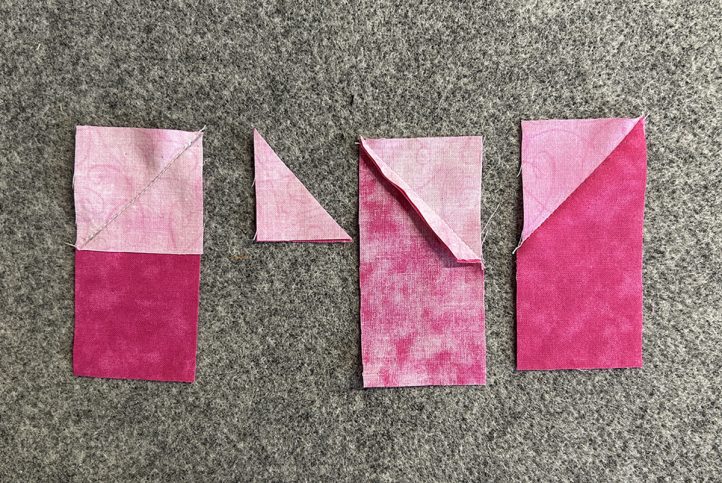
- Repeat for the remaining three dark pink rectangles.
- Draw a diagonal line from corner to corner on the wrong side of the light pink square.
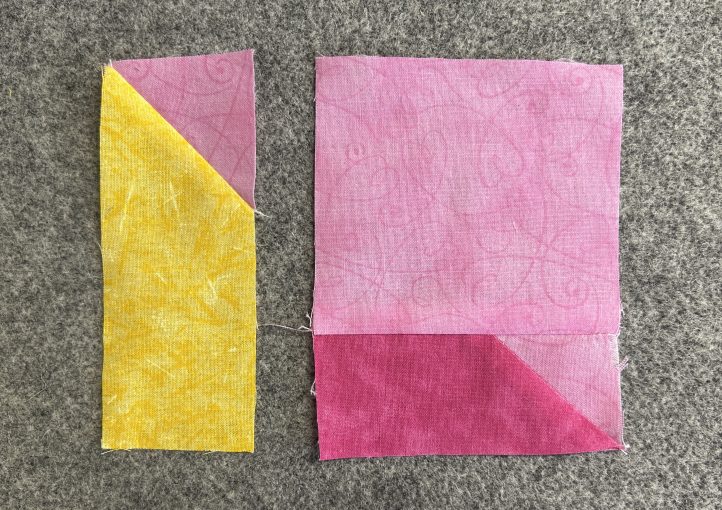
- Repeat Step 2 with the four light pink 1 3/4″ squares and the four yellow rectangles.
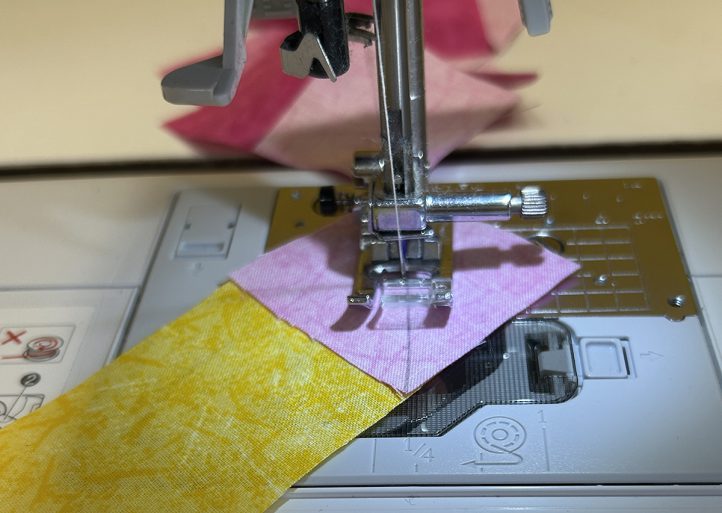
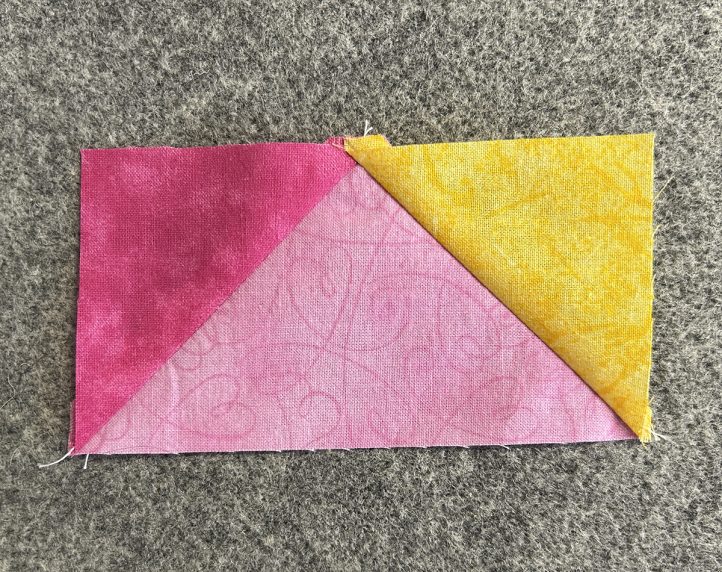
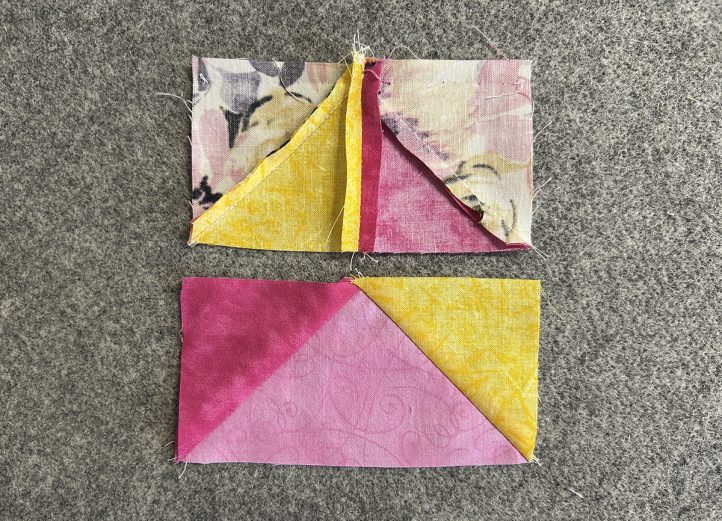
- Place one light pink/dark pink strip and one light pink/yellow strip on two sides of a light pink 3 1/2″ square.
- With right sides together, stitch the light pink/dark pink strip to the square and press.
- Then, stitch the light pink/yellow strip to the square and press.
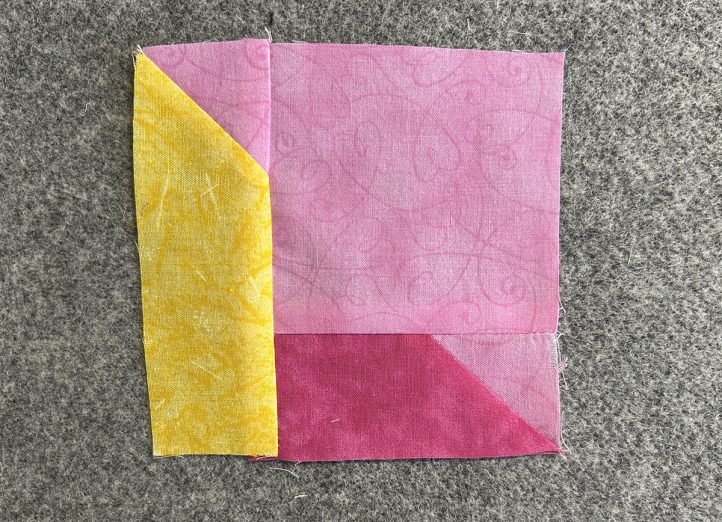
- Repeat for the remaining three light pink 3 1/2″ squares.
- With right sides together, stitch the light pink/dark pink strip to the square and press.
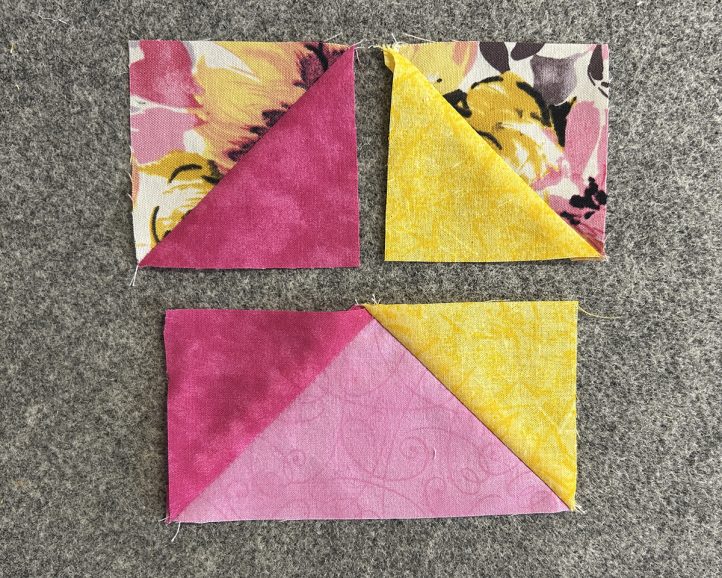
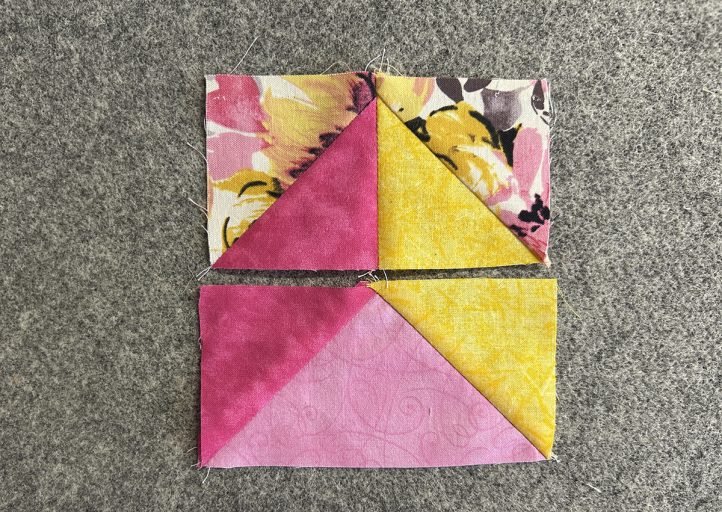
- With right sides together, place one 2 5/8″ yellow square onto one 2 5/8″ print square. Draw a diagonal line from corner to corner on the wrong side of the yellow square. Stitch along the line, trim the excess, and press.
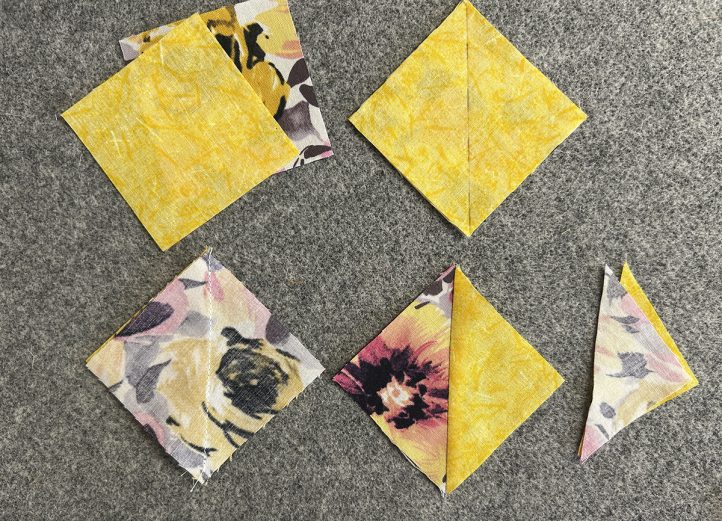
- Repeat three more times to create four yellow/print squares.
- Repeat Step 5 with four dark pink 2 5/8″ squares and four print 2 5/8″ squares.
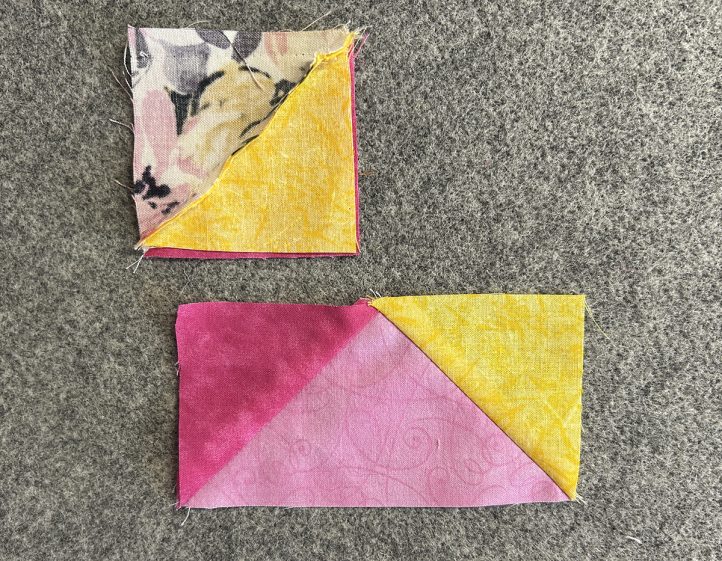
- With right sides together, place one dark pink 2 5/8″ square onto a light pink rectangle. Draw a diagonal line from corner to corner on the wrong side of the dark pink square. Stitch along the line, trim the excess, and press.
- Next, place one yellow 2 5/8″ square onto the light pink triangle created in Step 7.
- Draw a diagonal line from corner to corner on the wrong side of the yellow square. Stitch along the line, trim the excess, and press.
- Draw a diagonal line from corner to corner on the wrong side of the yellow square. Stitch along the line, trim the excess, and press.
- Repeat Steps 7-8 with the remaining light pink triangles.
- Lay out one dark pink/print square and one yellow/print square with a dark pink/light pink/yellow rectangle as shown in the photo below.
- With right sides together, stitch the squares together and press.
- Then stitch the rectangles together, right sides facing, and press.
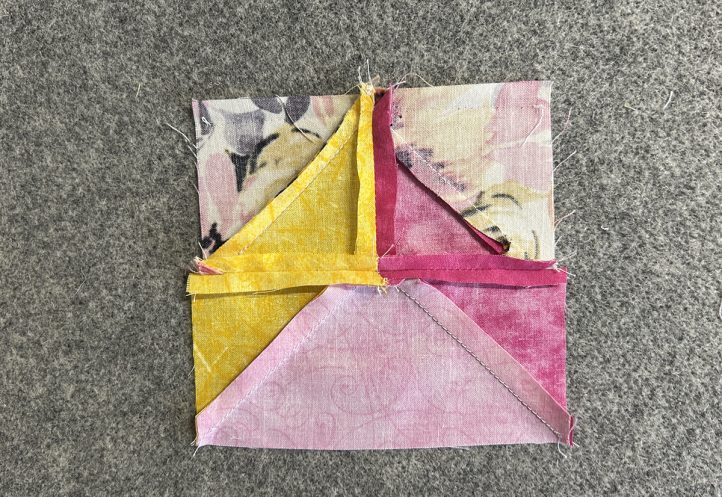
- Then stitch the rectangles together, right sides facing, and press.
- Assemble the block by stitching segments into three rows, as shown in the photo below.
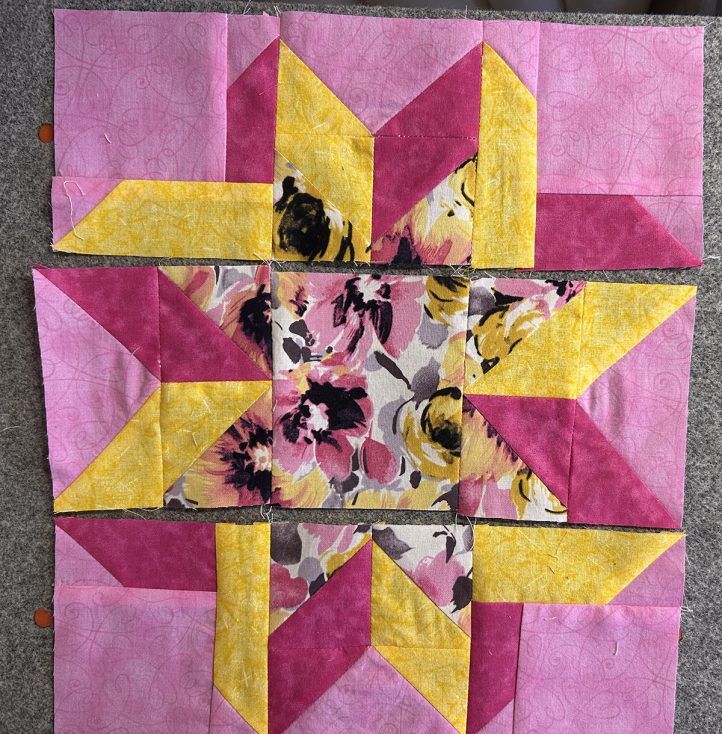
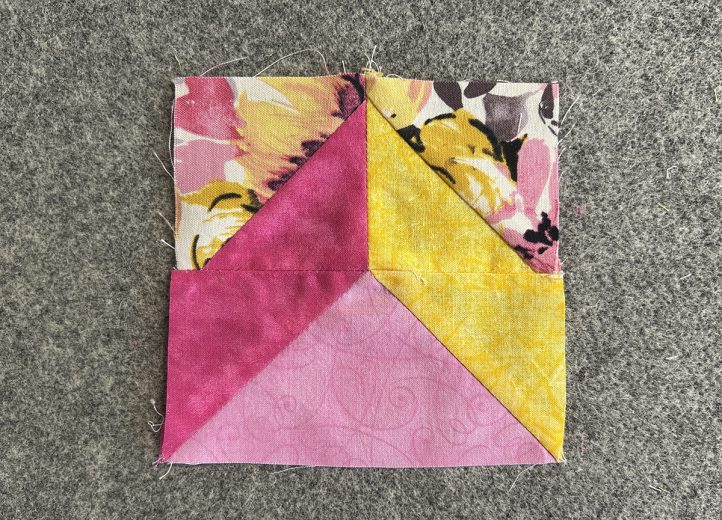
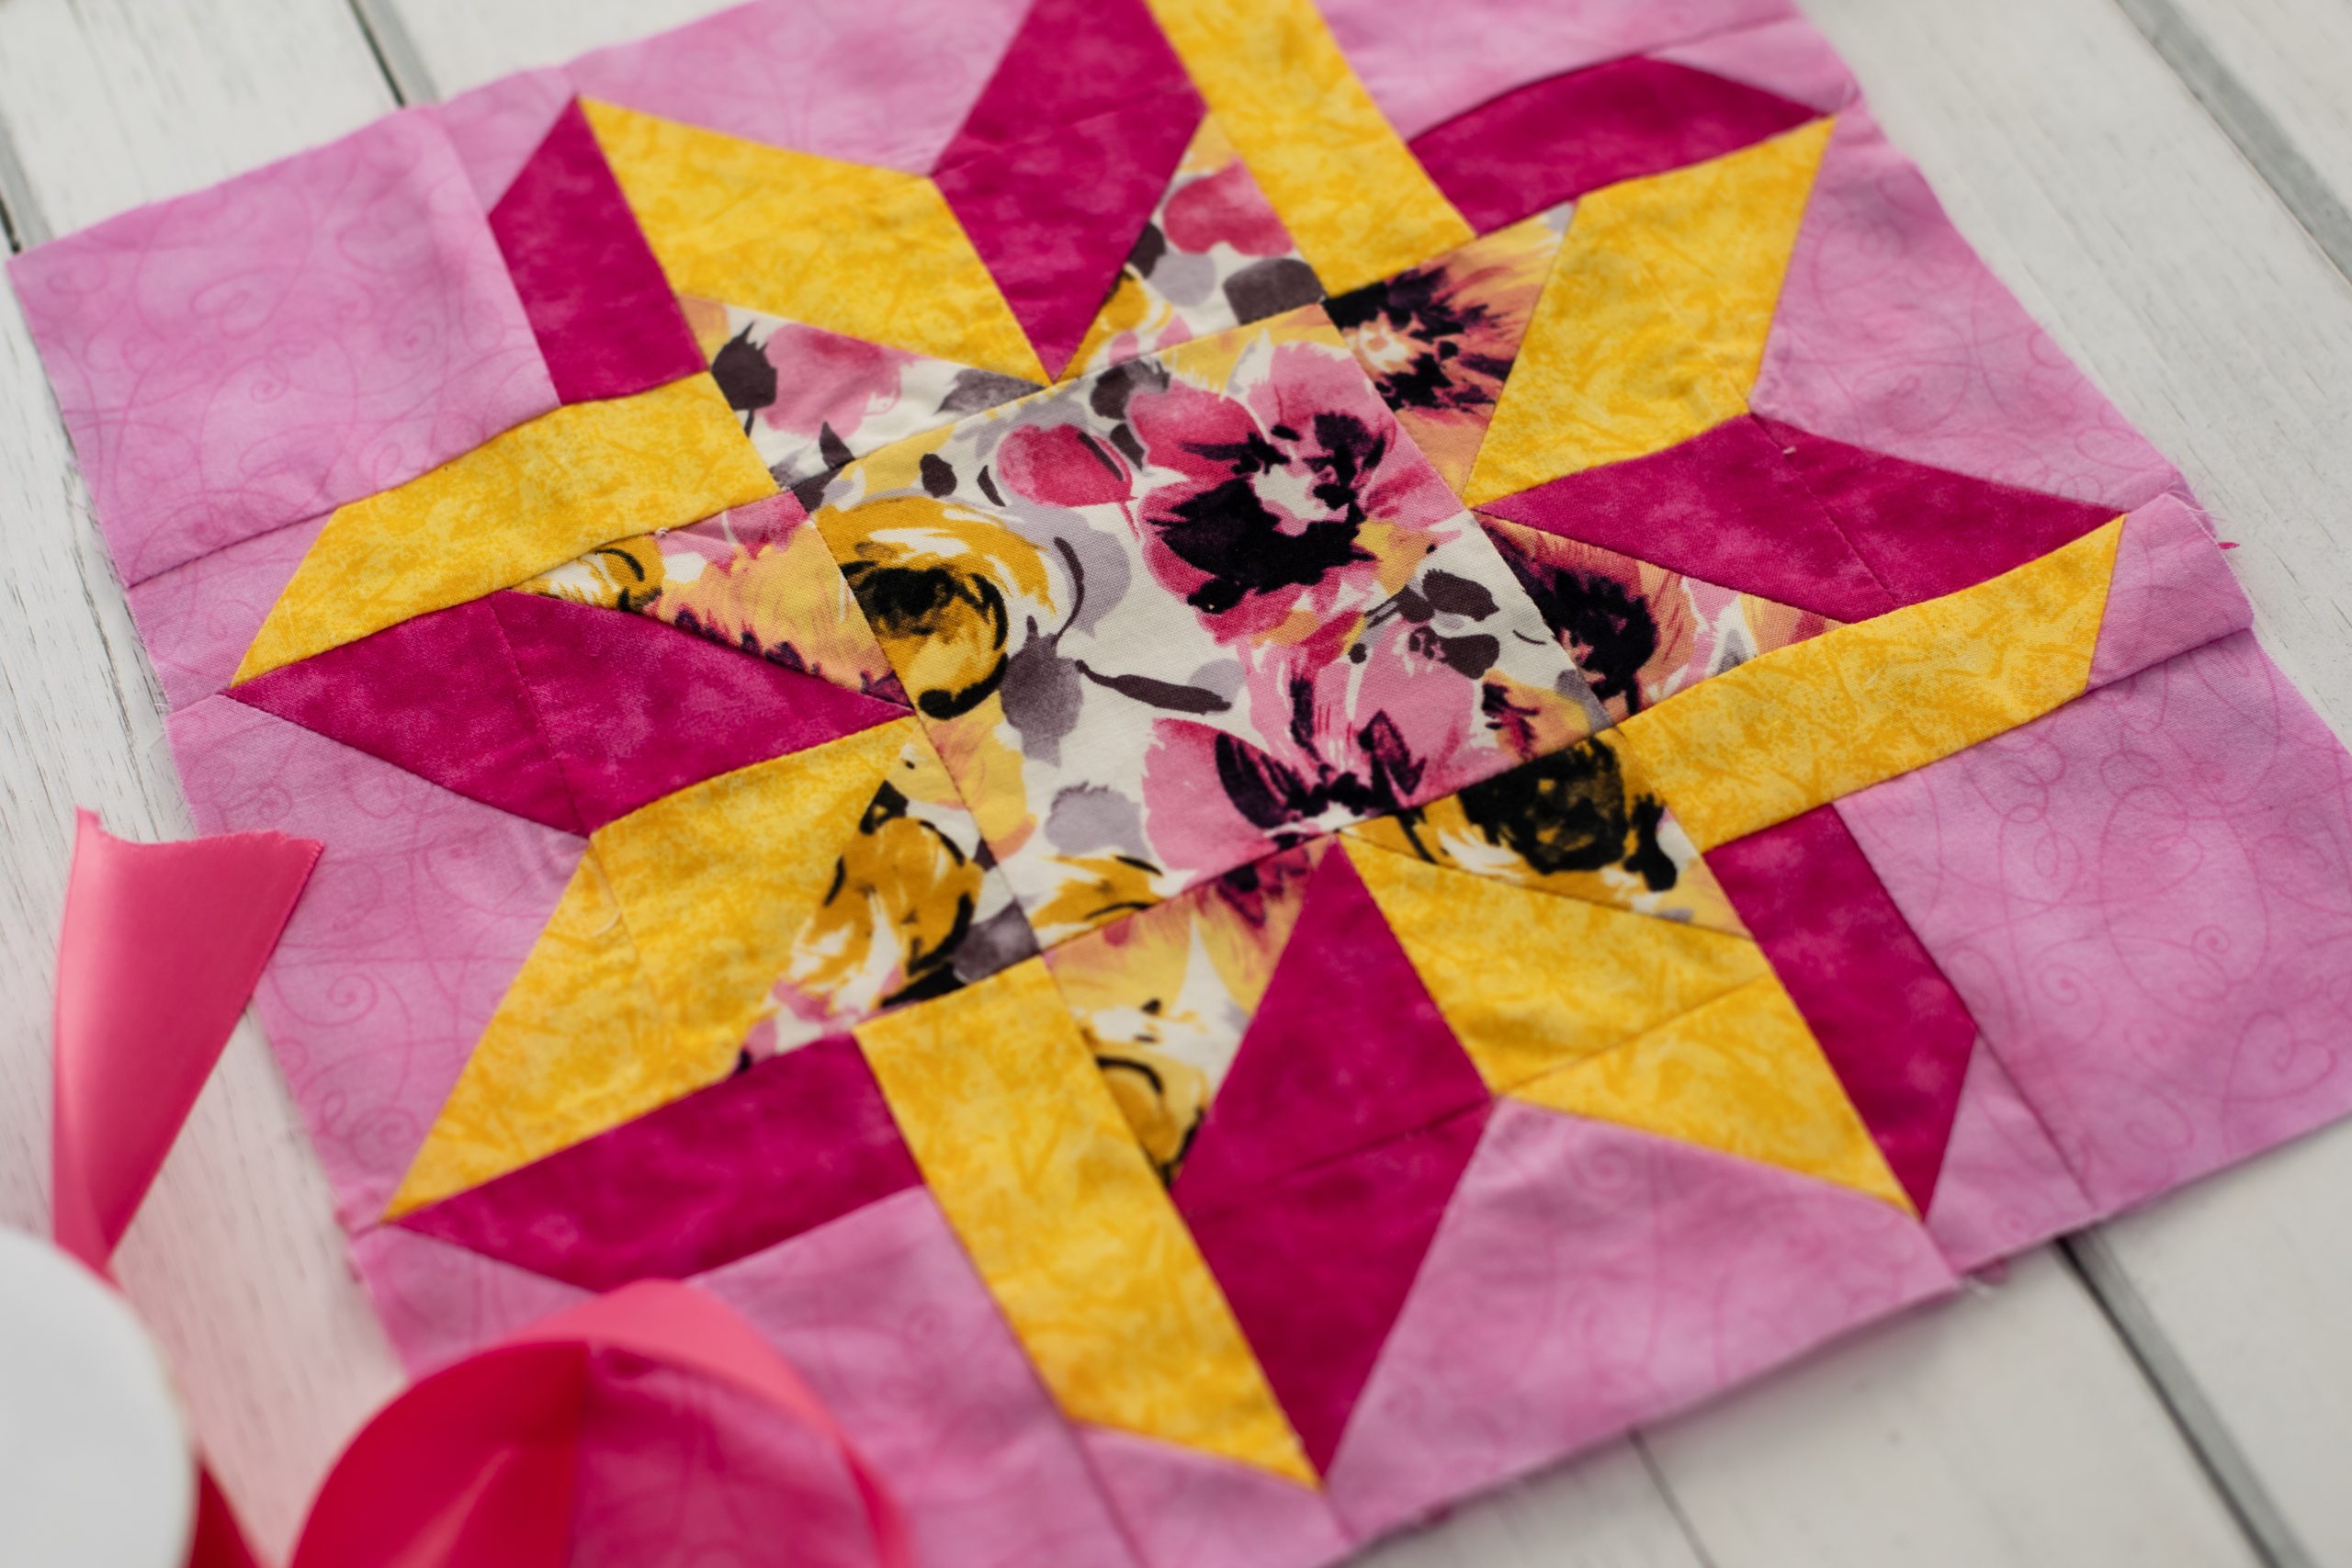
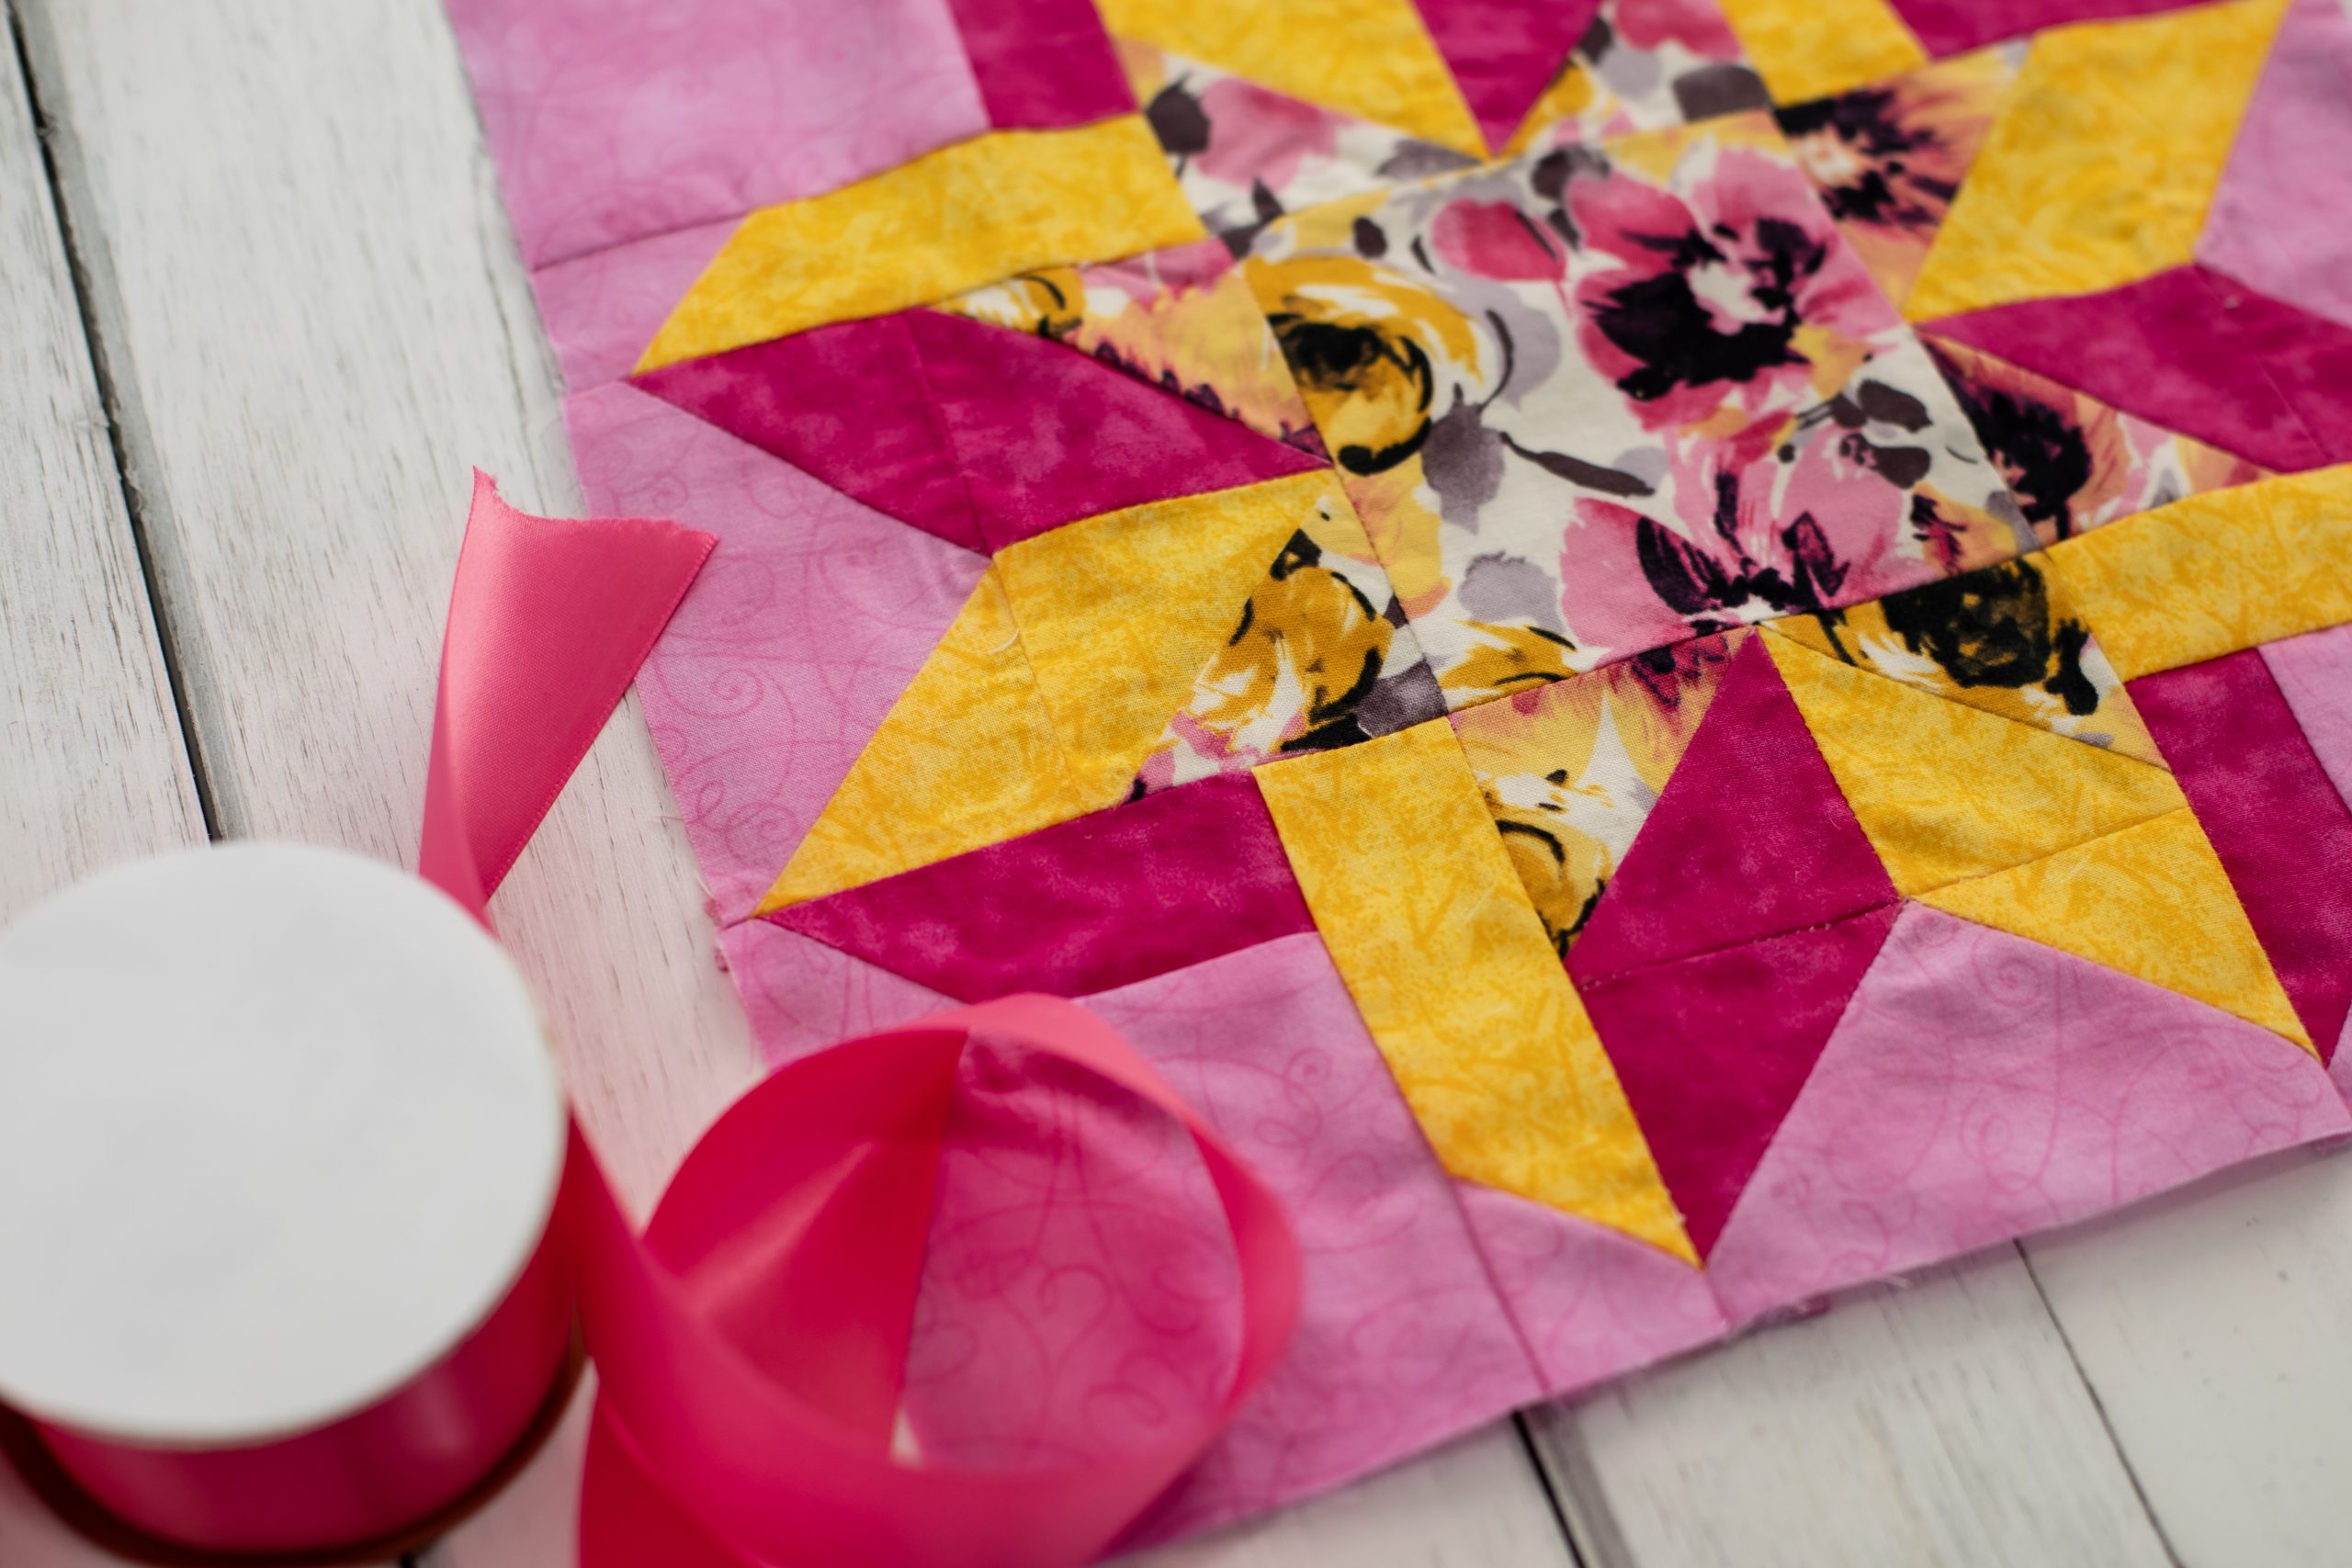
- Then, stitch the rows together to complete the block. Make sure seams nest neatly for crisp points. Press the final block flat for a clean finish (see completed block photo).
Congratulations! Your ribbon quilt block is complete! Take a moment to admire your work—those crisp seams and flowing colors bring the design to life. Give your block a final press to ensure everything lays flat, and it’s ready to be used in your next quilting project. Whether you’re making a full quilt or incorporating this block into a sampler.
Happy Quilting!
I’m too lazy to do the math…..this looks great! What is the finished size???
Thanks!
Hi Cynthia! Thank you for your comment. We’ve reached out to the designer to confirm the finished size of the block, and will update the pattern page as soon as possible. Have a great day! – Ashley, We Like Sewing
Hi Cynthia! The unfinished block size is 12.5″ x 12.5″. We’ll also update the pattern to reflect this. Have a great day! – Ashley, We Like Sewing