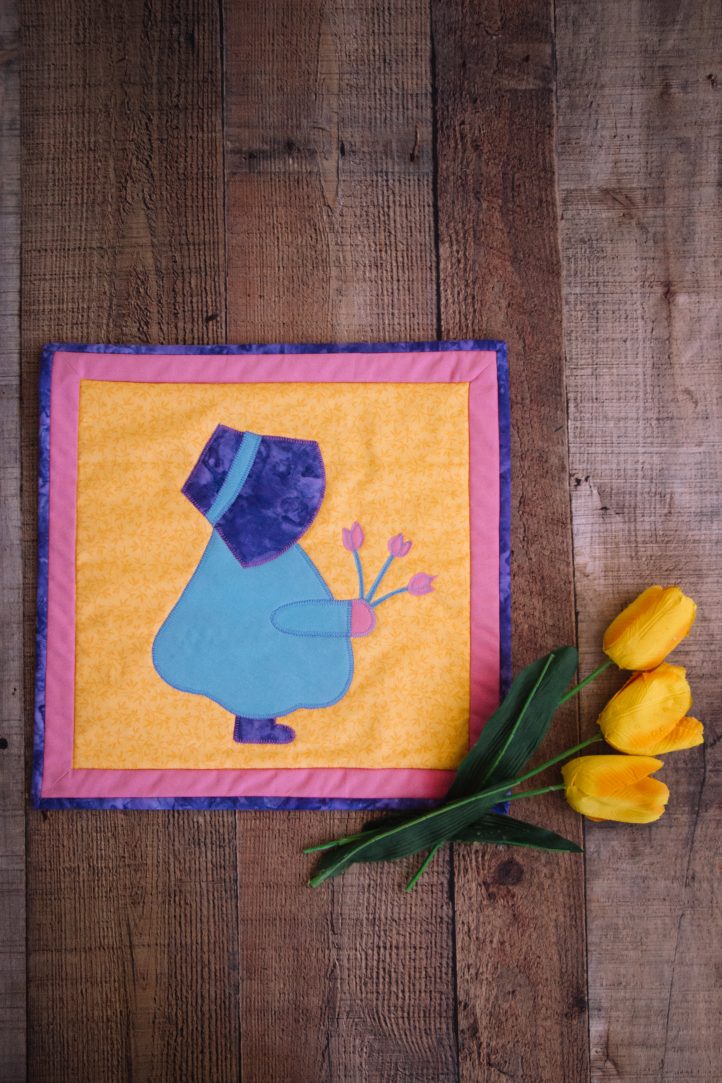
There’s something about the classic Sunbonnet Sue block that just says springtime. Design your own Sunbonnet Sue quilt block in spring shades like lavender, peach, and rose with this pattern from designer Zoe Ballard. Finishing at a 12” x 12” block, this beginner-friendly quilt block can be made with fabric scraps or precuts and features an adorable trio of tulips as part of its design. This sweet quilt block can be made into a larger quilt, wall hanging, or decorative throw pillow.
Finished Size: 12” x 12” finished (without borders/sashing)
Skill Level: Beginner
Materials:
- 10” square fabric for dress, arm, and hat band
- 6” square fabric for hat and shoe
- 2” x 2 1/2” strip fabric for stems
- 3” x 1 1/2” strip fabric for flowers
- 1 1/2” square fabric for hand
- 12 1/2” square background
- 12 1/2” square fabric stabilizer/interfacing e.g. Stitch n Tear/Vlieseline/Pellon
- 1/2 yard Fusible adhesive e.g. Heat N Bond lite
- PDF Template – This is located at the bottom of this page. Please see printing instructions below.
PRINTING INSTRUCTIONS:
Note: To download this pattern, click on the pattern download button at the bottom of the page. We recommend opening your pattern download using Adobe Acrobat.
Instructions:
HOW TO MAKE THE FABRIC PATCHES:
- Trace the templates onto the paper side of the fusible adhesive grouping the parts together e.g. trace the dress, hat band and arm close to each other so they can be cut out together. Don’t use a heat erasable pen! Note: The templates are located at the bottom of this page.
- Cut out the templates roughly and press them with a warm, dry iron to the back of the fabric pieces (check the instructions on the fusible adhesive packaging for safe use).
- Cut the fabric patches (pattern pieces) out accurately on the drawn lines.
MAKING THE BLOCK:
- Press/temporarily attach the stabilizer/interfacing to the background square. This will stabilize the fabric when the patches are stitched in place.
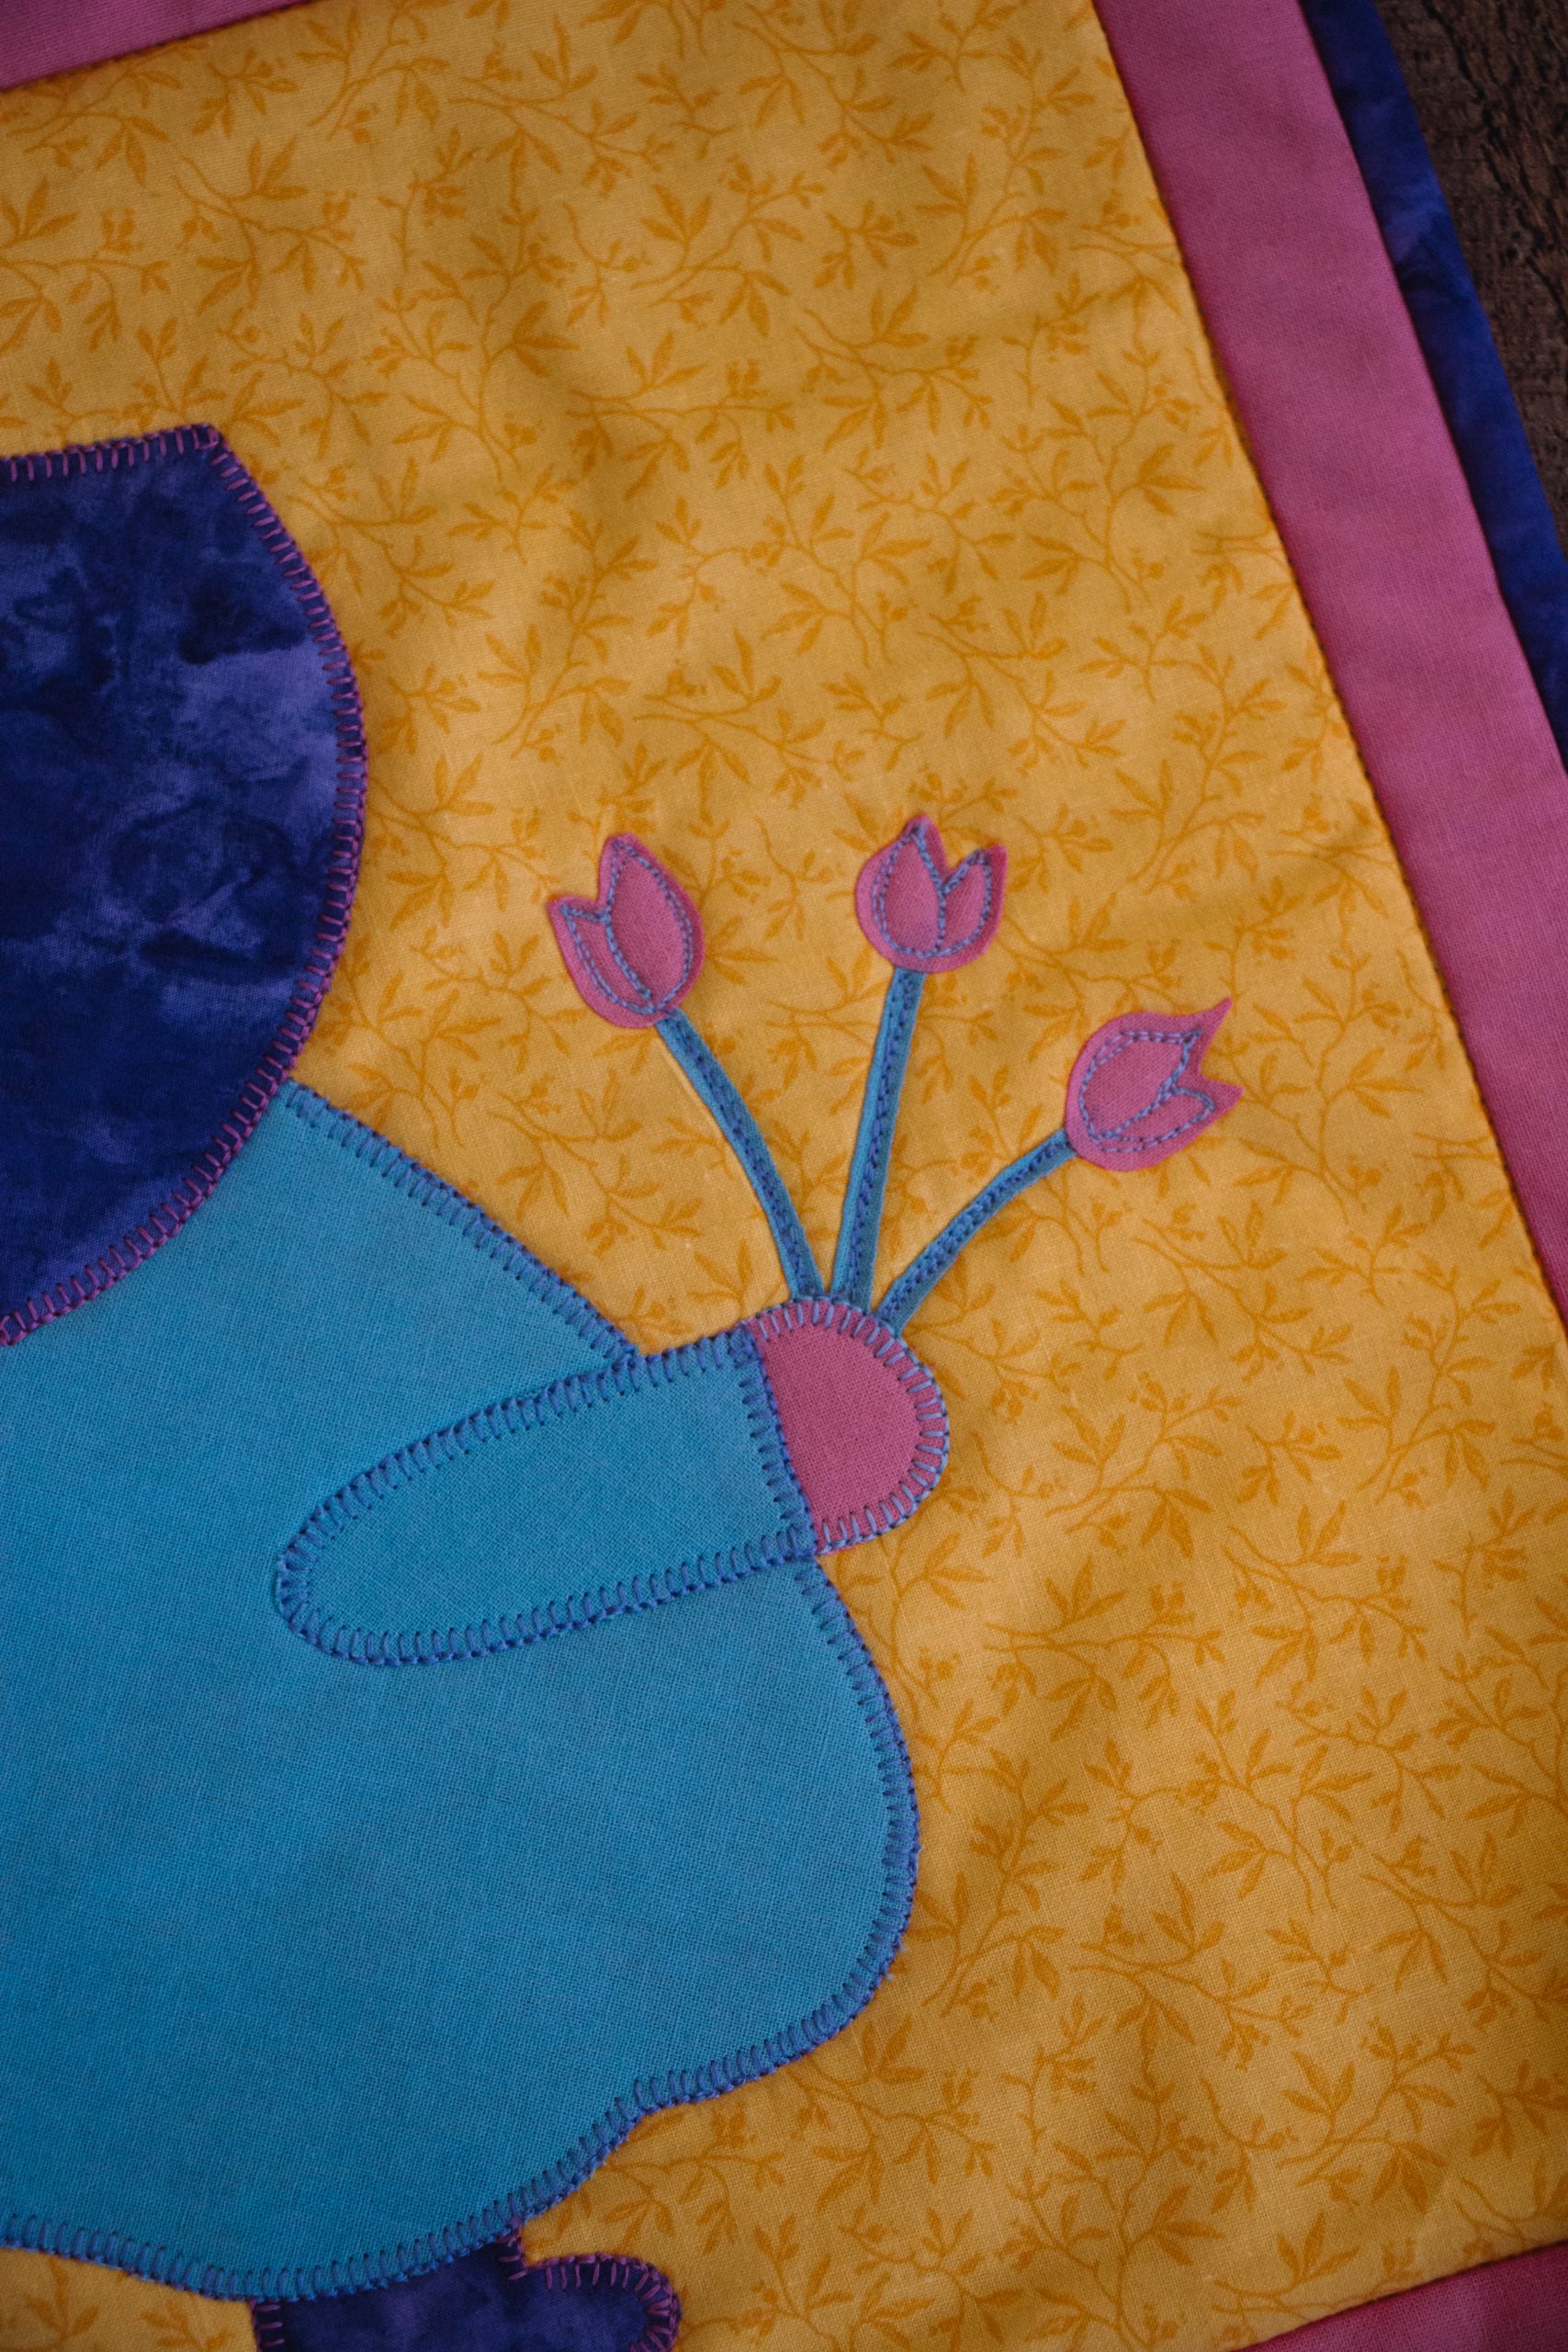
- You can remove the paper backing from the fabric patches dress, arm, hat band, hat, shoe, hand, flowers, stems) now or after arranging the patches on the background fabric. Once arranged, as shown in the finished photo, use a warm, dry iron to adhere the patches to the background with the dress underneath the hat, the shoe underneath the dress, the hand underneath the arm and the stems underneath the hand and flowers. Flowers 1, 2, and 3 match up with Stems 1, 2, and 3.
- TIP – If the paper will not come away from the fabric easily at the edges, score the middle of the paper side with a pin and tear from the middle. This will stop the edges from fraying as you are trying to remove the paper.
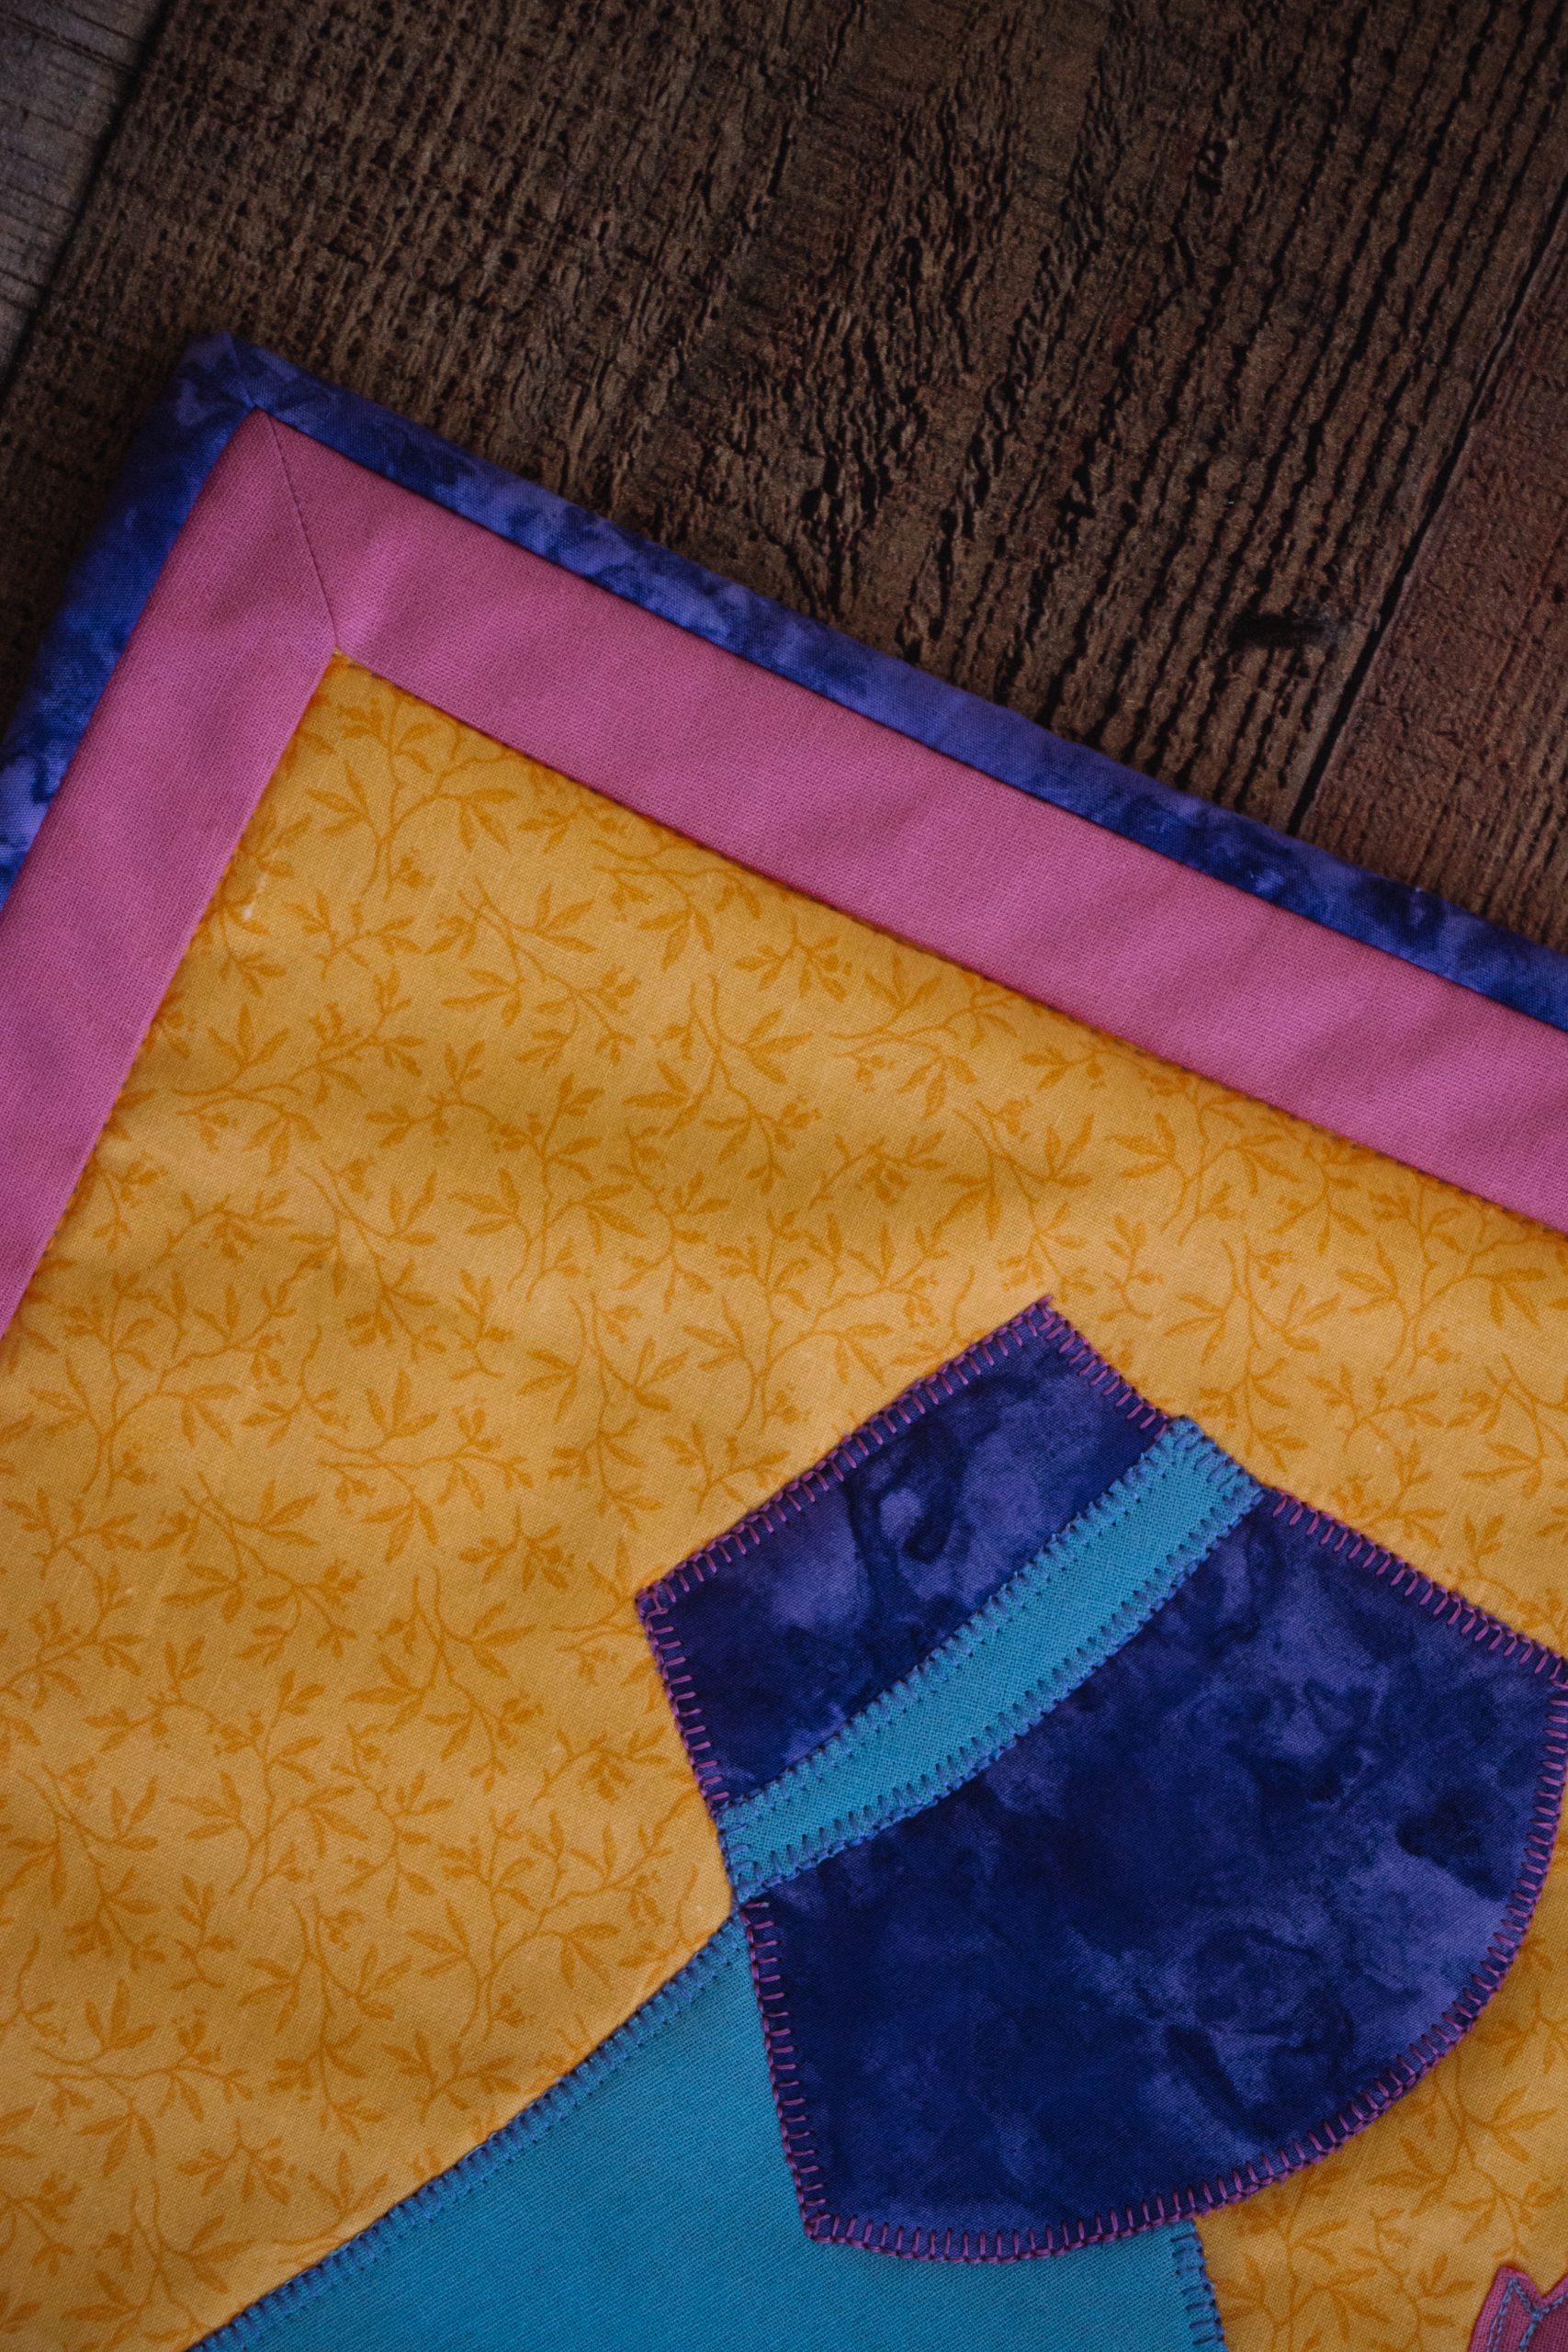
- Using a blanket stitch or zig-zag/satin stitch and go around all of the raw edges of the fabric patches. As the stems and flowers are quite small, the designer used free-motion embroidery to stitch these in place.
- If Stitch n Tear was used, remove this now.
- Once the patches are stitched in place, the block is ready to take its place in a bigger quilt project or can be used on its own to create a cushion or wall hanging.