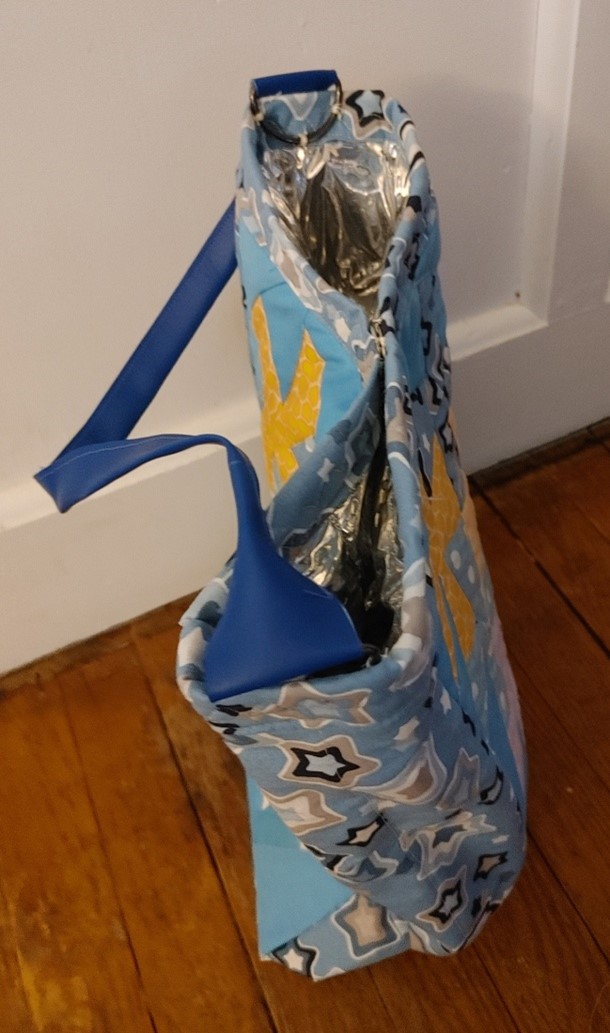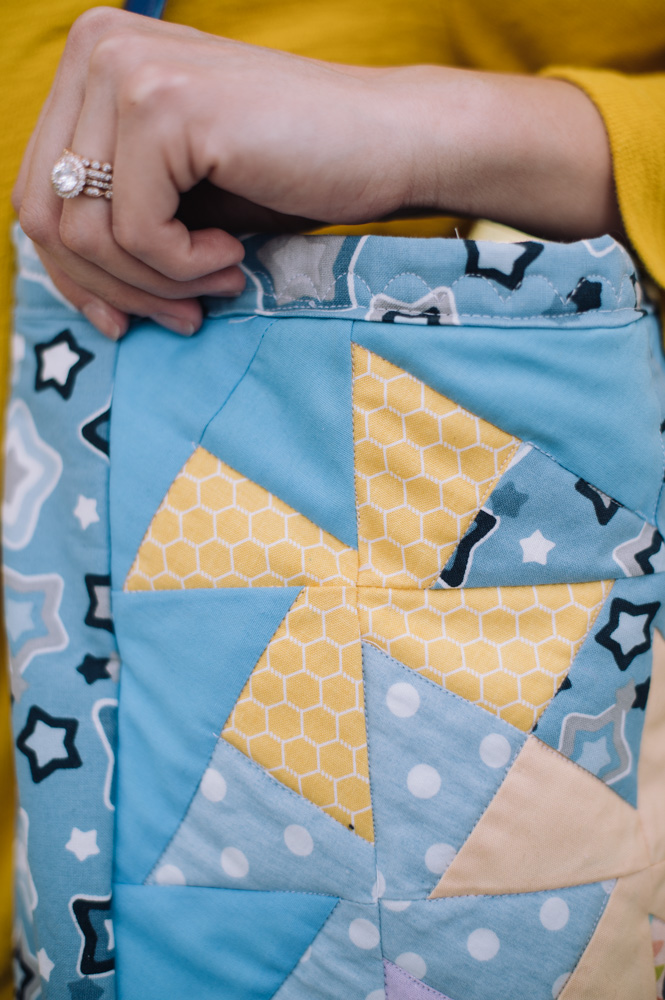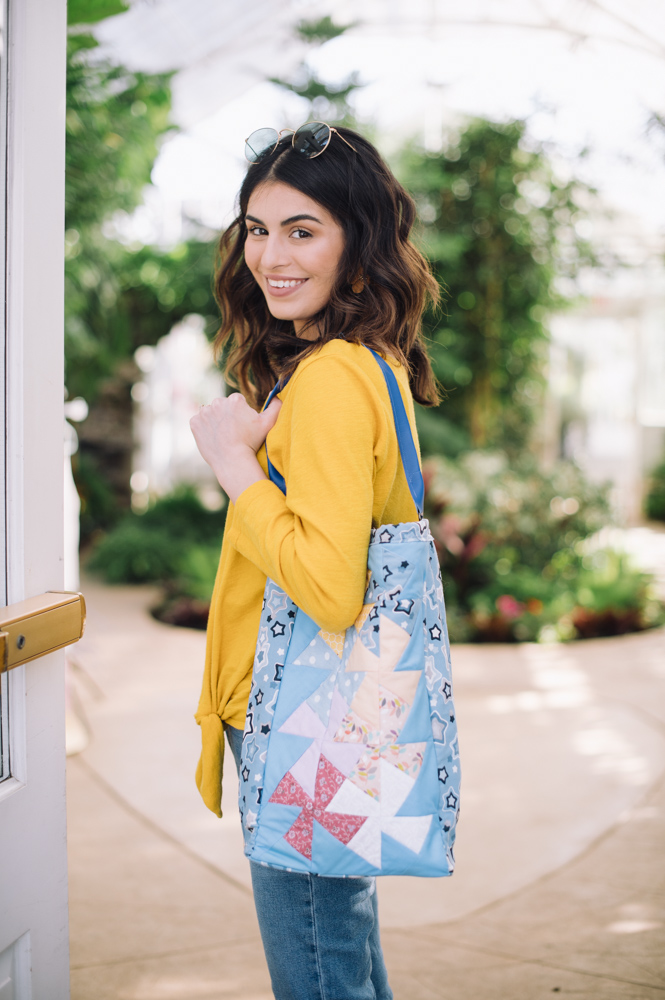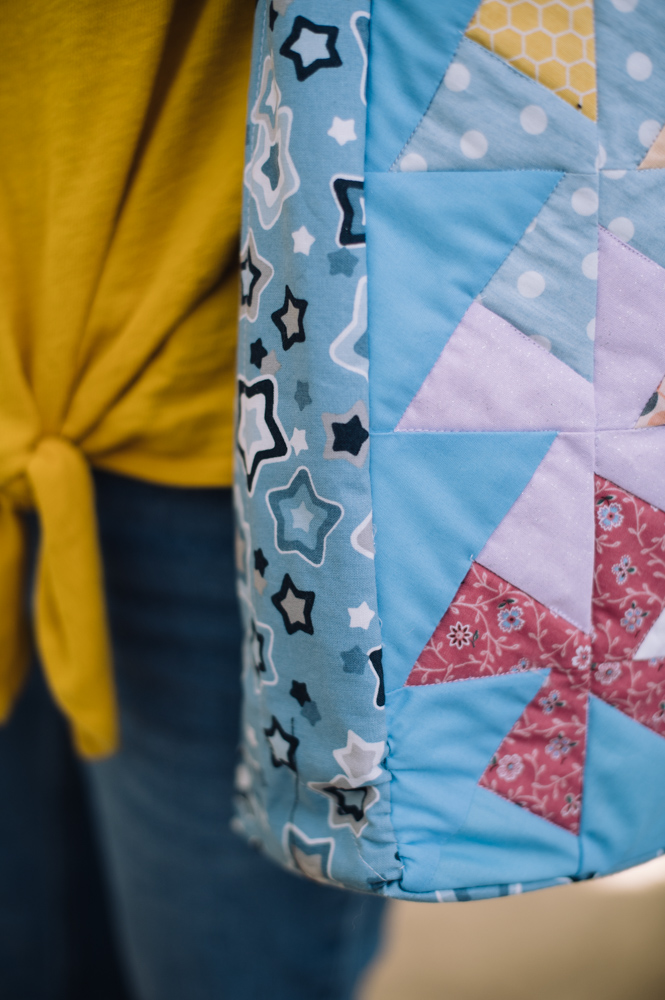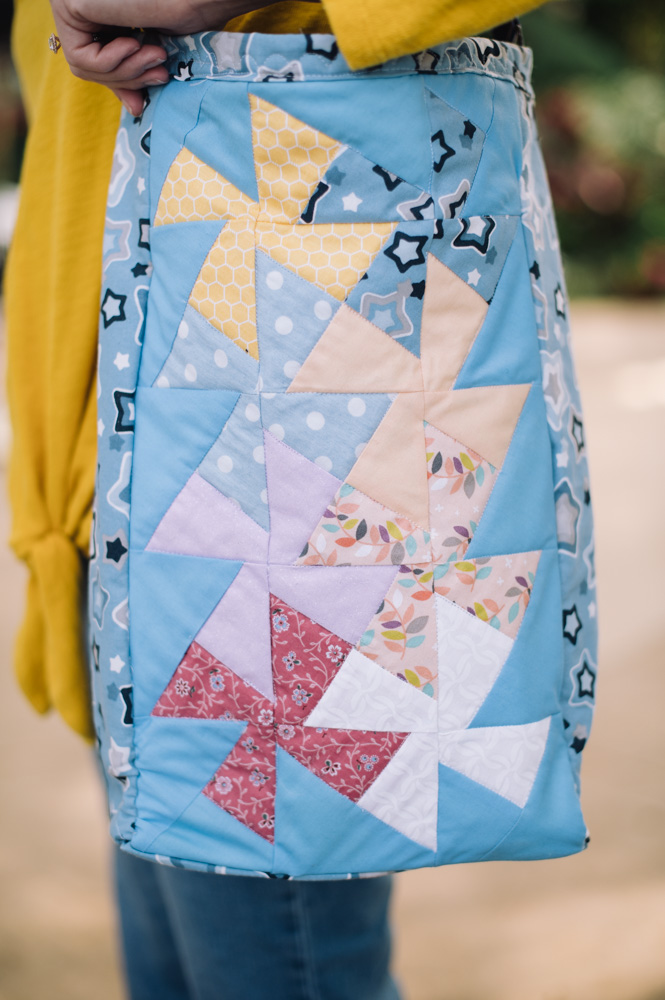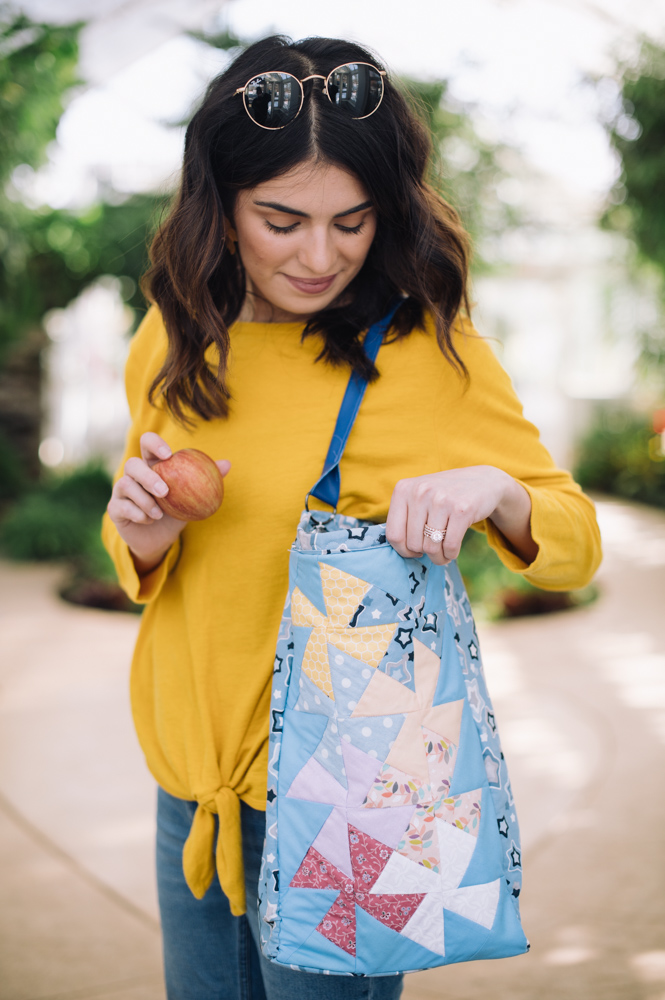
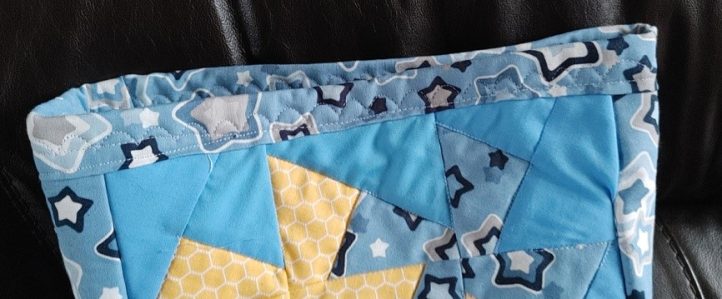
Picnic season is upon us! If you can’t wait to pack your first picnic lunch of spring, then you’ve got to make the Stashbuster Pinwheel Quilted Lunch Bag. Made using bright and cheerful fabric scraps, this lunch bag pattern uses the classic pinwheel design to create the body of your bag. This lunch bag is a budget-friendly project compared to expensive store-bought lunch boxes and features a long, slender body, insulated lining, and snap button closure. Bust out your fabric stash and choose your prettiest scraps to make this stylish lunch bag.
Materials:
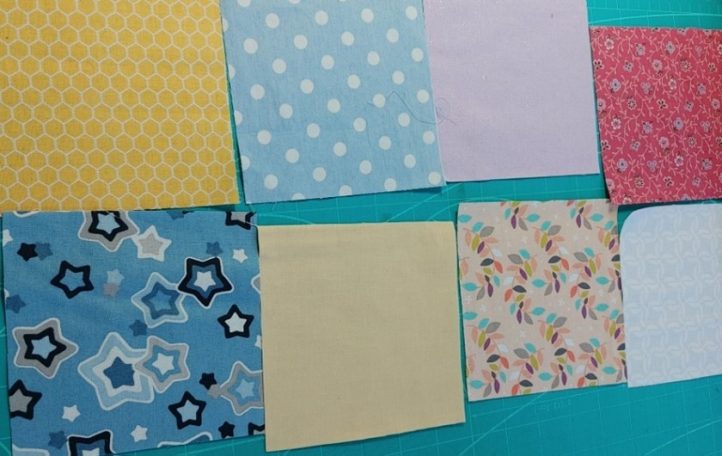
- Eight cotton fabrics (12” squares of each) – 4 patterned, 4 solids
- Appendix A ruler – (located as a download at the bottom of this page)
- Thread in coordinating colors
- 1/2 yard of solid fabric (for backing)
- 1/2 yard of contrasting fabric for top binding, bottom, and sides
- 1/2 yard of batting (thin)
- 1/2 yard of insulated fabric for bag lining
- Two 2-inch D-rings
- One 3/4-inch sew-on snap
- 2 1/4” x 20” strip of vinyl (leather) for the handle (or desired length)
Designer Note: Seam allowance is 1/4″ throughout.
Instructions:
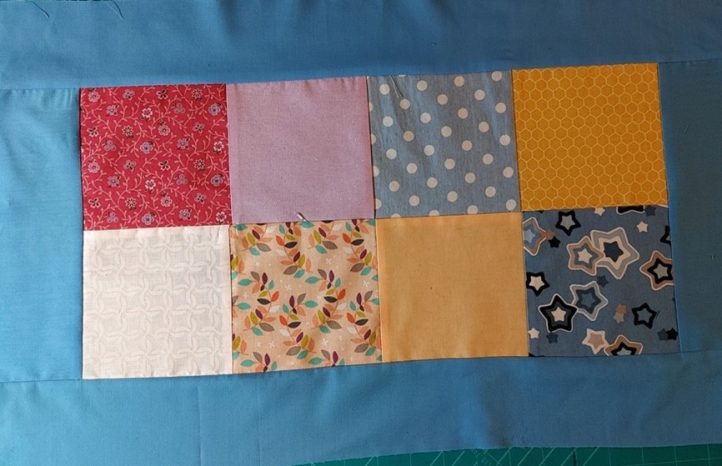
- Choose eight cotton fabrics – 4 patterned/4 solid or tight-patterned. Make sure that you have a good contrast between the colors. Cut two 5 x 5-inch blocks out of each fabric.
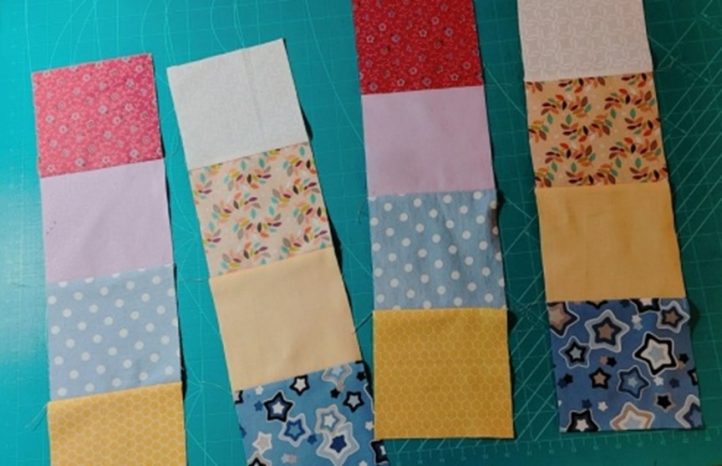
- Sew the fabrics into strips of four – alternating pattern/solid. Sew the strips together to create a block of eight. Note: Ensure that the seams are pressed in the same direction on the first strip and in the opposite way for the second strip. Then, when you sew the strips of 4 together, there will be less bulk where the blocks seams meet. Note: Use the 5-Stitch Trick to ensure your seams match. (Sew 5 stitches over the join, open the seam to ensure that there is a match. If they don’t match, take the 5 stitches out and try again). When you use the 5-Stitch Trick, you avoid ripping out long seams when your seams don’t match.
- Cut 3-inch strips in a contrasting color long enough to match the long and short edges of the sewn blocks. Add those strips to the block of eight to create a border.
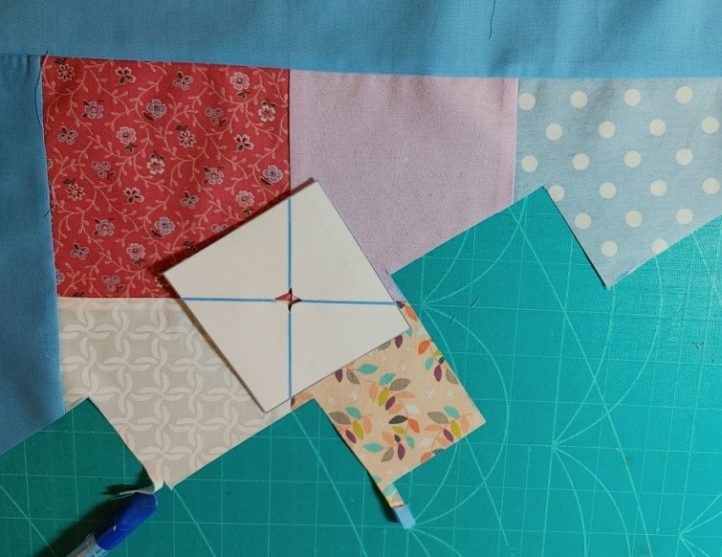
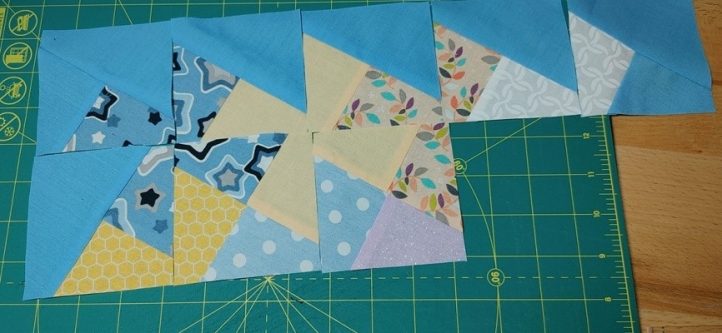
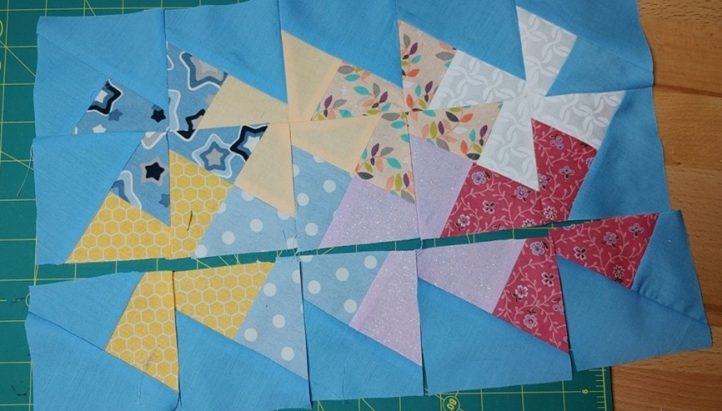
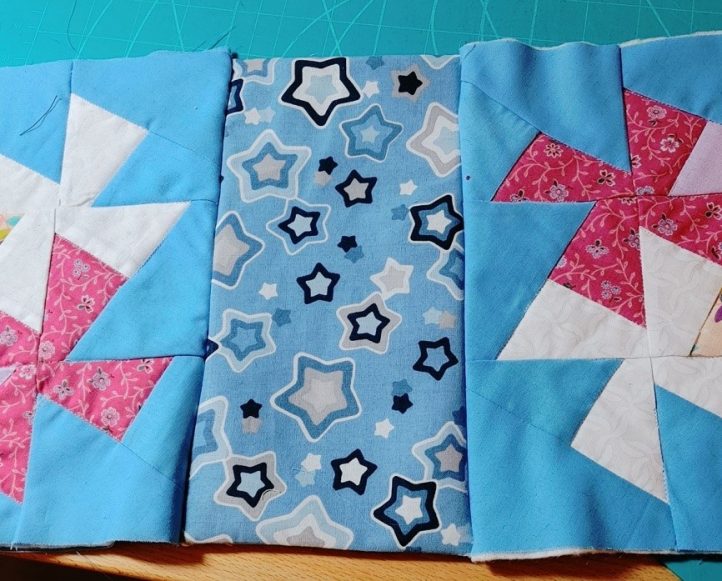
- Use the ruler (Appendix A) to create the pinwheel design fabric. Print the ruler, ensuring that the printer does not scale or shrink/expand the print-out. Snip a small window at the intersection of the lines on the ruler. Start in the right-hand top corner and work your way across, match the center of the ruler to the seam and the lines to the seam, mark the outer corners and cut around the square. Lay the squares in order to create the pinwheels. Sew each square to the next (ensuring that the pinwheel shape is being formed). Sew each row of five to the next row (always remaining aware of the pinwheel shape). You will create 3 x 5-inch rectangles of the pinwheel design.

- Stack the pinwheel panel on batting and then on the wrong side of a piece of cotton. Pin with safety pins. Top stitch any design on the top of the quilt. Square edges of quilt to 9 1/2 x 16”.

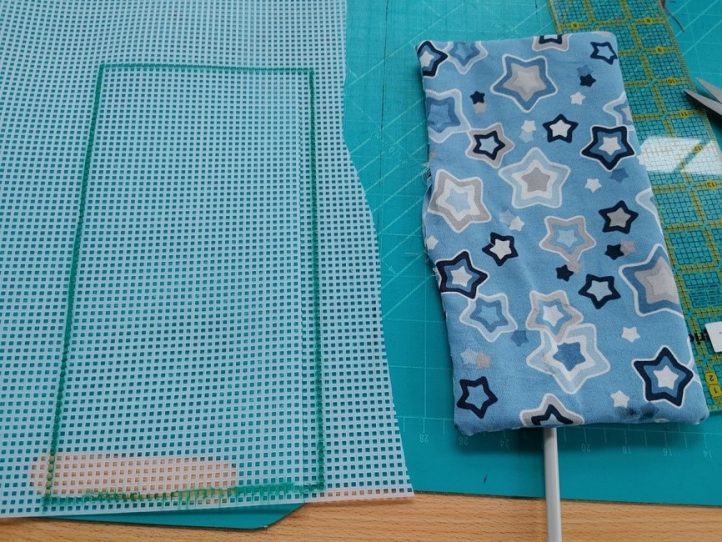
- Cut two rectangles 5 1/2 x 2 inches (bottom of the bag). Sew them right sides together leaving one end open, turn right side out. Insert plastic canvas that is 1/2 inch smaller both width- and lengthwise. Turn the open edge under and top stitch 1/4 inch all the way around the outside.
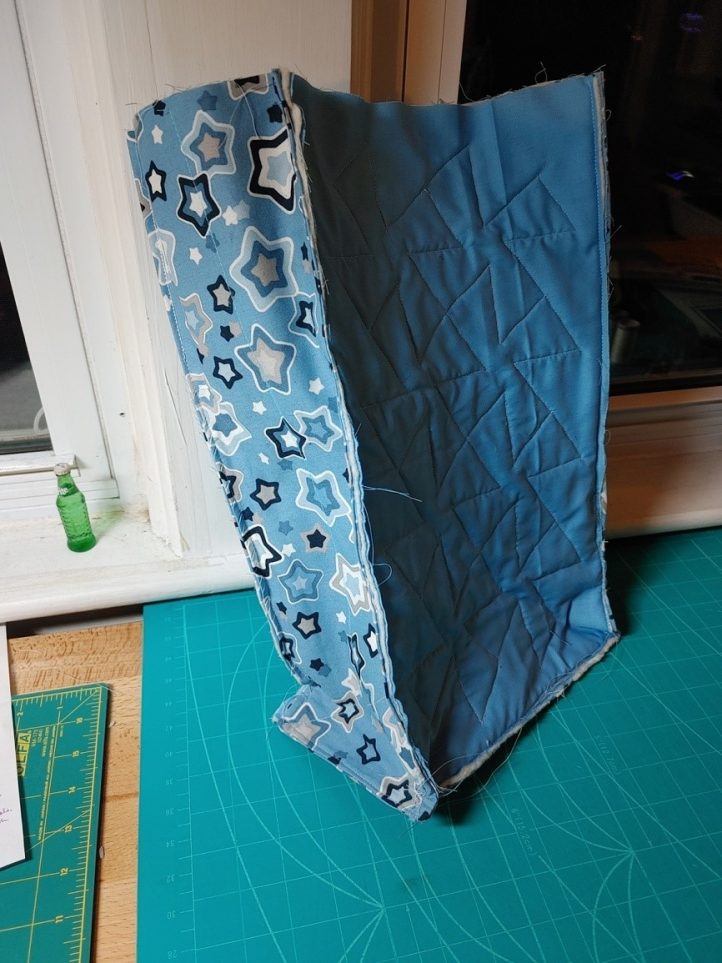
- Cut 4 panels 16 1/2 x 5 inches (you will make 2 sides for the bag). Place right sides together, lay batting on top, stitch, leaving the top open. Turn right-side out – there will be a raw edge at the top. Fold in half (the crease should run parallel to the long sides), right sides together and press. At the bottom short edge, draw a line at 45 degree angle from the bottom corner to the crease, and repeat from the opposite bottom corner to create a triangle. Top-stitch through all three layers along crease from top edge to the tip of the triangle and then along both triangle lines. This will allow the bag to fold in. Do this on both side panels of the bag.

- Start to assemble the bag by sewing the base to the short side of both pinwheel panels (right sides together, raw edge at the top and sides).
- With raw edge to the top, sides, and bottom of bag attached to short side and right sides together, sew the bag sides to the long sides of the pinwheel panels (on the same sides of each panel).
- Finish assembling the bag by sewing the opposite long sides to the pinwheel panel with right sides together. Complete by sewing the bottom of the bag seams together – turn right side out. Use a generous 1/4 inch seam to ensure that you catch all the fabric and batting.
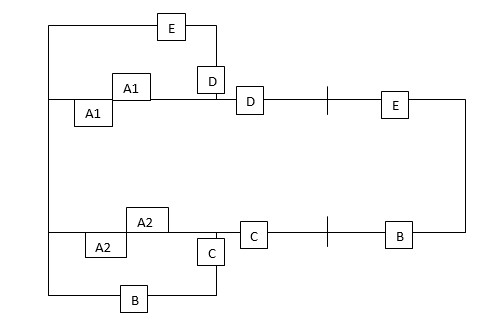
- Create the insulated fabric by cutting one rectangle 9 x 33.5 inches and 2 rectangles 5 x 14.5 inches. Sew together using the following plan (for further instructions, please see the PDF download at the bottom of the page):
- B/E to A on both sides (aligning at the top)
- Sew to B to B and E to E on each side.
- Sew C to C and D to D (to create the bottom of the bag).
- Do not turn it right side out.
- Insert the insulated fabric into the bag, wrong sides together. Cut a strip of contrasting cotton 3 1/4 x 27 1/2 inches for the top edge of the bag. Create binding by ironing in half and then ironing the raw edges toward the center. Attach to the top of the bag by folding over the center and pinning. Sew around the folded edge of the binding using any stitch to encase bag raw edge.

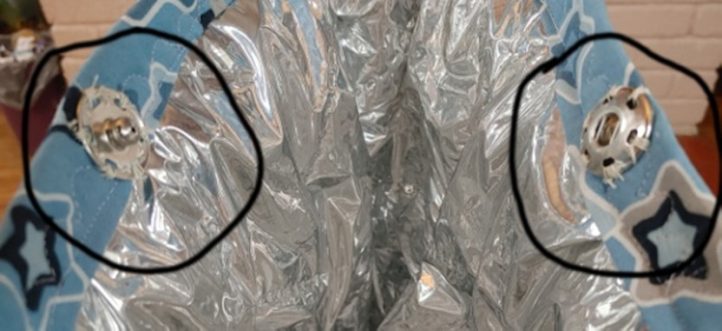
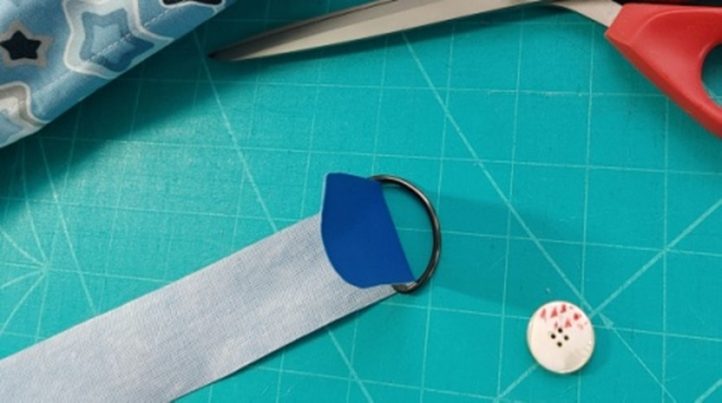
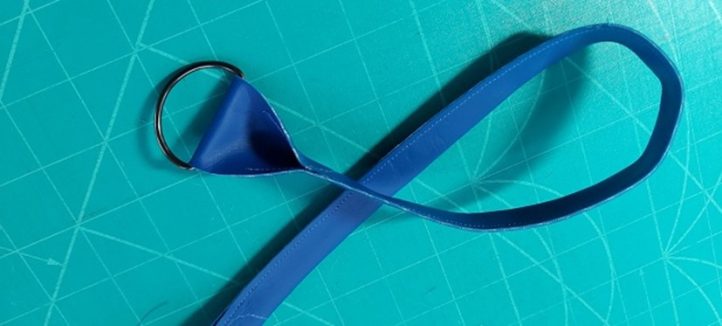
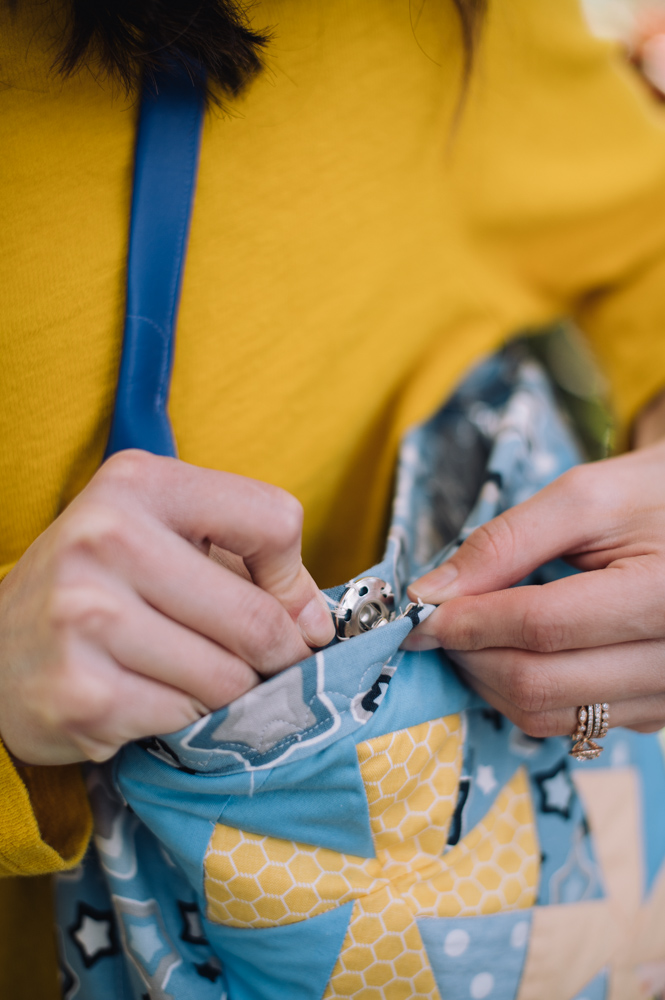
- Attach 1 snap, either half of snap opposite each other, to inside center of the top of the bag to close the bag. Sew vinyl (leather) strip around the D-ring with approximately a 1 3/4” end folded over. Fold the handle in half lengthwise and sew the strap together. Hand stitch D-rings to the inside of the bag with three tacking spots.