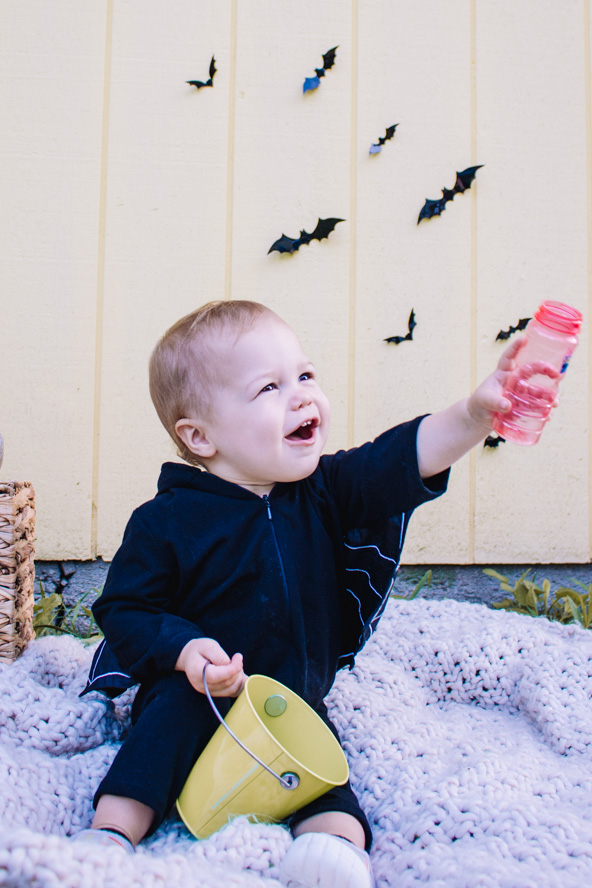
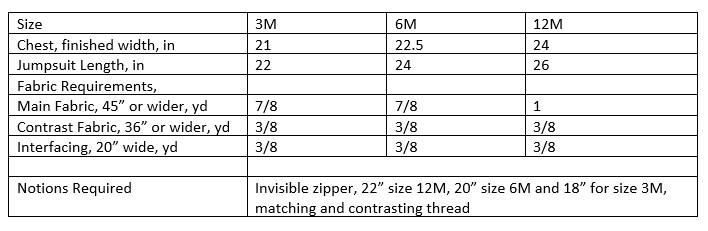
Halloween costumes don’t get cuter than this! Sew up an adorable Halloween costume for your new grandbaby with this wickedly cute sewing pattern. Available in three sizes, this bat baby costume features a black knit onesie with a hood, ears, and bat wings. Celebrate your little one’s first Halloween with a handmade costume that’s absolutely fang-tastic.
Designer Notes:
- The hooded jumpsuit requires knit stretch fabric and contrast fabric for wings and ears. Wings are made from lining weight woven fabric. Medium weight interfacing ironed on or sewn in required.
- Print 2”x2” test square but don’t worry it’s not exactly right. It’s OK when less than 1/8” off, as the fabric is knitted and not a fitted garment.
Materials:
- PDF Pattern – This is located at the bottom of this page. Please see printing instructions below.
PRINTING INSTRUCTIONS:
Note: To download the templates, click on the pattern download button at the bottom of the page. We recommend opening your pattern download using Adobe Acrobat. Additionally, for page circles to match, we recommend turning on borderless printing and making circles .75″. This pattern has layers for each size, which can be turned on and off using the Layers feature in Adobe.
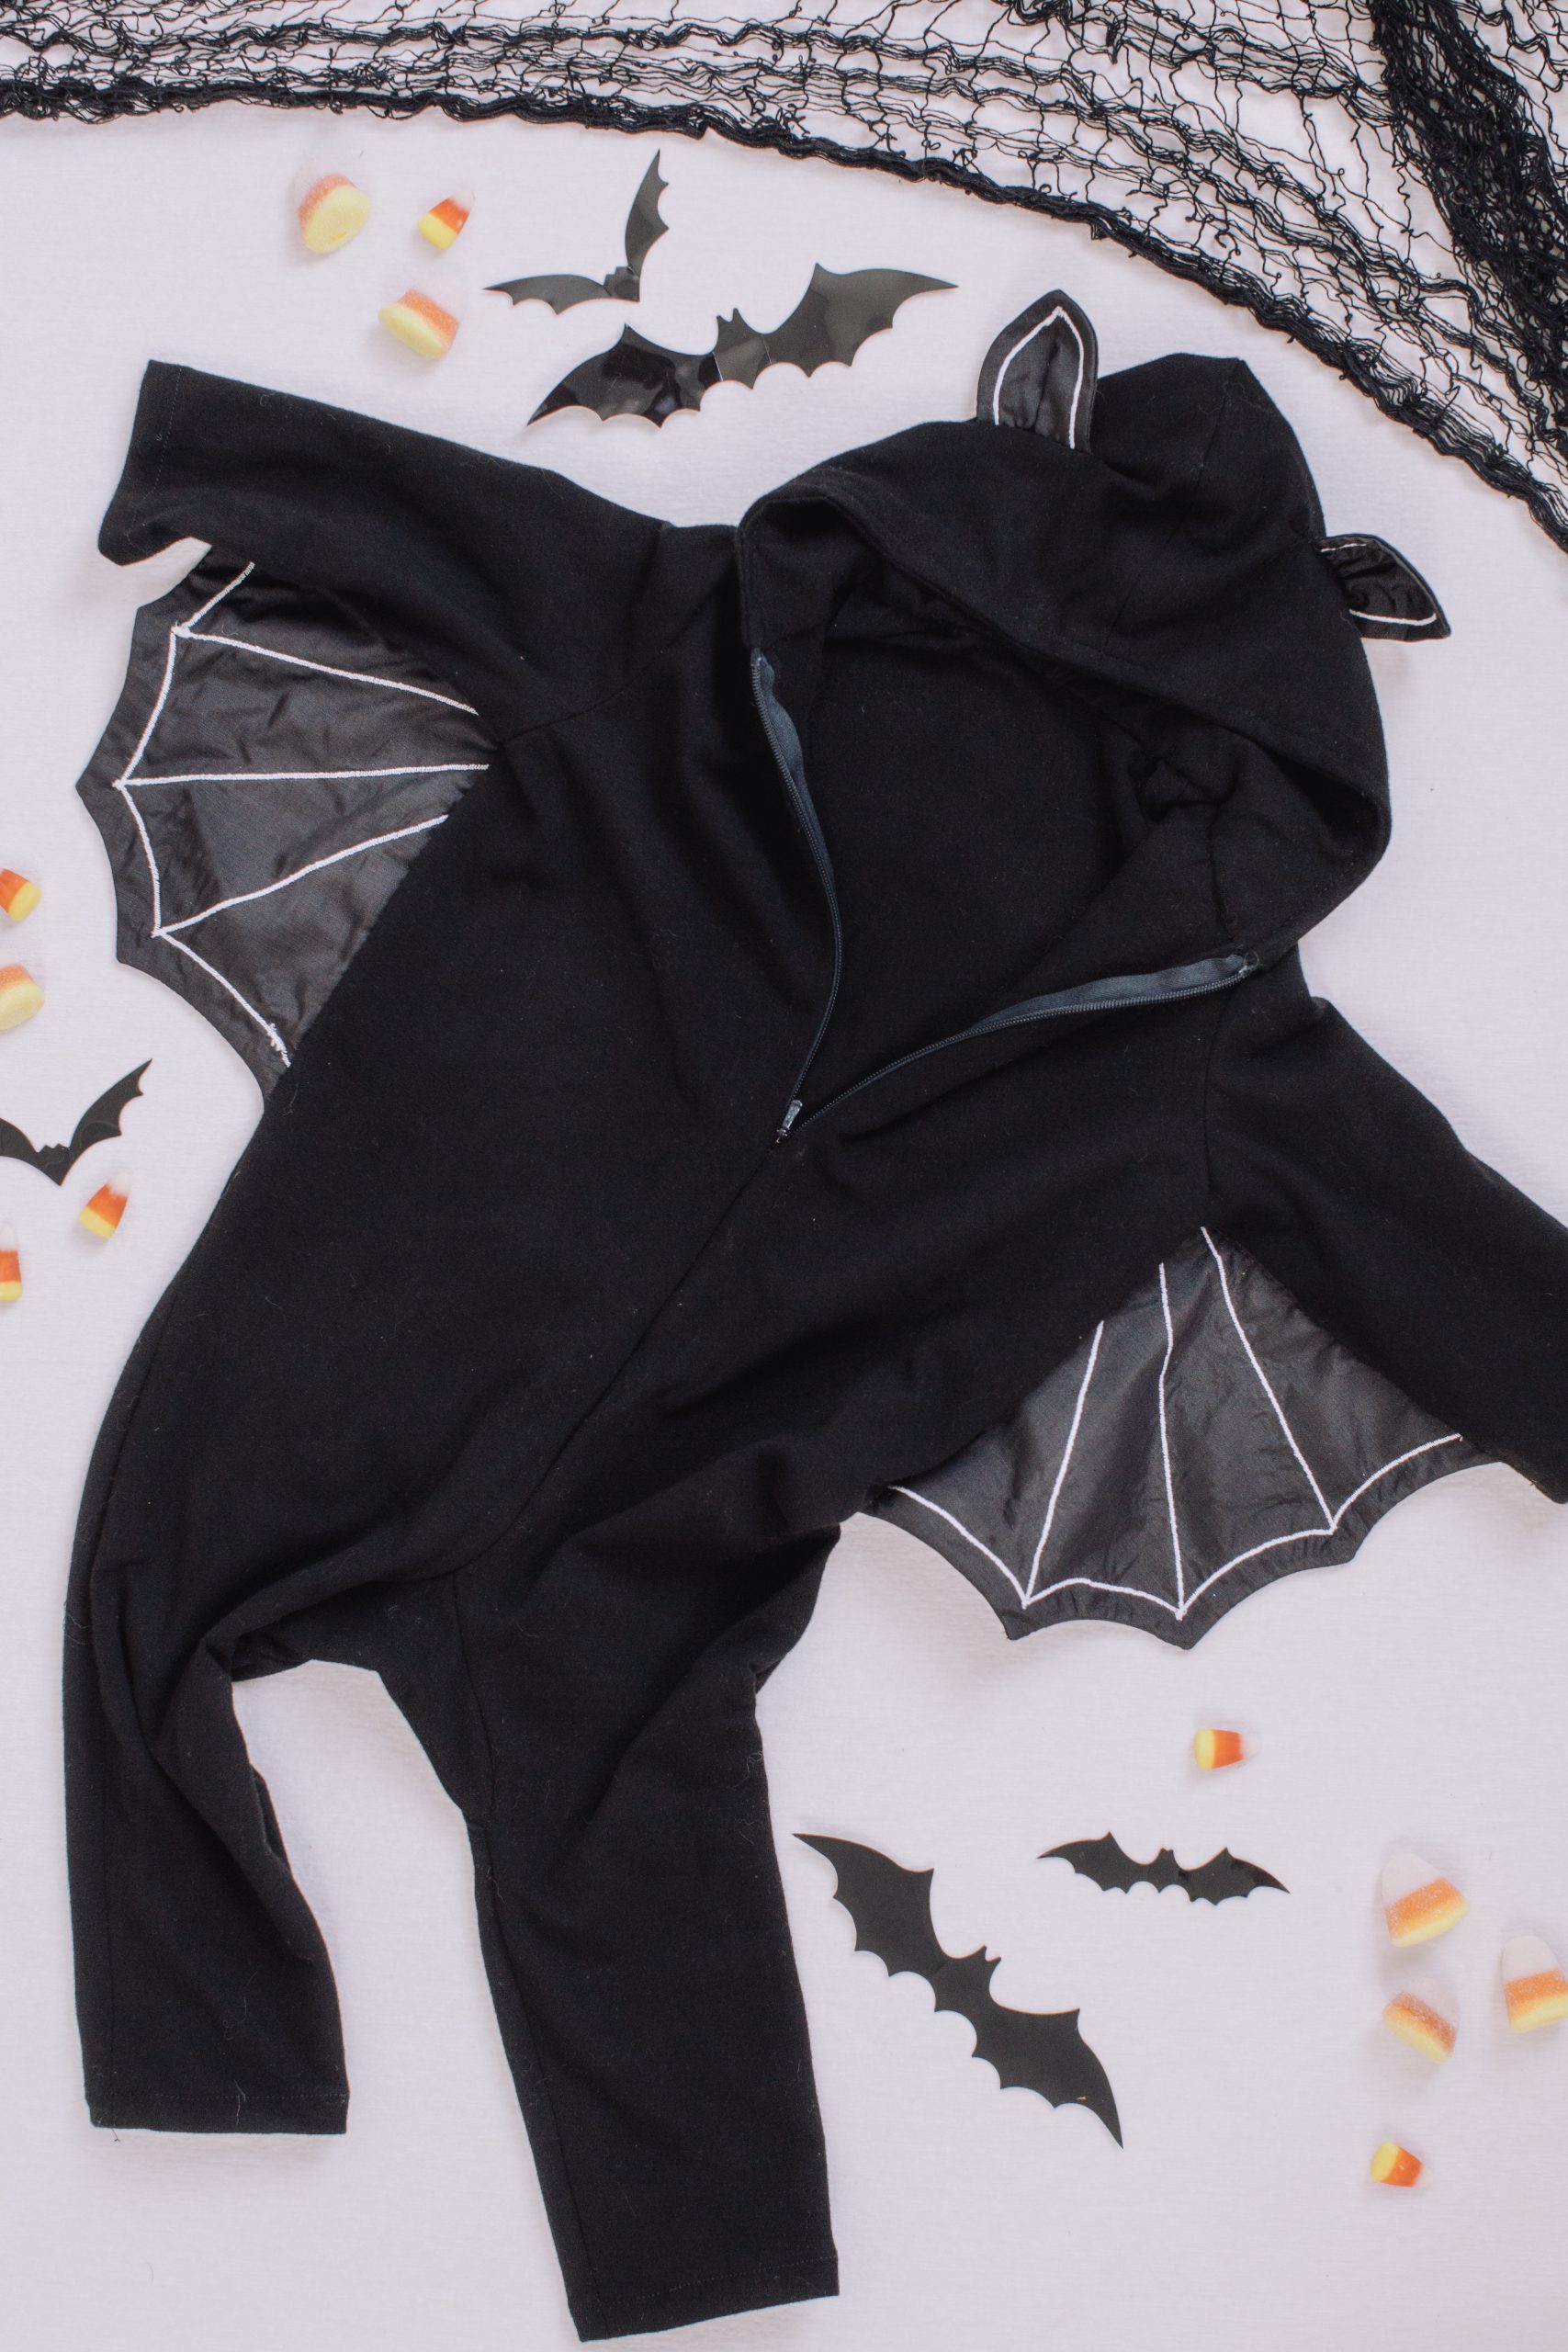
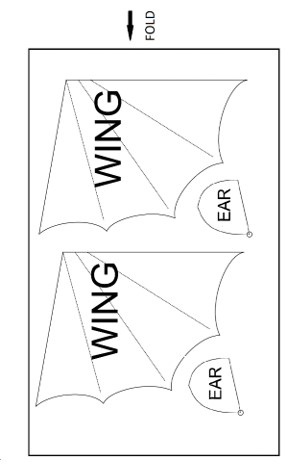
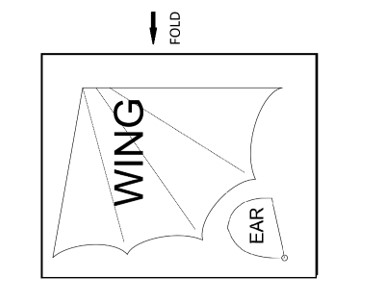
Pattern Description: This baby onesie has a one piece back, zipper front from neck to one leg, gusset at the crotch with long sleeves and self-lined hood. The wings and ears are made from contrast fabric, self-lined and decorated with narrow zigzag stitching. Wings and ears are stiffened with interfacing; the ears might require 2 layers of interfacing to stand up (Poly-fil is another option) depending on the fabric choice. The wings are attached to the sleeves and torso.
Cutting Layouts (All Sizes):
Main Knit Fabric
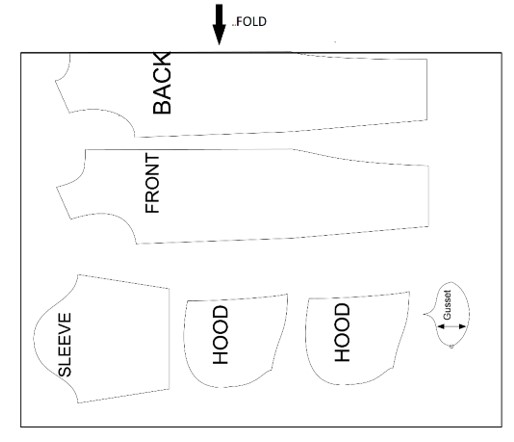
Contrast Fabric
Interfacing
Instructions:
Notes: All seam allowances are 5/8” except for the ears, which are 1/4″. There is a good Youtube video showing how to sew a gusset, zipper onesie if you need additional guidance.
- Pin gusset (notch to match center of back crotch) to back crotch. Sew gusset to back of body. Sew to circle on pattern 5/8” (seam allowance width) of gusset open at the left leg edge.
- Sew left front leg inseam to back left leg inseam up to the gusset. Sew left front of gusset to left front crotch.

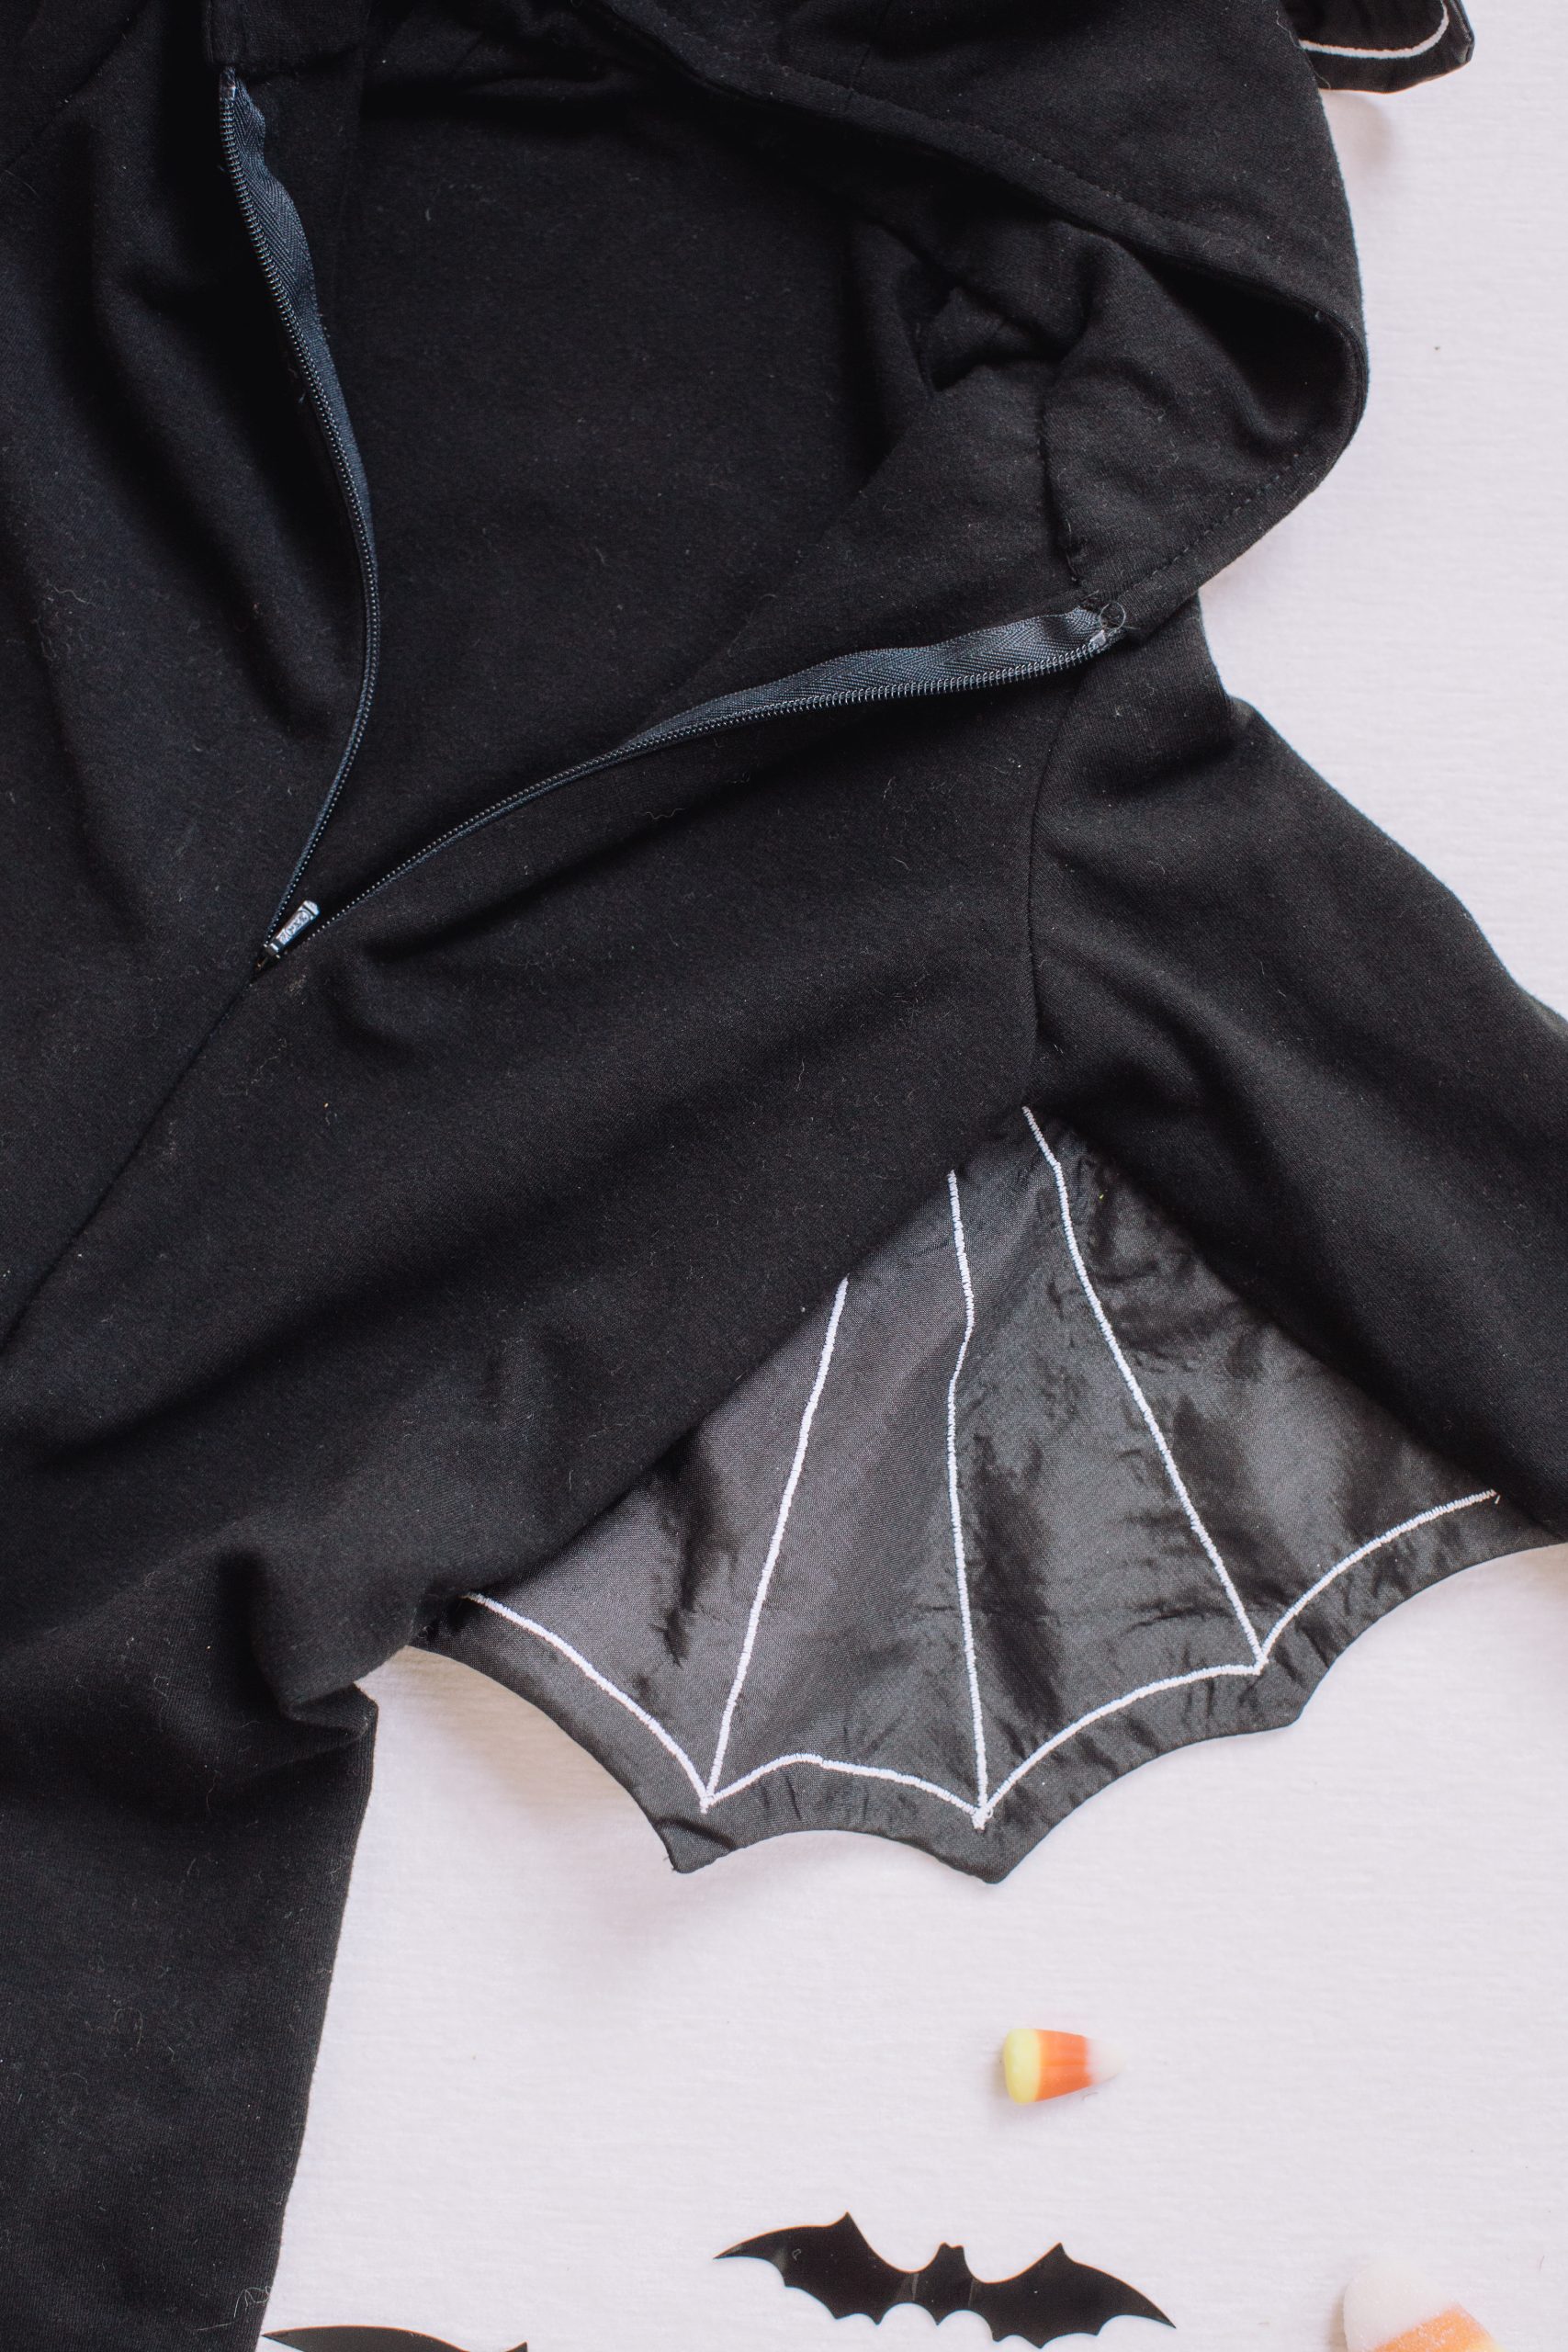
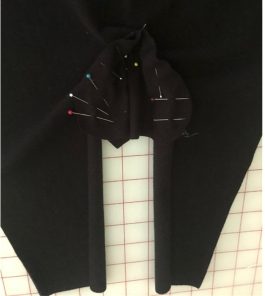
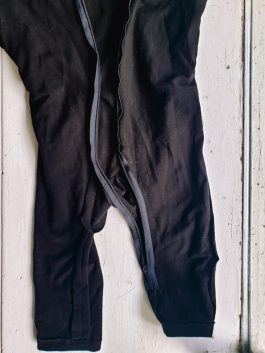
- Pin or baste zipper to left front center through gusset and leg inseam. Might need to “straighten” out the transition to gusset if the zipper isn’t flexible enough to curve. Also might need to trim the seam allowances at the gusset seam to smooth out the transition. An invisible zipper is chosen to make it less obvious and not distract from the costume. Pin other side of the zipper to match. After installing the zipper, sew the right leg seam up to the end of the zipper. This onesie zips similar to store-bought onesies, from the leg up. See photo below of finished onesie for zipper placement.
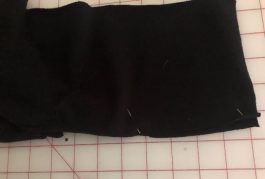
- Sew shoulder seams. Sew sleeves to armholes, matching “/\” mark to shoulder seam, leave 5/8” open on both ends of the seams (armscye) area to make it easier for wing insertion.
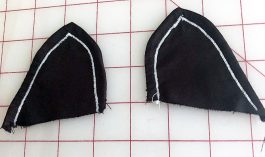
- Sew wings together on the curve edges, trim seams, flip inside out and press. Use a narrow zigzag stitch and contrast thread, stitch along the 3 dotted lines on the wing, then zigzag stitch 1/2” away from the curved edge.
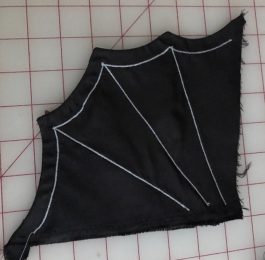
- The seam lines on the bat wing are shown because they are quite curvy. Baste the wing to one of the sleeve seams (not required but makes it easier to sew it correctly) match “I”s on seams and the end of the wing at the “II” mark. Then sew the sleeve seams wrong sides together with the wing rolled up inside the sleeve. Flip the sleeve right side out.
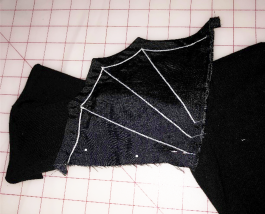
- Similarly sew the wings to the side seam of the body on both sides matching the notch and the “II” mark and the “III” where the wing ends and continuing beyond to sew the entire side seam down to the hem.
- Sew the ears together and flip right side out. Top stitch with zigzag contract stitching 1/4” from the edge. Sew 1/8” from the bottom edge of the ears and gathered to 1 1/2”.
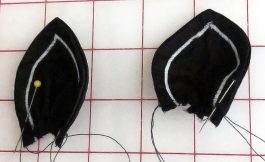
- Baste the ear on the edge to the right side of the hood on the dotted line, making sure the circle on the ear is placed at the bottom of the hood. Turn to the wrong side of the hood and sew on the solid lines and catching the basting stitches.
- Sew the hood center seam together. Do the same for the hood lining. Put the hood and lining wrong side together and stitch the front seam (at the face) together. Flip to right side with the ears on the outside. Sew the outside of the hood to the neck edge matching notches to shoulder seams. Fold the hood lining 5/8” at neck edge and hand stitch to the inside of the neckline. Top stitch front edge of hood seam 1/2” from edge.
- Fold sleeve and leg hems 5/8” and sew 1/2” from the edge, stretching the fabric slightly.