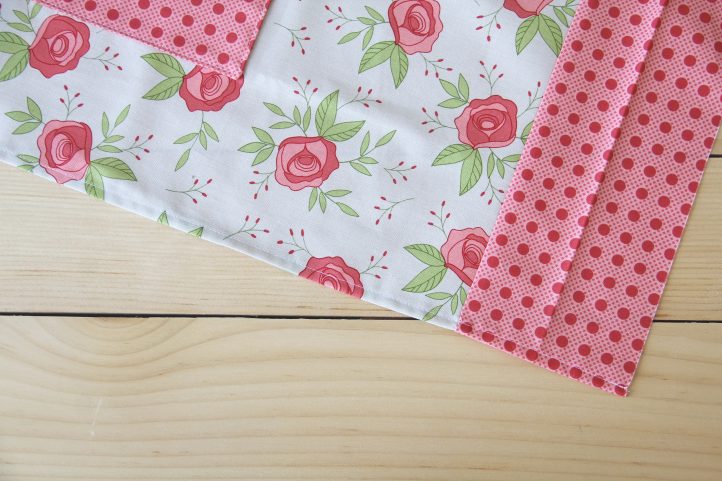
Saving your prettiest fat quarters for the perfect project? Designer Staci Wendland is here to show you how to put those fat quarters to good use! Learn how to sew a half apron with this easy tutorial. Complete with step-by-step images, this beginner-friendly project is simple enough for new sewists to follow. Have fun mixing and matching prints in your fat quarter bundle to create a classic apron for yourself or make this design in holiday prints for make-ahead gifts. Spend your afternoon working on beginner sewing skills, like creating pockets, with this tutorial for how to sew an apron.
Materials:
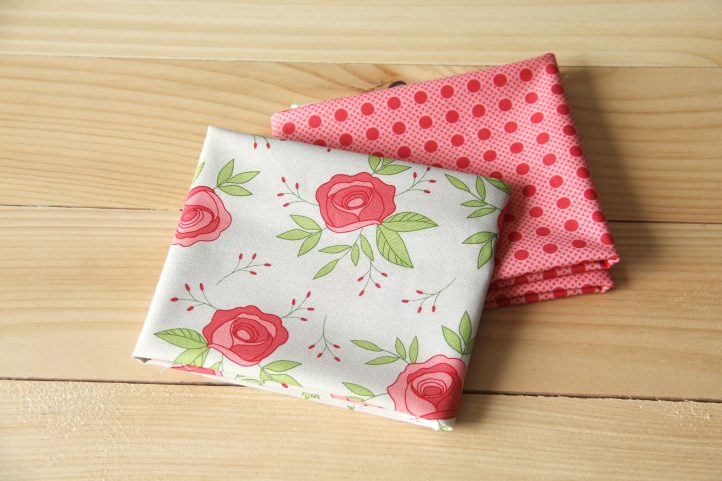
- Two fat quarters (each 18″ x 21”)
- Basic sewing notions
Designer Notes:
- The pockets, trim, and waistband are turned in different directions on the finished apron, so avoid directional prints on the second fat quarter.
- All seams are 1/4” wide unless otherwise noted.
Cutting Instructions:
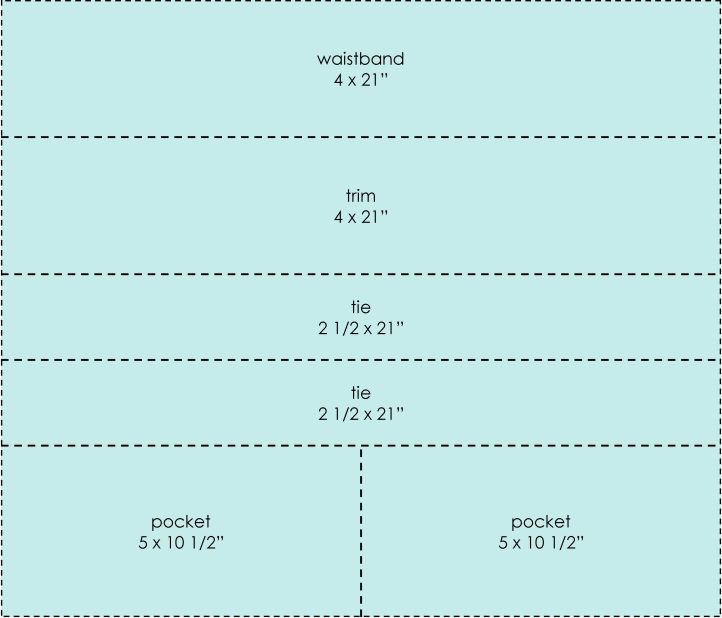
- Lay out the fabric with the 21” side horizontal.
- From the first fat quarter cut: one 18″ x 21” skirt.

- From the second fat quarter cut:
- One 4″ x 21” trim
- One 4″ x 21” waistband
- Two 2 1/2″ x 21” ties
- Two 5″ x 10 1/2” pockets

Sewing Instructions:
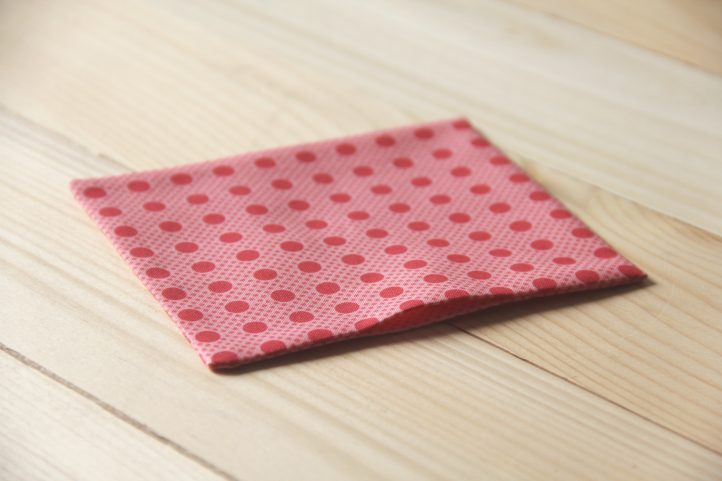
- Fold one pocket widthwise with the right sides together. The two 5” edges should be together. Stitch around the pocket 1/4” from the raw edges, leaving 1 1/2” open on one side for turning. Clip the corners.
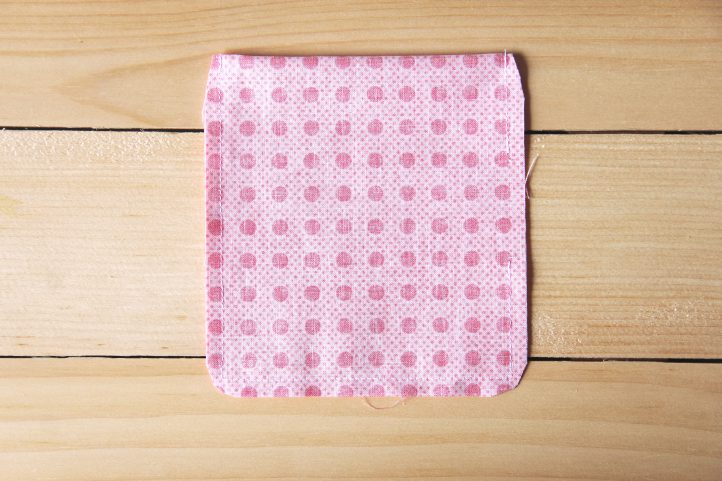
- Turn the pocket right side out through the opening. Press, turning the opening in 1/4”. Repeat the steps with the second pocket.
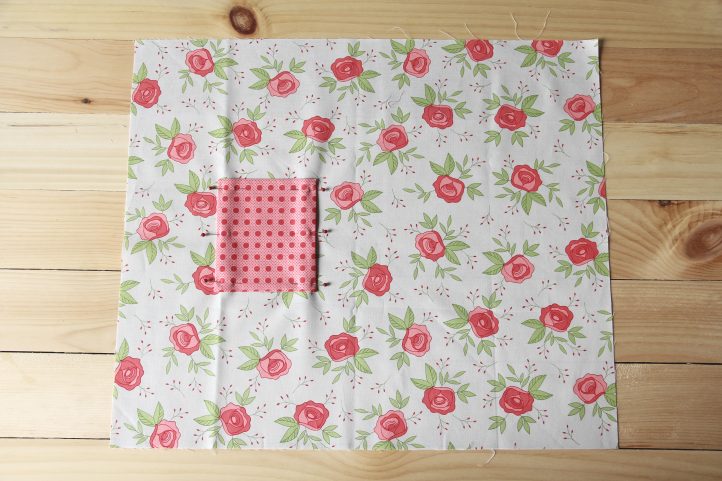
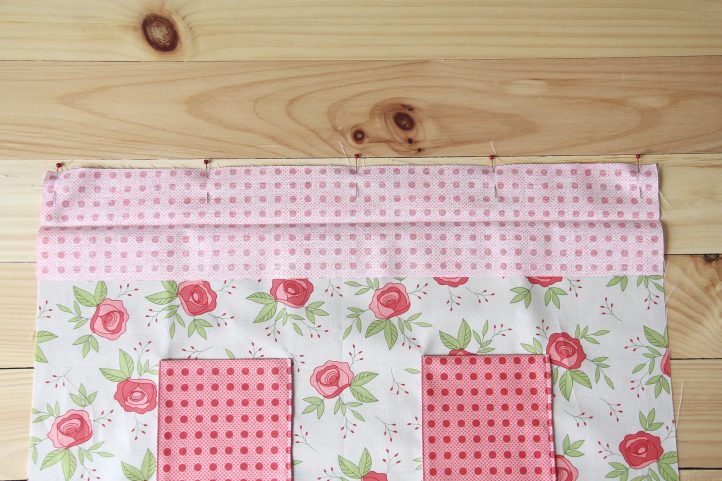
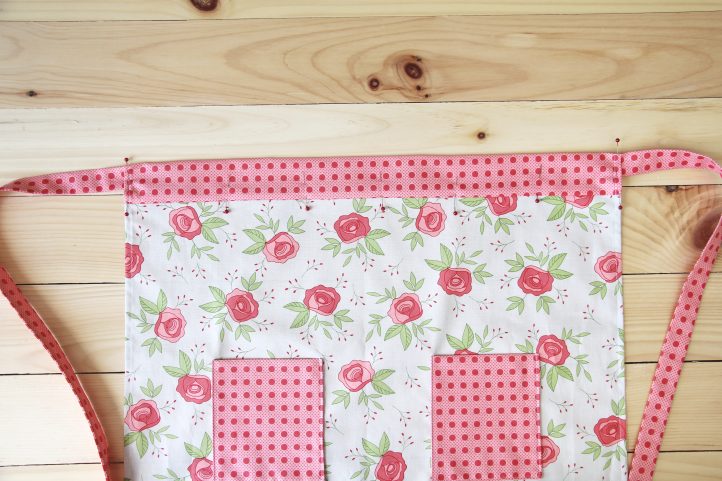
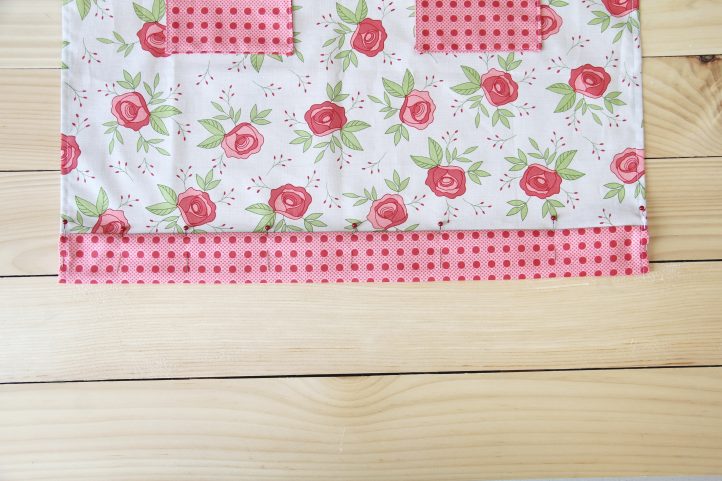
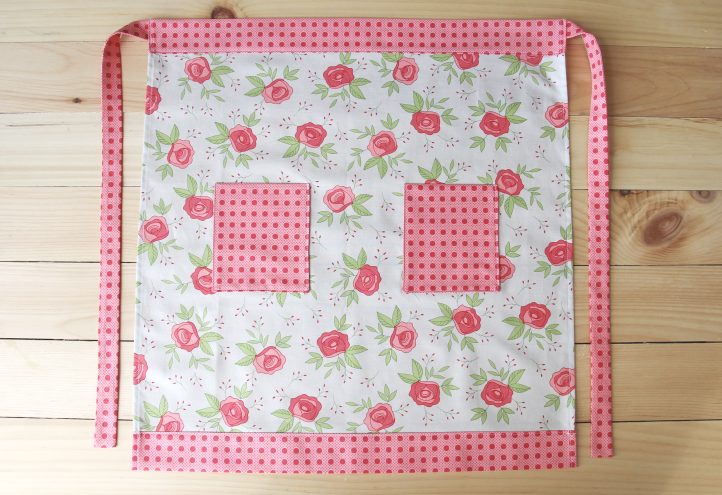
- Lay out the skirt with the 21” edge horizontal. Pin one pocket on the skirt, 6 1/2” from the upper edge and 4” from the left-hand edge. The folded edge of the pocket should be toward the top.
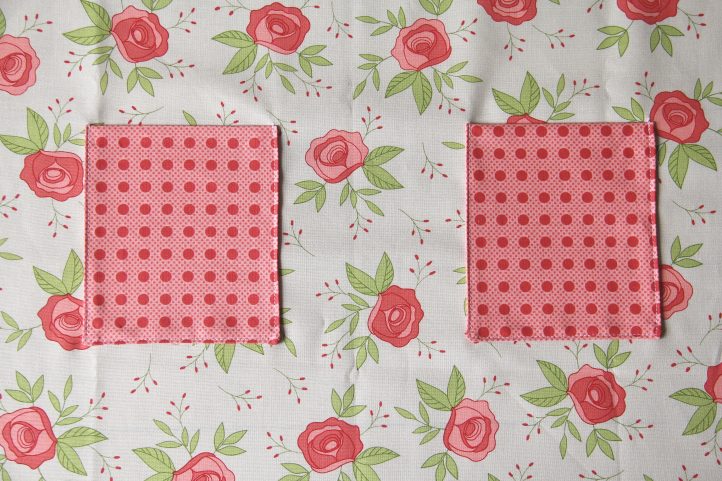
- Pin the second pocket 6 1/2” from the upper edge and 4” from the right-hand side.
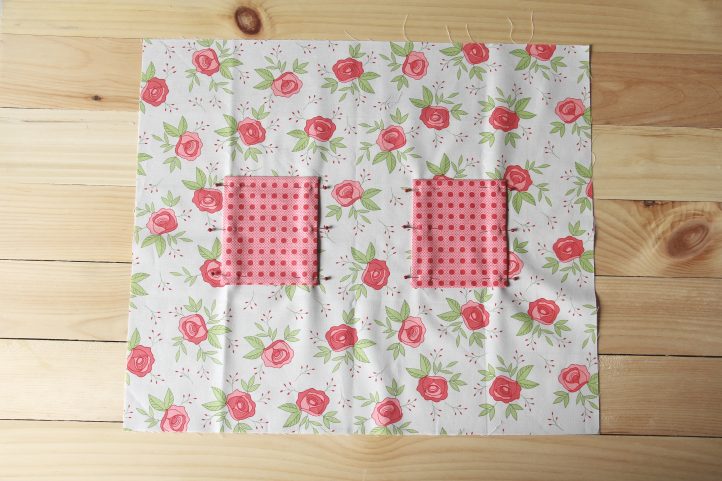
- Stitch down both sides and across the bottom of each pocket, close to the edge, leaving the upper edge open.
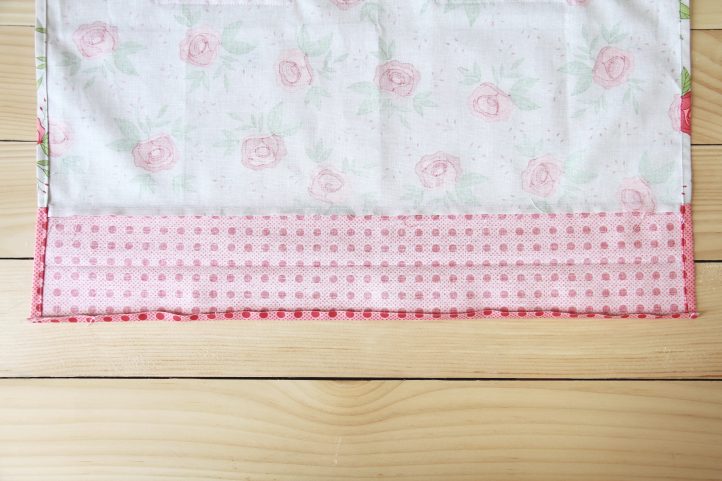
- Fold the trim lengthwise with the wrong sides together. Press the fold.
- Open it back up and line up one long edge of the trim with the lower edge of the skirt, with right sides together. Pin.
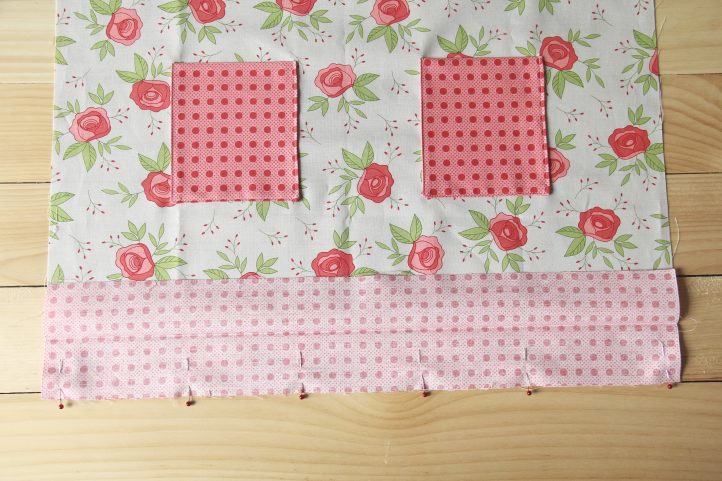
- Stitch 1/4” from the edge. Press the trim and the seam away from the skirt.
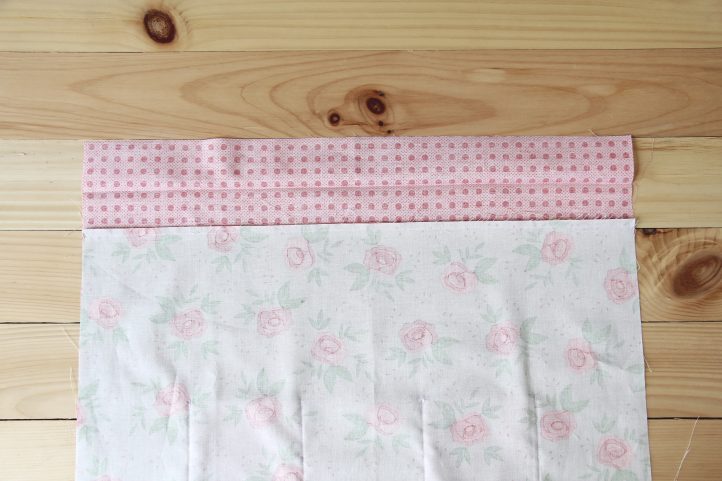
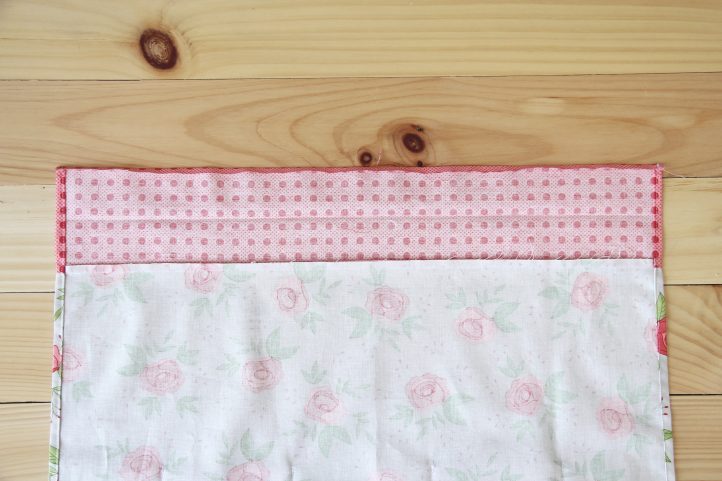
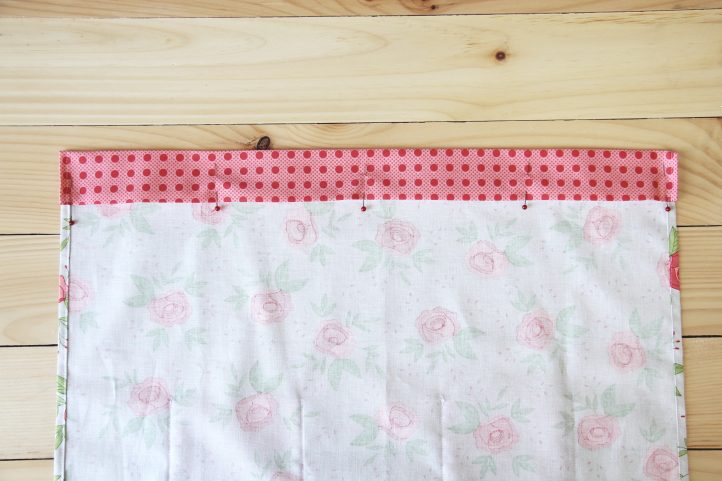
- Fold the waistband lengthwise with the wrong sides together. Press the fold.
- Open it back up and line up one long edge of the waistband with the upper edge of the skirt, with right sides together. Pin.
- Stitch 1/4” from the edge. Press the waistband and the seam away from the skirt.
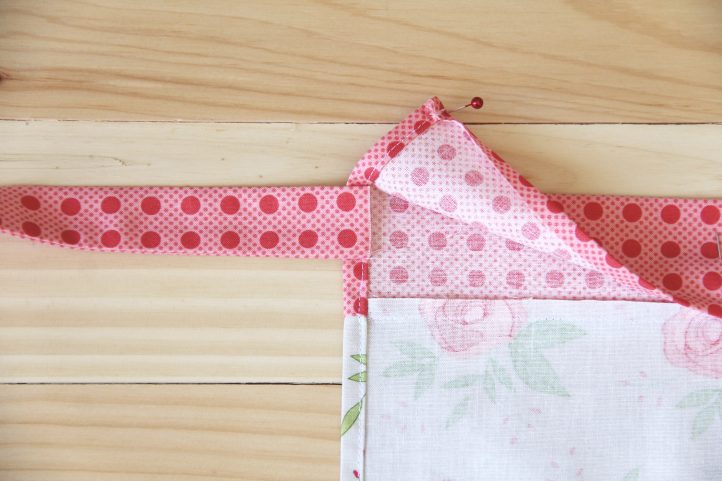
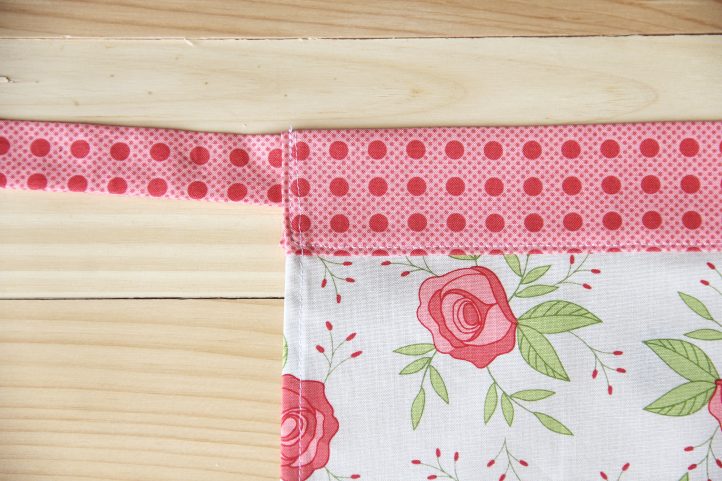
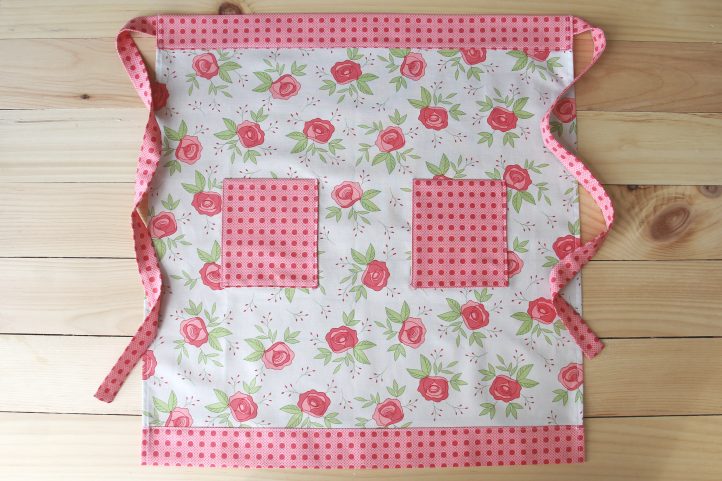
- Fold the left-hand side of the skirt, including the end of the waistband and trim, to the wrong side 1/2”. Press.
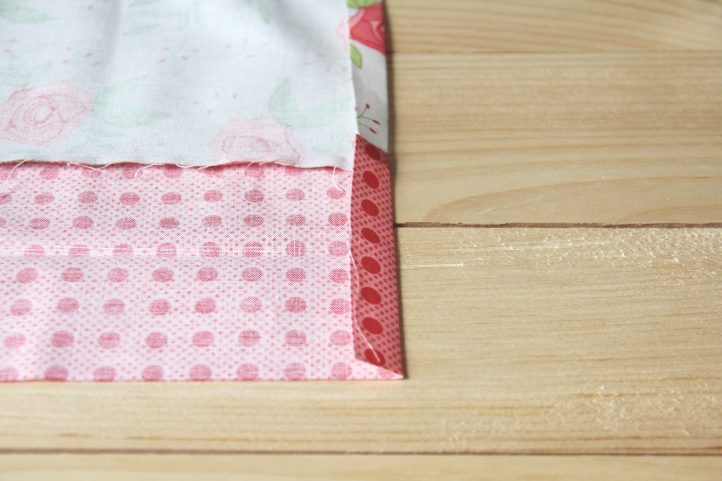
- Fold that edge again to the inside 1/4” so the edge meets the inside of the previous fold to create a rolled seam. Press.
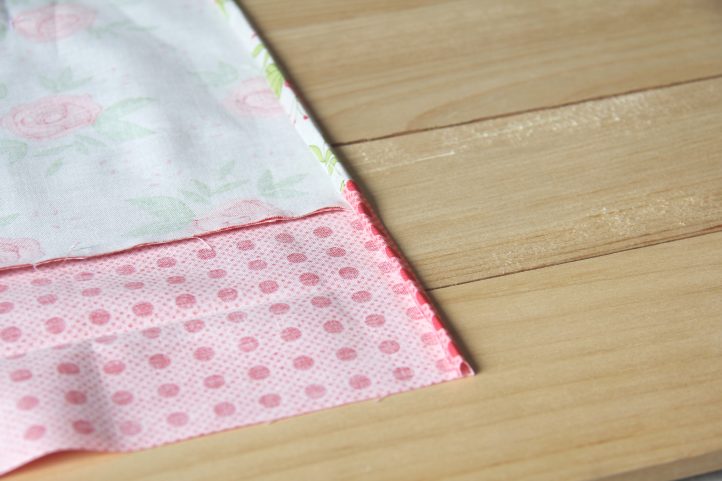
- Stitch close to the inner fold.
- Repeat on the right-hand side of the apron to hem the edge.
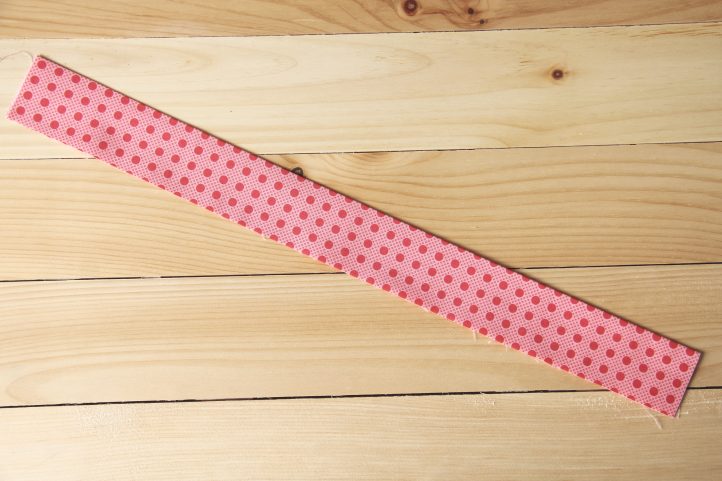
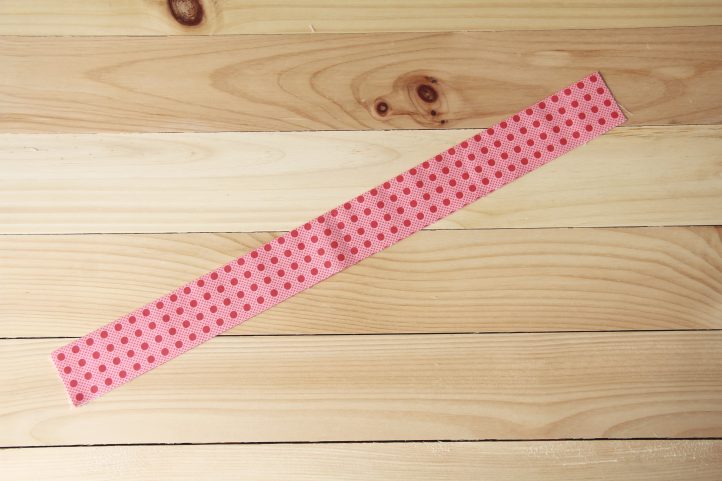
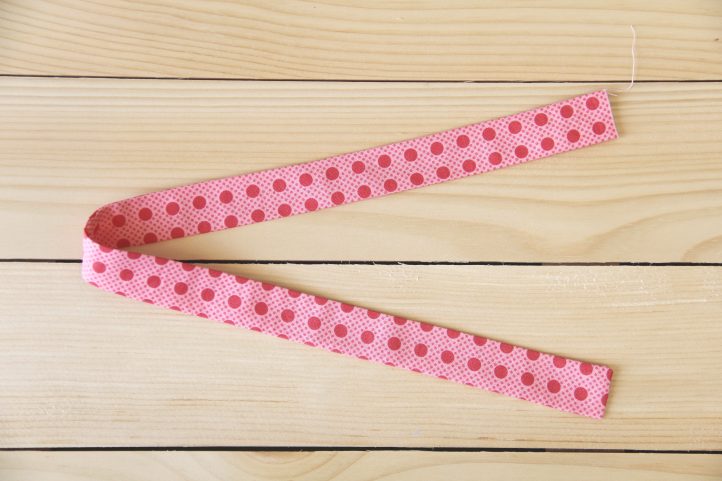
- Fold one tie lengthwise with the right sides together. Pin. Stitch 1/4” from the long edge and one short edge.
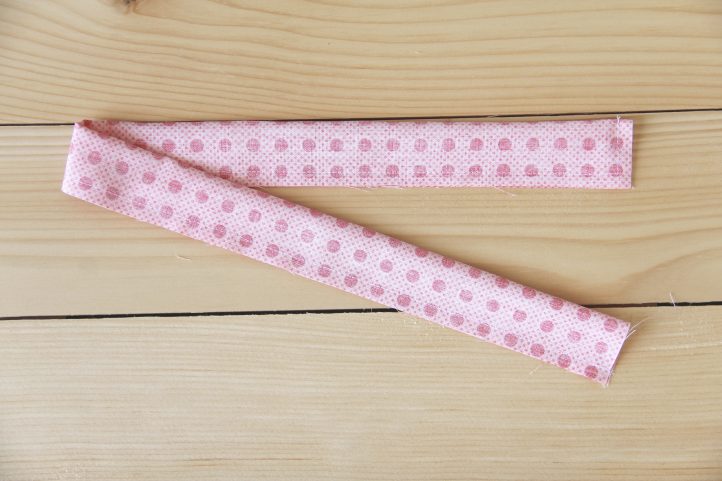
- Clip the corner. Turn the tie right side out through the open short end. Press.
- Repeat the steps with the second tie.
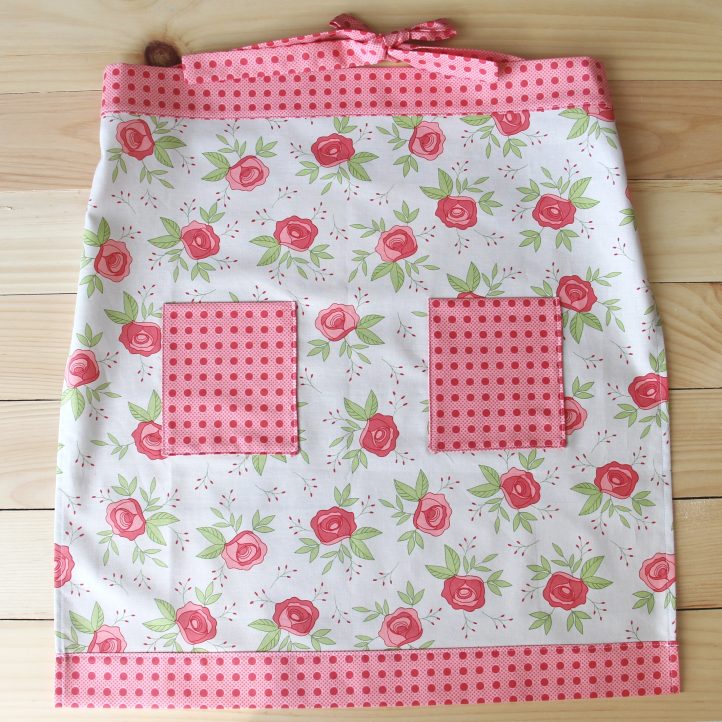
- Turn the unsewn edge of the waistband under 1/4” to the wrong side and press.
- Fold the waistband in along the previously pressed center line. The 1/4” folded edge should cover the seam on the back. Pin.
- Tuck the unsewn end of one tie inside the end of the waistband on the left-hand side by 1/4”. The folded edge of the tie should be next to the fold on the waistband. Pin.
- Pin the second tie tucked into the waistband on the right-hand side. At this point, all the pins are on the wrong side of the apron.
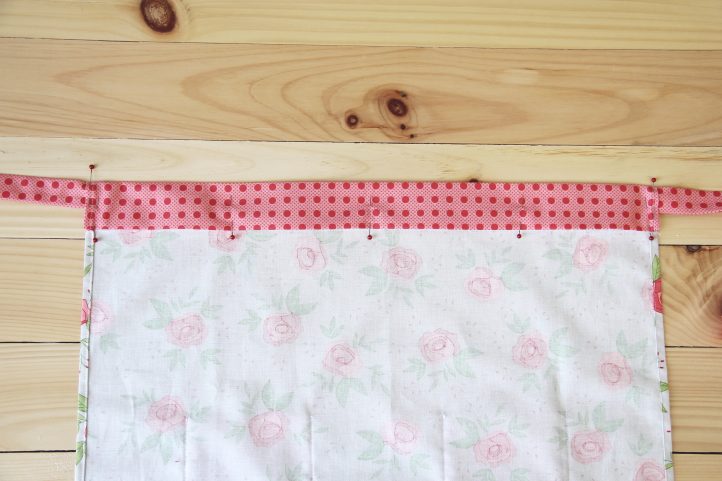
- To be able to easily remove them while stitching, flip the apron right side up and replace all the pins on that side. Remove the pins on the wrong side.
- With the apron right side up, stitch down near both short ends and across near the lower edge of the waistband, making sure to catch the edge on the back and the ends of the ties in the stitching.
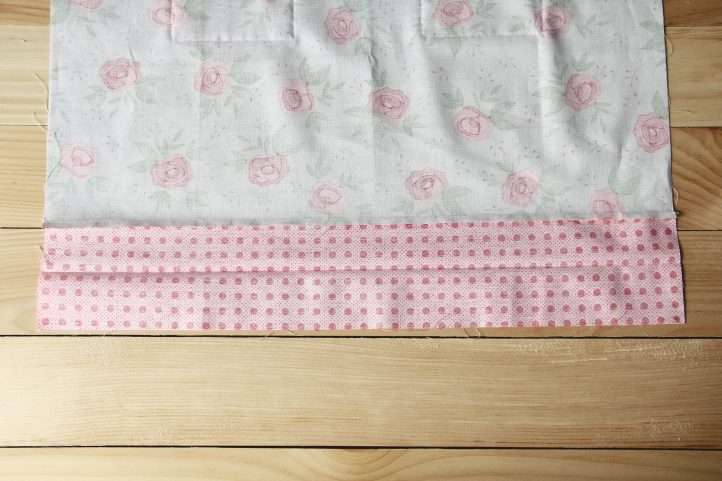
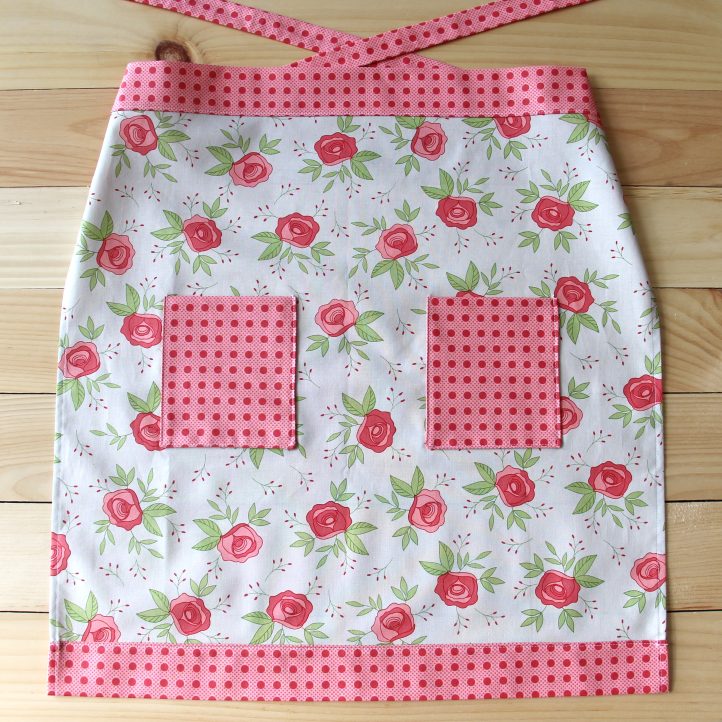
- Turn the unsewn edge of the trim under 1/4” to the wrong side and press.
- Fold the trim up along the previously pressed center line. The 1/4” folded edge should cover the seam on the back. Pin.
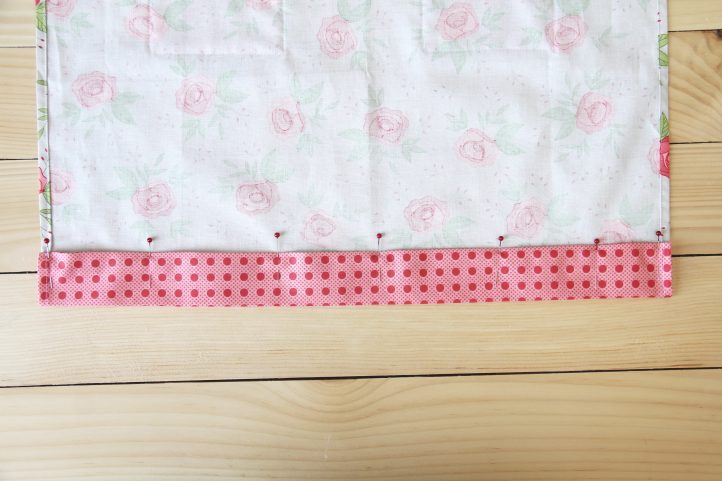
- Flip the apron right side up and replace all the pins on that side. Remove the pins on the wrong side.
- Stitch across near the upper edge of the trim, making sure to catch the edge on the back in the stitching.

Tie on your apron and make something yummy!

could you make a PDF
Need the pattern on ???? printer please
Hi Connie! At the top of the pattern next to the Facebook/Pinterest buttons, you should see a printer button. If you would like to print off this pattern without images, you can copy and paste the text into a Word document and print from there. Thanks! – Ashley, We Like Sewing
I would like to make this, but I need something I can print out or put in a PDF form
Can u pls post this in PDF or printable form?
Not ready to make this yet and instructions are on too many pages. TY!
I agree need a pdf
Thank you for this pattern! I am a skills for living teacher (Home Ec) And I think this would be the perfect project for my middle schoolers to do for their sewing project!
That’s such a great idea! We hope they enjoy it 🙂 – Ashley, We Like Sewing
Love this pattern!! Will be making it for my grand daughter and great granddaughter!!
We’re so glad you enjoyed this pattern, Diane! Have a great day 🙂 – Ashley, WeLikeSewing
I absolutely love everything you have on here. I wish I had the time to do them all. Thank you so much.
Thanks so much for your kind words, Jacqueline! Have a great day 🙂 – Ashley, WeLikeSewing
Your pattern is lovely, as is the choice of fabrics.
For those who are concerned about the number of pages, try setting your printer up to print as a “booklet.” If also set to double-sided printing, that means you get 4 pages on one sheet of paper!
Thank you so much for sharing your excellent tips! Have a great day 🙂 – Ashley, WeLikeSewing
Frances Dayton:
Thank you
This is a wonderful starter pattern. For those that want a different size pocket or different width of sash, it’s easy to adapt. Also, print in B&W if you don’t want to print in color and print both sides of page to conserve paper! No room for criticisms or complaints. A wonderful pattern, thank you!
Thank you so much for your kind words, Terry 🙂 Have a great day! – Ashley, WeLikeSewing
Love your pattern. Wish they didn’t take 20 pages to print. Can’t you make a pattern with less pictures for experienced sewers?
Wish it was fewer pages to print out and not all in color.
Print back to back and have only 10 pages!
Thankyou i will enjoy having a go of doing the apron cannot wait to start on the pattern.
You’re so welcome! We hope you enjoy making this project 🙂 – Ashley, WeLikeSewing
Thankyou i will enjoy having a go of doing the apron
Thank you! My family suddenly likes aprons and I have a few to make.
Hi there! Thank you so much for your kind comment 🙂 We’re so happy that you enjoyed this project. Have a great day! – Ashley, WeLikeSewing
I’m pleasantly surprised by the ease and outcome of this apron; thank you for sharing
Thank you for your comment! We’re so glad you enjoyed making this project 🙂 – Ashley, WeLikeSewing
Thank you, Looks easy enough. I will try.
Love this. Quick and easy to make. Especially with the holidays at hand. Thank you for the pattern and the great tutorial!
Thanks so much for your kind comment, Kathy! Have a great day! – Ashley, WeLikeSewing
I like your pattern and need to give it a go, thank you.
Thank you.
A perfect Apron pattern to make as a gift for my sister.
Great starter project for youngsters learning to sew. Thank you.
You’re so welcome, Helen! Have a great day 🙂 – Ashley, WeLikeSewing
Thanks for the pattern. Will try it soon and looks very easy.
I would make the ties same size as waist. Also one big pocket across the apron and then stitch down in center
Not a fan. I would make the ties the same width as the waist band and one big pocket across the apron…not two small ones.
here, here. I agree.
Love this
Love, the pattern and your directions are very good ????
Thanks so much, Sheila! We’re glad you enjoyed this apron pattern. Have a great day! – Ashley, WeLikeSewing
I liked this apron pattern. Can’t wait to get started on it Lerlene
thank you