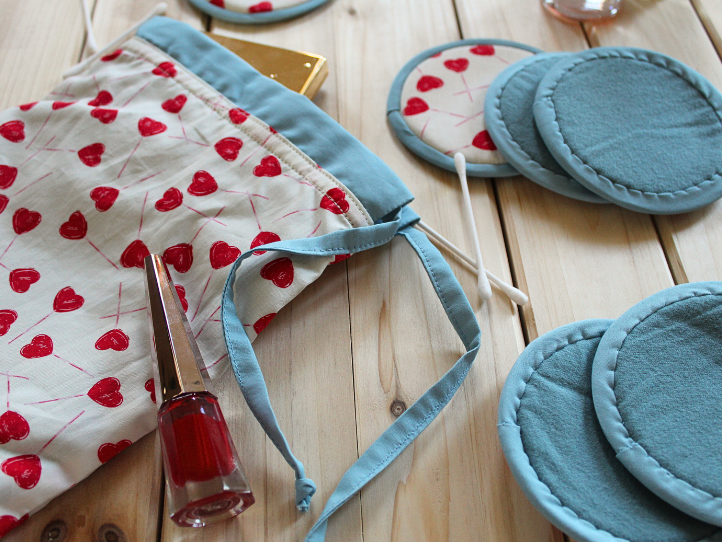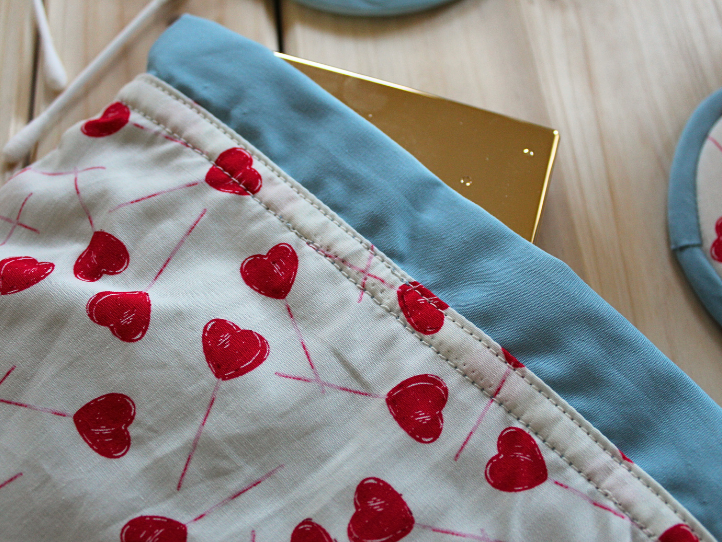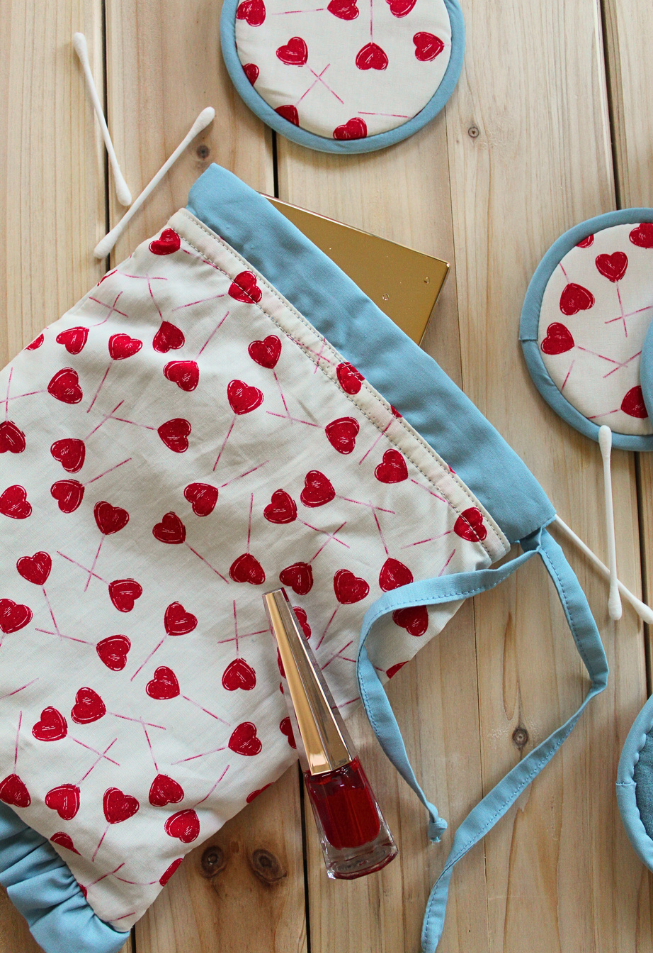
If you’ve already started sewing Christmas gifts for your Nice list this year, you don’t want to miss this practical and eco-friendly sewing project. Designed by Debbie von Grabler-Crozier, this makeup removal bag set includes washable makeup remover pads and a cute storage bag to hold your beauty necessities. This easy sewing pattern will be a hit with teens and tweens and is the perfect stocking stuff to make in cute prints, like the adorable heart lollipop fabric used in the designer’s sample.
Designer Note: Seam allowances are all 1/4” and have already been added.
Materials:
- Fabric: (Note: All fabrics are from Art Gallery Fabrics.)
- 13” flannel. The designer is using Retro Blue from the Flannel collection by AGF.
- 13” pretty print fabric for the exterior. Debbie loves Sweet on You from the Love Struck collection by AGF.
- 1/2 yd. coordinating solid. The designer’s favorite is Cerulean from the Pure Elements collection by AGF.
- Interfacing:
- Fat Quarter Style- vil foam interfacing (Vlieseline) or, alternatively By Annie’s Soft & Stable.
- Coordinating threads for all fabrics and trims
- Scissors
- Fabric marking tools
- PDF Template – This is located at the bottom of this page. Please see printing instructions below.
PRINTING INSTRUCTIONS:
Note: To download the template, click on the pattern download button at the bottom of the page. We recommend opening your pattern download using Adobe Acrobat.
Cutting Instructions:
From the flannel:
- 2 pieces 6 3/4” wide x 8 3/4” tall for the drawstring bag lining
- 6 pieces 4 1/2” sq. for the pad lining
From the pretty print:
- 2 pieces 8 1/4” wide x 9 1/4” tall for the drawstring bag front and back outer panels
- 6 pieces for the pad top panels, cut using the PDF template
From the solid fabric:
- 1 piece 2 1/2” wide x 15” long for the ruffle on the bottom of the bag
- 4 pieces 2 1/2” wide x 8” long for the drawstring casing on the bag
- 1 piece 1 1/2” wide x 33” long (cut on the straight grain and joined if necessary) for the drawstring
- 6 pieces of bias tape 14” long, cut 1 1/4” wide for the pad binding
From the G740 interfacing:
- 2 pieces 8 1/4” wide x 9 1/4” tall for the interfacing on the front and back panels of the drawstring bag
TIP: There are no cutting notes for the Style-Vil foam interfacing. Instructions will be given as we go along but the basic idea is to press the piece to be interfaced and then pin to a slightly larger piece of foam interfacing. Use a machine basting stitch to attach the panel to the foam, gently keeping a taut tension on it. Then trim the excess foam away.
Sewing Instructions:
THE DRAWSTRING:
- Fold the drawstring lengthways with the wrong sides facing and press to create a long center crease.
- Open out and fold the long raw edges to the center crease, also with the wrong sides facing. Press again and re-fold center crease so that folded crease ends match up.
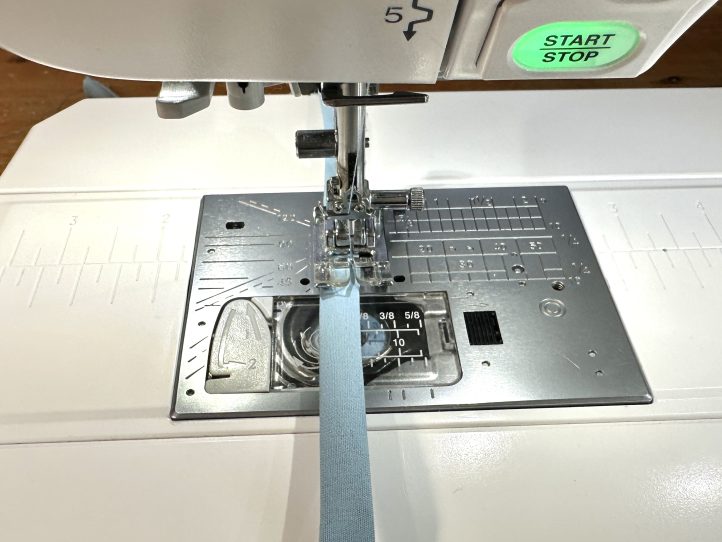
- Topstitch down the folded open side to close the drawstring.
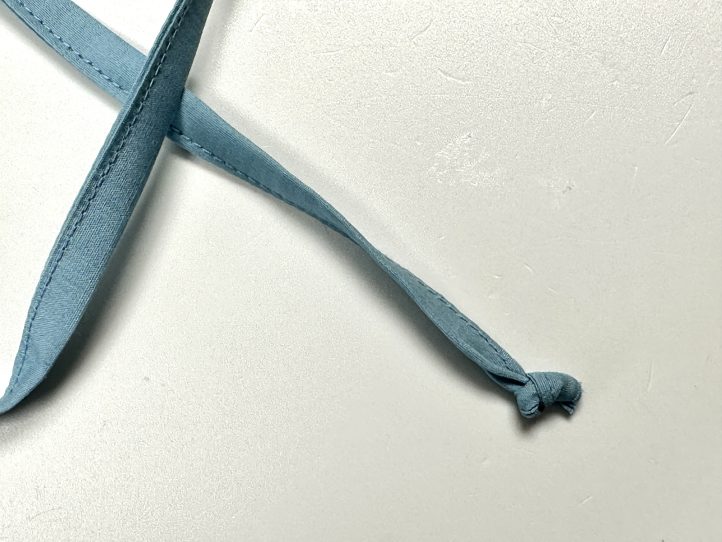
- Tie a knot in one end.
THE DRAWSTRING CASING:
- Pin two pieces of casing right sides together and sew the short ends only. Turn the right way out and press so that the ends are perfect.
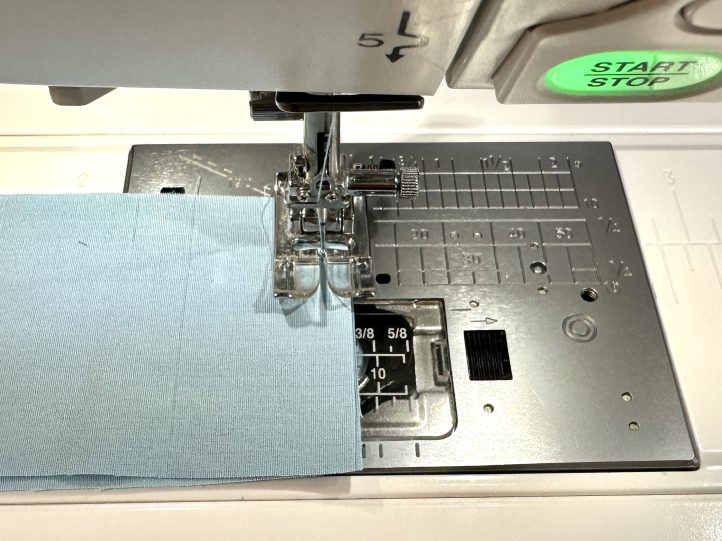
- Fold the casing in half along the length and press. Baste the raw edges closed.
- Repeat for the other casing pieces.
THE RUFFLE:
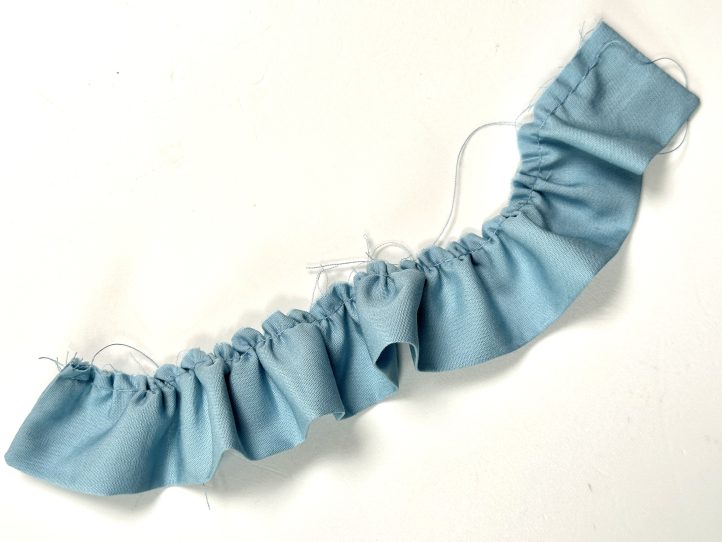
- Fold the ruffle in half, right sides together. Sew the ends. Turn the ruffle the right way out and gently poke the end points out.
- Press to obtain a long center crease and gather the ruffle to 7 3/4” long.
THE BAG EXTERIOR:
- Make a mark 1/4” in from each side on the bottom edge. Lay the ruffle centrally onto the bottom of the bag exterior front panel matching the sewn ends to the 1/4” marks.
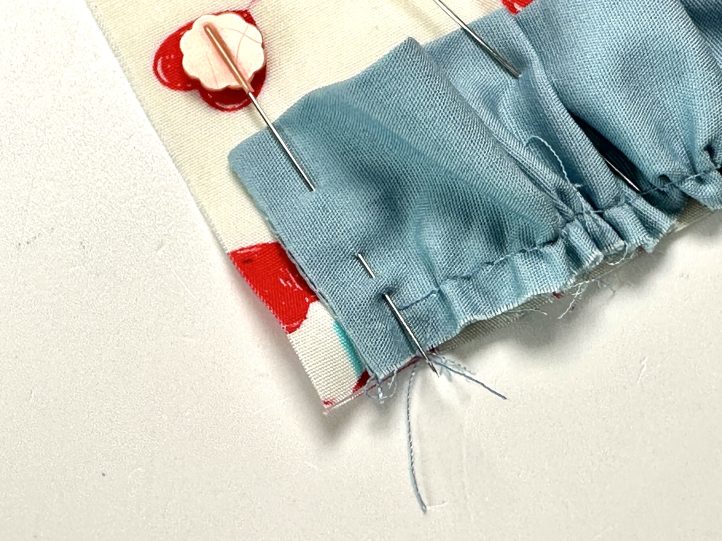
- TIP: The 1/4” on each side is the seam allowance and it ensures that the ruffle goes from edge to edge once the bag is turned out.
SEW THE RUFFLE ON:
- Find the centers of both the casing pieces and the top edge of both bag exterior panels. Attach a casing centrally to the top edge of both the bag exterior panels.
- TIP: Attaching the casing centrally will allow a small gap at each end of the casing for the side seam allowance.
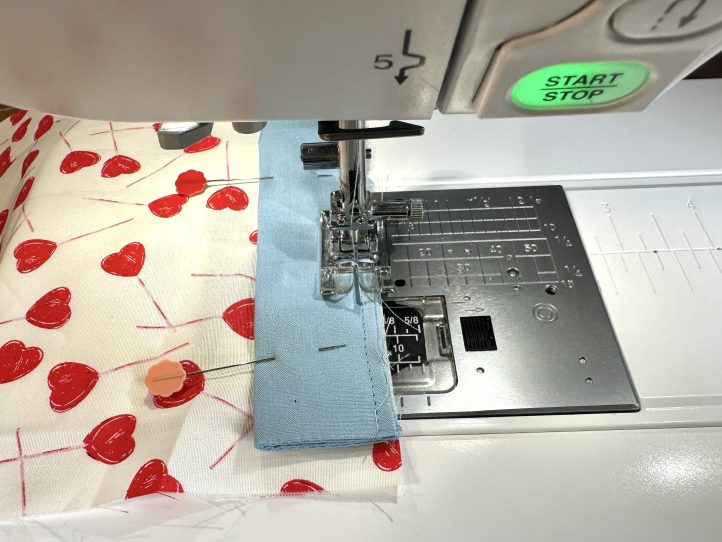
- TIP: Attaching the casing centrally will allow a small gap at each end of the casing for the side seam allowance.
- Lay the other exterior panel onto the first with right sides together, and sew the sides and base of the bag.
- TIP: When you do this, the ruffle and both of the casings will be down between the layers.
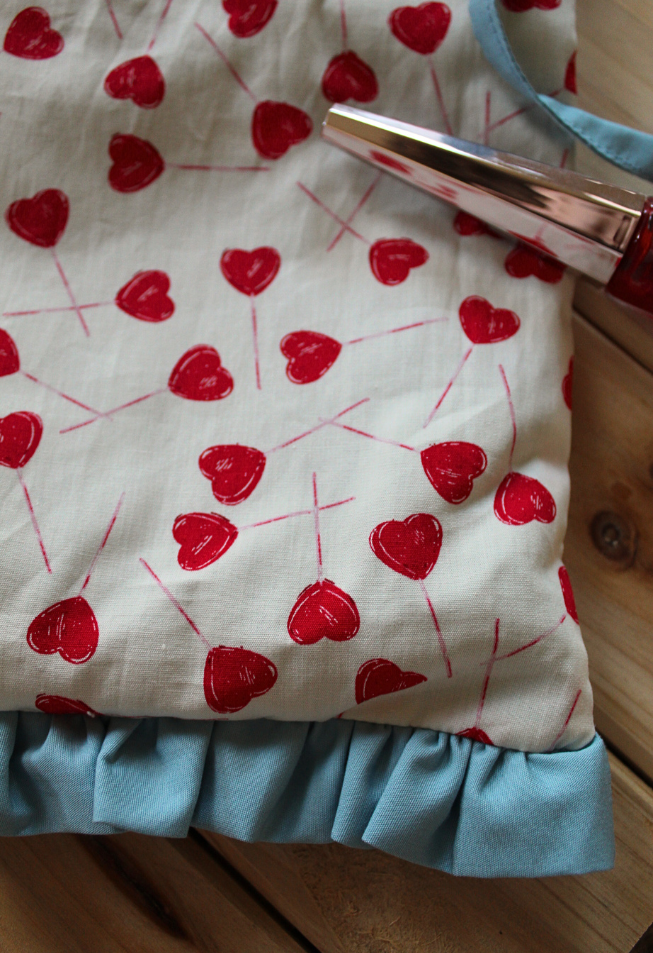
- Clip across the corners of the bag and turn it the right way out. The ruffle should sit neatly on the edge of the bag.
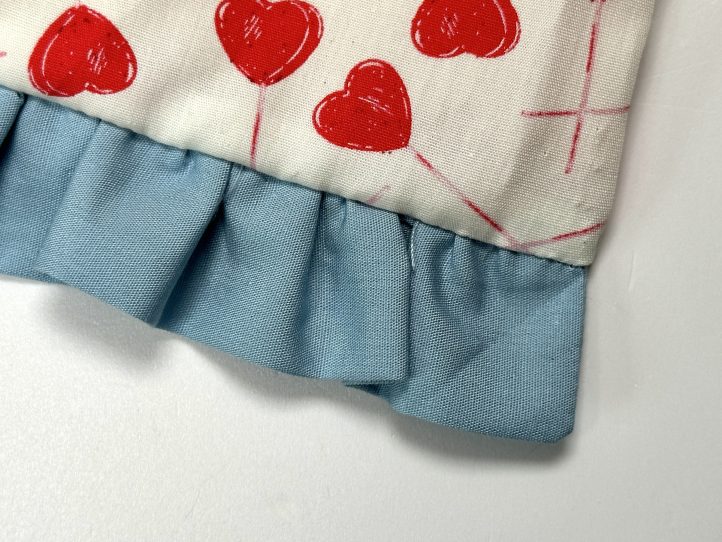
- TIP: Gently pull the ruffle to get the corners to sit nicely.
THE LINING:
- Pin or clip the two lining panels right sides together and sew the sides and base seam, leaving about a 3” turning gap in the base seam.
THE PADS:
- Lay a pretty print circle right side up onto a square of foam interfacing (about 3 3/4” is right) and baste it on narrowly (1/8”), being very careful not to distort the circle. Trim the foam back to the print fabric and repeat for the other five pads.
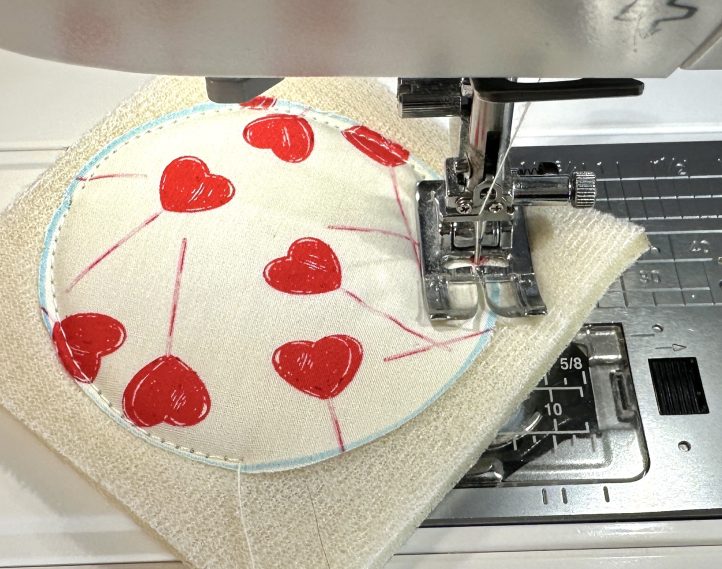
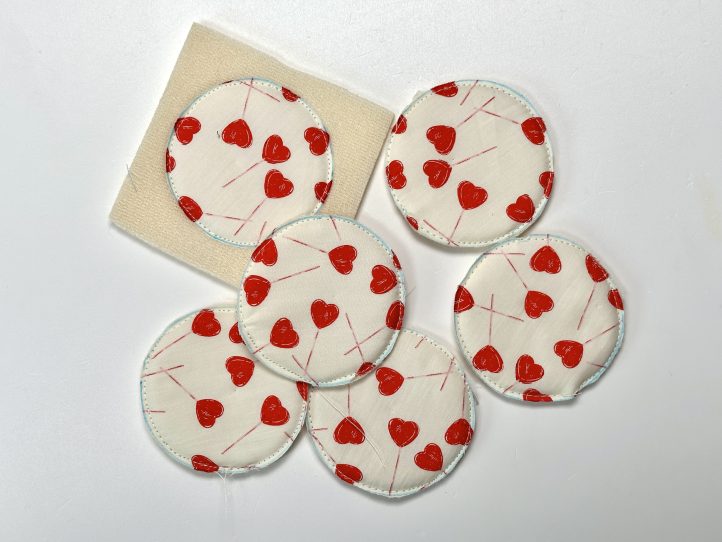
- Place each interfaced circle onto a square of flannel lining and pin. Baste onto the flannel in the same way and then trim round. Repeat for the other five pads.
THE BIAS TAPE:
- Fold the tape in half lengthways with the wrong sides facing and press a long central crease. Open out and fold the two long raw edges to the center crease (wrong sides together) and press again. Refold folded edges together so that all of the creases are folded and repeat for the other five pieces.
PUTTING IT ALL TOGETHER:
- With the bag exterior the right way out and the lining inside out, pull the lining on over the bag exterior. Pin the top edges, tucking the casings down between the layers.
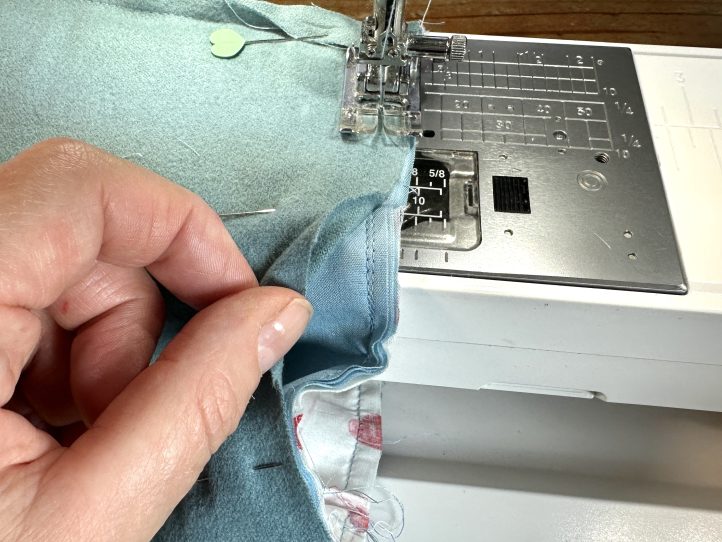
- Sew the top edge leaving no gaps.
- Turn the bag out through the turning gap in the base of the lining and close the gap. Stuff the lining down into the bag and topstitch twice around the top edge. The first pass is 1/8” and the second, 1/4” under that.
- Thread the drawstring through the casing and knot the remaining end.
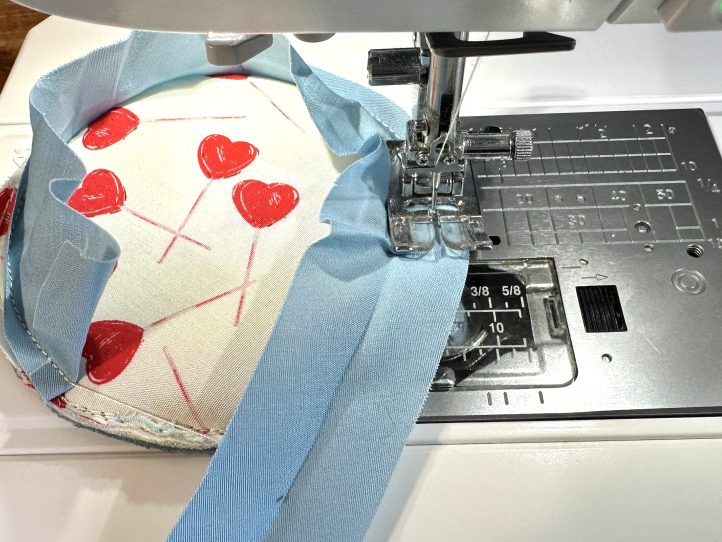
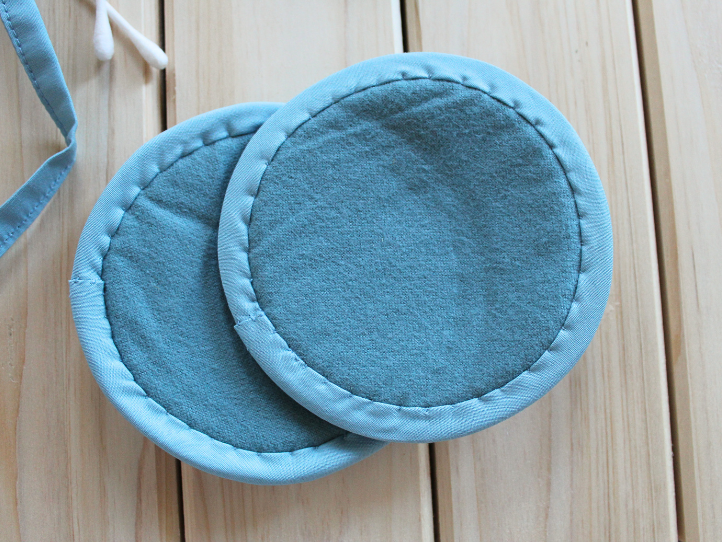
- Finish the pads with a bias binding edge. By folding short end back to the wrong side 1/2”, and joining binding to pad all around. Trim the excess short end and wrap the opposite raw edge to other side. Fold the raw edge under 1/4 inch and topstitch all around through layers.
