For decades, denim has been a must-have staple in closets around the world – from jackets to jeans and everything in-between, we love the look and feel of those reliable pieces. However, sometimes we want something a little more, and with just a few sewing essentials, you can turn those everyday items into bespoke tailored masterpieces. Upcycle your old favorites with our guide to embellishing denim garments with patches, embroidery, beading, and more.
6 Tips and Tricks for Embellishing Denim
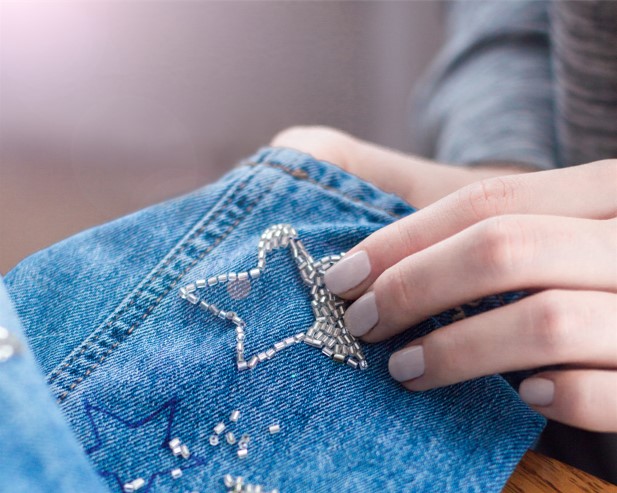
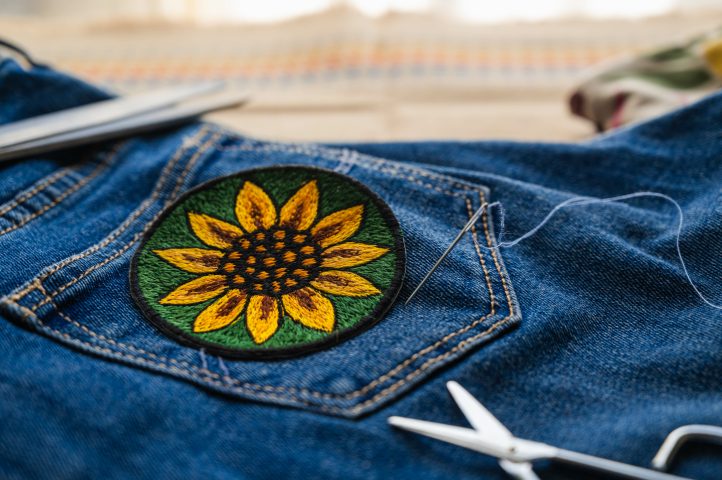
- It’s Appliqué, Darling. Make the most of sew-on patches to give your denims a quick and easy new look. Whether you opt for a standalone embroidered piece (as pictured here) or perhaps add a touch of delicate lace, stitching colorful new additions to your pockets, collars, and cuffs is a fantastic way of adding that little something extra. Test out the look before you commit by temporarily sticking your appliqués in place with a removable spray fabric adhesive, which can be found in most hobby stores. Once you’re happy with the way it looks, stitch it into position by hand or using your machine for a long-term hold.
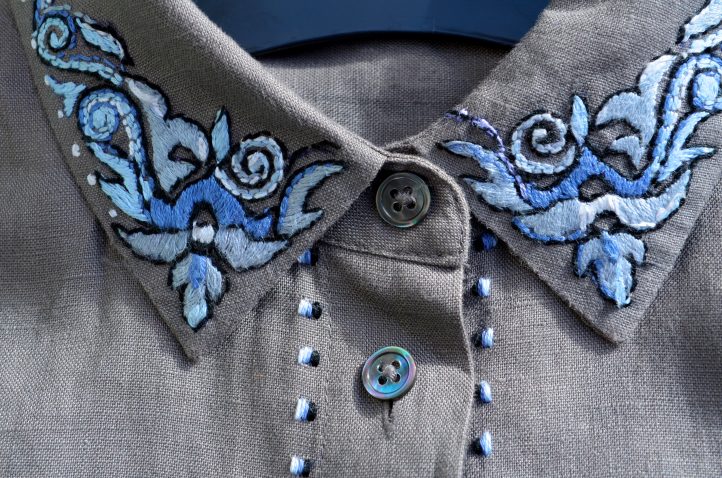
- Get Embroidering. Whether you work by hand or invest in a dedicated machine, adding embroidered elements to jackets, jeans, shorts, and shirts is a fantastic way to give them a bespoke edge and express your artistic side at the same time. All you need is a little imagination, some thread, and a needle, so why not start today? Make the process easier by preparing your fabric first – reinforce delicate or lightweight materials with a layer of interfacing to add strength and structure, and mount the area you’re going to stitch in an embroidery hoop before you begin. Doing so keeps the fabric held taut and flat and will not only make it easier to work but keeps your stitches neat, too. It might not be possible for all areas, such as on cuffs and collars, but as a general rule it’s good to use a hoop where possible. Always use a new, sharp embroidery needle and high quality threads – after all, you’re creating a work of art! If you like the sound of this technique, don’t miss our quick tutorial below for creating your own gorgeous pair of embroidered denim shorts.
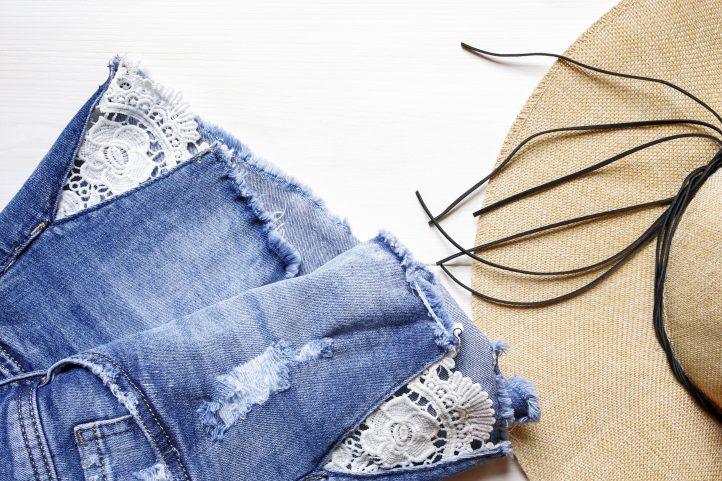
- Thick Thighs Save Lives. If you find that your favorite denim shorts are getting a little too tight around the cuffs, there’s a simple solution that might just save the day. Open out the leg seams a little and stitch decorative lace inserts into the gap – they not only add extra ease to the garment but a pretty finishing touch, too! Begin by using a seam ripper to carefully unpick the first few inches of the seam at the bottom of each leg, then fold and hem the newly-undone seam edges to keep them neat. Add a small line of stitching across the top of the gap, to reinforce the seam there and stop it from opening any further. Next, cut and pin a piece of lace into the gap you opened up, concealing the raw edges on the wrong side of the denim. Try the shorts on to make sure they fit comfortably, then stitch the lace into position to complete your cute, comfy new look.
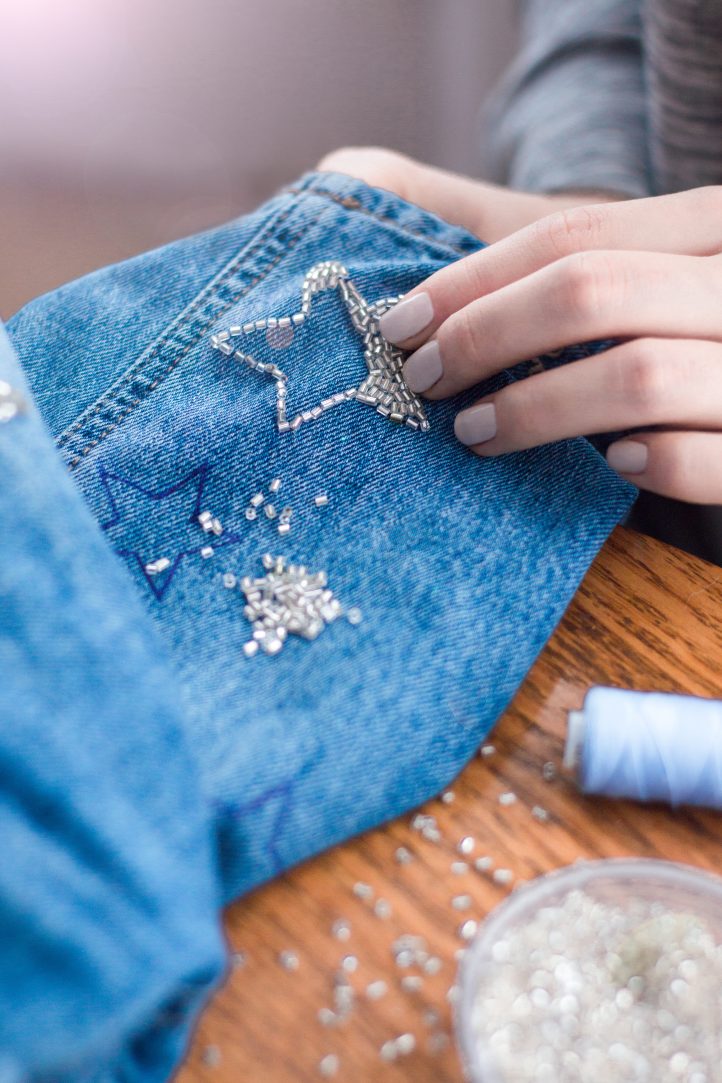
- Shine Bright. If adding embroidered designs isn’t your thing, how about stitching with beads, instead? With its sturdy base and woven fibers, denim provides the ideal backing for beaded designs and bright, sparkly pearls and jewels pop beautifully against the rugged color palette of traditional denim jackets, jeans, and shirts. Always use a sharp, brand new needle in a size that’ll work well with the specific beads you’ve chosen – a thick, bulky needle might seem the ideal choice for denim, but it simply won’t fit through the center of a tiny, delicate seed bead. Strong, good quality thread is another must when beading, and you should always invest in the best you can find. And remember, always hand-wash your beaded designs to avoid damage and keep the design looking fantastic for years to come.
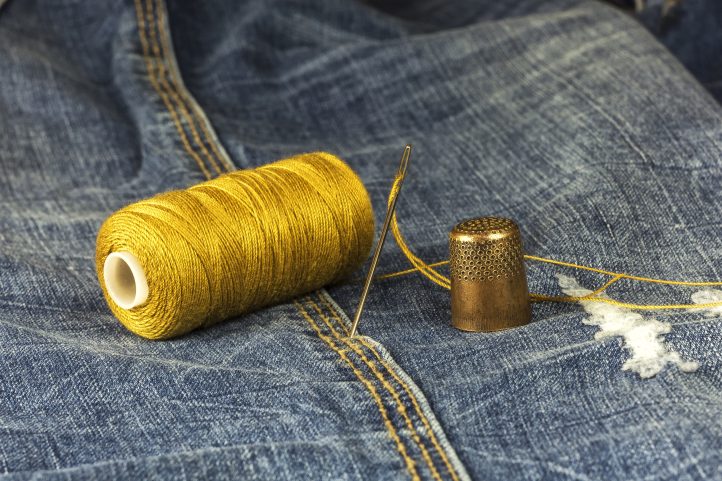
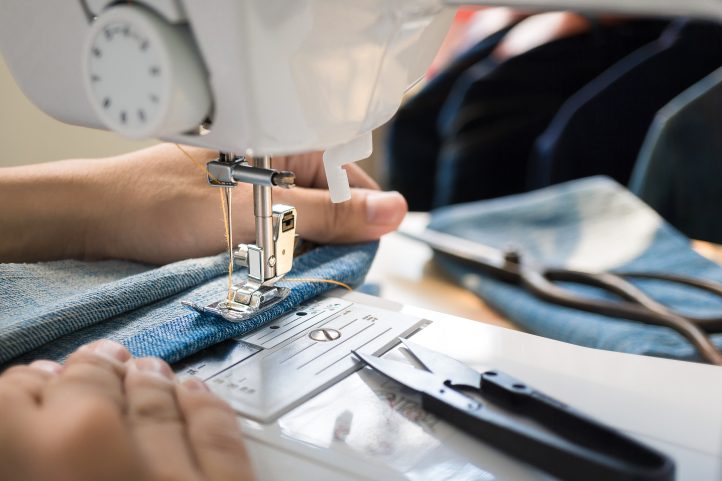
- The Right Tools for the Job. You’ll get the best results from your denim makes by using the correct tools for the job. Denim is tough, thick, and long-lasting, which means that you need an equally-hard-wearing thread to keep up with it. You can opt for a strong all-purpose polyester when working standard seams, then switch to a heavy-duty denim-specific thread for those all-important top stitched details. You can also use strong upholstery thread for the top-stitching, which shares a lot of properties with denim thread but is often easier to find in hobby stores. Combine this hardy thread with a strong denim or jeans needle, which will feature a slightly larger eye to accommodate thick thread, and a medium ballpoint and reinforced blade to penetrate sturdy fabrics. Finally, always keep your dressmaker’s shears sharp to slice through even the toughest denims with ease.
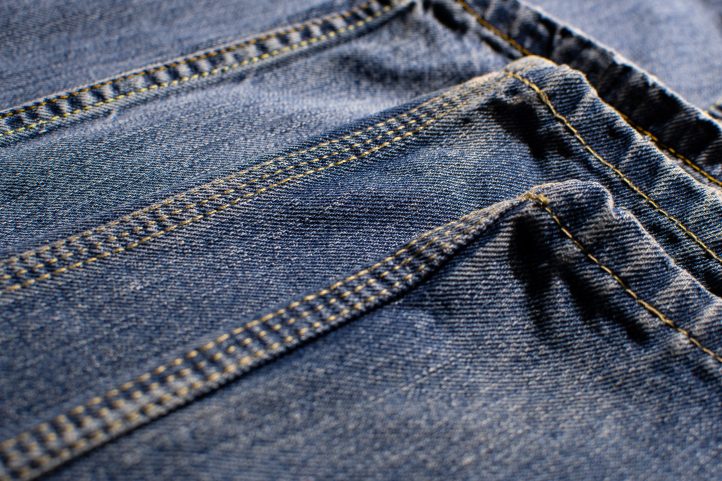
- Seams About Right. Take a look at your favorite pair of jeans. You may notice that each seam has two lines of parallel stitching running along it – this is likely a flat-felled seam, and it’s specifically designed to withstand the wear and tear that jeans were originally created for. In a flat-felled seam, the raw edges of the fabric are completely encased to keep them protected from the elements, then top-stitched down to provide not only an extra line of protection but a decorative touch, too. It’s the ideal finish for denim, so whether you’re upcycling your jeans into shorts or using denim to embellish another item, consider using this age-old technique to keep your seams feeling strong and looking great.
Make Your Own Embroidered Shorts
If you’ve got one too many pairs of tired old jeans in your closet, why not turn them into something fabulous instead? With just a few simple steps, we’ll show you how to turn those unwanted denims into a pair of gorgeous cut-off embroidered shorts.
Materials:
- One pair of jeans
- Sewing thread
- Embroidery thread
Tools:
- Tape measure
- Dressmaker’s shears
- Sewing machine
- Water-erasable fabric pen
- Embroidery hoop
- Embroidery needle
Sewing Instructions:
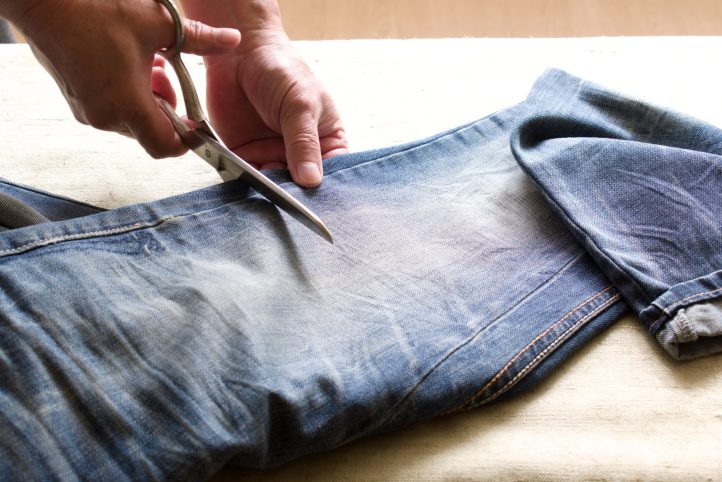
- Begin by laying out your jeans and deciding how long you want your new shorts to be. If you’ve got a well-fitting pair of shorts already in your closet, take them out and measure the length to get a rough idea – if not, put your jeans on and make a mark on the leg at the point you’d like the shorts to finish. Take them off and cut across to remove the legs, making sure that you’re happy with the length before you commit. If in doubt, cut longer – you can always trim some more off later on!
- Prepare your edges. If you’d like a neat edge to your shorts, you can fold and stitch a hem around the bottom of each leg. Alternatively, if you’d rather keep the rough frayed look, you can work a line of straight stitching around the bottom of each leg, around 1” up from the raw cut edge. This will keep the frayed effect intact but will stop the fabric from unraveling beyond the stitch line. Once sewn, you can use a seam ripper to tease the fibers of the fabric beneath the line and encourage the frayed edge to puff out.
- Draw your design. Use a water-erasable fabric pen to roughly sketch out the design you’d like to embroider onto your shorts – this can be anything you like, from floral motifs to stars, characters, geometric designs, and more. If you make a mistake, simply dab a little water onto the ink to make it disappear.
- Once you’re happy with the design you’ve drawn, mount the work in an embroidery hoop, making sure that it’s centered over the design. Thread a sharp new embroidery needle with two strands of colored embroidery floss and start to work over it in the stitch of your choice. Backstitch is an excellent starting point for beginners and makes bold, solid lines of stitching that’s ideal for outlines and simple designs, whereas satin stitch is perfect for filling in areas of color. Take a look at online guides (you can find several examples on Youtube) to find out which one works best with your motif – and most of all, have fun!
We’d love to see what you create – upload your photos on social media and tag us on Instagram (@welikesewing) to share your latest makes.