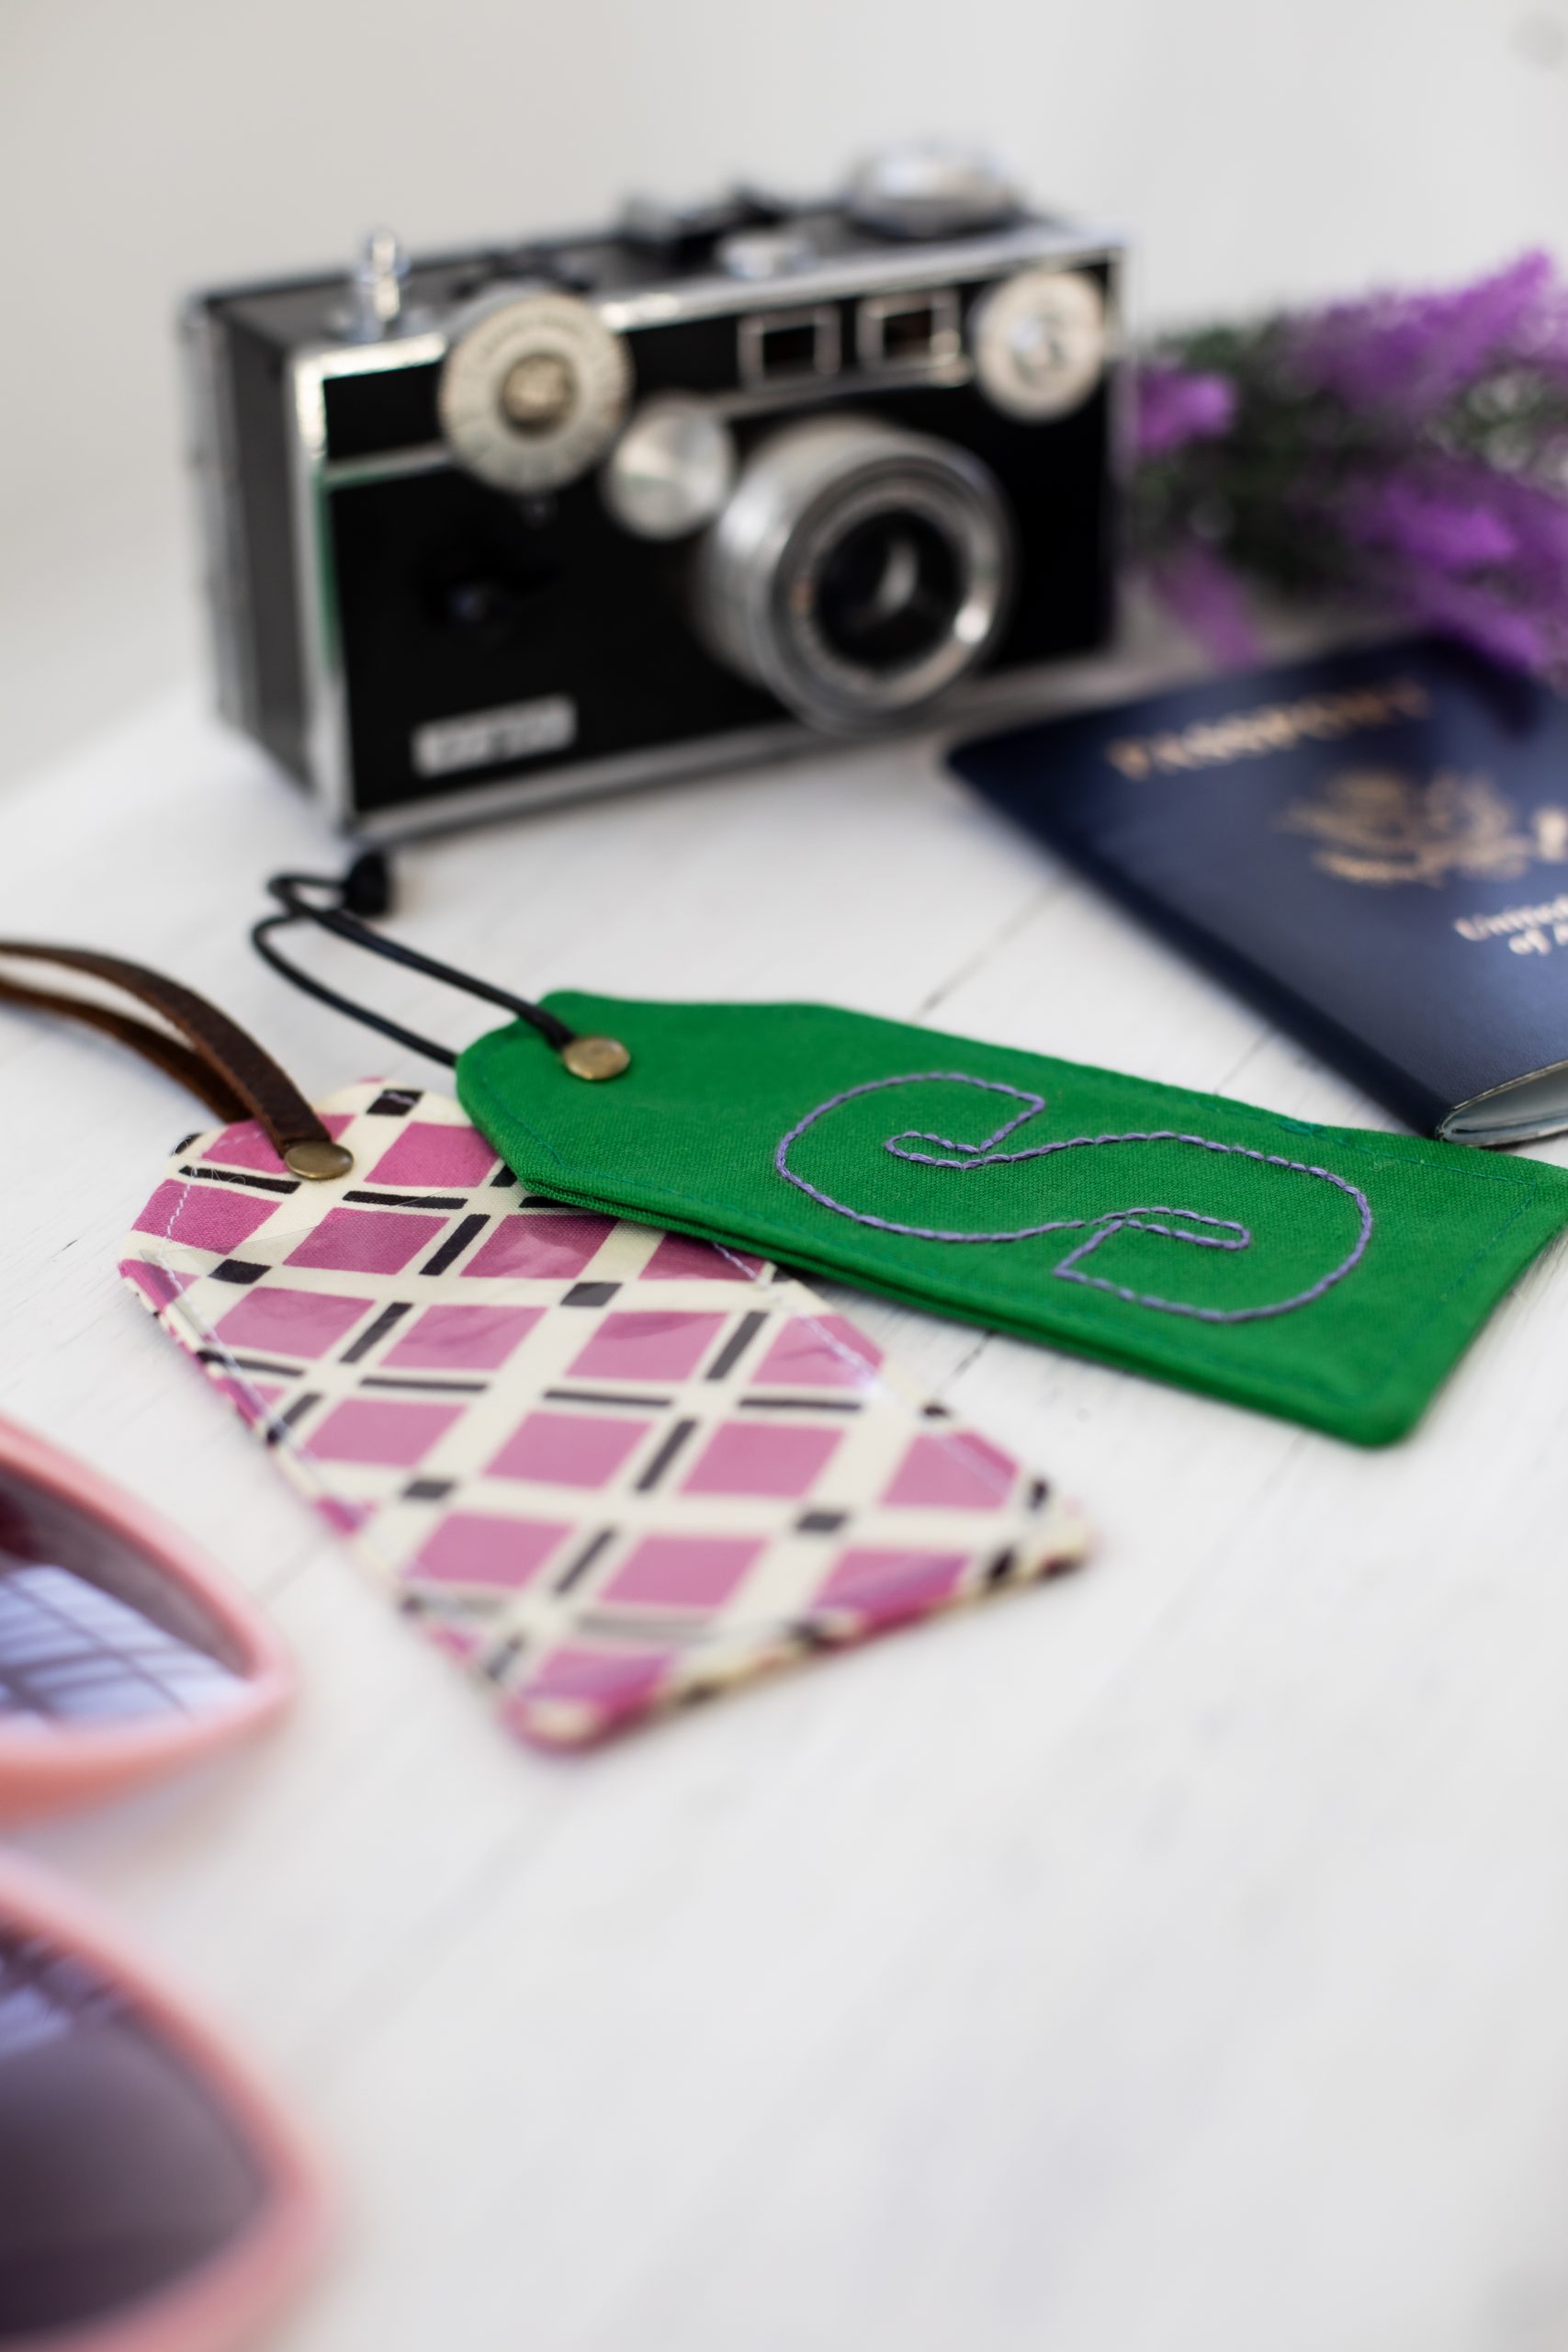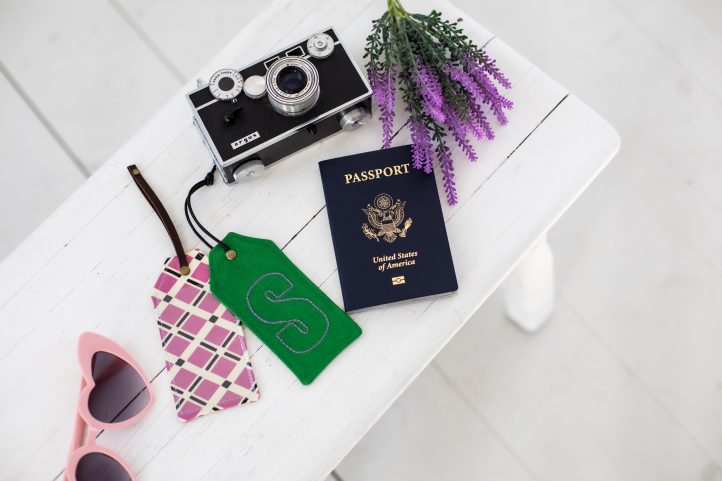
Already planning your summer vacation? Then you’ve got to check out these cute, custom luggage tags from Mallory Hill! A quick and fun weekend sewing project, this luggage tag pattern features a clear vinyl pocket for your identification and sturdy leather cord to attach to your bags and suitcases. Add a stylish embroidered monogram to your luggage tag or make one for every member of the family in fabric of their choice.
Materials:
- Fabric – 1 fat quarter or 1/4 yard
- Clear vinyl – Scrap at least 5” x 4”
- 8”-10” of leather or other cord
- 1 spool of coordinating thread
- Medium weight fusible interfacing such as Pellon SF101 – 1/4” yard or 2 scraps that are larger than the tag pattern
- 1 skein – 6 strand embroidery floss – Optional
- 1 double capped rivet and installation tools – Optional
- Fray Check – Optional
- PDF Pattern – This is located at the bottom of this page. Please see printing instructions below.
Tools:
- Sewing machine
- Teflon presser foot – Optional but makes sewing with vinyl easier
- Scissors
- Pins
- Clips or magnets for vinyl
- Iron and ironing board
- Water or heat soluble pen/marker
- Hand embroidery needle
PRINTING INSTRUCTIONS:
Note: To download the pattern, click on the pattern download button at the bottom of the page. We recommend opening your pattern download using Adobe Acrobat.
Sewing Instructions:
- Cut Out Fabrics
- Cut 2 from the PDF from your fabric.
- Cut 1 from the PDF, stopping at the dashed line, from your vinyl.
- Embroidery (Optional)
- Print off a template of the letter for your monogram, and trace the shape on the Right Side of one piece of your main fabric.
- Using a backstitch, or your preferred stitch, hand embroider around the traced shape with three strands of your embroidery floss.
- Interface
- Apply interfacing to the Wrong Side of both fabric pieces according to manufacturer’s instructions.
- Sew
- Place both fabric pieces right sides together and sew with a 1/4” seam allowance around the outside edge. Leave an opening about 2” long along one side for turning. Backstitch at the beginning and end of your stitching.
- Clip corners to reduce the bulk.
- Turn the tag right side out, pushing out all corners. Press well, folding in the seam allowance from your turning hole.
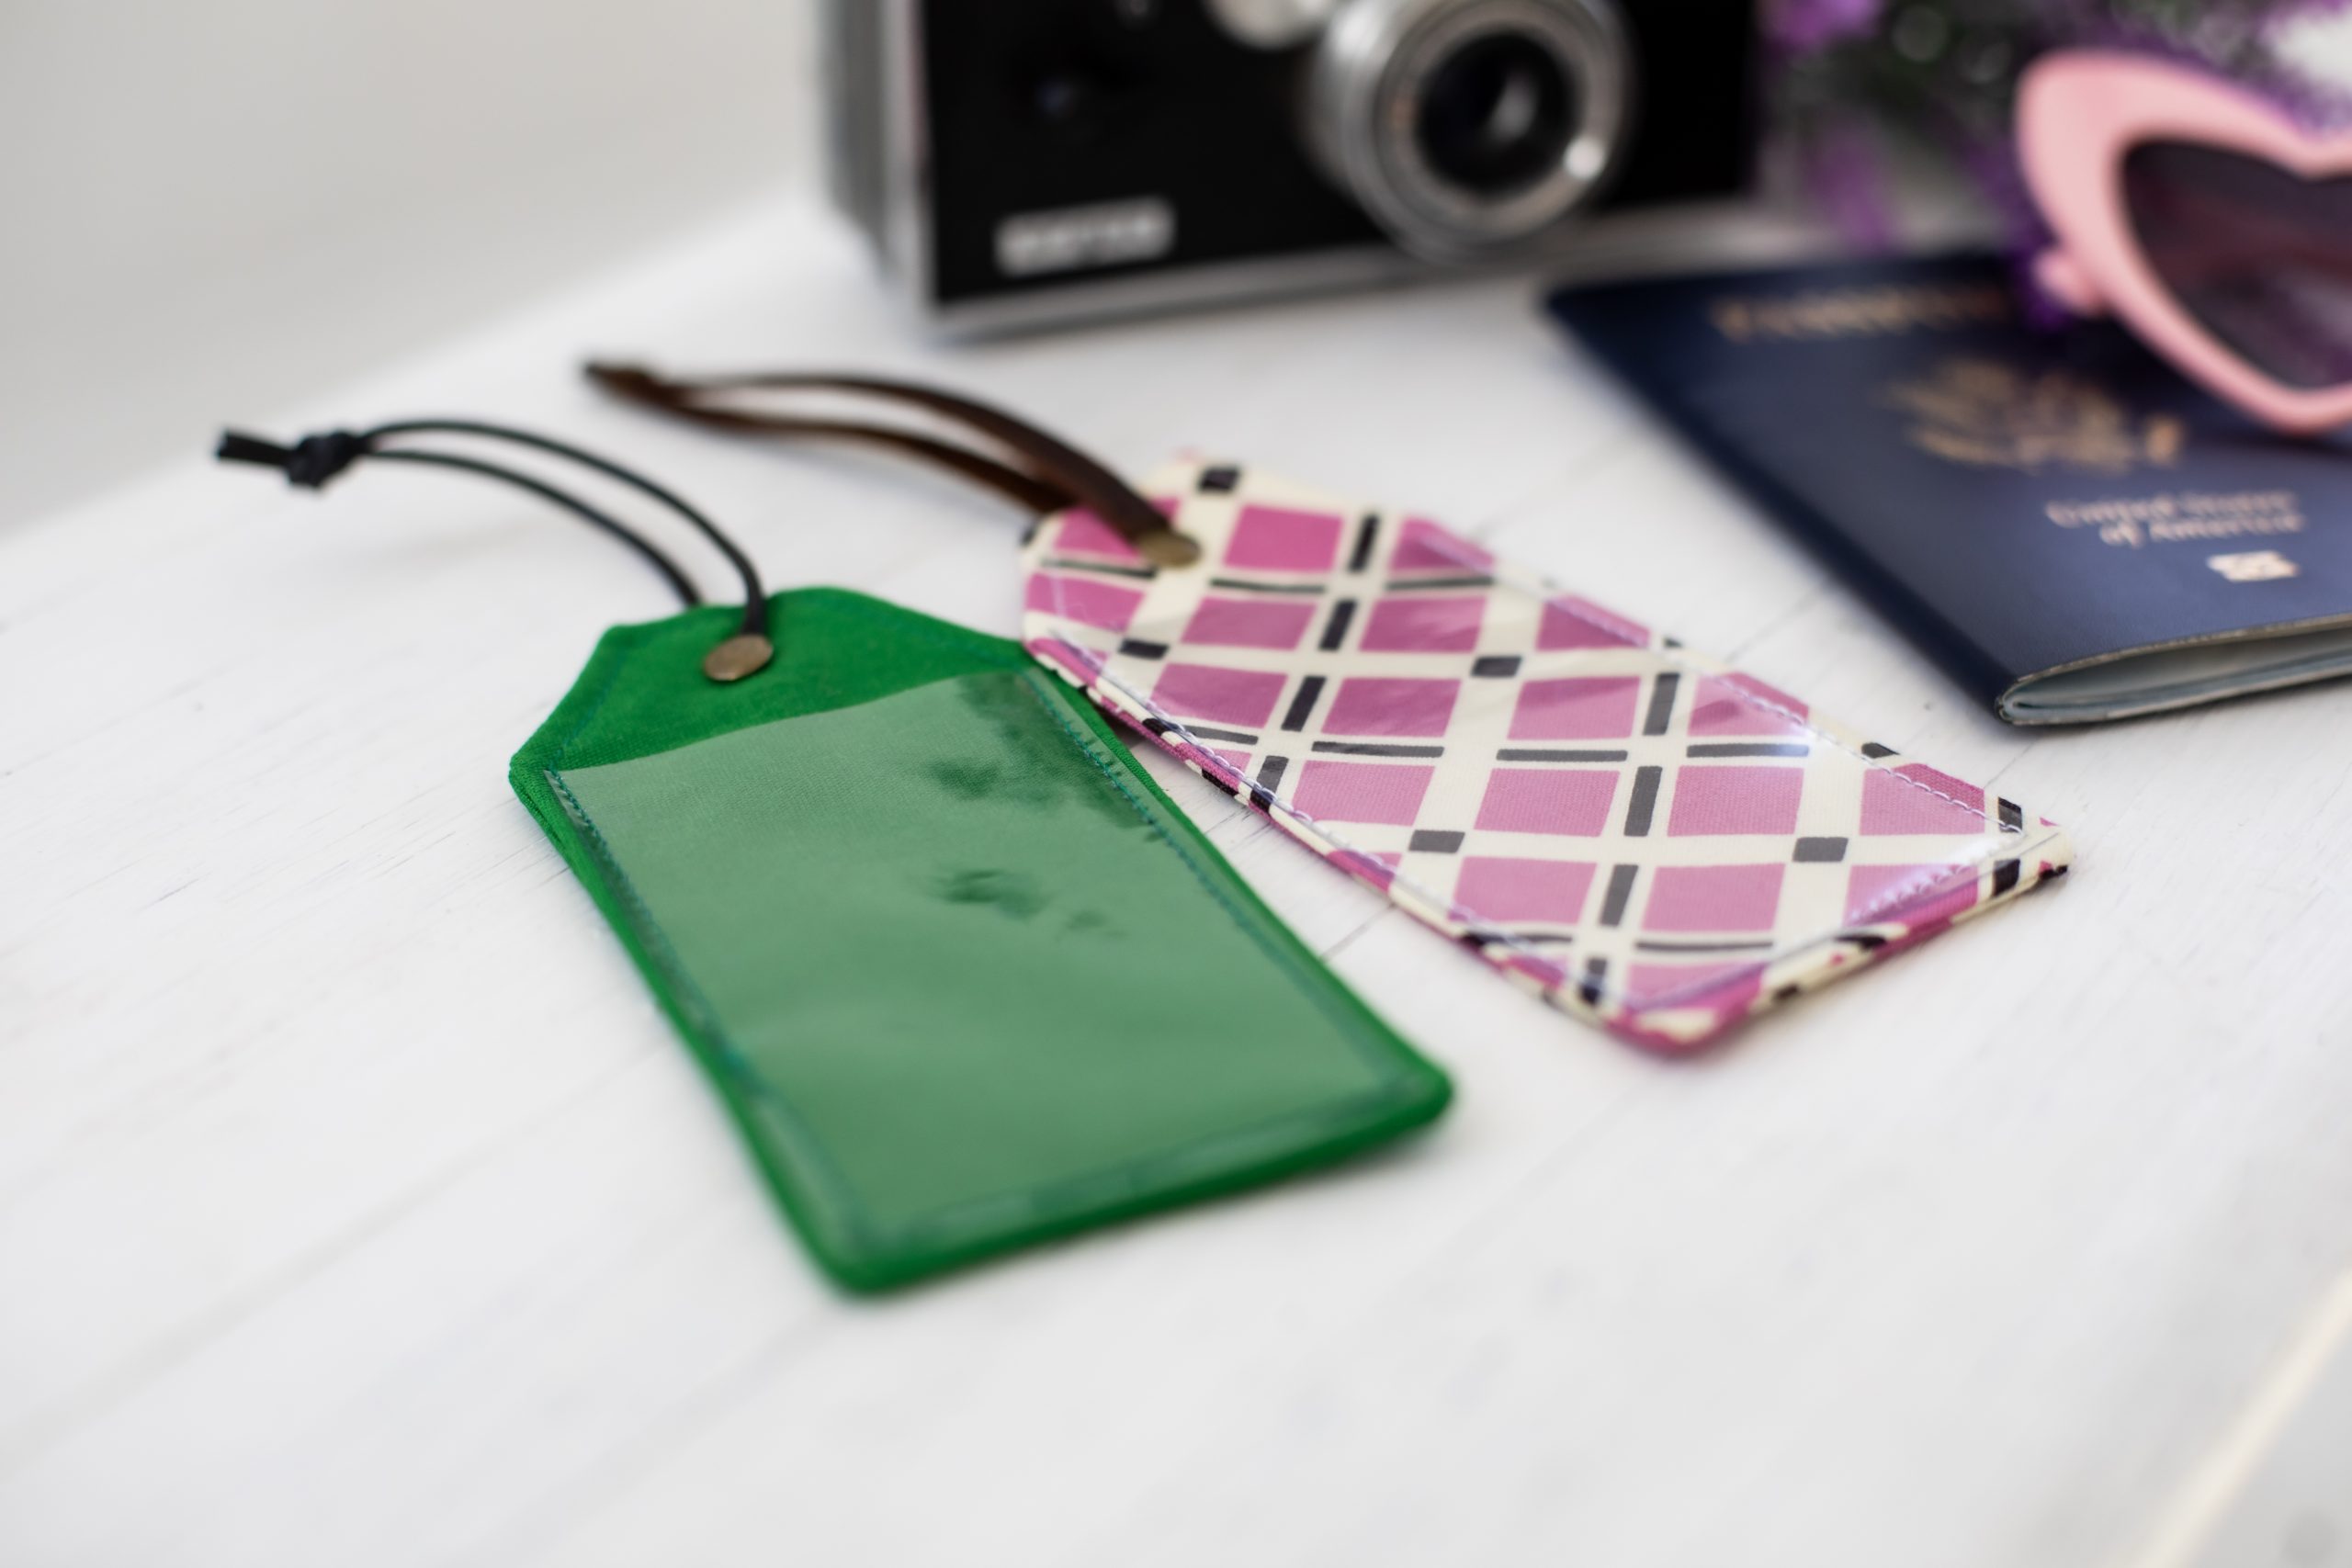
- Place your piece of vinyl on the non-embroidered side of your tag, align the sides and the bottom edges, clip in place (Do not use pins on vinyl). Trim the vinyl to match the edges of your fabric if needed.
- Edgestitch around the entire border of your tag, you will stitch down three sides of the vinyl and close up the hole left for turning in this step.
- Finish
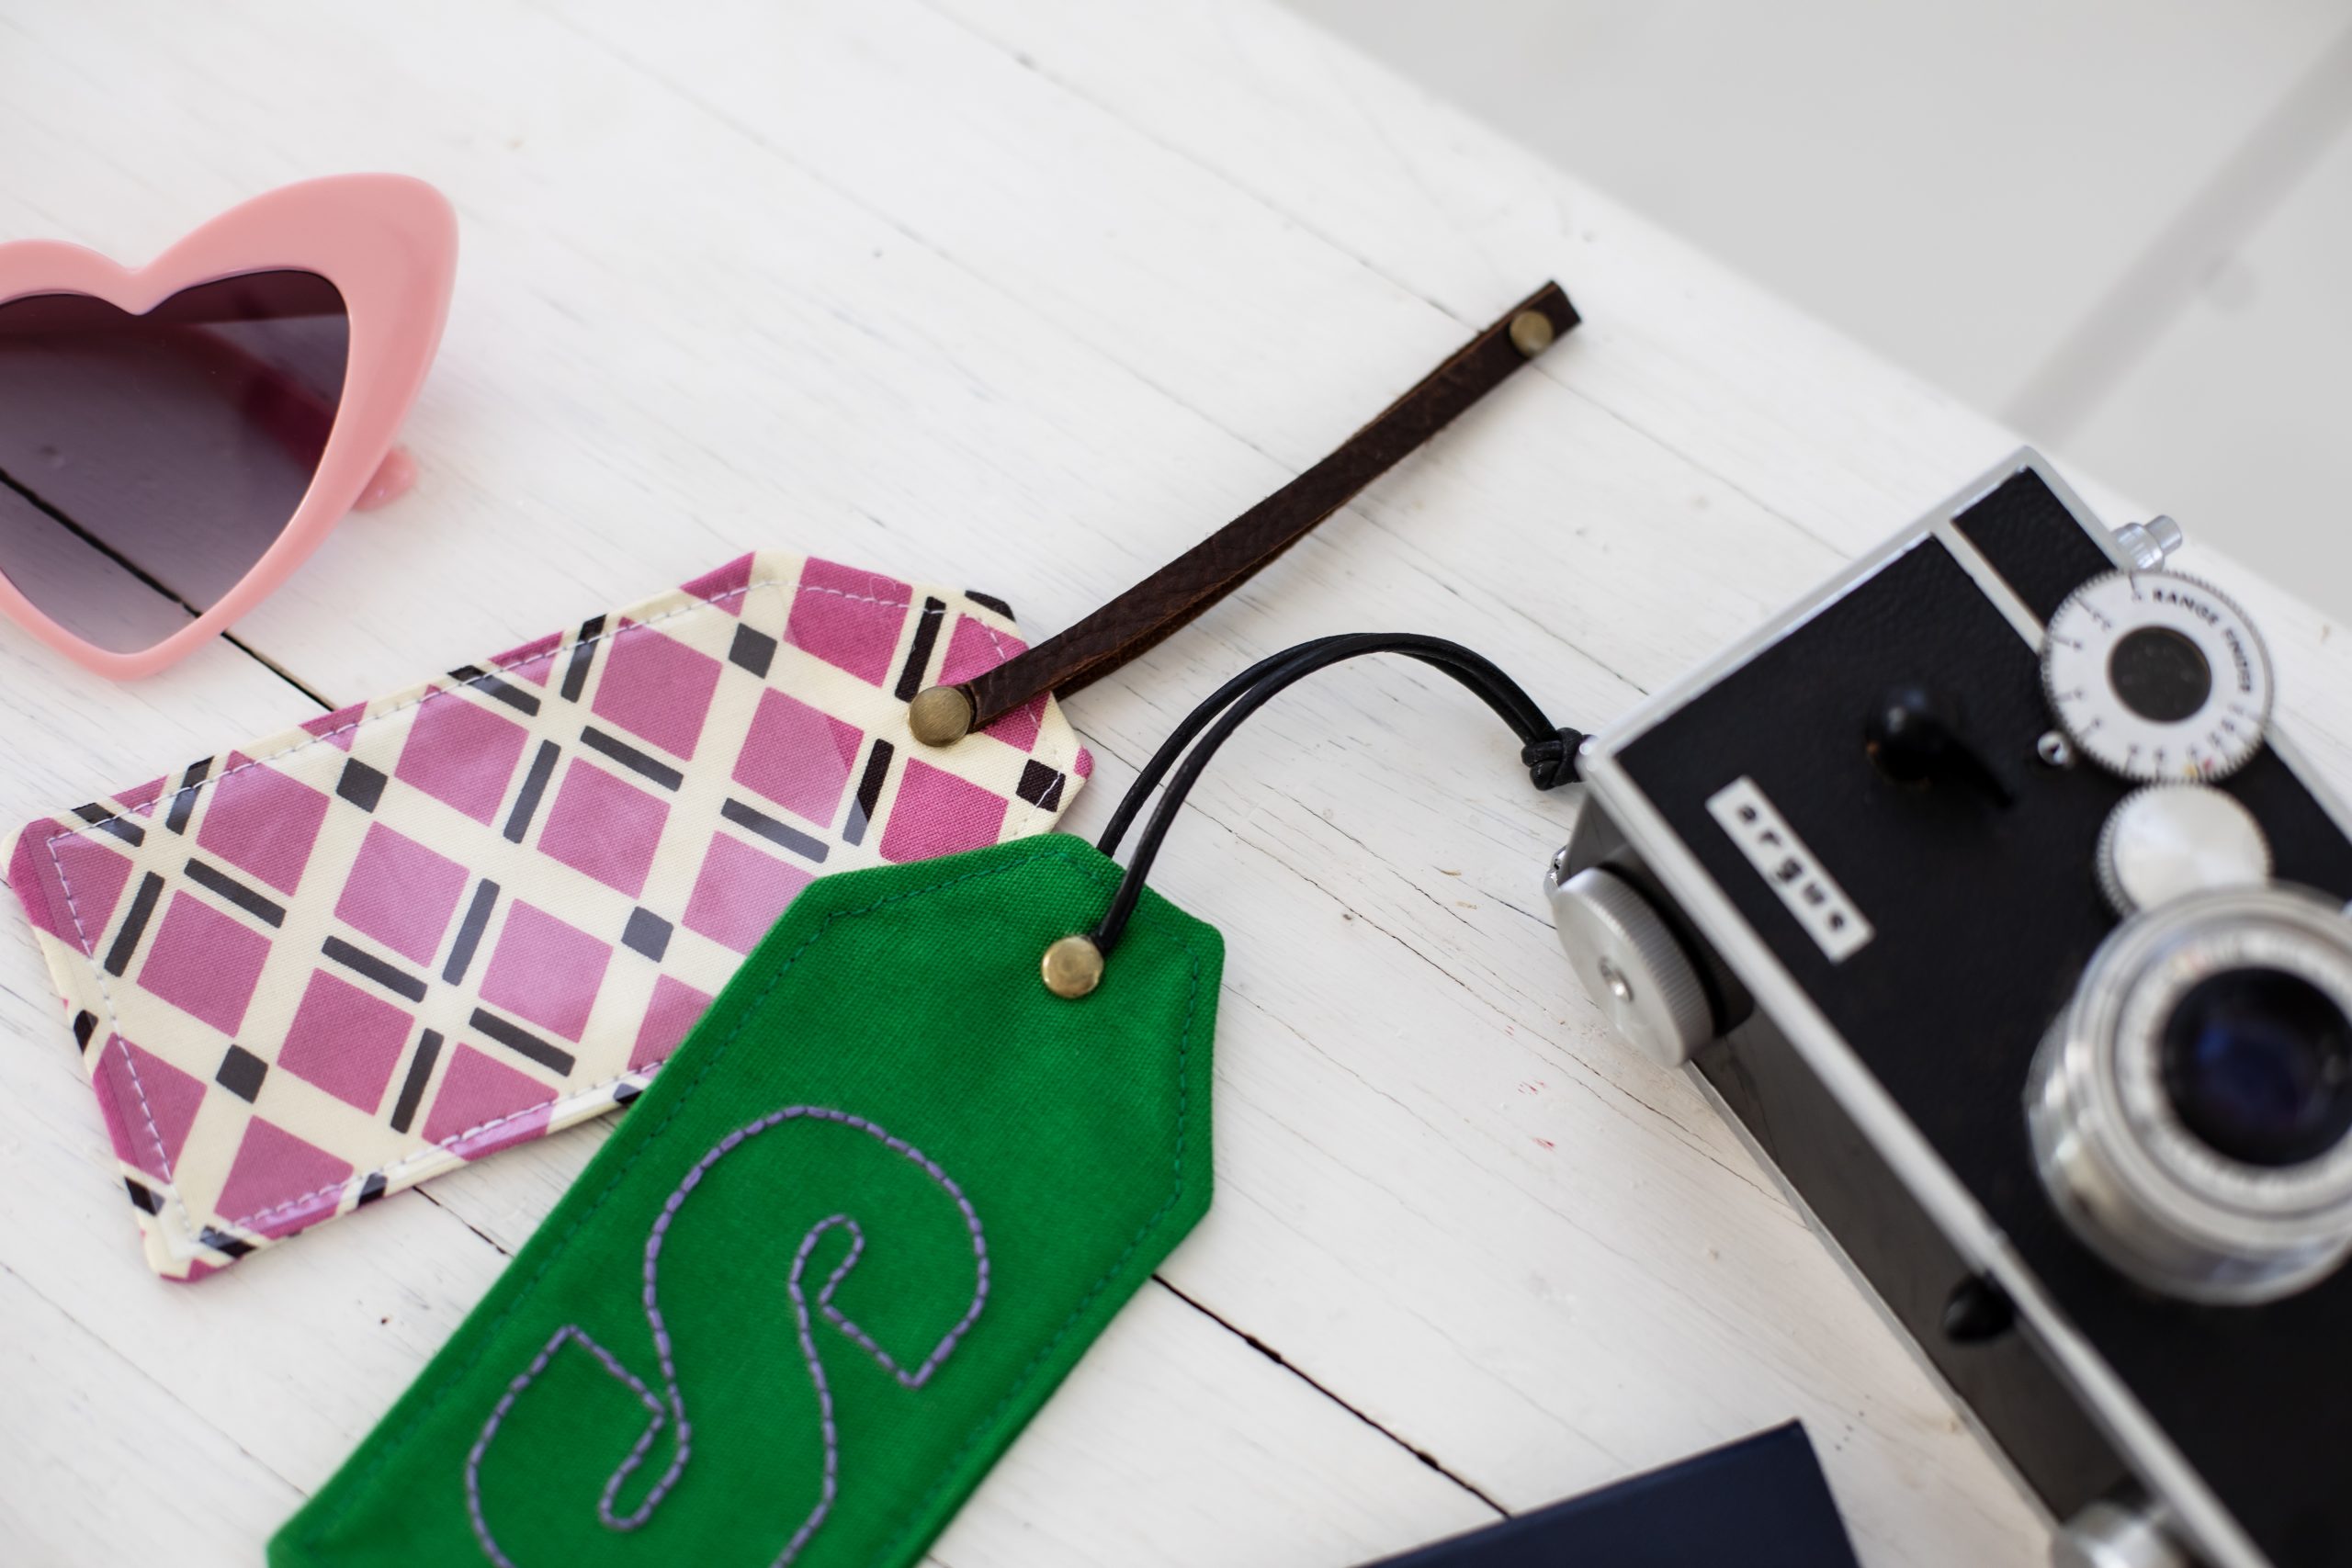
- Create a hole about 1/2” – 3/4” from the top, centered between both sides. You may choose to add a few drops of Fray Check or a similar product around the hole before inserting your cording and rivet.
- Thread your leather or cord through the hole, and place your rivet through the same hole.
- Attach rivet according to manufacturer’s instructions to hold the strap in place.
- Attach your tag to your favorite travel bag and enjoy your next adventure!