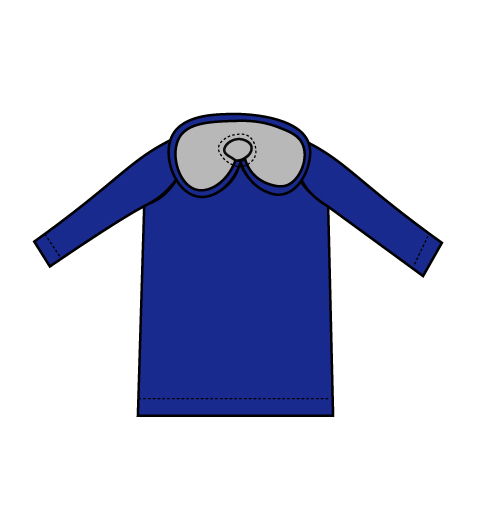
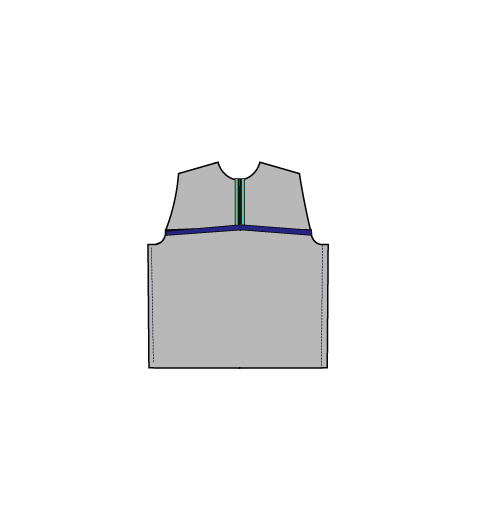
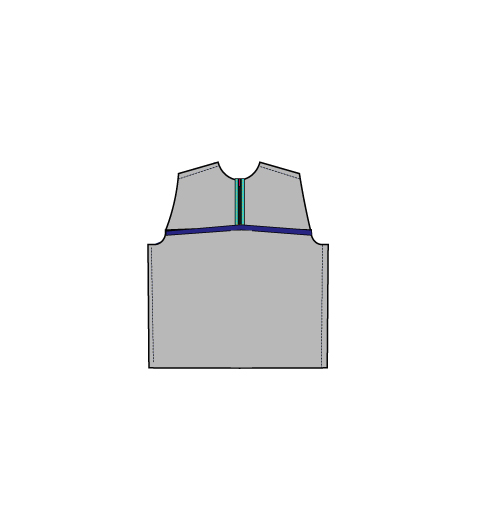
Combine comfort, practicality, and style to create a hooded sweatshirt that’s the definition of athleisure. This athletic wear sewing pattern is made in a lightweight fabric that provides plenty of stretch while still having a comfortable loose fit in the bodice and sleeves. Our favorite aspect of this pattern is its trendy color block design that allows you to play with bold colors! This project also features a front zipper and can be made with or without a hood, so that you have the option of creating a cute pullover if you prefer. Create athletic apparel that’s tailored to your taste with this sewing project.
Skill Level: Easy
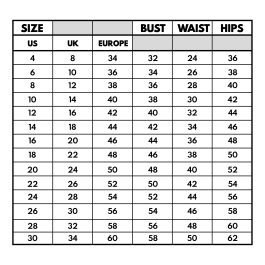
Pattern Sizes: 4-30
Materials:
- 2-1/2 yards of knit fabric (For 4 way stretch of light to medium weight knit fabric such as cotton jersey, double knit, ponte roma, and blends)
- Coordinating thread
- Ball needle and twin needle (optional)
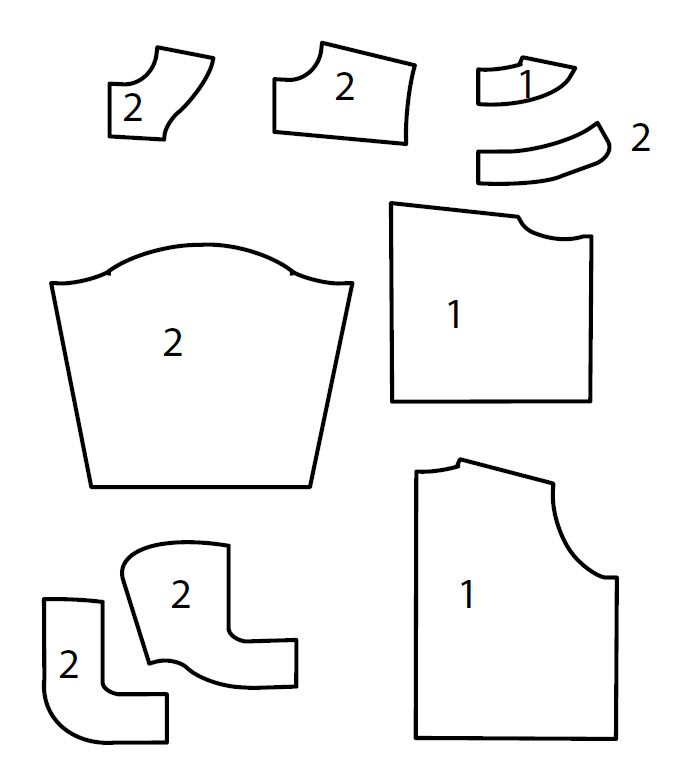
- Color Block Hoodie pattern pieces
Designer Notes:
- The pattern features a front zipper with the option of a collar or hoodie.
- This pattern has 3 inches of ease for the needed stretch.
- The pattern has 3/8” seam allowance included.
Fabric Preparation:
- Wash your fabrics before cutting to prevent shrinking.
- It is recommended to make a muslin or use a cheap fabric to check that the fitting and style of the pattern is exactly what you are looking for.
- Read the instructions carefully before starting this pattern.
- Gather all supplies you will need for this project.
- It is recommended to practice on areas and techniques that you are not familiar with before doing them on the final project.
BEFORE YOU BEGIN:
- Pieces you will need for this tutorial:
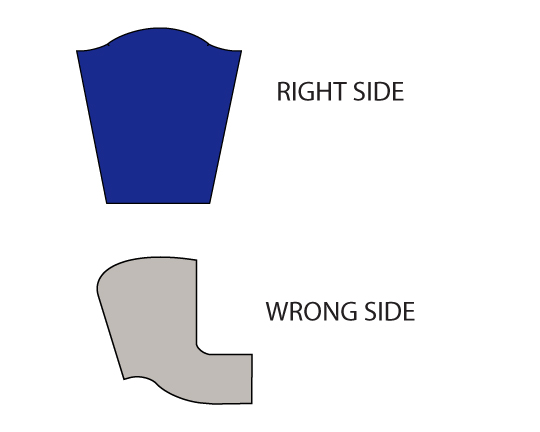
COLOR-CODED PIECES:
- Throughout this tutorial, you will see THREE main colors to easily identify the side of the fabric OR piece you are working with.
Instructions:

- Bring the back and front bodice to the table.
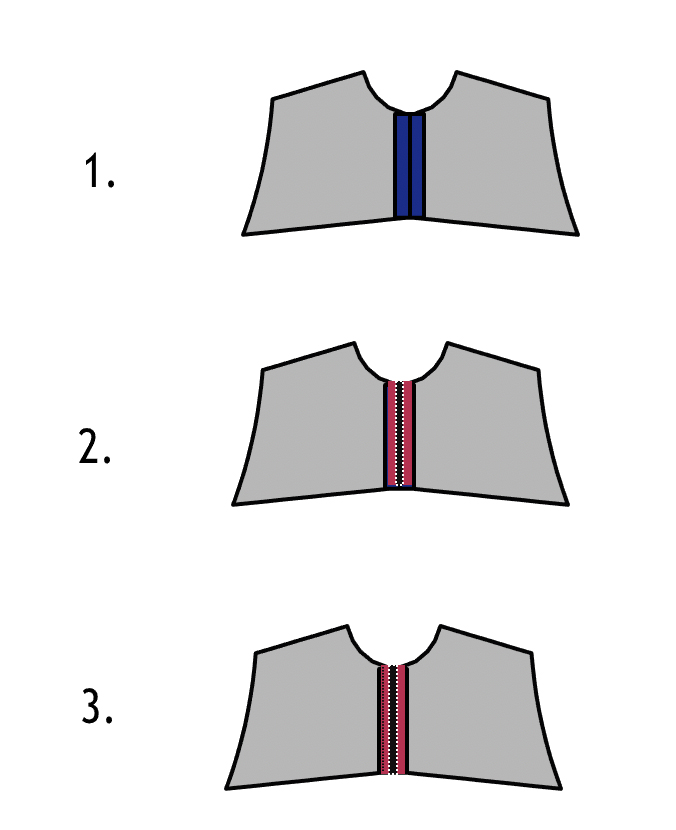
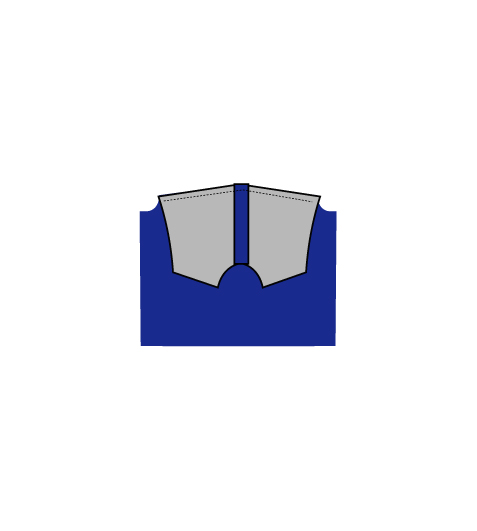
- Place both front bodice pieces together, right side facing. Match the center seam and baste stitch this.

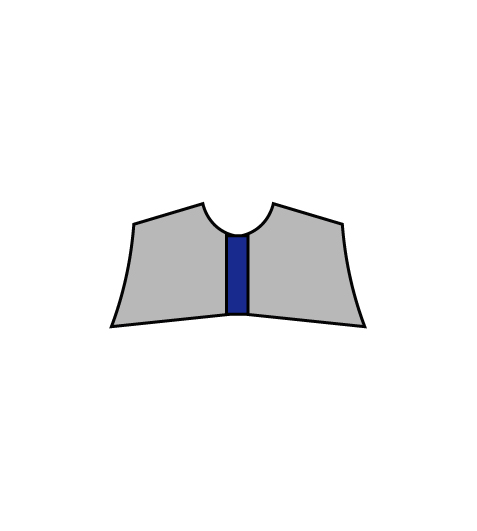
- Open and press the seams flat (Illustration 1). Then, place the zipper on the seam area (Illustration 2). Stitch the zipper with a 1/8″ seam allowance (Illustration 3).
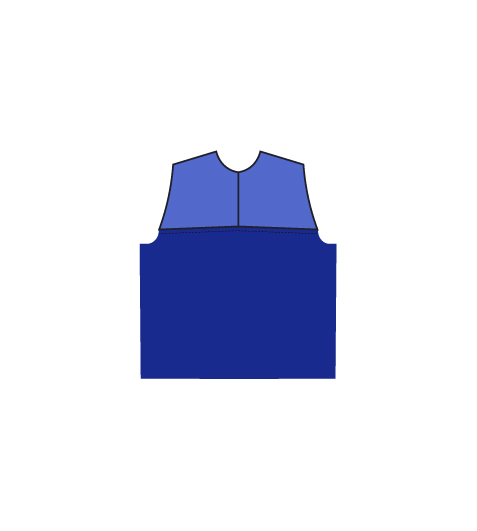
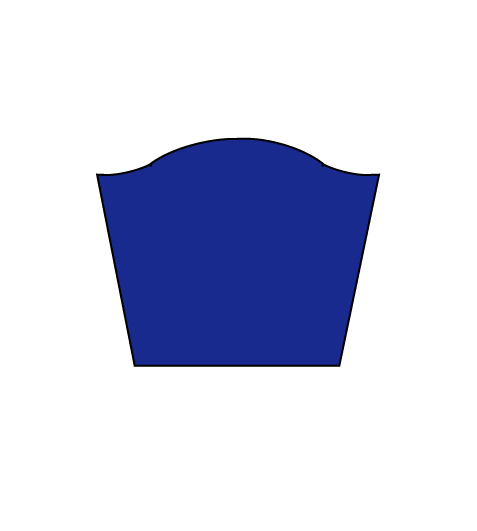
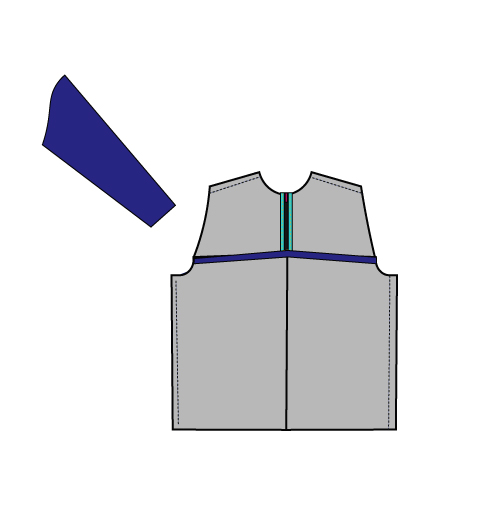
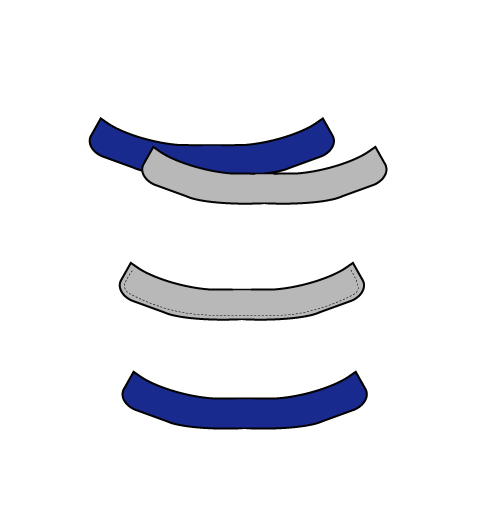
- Bring the bottom front bodice to the table.

- You will need to place the upper and bottom bodice together.
- Place the upper and bottom front bodice together, right sides facing, as shown on the image here. Match the seams and pin together.

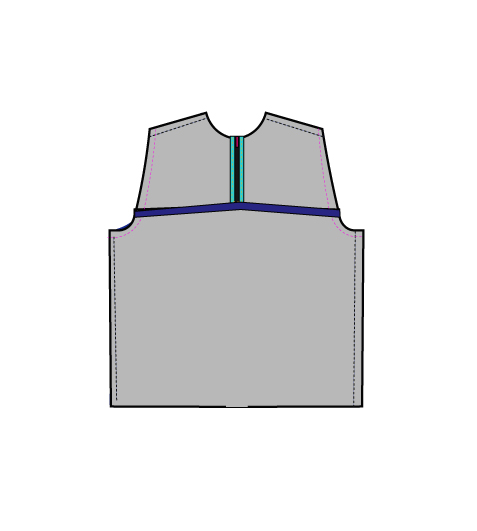
- Stitch the bodice with a 3/8″ seam allowance. Press flat.
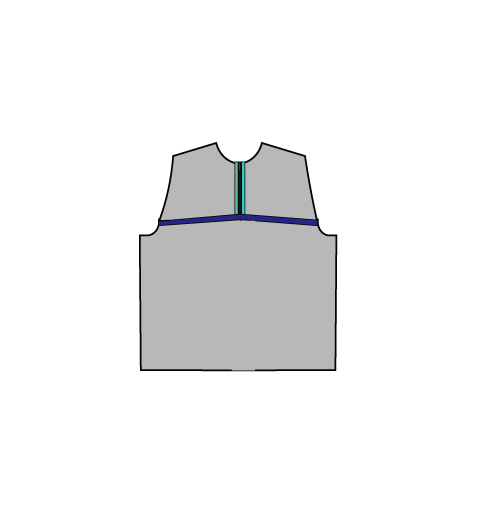
- Turn to the right side of the fabric and press the seams again.
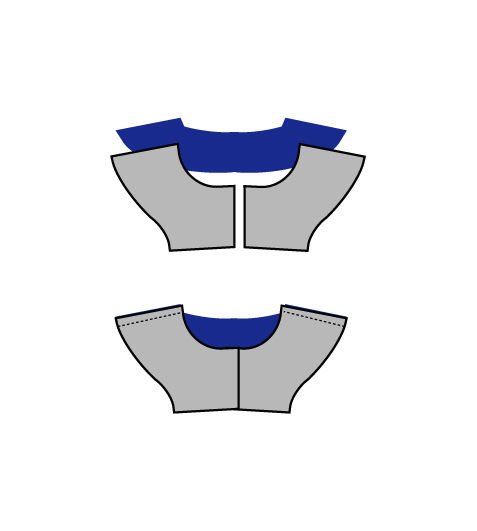
- Now, you will need to place front and back bodice pieces together.
- Now, place the front and back bodice together, right sides facing, and match the side seams.
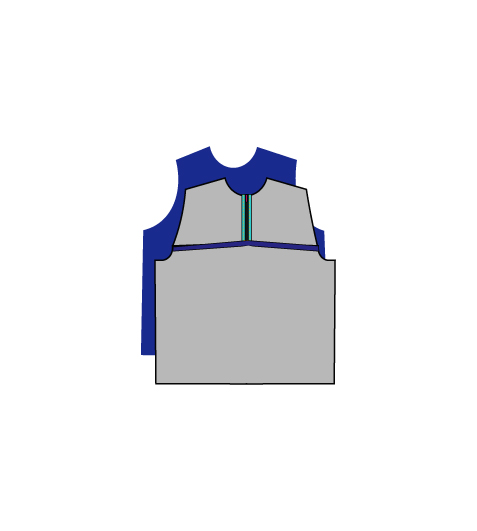
- Stitch the side seams with a 3/8″ seam allowance. Press flat.
- Stitch the shoulder seams with a 3/8″ seam allowance.
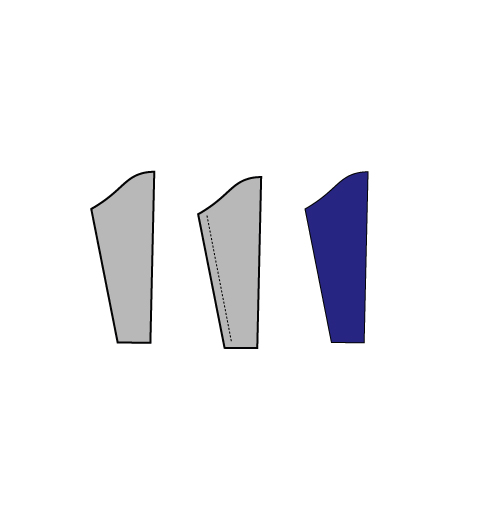
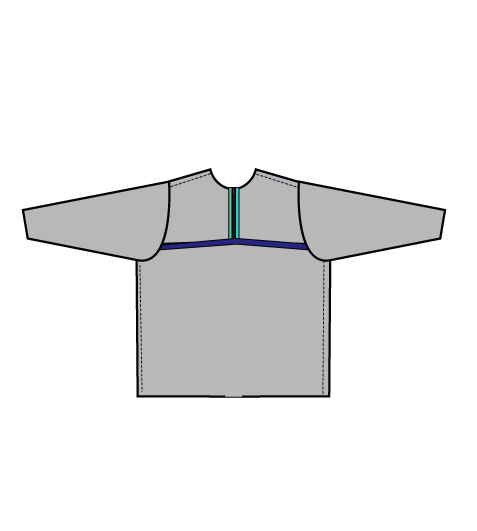
- Bring the sleeves to the table.
- Fold the sleeve in half and press them flat. Stitch the underarm seam with a 3/8″ seam allowance. Then, turn to the right side of the fabric.
- Insert the sleeves into the bodice, matching the notch on the sleeves to the ones on the armscye.
- Stitch the armhole with a 3/8″ seam allowance. Press flat.
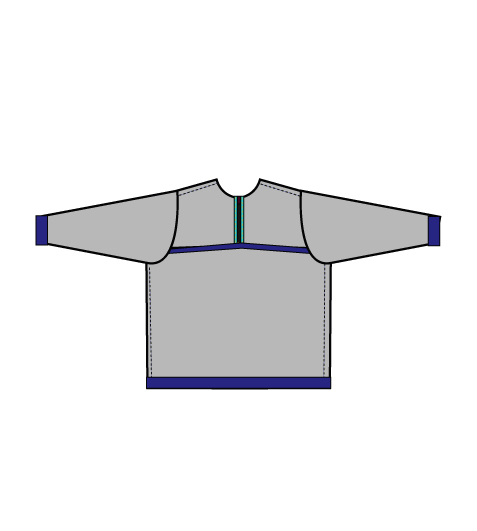
- Turn the sleeves to the wrong side of the fabric.
- Fold the cuffs of the sleeves and the hemline with a 1’’ seam allowance. Press flat and stitch with a zigzag stitch or use twin needle on the right side of the fabric.
- Bring the facing pieces to the table. Place front and back pieces together, right sides facing, and stitch the shoulder seam with a 3/8″ seam allowance.
COLLAR VERSION:
- Bring the collar to the table and place both sides together, right sides facing. Then stitch the seams with a 3/8″ seam allowance. Press flat and turn into the right side of the fabric.
- Place the collar on top of the bodice. Stitch the collar to the bodice with a 3/8″ seam allowance.
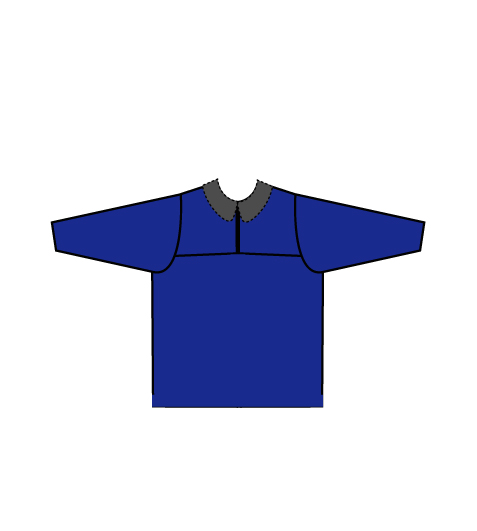
- Place the facing on top of the bodice, collar, and zipper. Stitch the facing, including the zipper area, with a 3/8″ seam allowance. Press flat.
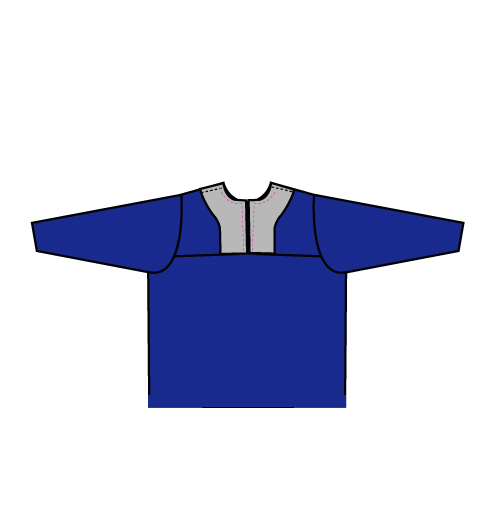
- Turn the facing to the right side of the fabric.

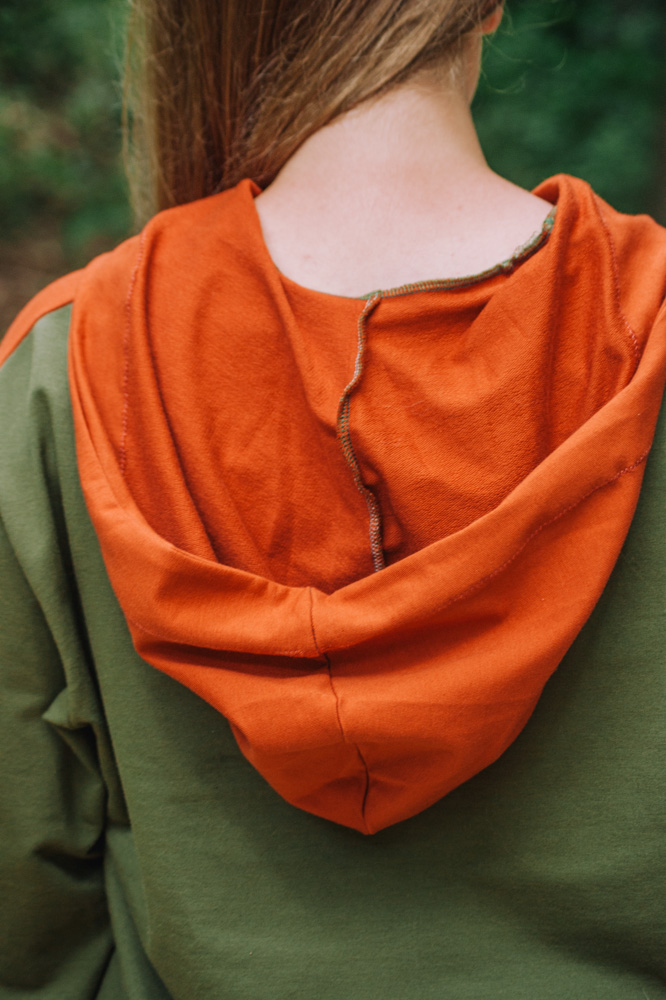
HOODED VERSION:
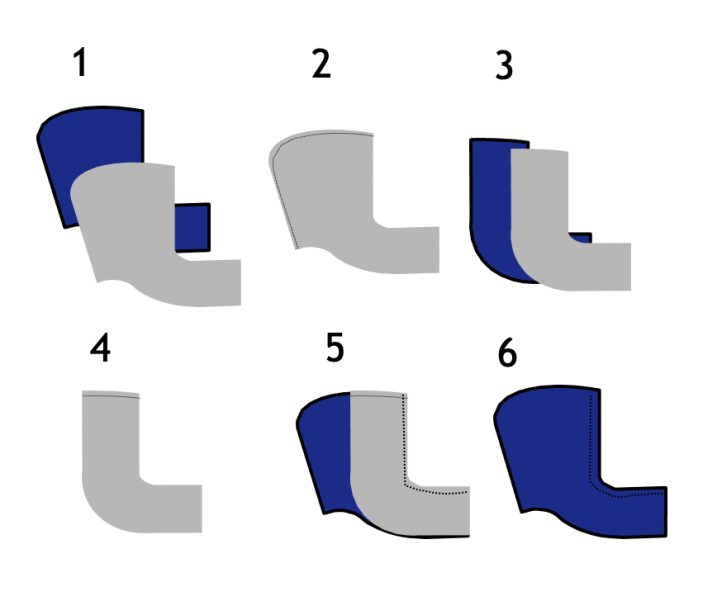
- Stitch the hood with a 3/8: seam allowance. Then, fold the front of the hood with a 1/2″ seam allowance. Place the hood pieces together, right sides facing (Illustration 1). Stitch the curve with a 3/8″ seam allowance (Illustration 2). Place the hood facing pieces together (Illustration 3). Stitch the top seam (Illustration 4). Place hood and facing together, right sides facing, and match the front curve. Stitch them together (Illustration 5). Then, fold the front of the hood facing to the inside and stitch the seam with a 1/2″ seam allowance (Illustration 6).
- Pin the hood to the bodice from the center front all the way around the neckline.
- Then, stitch the neckline with a 3/8″ seam allowance.
- Finally, fold the cuffs and hemline with a 1″ seam allowance.