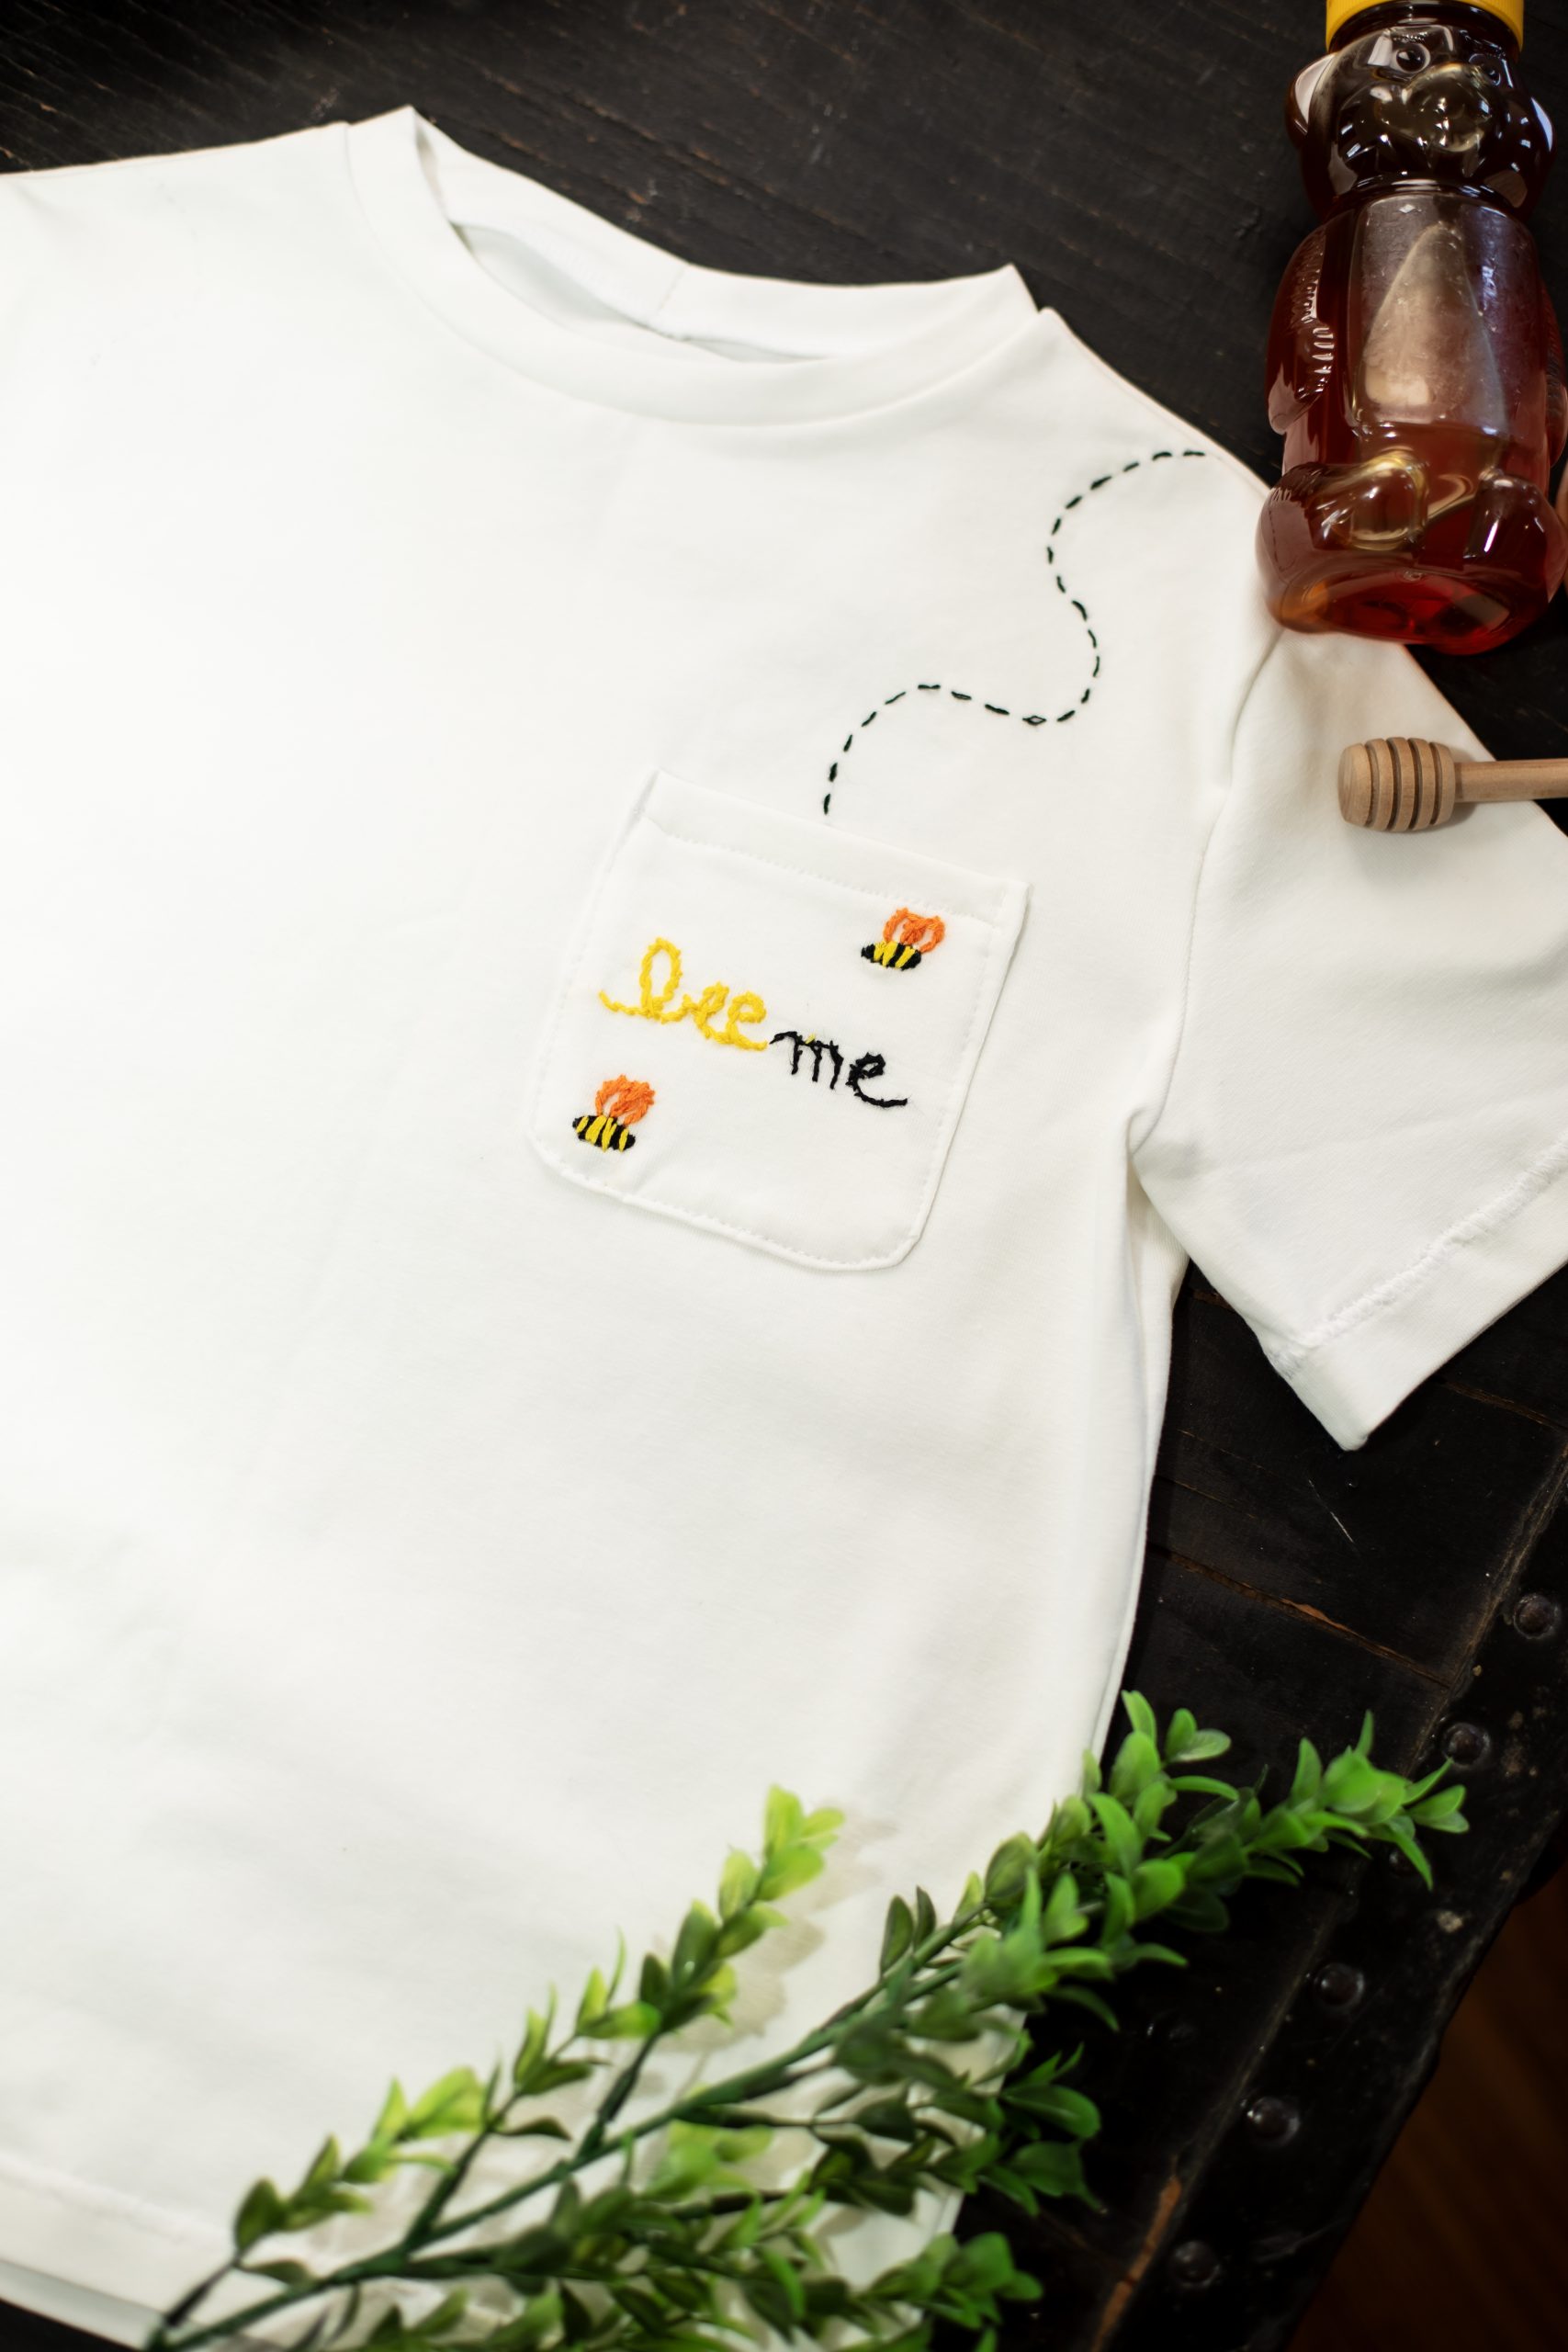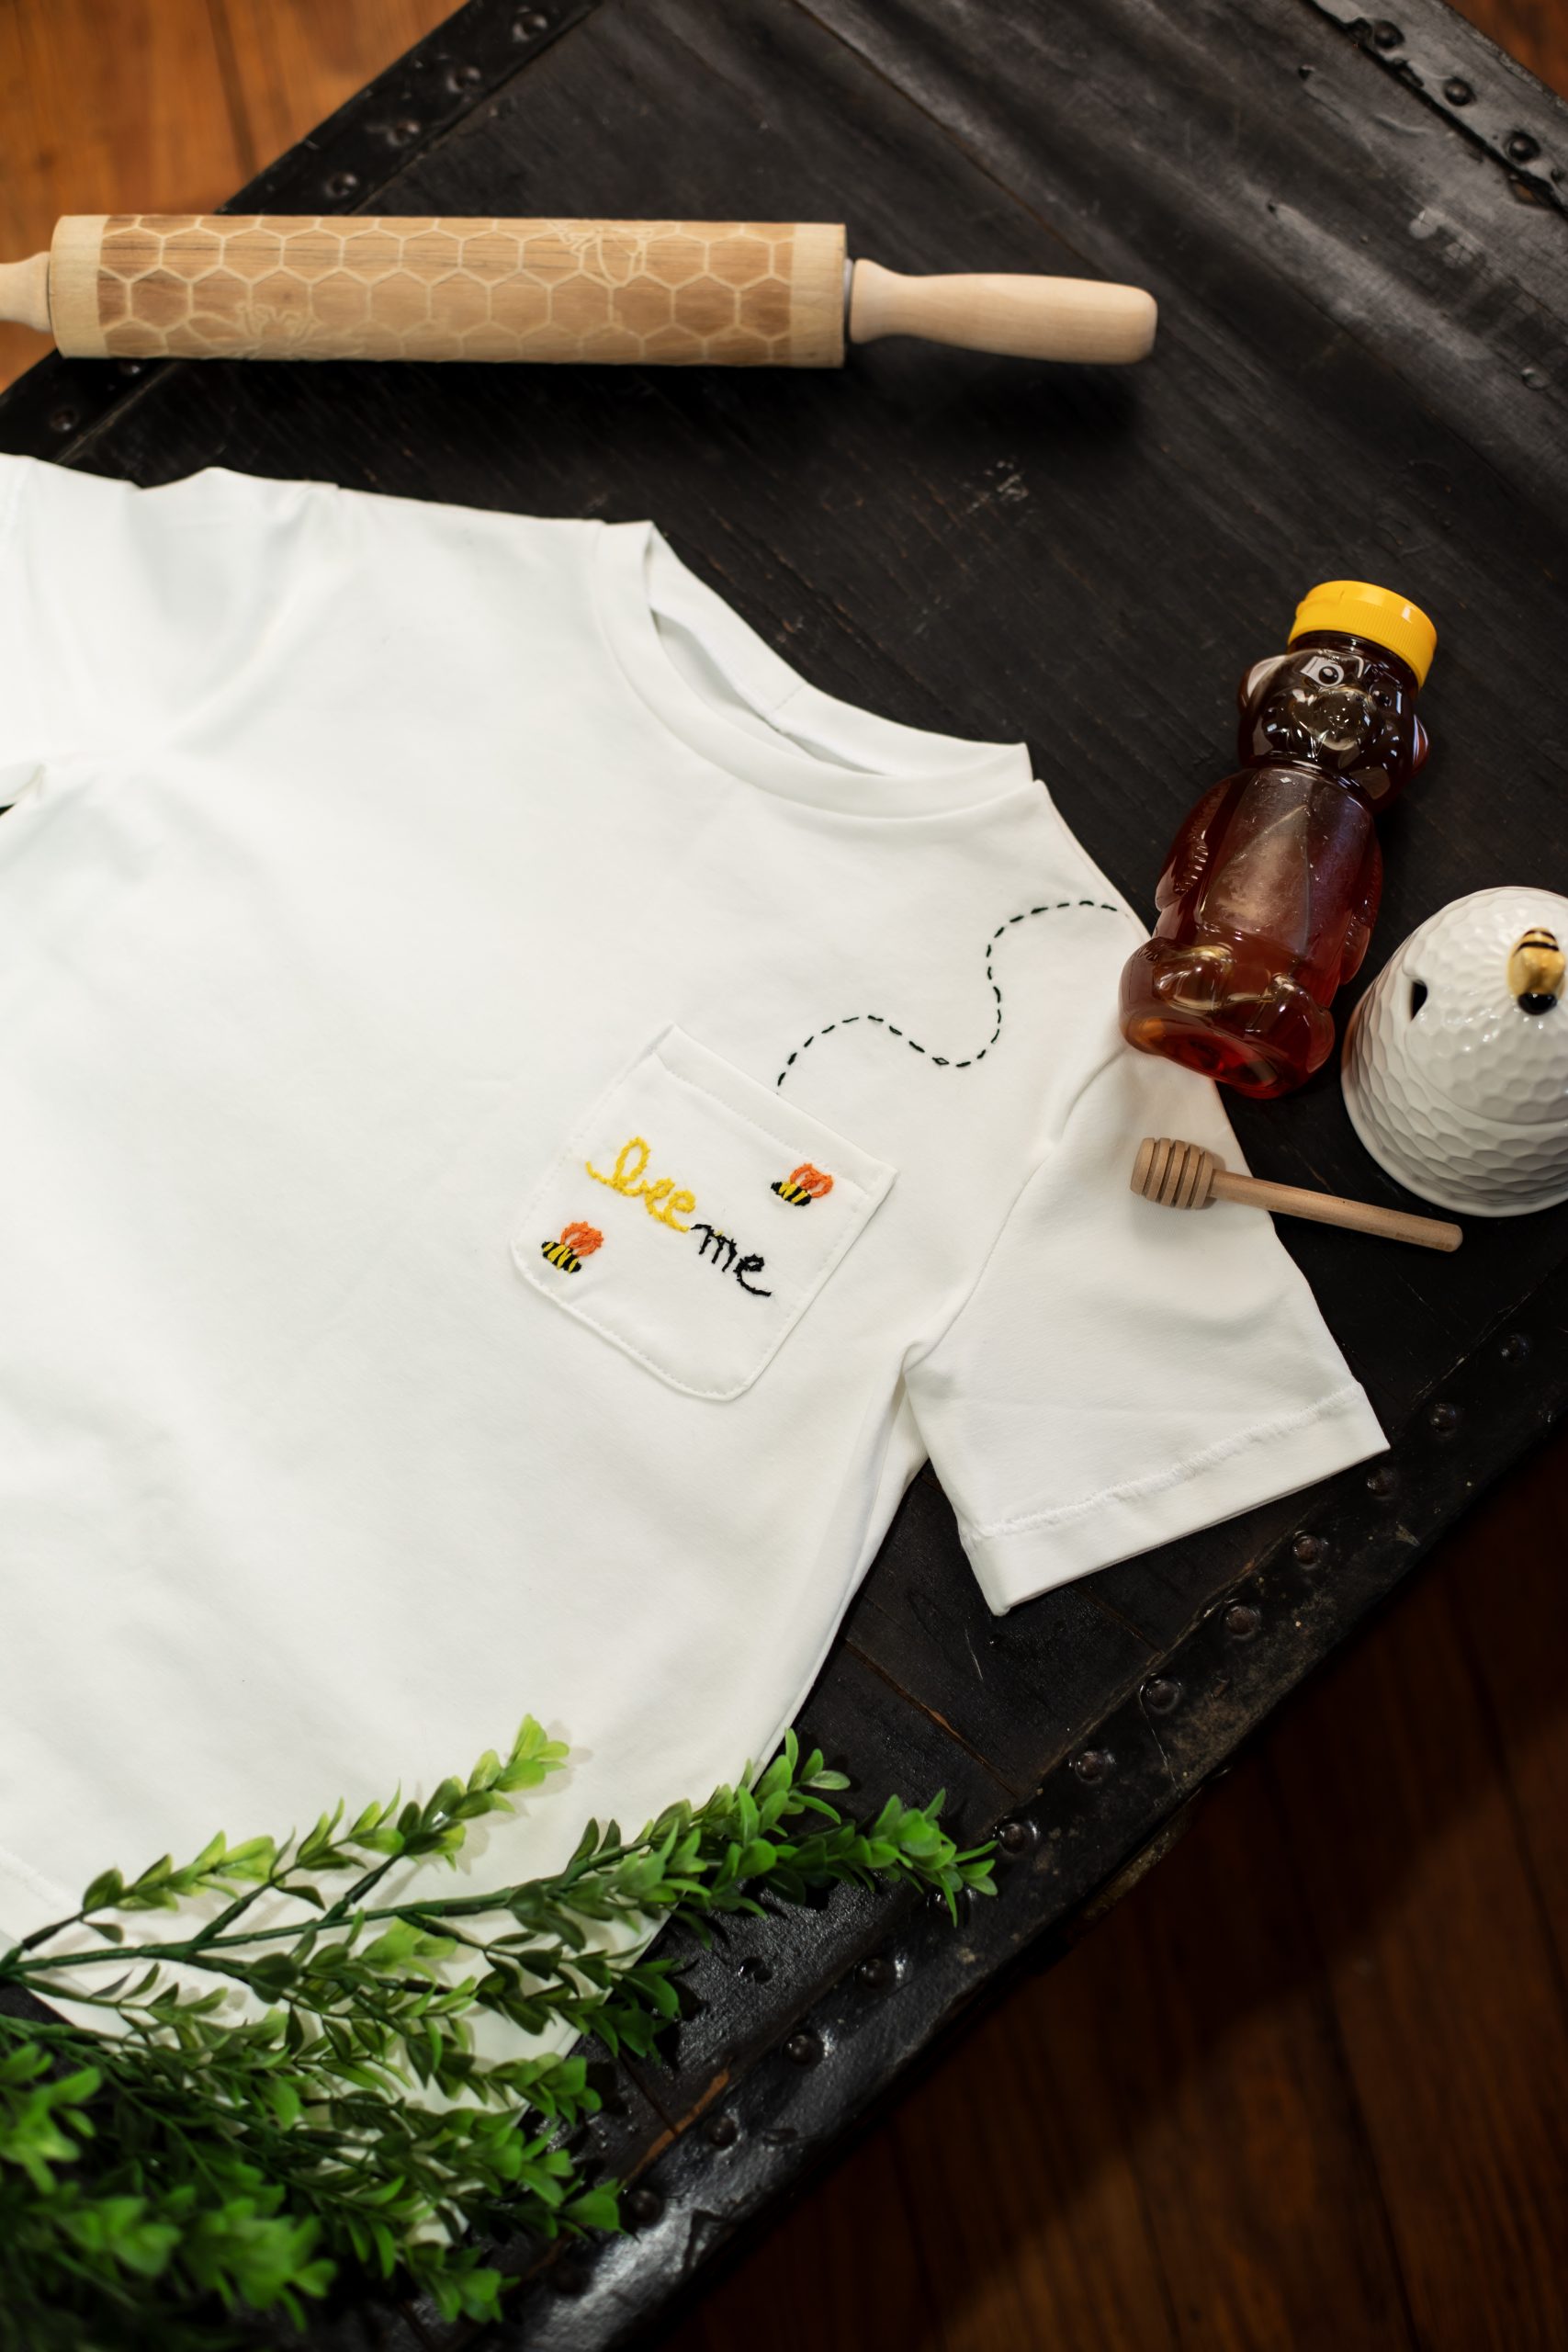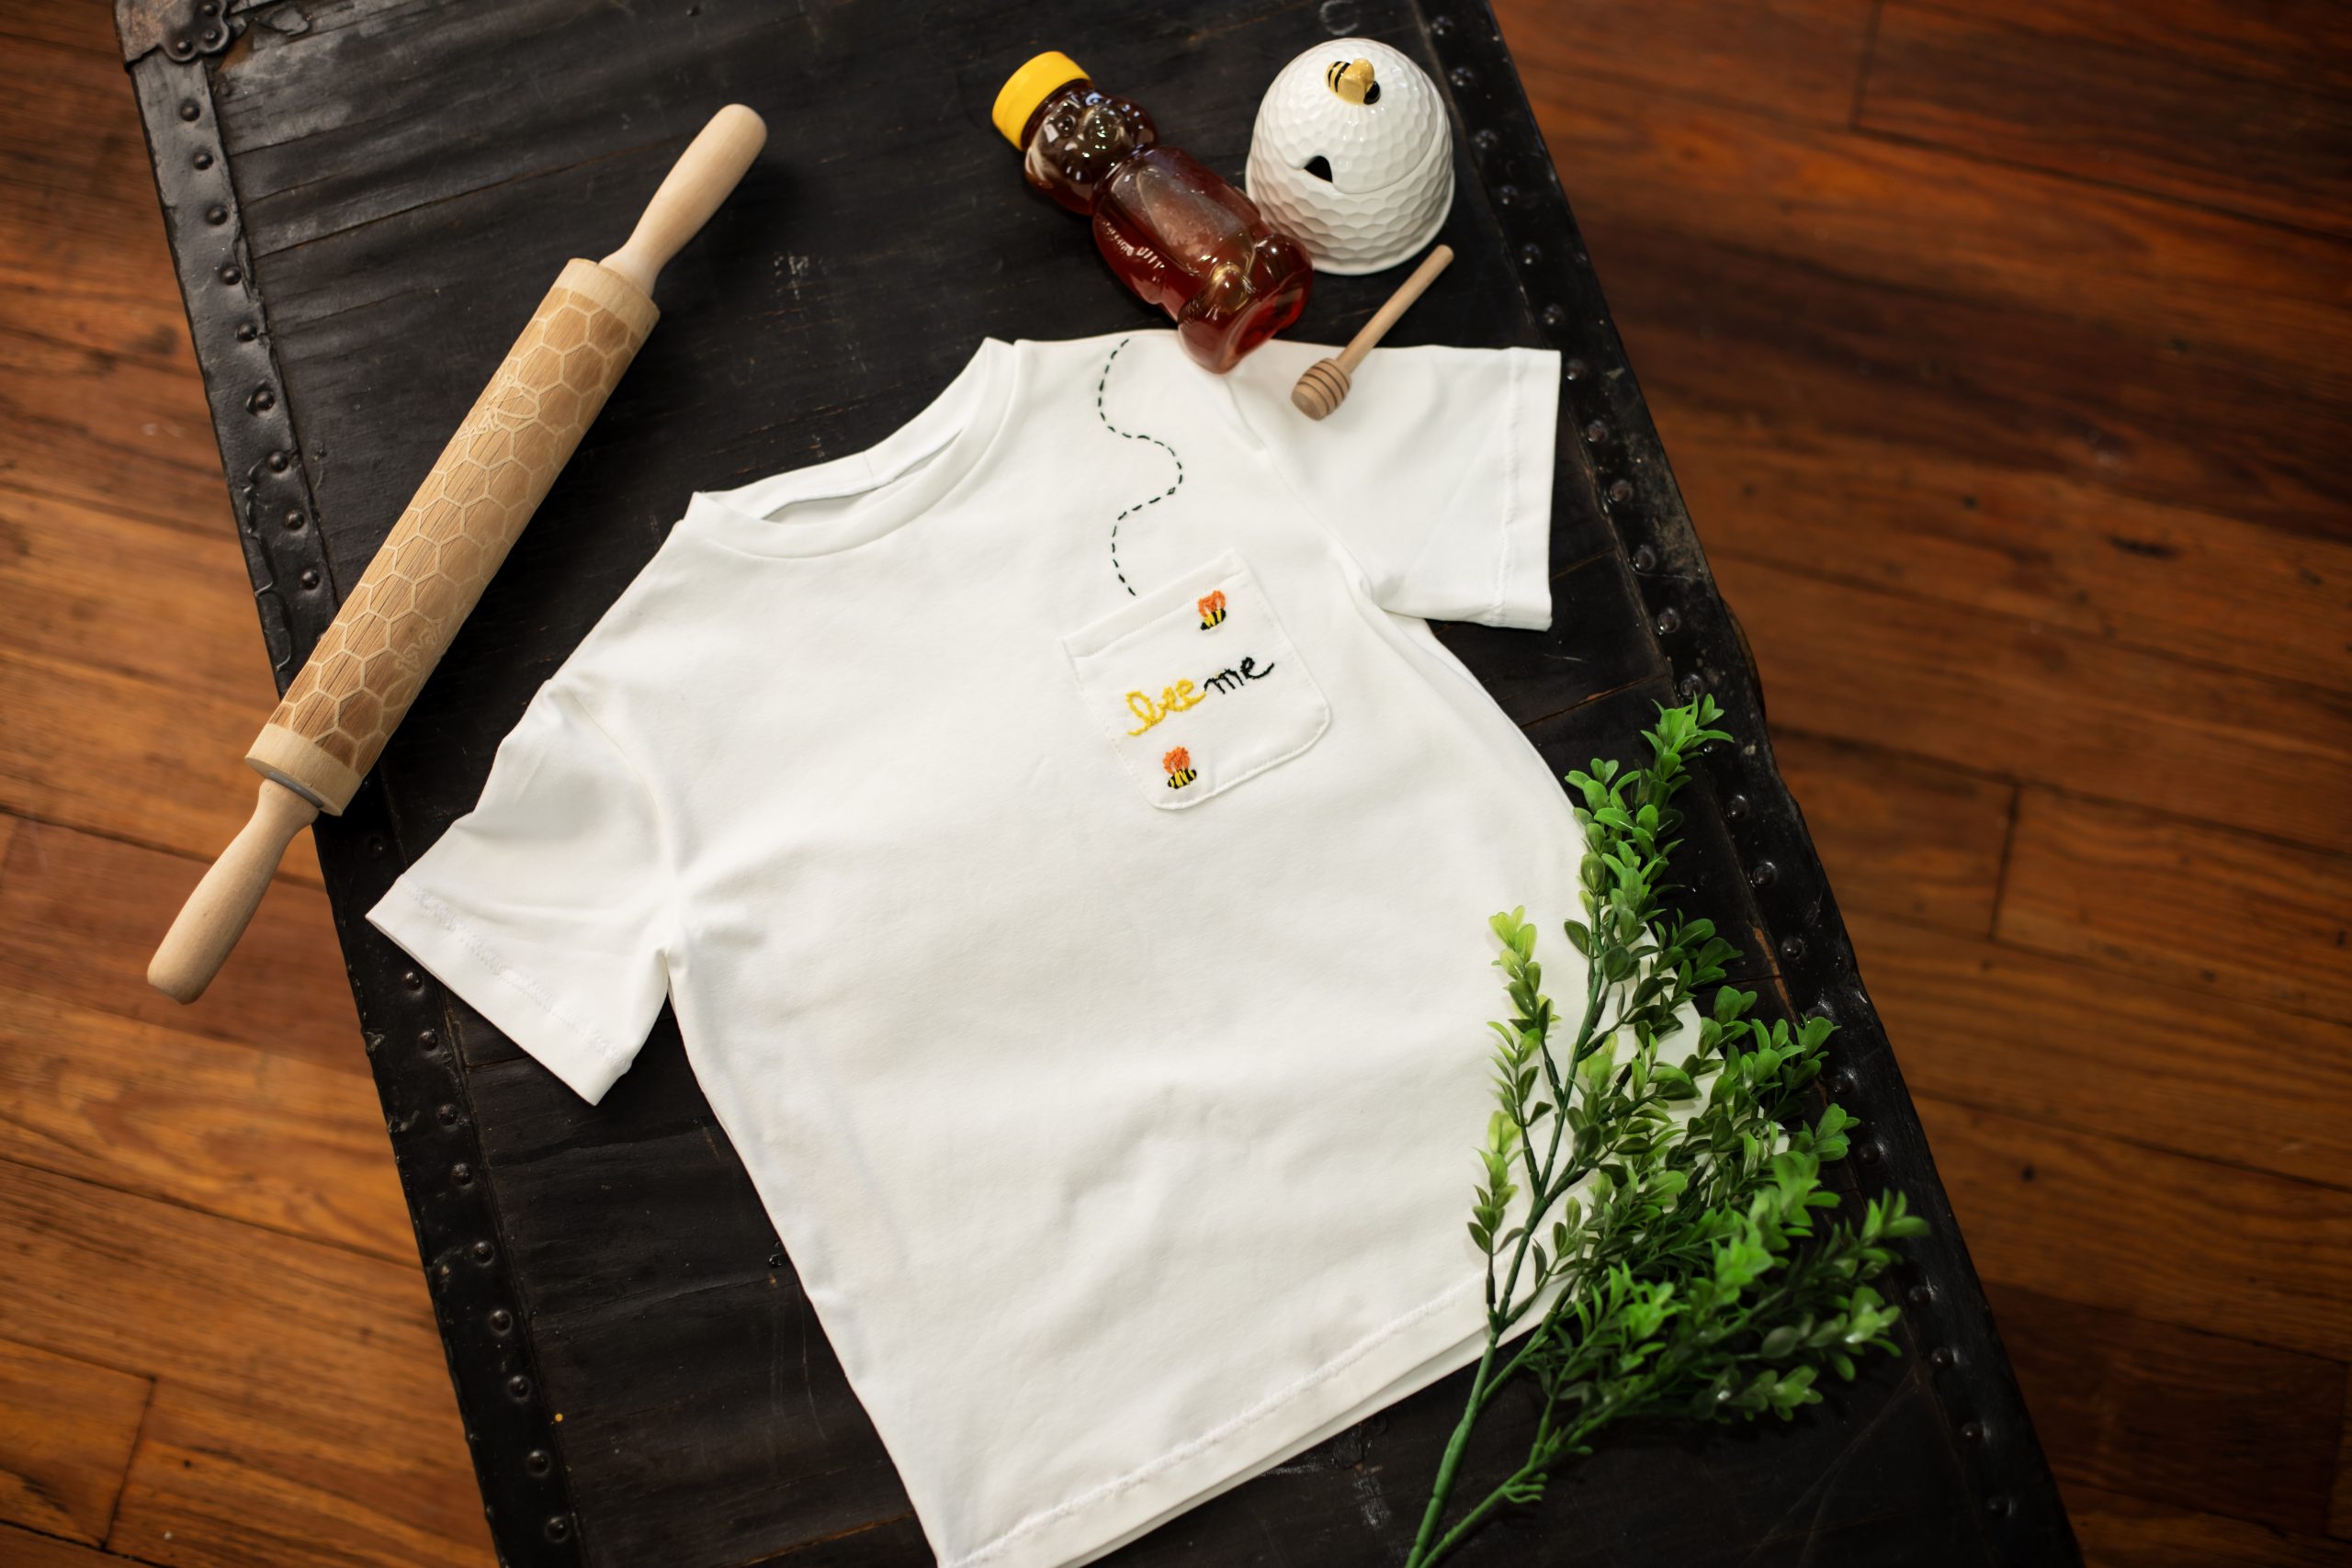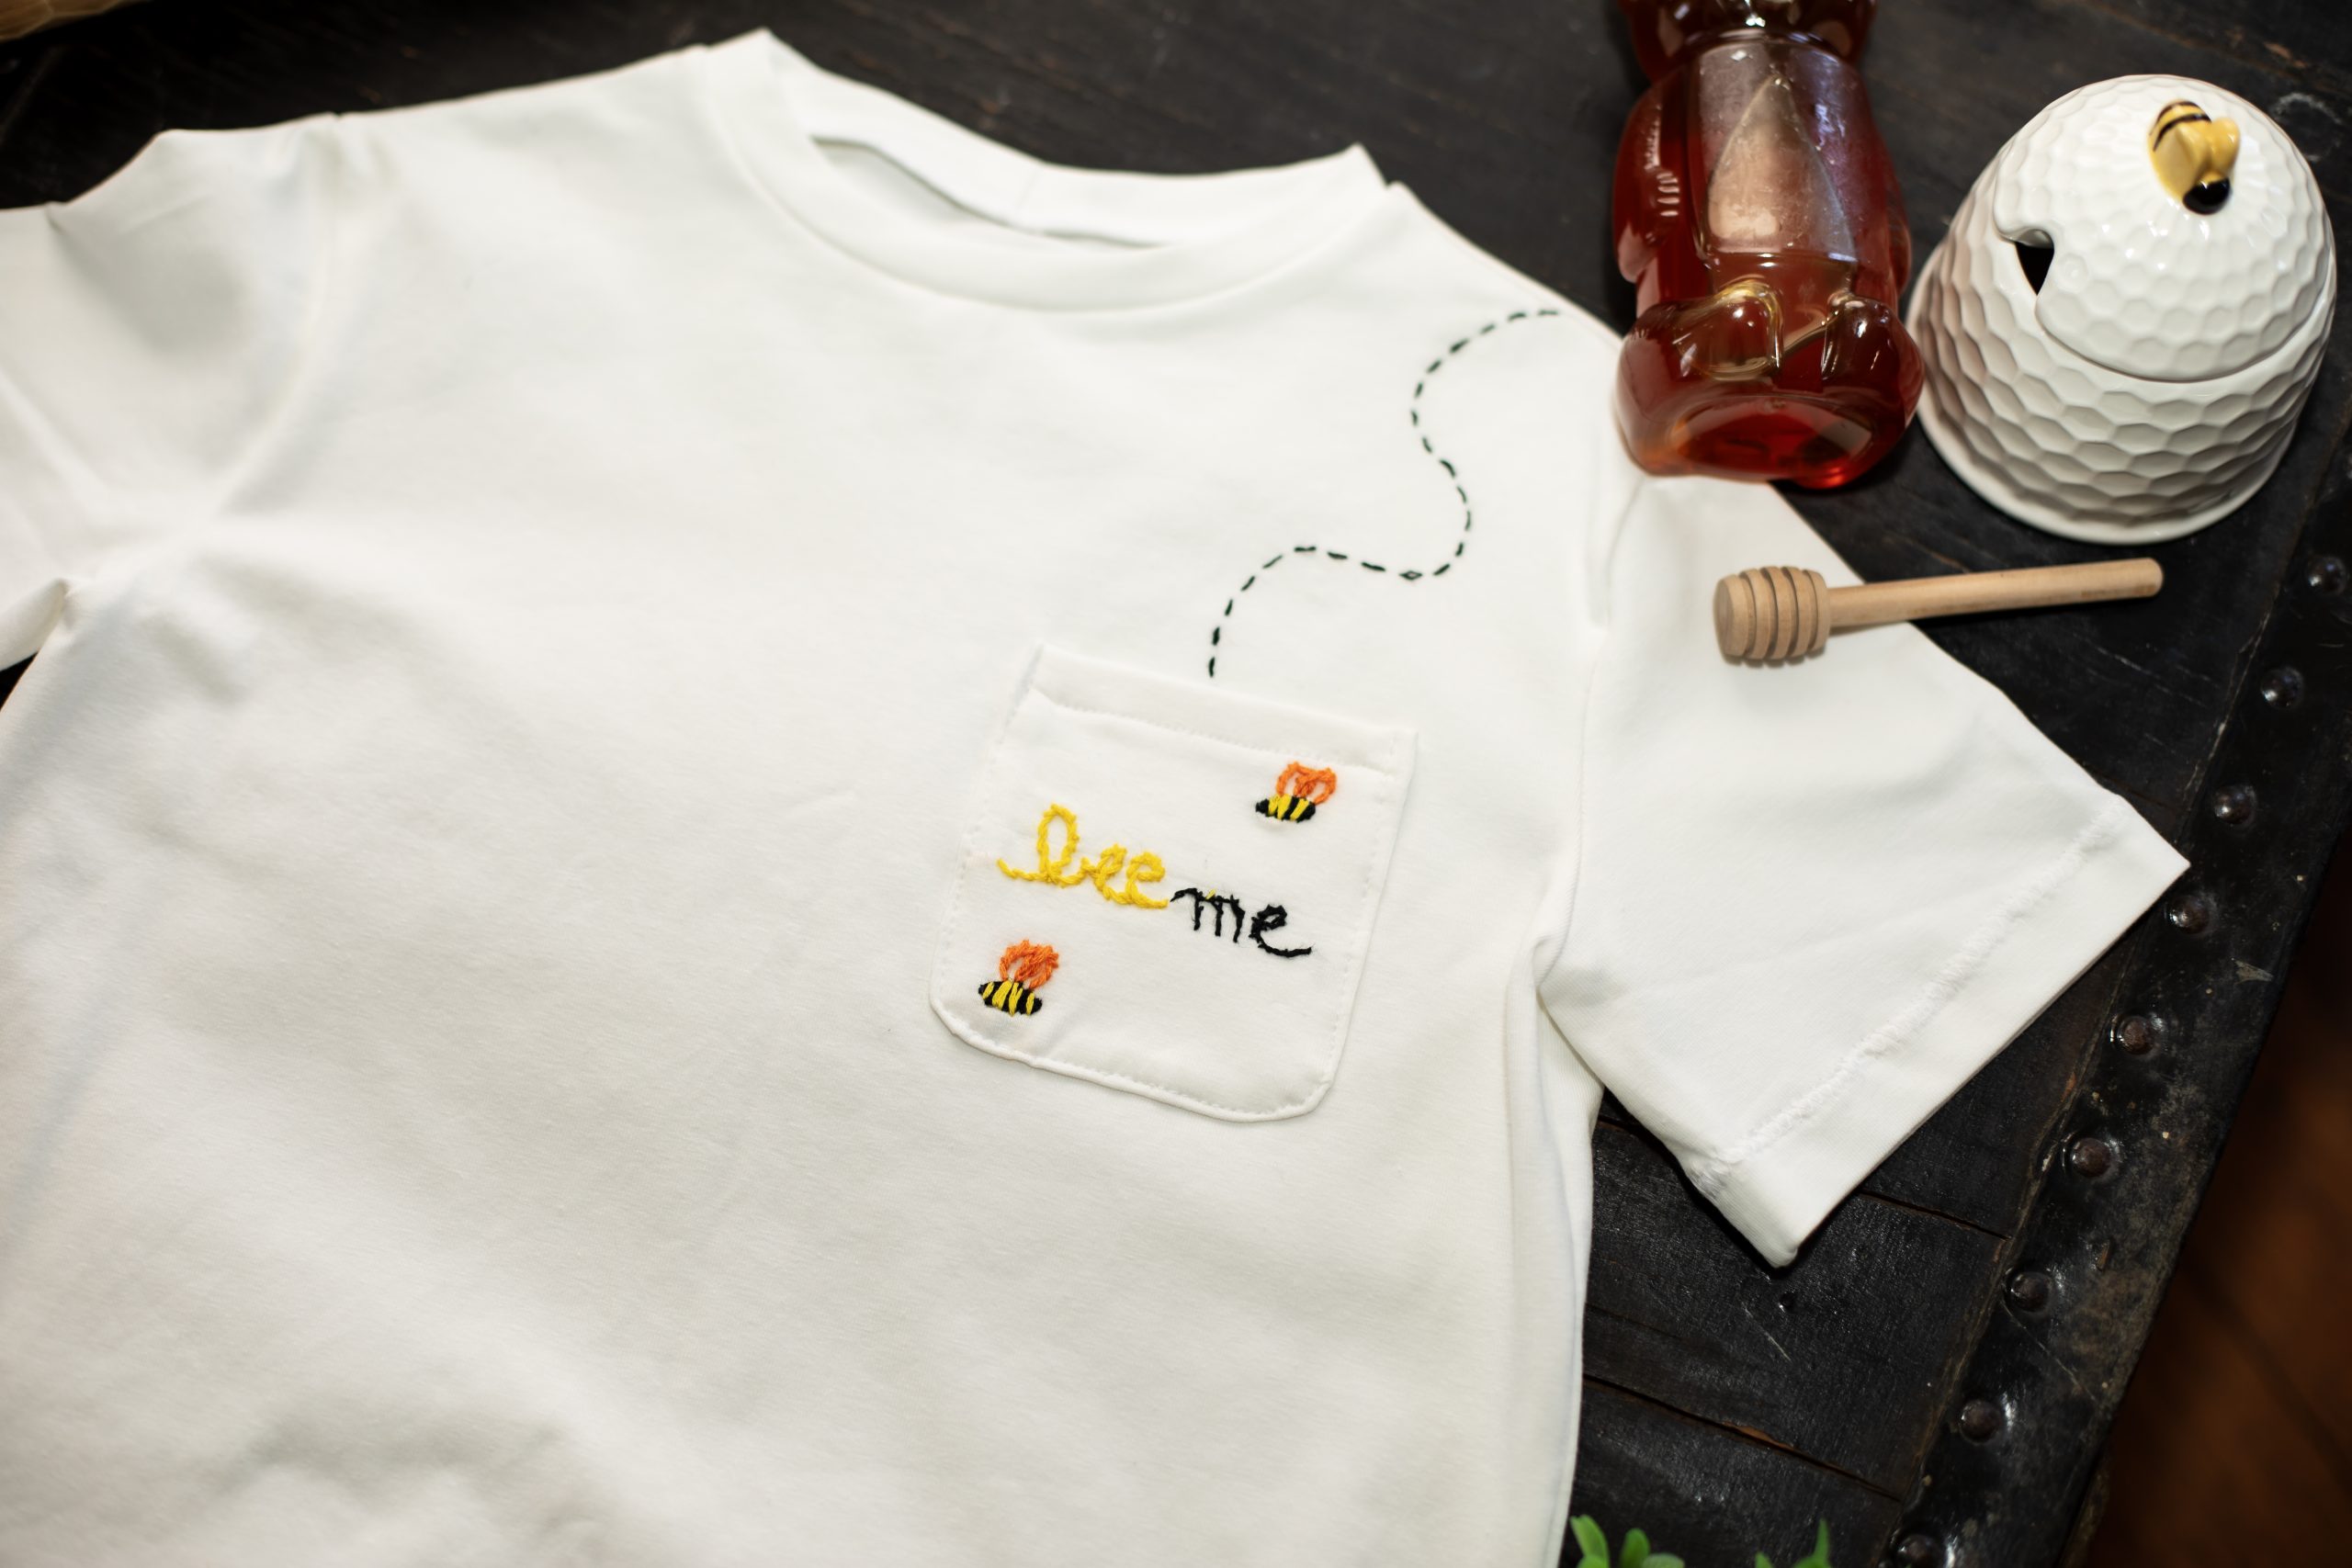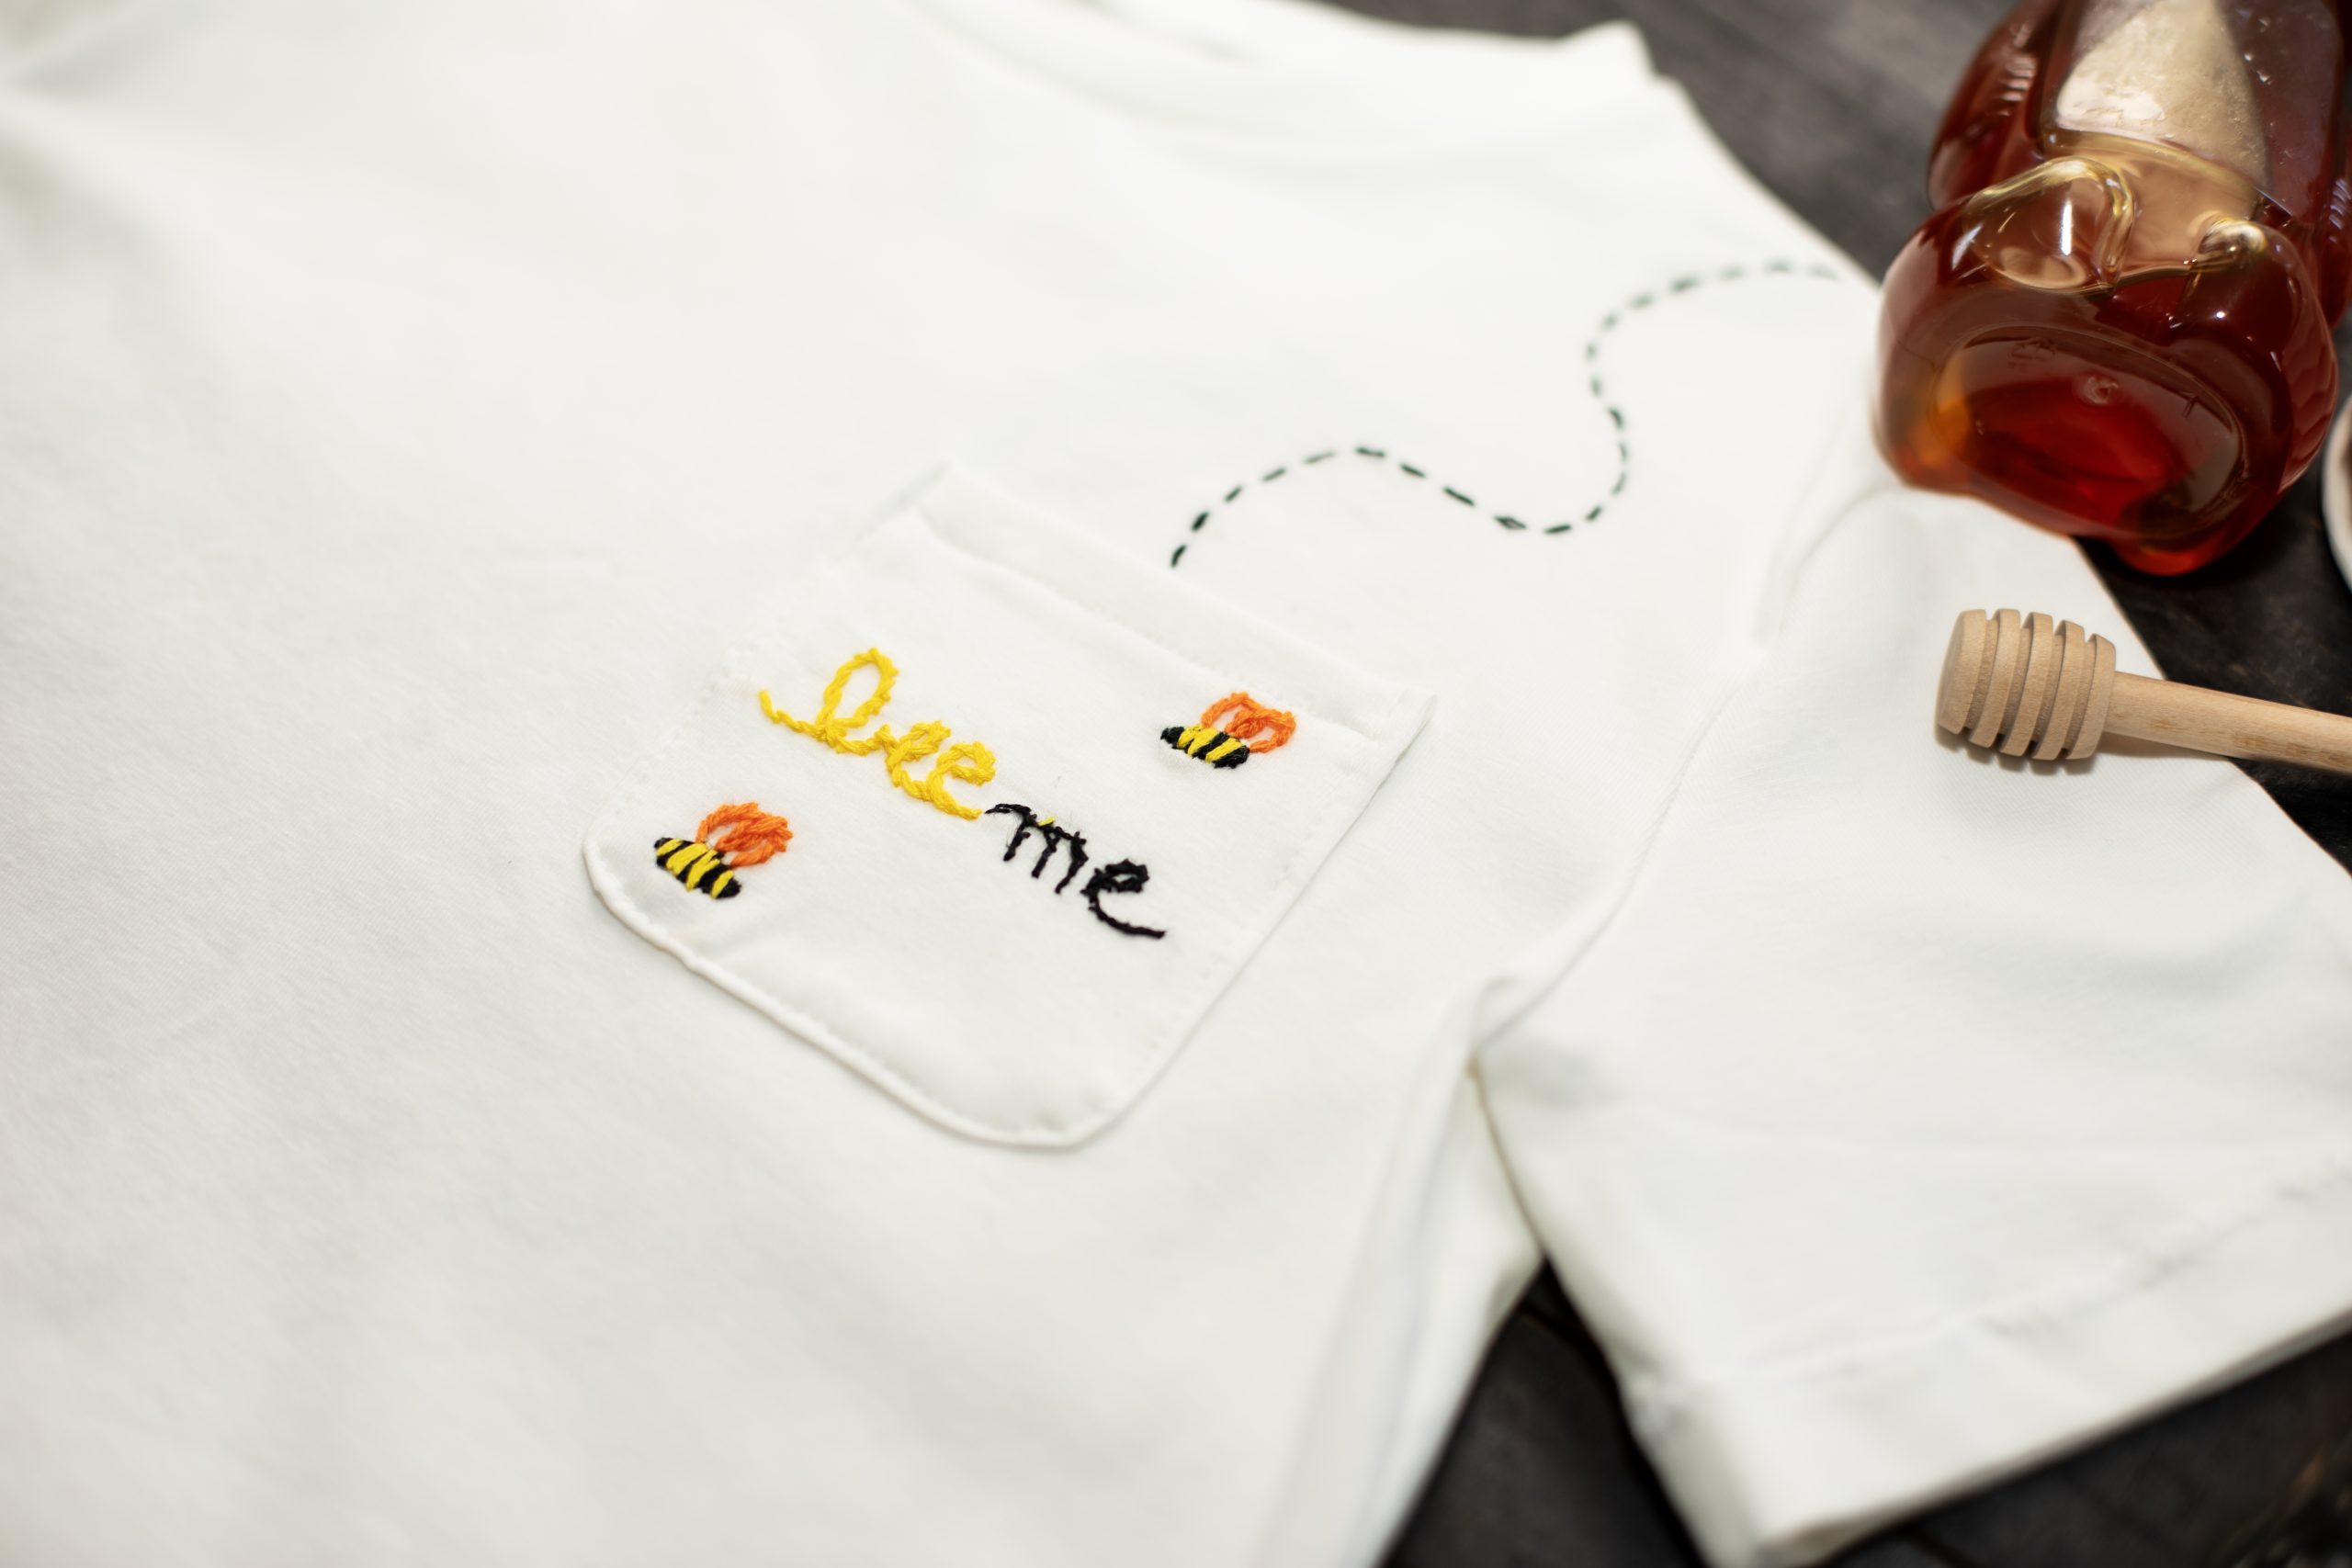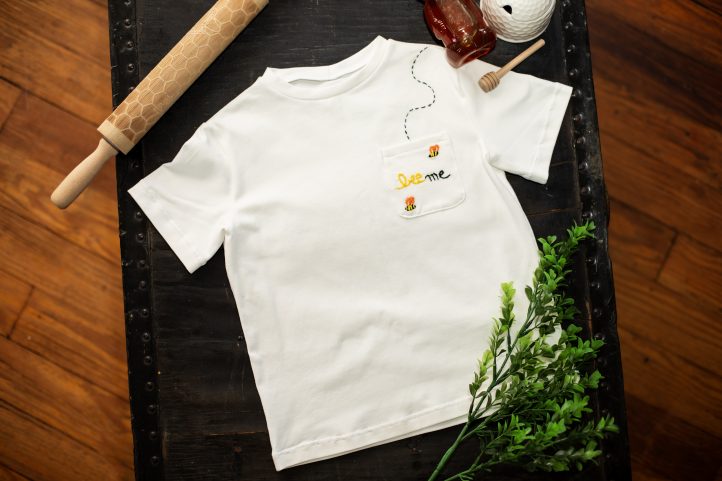
Design the sweetest homemade t-shirt that we’ve ever seen for your child or grandchild! Available in multiple toddler sizes, this kids tee pattern from Lauren Merciris features a front pocket and crew neckline and is made with soft jersey fabric. Our favorite part of this pattern is the adorable, embroidered details featuring a charming message for kids and itty-bitty bees.
Designer Notes: All the seam allowances are included: 0.4 in / 1 cm, and the hems are 0.98 in. / 2.5 cm.
Materials:
- Fabric: (Fabric width 59 in. / 150 cm)
- Recommended fabrics: Jersey fabric, jersey stretch fabric
- Piece of cardboard
- Water-soluble embroidery foil
- Yellow, orange, and black embroidery thread strands
- PDF Pattern – This is located at the bottom of this page. Please see printing instructions below.
PRINTING INSTRUCTIONS:
Note: To download the pattern, click on the pattern download button at the bottom of the page. We recommend opening your pattern download using Adobe Acrobat.
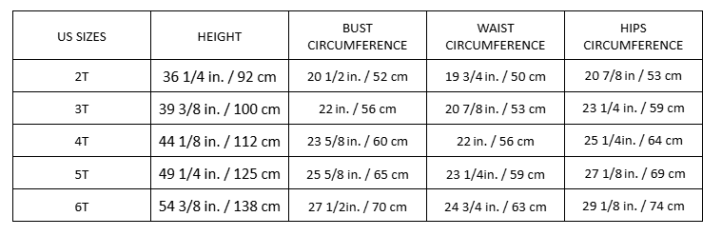
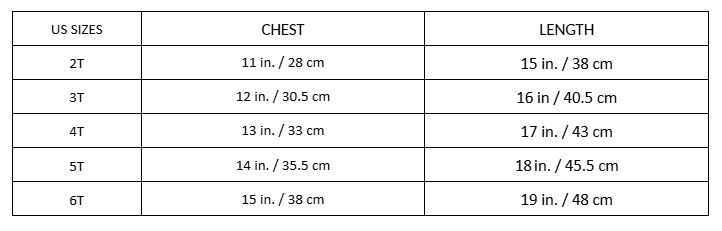
SIZE CHART:
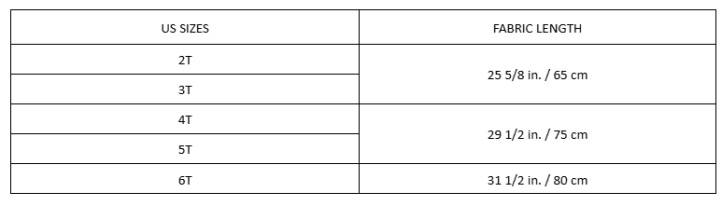
FINISHED GARMENT LENGTH (FROM SHOULDERS TO HEMLINE IN INCHES/CM):
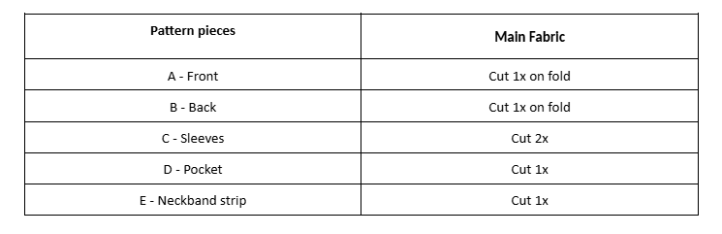
PATTERN PIECES:
Sewing Instructions:
CUTTING:
- Lay the fabric out and fold the two selvage edges back to the middle of the fabric, edge to edge, to obtain one fold on the left and one fold on the right (right sides together).
- Lay out the pattern pieces on the fabric, respecting the grainline, and cut out each piece as many times as the pattern indicates.
- Mark all the markings (notches and bust darts) on the reverse side of the parts.
- From the cardboard pattern piece, cut the pocket template.
- From the embroidery foil, water soluble paper, cut the pocket template.
EMBROIDERY:
- Position the embroidery foil on the template adapted to your pocket size.
- Reproduce the design by hand with a pencil.
- Peel off the non-adhesive part and stick the embroidery on the pocket in the desired position.
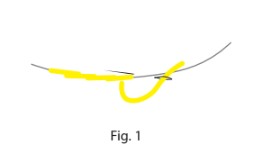
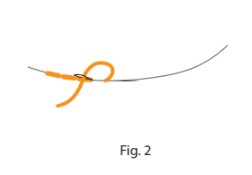
- Embroider with embroidery threads, stitching the fabric sheet and fabric together.
- Use a simple stitch, a stem stitch and a backstitch for the embroidery.
POCKET:
- Overlock all around the Pocket (Piece D). If you don’t have an overlock machine, you can use a zig-zag stitch from your sewing machine to enclose the seam allowances.
- On the Pocket piece, place the cardboard template on the wrong side of the pocket.
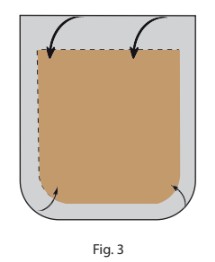
- Fold the pocket margins onto the reverse side (against the cardboard) and iron to hold.
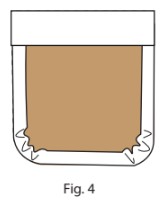
- Remove the cardboard and sew the top of the pocket at 3/4 in. / 2 cm to maintain the seam allowance.
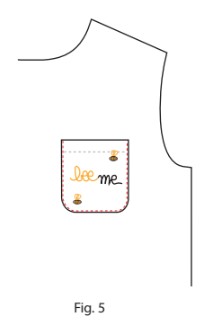
- Place the pocket on the Front (Piece A) (left side) on the markings.
- Pin carefully and sew all around the sides and the bottom of the pocket at 1/8 in. / 3 mm from the edge.
- Iron to flatten.
JOINING THE FRONT AND THE BACK:
- Place the right side of the Front on the right side of the Back top (Piece B) together.
- Join, pin, and sew the shoulders and the sides at 0.4 in. / 1 cm.
- Overlock the seams allowances.
- Iron the seam allowances backwards.
SLEEVES:
- Close the Sleeves (Pieces C) by sewing each sleeve right sides together, at 0.4 in. / 1 cm from the edge.
- Overlock the seam allowances.
- Iron the seams forward.
- Turn the sleeve right side out and the top inside out.
- Insert sleeves into their respective armholes (respecting the markings) and pin all around the armhole (aligning the seams and notches).
- Overlock the seam allowances together or use a zigzag stitch to enclose the seam allowances.
NECKBAND STRIP:
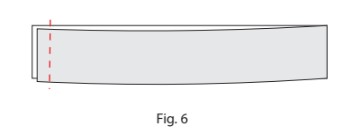
- Fold the Neckband strip (Piece E) in half across the width, right sides together, and sew the ends 0.4 in. / 1 cm apart to close the strip.
- Iron, spreading the seam allowances.
- Fold the entire strip on the length, wrong sides together.
- Overlock or sew the strip lengthways at 0.4 in. / 1 cm from the edge.

- Mark 2 markings on the strip: The back marking (closing seam of the strip), and the front marking (equidistance from the back marking).
- Place the Neckband strip on the edge of the top neckline, right side with edges together. Pin the seam of the neckband in the middle of the back; pin the front marking of the strip in the middle of the front. Adjust and pin the Neckband strip all around the neckline.

- Sew 0.4 in. / 1 cm along the edge of the neckband and the neckline together, stretching slightly the neckband, with a stretch stitch.
- Turn over the neckband and place the seam allowance on the wrong side of the top.
- Optional: Stitch again on the right side, all around the neckline with a stretch stitch to maintain the neckband strip.
- Iron to flatten.
THE HEMS:
- Overlock the bottom of the top and the bottom of the sleeves, and fold hems inside out.
- Pin and sew at 0.4 in. / 1 cm on the reverse side.
- Iron to flatten.
FINISHING:
- Hand-wash the top to dissolve the embroidery paper.
- Dry and iron the top.