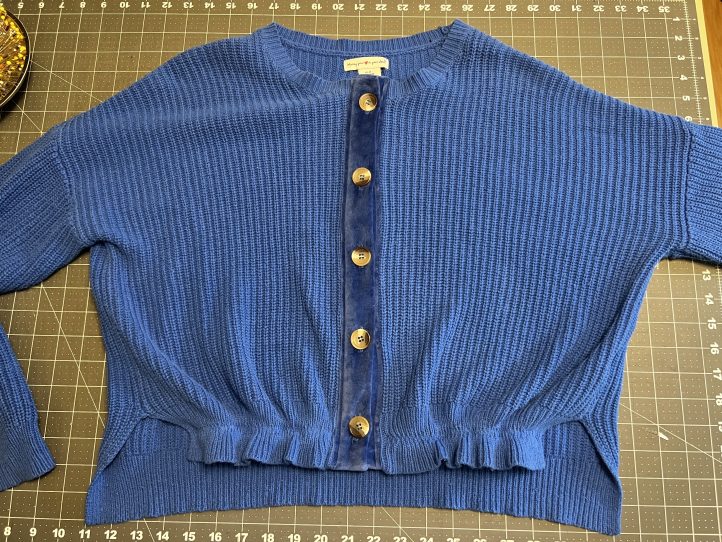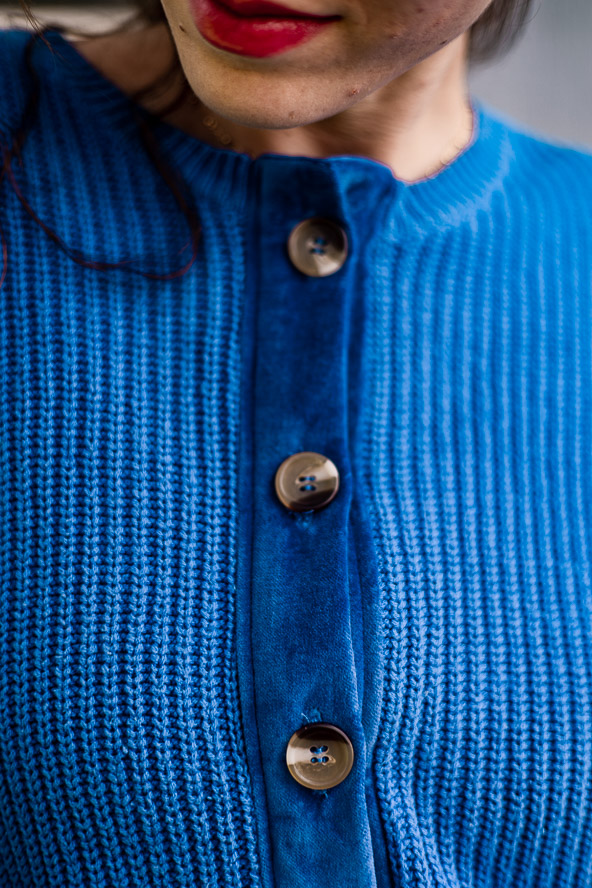
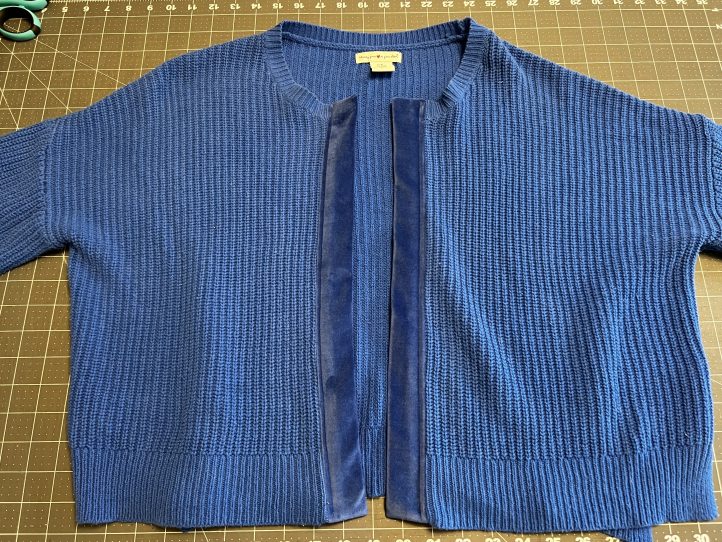
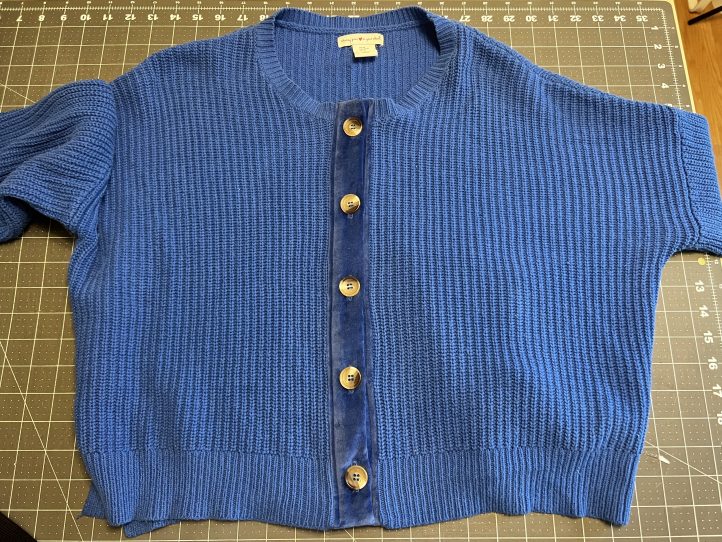
Take your refashioning skills to new heights by transforming a plain thrifted sweater into a sophisticated fall cardigan. Featuring a luxe velvet placket, this refashioning project is ideal for the thrifty sewist who wants to practice creating buttonholes and sewing buttons. This easy sewing project also teaches how to create a ruffled hem-effect using elastic to differentiate your design from a traditional cardigan silhouette. Last winter’s sweater becomes a gorgeous fall cardigan with this fun sewing project!
Skill Level: Easy
Finished Size: Varies according to sweater size
Seam Allowances: 1/2”
Materials:
- Sweater (thrift or find an old sweater in your wardrobe)
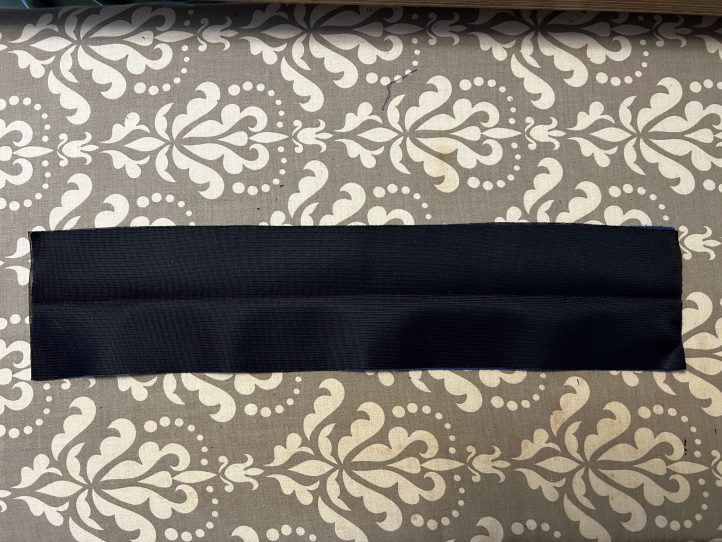
- Small piece of velvet fabric for front button placket/band
- Small piece of woven fusible interfacing
- 5 buttons, 3/4” diameter
- 1/2 – 1 yard of elastic, 1”-wide
Instructions:
- Locate the center front of your sweater and cut.
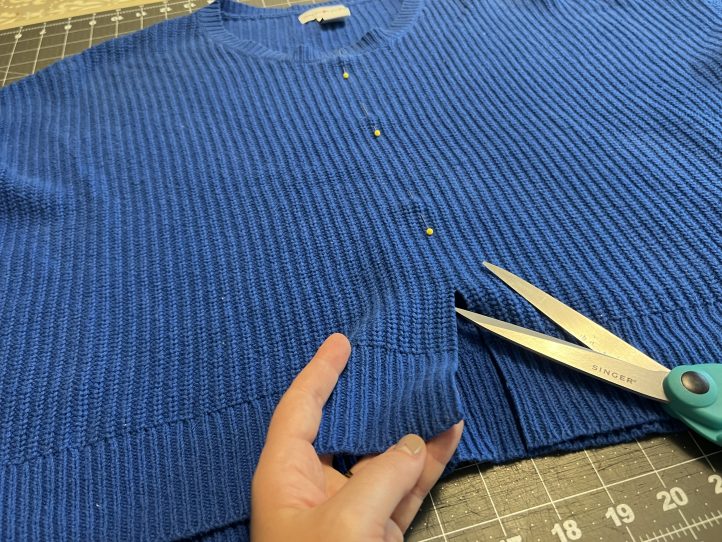
- Measure the front cut edge of your sweater, making sure it is not stretched.
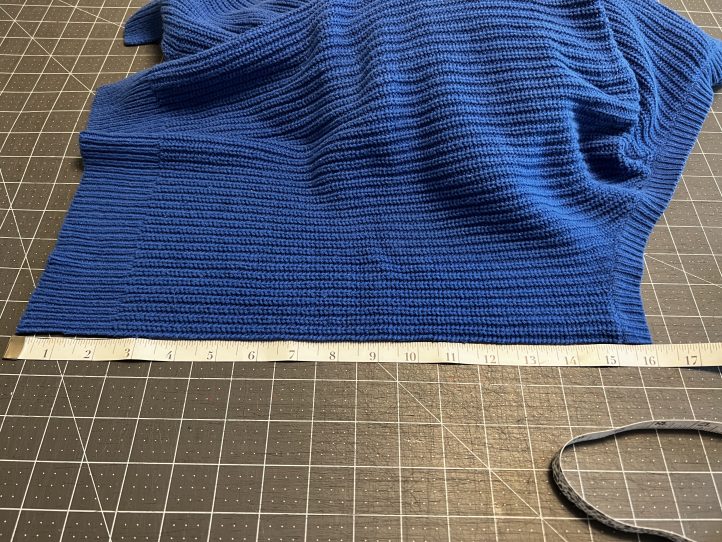
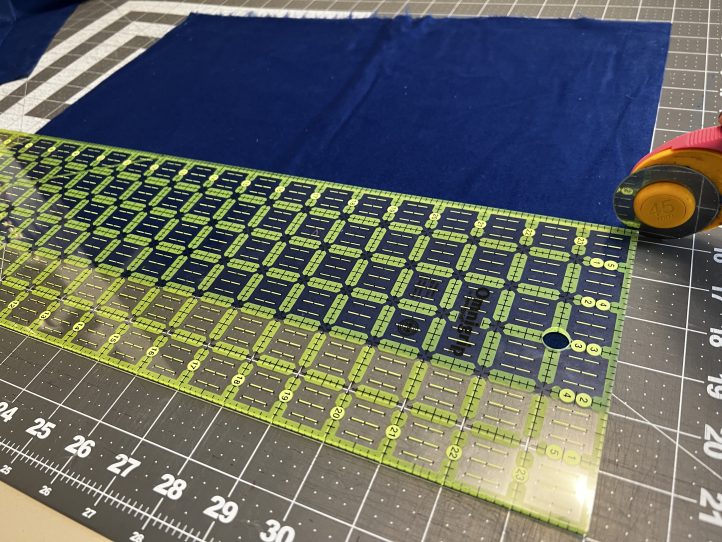
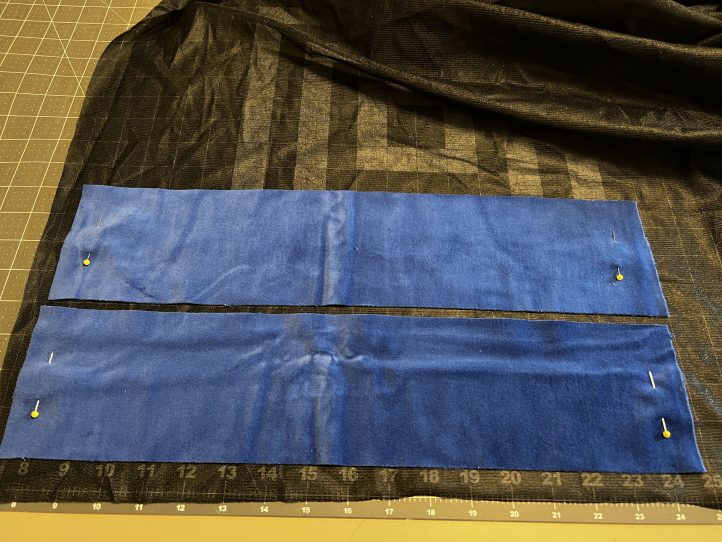
- Cut two rectangles of velvet fabric the length of your sweater front, plus 1” by 4” wide. For example, the front of my sweater was 16”, so I cut two rectangles 17” x 4”.
- Cut and fuse interfacing to the wrong side of the front band pieces (velvet pieces), then lightly press in half widthwise, wrong sides together.
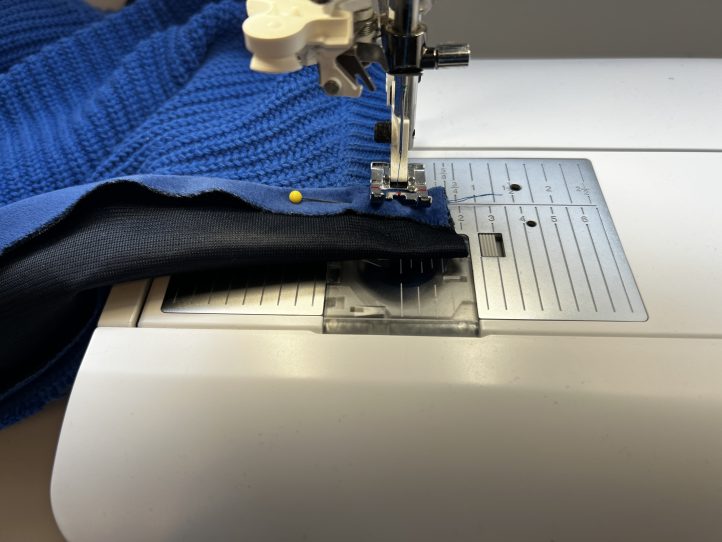
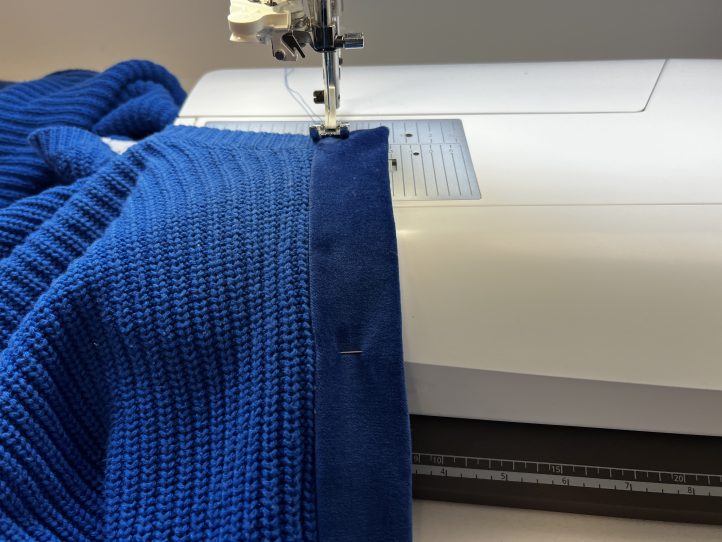
- Pin one sweater front to one side of the front band pieces (velvet pieces), right sides together. The band (velvet pieces) will overextend past the sweater 1/2” on both the top and the bottom.
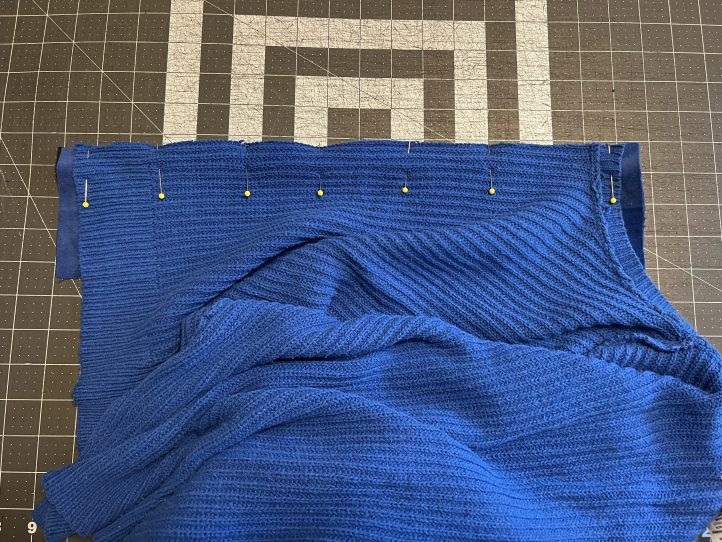
- Stitch the sweater to the band/placket and then repeat for the other front and band/placket.
- Press the band and sweater seam allowances towards the band, and then press the seam allowance of the unsewn band’s side to the wrong side.
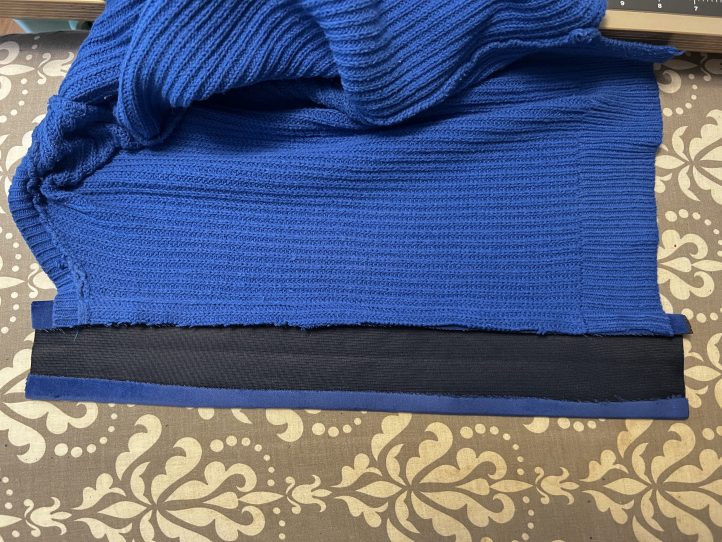
- At the top and bottom of the band, fold in half right sides together and pin.
- Starting exactly at the sweater starting point, and with the allowances folded towards the band, stitch to the fold. Repeat for both the top and bottom of the band.
- Trim seam allowance to 1/4”.
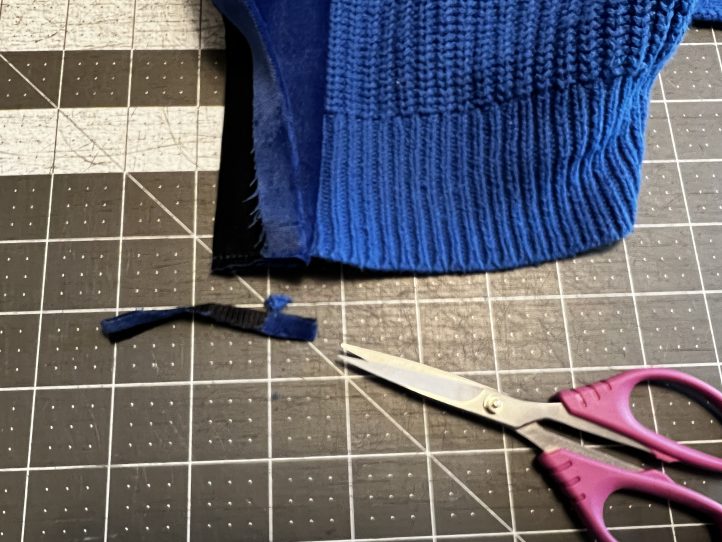
- Flip band right side out and use blunt scissors or a point turner to sharpen the point.
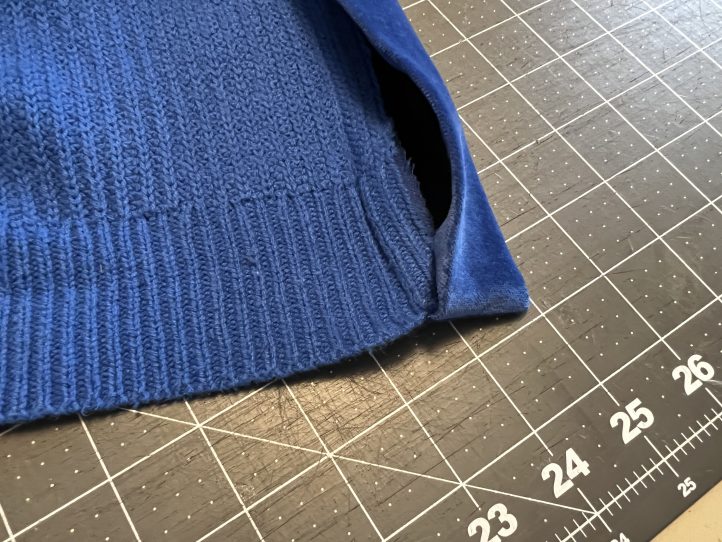
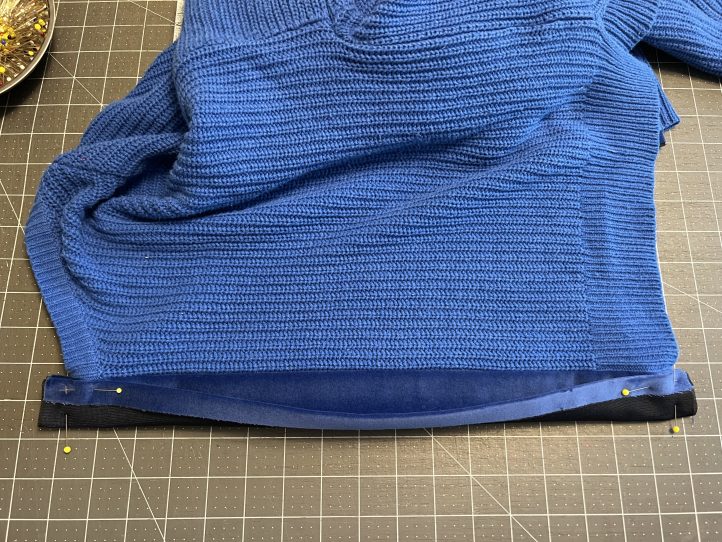
- Working from the wrong side of the sweater, pin the pressed band’s edge to cover the seam allowance.
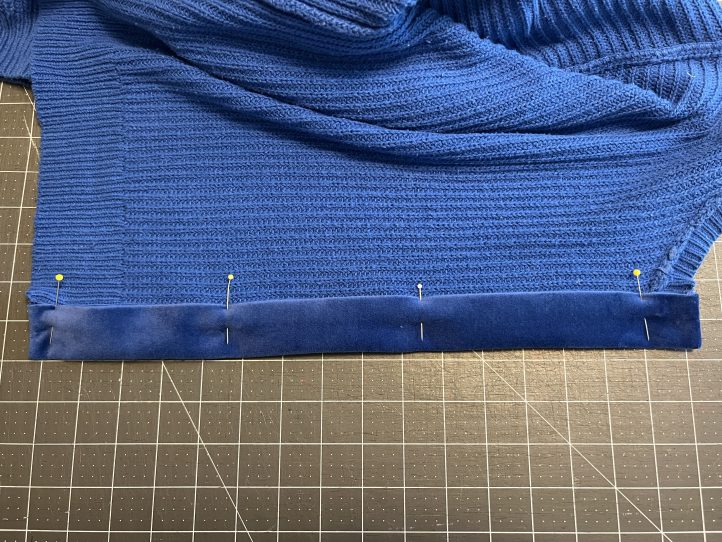
- Stitch 1/4” away from the band/sweater seam, making sure to catch the band on the wrong side.
- Repeat entire process for other front sweater edge and band.
- Space buttonhole placement evenly on one band, and always make sure to test stitch out a buttonhole on a scrap piece of fabric!
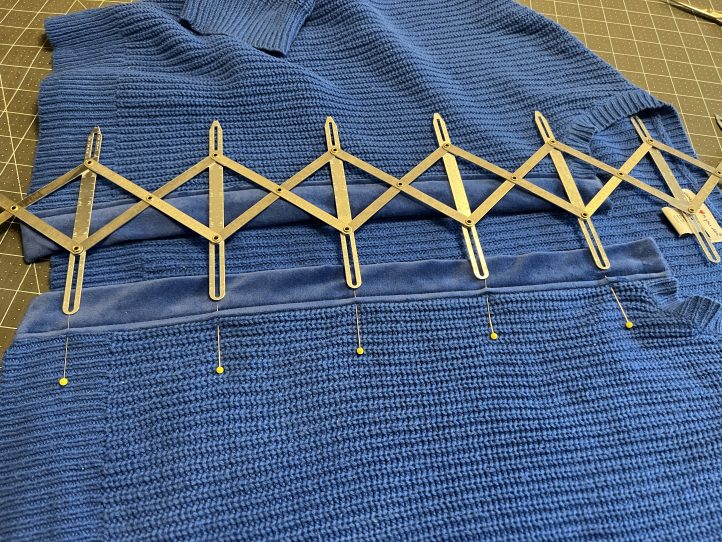
- Stitch and cut all buttonholes, and then mark button placement on other band.
- Hand or machine sew buttons onto band.

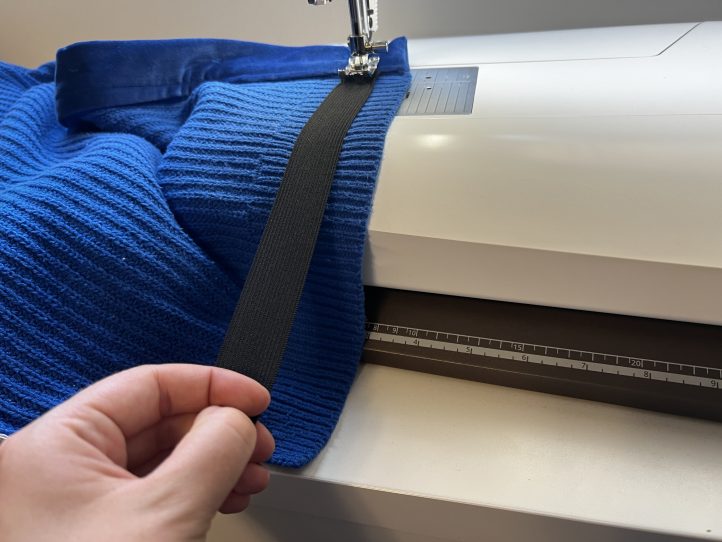
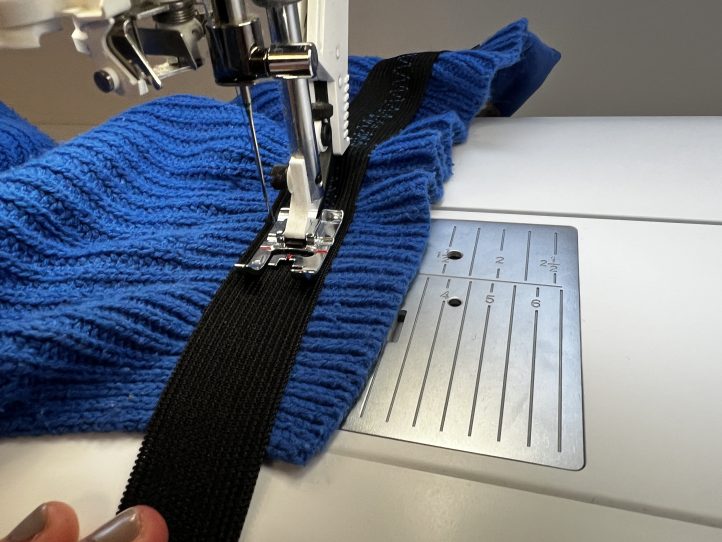
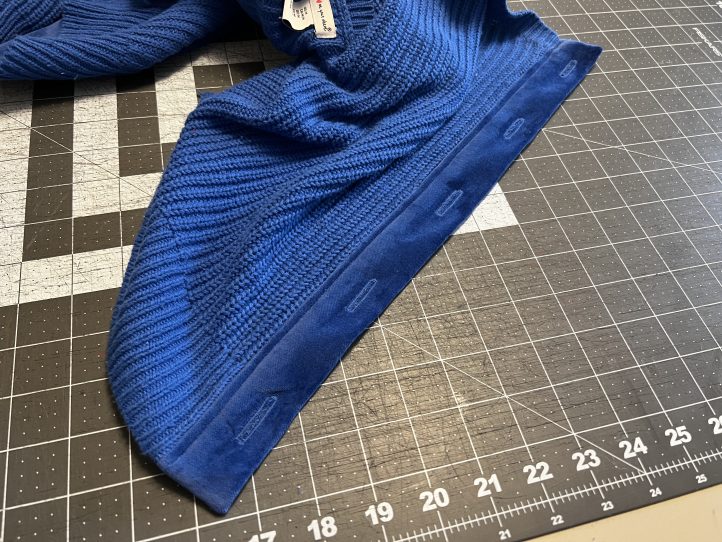
- You can leave the cardigan as is, or you can stitch on some elastic to the hem to cinch it in! Since this sweater has a side slit along the side seam, I’m just going to be elasticating the fronts for a unique silhouette.
- Cut the elastic smaller than the hem.
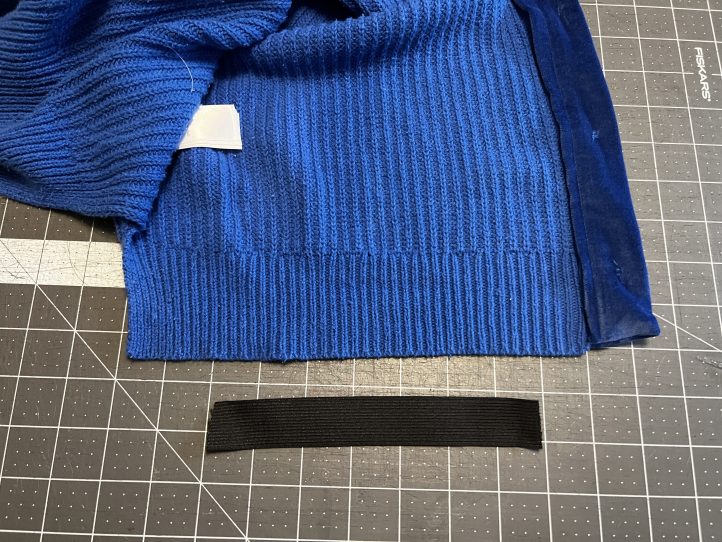
- Working from the wrong side of the sweater band, center the elastic within the hem band of the center and using a wide zig-zag stitch, sew the elastic to the sweater. Make sure to stretch JUST the elastic as you sew to create a “ruffled” edge effect.