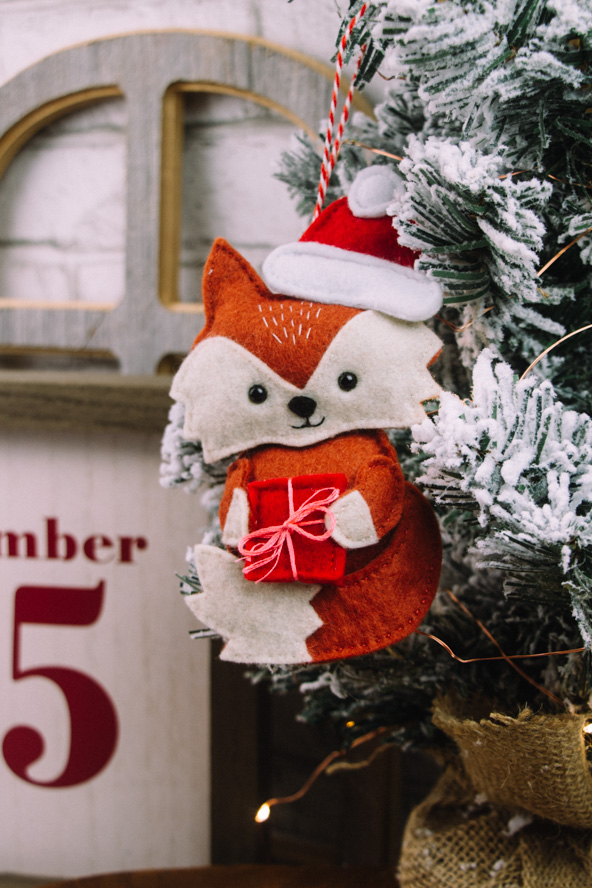
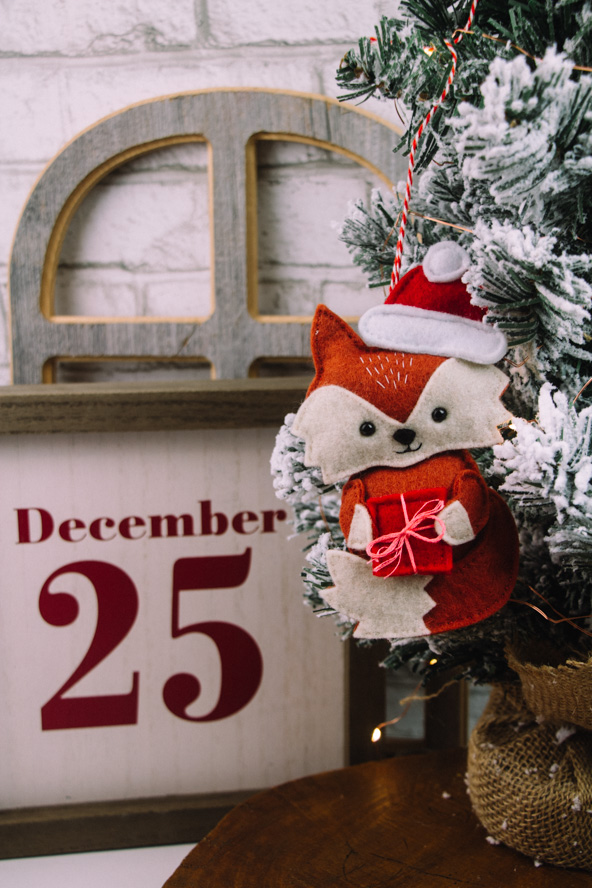
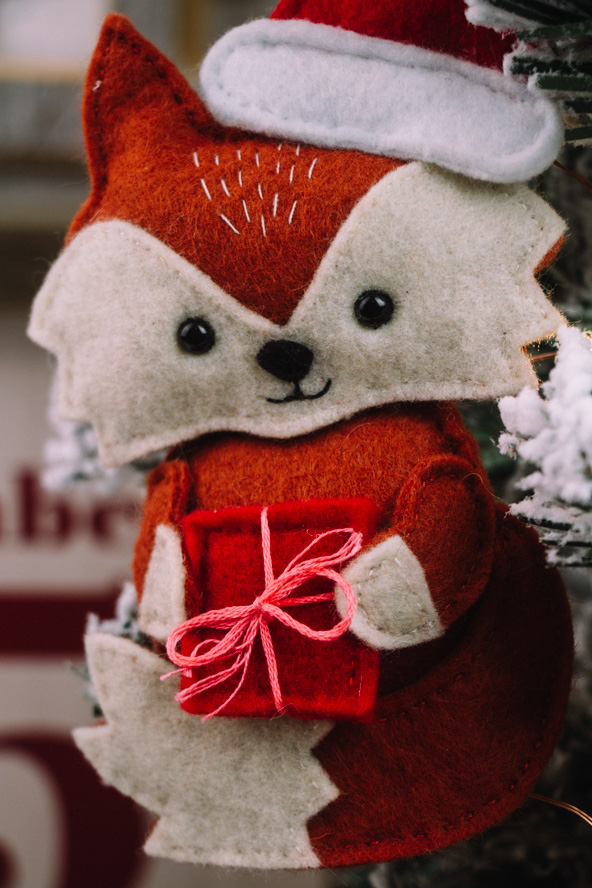
Turn your home into an enchanted winter woodland with this adorable felt ornament. Paired with the Oh So Deerly Woodland Ornament (also in this issue), this felt fox ornament is a delightful way to incorporate the cottagecore trend into your Christmas décor. This ornament pattern features a hat and present tied with a string, and is an excellent project to sharpen your hand sewing skills. Give your Christmas tree a whimsical touch with this adorable ornament pattern.
Skill Level: Easy
Finished Measurements: 4″ wide x 6 1/2″ tall
Seam Allowances: 5mm (3/16″)
Materials:
- Fabric: Felt in rust brown, cream, white, red, and dark brown, one 12” square of each; plus small scraps of black and pink
- Sewing thread: cream, dark brown, red, black, and pink
- Safety toy eyes
- Safety toy stuffing
- Red and white Christmas twine for hanging loop – approx. 14″
- PDF Template – This is located at the bottom of the page. Please see printing instructions below.
Tools:
- Pencil
- Dressmaker’s shears
- Pins
- Sewing needle
PRINTING INSTRUCTIONS:
To download the PDF template, click on the download button at the bottom of the page. We recommend opening your download using Adobe Acrobat.
Designer Notes:
- Make your woodland decorations even more festive by placing scented pouches inside them before stitching up – you could add cinnamon, lavender, or a mixture of Christmas spices!
- If you don’t have any toy eyes in your stash, you can make the eyes for our woodland decorations by working two French knots on the face in black yarn or embroidery floss, instead.
Instructions:
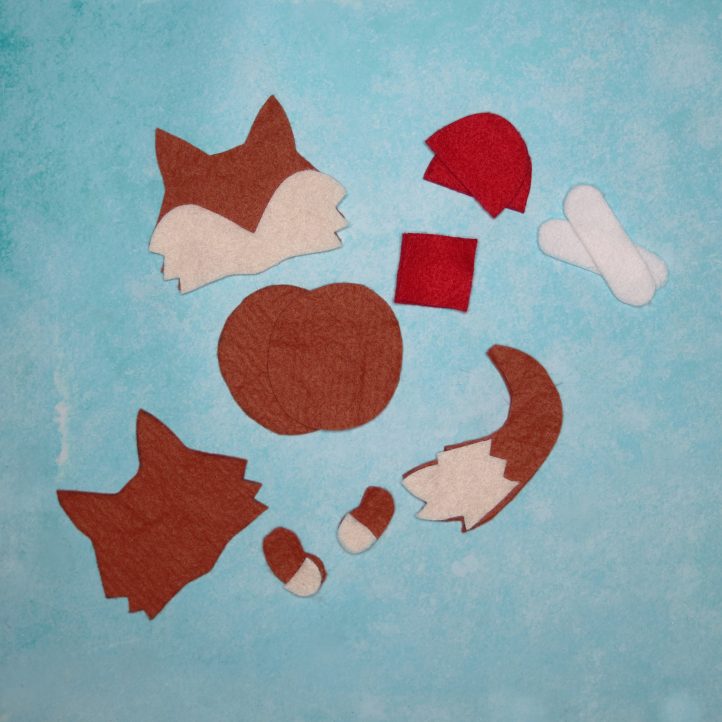
- Begin by cutting out your felt pieces. Print out the fox template below, and use it to draw and then cut each of the shapes from sheets of colored felt as indicated, using sharp scissors or dressmaker’s shears.
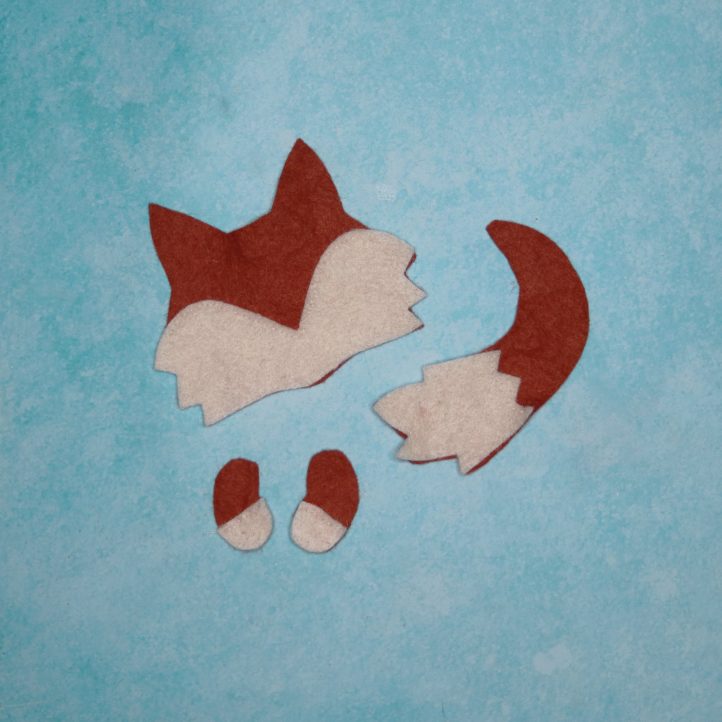
- Layer the cream-colored face piece onto one of the rust brown head pieces, aligning at the bottom and side edges (you can also use our photo as a placement guide). Thread a sewing needle with a length of cream thread and work a straight handstitch across the top of the cream-colored piece, to hold the two together. Repeat to add cream felt details to the end of the fox’s tail, and his paws, as pictured.
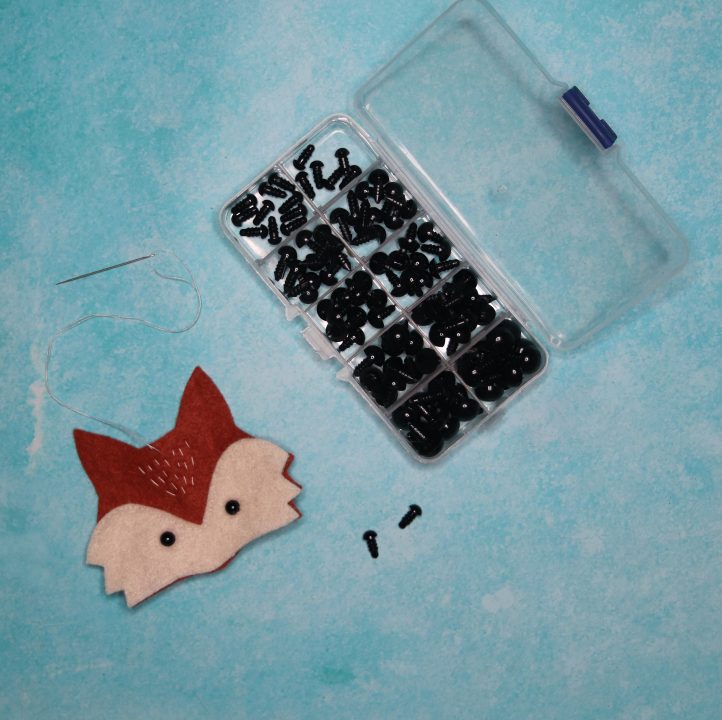
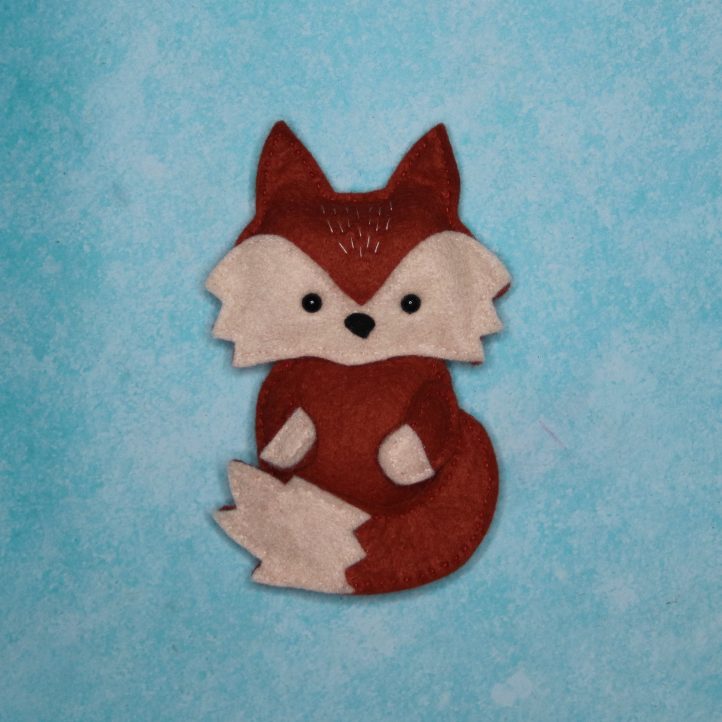
- Use a pencil to mark where you want the fox’s eyes to go, then carefully make a tiny hole at each point using a scissor point or a knitting needle. Fix a safety toy eye into each hole. Add small decorative straight stitches to the fox’s head, using our photo as a guide.
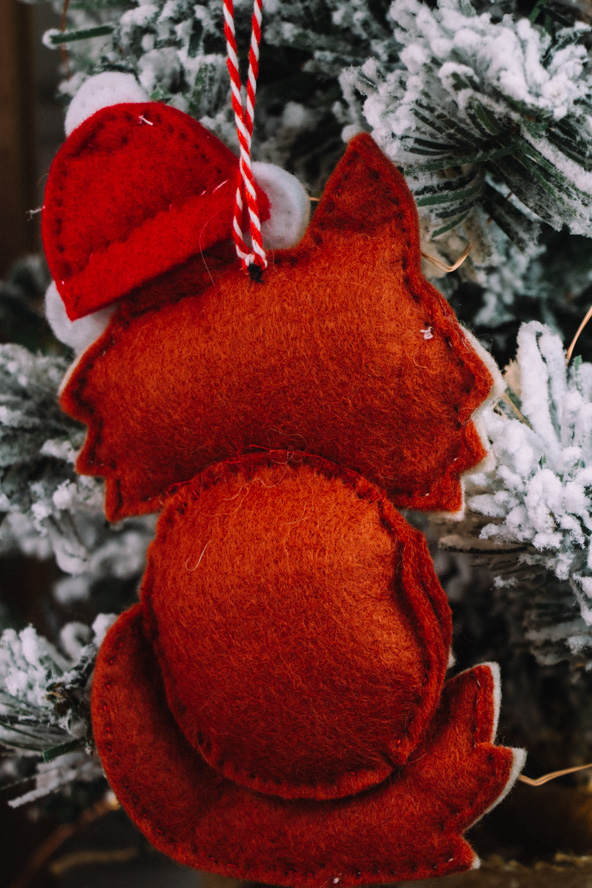
- Make the body. Layer each cream-topped paw on top of a plain one, aligning the edges. Use a needle and dark brown thread to work a straight stitch all around the outside of each one to secure the layers. Repeat to layer up and stitch the tail pieces and the body pieces. Before you finish stitching the body, push a small amount of toy stuffing inside, then continue sewing to close the seam. Carefully sew the paws and tail to the body piece, concealing your stitches on the reverse of the work and curling the tail around the bottom of the body, as pictured.
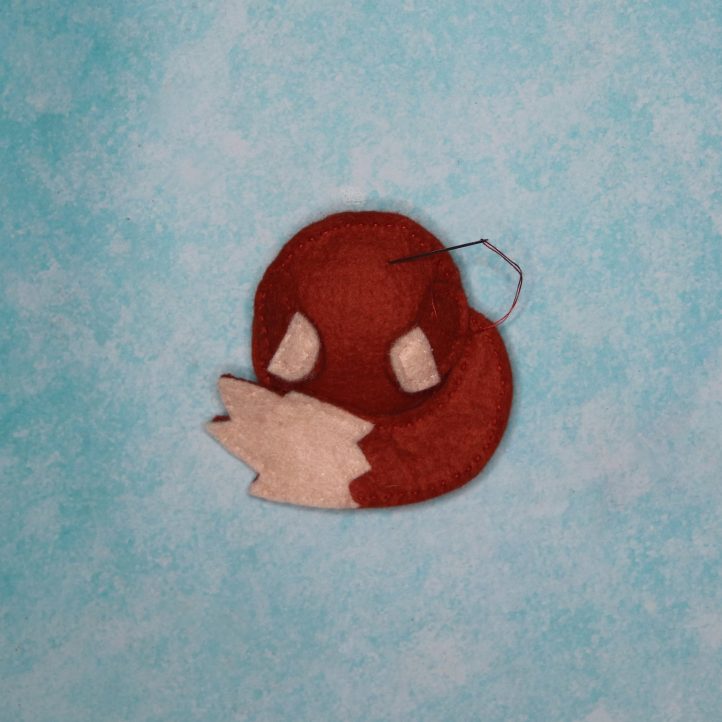
- Layer the head pieces together as you did for the body and work a straight stitch around the edge, leaving the bottom of the shape open. Insert a small amount of stuffing into the head, then sandwich the top edge of the body inside the open head seam slightly, and pin. Stitch across the bottom of the head to seal the stuffing inside and secure the head and body together. Cut and stitch a little triangle of black felt to make a nose. If you don’t have any black felt, you can embroider this on instead using black floss.
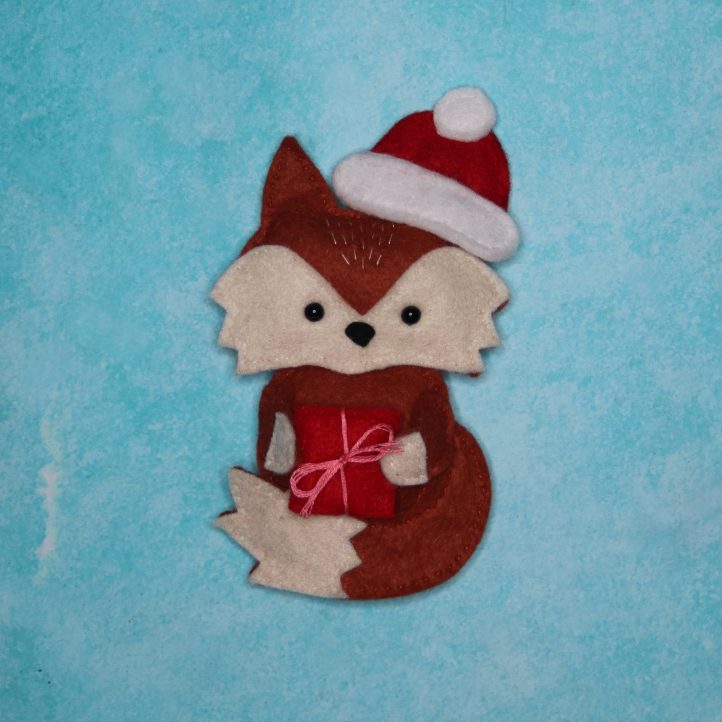
- Time to get your fox ready for the holidays! Layer the two red gift pieces together, sandwiching a small amount of stuffing between them. Stitch all around the edge of the shape with red thread. Tie a length of thread around the gift to make a ribbon, then stitch to the fox’s paws. Make the hat in the same way, layering up the various pieces and stitching, making sure to leave the bottom edge open. Slide the hat down over one of the fox’s ears and pin, then stitch across the bottom to secure. Finally, add a loop of ribbon or twine to the back of the fox’s head, to allow him to be hung proudly from your tree.
so cute when finished. not hard to complete.
We’re so glad you enjoyed this project 🙂 Have a great day! – Ashley, WeLikeSewing
So cute