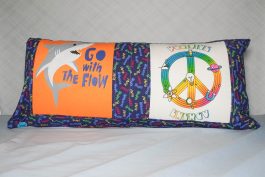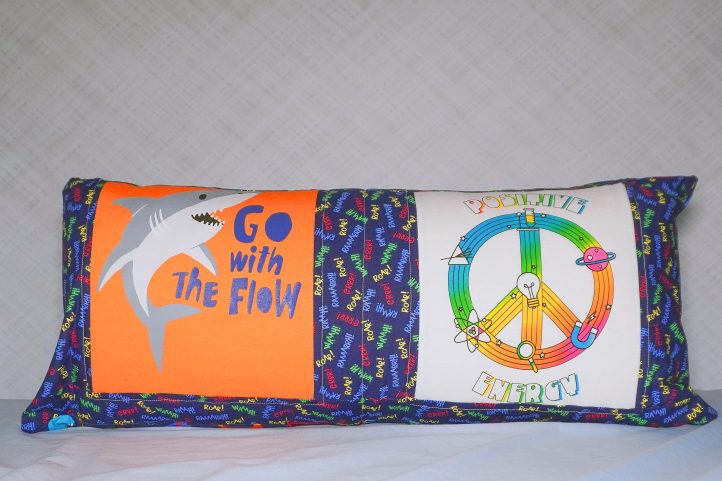
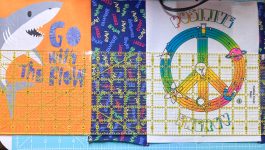
Upcycle your tired old t-shirts into a soft and cuddly t-shirt quilt or pillow! T-shirt quilts are great projects for beginner quilters, not only due to their use of recycled fabric but because of their simple square blocks and easy-to-follow instructions. Quilt designer Marie Segares is showing you how to make a t-shirt quilt with her simple throw pillow. Perfect for a child or teen, this beginner quilting project will help you master quilting basics while making some one-of-a-kind home décor.
Finished Size: 13” (33 cm) x 29” (73.5 cm) to fit a 14” (35.5 cm) x 28” (71 cm) pillow form
Materials:
- Fusible interfacing – 1/2 yard (0.5 m)
- Universal sewing needle
- 100% cotton thread for top spool and bobbin
- 14” (35.5 cm) x 28” (71 cm) pillow form
- Cotton batting – 1 yard (1 m)
- 100% cotton quilting fabric for sashing – 1/3 yard (0.3 m)
- 2 children’s t-shirts (size 5T used in sample)
- 100% cotton quilting fabric for inside – 1/2 yard (0.5 m)
- 100% cotton quilting fabric for pillow backing – 1/2 yard (0.5 m)
- Optional: Embroidery floss and hand embroidery needle (for hand tie quilting)
Tools:
- Sewing machine
- 45 mm rotary cutter, acrylic ruler, and cutting mat
- Fabric shears
- Hera marker
- Quilting pins or fabric clips
- Iron and iron safe surface
- Teflon pressing sheet
- Basic sewing supplies (seam ripper, etc.)
- Optional: 1/4″ quilting presser foot with guide
- Optional: Walking foot (for machine quilting)
Instructions:
- Press fabric and batting to remove wrinkles.
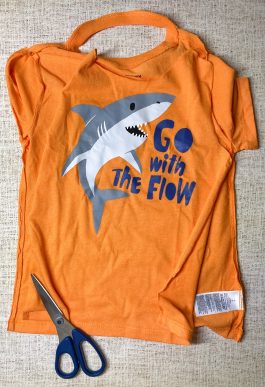
PREPARE T-SHIRT FABRIC:
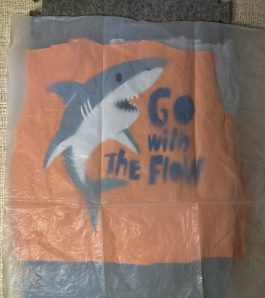
- With fabric shears, cut around side seams, collar, and hem of t-shirt, leaving as much space around t-shirt image as possible.
- Position interfacing on iron-safe surface with fusible side up. Position t-shirt over interfacing with image side up. Cover with Teflon pressing sheet. Press with iron following instructions on the fusible interfacing to adhere to back of t-shirt. Repeat for second t-shirt.
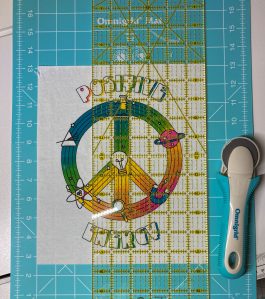
- With rotary cutter, acrylic ruler, and mat, cut t-shirt fabric to 9” wide x 10 1/2” long around t-shirt image, leaving 1/2″ to 1” around all sides of image. Repeat for second t-shirt.
PREPARE FABRIC AND BATTING:
- With rotary cutter, acrylic ruler, and mat, cut sashing fabric into one 4 1/2” strip and two 2 1/4” strips across width of fabric.
- Cut batting and inside fabric to 15” x 29” (one piece each).
- Cut backing fabric into two 15” wide x 16” long pieces.
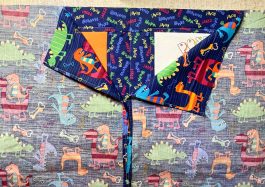
ASSEMBLE FRONT OF PILLOW:
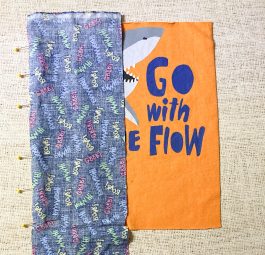
- Pin 4 1/2” strip of sashing fabric to first t-shirt with right sides facing. If using 1/4″ quilting presser foot with guide, change to this presser foot. Sew pieces together with 1/4″ seam.
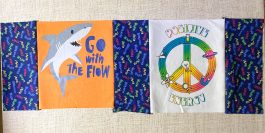
- Continue to assemble front of pillow with 4 1/2” strip of sashing between each t-shirt and on side as shown in assembly diagram below.

- Using Teflon pressing sheet to avoid damaging t-shirts, press seams flat on the back of t-shirt panel.
- Trim top and bottom edges of t-shirt panel to straighten.
- Pin first 2 1/4” strip of sashing fabric to top of t-shirt panel. Sew pieces together with 1/4” seam.

- Repeat with second 2 1/4” strip of sashing fabric at bottom of t-shirt panel.
- Using Teflon pressing sheet to avoid damaging t-shirts, press seams flat on the back of t-shirt panel.
PREPARE QUILT SANDWICH:
- Make a “quilt sandwich” for the front piece as follows. Position inside fabric wrong side up on bottom, position batting in middle, and position front piece on top with right side facing up.

- Note: If you aren’t confident in your sewing machine quilting skills, consider quilting straight lines around the t-shirts (on the sashing), following the instructions on your batting for the amount of inches between quilt lines. You can use ties to quilt the t-shirt sections. Read on for instructions for both options.
- Pin or clip layers together.
QUILT FRONT OF PILLOW:
- Quilt as desired or follow instructions below.
- For machine quilting: Use Hera marker to mark quilting lines on right side of t-shirt panel for straight quilting. Change to standard presser foot or walking foot. Sew straight lines on Hera marked lines to quilt all three layers together.
- For tie quilting: Use Hera marker to mark quilting spots on right side of t-shirt panel. With embroidery floss and needle, use the straight stitch to embroider an “x” each marked position. Secure with a second “x” over same position, and tie in back (which will be pillow inside). Knot and fasten off, leaving end of floss on inside. Continue to tie on each Hera marked spot to quilt all three layers together.
- Trim all 3 layers to size of t-shirt panel to straighten and remove bulk of excess batting.
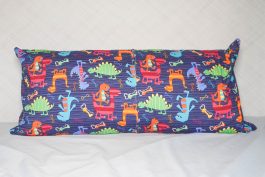
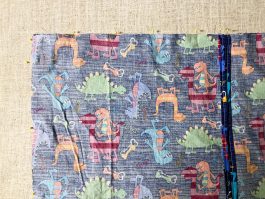
PREPARE BACK OF PILLOW:
- With first backing fabric piece, fold over longest edge approximately 1/4″ and iron flat.
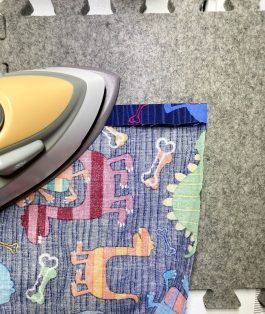
- Fold over again and iron flat to enclose raw edge of fabric.
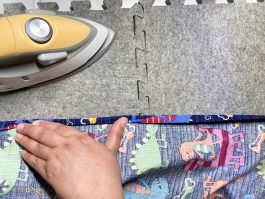
- Repeat for second backing fabric piece.
- Return 1/4″ quilting presser foot to sewing machine. Topstitch a 1/4″ seam across folded edge on each backing fabric piece.
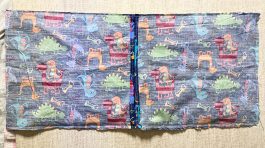
ASSEMBLE PILLOW:
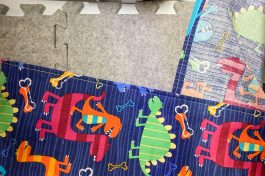
- Position t-shirt panel on bottom with right side up and position backing pieces on top with wrong sides up. Covered seams should be at center as in photo below. If you are using a directional print, be sure that top sides match on front and both back pieces.
- Pin securely around edges.
- Sew along outer edges with a 1/4″ seam around, being sure to reinforce start and end stitches.
- Turn pillowcase right side out. Point out corners and press if necessary (being sure to cover t-shirt sections with Teflon pressing sheet to avoid damage).
- Insert pillow form into pillow case.