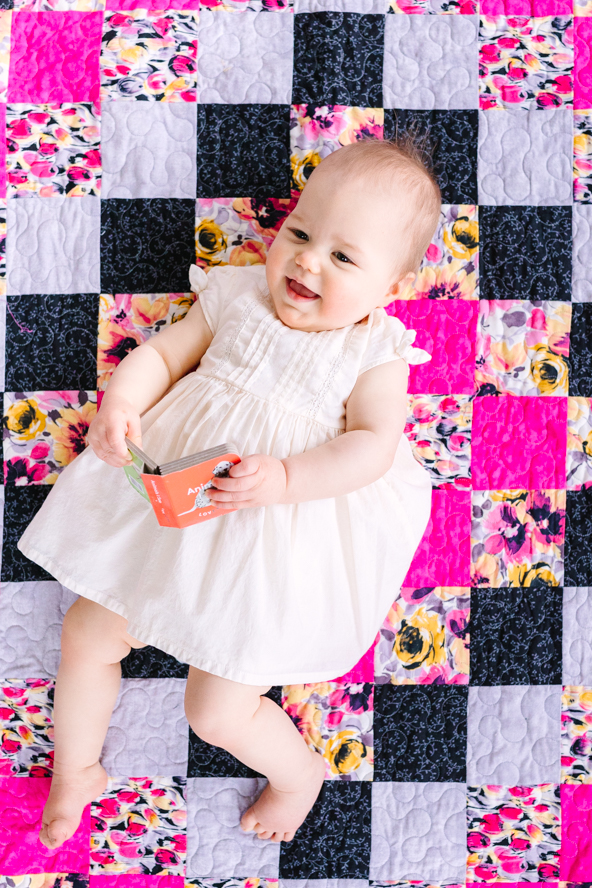
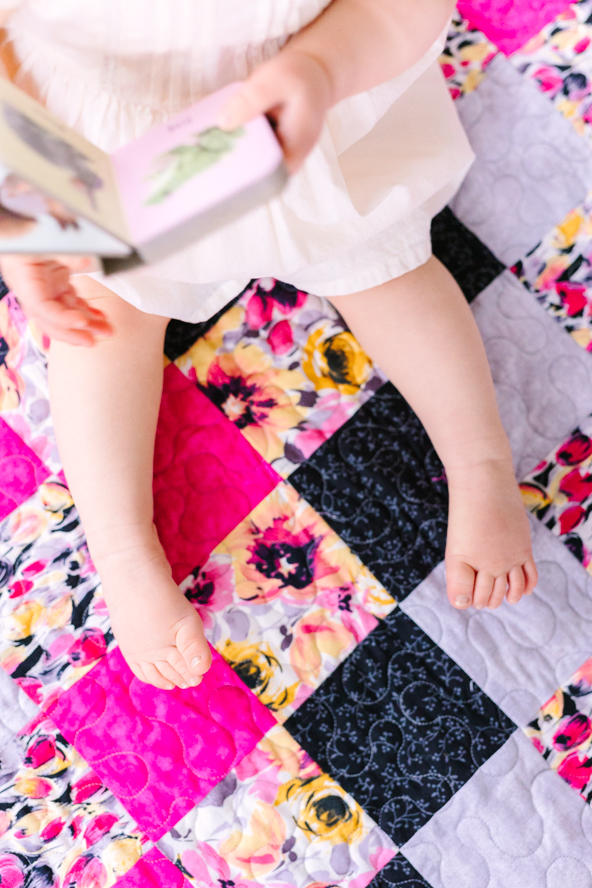
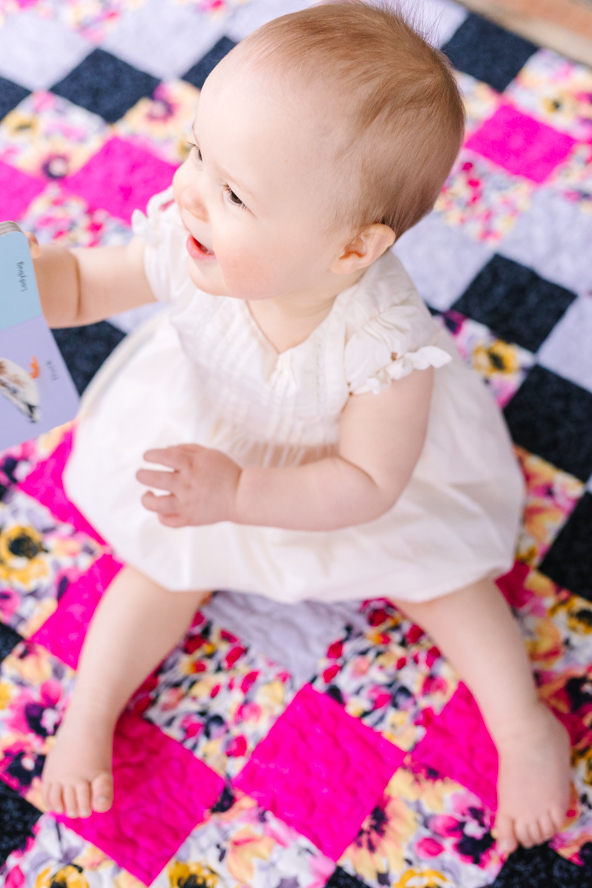
Welcome the newest addition to your family with a beautiful, handmade baby quilt. Designer Ann Butler combined bold spring colors with splashes of black to create a baby quilt pattern that’s jaw-droppingly pretty. Made using the classic trip around the world pattern, this baby quilt uses simple fabric squares to create its eye-catching design. It’s also a great project for beginner quilters to play with color placement. Pick out some rich colors and spring prints to make your own gorgeous baby quilt pattern.
Materials:
- Cotton batting
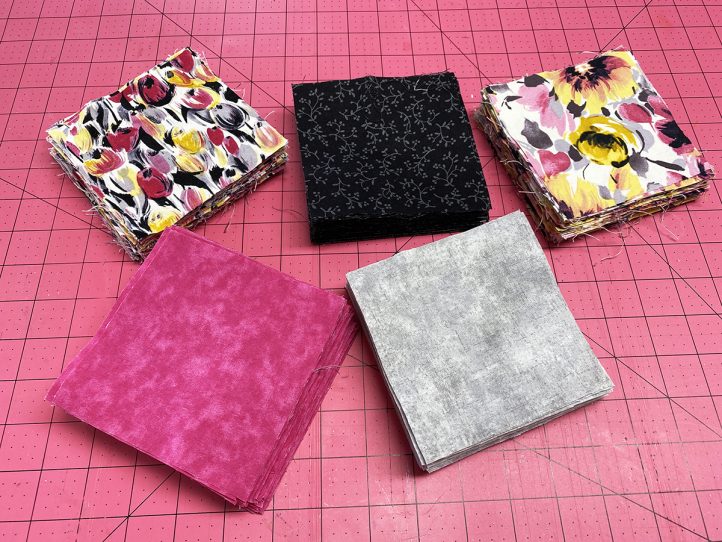
- Cotton fabric, 1 2/3 yards, light grey
- Cotton fabric, 1 2/3 yards, small floral
- Cotton fabric, 1 2/3 yards, pink
- Cotton fabric, 1 2/3 yards, large floral
- Cotton print fabric, 2 1/3 yards, black print
- Thread
Tools:
- Sewing machine
- Ruler
- Pins
- Needle
- Iron
- Rotary cutter
- Cutting mat
- Scissors
- Washing machine
- Dryer
DESIGNER NOTES:
- Seam allowance is 1/4 inch unless indicated differently.
- Pre-washing takes the sizing out of the fabric; this is an optional step but one the designer recommends.
- Cut extra squares of each fabric and change up the design if you want, experiment, and have fun!
- Use as many or few colors/prints of fabric as desired.
- Use one color for the backing if desired.
Instructions:
- Choose five fabrics in assorted color values, prints, and solids.
- Pre-wash and dry your fabrics and then iron.
- Square up your fabrics by folding in half and trimming the raw edges even using rotary cutter, mat, and ruler.
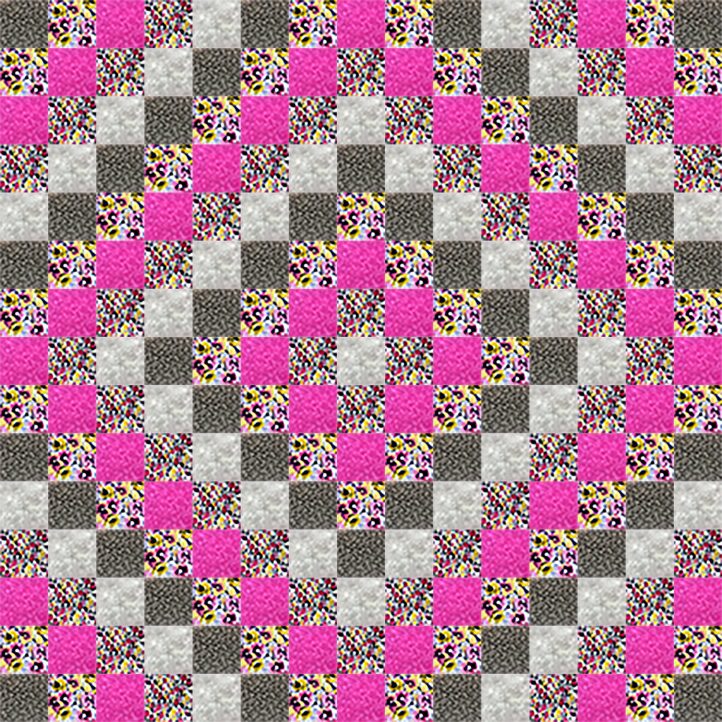
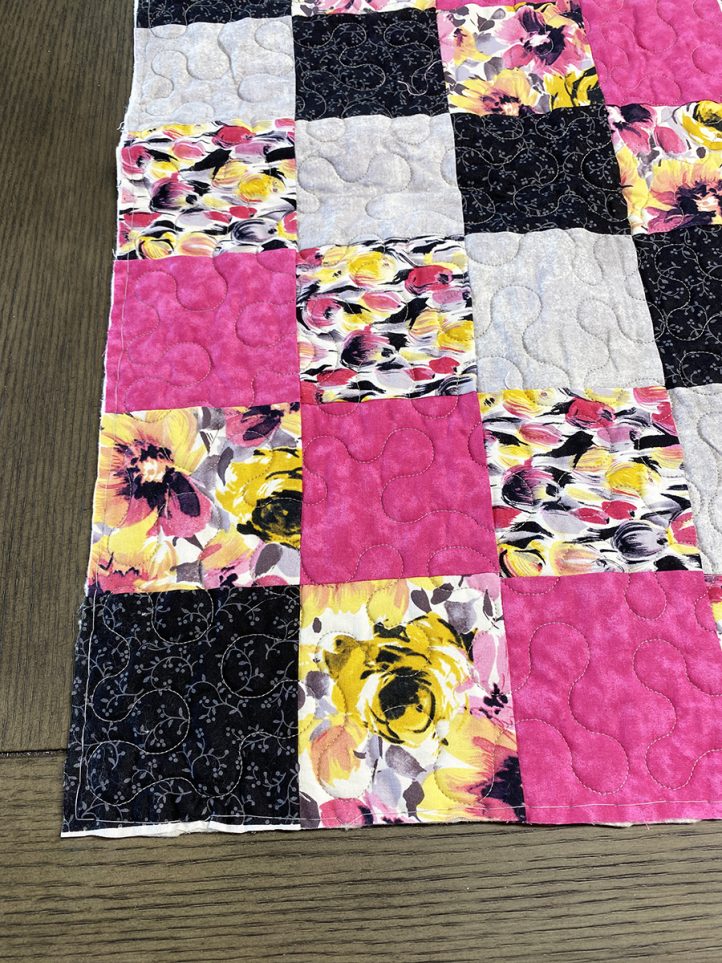
- Using rotary cutter, mat, and ruler, cut 4 1/2” squares in the following amounts: 41 light grey, 44 small floral, 48 pink, 48 large floral, 44 black.

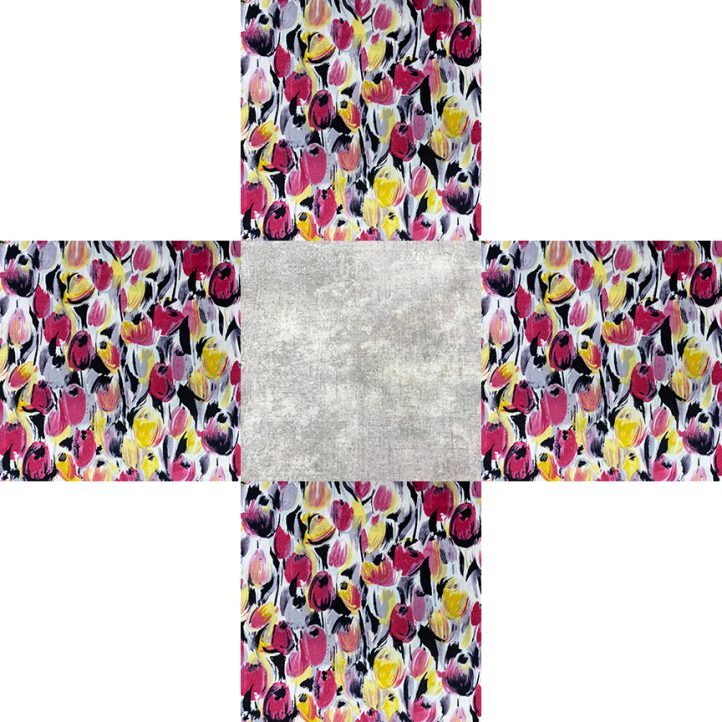
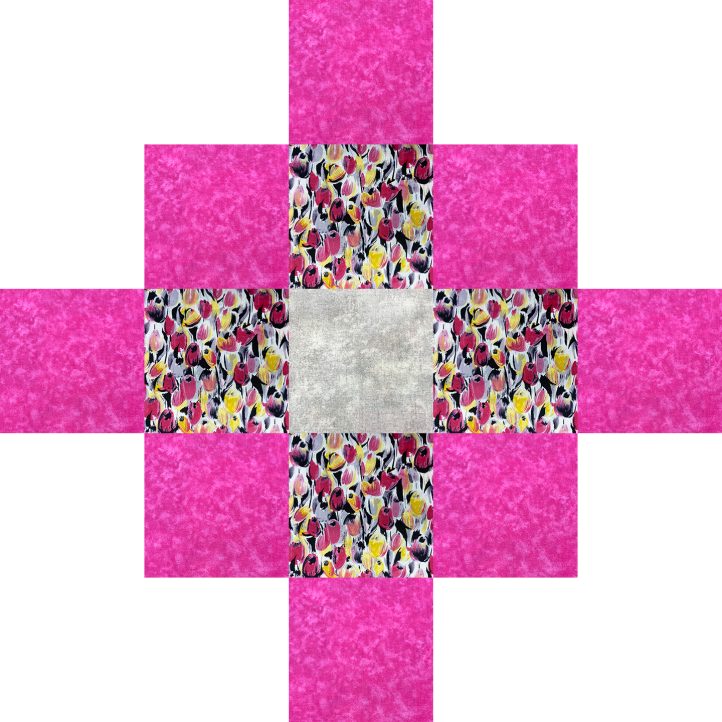
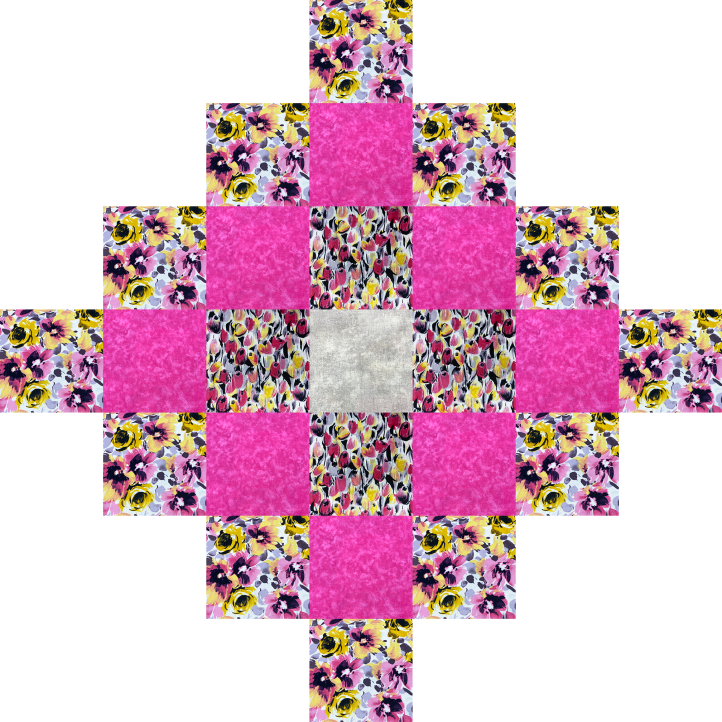
- In a large area, lay your squares out starting with the center light grey square and working around. Add small floral on the four edges of the light grey square. Followed by pink on each edge of the small floral, the large floral on the edges of the pink and the black on the edges of the large florals.
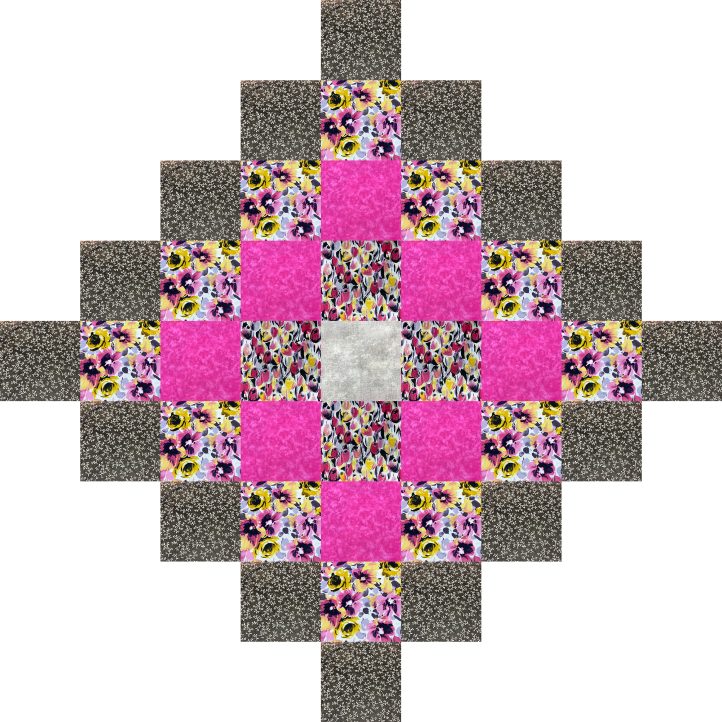
- Continue adding the squares until you have 15 rows across and down.
- Stack squares left to right for each row starting with Row 1. Mark the rows and keep in order.
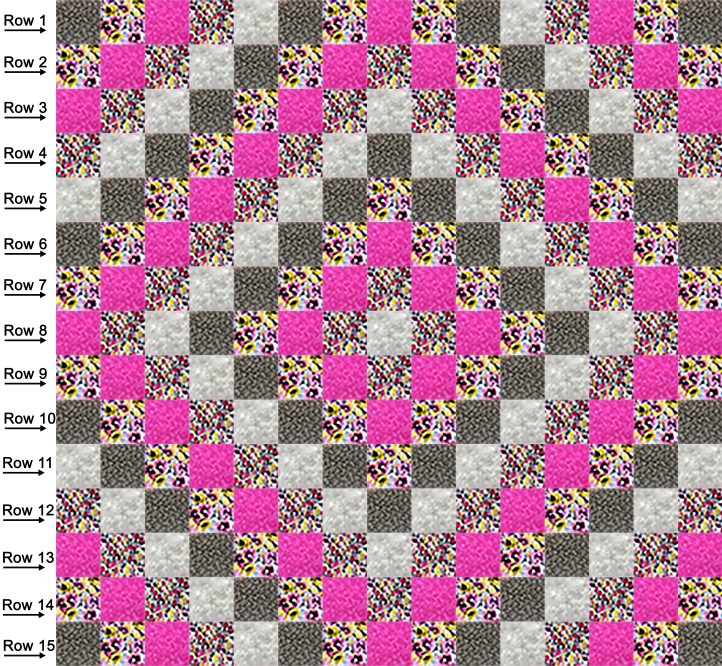

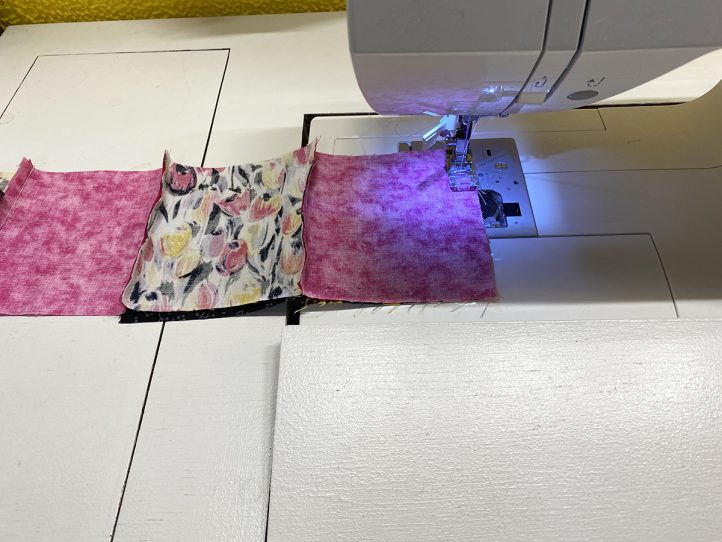
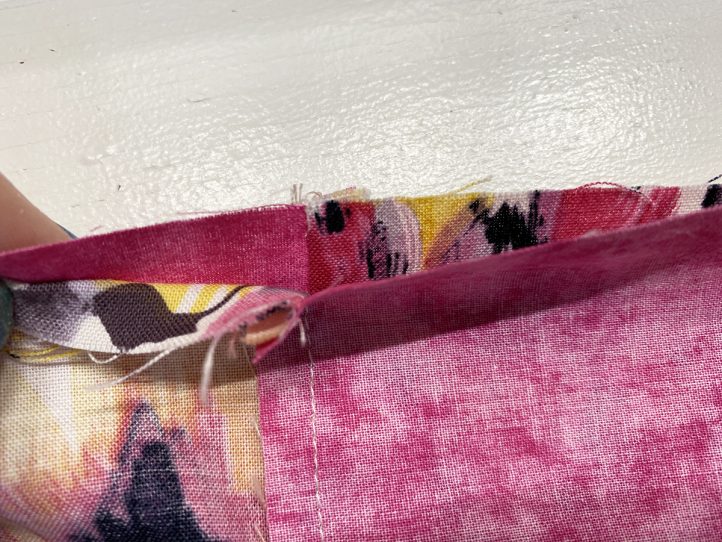
- Place the first two squares from Row 1 right sides together and sew with a 1/4 inch seam. Continue sewing the squares in order until the row is complete.
- Repeat Step 8 for all 15 rows.
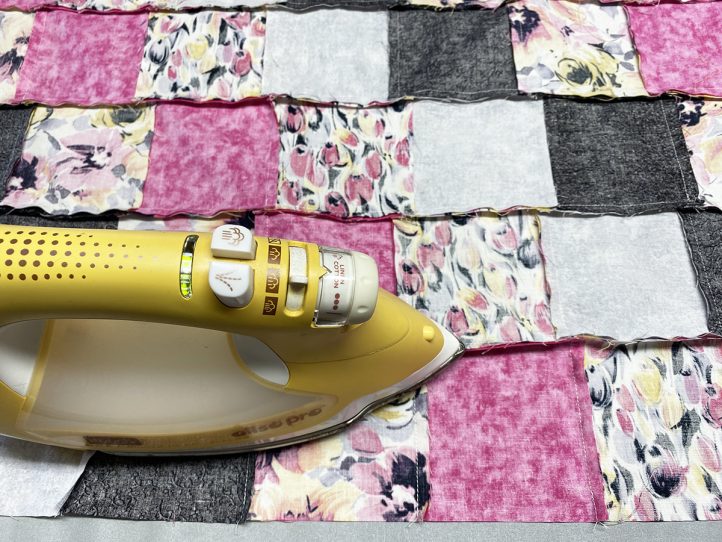
- Press the odd number rows seams in one direction and the even numbered rows in the opposite direction.

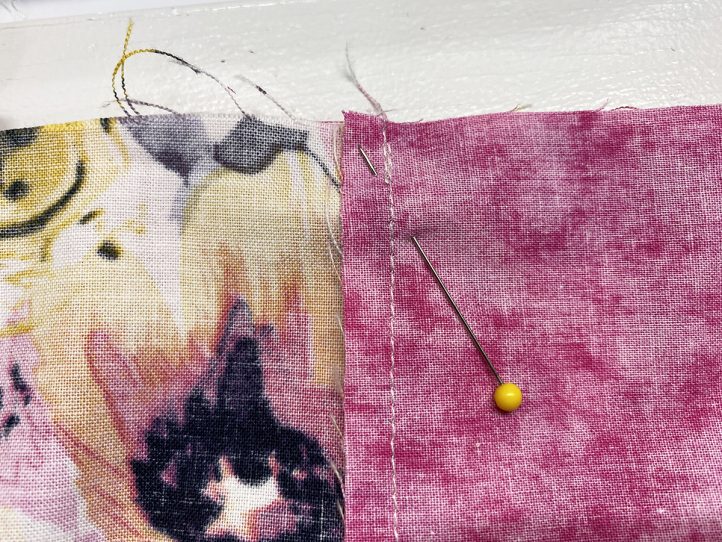
- Align and pin Row 1 and Row 2 together at the seams. Stitch together.
- Continue pinning and sewing rows together in order to complete quilt top.
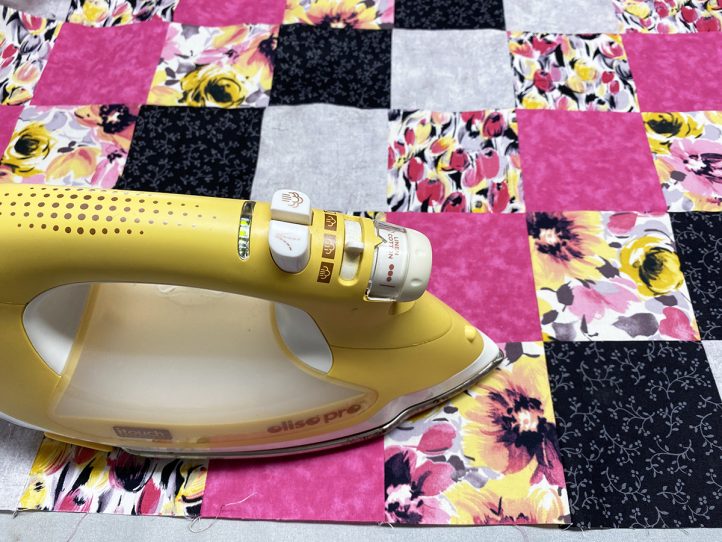
- Iron the back of the quilt top, pressing the seam rows in one direction. Then, press the top side of the quilt.
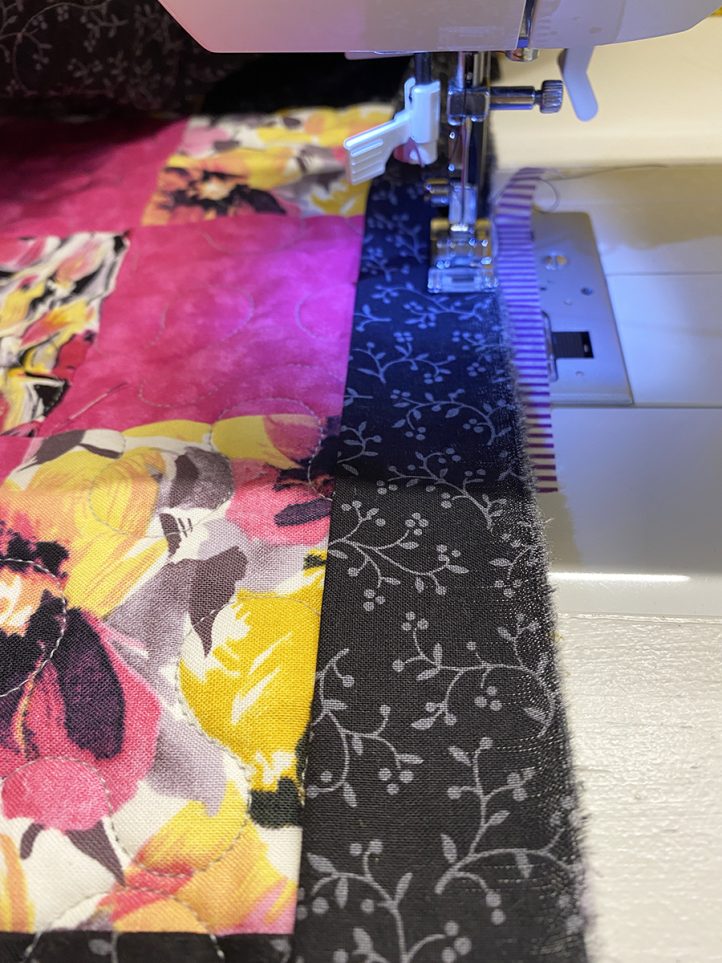
- Cut six 2 3/4” strips from black fabric to make and sew together. Fold wrong sides together and iron in half for binding. Set aside.
- Cut, piece, and sew together 13” x 60” strips from each of the fabrics.
- For the quilt backing: Sew strips together along long edges with a 1/4 inch seam in the following order: Black, Large Floral, Pink, Small Floral, Grey.
- Press the back side of the backing fabric with seams in one direction. Then, press the top side.
- Sandwich the layers as follows: backing wrong side up, batting, quilt top right side up. Pin or baste with large running stitches together.
- Quilt as desired.
- Trim around the quilt to square up the edges.
- Sew binding on the top side of the quilt. Then, fold over the raw edge first, press, and hand stitch folded edge to quilt to the back side.
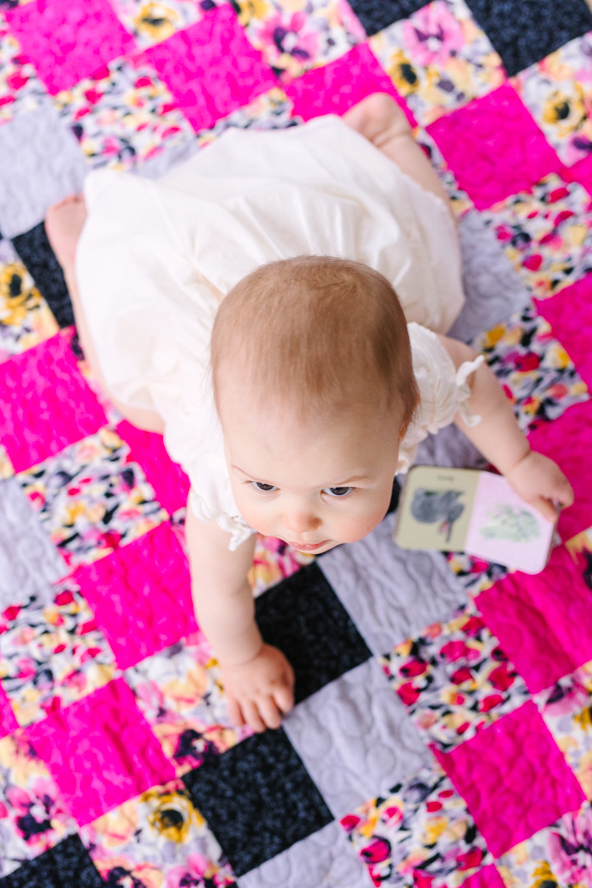
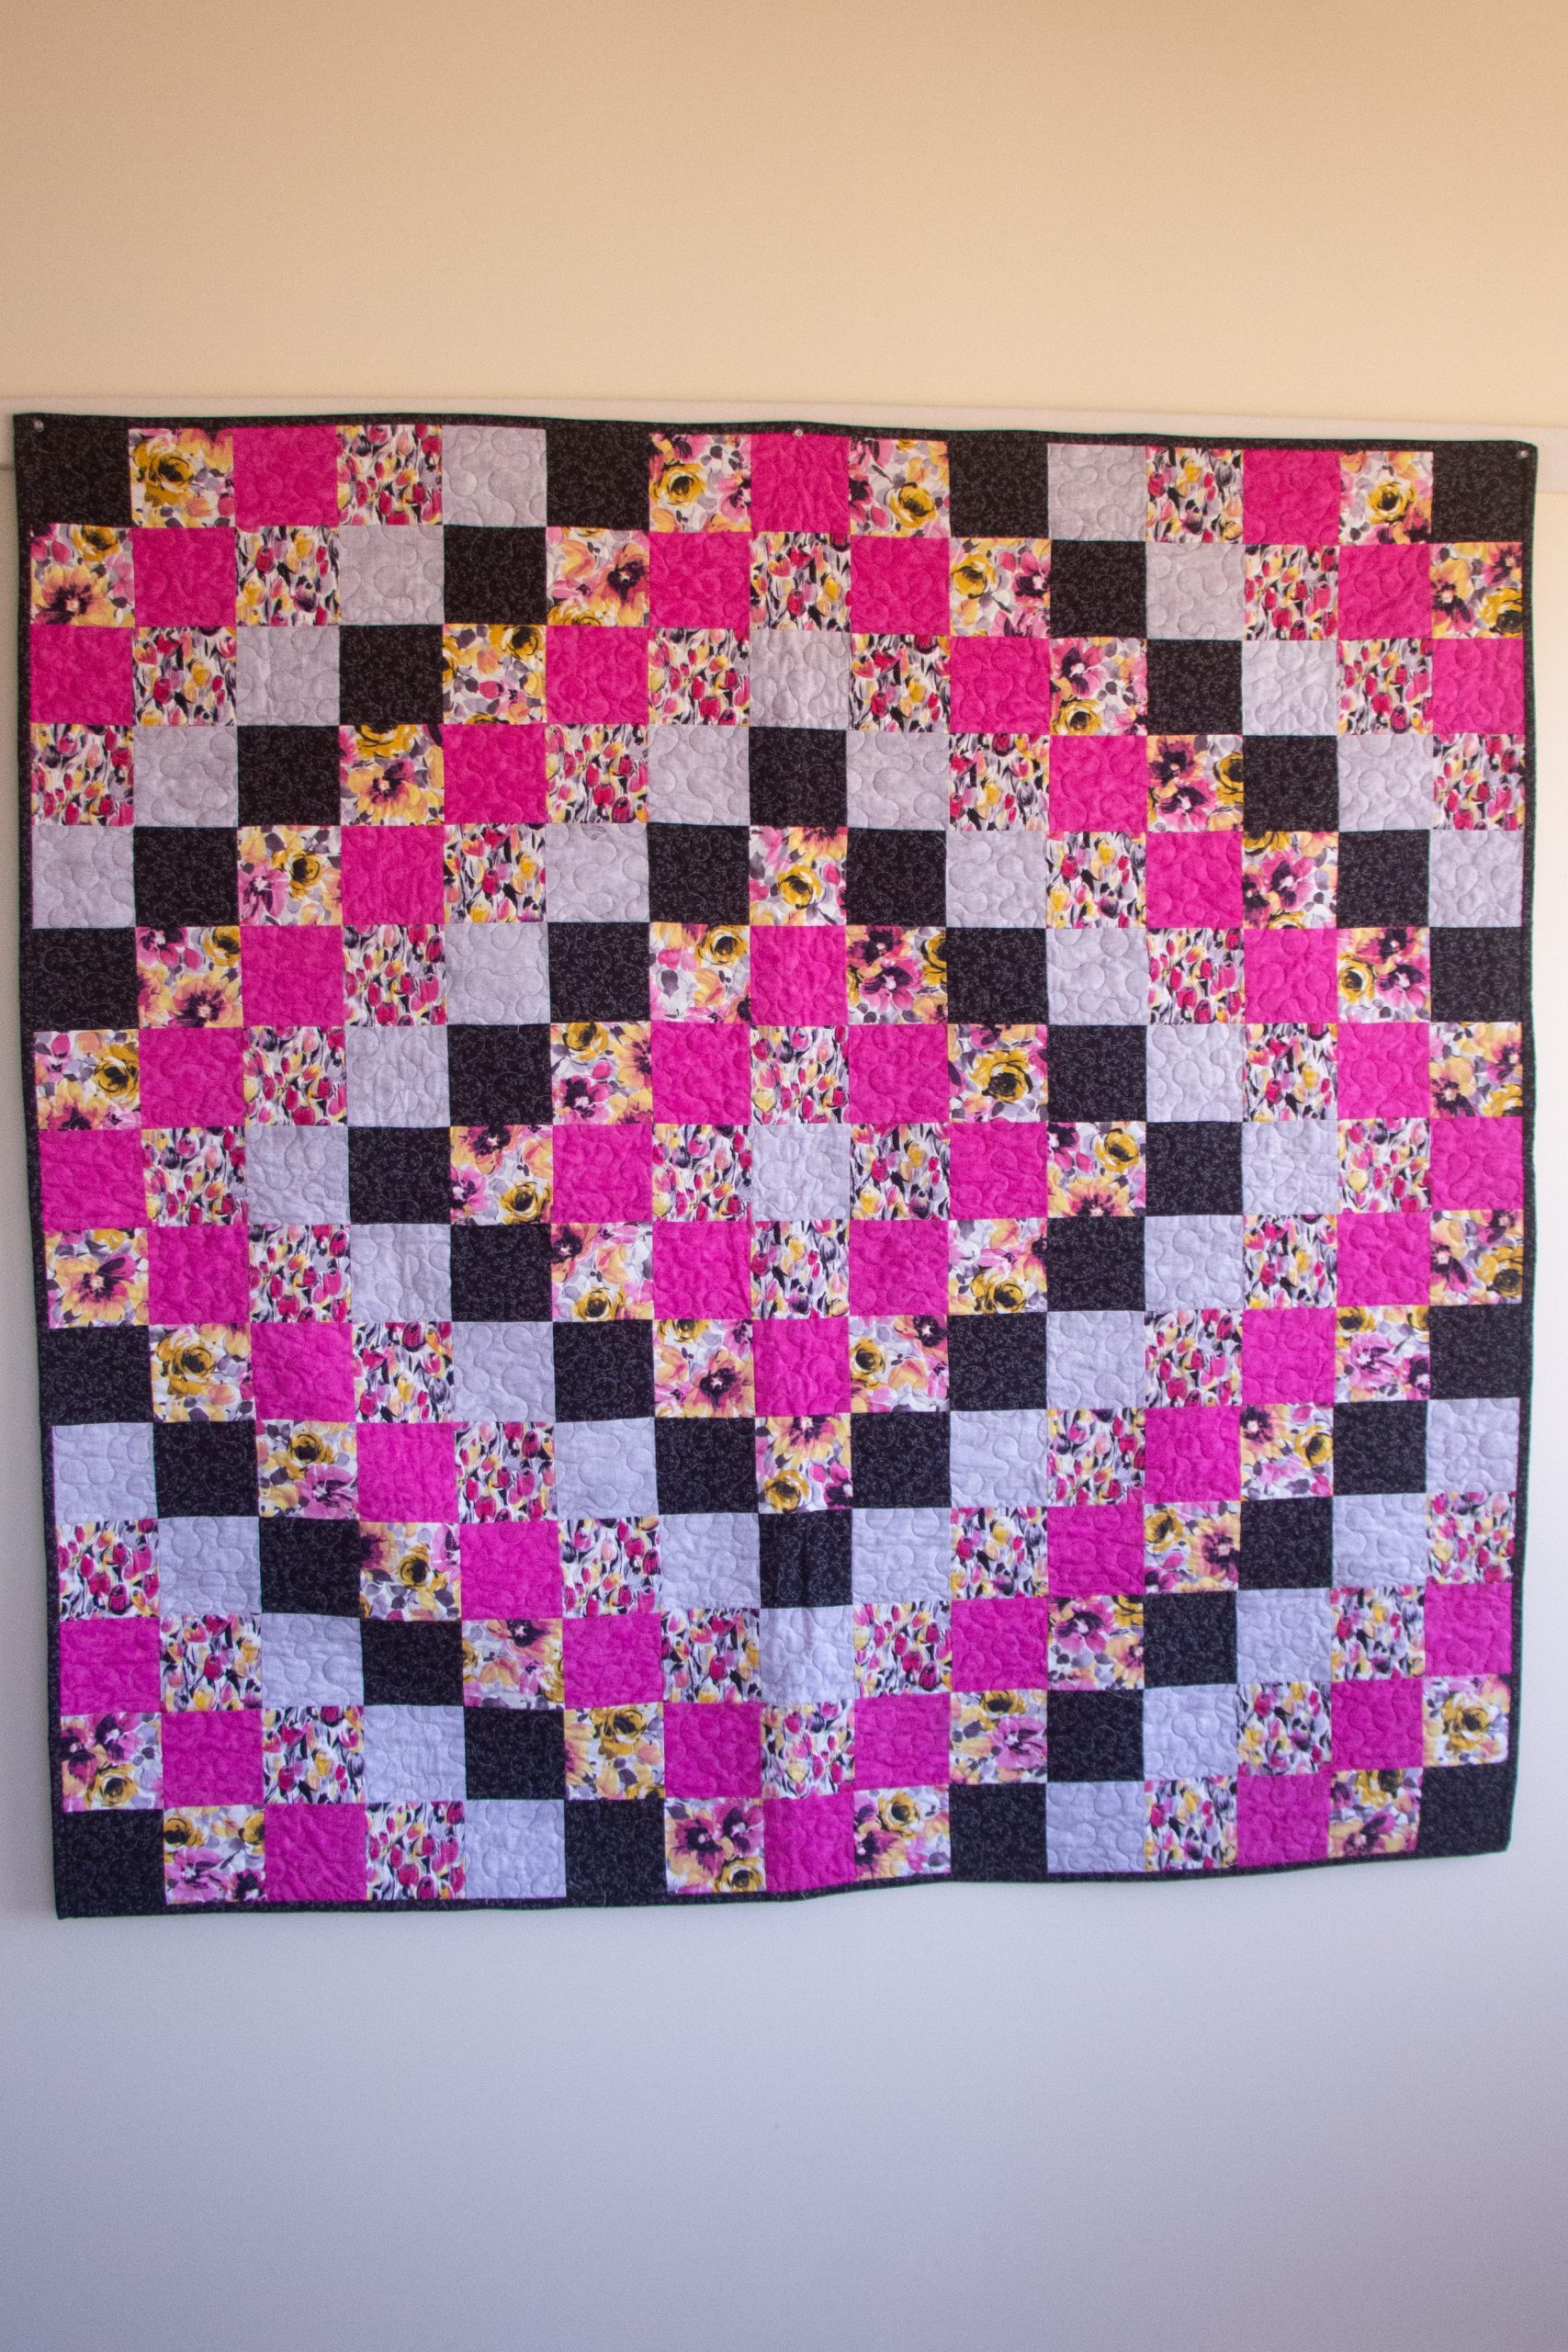
I really like the look of the pattern on this quilt. It was a bit difficult to see flat. But the overhead shot really showed how beautiful this pattern is.
This is a trier for me.
Hi Sandra! We’ve updated the photos of the quilt at the bottom of the page to include a full layout. Have a great day! – Ashley, WeLikeSewing