
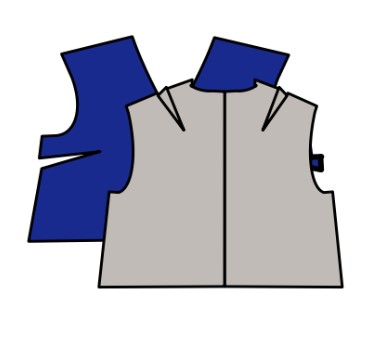
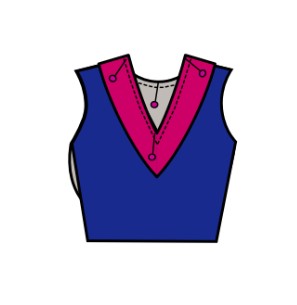
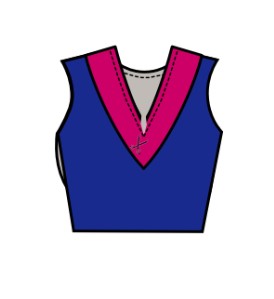
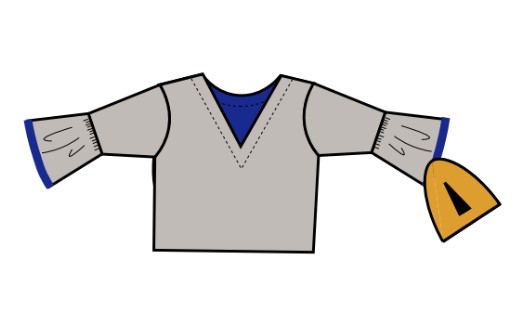
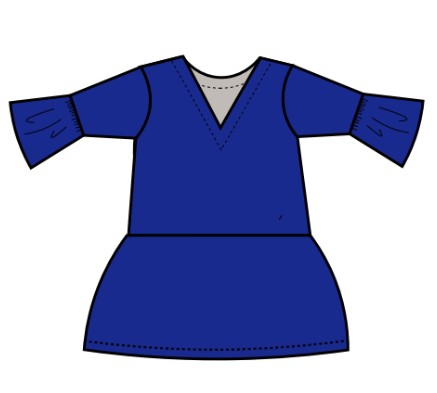
Transition from cold winter weather to the lighter and brighter days of spring with this boho top pattern. Made in a beautiful robin’s egg blue, this spring shirt pattern features an overall relaxed fit, bell sleeves and gathers at the waist. This sewing pattern is recommended for advanced beginners and is perfect for light-to-medium weight fabrics like chambray or lawn. This top pattern is ideal for breezy spring days and can be paired with jeans, slacks, or skirts, making it an excellent staple for your spring wardrobe.
Skill Level: Advanced beginner
Note: Please read the instructions thoroughly before you begin.
Materials:
- From 1 3/4 yards of light to medium weight woven fabric
- Note: Light to medium weight WOVEN fabric such as lawn, voile, chambray, satin, or challis are recommended for the top.
- Coordinating polyester thread
- 1/4 yard of fusible interfacing
- PDF Pattern – This is located at the bottom of this page. Please see printing instructions below.
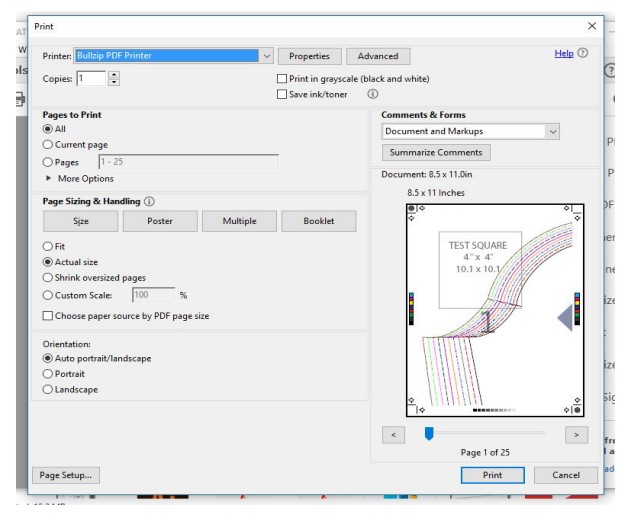
PRINTING INSTRUCTIONS:
Note: To download this pattern, click on the pattern download button at the bottom of the page. We recommend opening your pattern download using Adobe Acrobat.
Before you begin, a few notes on printing this pattern from the designer:
- This printable PDF pattern is assembled BY OVERLAPPING THE PAGES 1/2 inch.
- This pattern is available in A4 and Letter options.
- To print this pattern, open the PDF document. Select FILE — PRINT. Choose the ACTUAL SIZE or SCALE 100%.
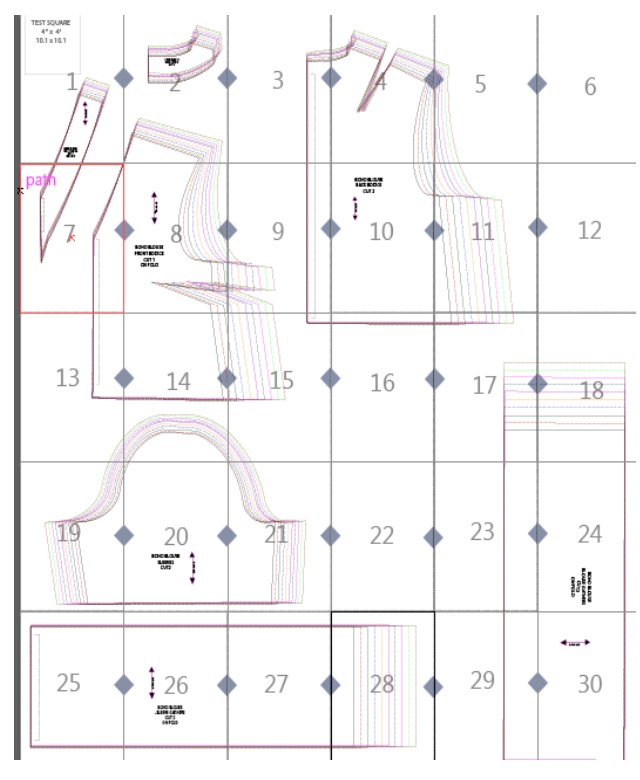
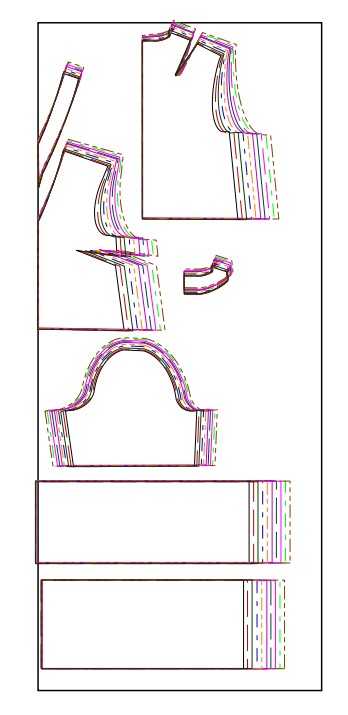
PRINTED PATTERN LAYOUT:
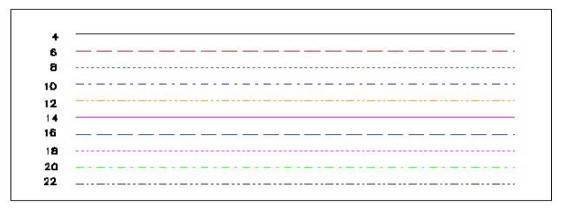
PATTERN SIZES AND COLOR-CODED LINES:
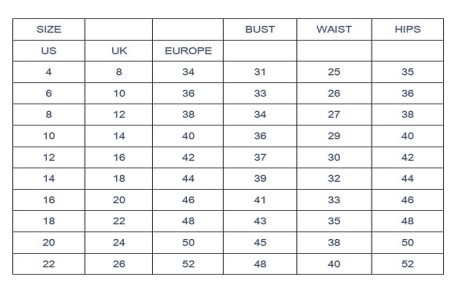
SIZES FOR SAMPLE PATTERNS:
Note: Please, select your TOP with this chart. The pattern has 3’’ ease at bust point for the top.
CUTTING LAYOUT AND YARDAGE REQUIREMENT:
1 3/4 yards of woven fabric
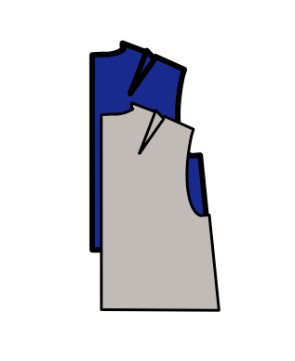
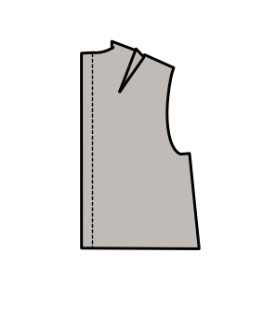
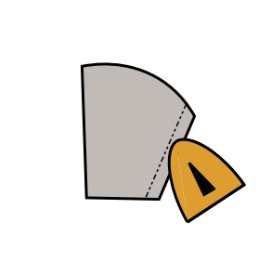
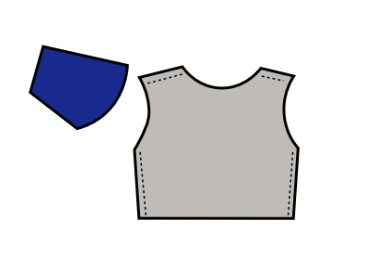
PIECES YOU WILL NEED:
Please check the correct pieces you will need to start your project.
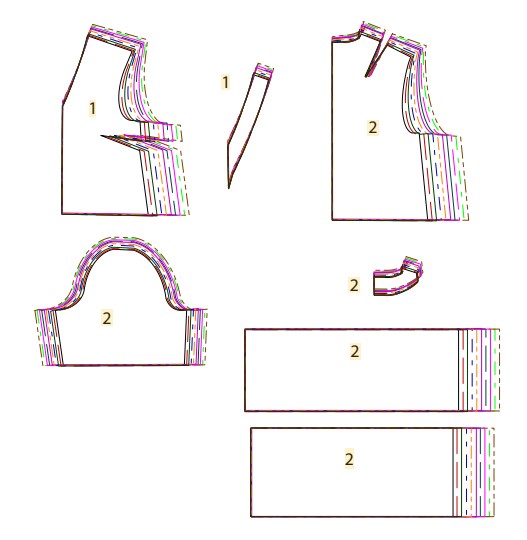
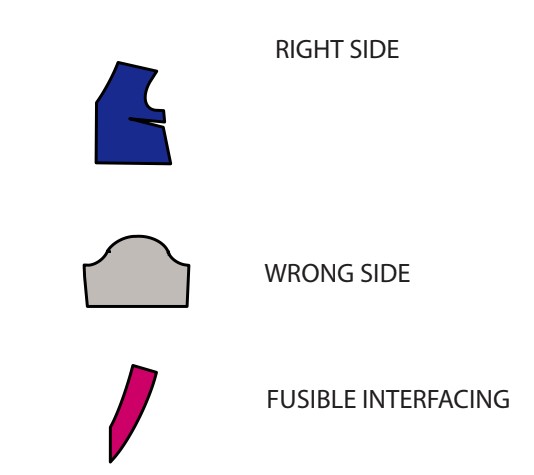
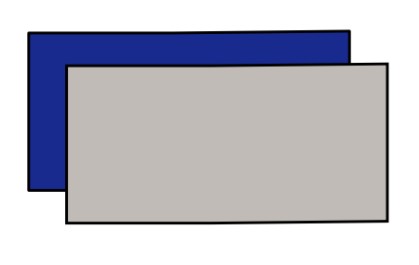
COLOR-CODED PIECES TO READ THIS TUTORIAL:
Through this tutorial, you will see THREE main colors to easily identify the side of the fabric OR piece you are working with.
Preparing Your Pattern Pieces:
- Wash your fabrics before cutting to prevent shrinking.
- It is recommended to make a muslin or use a cheap fabric to check that the fitting and style of the pattern is exactly what you are looking for.
- Read the instructions carefully before starting this pattern.
- Gather all supplies you will need for this project.
- It is recommended to practice on areas and techniques that you are not familiar with, before doing them on the final project.
Instructions:
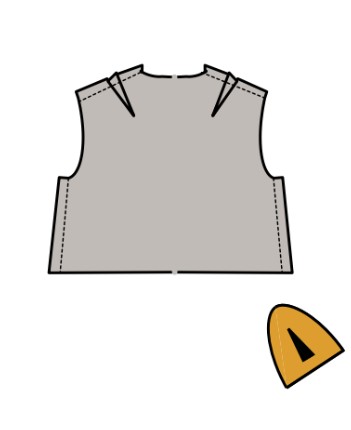
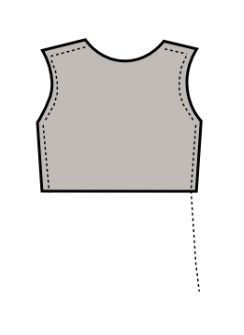
- Fold the ends of each shoulder dart legs together and stitch towards the point. Change to a very short stitch length about 1/2” from the point and continue stitching to the point. Press the darts towards the center back.
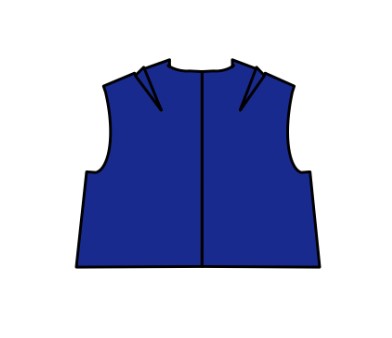
- Gather the back bodice pieces and place them together from the center back, right sides facing. Pin the pieces together.
- Now, stitch the center back with a 3/8 inch seam allowance. You can use a serger or an overlocking stitch for a clean seam finishing. Then, press the seams to one side.
- Open the back bodice and press the seams flat again.
- Fold the ends of the bust dart legs together and stitch towards the point. Change to a very short stitch length about 1/2” from the point and continue stitching to the point. Press the darts towards the bottom.
- Then, place front and back bodices together, right sides facing. Match the shoulder and side seams and pin them with a 3/8 inch seam allowance.
- Now, stitch the shoulder seams and side seams with a 3/8 inch seam allowance. Press seams flat.
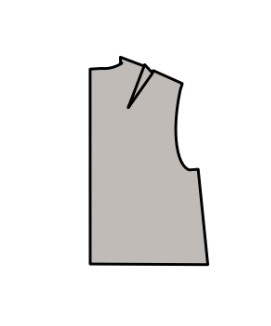
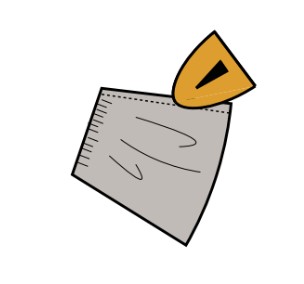
- Fuse interfacing to the wrong side of the front and back facings.
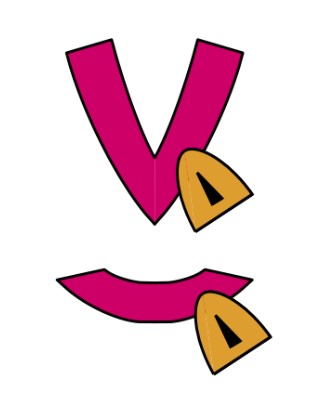
- Stack the facings together right sides facing at the shoulders. Stitch the facing shoulder seams with a 3/8” seam allowance. Press the seams flat. Finish the raw bottom edge of the facing with a serger or an overlocking stitch.
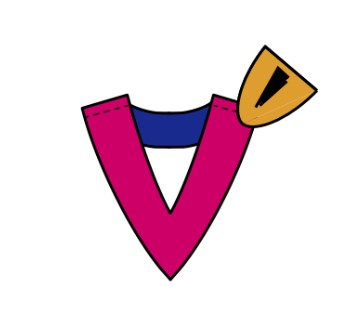
- Pin facing and the top’s neckline together, matching centers and shoulder seams. Stitch facing to neckline with a 3/8” seam allowance.
- Trim away a small v from the center front seam allowance. Make sure to not clip the stitching line. Trim facing seam allowance down to 1/4”, then press the facing to the inside of the top.
- Stitching from the right side of the top, stitch the facing down using a straight stitch 1/8” from the finished edge of the facing.

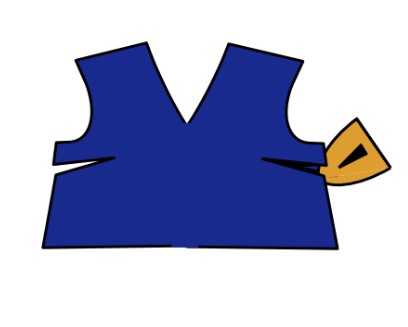
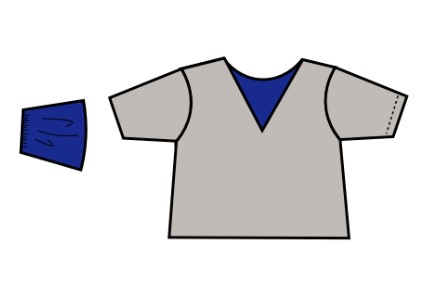
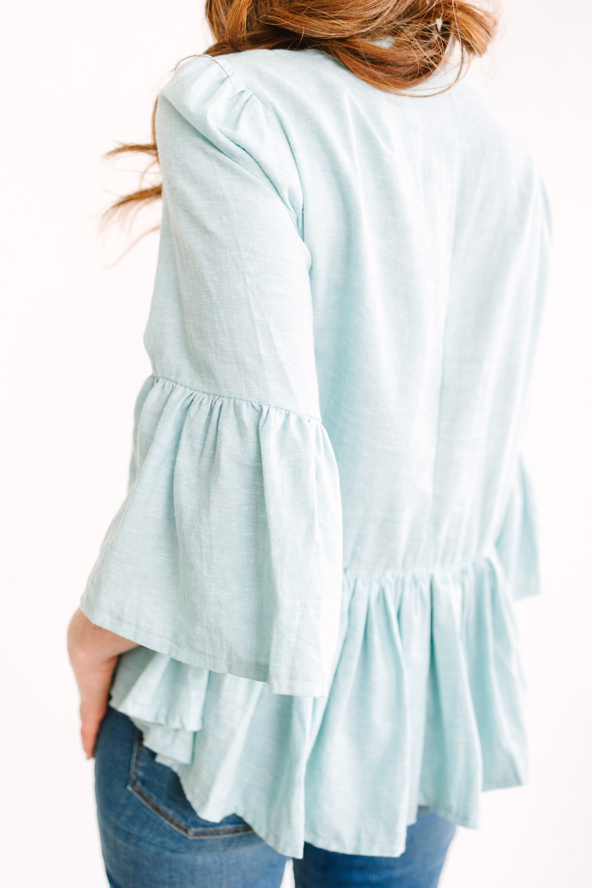
- Fold the sleeve in half. Then, stitch the seam with a 3/8 inch seam allowance. Press seam flat. Repeat for the second sleeve.
- Turn the sleeves to the right side and insert them into the bodice. Match the armhole notches and armhole seam with the bodice side seams.
- Then, stitch the sleeves to the bodice with a 3/8 inch seam allowance. Press seams towards the sleeve.
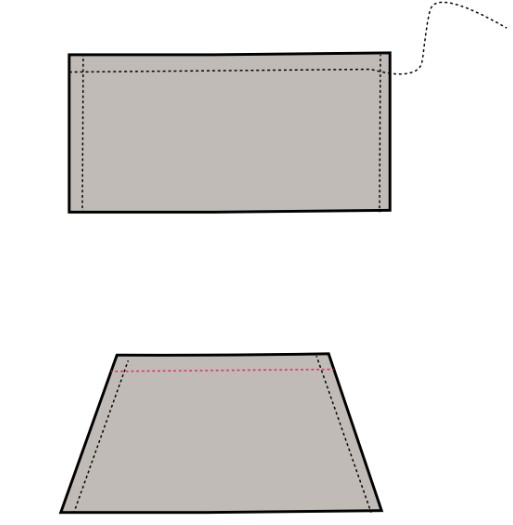
- Sew 2 rows of gathering stitches along the top edge of the sleeve ruffles 3/8” from each short edge. Pull the bobbin threads to gather the ruffles.
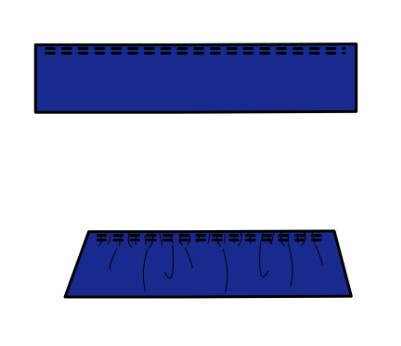
- Fold the sleeve ruffles right sides facing and sew the short sides together with a 3/8” seam allowance. Press the seam flat.
- Fit the ruffle inside the sleeve. Adjust the gathers to fit, then sew the ruffle to the sleeve with a 3/8” seam allowance. Finish the seam allowance with a serger or overlocking stitch. Press seam towards sleeve and repeat for the second ruffle.
- Double fold the ruffles 1/2 inch towards the wrong side and press. Finish the ruffles with a straight stitch close to the pressed fold.
- Bring the peplum pieces to the table. Place them both together, right sides facing.
- Stitch the side seams with a 3/8 inch seam allowance.
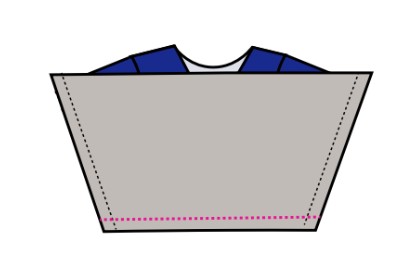
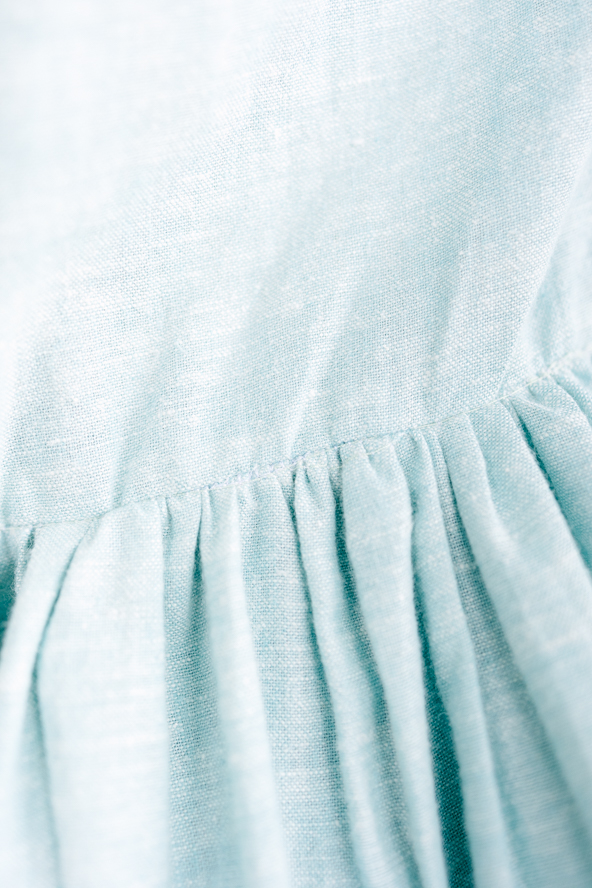
- Baste stitch the top of the peplum. Pull and gather the peplum. Adjust as needed for the bodice.
- Insert and stitch the peplum to the bodice with a 3/8 inch seam allowance.
- Turn to the right side of the fabric and press flat. Double fold the peplum hemline with a 3/8 inch towards the wrong side and press.


This looks like an very easy & cute top. Unfortunately, the printed pattern layout has many mistakes. Fortunately, I am an experienced sewist and can work around the problems, but someone just starting out may have trouble.
*According to the layout, the facing pattern pieces are after the top pattern pieces. They are actually in front of the top pieces. This throws all of the page numbers off.
*Judging by the layout, the top body should be at least 25″ long at center back and have 2 length options. The top measures less than 18″ at center back and there is only one length option.
*I have no idea what is on page 17, it was not on the printed pattern.
*The sleeve gathers are shown to be on pages 21-24, they are actually on pages 25-28. The pattern says to cut them on the fold. If you do, you would be gathering 4x with width of the sleeve. Usually gathers are 1.5 – 2x wider than what you are attaching them to,
*The blouse gathers are shown to be on pages 25-30 and measure at least 36″. They are actually pages 17, 18, 23, 24, 29, 30 and measure 27″. They also run vertically when printed, but are shown as running horizontally on the layout.
*The front facing is the only piece that has fold markings on it. Those markings are missing on the front, sleeve gathers & blouse gathers.
*There are three blank pages (6, 12, 18) showing in the layout, four pages (6, 12, 16, 22) when printed. I am using them to widen the blouse gathers and lengthen the front & back.
*There aren’t any markings or notches to match pieces together. The sleeve is not even marked front or back.
Hi Susan! Thank you so much for catching these errors with the PDF pattern. We will reach out to the designer as soon as possible. We apologize and will update the pattern when more information is available. Thank you for your patience. – Ashley, WeLikeSewing
Looks like a fun top to make