Get ready to deep dive into your scrap pile because this is one scrapbuster that you don’t want to miss! Create your own rag rug using fabric scraps in bright, bold colors like fuchsia and hot pink. Perfect for your bathroom, kitchen, or foyer, this upcycled sewing project can be made in just a few hours, so if you’ve been meaning to declutter your fabric stash, why not make your own? Add a delightful pop of color to your living space with this easy sewing project.
Time: 3-4 hours
Materials:
- Wool, polyester, cotton, etc. fabric scraps
- Fabric scissors
- Rotary fabric cutting tool and cutting mat (optional)
- Small sewing scissors
- Hand-sewing needle
- All-purpose thread (in a matching color)
- Thimble
- Binder clip or similar
Instructions:
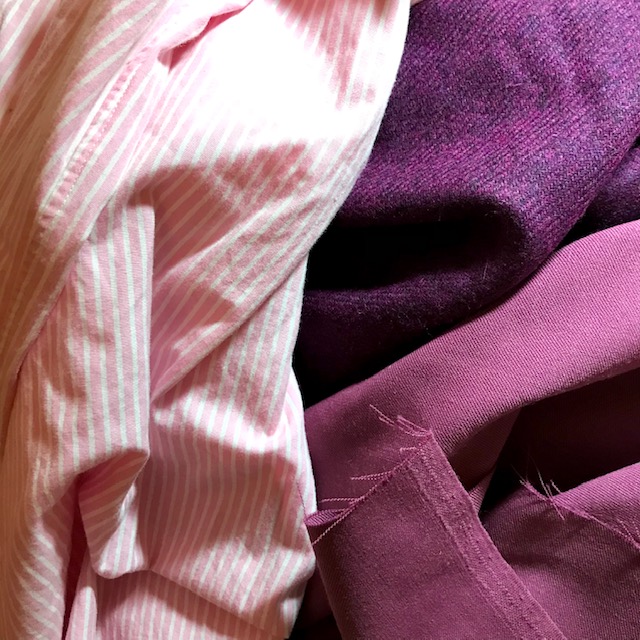
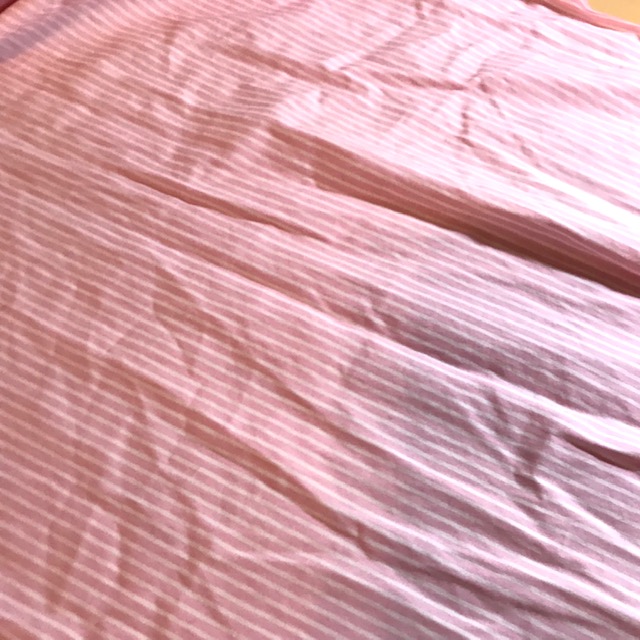
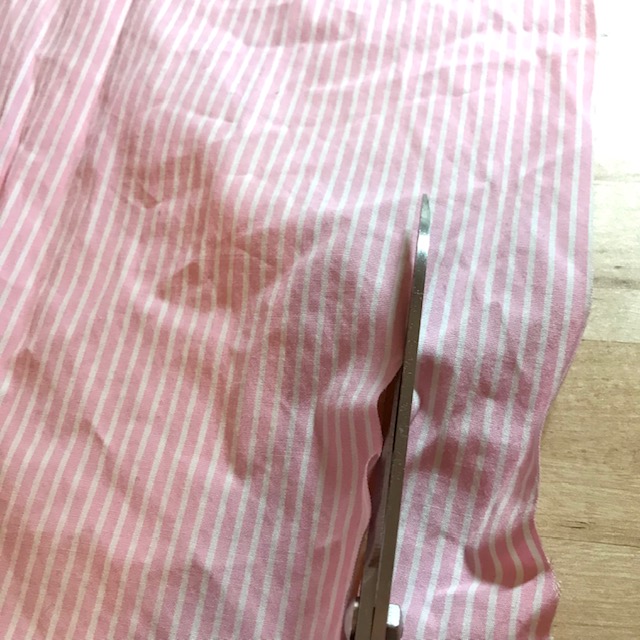
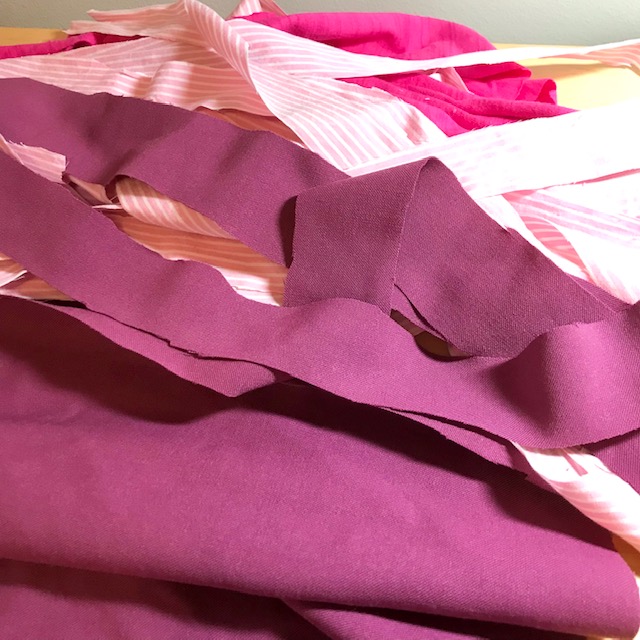
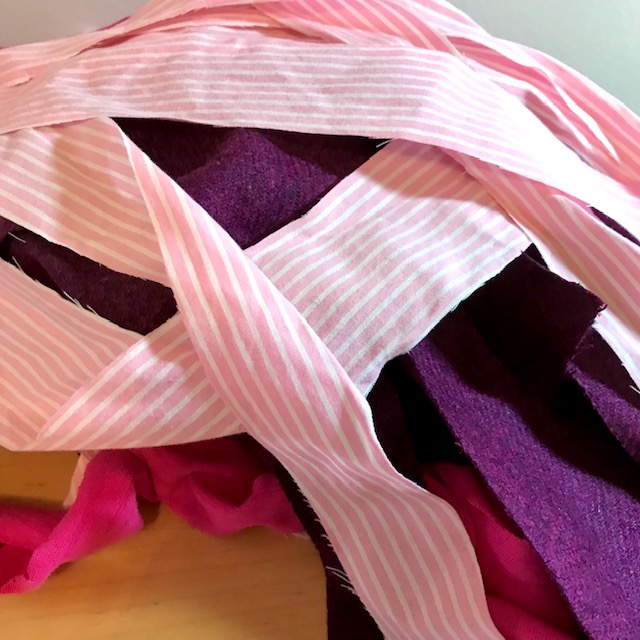
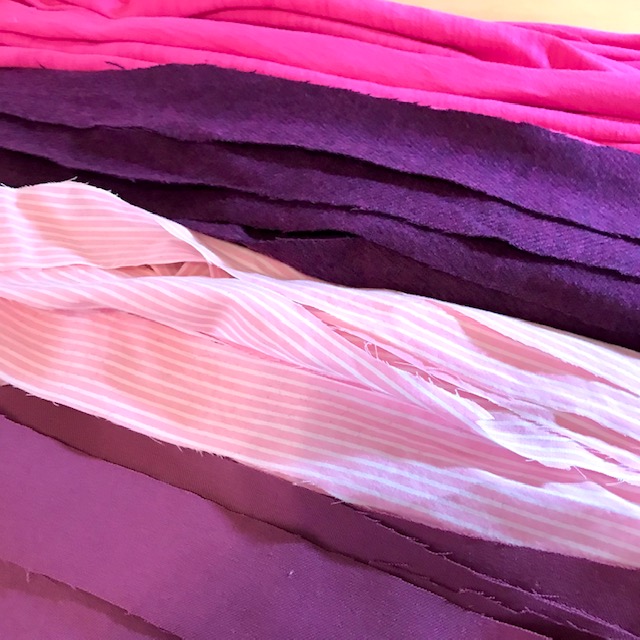
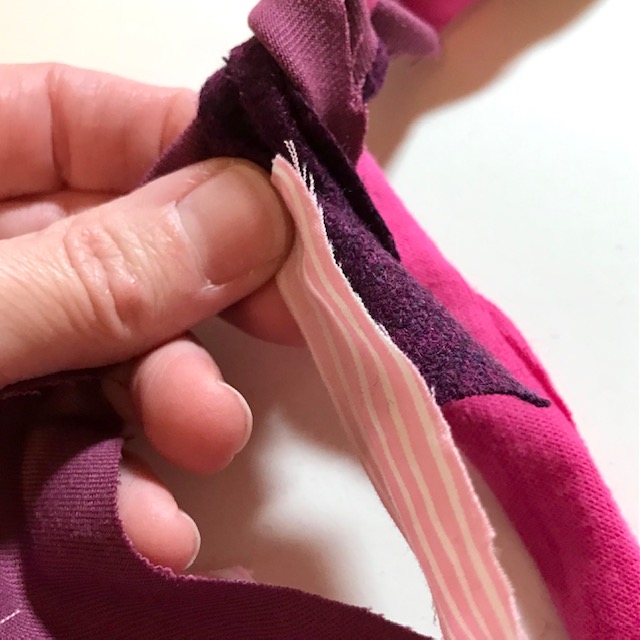
- Prepare the fabrics you will be using to make the rug. In this tutorial, the designer used excess lightweight suiting wools, cotton jersey, and an upcycled men’s striped dress shirt. Trim off any cuffs, collars, etc. if upcycling clothing, and cut the materials into large rectangles. The fabric doesn’t need to be ironed because it will be braided.
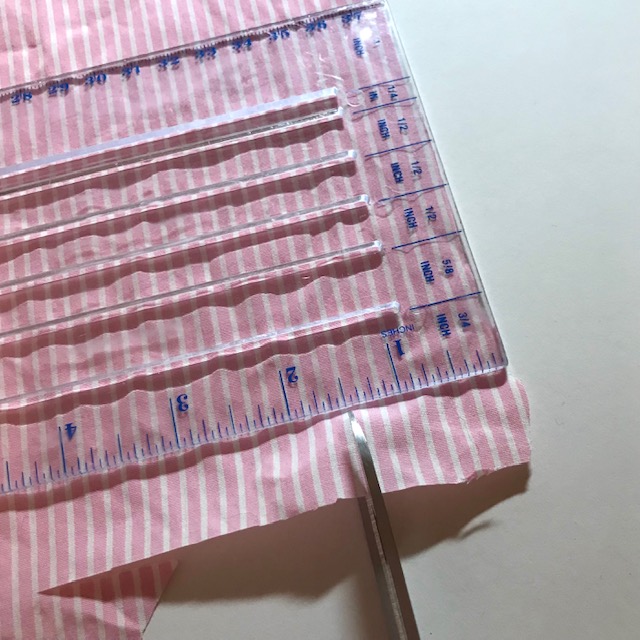
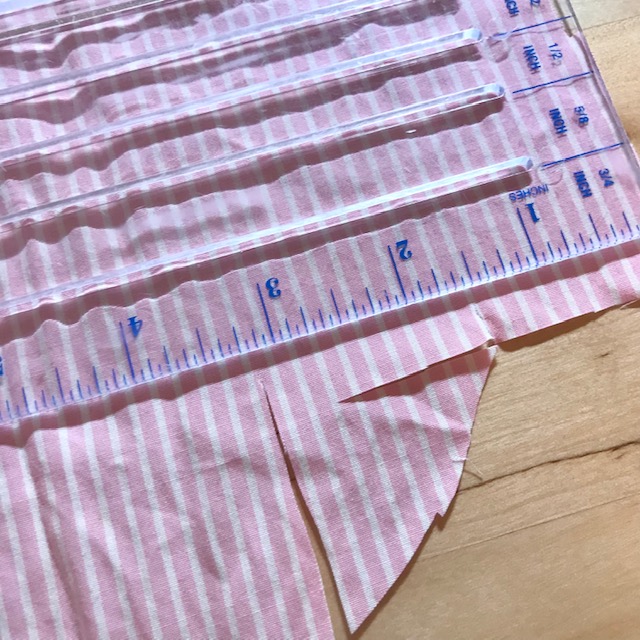
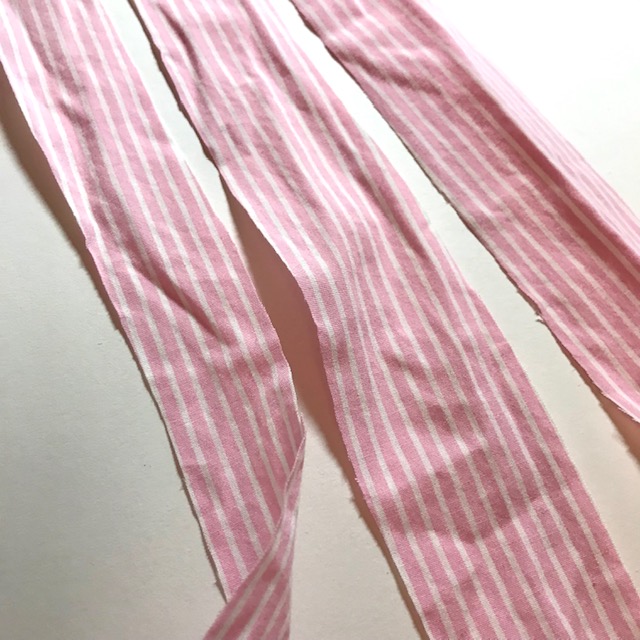
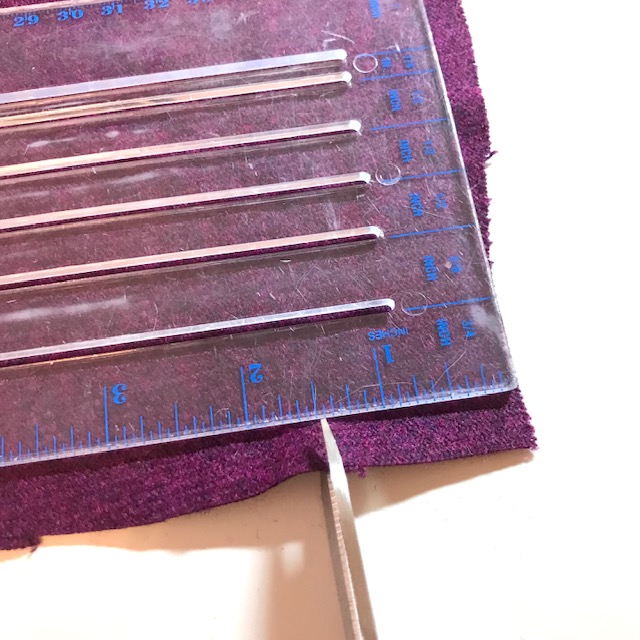
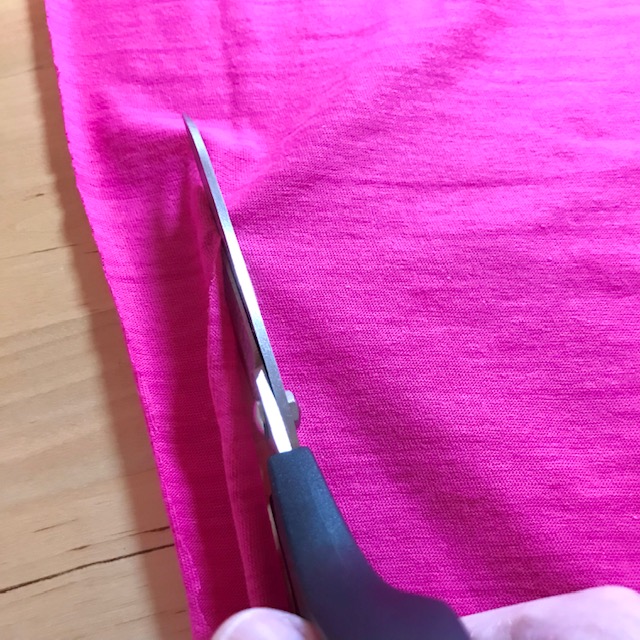
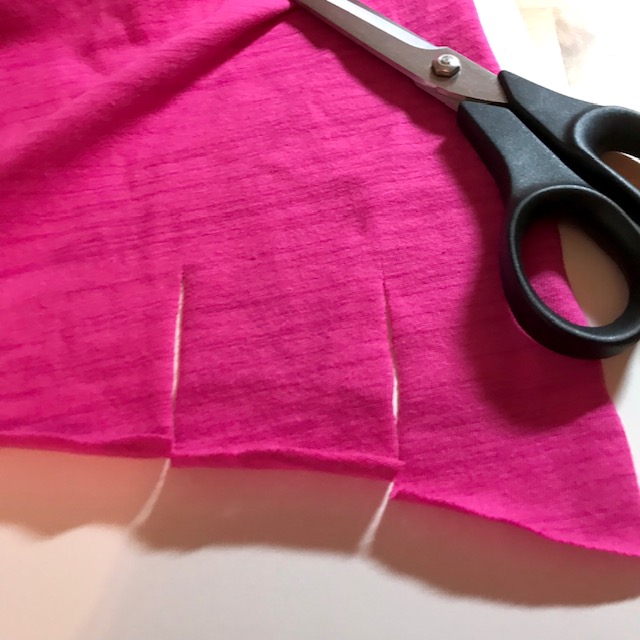
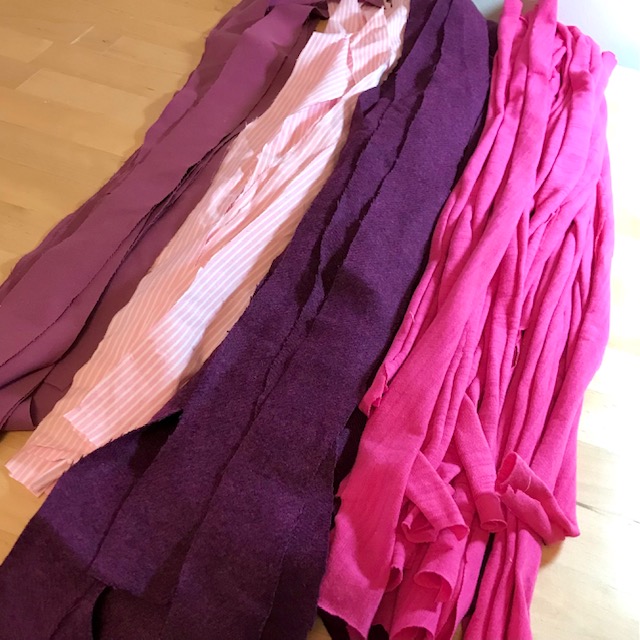
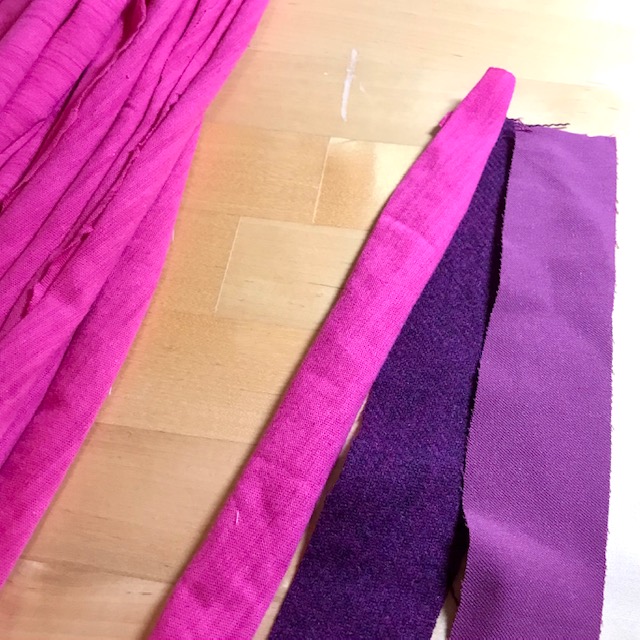
- Begin by cutting the various fabrics into very long 1.5” (inch) wide rectangular strips. The longer the pieces, the better. They can be cut out with fabric shears or with a rotary fabric cutter and mat.


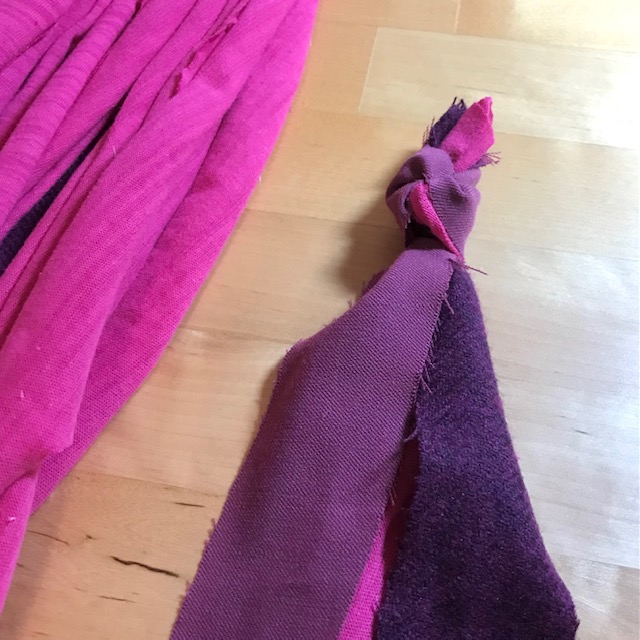
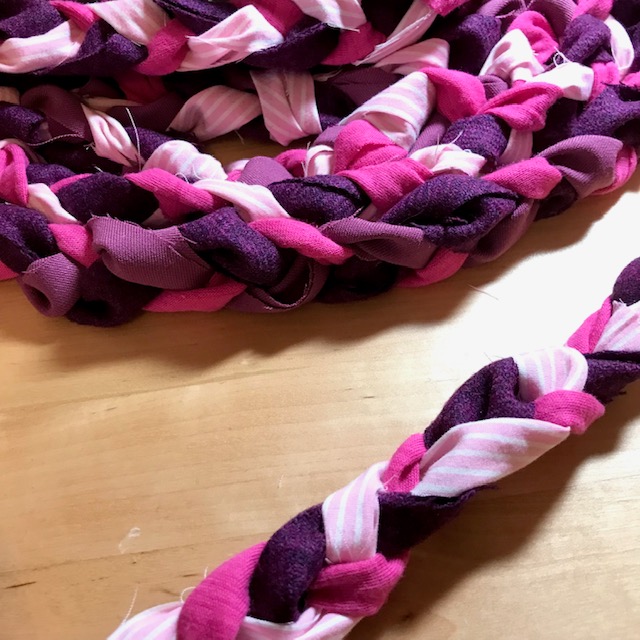
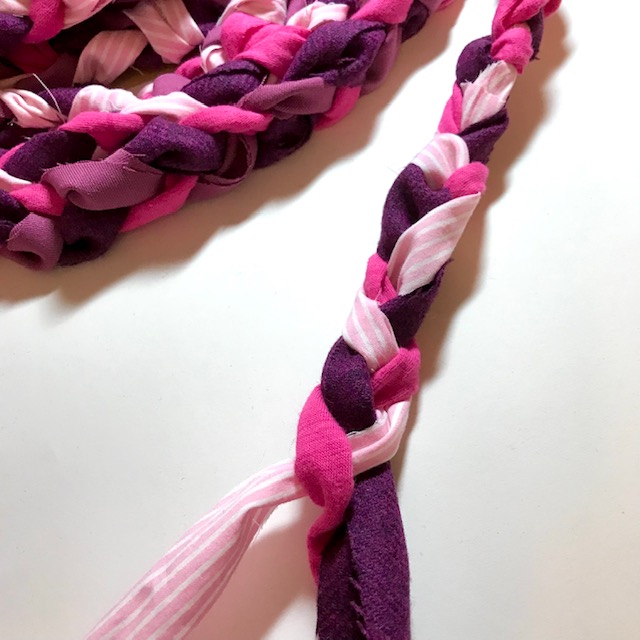
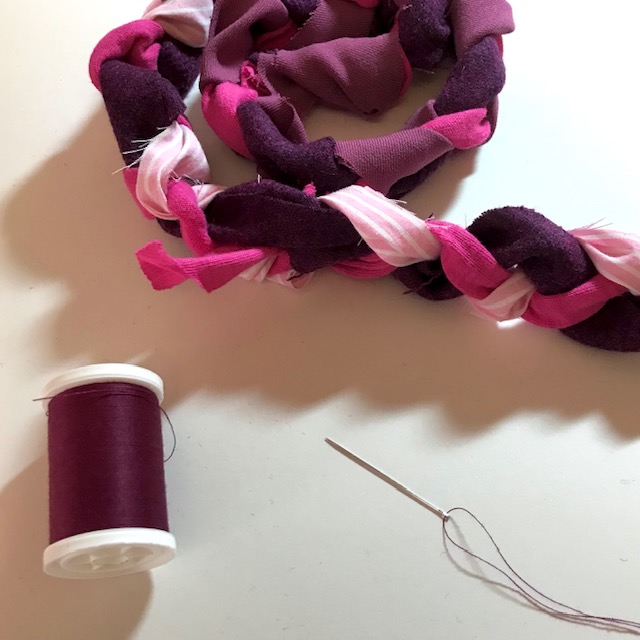
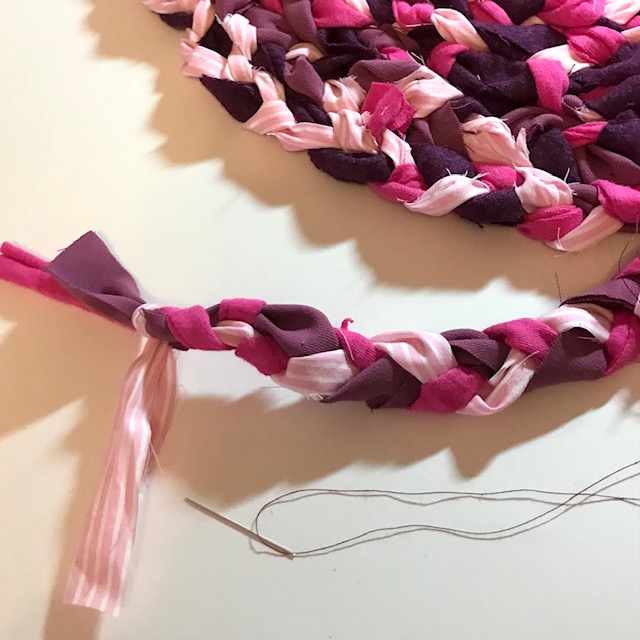
- Once the pieces are all cut out, we can start to braid the fabrics! Begin by knotting 3 of the contrasting fabrics strips together at the end.
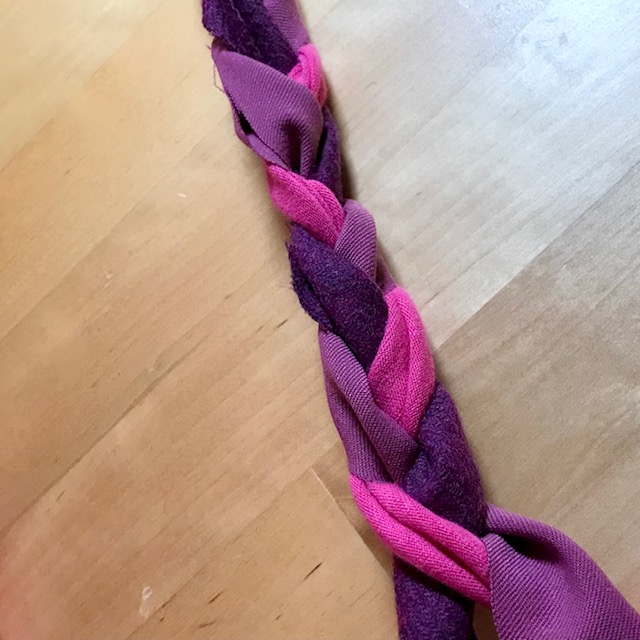
- Clip the end of the braid onto a small basket or similar item you can turn to hold the braid down while working.
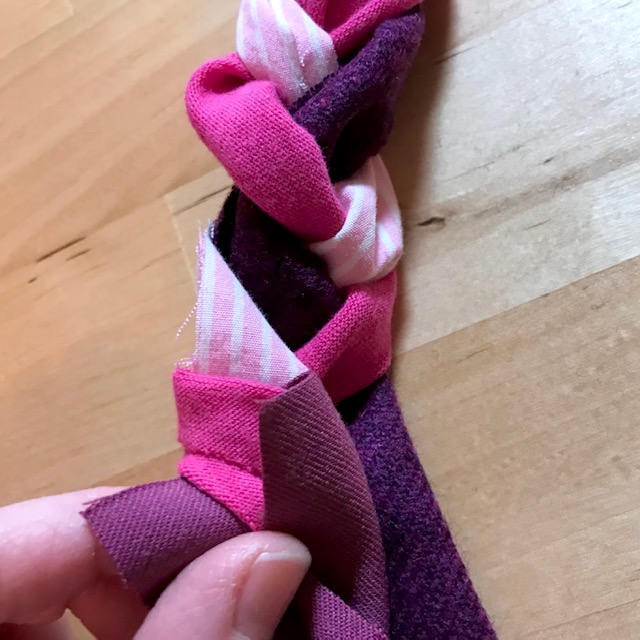
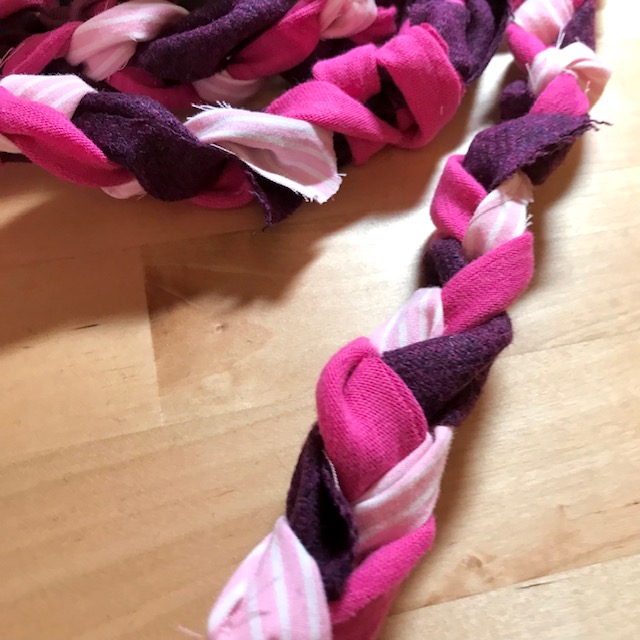
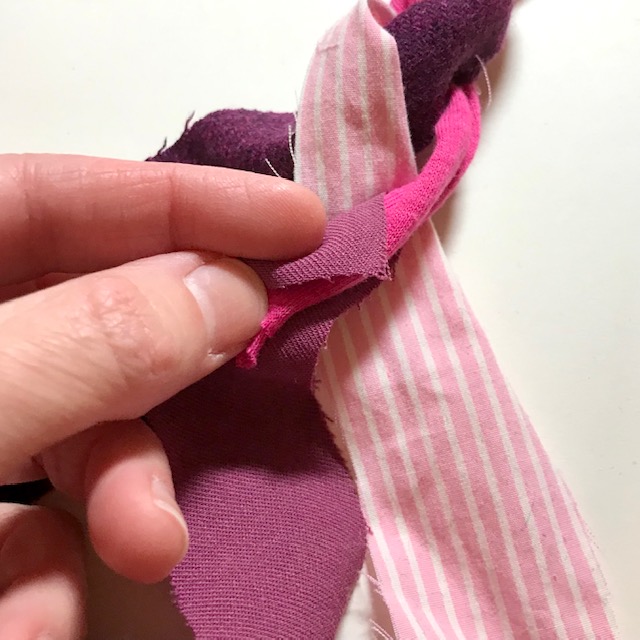
- Continue this process until you’ve used up your material strips and have a very, very long braid. The braid created for this tutorial was about 385” long total. When one strip of fabric is finished, add another piece by wrapping the ends together and folding it in. If this part causes difficulty, it’s okay to hand-sew the ends together to connect them. Knot it at the end.
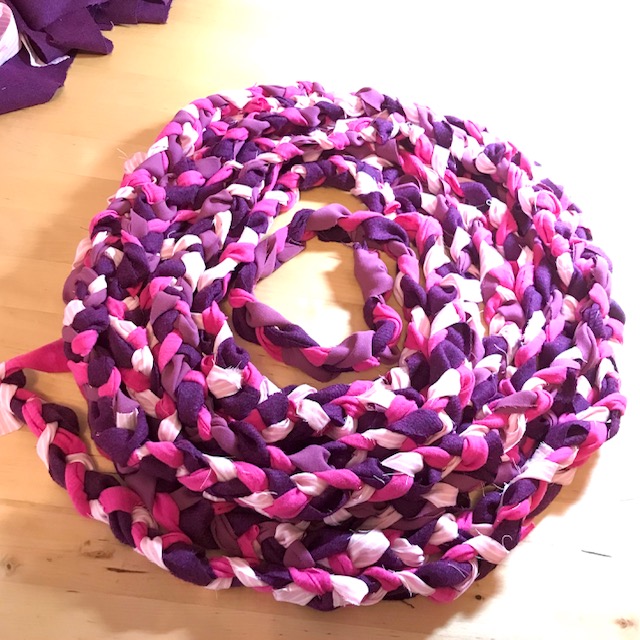
- Unwrap the finished braid on your work surface.
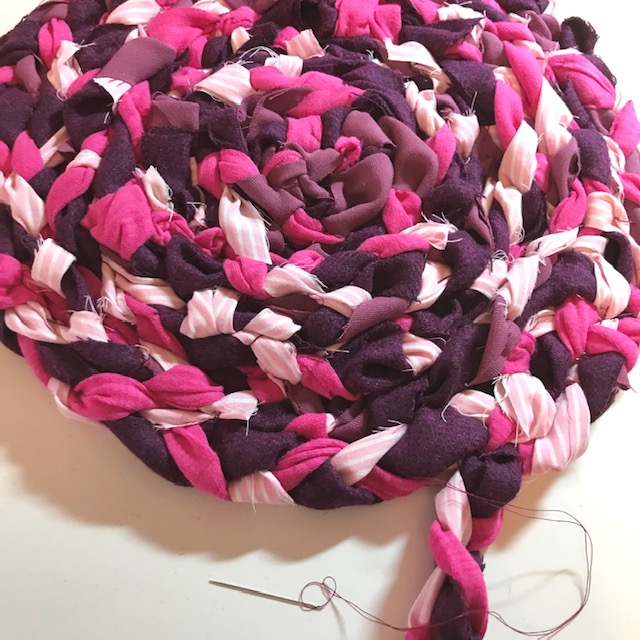
- Now it’s time to sew the rug together! Prepare a hand-sewing needle and all-purpose thread that is doubled in thickness and knotted at the bottom.
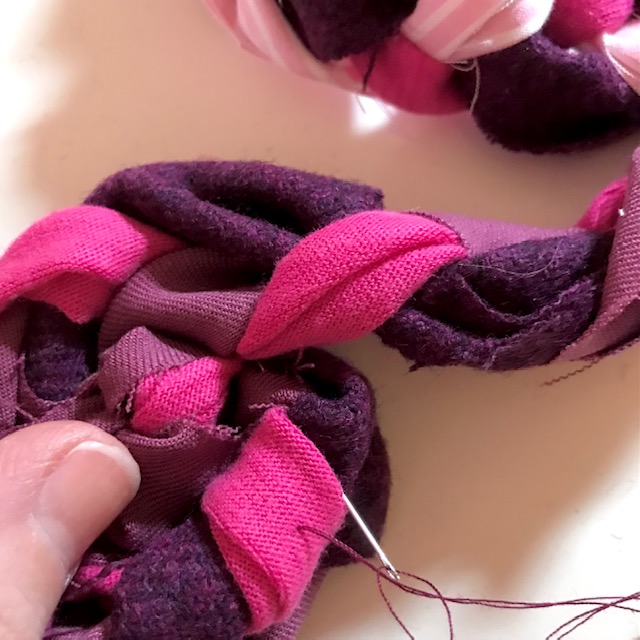
- Connect the needle and thread through one end of the braid.
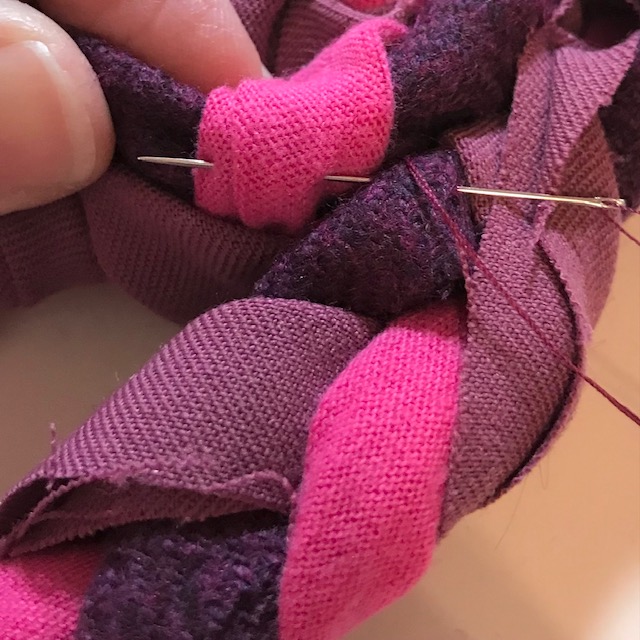
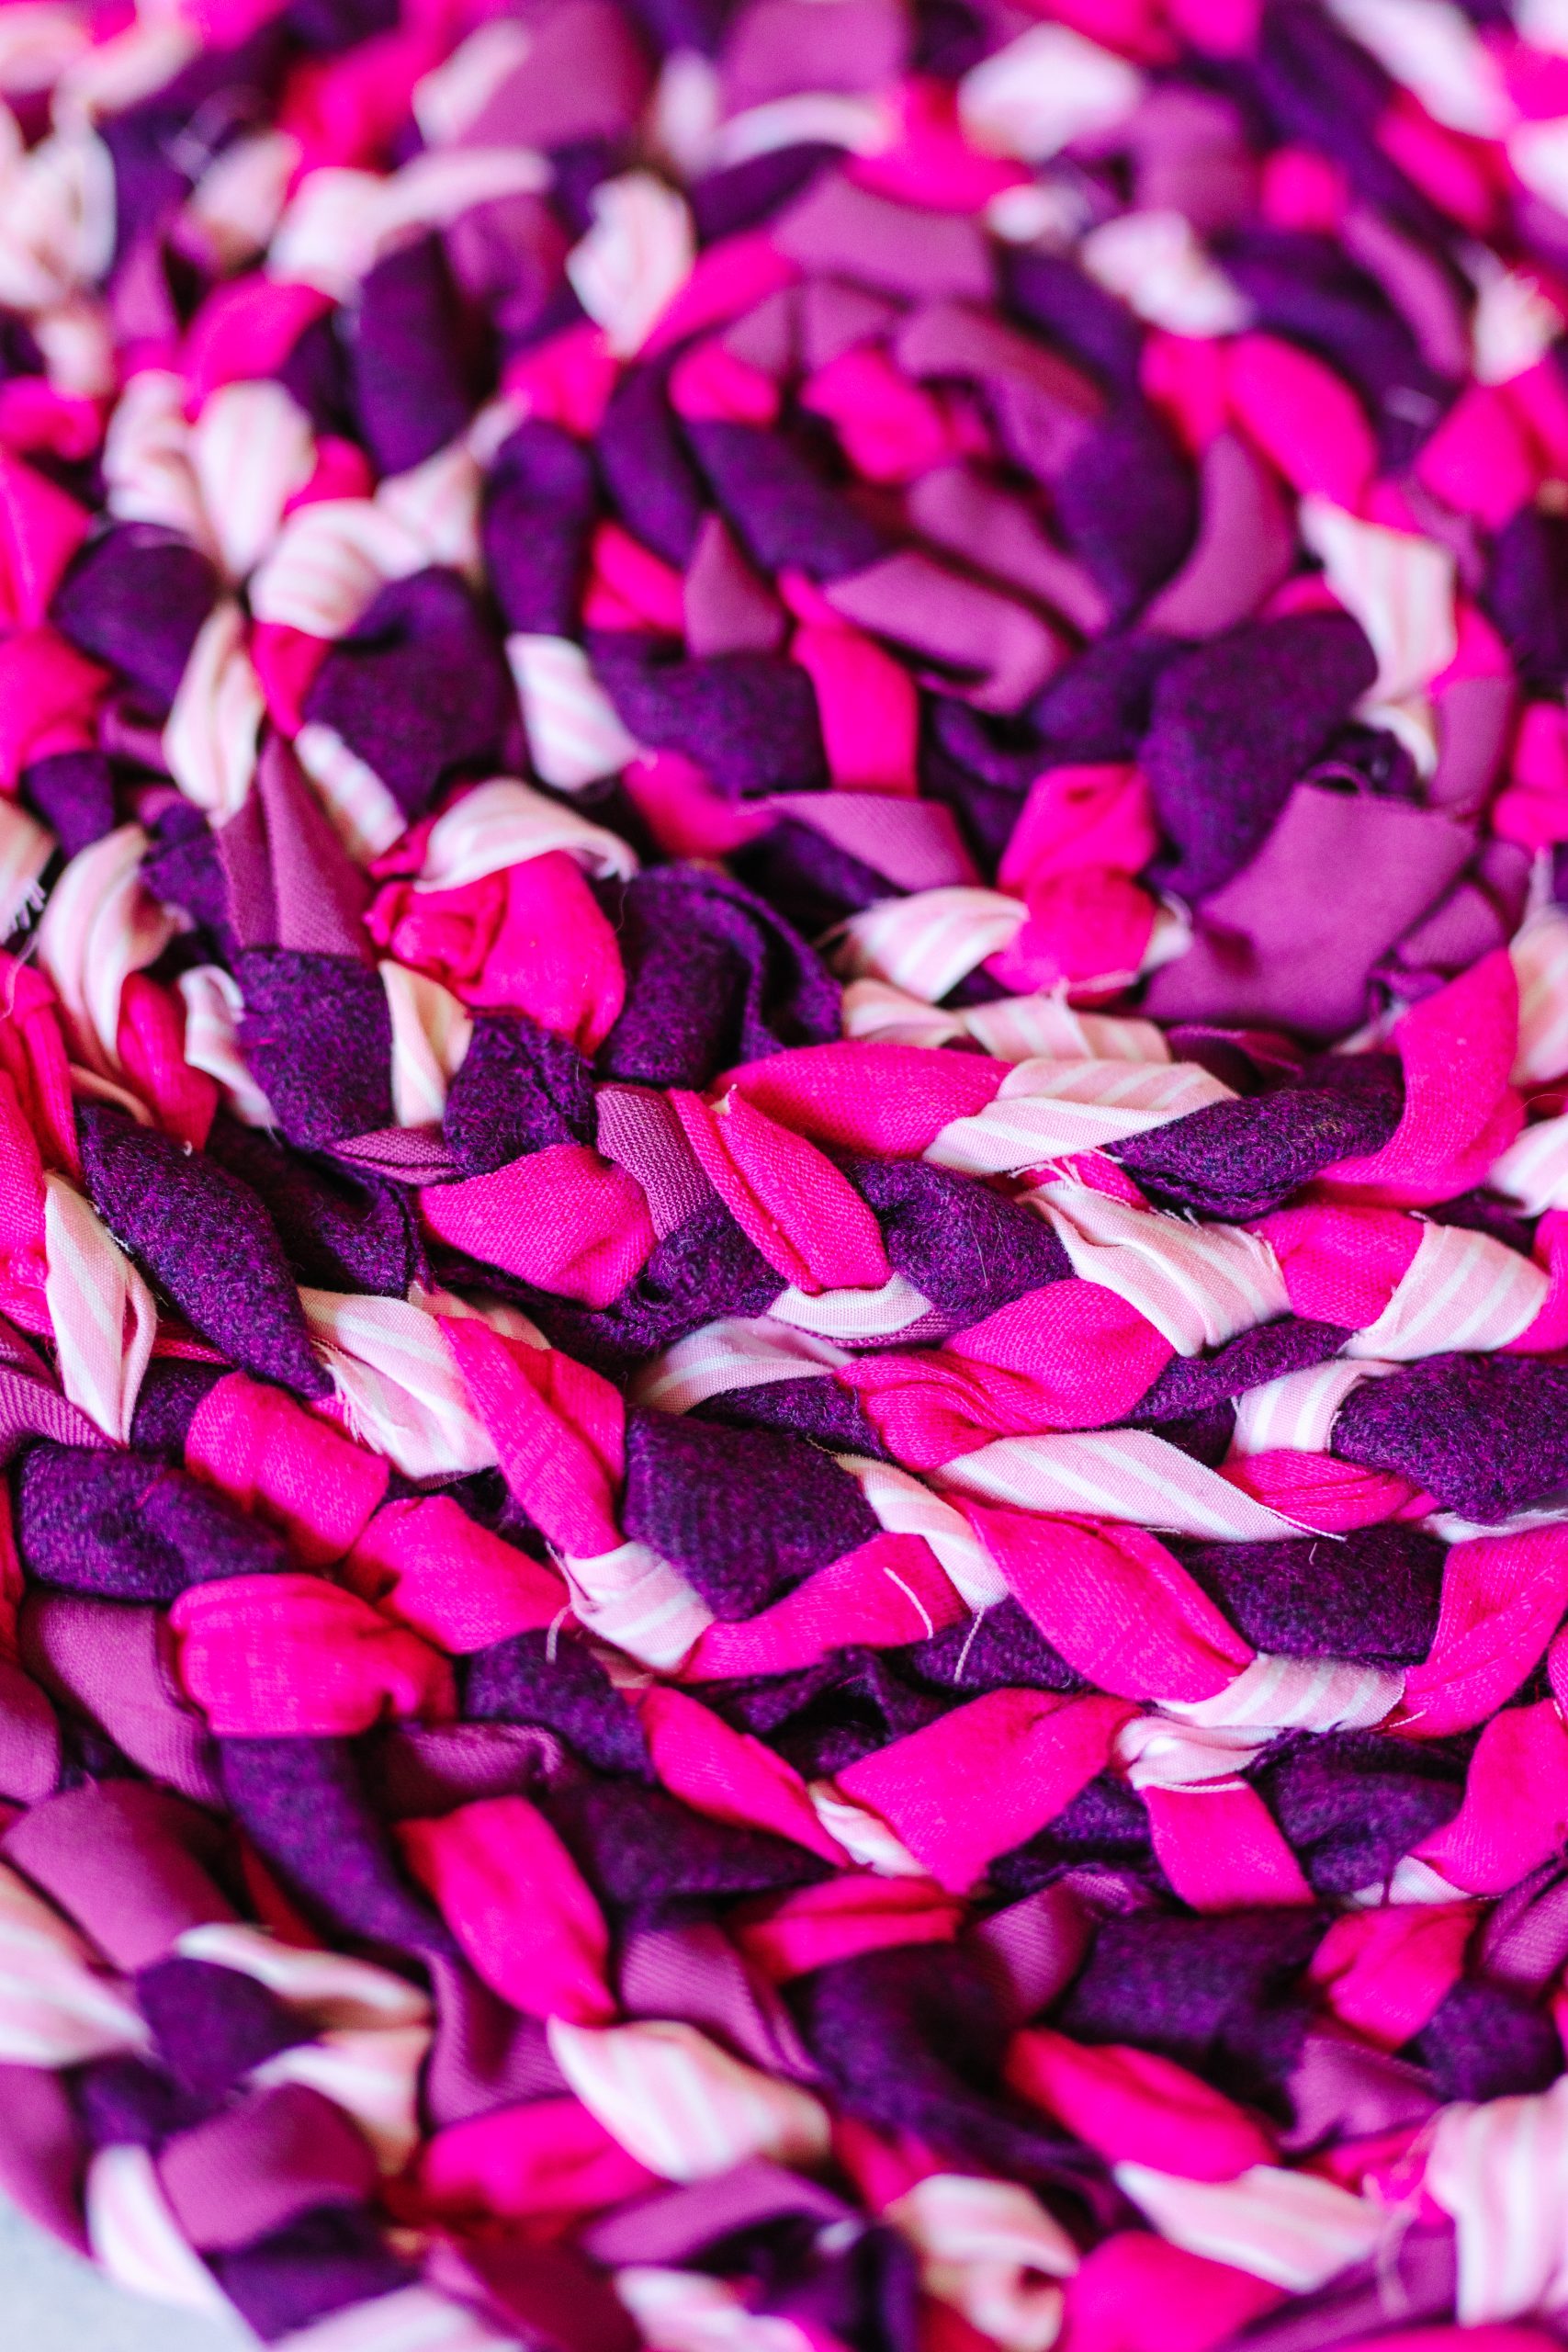
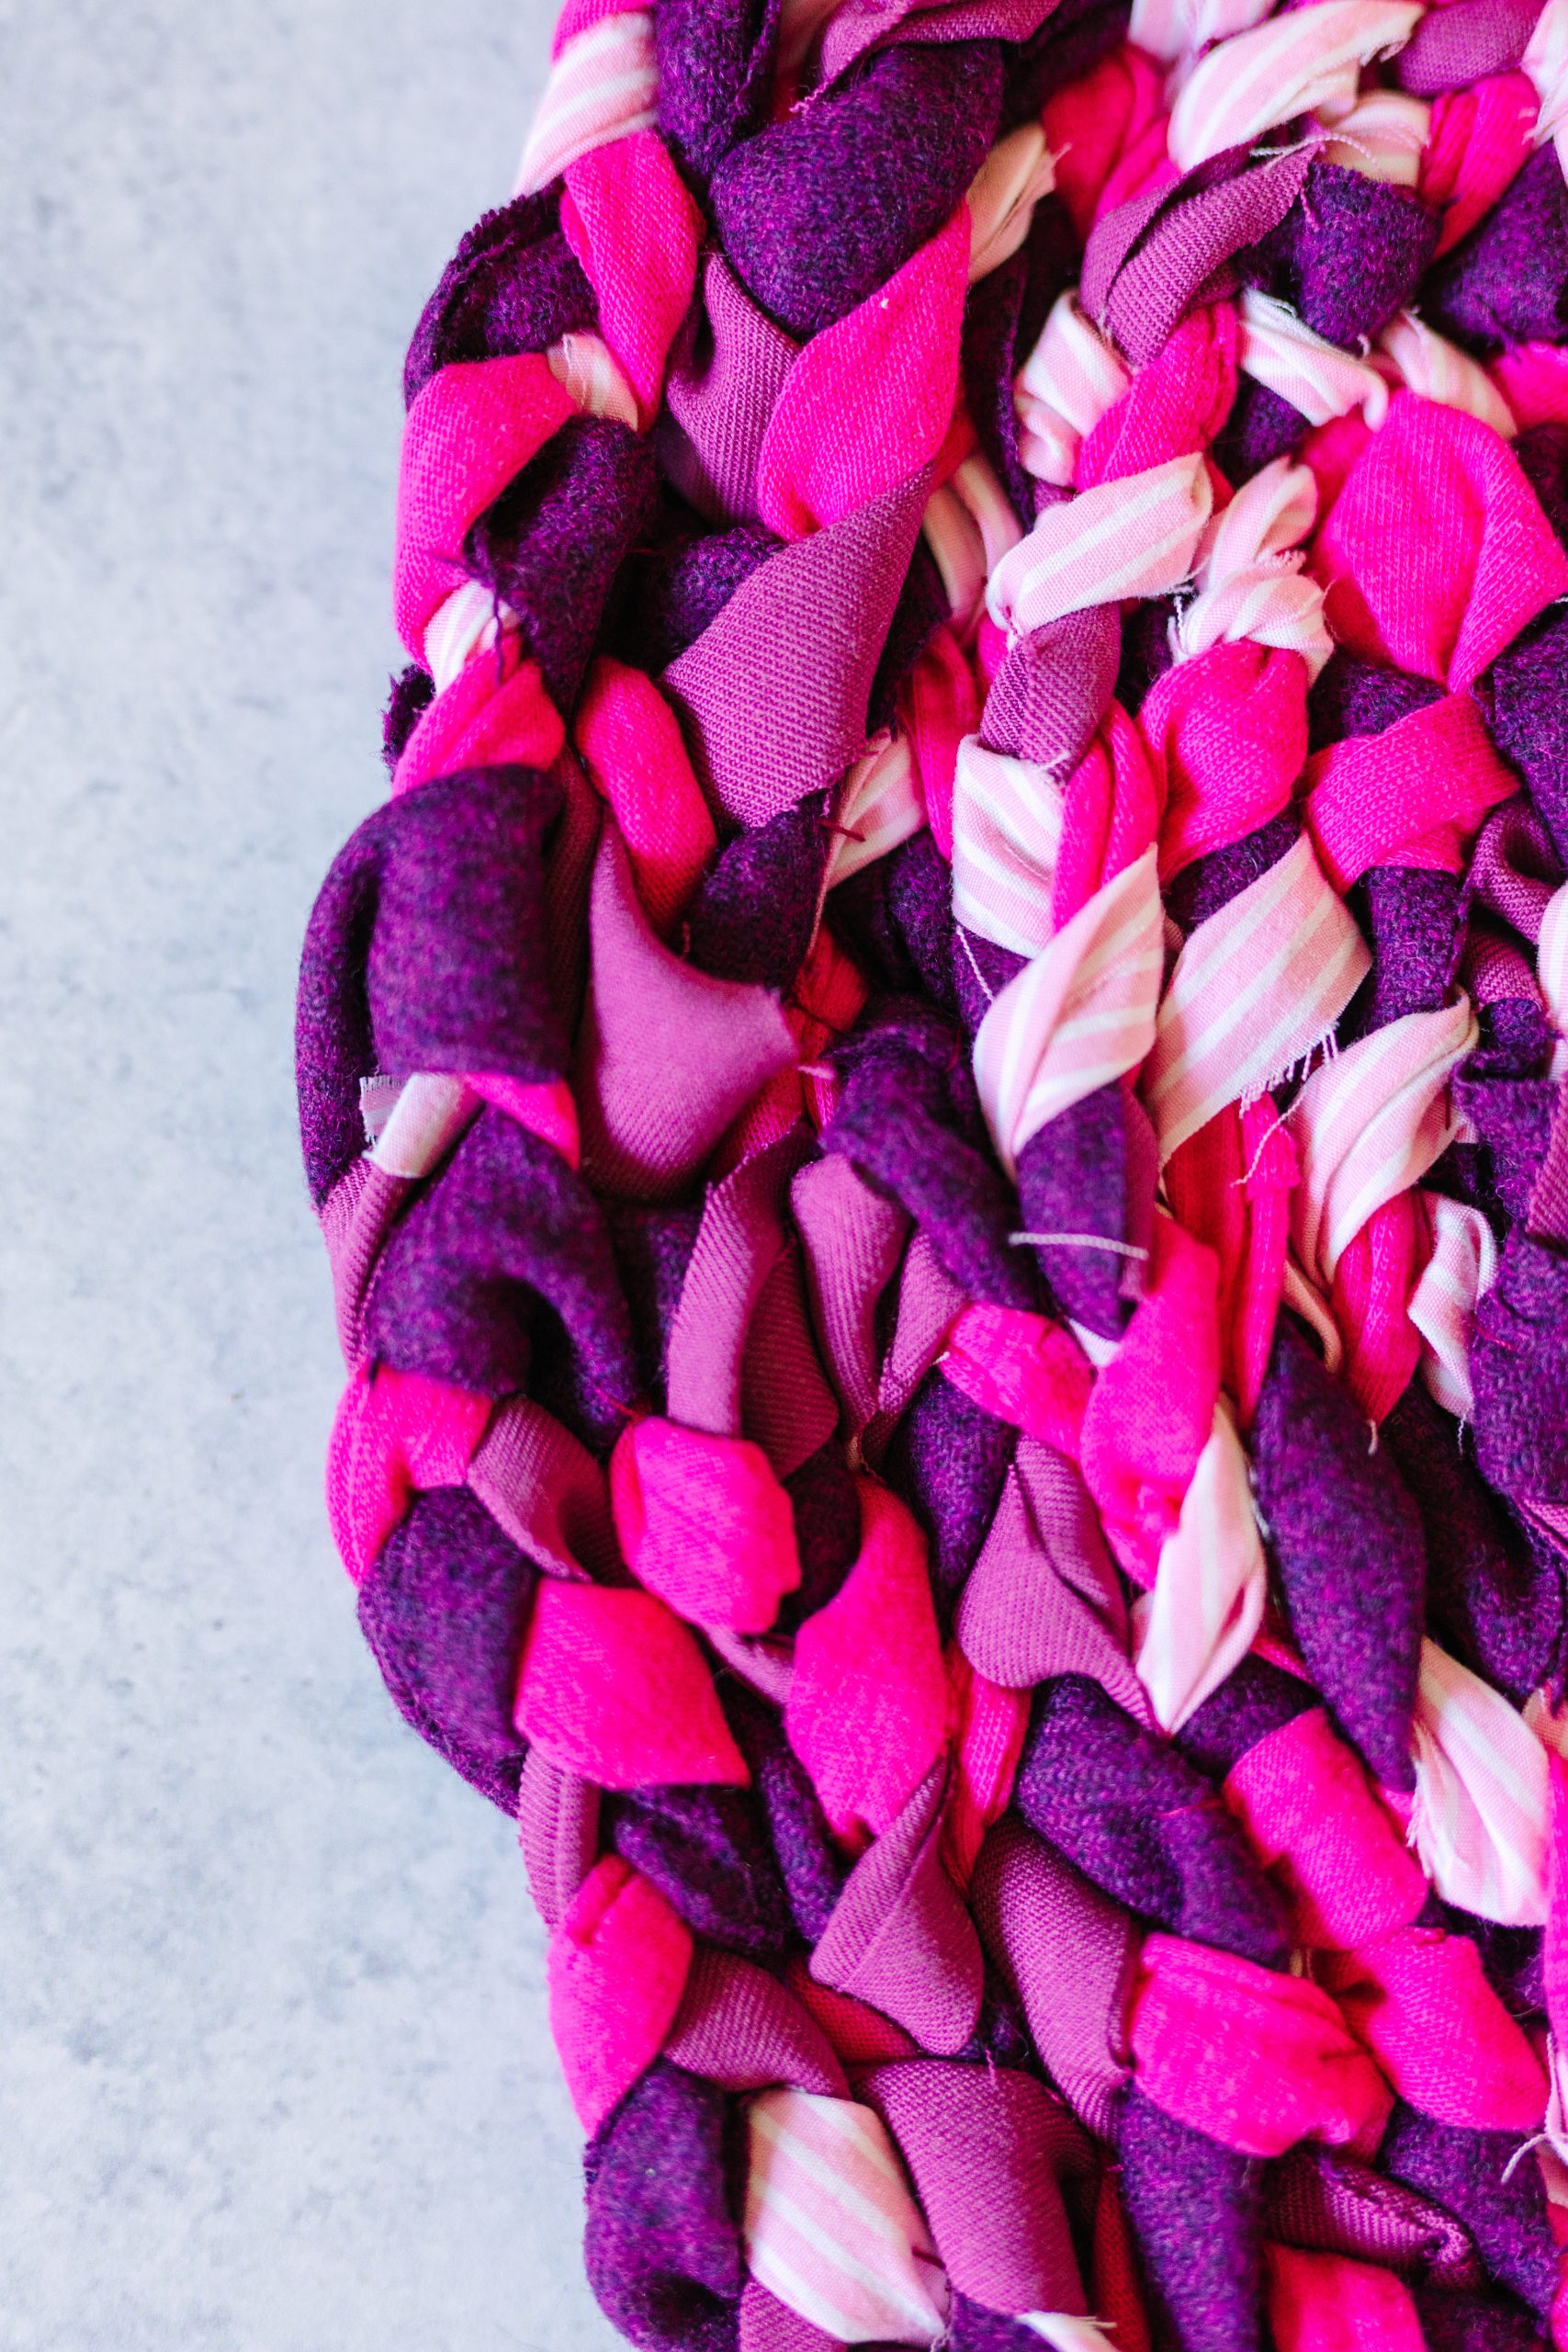
- Start to coil the braid around itself in a circular shape, discreetly sewing back-and-forth through the inside edges with the needle and thread. It should be secure but not too tight that it makes the braid change shape.
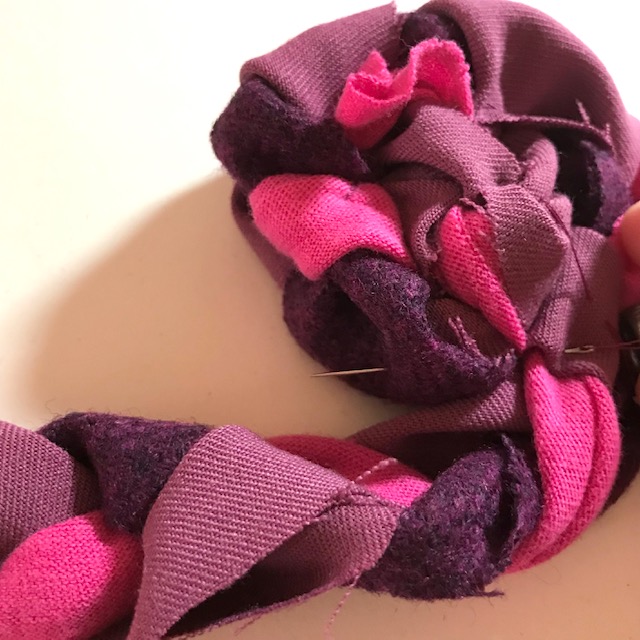
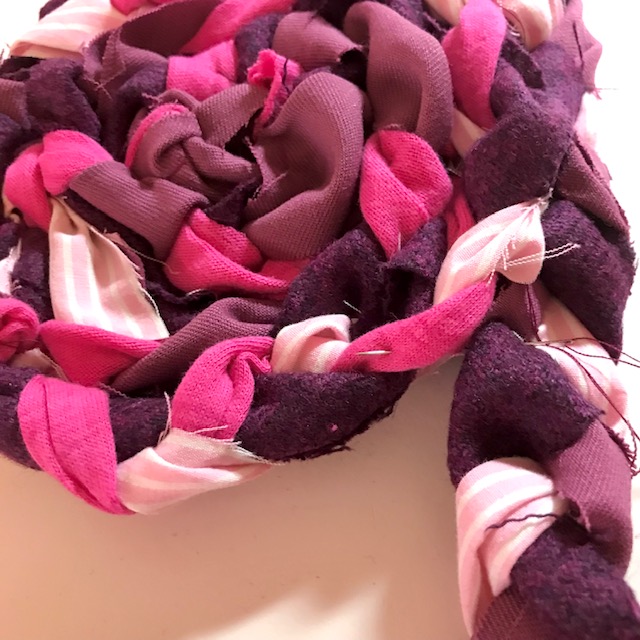
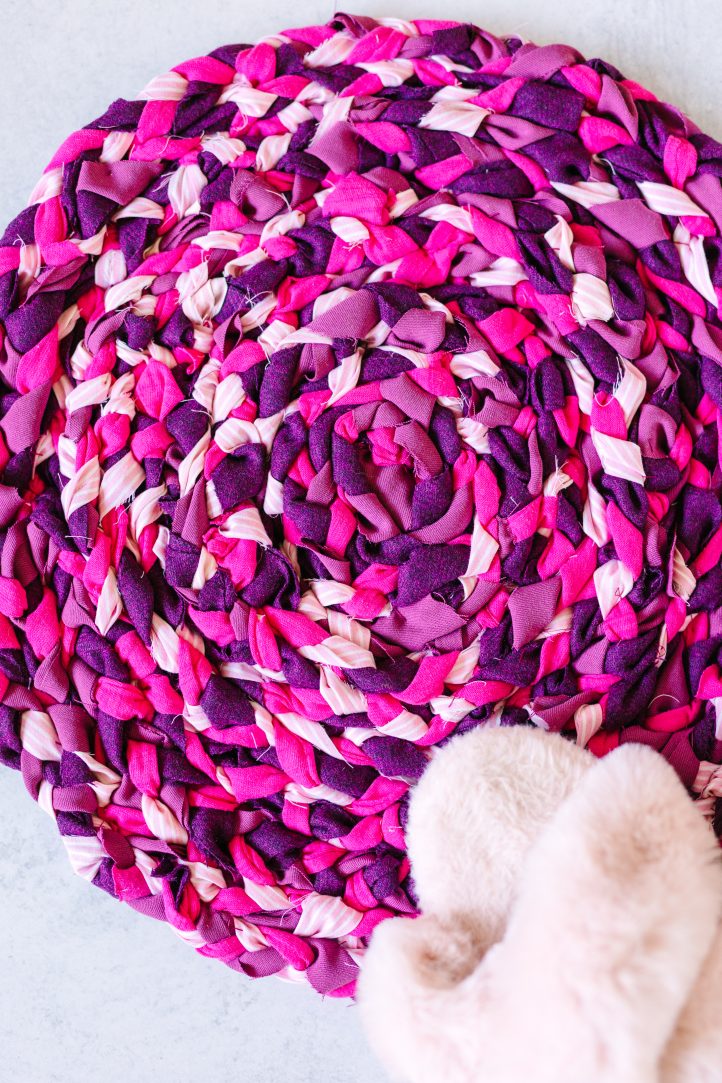
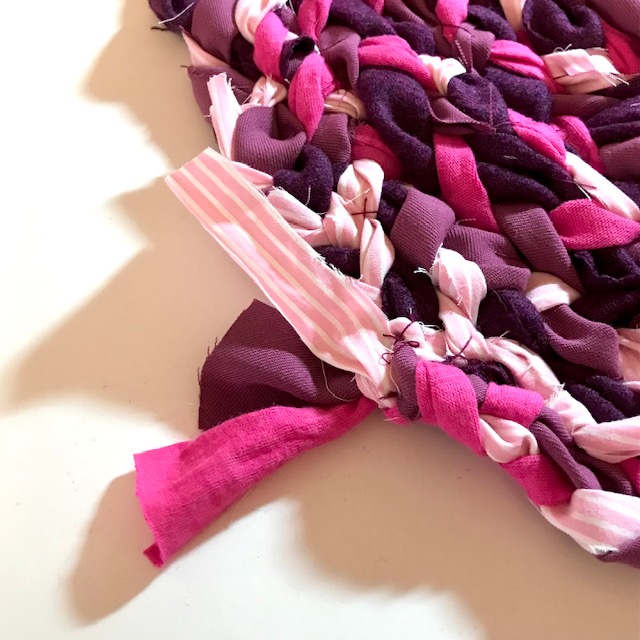
- Continue to coil and hand-sew the braid until the braid is used up. The tail ends of the fabric strips can be left on (to show off the materials used) or sewn down completely. The rug can be any size you’d like- the one made in this tutorial is about 17” wide when finished. The exact size will vary a bit depending on your fabrics and stitch length, etc.
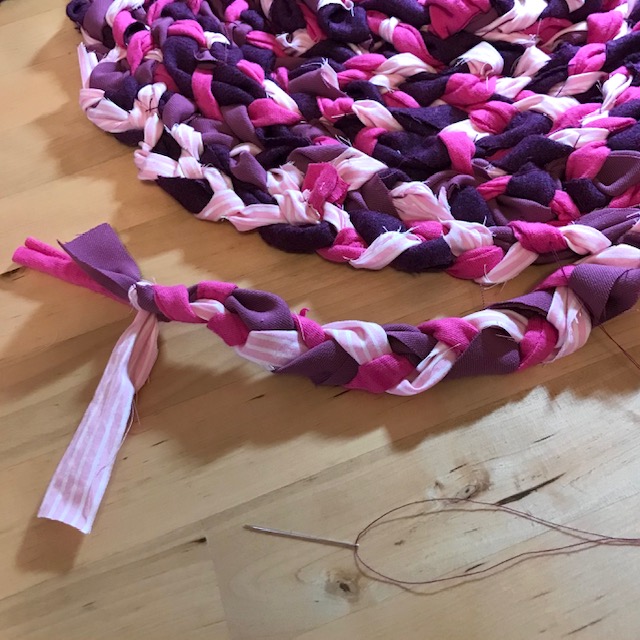
- Flip the rug over to the front side. Check that all of the braids are secured and no loops or pieces are sticking out. Tack down any loose fabric and trim excess threads. Flatten it down by hand, and now your rug is ready!
Could you do this in a smaller version & use them as potholders?