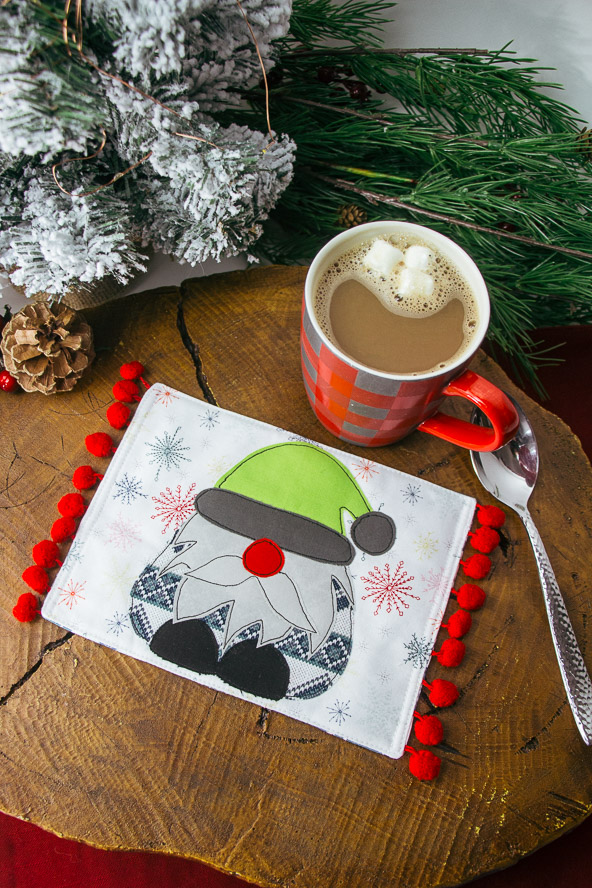
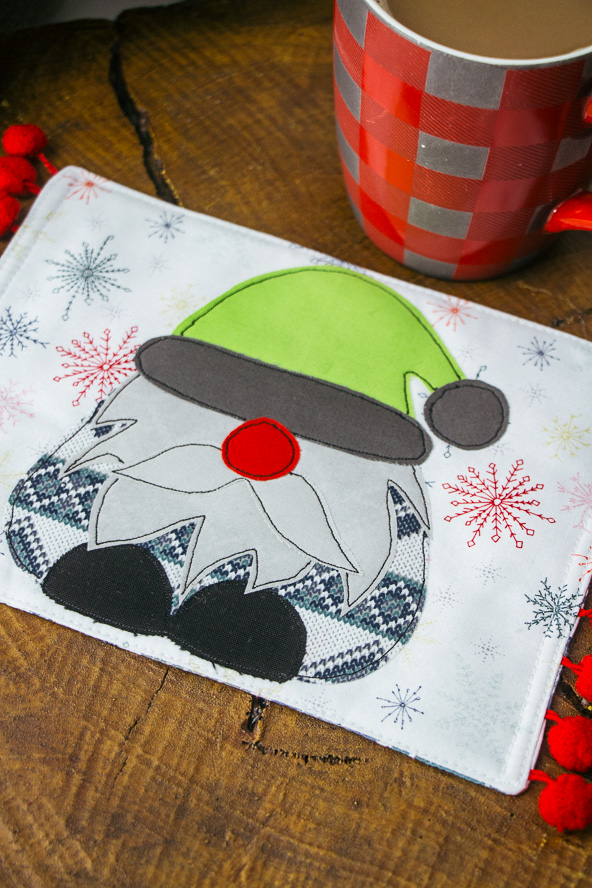
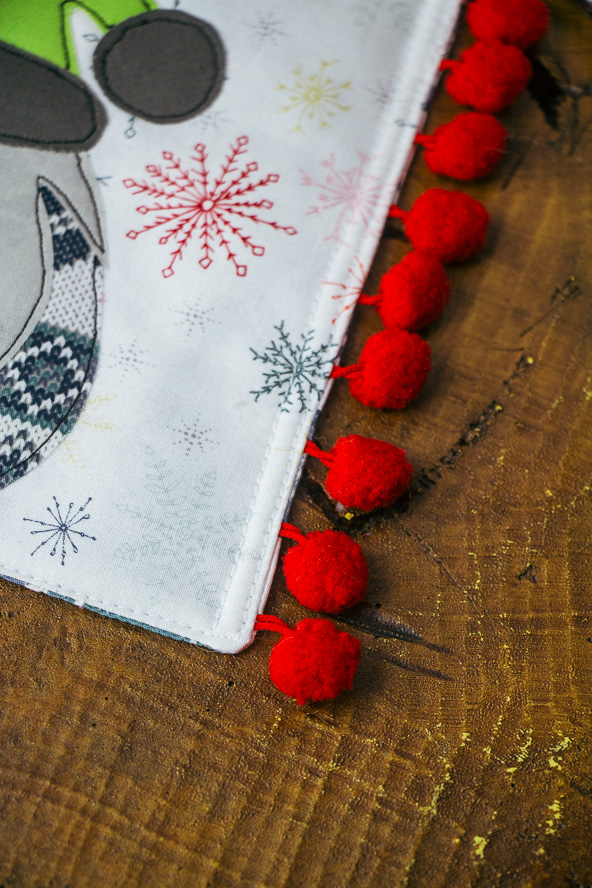
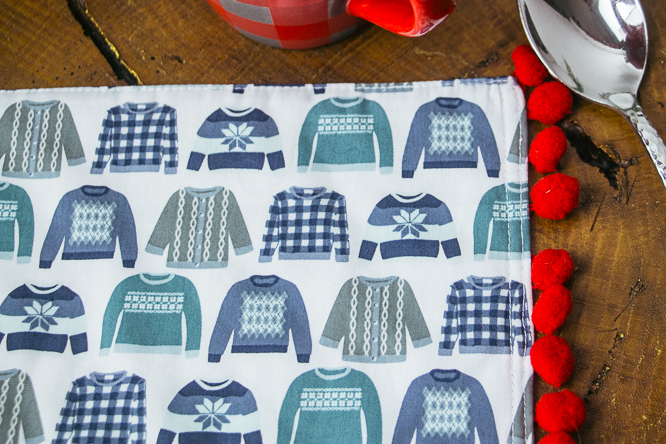
If you love curling up with a steaming mug of hot cocoa on cold winter nights, then you won’t be able to resist making this adorable mug rug. Complete with a printable template, this mug rug sewing pattern features a darling gnome made from fabric scraps. Featuring cheerful pom pom trim, this Christmas sewing pattern uses fat eighths in holiday prints for the background fabric. Whip up a batch of these cute mug rugs as sweet and scrappy gifts for your friends and co-workers.
Materials:
- Fabric:
- Note: All fabrics that appear in sample are by Art Gallery Fabrics.
- 1 fat eighth of a Christmas blender fabric for the appliqué background
- Note: A blender fabric is a non-directional, very small print.
- 1 fat eighth of Christmas fabric for the backing fabric
- Scraps of solids for the gnome: grey, light grey, blue, black, red and green (Note: Check with the template pieces to see if your scraps are big enough.)
- Interfacing:
- 1 fat eighth thin fusible fleece. The designer recommends H630 fusible fleece by Vlieseline.
- 12” sq. Bondaweb or similar fusible interfacing to attach the appliqué (Vlieseline)
- 14” pom pom trim braid
- Coordinating threads for all fabrics and trims (Note: Always coordinate all of your threads to fabrics. Sometimes this means a different color thread in the top of the machine to the bobbin. It is a bit of extra work but well worth it in terms of style.)
- Basic sewing notions
- Extra feet for your sewing machine if needed (darning foot for example)
- PDF Template – This is located at the bottom of this page. See printing instructions below.
PRINTING INSTRUCTIONS:
To download the PDF template, click on the download button at the bottom of the page. We recommend opening your download using Adobe Acrobat.
DESIGNER NOTE: Please read all instructions and assembly requirements before beginning the pattern. Seam allowances are all 1/4” and have already been added.
Cutting Instructions:
- The appliqué:
- Use the template to cut the relevant appliqué pieces (This is located at the bottom of the page). The designer’s guide is, red for his nose, green for his hat, grey for the hat trim and pom pom, blue for his body, light grey for his whiskers and black for his boots.
- Note: To make things interesting, the designer used a small piece of patterned fabric for his body.
- The appliqué background fabric:
- 1 piece 8 1/2” wide x 6 1/2” tall
- The backing fabric:
- 1 piece 8 1/2” wide x 6 1/2” tall
- The fusible fleece:
- 1 piece 8 1/2” wide x 6 1/2” tall
- For the pom pom trim:
- 2 pieces 6 1/2” long
Sewing Instructions:
- If using Bondaweb or similar, the interfacing will have a rough glue side and a smooth paper side. Lay the interfacing smooth side up over the template and trace the pieces. Cut them out roughly.
- Now lay them glue side down onto the wrong side of the relevant fabrics and fuse with a hot iron. Note: You are quite possibly using scraps to make the gnome and the first thing to do is to press them well so that they lay flat. Then lay the trimmed appliqué piece over the top of the scrap to see if it fits. If it does, you can use it.
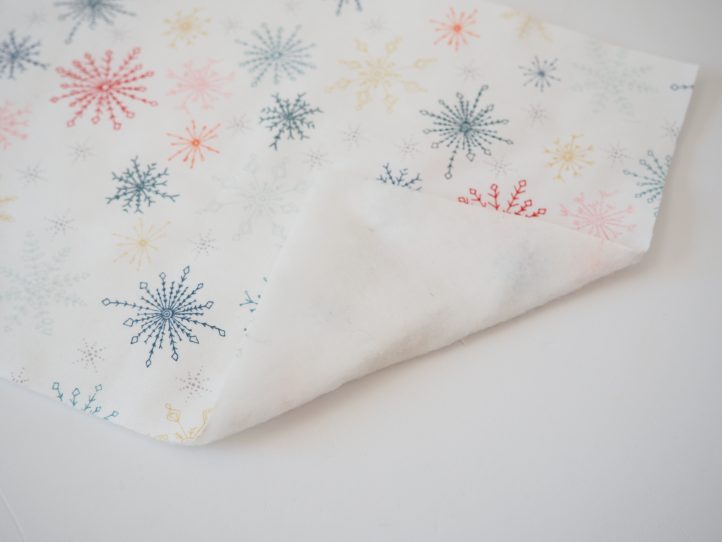
- Fuse the H630 fusible wadding to the wrong side of the background fabric.
- Cut the appliqué pieces out exactly and fuse them centrally onto the appliqué background fabric.
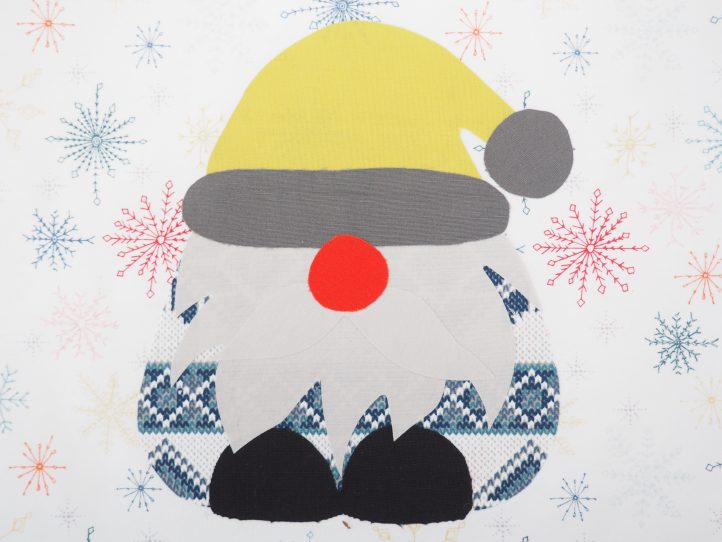
- Note: On your template, you can see some dashed lines. These lines indicate an appliqué piece behind another.
- Set your machine up for Free Motion Embroidery (FME). This is super easy – on older models, you may need to set the machine length to zero but on most machines, you can drop the feed dogs. Check your manual to see which is best for you. You will need the darning foot too and thread with black thread.
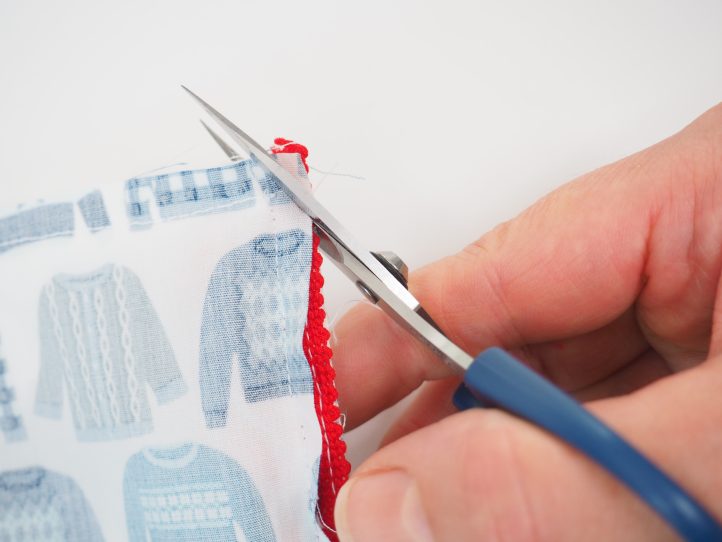
- Embroider around the appliqué pieces about 1/8” in from the outer edge and do not aim for super neatness. Trim the threads closely. They won’t unravel because of the tight stitching.

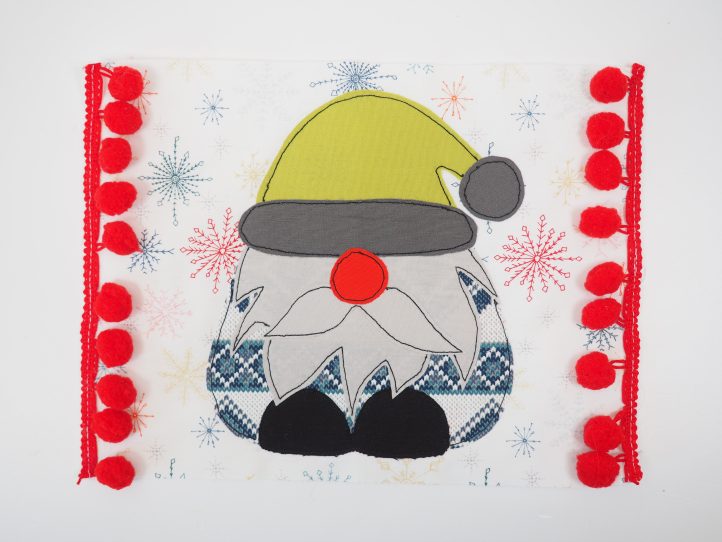
- Trim the pom pom trims to exactly 6 1/2” long and baste one each side of the appliqué panel. Note: These trims vary a bit in the width of the top braid. The idea is to have only the pom poms themselves visible when the rug is made up and turned the right way out so based on a 1/4” seam allowance, you may have to move things around until they are sitting where you want them to be.
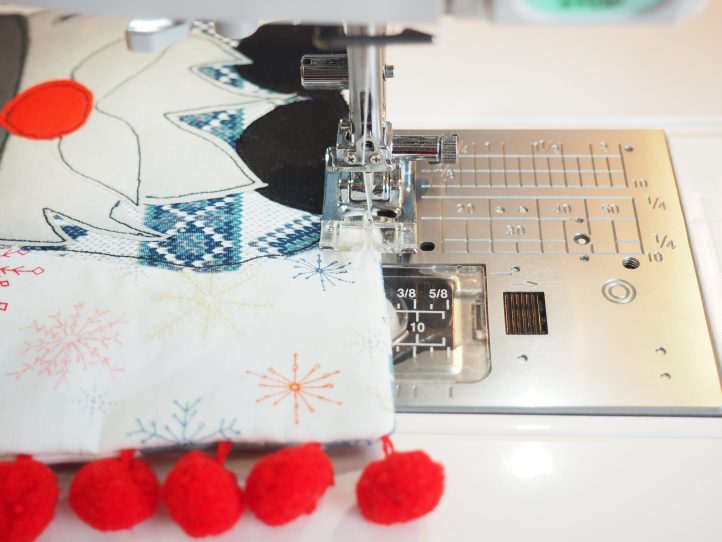
- Pin the backing fabric right sides together to the appliquéd front panel and sew all around the edge, leaving a turning gap in the bottom. Clip across the corners to reduce bulk and turn out through the gap.
- Poke the corners of the mat out so that they are sharp and then iron the mug rug so that the edges are perfect. Close the turning gap. Note: The designer preferred to use a small hand stitch to close the gap.
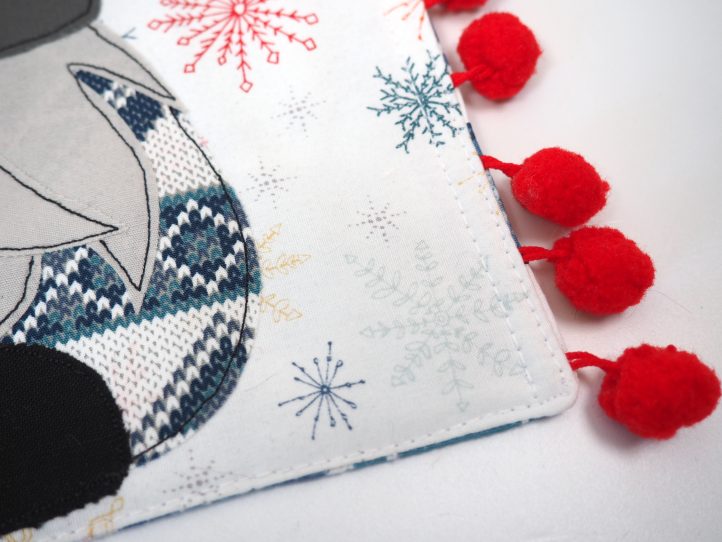
- Topstitch right around the edge of the mug rug about 1/8” in from the edge.
- Note: On the sides, the designer went back in and did a second row of topstitching 1/4” in from the first.
I love this Gnome pattern. So many possibilties.
We’re so glad you like this project, Elizabeth! Have a great day 🙂 – Ashley, WeLikeSewing