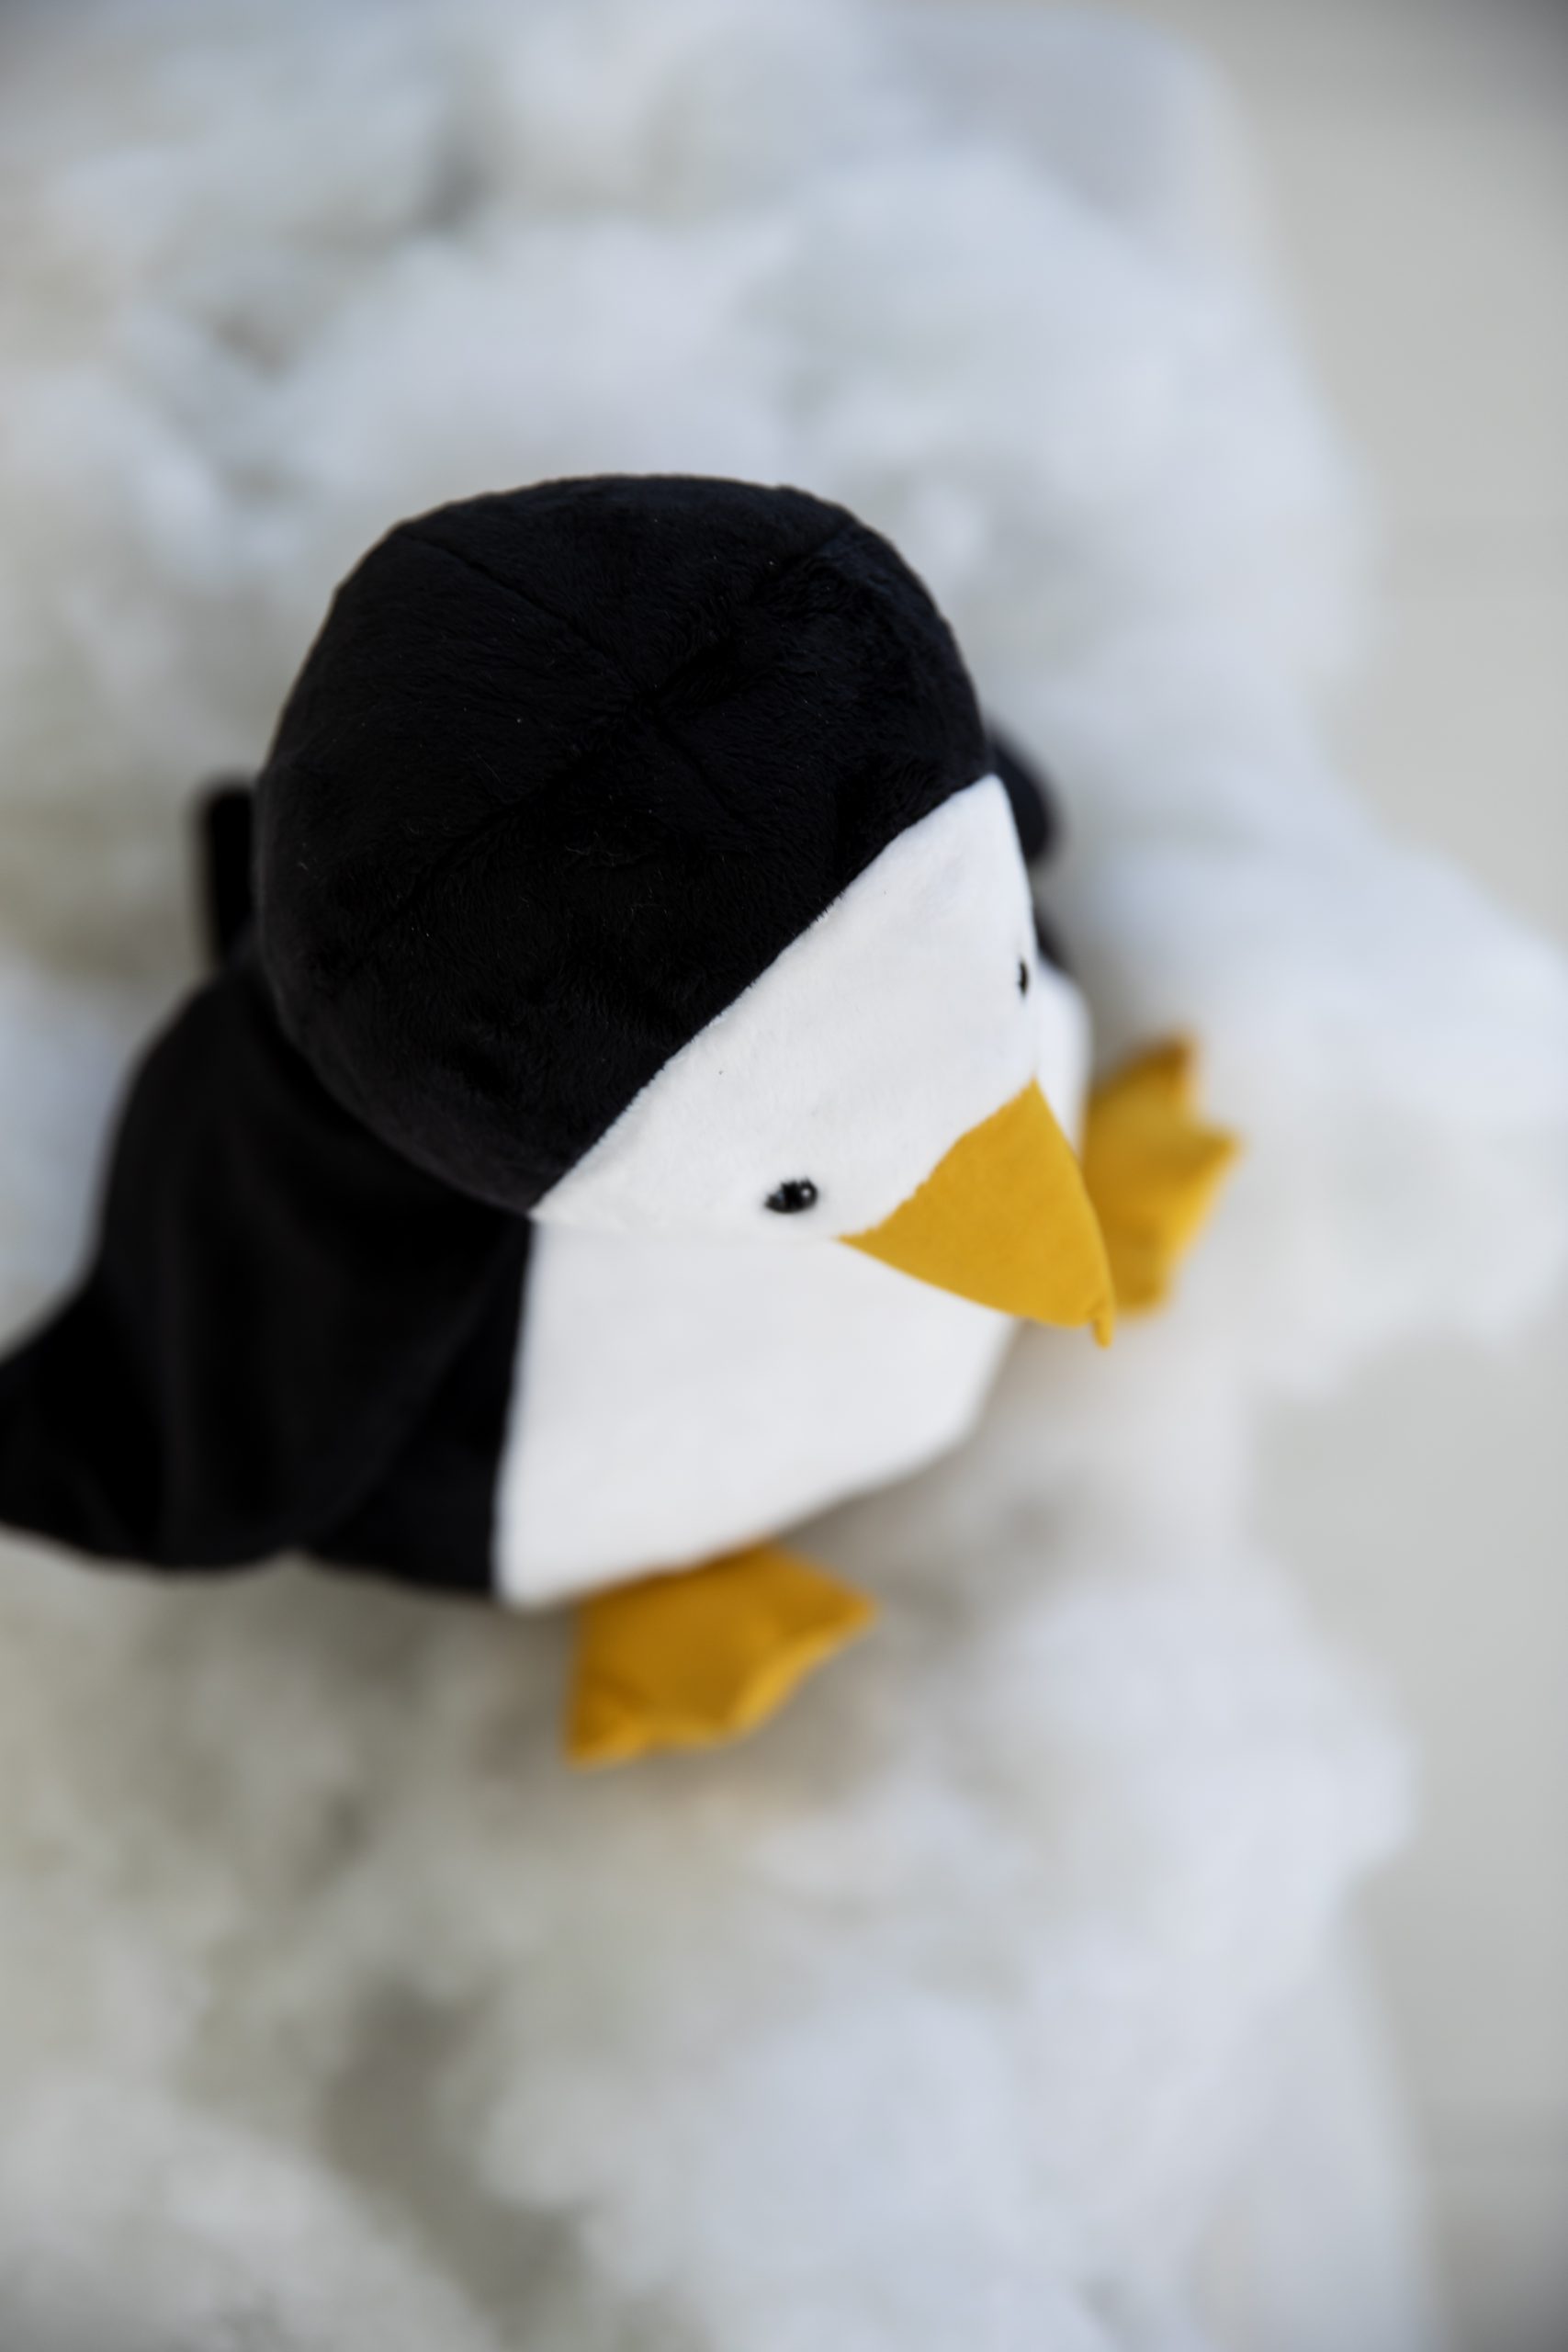
Sew your little one a sweet cuddle buddy for chilly winter snow days with this pattern from Jo Carter. Meet Parker, an adorable stuffed penguin pattern that kids everywhere will love! A lovely gift for winter birthdays or Valentine’s Day, this stuffed animal pattern is made with soft, cuddle fabric for its body and features a bright yellow cotton beak. Spend a snowy weekend indoors sewing up this precious penguin pal for your child or grandchild.
Finished Size: Approximately 28 cm (11 in) tall
Designer Notes:
- Seam allowance is 6mm (1/4 in), unless otherwise noted.
- Templates include seam allowances, unless otherwise noted.
- Arrows on the templates indicate print/pile direction for marking and cutting out.
- As the wings and tail are sewn directly into seams, it is advisable to go back and sew over the joins to make sure they are well secured and to reduce the likelihood of them being pulled out.
- Remember: When the pattern specifies, cut 2 or more of a pattern piece, the template needs to be turned over halfway through marking out so that the second half is cut as a mirror image of the first.
- When clipping, always take care to avoid clipping any stitching.
Abbreviations:
- RST = right sides together
Materials:
Note: Jo used Shannon Cuddle Solid Fabrics in Black and White and yellow cotton fabric. Fleece fabric would also work well.
- Black Fabric A: 75 cm x 42 cm (29 1/2 inch x 16 1/2 inch)
- White Fabric B: 34 cm (13 inch) square
- Cotton (or felt) Fabric C: 14 cm x 8 cm (5 1/2 inch x 3 inch)
- 9mm plastic safety eyes
- Polyester toy filling
- Felt scraps
- Matching sewing thread
- Basic sewing kit
- PDF Templates – These are located at the bottom of this page. See printing instructions below.
PRINTING INSTRUCTIONS:
To download the PDF templates, click on the download button at the bottom of the page. We recommend opening your download using Adobe Acrobat.
Cutting Instructions:
Cut out as follows, using the PDF templates:
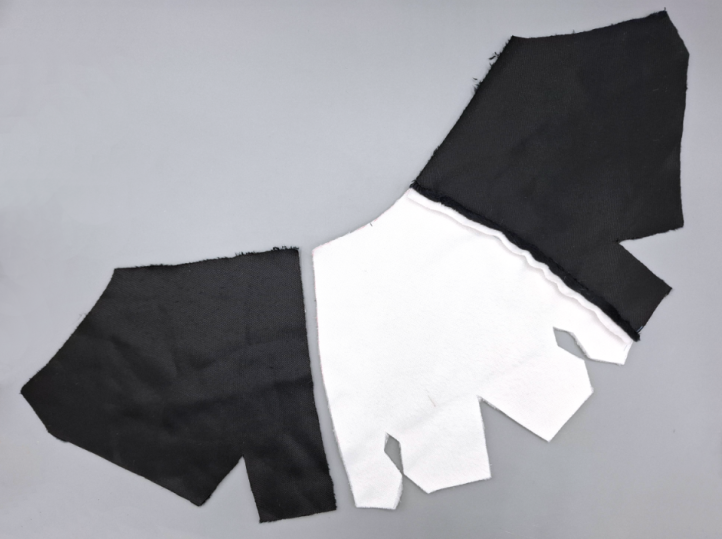
From Black Fabric A:
- Cut 1 Outer Face
- Cut 2 Back Head
- Cut 4 Wing
- Cut 2 Back Body
- Cut 1 Base
- Cut 2 Tail
From White Fabric B:
- Cut 1 Face (remember to mark eye position)
- Cut 1 Stomach
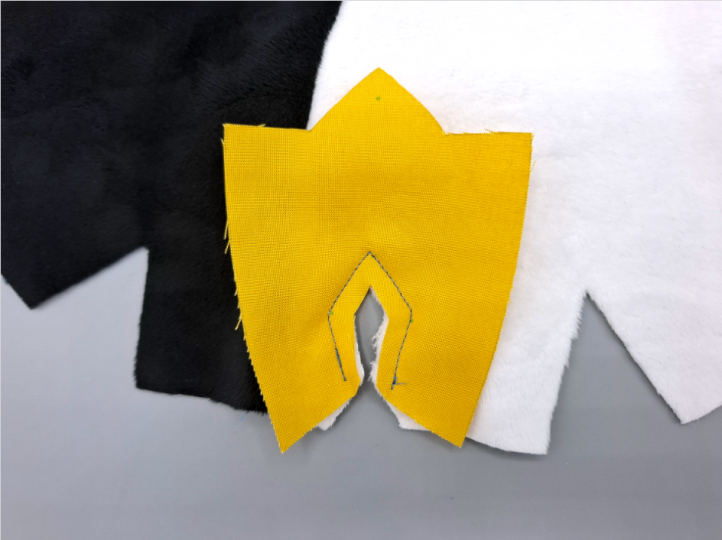
From Yellow Fabric C:
- Cut 1 Beak
- Cut 2 Top Foot
- Cut 2 Bottom Foot
Sewing Instructions:
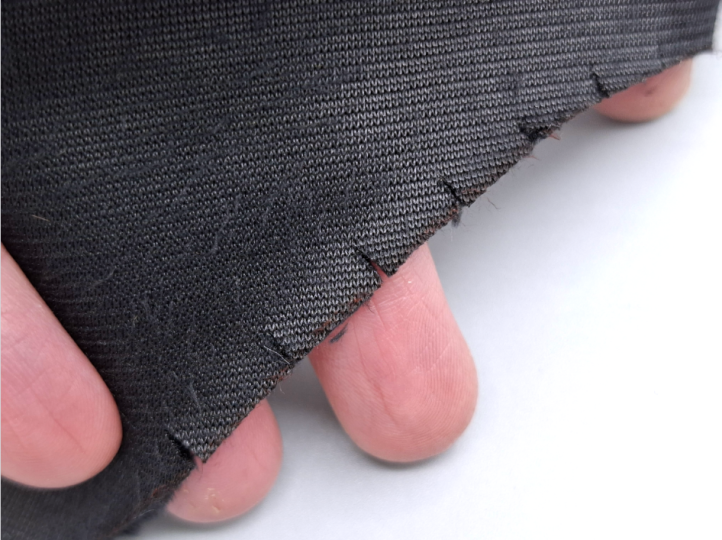
- Make small clips (approximately 2/3 of the depth of the seam allowance) around the concave curve (curved side without the dart) in the outer face piece.
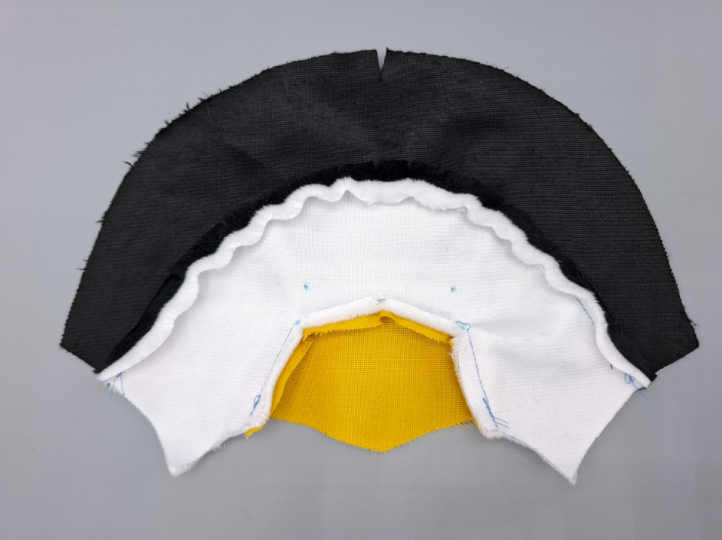
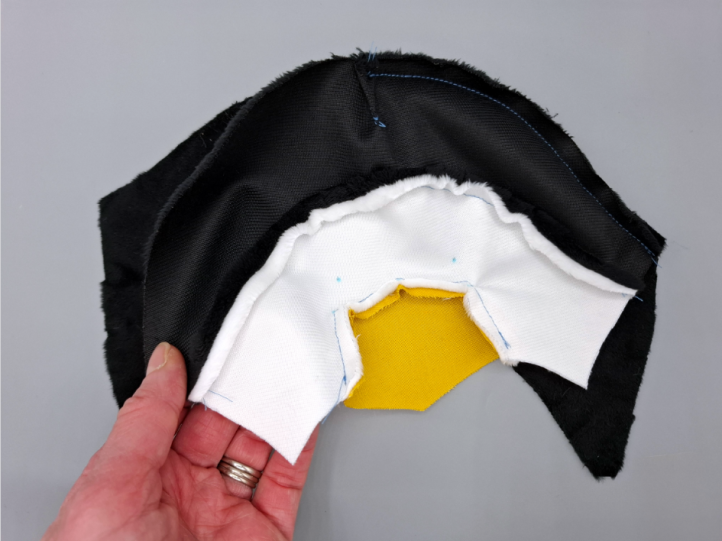
- RST, with the outer face piece on top for sewing as it is easier to bend it around the face without stretching it this way, sew the outer face around the face.

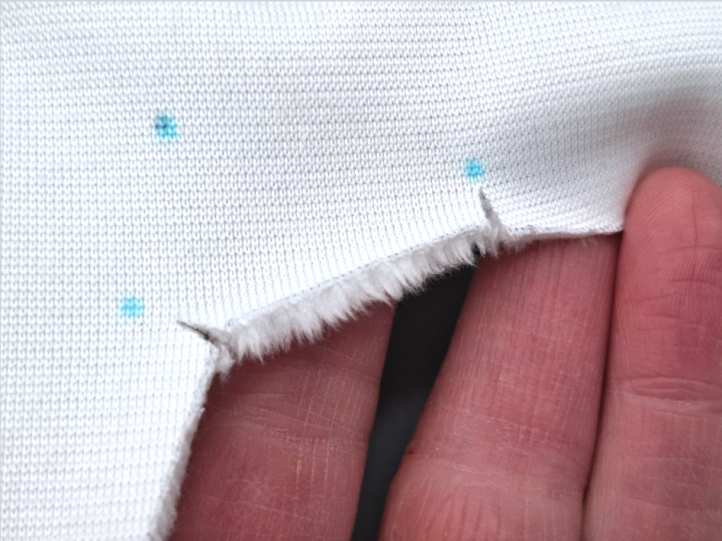
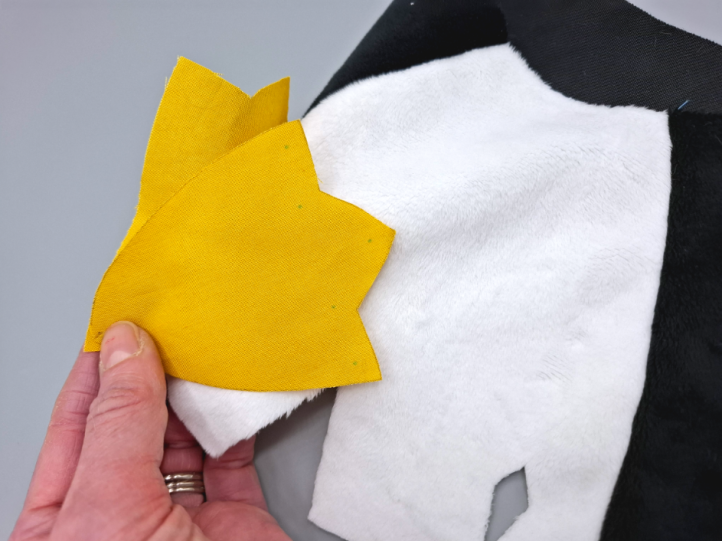
- Make small clips (approximately 2/3 of the depth of the seam allowance) in the face piece towards the pivot point at each corner.
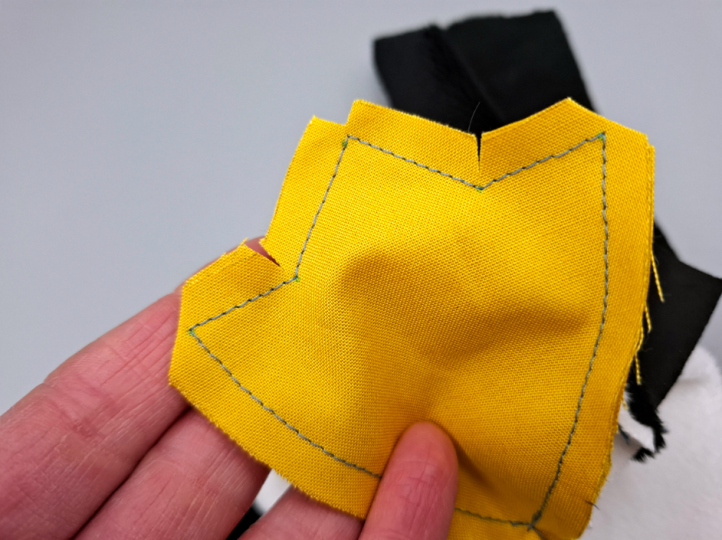
- RST, sew the beak around the opening in the face, pausing with the needle down through the fabric at each pivot point and lifting the presser foot to re-adjust and smooth out the fabric before continuing with the next part of the seam. After pivoting at the pivot point, it can be helpful to sew a stitch and then pause again with the needle down to lift the presser foot once more to make sure there are no tucks in the fabric before proceeding.
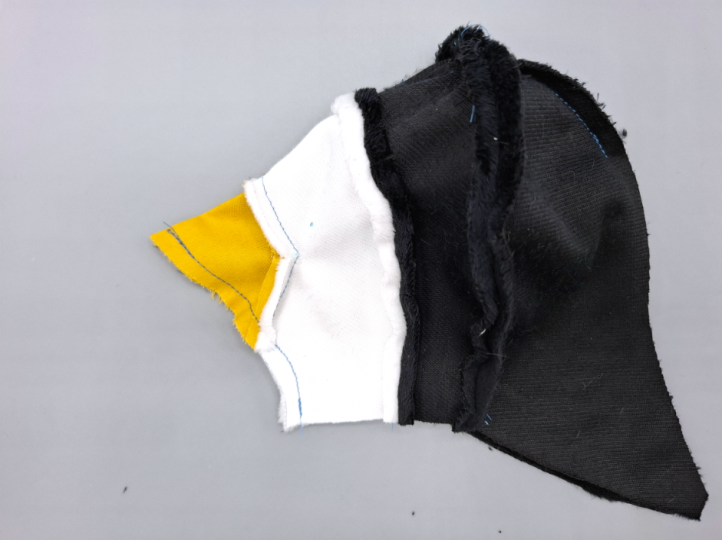
- RST, close the dart at the top of the outer face.
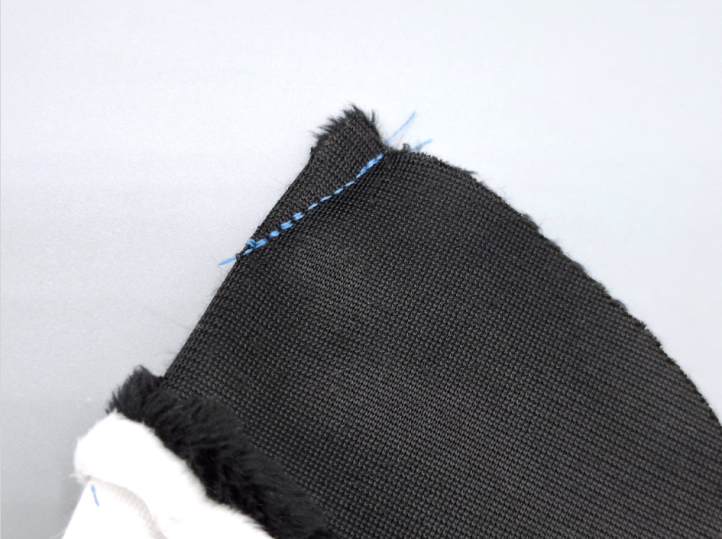
- RST, place the back head pieces one on top of the other and sew together along the back (longer than the front side) from the top down for 5-6 cm or about 2 inches to partially join them.

- RST, line up the dart at the top of the face with the partial seam in the back head, and from this top point, sew the face and back head together down one side. Return to the top point and sew the remaining side together. Sewing the seam in two parts in this way is easier and helps to ensure a more even finish.
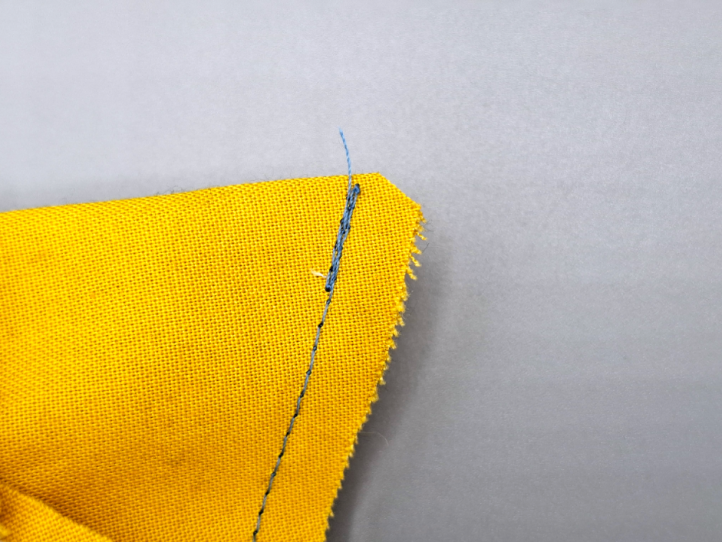
- RST, sew the front of the face together from the front neck edge up to the tip of the beak.
- Clip the seam allowance at the tip of the beak to remove some bulk.
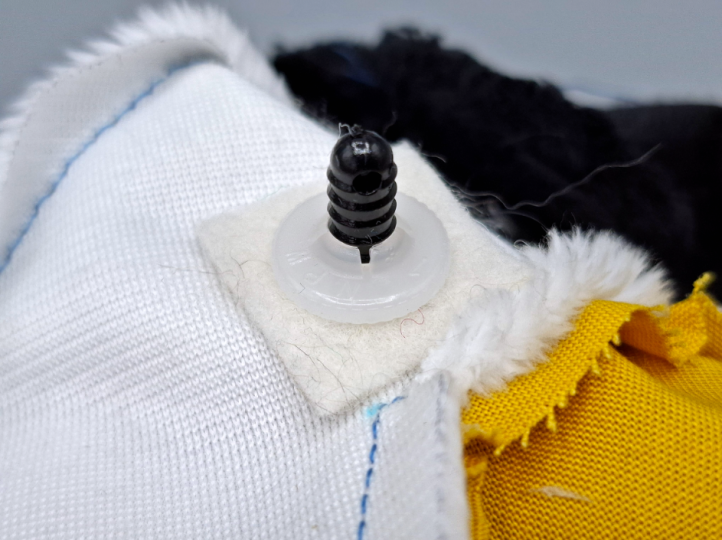
- Make the smallest holes possible through which to allow the shank of the eye in the face piece, where marked, and push the shanks through. The designers likes to fit a 1 cm (1/2 inch) square of felt with a small hole in the center over the shank on the back of the face at this point to give the back of the eye more to grab onto. Fit the backs onto the eyes as tightly as possible according to the instructions (moving any seam allowance out of the way that might get caught under the back).
- RST, sew a back body piece to its corresponding side of the stomach. Repeat to attach the other back body piece to the other side of the stomach.
- RST, place a top foot piece on top of the stomach so that the diamond shaped opening in the foot is over one of the diamond openings in the stomach. Starting at the bottom on one side, sew around the diamond using the pivot points to help turn the corners. Repeat for the other top foot on the other side.
- This step can be confusing as it seems as though the stomach will end up sandwiched inside the small foot, but it won’t be. Try acting out the seam by moving the bottom foot around the top foot before sewing to get a feel for how it will work. Fold the stomach/back body back on one side away from the top foot and then, with RST, place a bottom foot against the top foot so that the lower tip of the foot meets the back of the top foot on one side (remember to leave the seam allowance free on the top foot). Sew the bottom foot around the top foot, moving the stomach out of the way as you go and using the pivot points to help turn the corners. Repeat for the other foot on the other side.
- Clip the seam allowance at the tip of each ‘toe’ and clip into the internal corners at either side of the middle ‘toe’.
- RST, close the dart at the bottom of the stomach.
- RST, bring the bottom of a foot together and starting at the bottom of the stomach piece below the foot, sew the small section of stomach together, then pivot at the seam and sew the bottom of the foot together. Repeat for the other foot on the other side.

- RST, close each of the darts at the bottom of the back body pieces.
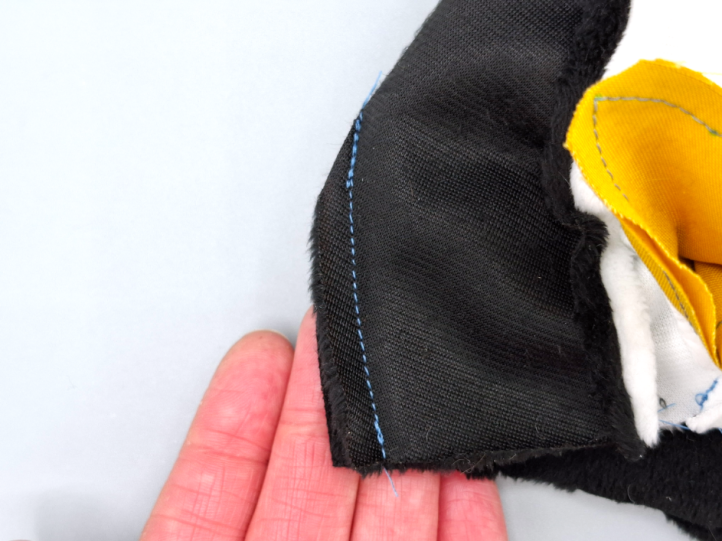
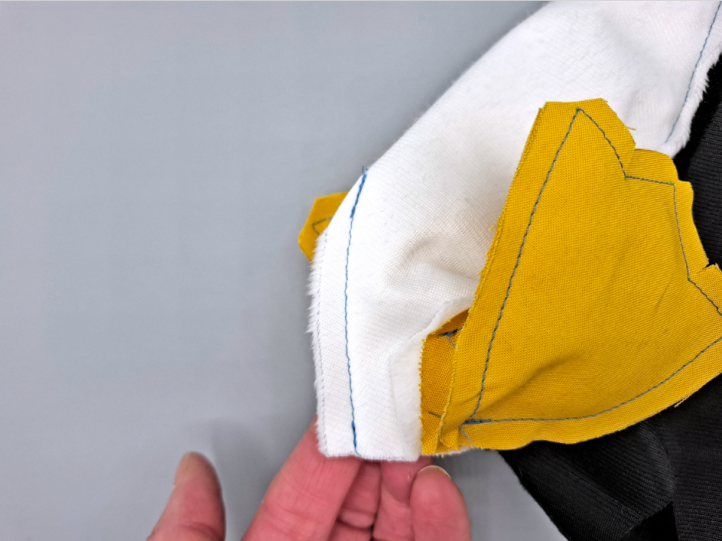
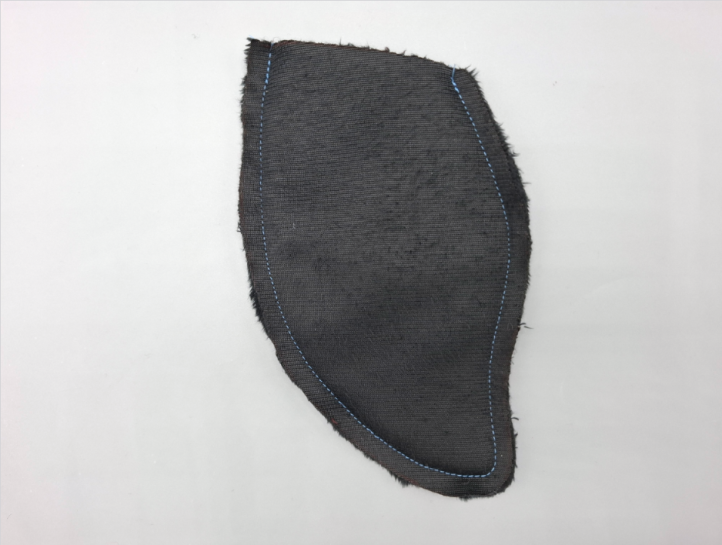
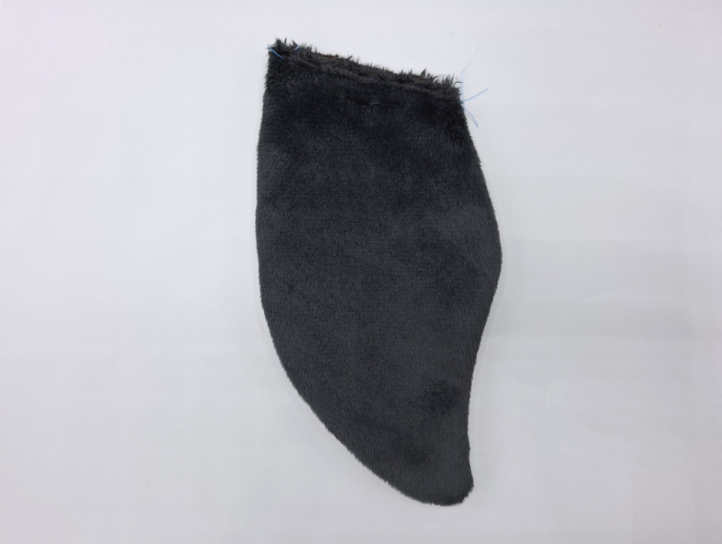
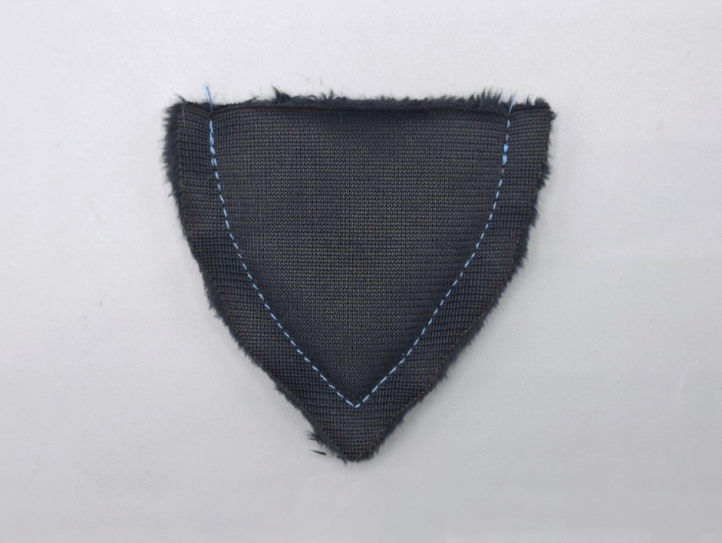
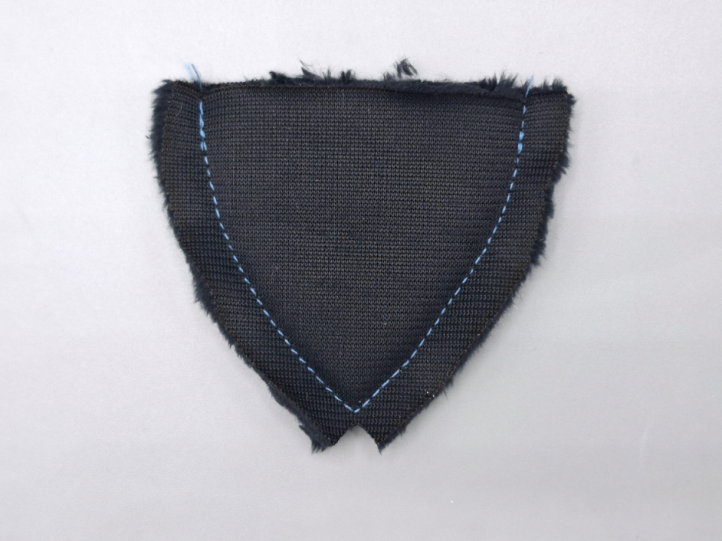
- RST, place two mirror-image wing pieces, one on top of the other, and sew together around the sides, leaving the top straight edge open. Repeat for the other wing.
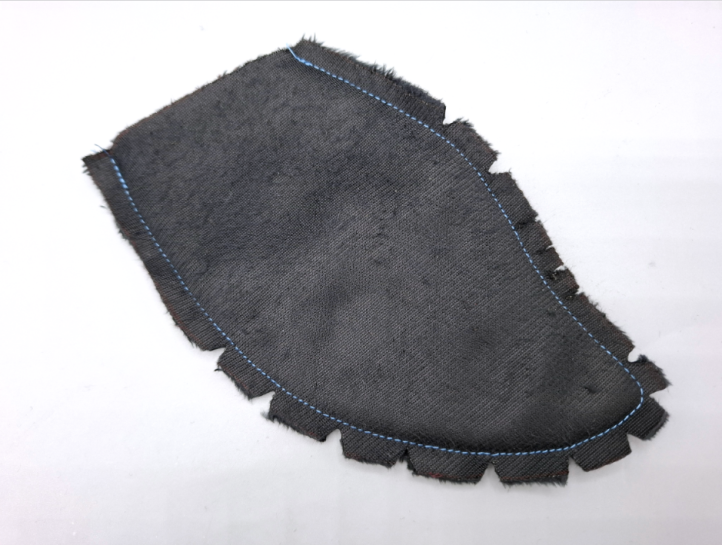
- Clip ‘V’ shaped notches in the seam allowance around the curves of the wing and make a few clips into the internal curve. Repeat for the other wing.
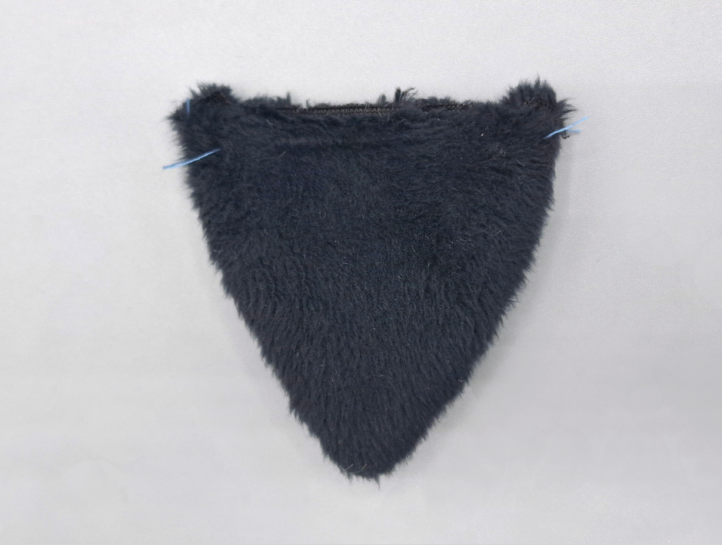
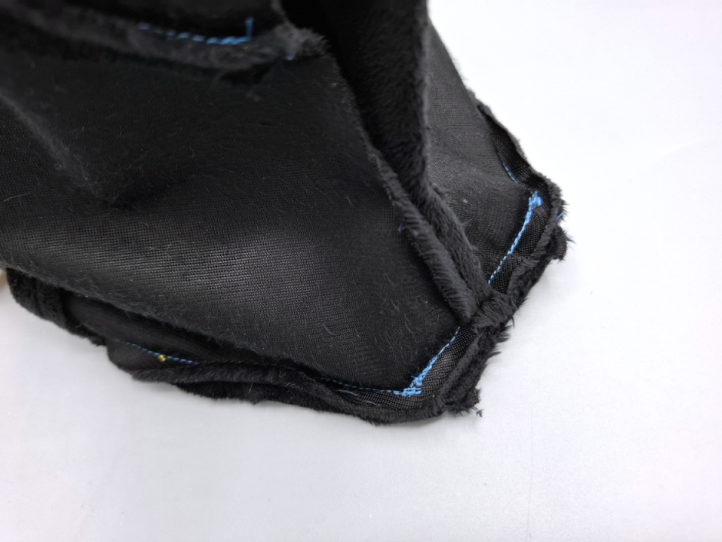
- Turn a wing the right way out. A small amount of stuffing can be added to the wing to give it more shape, but Jo likes to leave hers empty. Baste the raw edges together at the top to keep them aligned. Repeat for the other wing.
- With the wings against the right side of the body and the tips pointing to the back, line up the raw edges and baste the wings into position where marked.

- RST, if preferred before machine sewing, baste the bottom of the head to the top of the body by hand with long stitches to help keep it in place. Sew the head to the body, either all in one go, sewing from side to side, or starting in the middle each time and sewing a side at a time. Remove any long basting stitches that might be visible on the finished penguin.
- RST, starting at point A (or B, depending on which part of the penguin is on top for sewing), sew the base around the bottom of the body so that the small section between A and B is open at the back.
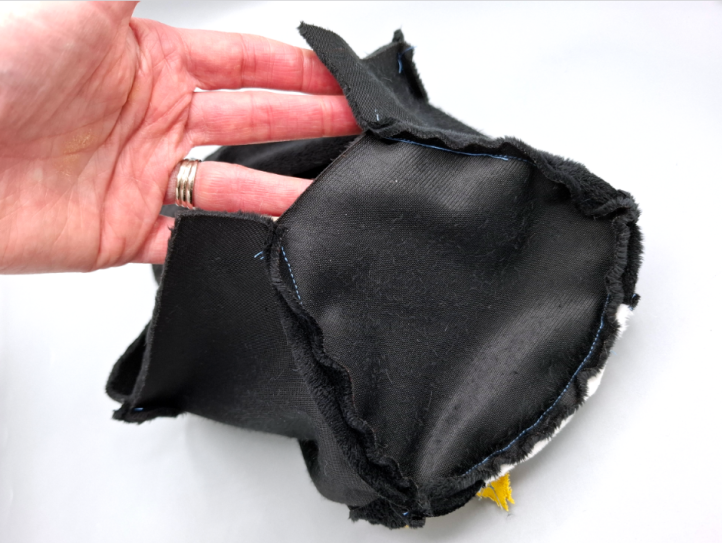
- RST, bring the back body pieces together and sew the bottom of the back body together from the bottom up for 4-5 cm/1 1/2-2 inches (still leaving the opening in the back of the body/base A to B).
- RST, place the two tail pieces one on top of the other and sew together around the sides, leaving the top straight edge open.
- Clip the seam allowance at the tip of the tail to remove some bulk.
- Turn the tail the right way out and baste the raw edges at the top of the tail together.
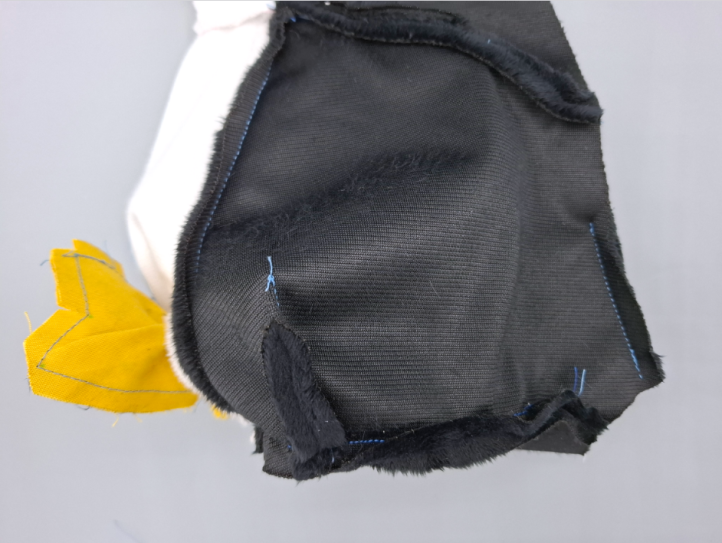
- With the penguin still the wrong way out, tuck the tail inside so that the basted raw edge fits through the opening at the back of the base (A to B) and all of the raw edges line up. Sew across the back of the base/body to close it and fix the tail in place.
- RST, return to the partial seam on the back of the head and sew the back of the head together, stopping to leave an 8-10 cm/3-4 inch opening in the back of the body.
- Turn the penguin the right way out and stuff the feet first, then the beak, head, and then the rest of the body. Close the opening on the back of the body by hand using ladder stitch or similar.