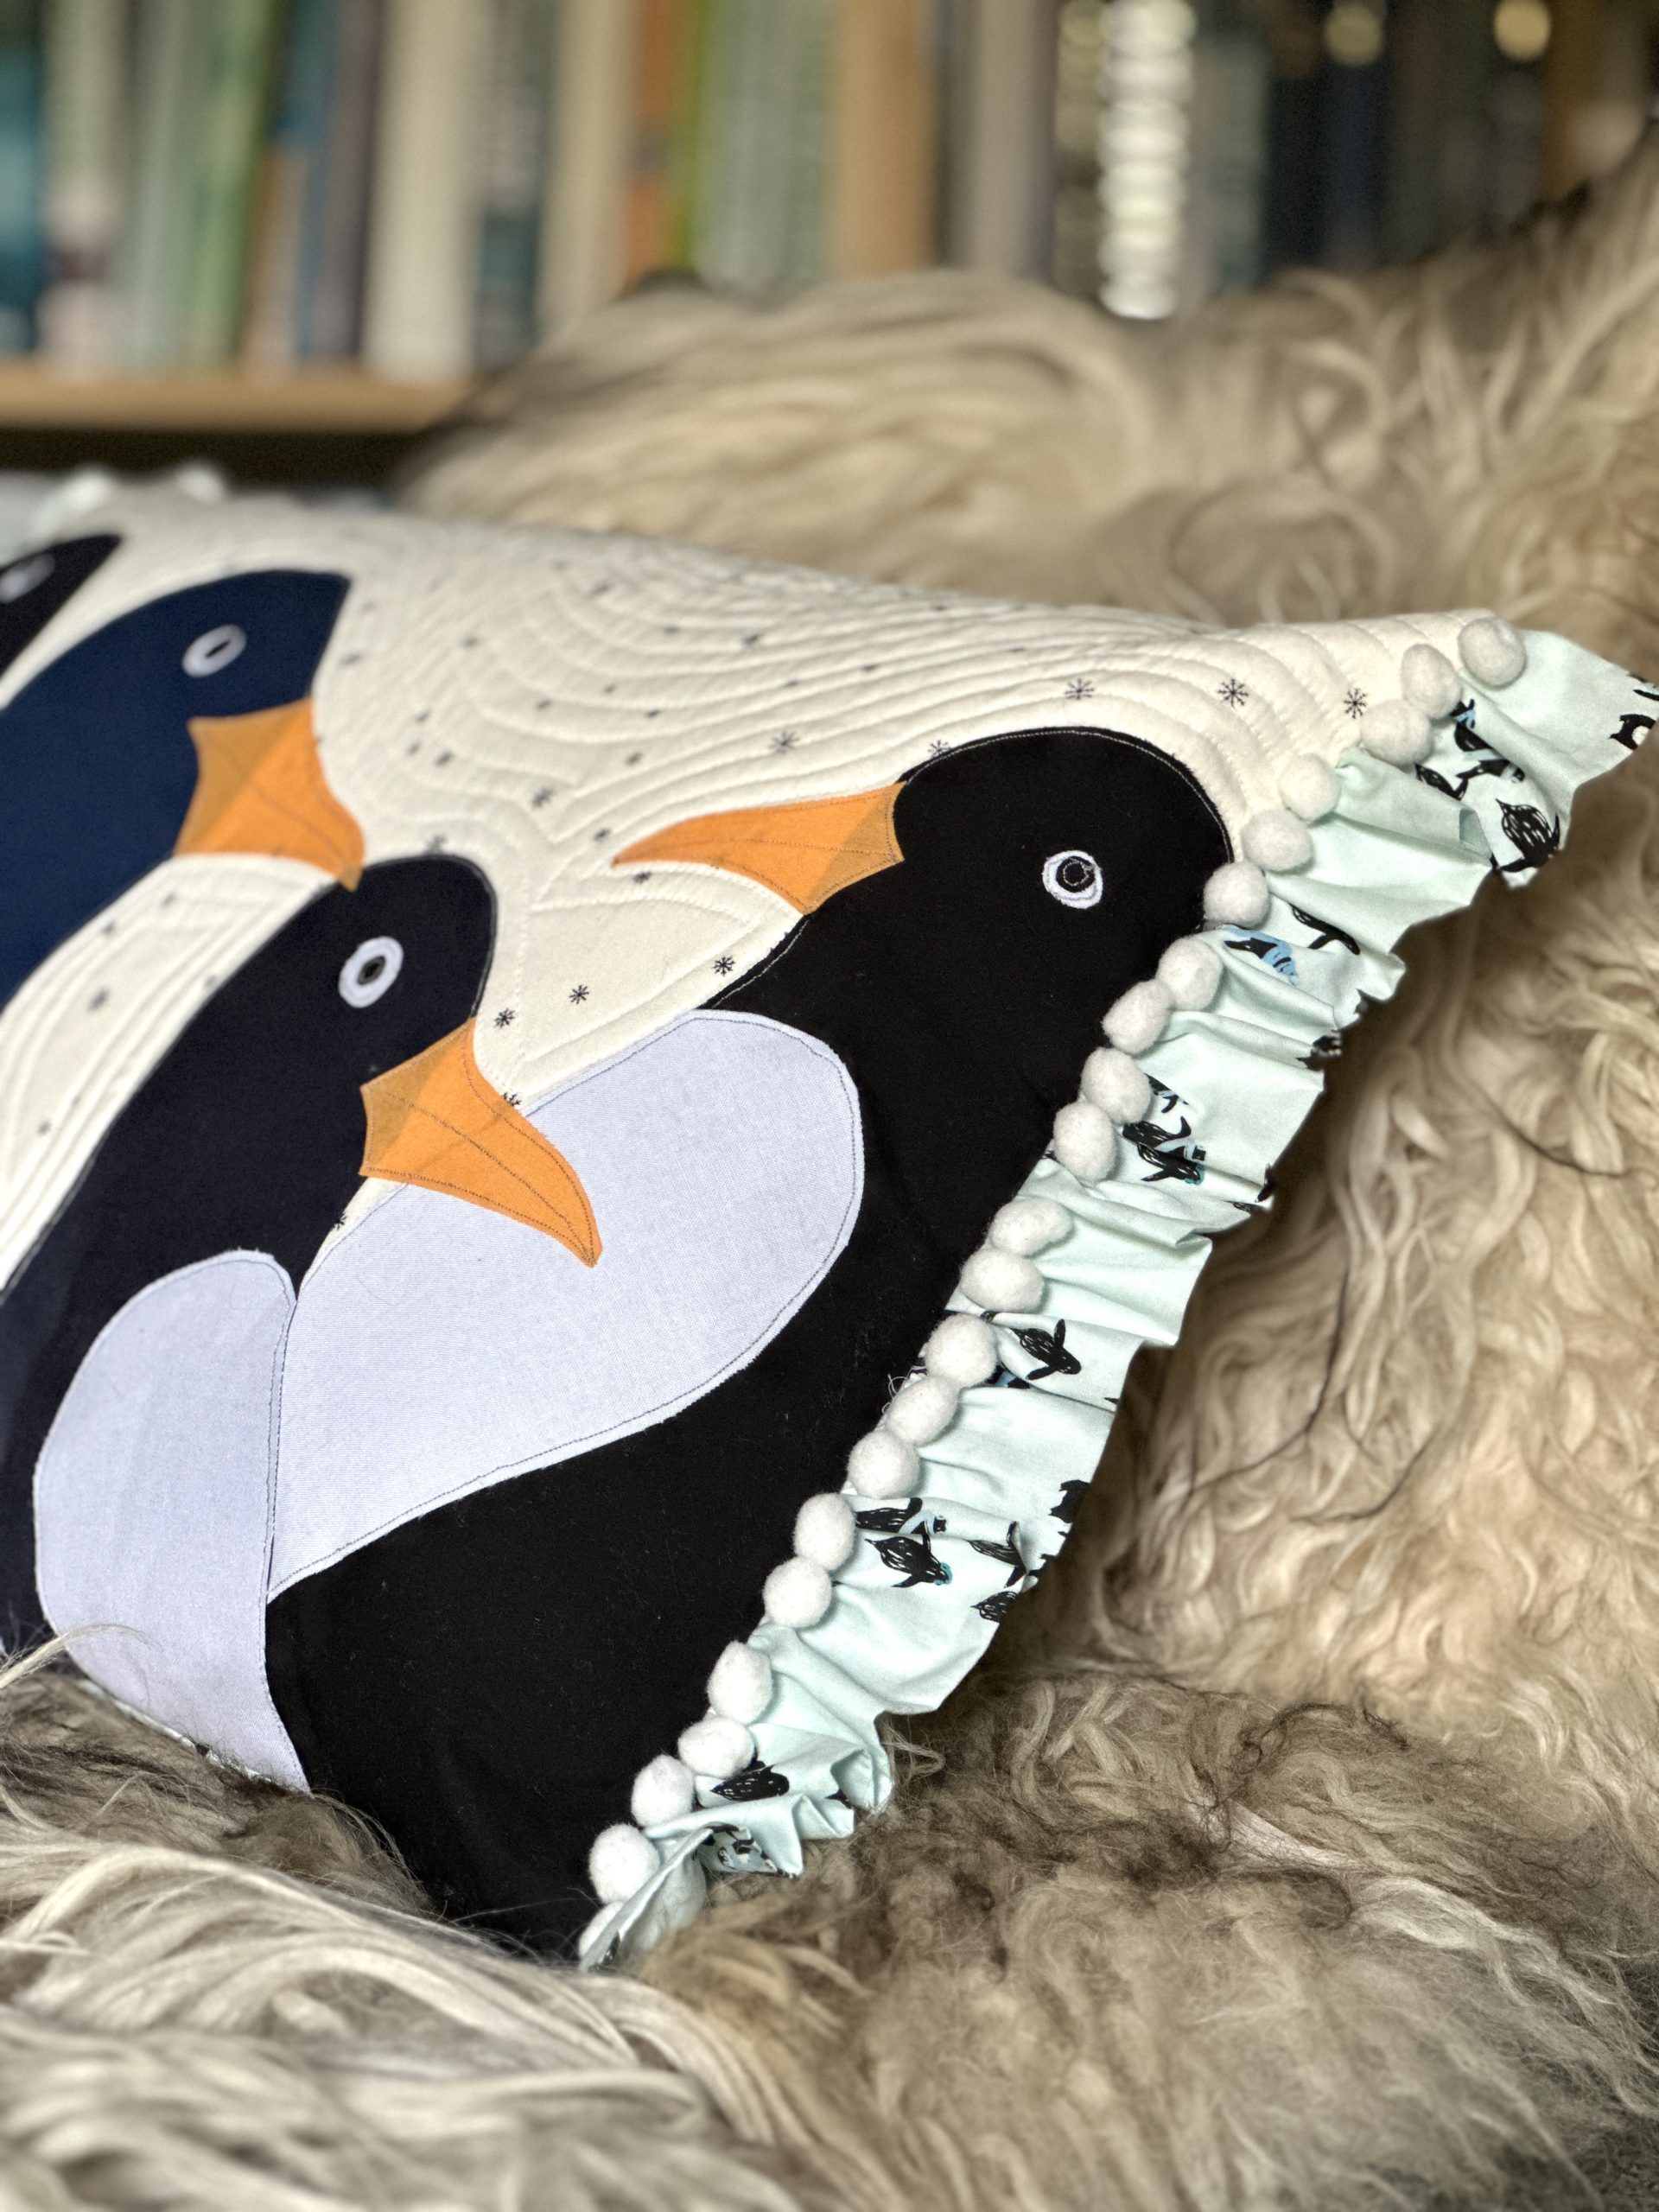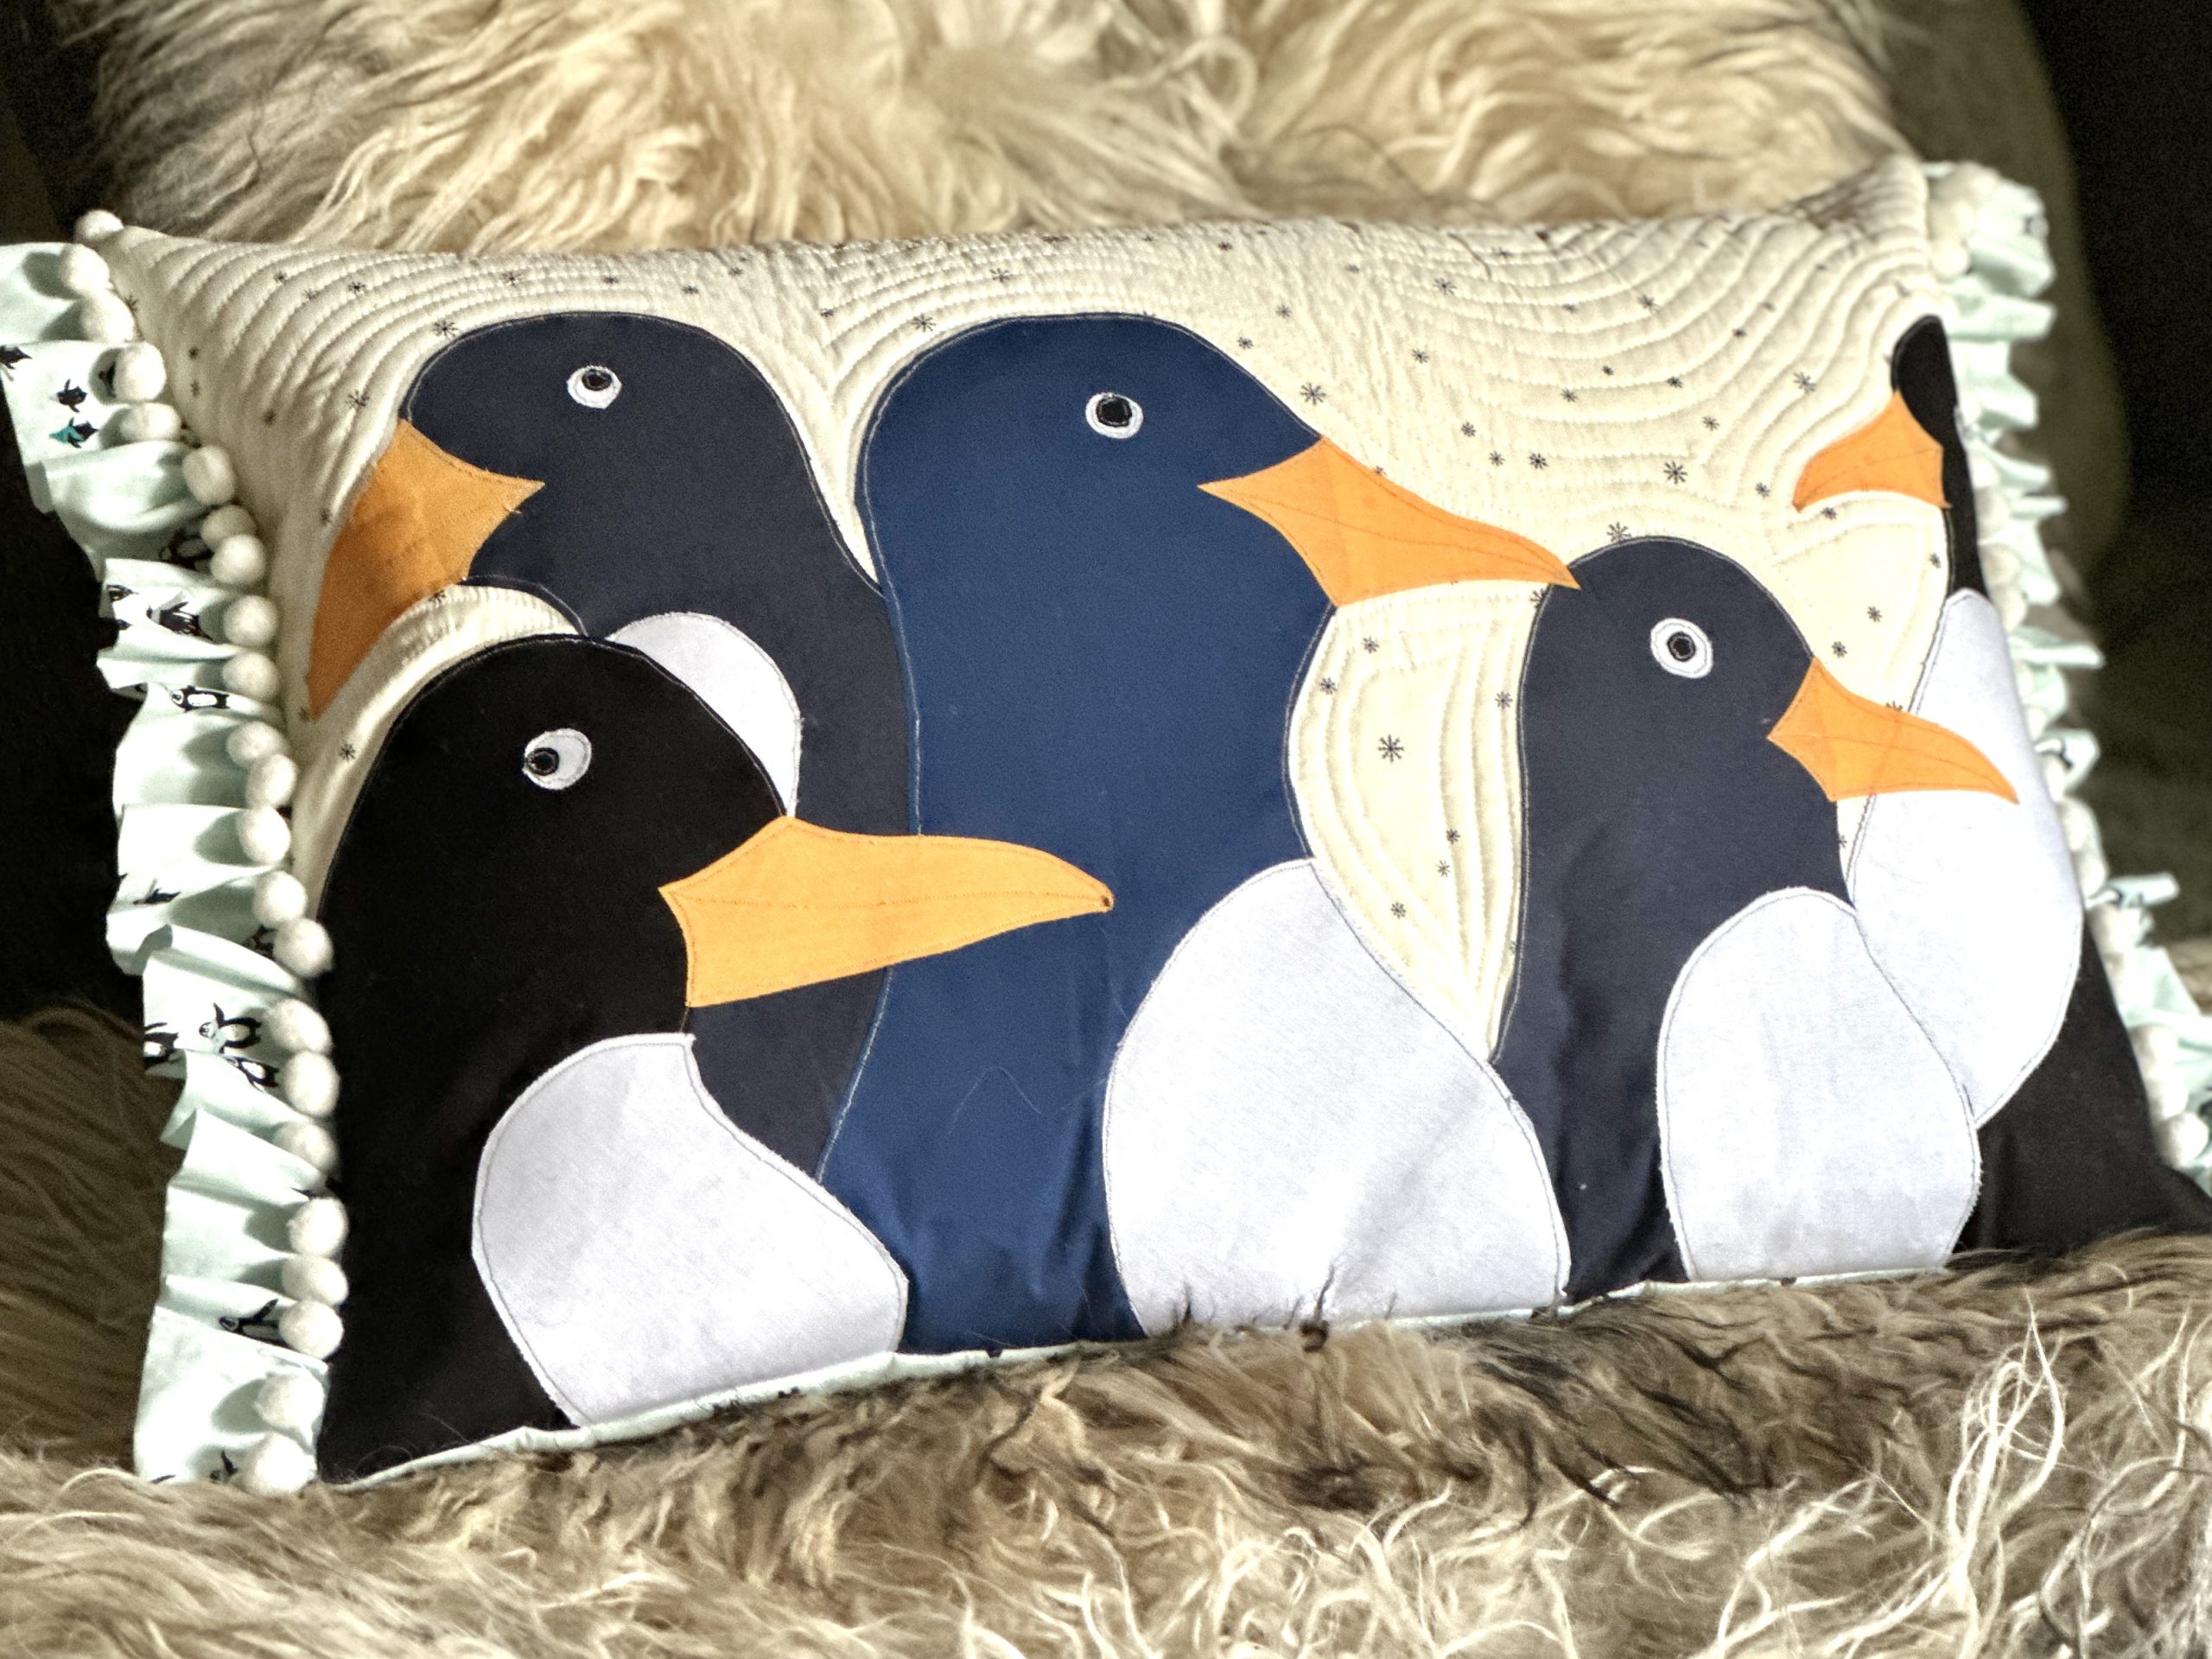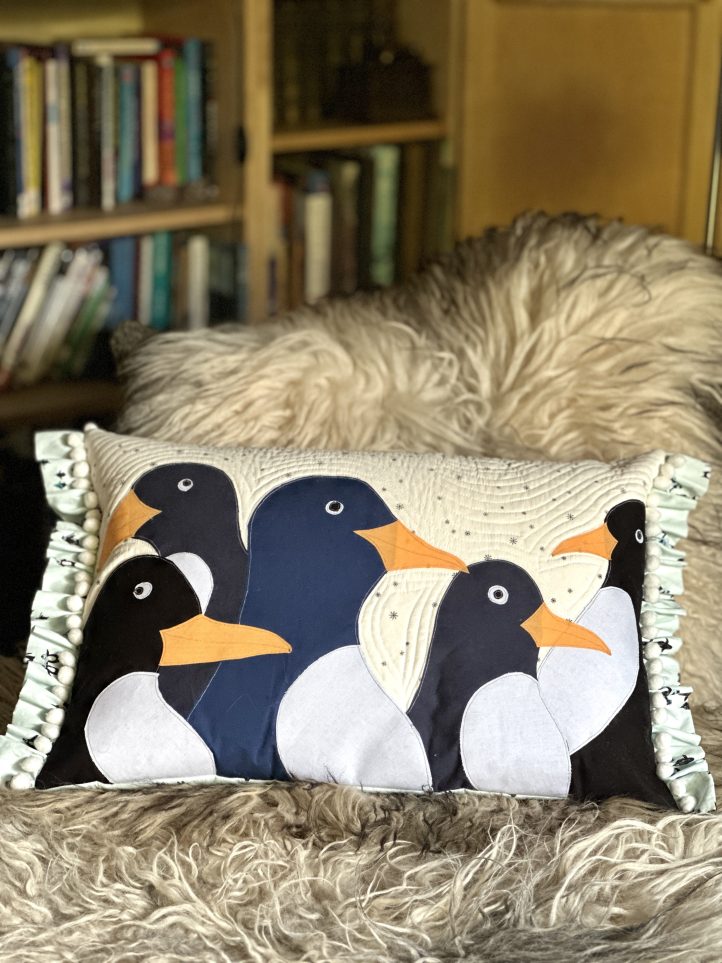
You’re invited to the Penguin Party! Decorate your home with a huddle of penguins with this playful winter pattern from Debbie von Grabler-Crozier. The focus of this design is the group of applique penguins against a snowy background, with the pillow completed by a zipper back closure and pom pom trim. You’ll want to keep this charming winter pillow pattern on display all season long, much to the delight of family and friends.
Abbreviations: yd. = yard, FQ = Fat Quarters
Designer Notes: Seam allowances are all 1/2″ unless otherwise stated and have already been added.
Materials:
- Fabric: (Note: All fabrics are Art Gallery Fabrics [AGF].)
- 3/4 yd. penguin print fabric for the backing and frill. Debbie loves Frozen Flippers from the Arctic Take Capsule collection by AGF.
- 1/2 yd. snowflake fabric for the front panel. The designer used Chasing Snowflakes from the Arctic Tale Capsule collection by AGF.
- FQs and scraps of solid fabrics in a variety of ‘penguin colors’. The designer has chosen mine from the Pure Elements collection by AGF as follows:
- Heart of the Ocean (FQ)
- Caviar (FQ)
- Nocturnal (FQ)
- Snow (FQ)
- Mandarin (4” strip)
- Interfacing:
- 3/4 yd. #279 80/ 20 cotton mix batting (Vlieseline)
- 3/4 yd. Bondaweb (Vlieseline)
- Cushion insert
- Medium grey thread for applique
- 35 inch pompom trim
- 16 inch zipper for the back closure
- Coordinating threads for all fabrics and trims
- Scissors
- Fabric marking tools
- Extra feet for your sewing machine (walking foot and darning foot, for example)
- PDF Template – This is located at the bottom of this page. Please see printing instructions below.
PRINTING INSTRUCTIONS:
Note: To download the template, click on the pattern download button at the bottom of the page. We recommend opening your pattern download using Adobe Acrobat.
Cutting Instructions:
From the penguin fabric:
- 2 pieces 23 inch wide x 8 1/2 inch tall for the top and bottom back panels
- 2 pieces 4 1/4 inch wide x 30 inch long for the end ruffles
From the snowflake fabric:
- 1 piece 23 inch wide x 16 inch tall for the front panel
From the dark solids:
- 5 assorted penguin shapes using the penguins template
From the white solid:
- 5 relevant tummy sections using the penguins template
- 5 eye disks using the penguins template
From the orange solid:
- 5 beaks using the penguins template
From the batting:
- 1 piece 25 inch wide x 18 inch tall for the front panel
- 2 pieces 25 inch wide x 11 1/2 inch tall for the back panels
From the snowball pompom trim:
- 2 pieces 17 inch long
Sewing Instructions:
PREPARATION:
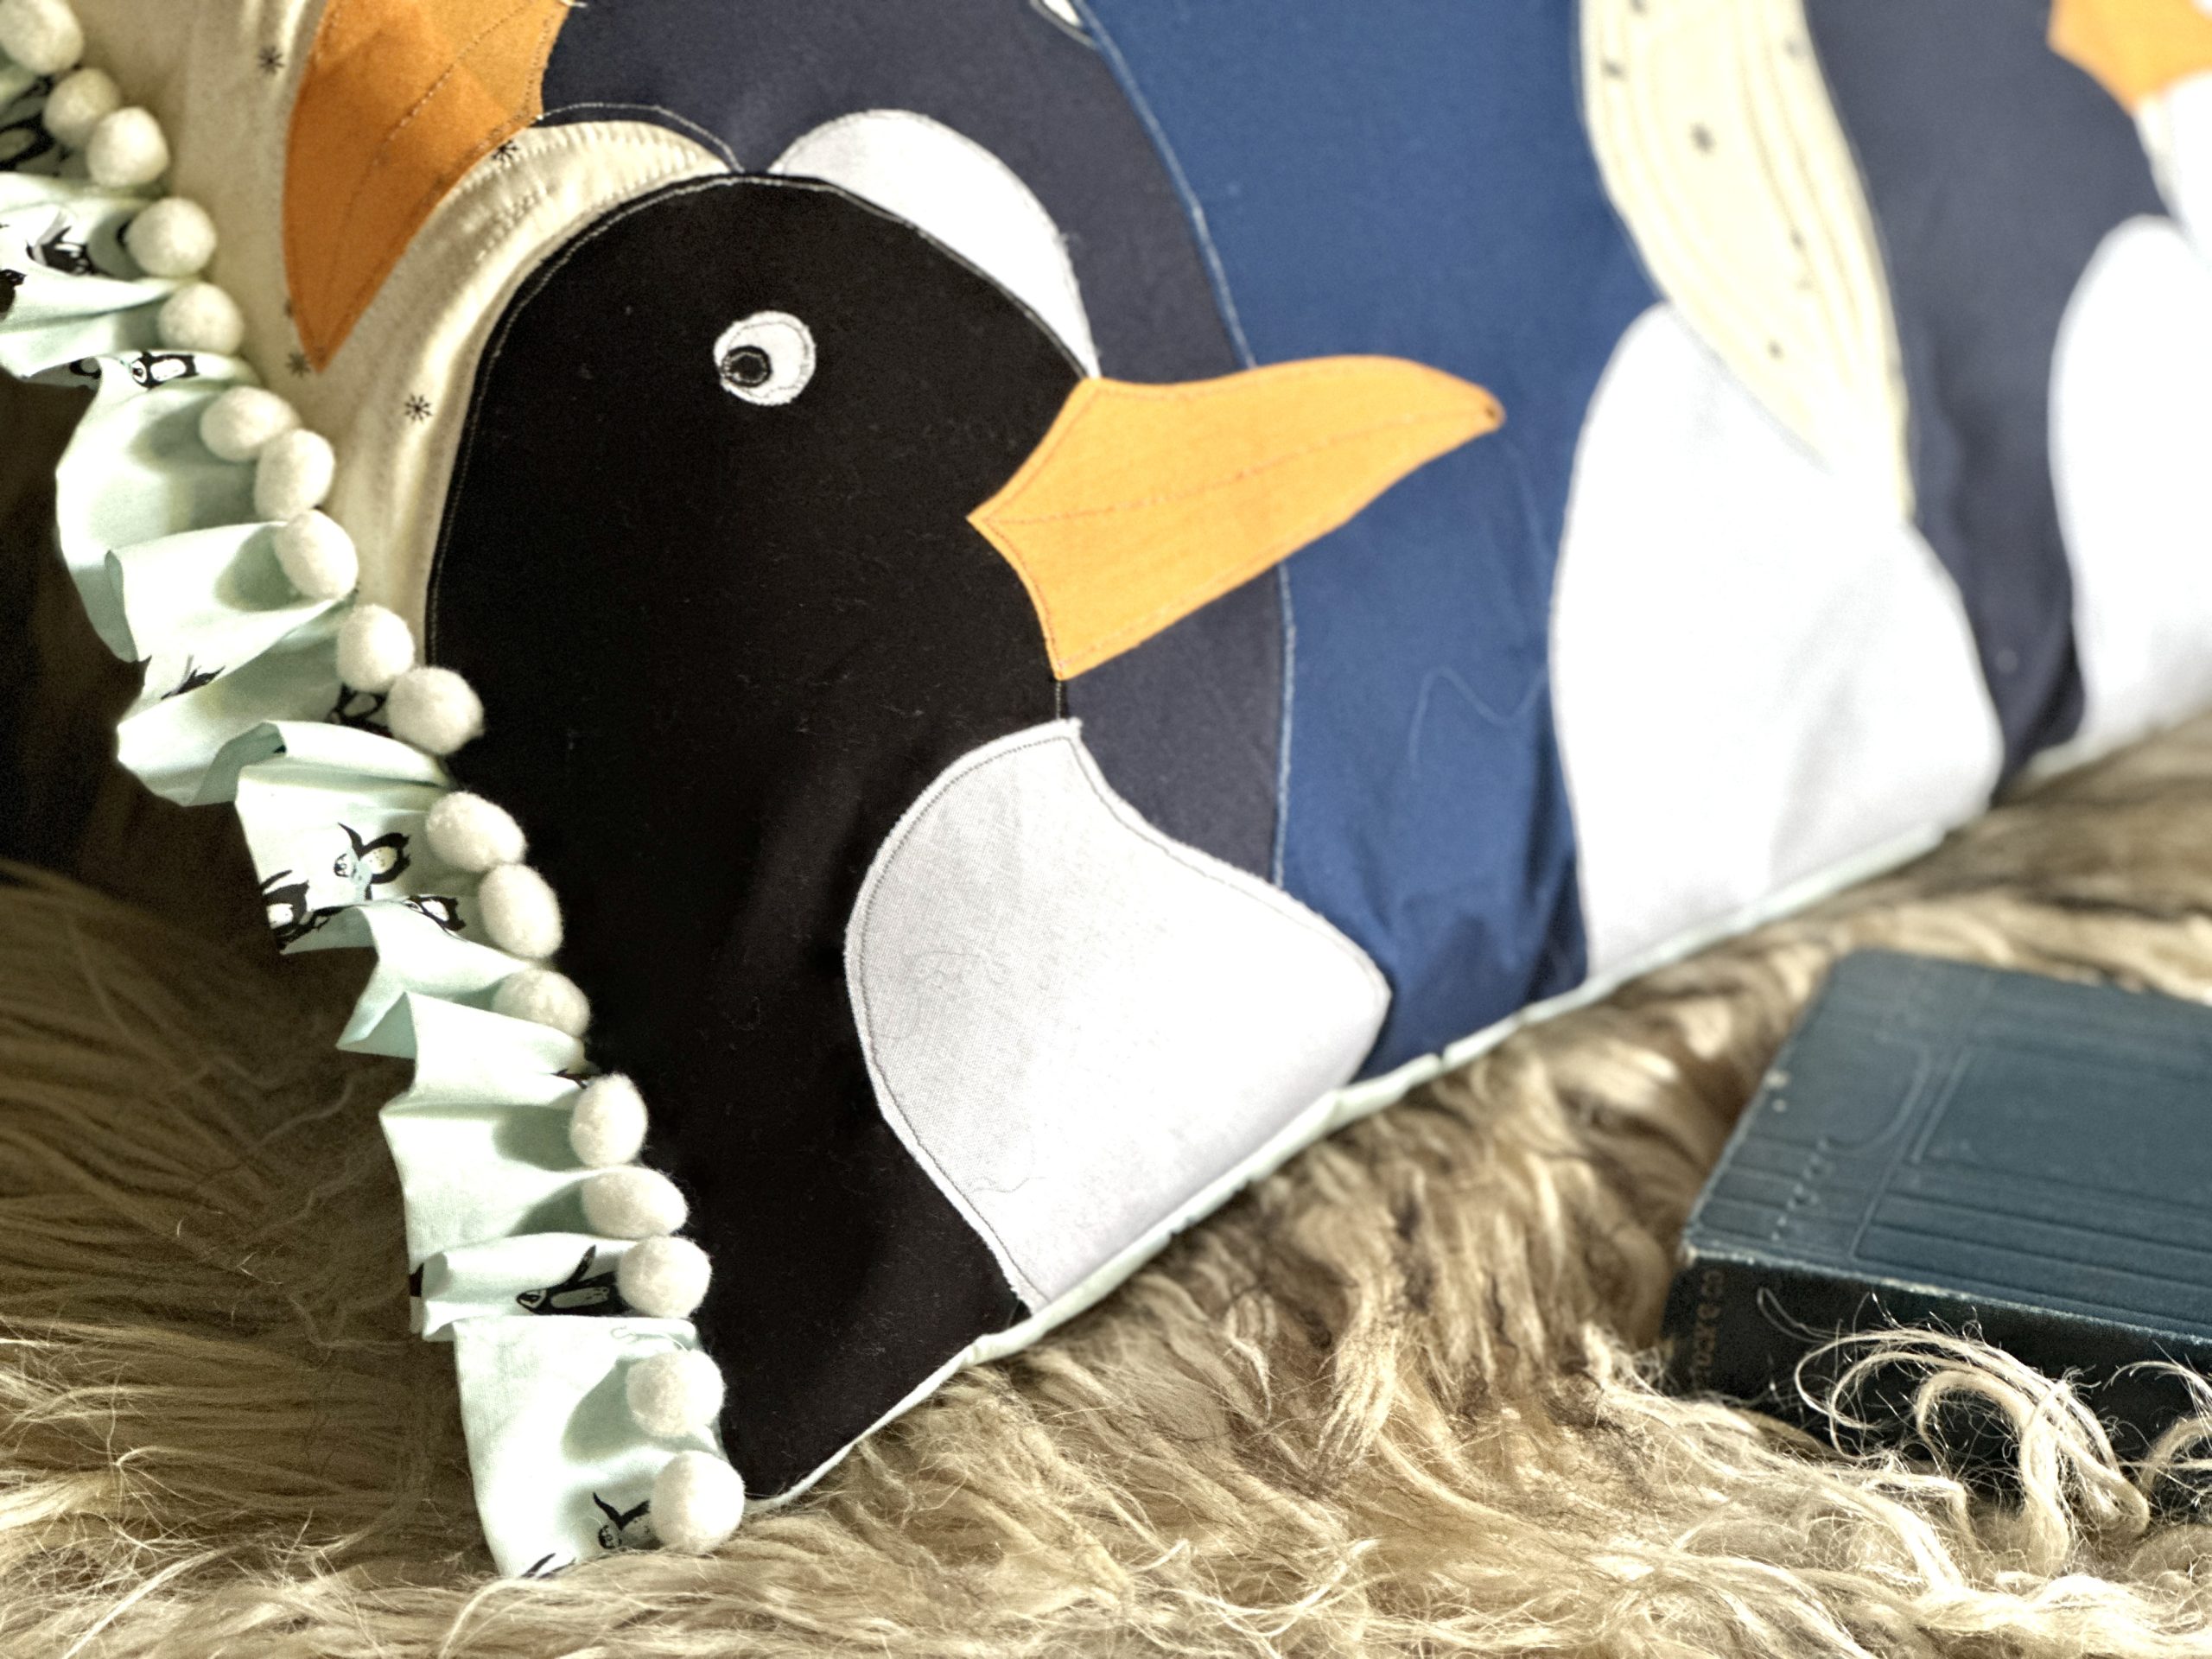
The Appliqué:
The Bondaweb has a smooth (paper) side and rough (glue) side. Trace around the elements onto the smooth side and cut them out roughly.
TIP: You will notice on the penguins template that there are some dashed lines. These pieces sit behind another.
- Place the appliqué tracings, rough side down, onto the wrong sides of your fabrics and press to attach.
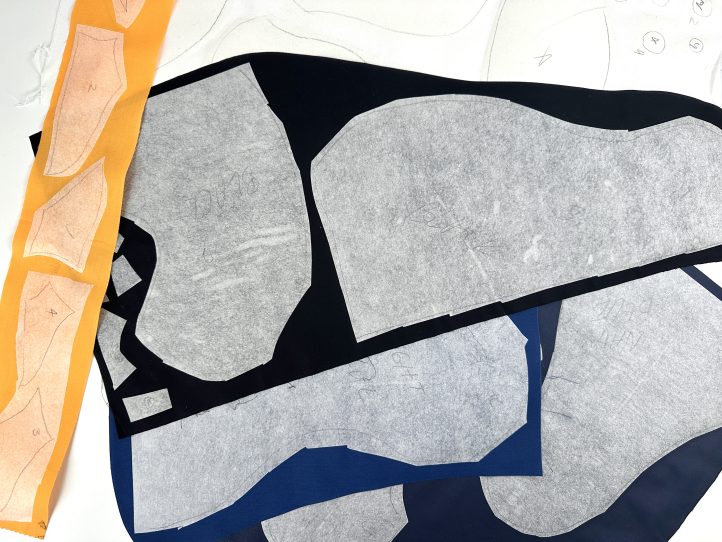
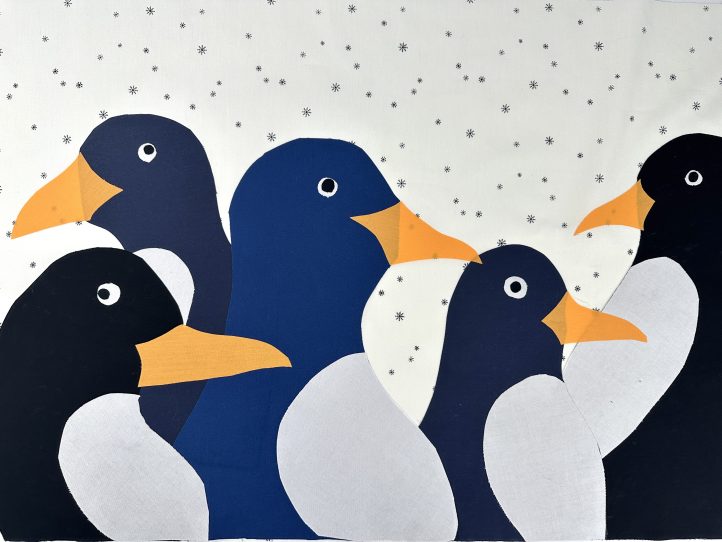
- Cut the pieces out exactly and arrange the appliqué onto the front panel using the template and the main photo as a guide for placement. Iron to attach.
- Set your machine up for Free Motion Embroidery. This will be all in your machine manual, so check for your specific machine. Usually, it involves dropping the feed dogs or setting your machine stitch length to zero. It will create a lovely rag edge appliqué, and because of the tight stitching, it will not come undone.
- Thread your machine with dark grey thread and attach the darning foot.
- Sew around the edge of the appliqué pieces with the thread about 1/8 inch in from the edge. When you have finished, snip any loose threads.
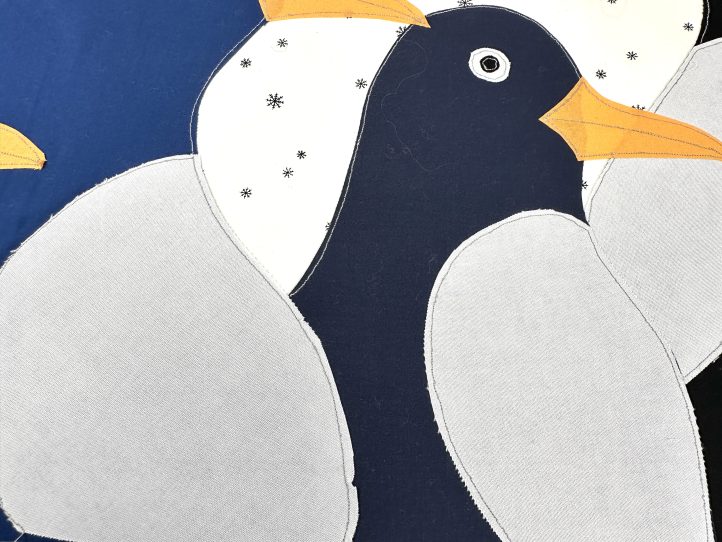
- TIP: You can snip these really close to the stitching; they are not going anywhere!
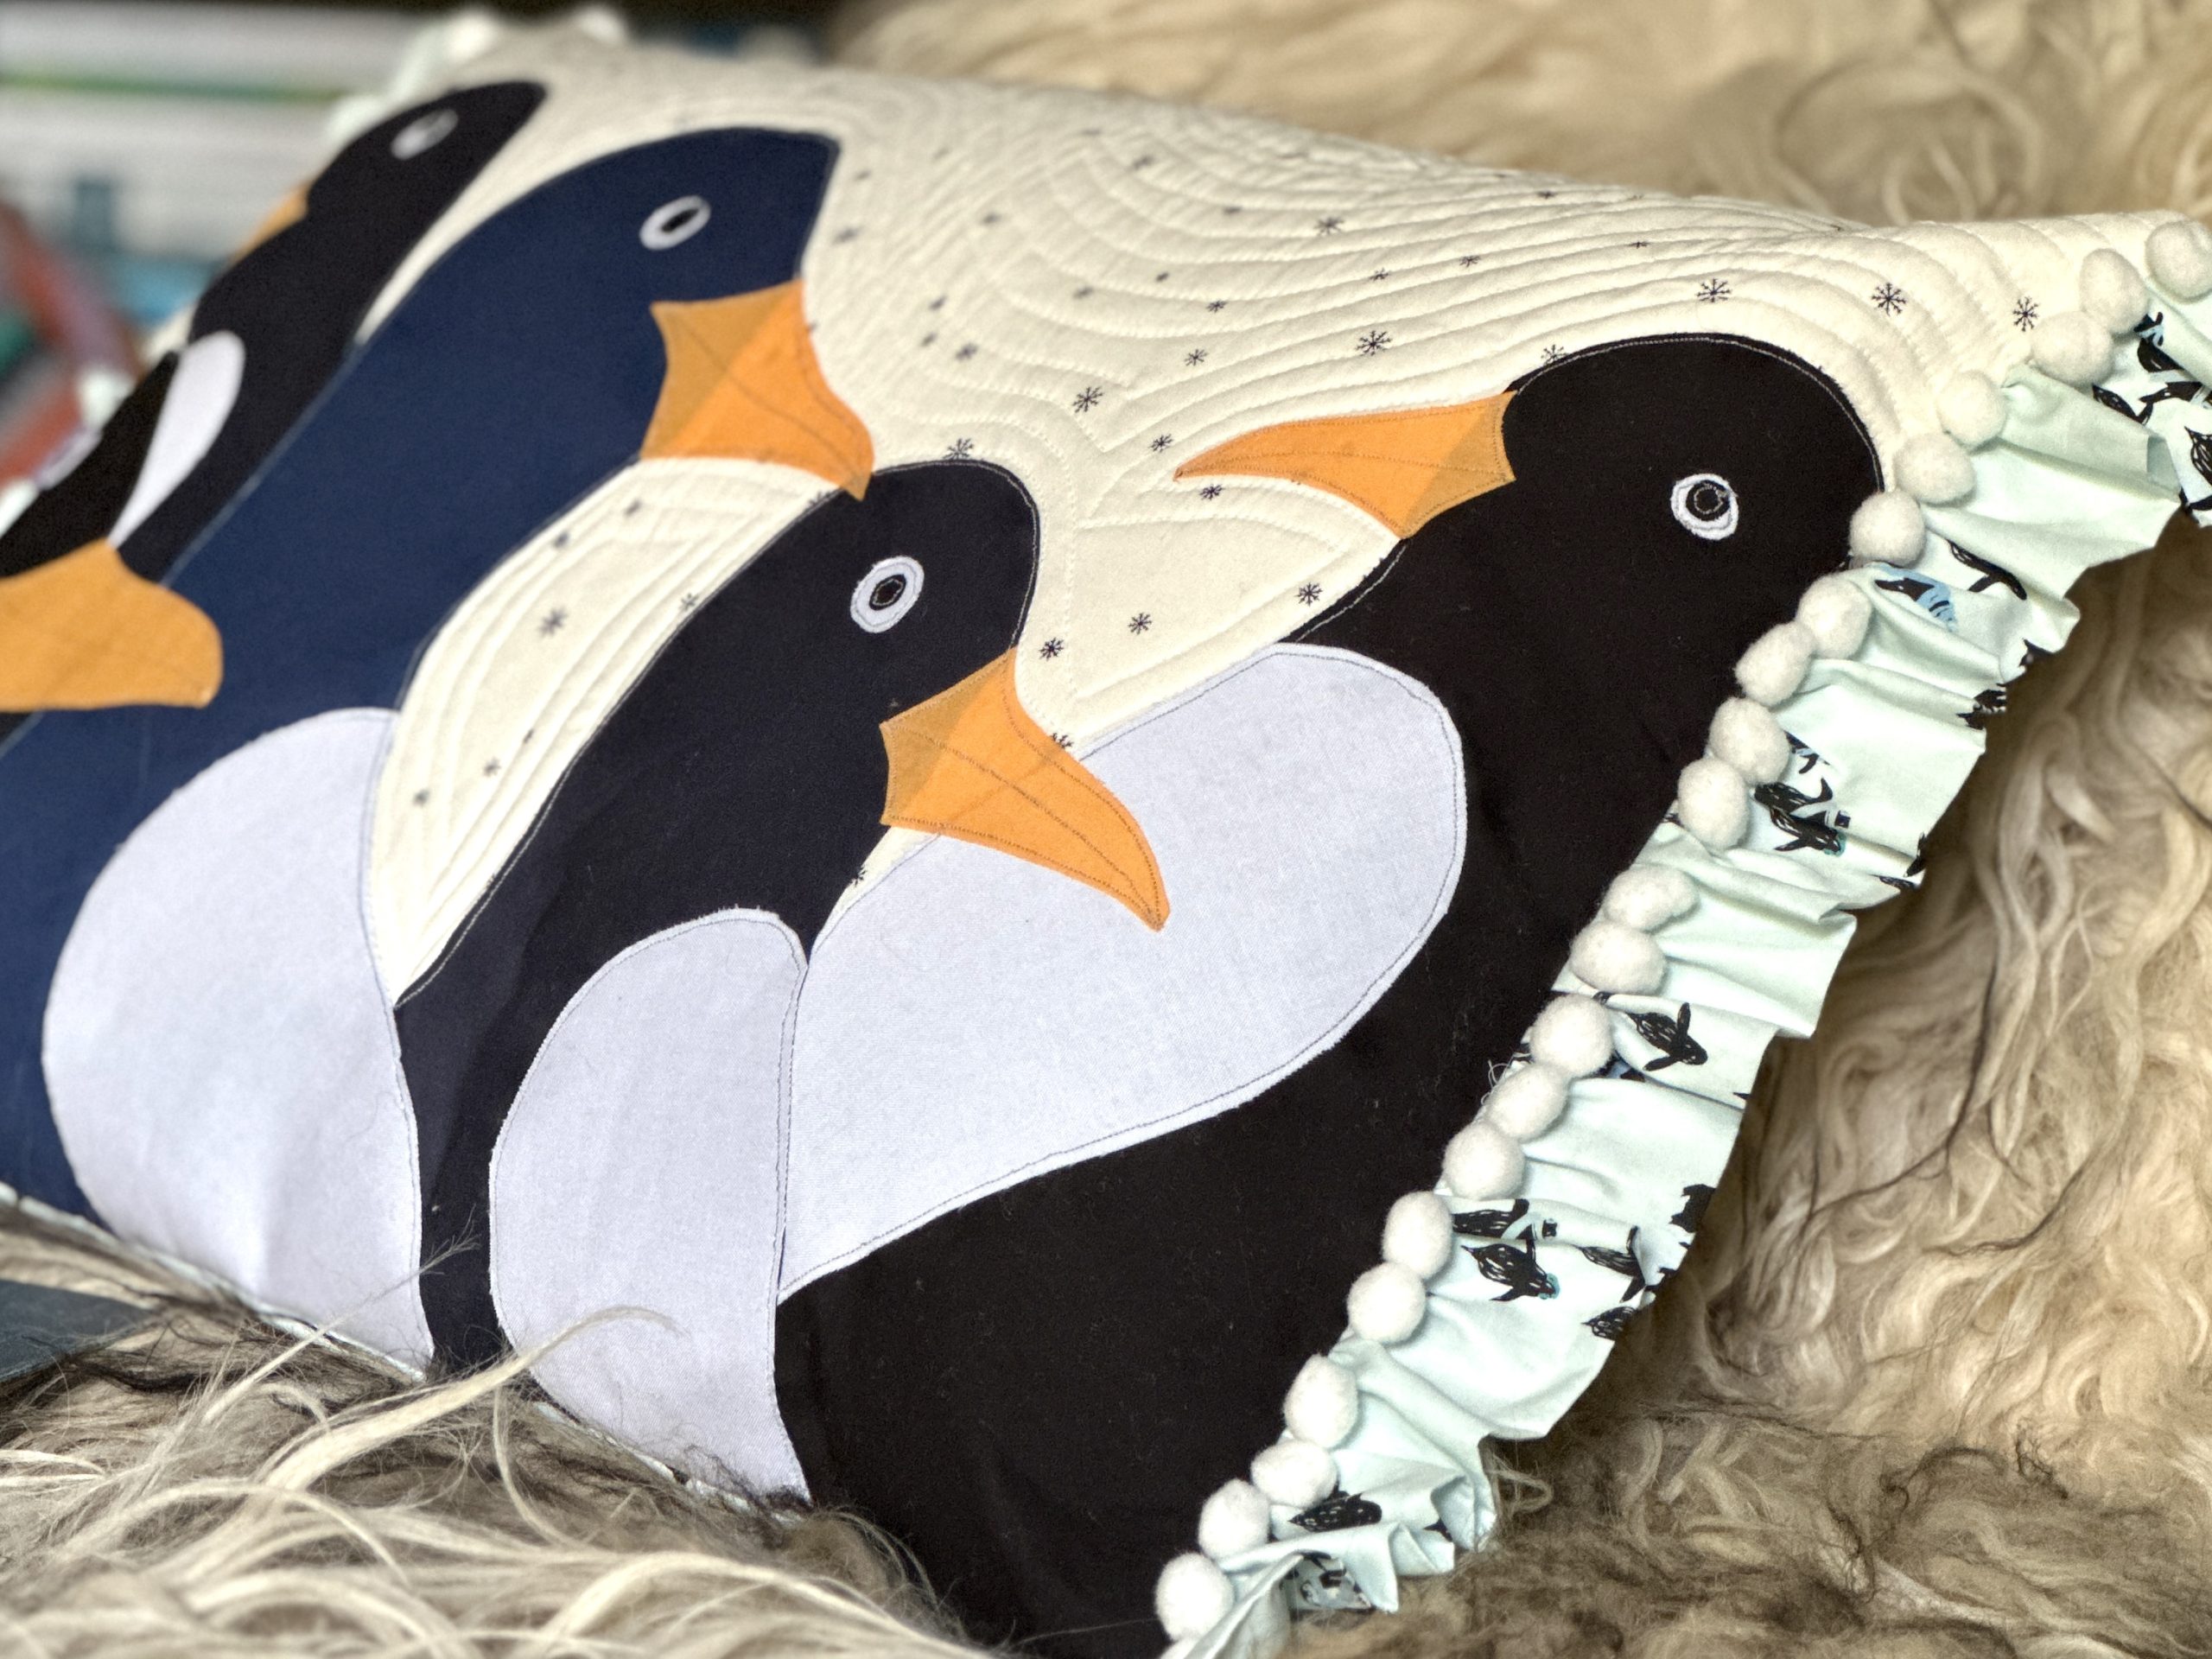
The Quilted Panels:
- Lay the penguin top panel right side up onto its piece of batting and pin. Lay the other two pieces onto theirs as well and pin those, too. Swap to the walking (dual feed) foot.
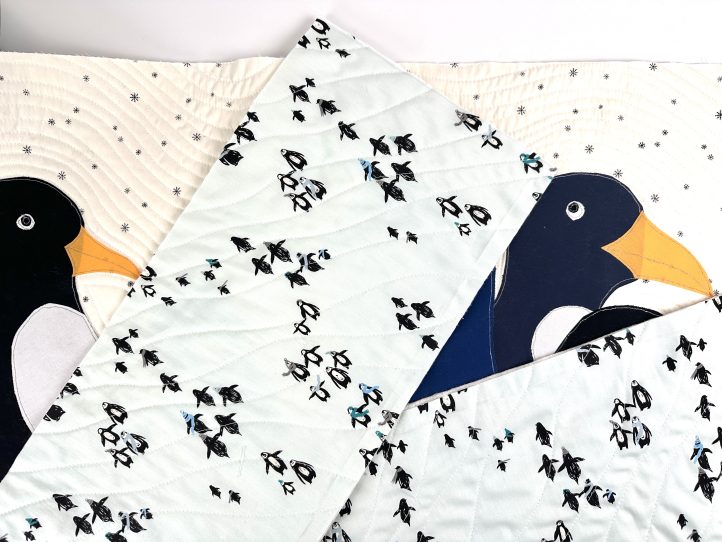
- Quilt the back panels with a random wave design. This involves simply sewing wavy lines and keeping it all pretty free form. It is easy to do and very hard to get ‘wrong’.

- Quilt the front slightly differently by following the contours of the penguins on the snowflake fabric only.
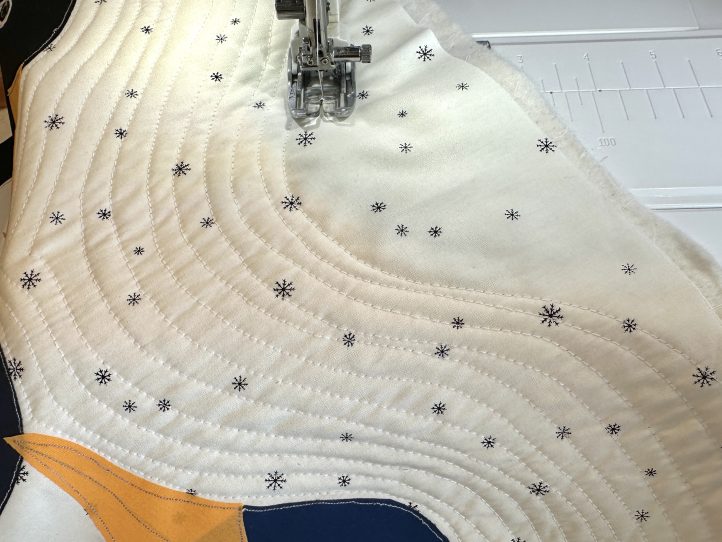
- TIP: These contour lines are supposed to be reminiscent of a weather map. Make some (one or two rows will be sufficient) in the larger gaps. The lines should be about 3/8 inch apart and do not have to be even.
- Trim all of the quilted panels back to the fabric edge, removing the batting overhang.
The Ruffle Trims:
- Fold a ruffle trim in half with the right sides facing and stitch the two ends only. Snip across the corner to reduce bulk and turn the ruffle the right way out. Iron so that there is a nice, sharp crease.

- Repeat for the other ruffle.
- Gather with a loose machine tacking stitch along the bottom raw edge. Draw the gathers in using your favorite method until the ruffle is 15 inch long.
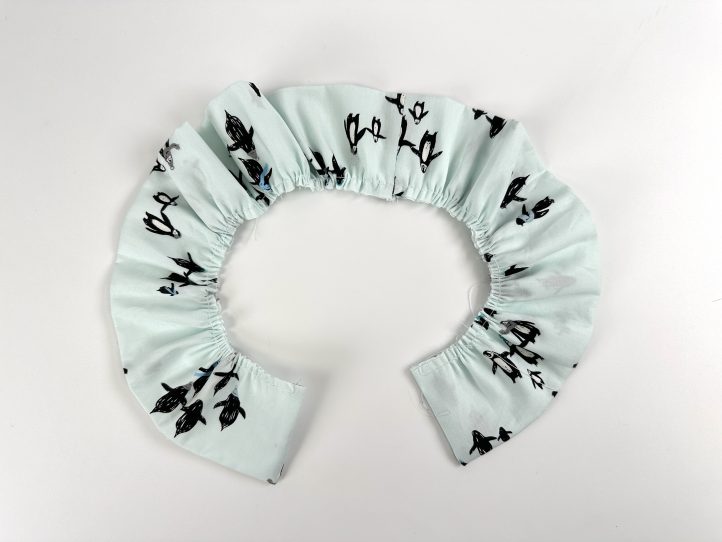
- Repeat for the other one.
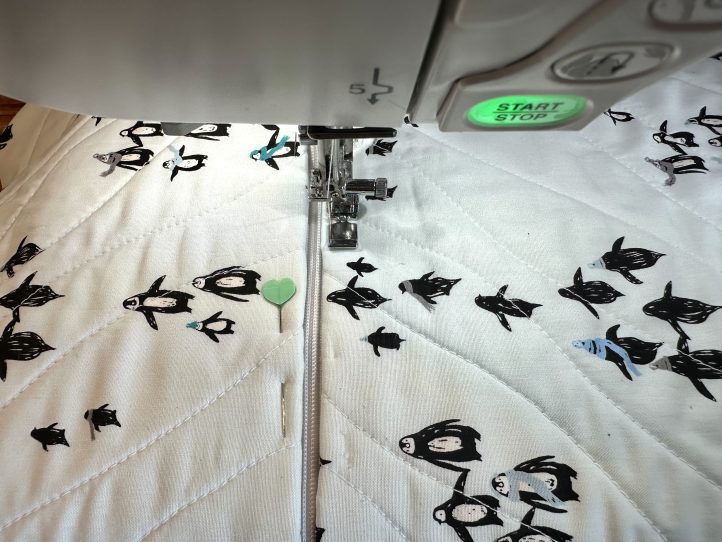
Putting in the Zipper:
- Pin or clip the two back panels right sides together and sew 3 1/2 inches on each end of the center gap. Fold the seam back and press the seam open to the wrong side.
- Turn the back panel to the right side and pin the zipper into the aperture/opening.
- Sew the zipper.
MAKING:
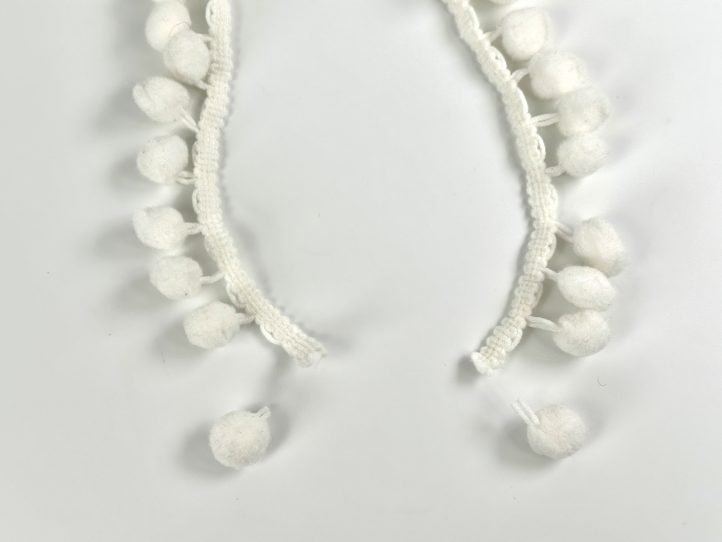
Adding the Pompom Snowball Trim:
- You need the front panel for the next steps. Snip a pompom from each end of the trim.
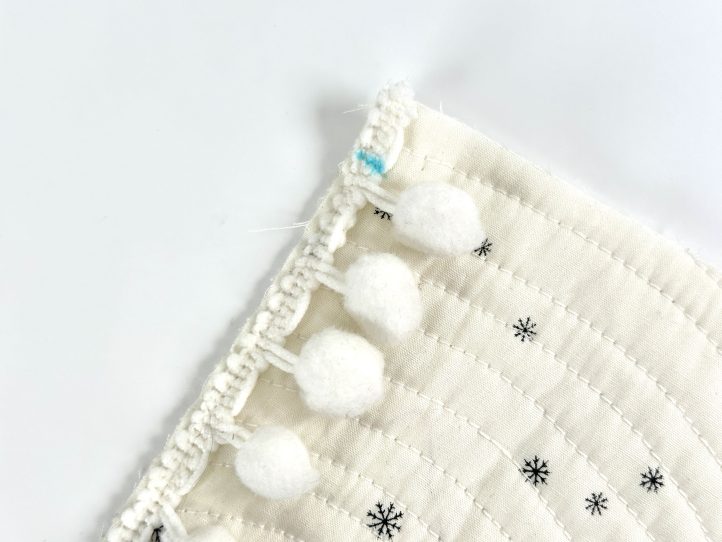
- Pin the trim onto one short end of the front panel, allowing the snipped ends to go into the seam allowance on the top and bottom.
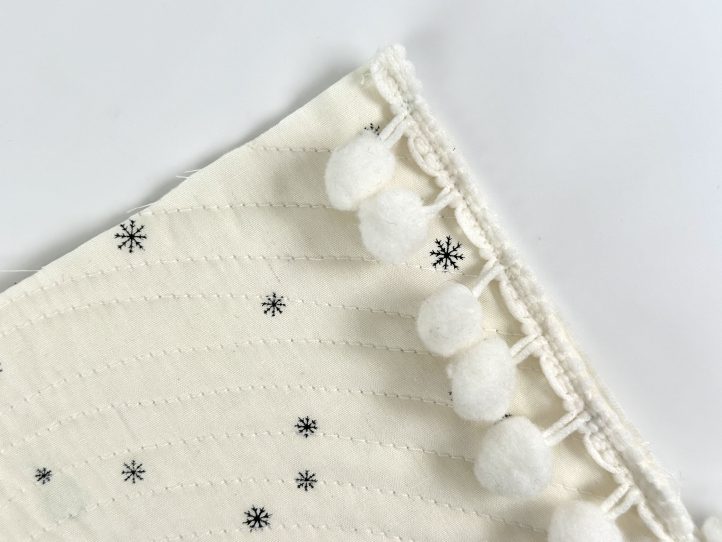
- Sew the trim on and repeat for the other short end of the pillowcase.
- TIP: Use your zipper foot to get in nice and close to the pompoms without them getting tangled in the foot. This trim does stretch a bit, so you might have to remove more pompoms.
Adding the Ruffles:
- Make a mark 1/2 inch away from both corners on each short end of the front panel.
- TIP: These marks show you where to attach the ruffle so that it will not be caught in the top and bottom seams.
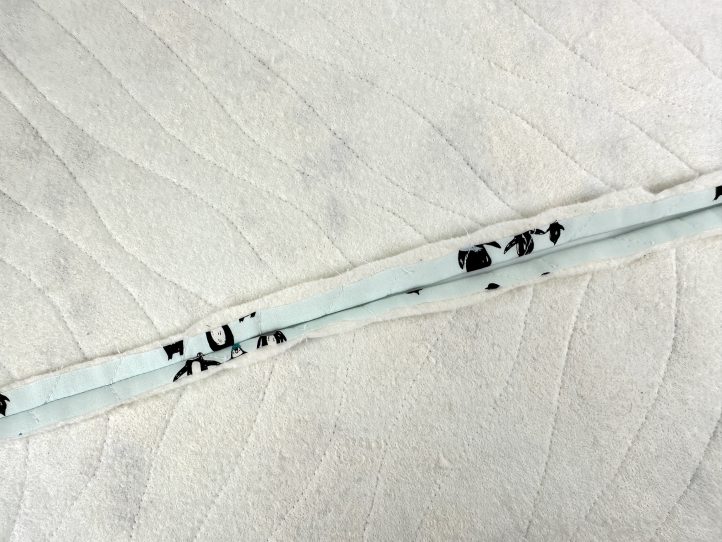
- Pin or clip a ruffle to one short end, taking care to pin on your marks.
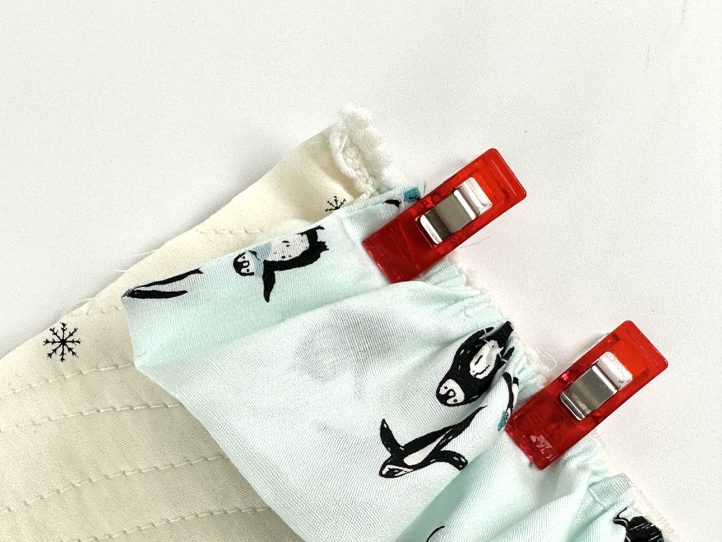
- Sew the ruffle on, decreasing your seam allowance to 1/4 inch, and repeat for the other end in exactly the same way.
Putting It All Together:
- Undo the zipper by about 4 inches. Pin or clip the front and back panels right sides together, taking care to make sure that the fabric patterns are the right way up.
- Tuck the ruffles in on the ends and keep them well away from the seam allowance on the top and bottom edges.
- Sew right around the edge of the cushion. Clip across the corners.
- Reach in and wiggle the zipper open a bit further and turn the pillow case the right way out. Gently poke the corners out so that they are sharp. A careful tug on the ruffles will help. Make sure that the snowball trim is sitting nicely.
- Insert the cushion, and you are done!