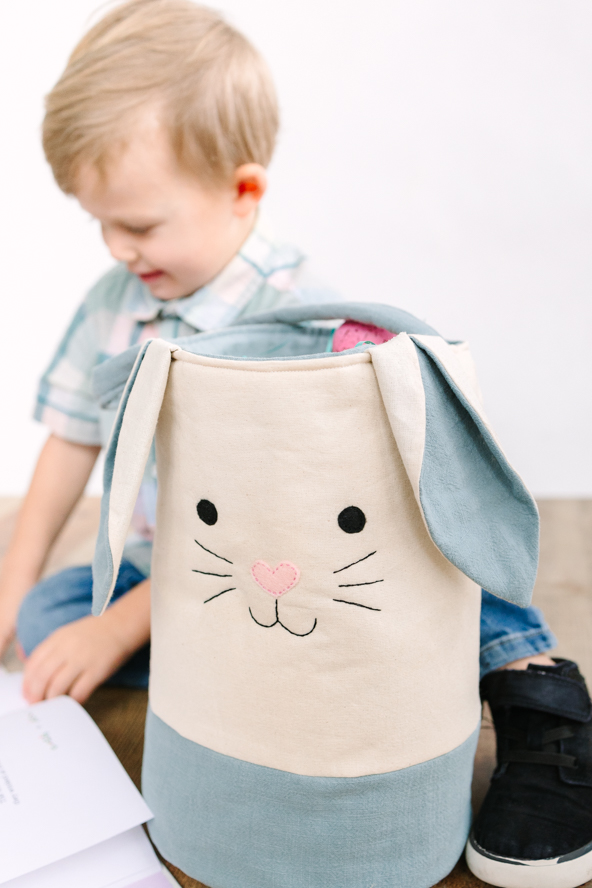
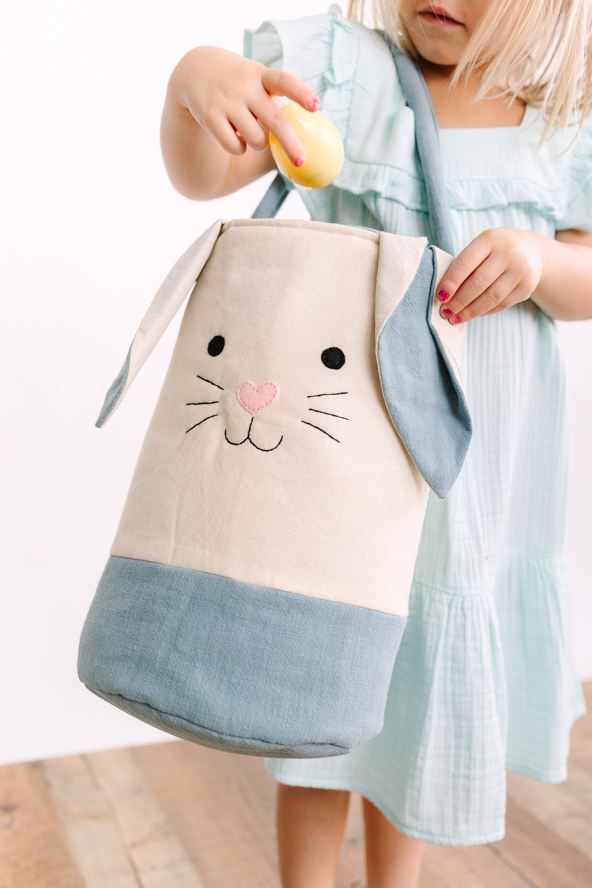
Easter is just around the corner! Start your Easter sewing early by making this adorable Easter basket for your little ones. Using both machine and hand sewing, you can create this super cute, sturdy fabric basket for your grandkids in a single weekend. This Easter basket pattern features a fabric handle, applique and embroidery details and two floppy bunny ears. Your kids will love waking up on Easter Sunday to a handmade basket that can be reused for years to come.
Materials:
- Fabric: duck egg blue linen; plain cotton calico; half a yard of each
- Felt: pink and black, 2” square of each
- Fusible batting, one yard
- Sewing thread: white
- Embroidery floss: pink, black
- PDF Template – This is located at the bottom of this page. See printing instructions below.
Tools:
- Dressmaker’s shears
- Water soluble fabric pen
- Pins
- Fabric clips
- Sewing machine
- Hand sewing needle
- Point turner
- Straight ruler (recommended)
- Circle helix ruler (recommended)
DESIGNER NOTES:
- This project uses a 1/2” seam allowance throughout unless otherwise stated.
- When holding multiple layers of fabric together, it can be easier to use sewing clips to hold the work before sewing instead of pins. Clips also don’t risk snagging your fabric or leaving holes behind like pins can do – which isn’t so much of a problem when working with linen or cotton, but can be an issue when using more delicate fibers.
PRINTING INSTRUCTIONS:
To download the PDF template, click on the download button at the bottom of the page. We recommend opening your download using Adobe Acrobat.
Instructions:
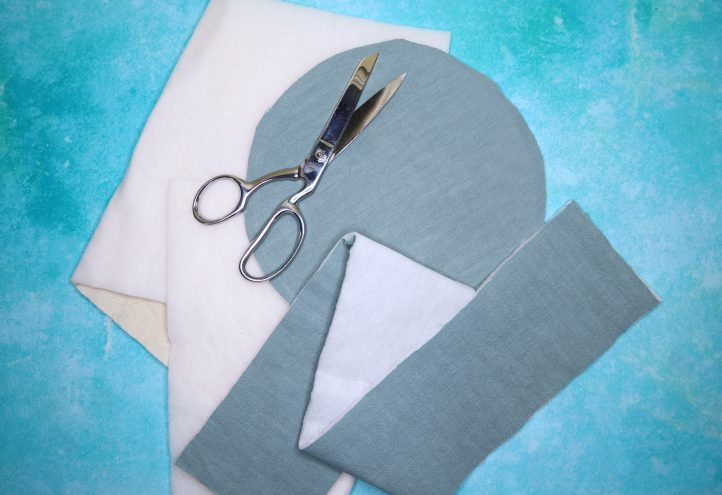
- Start by cutting your outer bag pieces out. From the duck egg blue linen, cut an 8 1/4” diameter circle and a 4” x 27” strip. From the calico, cut a 9” x 27” rectangle. Back each one with medium weight fusible batting. For the lining, cut a 14” x 27” rectangle and another 8 1/4” diameter circle from the blue linen.
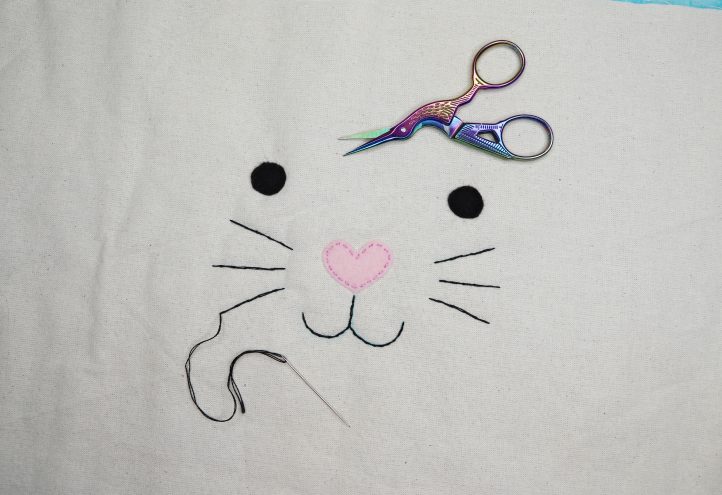
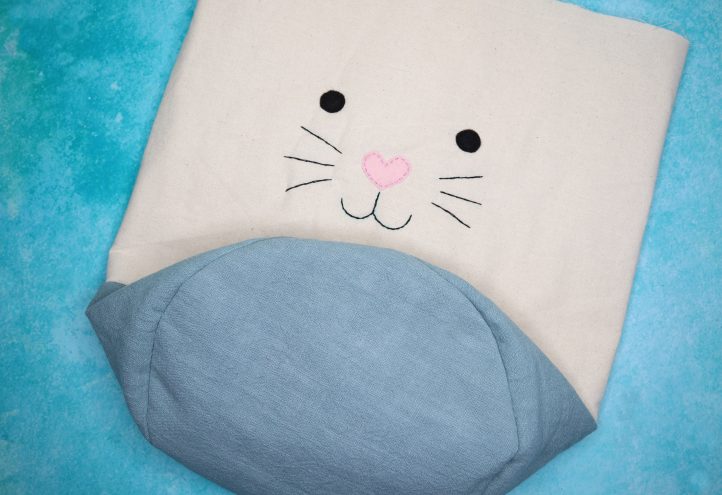
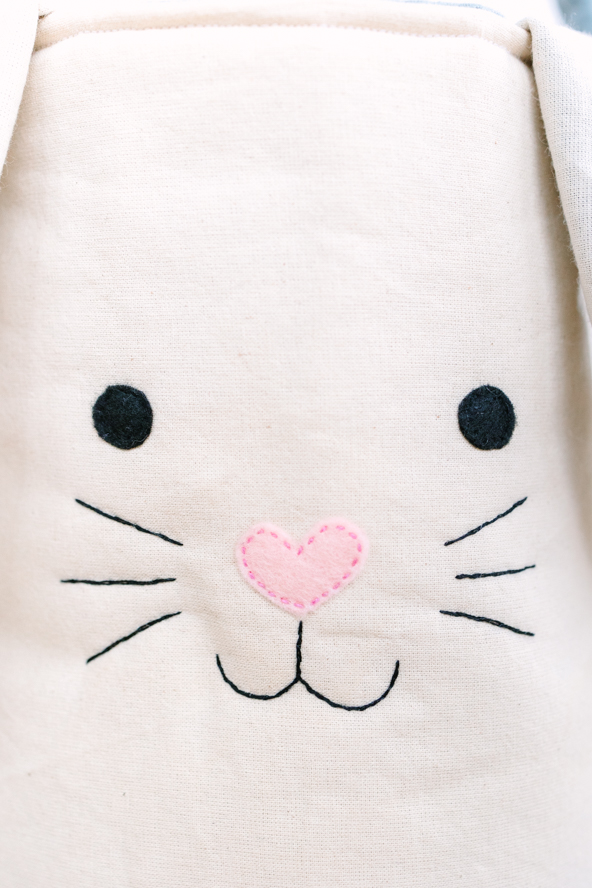
- Measure and mark the middle of your main fabric calico piece. Use the templates provided (these are located at the bottom of this page) to cut a small heart nose from pink felt and two eyes from black felt, then pin them into position onto the calico, placing the nose over the middle point. Hand stitch each one into place using pink and black embroidery floss. Next, use a water soluble fabric pen to draw a mouth and whiskers, and work over each one in backstitch.
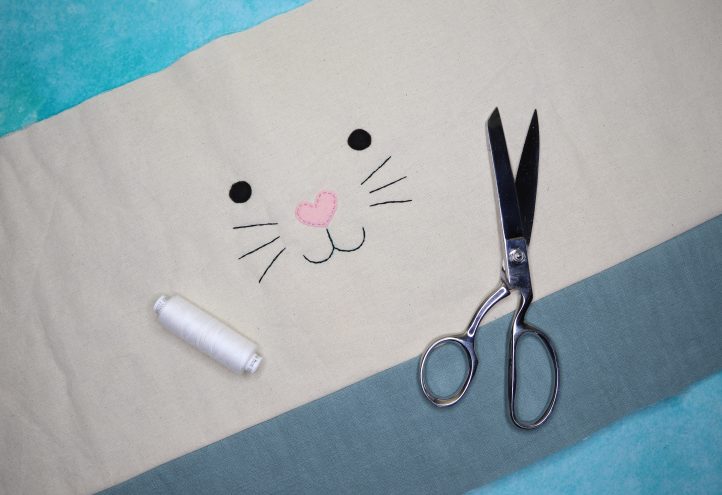
- Make the outer bag. With right sides facing, place the blue linen strip together with the embroidered calico piece, aligning them along the long bottom edge. Pin, then work a straight machine stitch along the edge. Trim the allowance back, then open the fabric out and press flat.
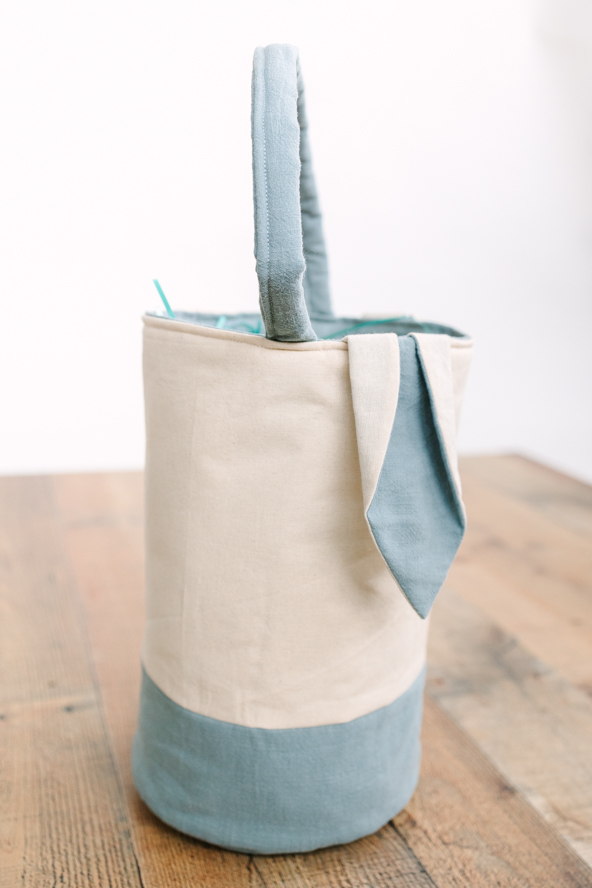
- Fold the outer bag in half with right sides facing, and pin. Machine sew along the open side edge to stitch it together and form a tube. Trim the seam allowances down, then pin the batting-backed circle to the bottom of the tube with right sides facing and stitch all around the edge, to add the base. Trim the seam allowance and clip into the curve, then turn the outer bag right sides out. Repeat with the lining pieces to make the liner bag in the same way.
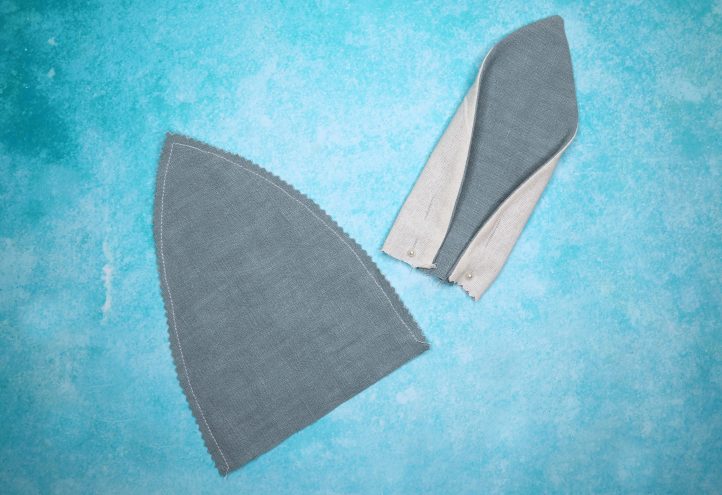
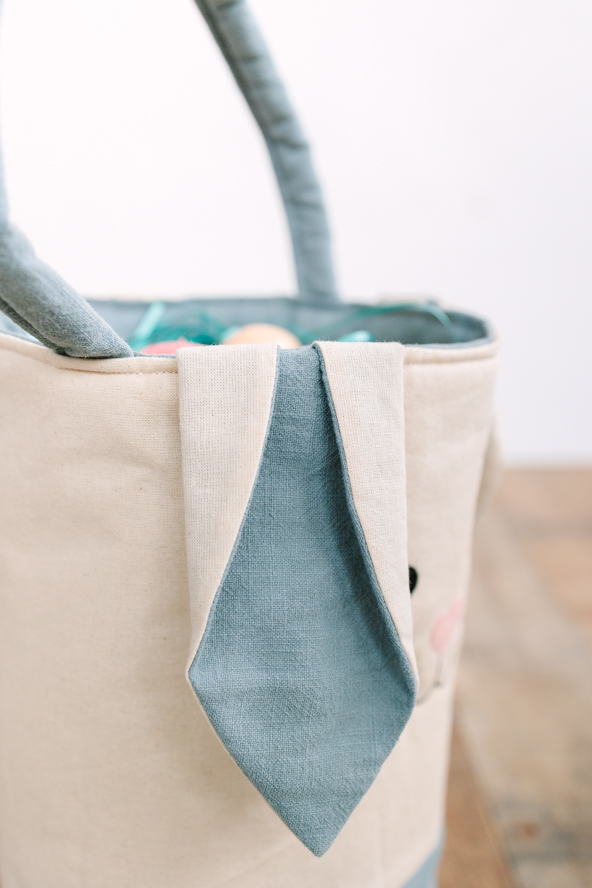
- Use the templates provided to cut four ear pieces – two from each fabric. Place one blue ear and one calico ear together with right sides facing and stitch along the two long edges, leaving a 1/4” seam allowance. Trim the seam, then turn right side out, using a point turner to poke out the tip of the ear. Press flat, then fold each bottom corner over slightly and pin into place. Repeat to make a second ear.
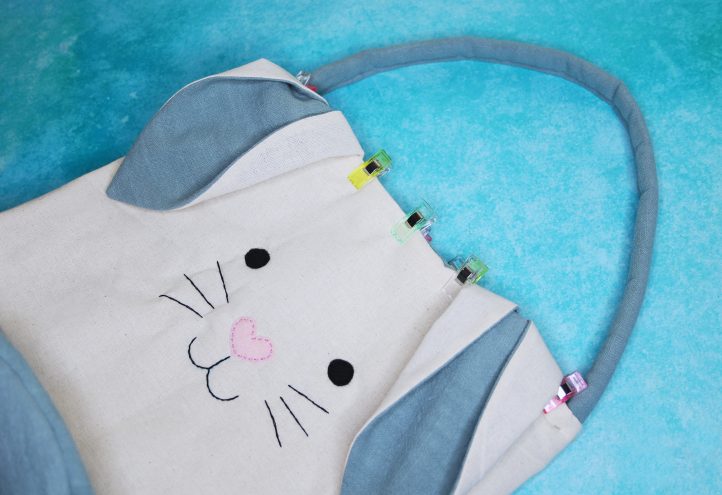
- Make a handle by cutting another 4” x 27” strip of blue linen and backing it with batting. With right side facing out, fold both long raw edges into the middle of the strip and press, then fold in half again lengthways. Pin, then top stitch along this open edge to close it, leaving a 1/4” seam allowance. Ease your lining into the outer bag with right sides of both facing out, matching the back seams. Fold the top edge of each over to the wrong side by 1/2” and pin or clip to hold. Position the ears on either side of the face and slip the bottom edge of each one in between the outer bag and lining, making sure that the blue side faces upwards when the ears flop down. Repeat to slip and pin the ends of the handle between the lining and outer bag. Finally, work a straight machine top stitch all around the top of the bag to finish the edge and hold the ears and strap into position. To reinforce the strength of handle, add additional stitching on top of your existing stitching by stitching over that same area 3-5 times or more.

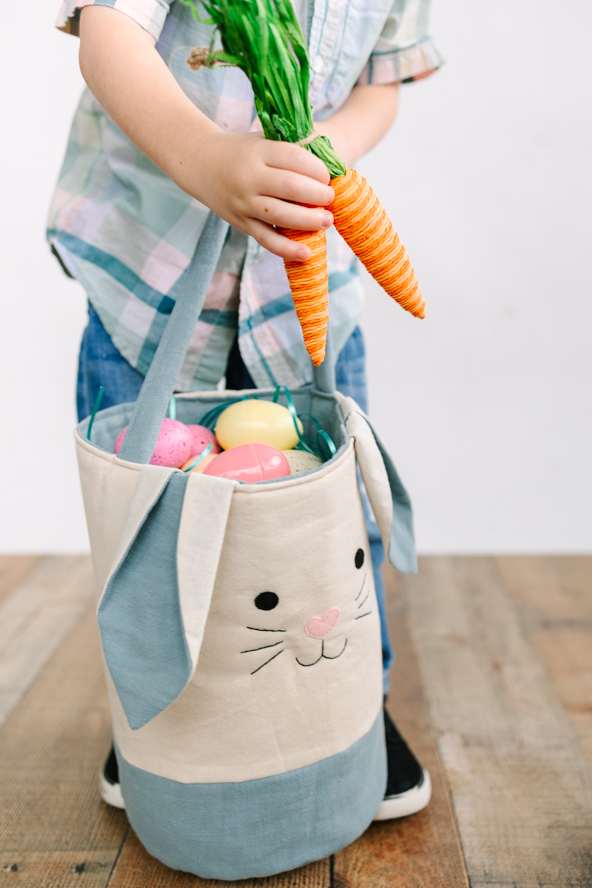
Aw. That is so cute. I will make one for my grandson. He can carry it around to hunt the eggs.